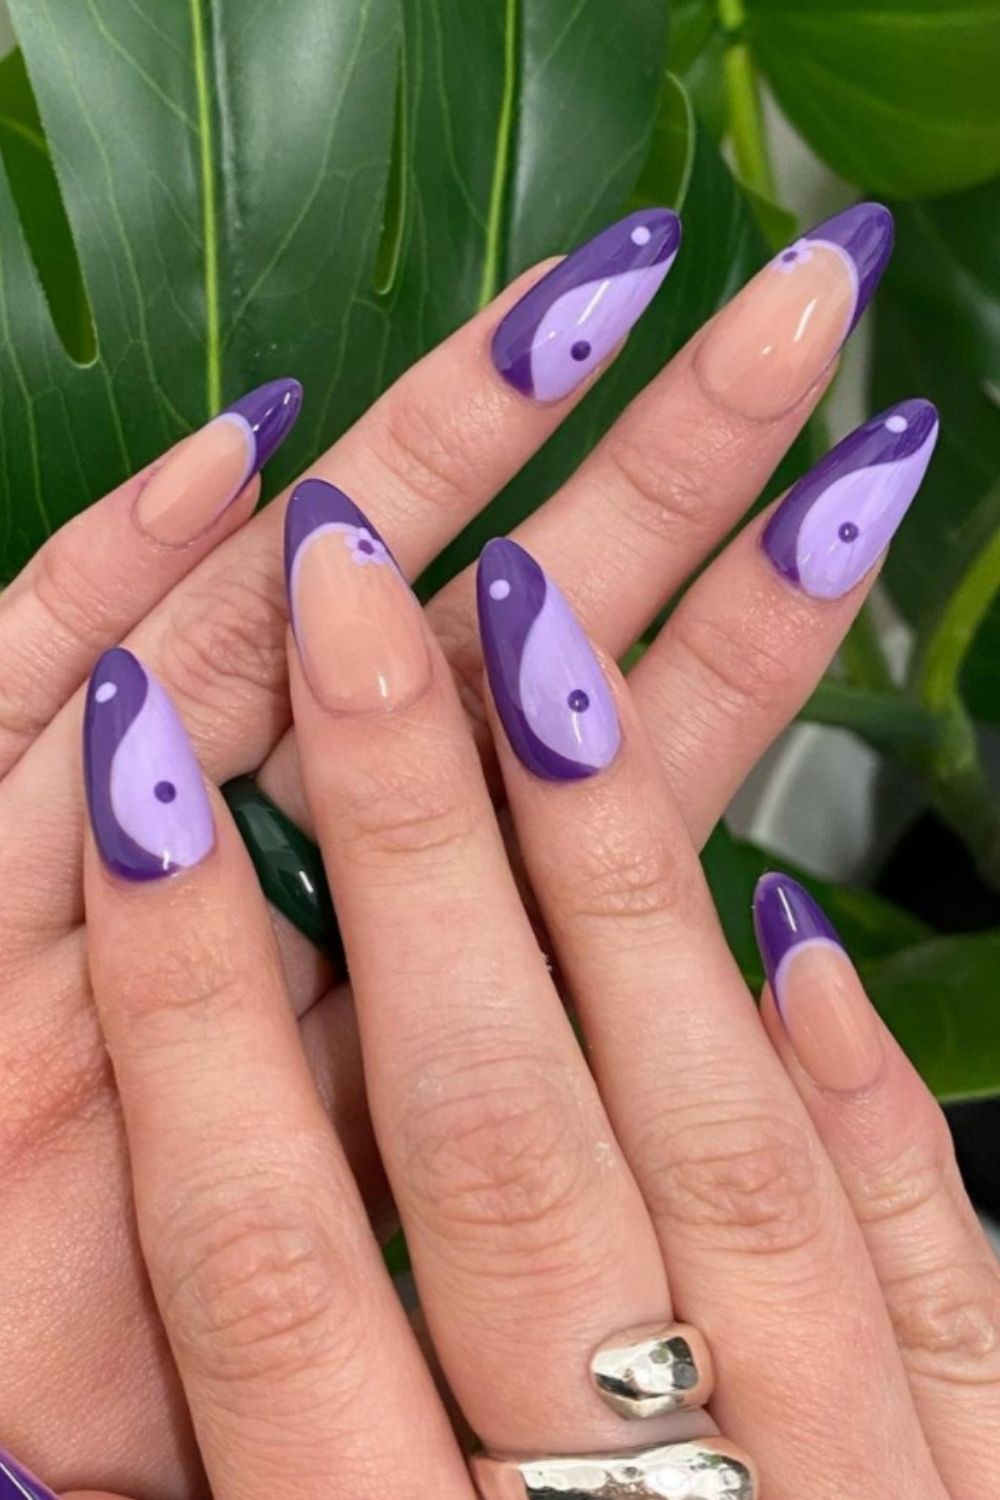
Are you looking to add some sparkle and glamour to your nails? Look no further than rhinestone nail art designs! These tiny gems can elevate any basic manicure into a stunning work of art. And the best part? They are super easy to apply, even for beginners. With a little creativity and some basic nail art tools, you can create beautiful rhinestone nail designs that will make your manicure stand out. Let's explore some simple and easy rhinestone nail art ideas that are perfect for beginners.1. Easy Rhinestone Nail Art Designs for Beginners

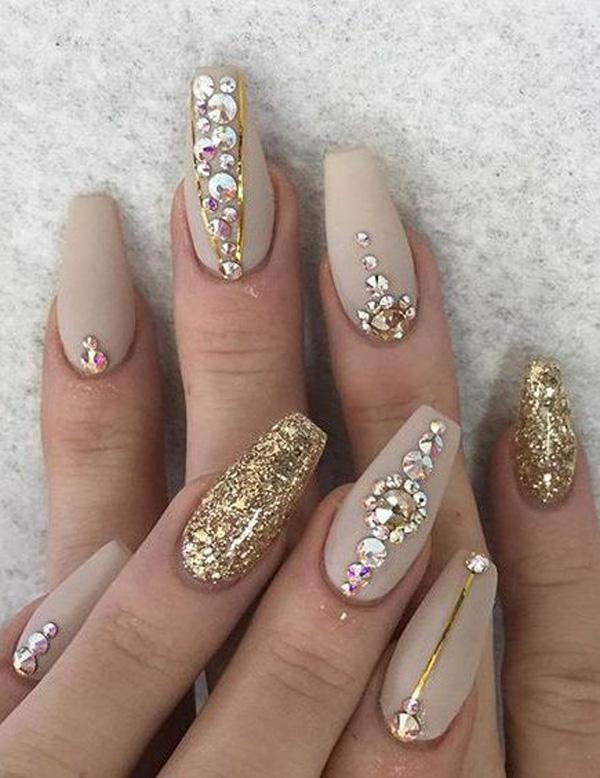
1. Easy Rhinestone Nail Art Designs for Beginners


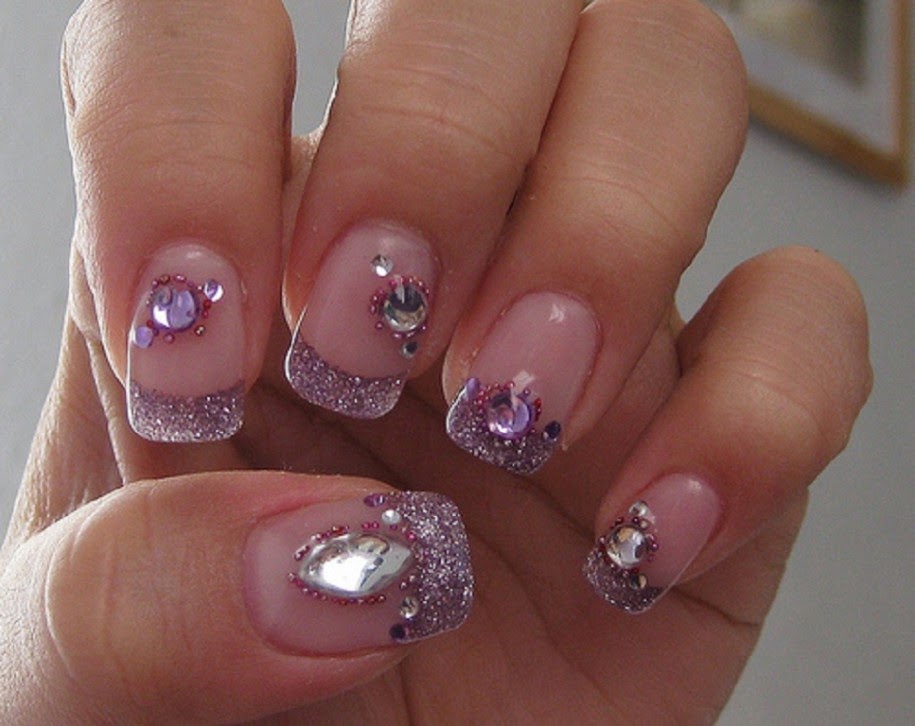
There are countless ways to incorporate rhinestones into your nail art. You can create intricate designs, add them as an accent, or use them to create a full-blown glittery look. One simple and chic way to use rhinestones is to apply them along the edges of your nails. This adds a touch of sparkle without being too overwhelming. You can use a clear or colored base, depending on your preferences, and add rhinestones in a single line or multiple rows for a more dramatic effect.2. Simple Rhinestone Nail Art Ideas


2. Simple Rhinestone Nail Art Ideas


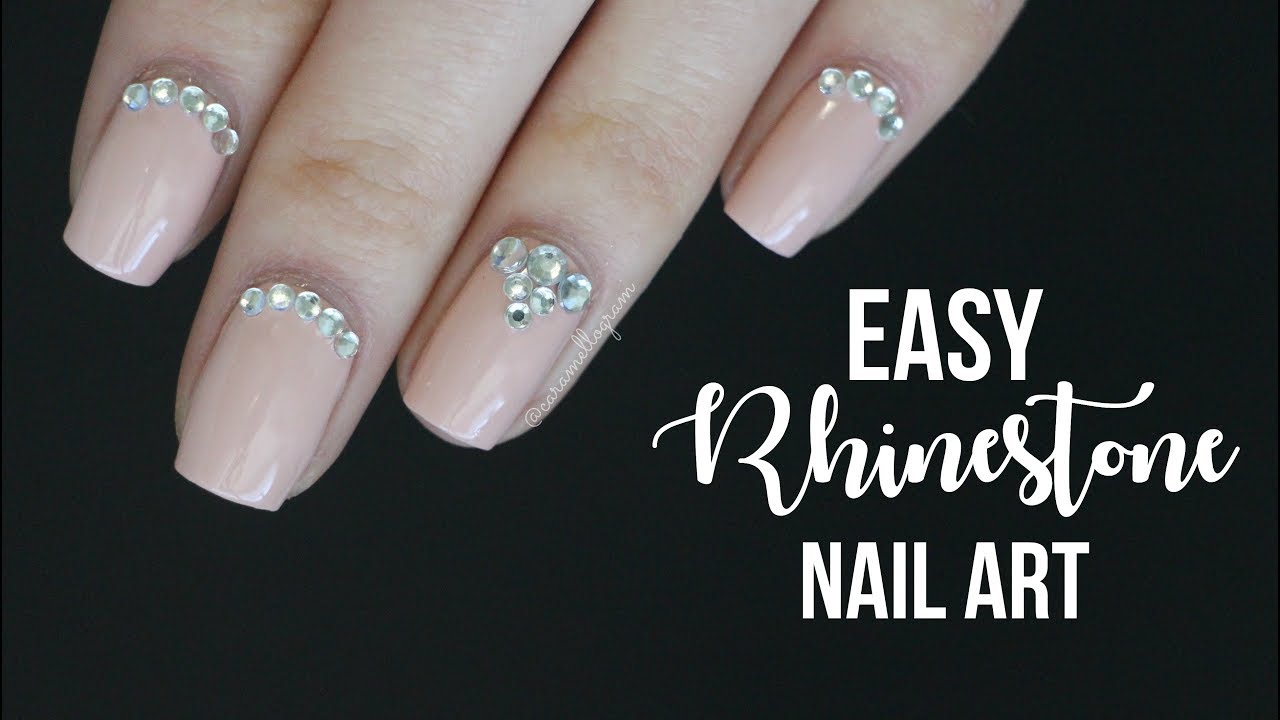
Creating your own rhinestone nail art is easier than you think. All you need is a pack of rhinestones, a dotting tool or toothpick, and some clear topcoat. Start by applying a base coat to protect your nails. Then, using the dotting tool or toothpick, pick up a rhinestone and apply a small dot of clear topcoat to your nail. Gently place the rhinestone on top of the topcoat, and press down lightly to secure it. Repeat the process for each rhinestone, and finish with a layer of topcoat to seal the design.3. DIY Rhinestone Nail Art Tutorial

3. DIY Rhinestone Nail Art Tutorial

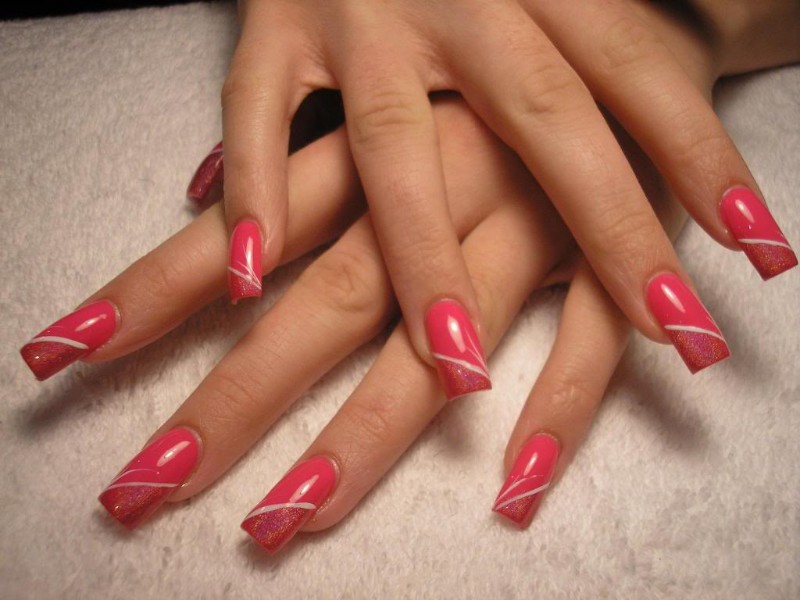
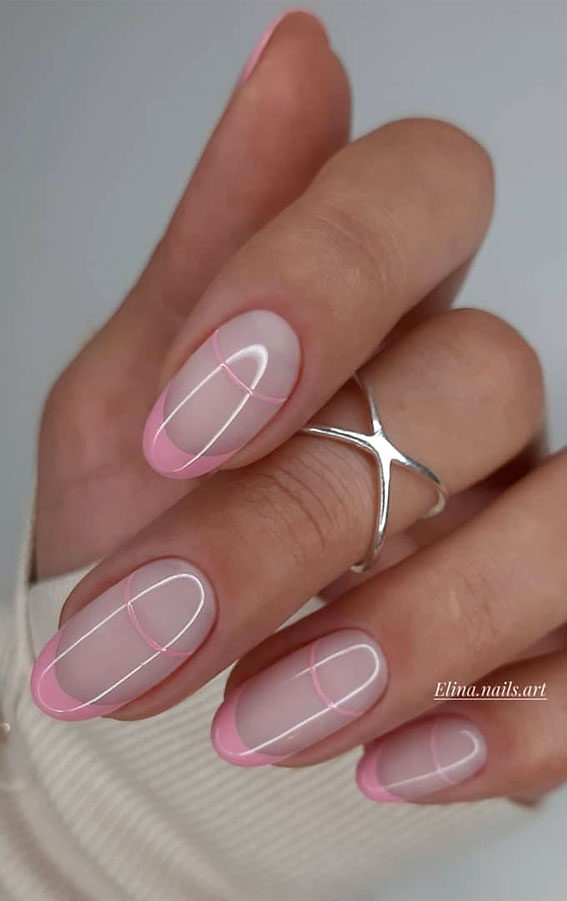
If you're short on time but still want to add some bling to your nails, there are plenty of quick and easy rhinestone nail designs you can try. One idea is to create a simple French tip design using rhinestones. Paint your nails with a light-colored base, such as white or nude, and let it dry completely. Then, using a dotting tool or toothpick, apply a line of rhinestones along the tip of your nail. You can also use different colored rhinestones to create an ombre effect. Finish with a layer of topcoat to secure the rhinestones and add shine.4. Quick and Easy Rhinestone Nail Designs

4. Quick and Easy Rhinestone Nail Designs

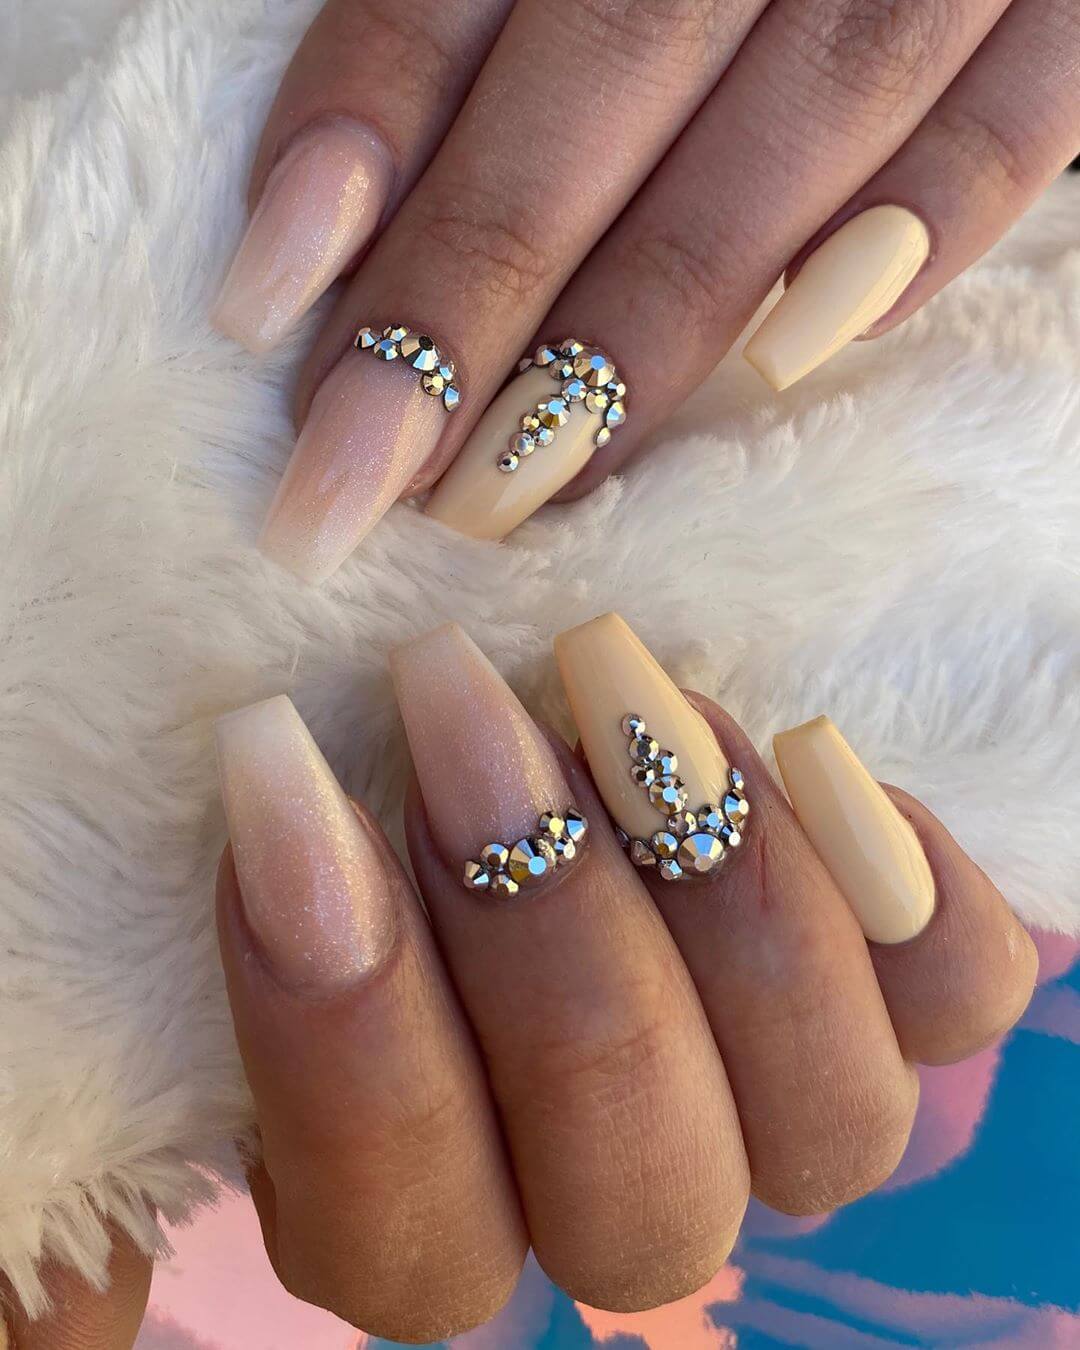
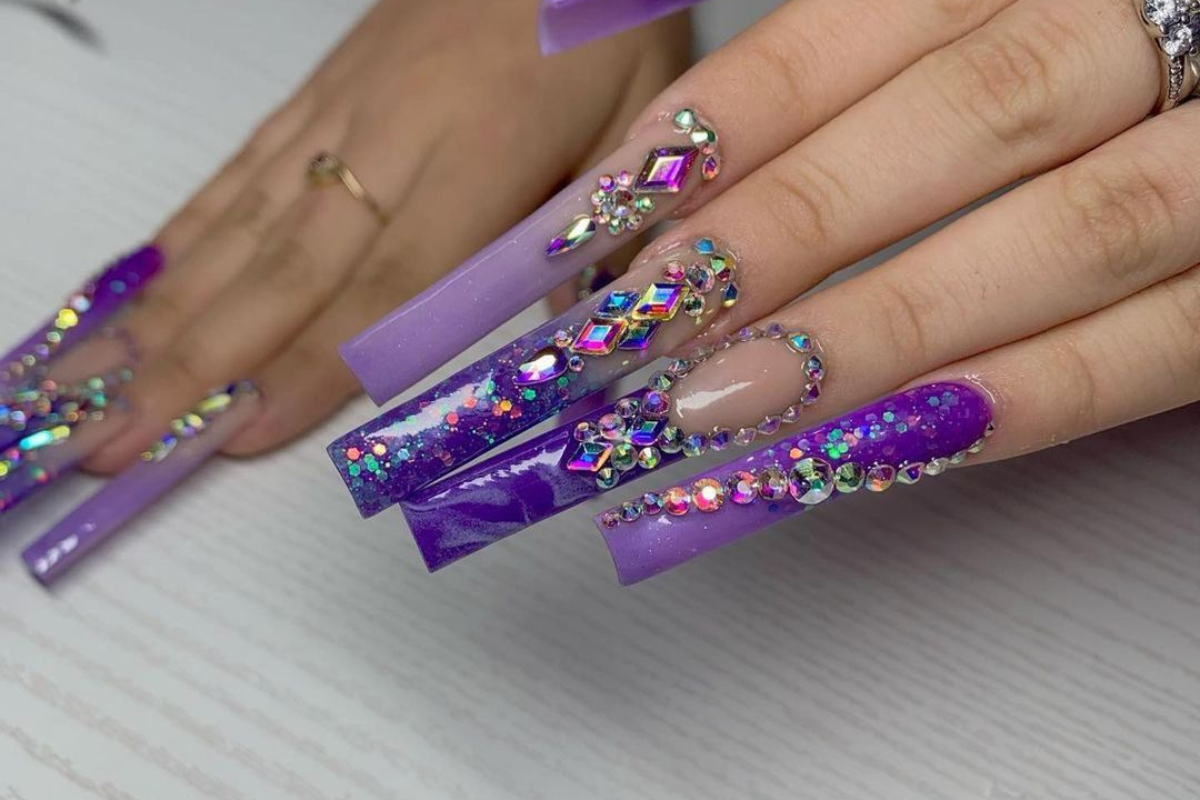
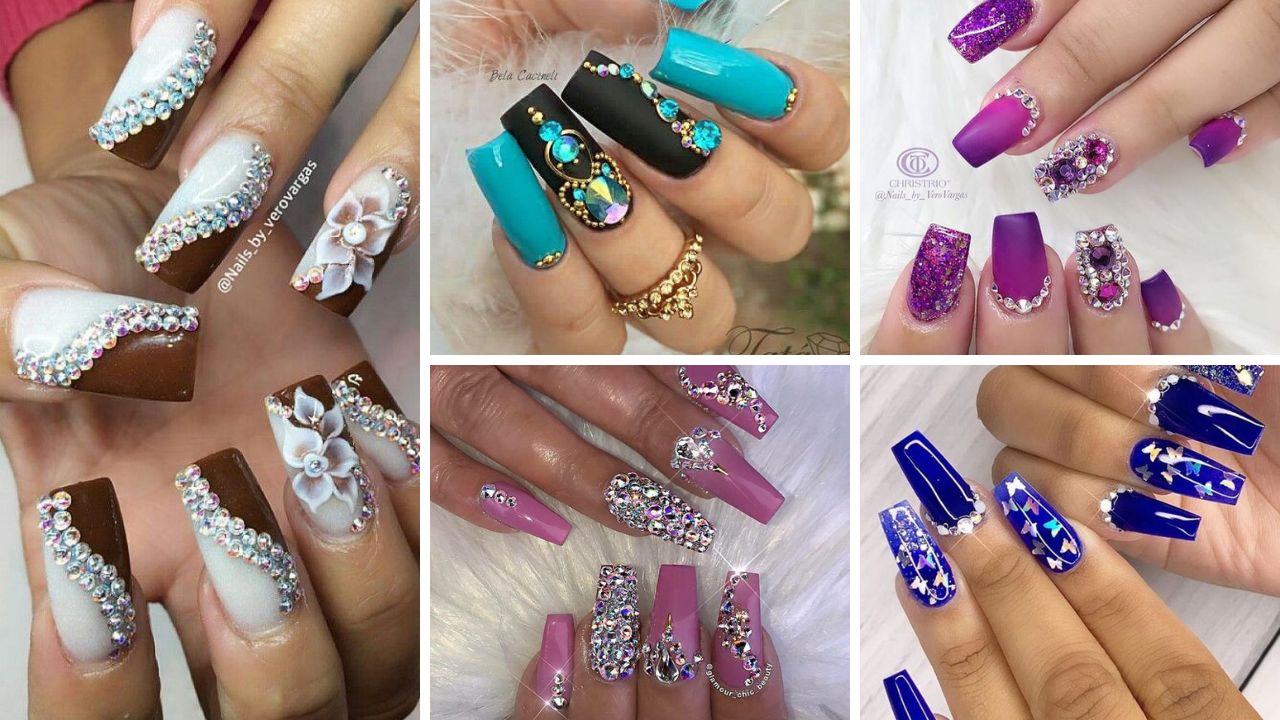
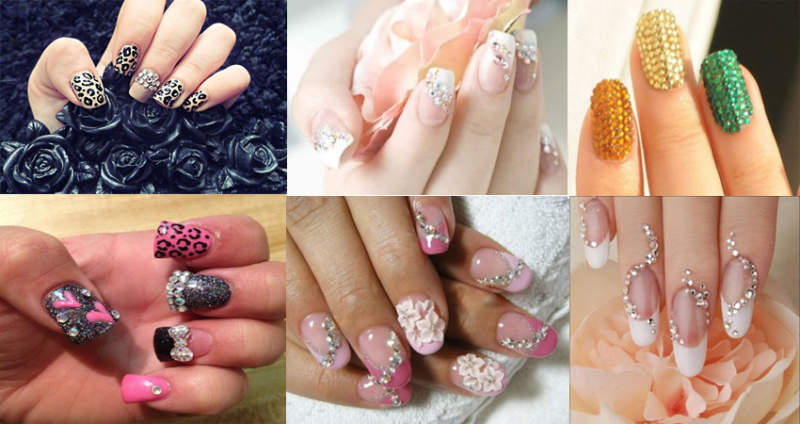
Rhinestone nail art is not just limited to casual or everyday looks. You can easily create elegant and sophisticated designs using rhinestones for special occasions. For a glamorous look, try using rhinestones in different sizes and shapes on a dark-colored base. This will create a stunning contrast and add dimension to your nails. You can also use rhinestones to create a delicate floral design, perfect for weddings or formal events.5. Elegant Rhinestone Nail Art for Any Occasion

5. Elegant Rhinestone Nail Art for Any Occasion


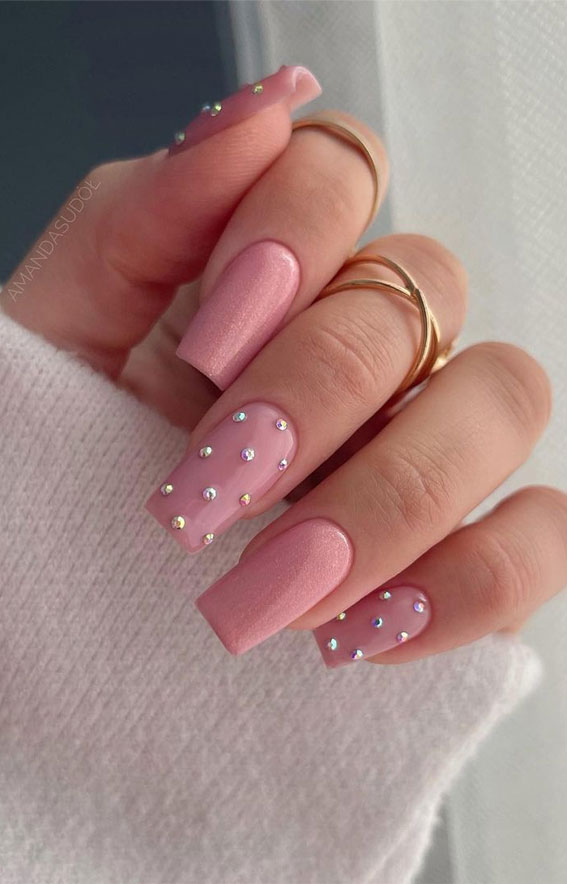
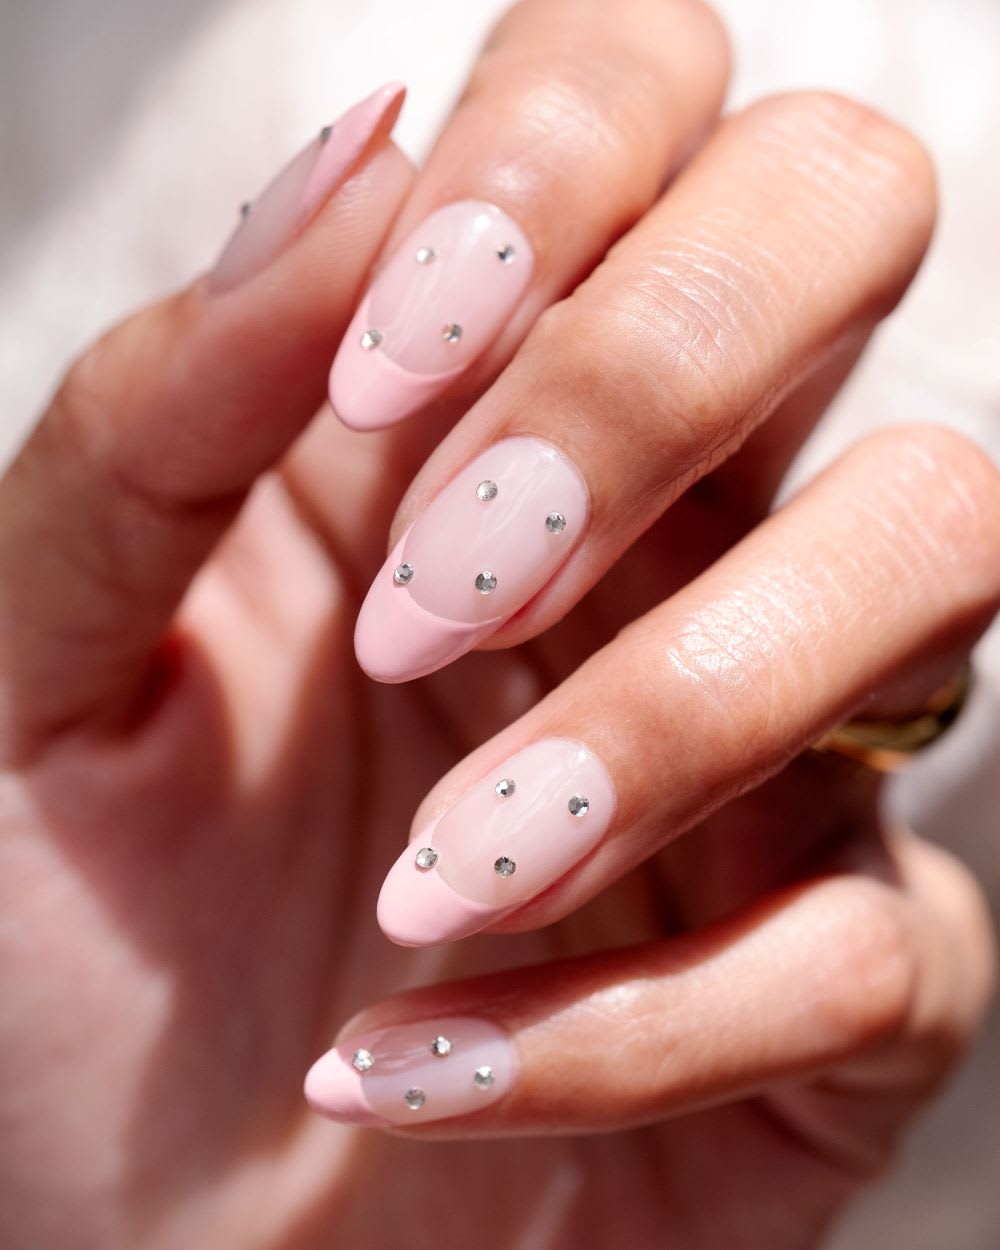
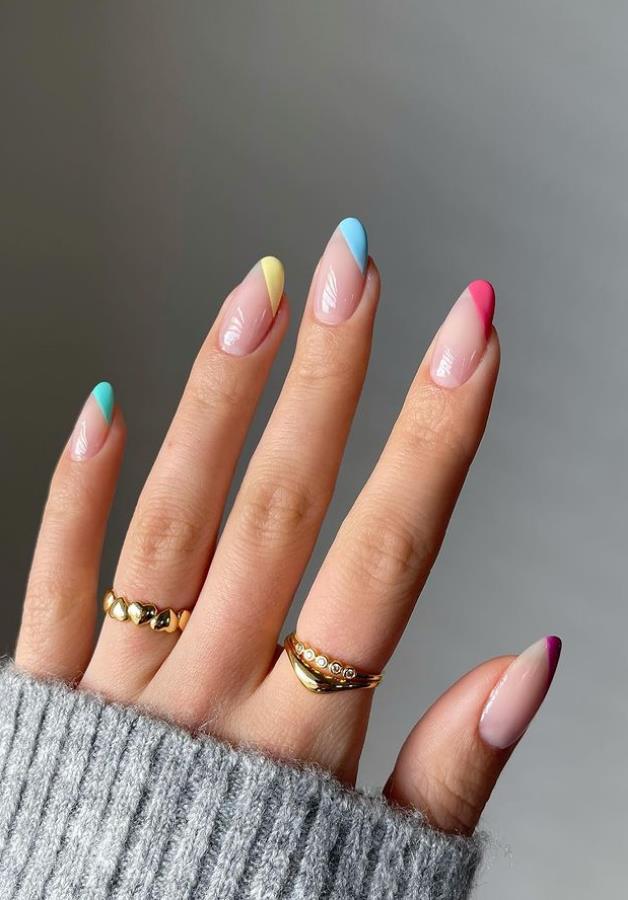
If you prefer a more subtle approach to nail art, you can still incorporate rhinestones into your manicure. Minimalist rhinestone nail art designs are perfect for those who want a touch of sparkle without going over the top. You can use a single rhinestone as an accent on one or two nails, or create a simple geometric design using rhinestones. These designs are perfect for everyday wear and will add a subtle yet eye-catching detail to your nails.6. Minimalist Rhinestone Nail Art Designs

6. Minimalist Rhinestone Nail Art Designs


Who says nail art has to be complicated? You can create cute and simple rhinestone nail art designs using just a few rhinestones and some basic nail art tools. For a fun and playful look, try creating a polka dot design using rhinestones. Paint your nails with a base color, and then use a dotting tool or toothpick to apply rhinestones in a random pattern. You can also use rhinestones to create cute animal or fruit designs for a unique and adorable manicure.7. Cute and Simple Rhinestone Nail Art

7. Cute and Simple Rhinestone Nail Art


Accent nails are a great way to add some interest to your manicure without going all out. By using rhinestones as an accent, you can create a beautiful and eye-catching look that is still subtle. You can use different colored rhinestones to create a contrasting design, or stick to one color for a more cohesive look. You can also play around with different placement, such as on the side of your nail or in a triangular pattern, to create a unique accent nail design.8. Rhinestone Accent Nail Designs

8. Rhinestone Accent Nail Designs


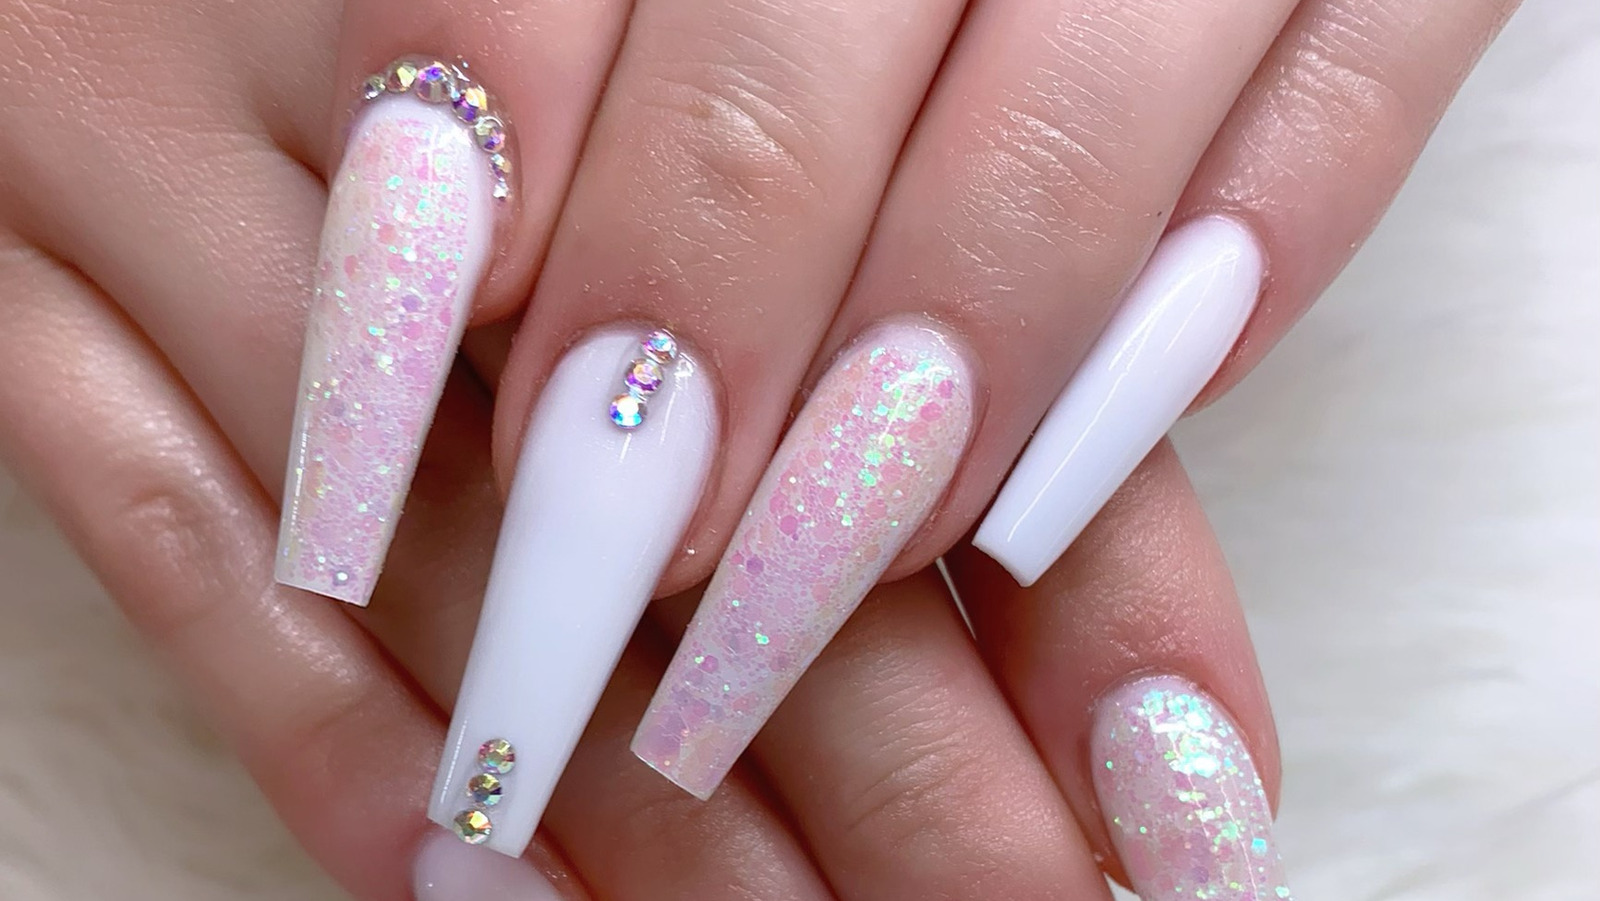
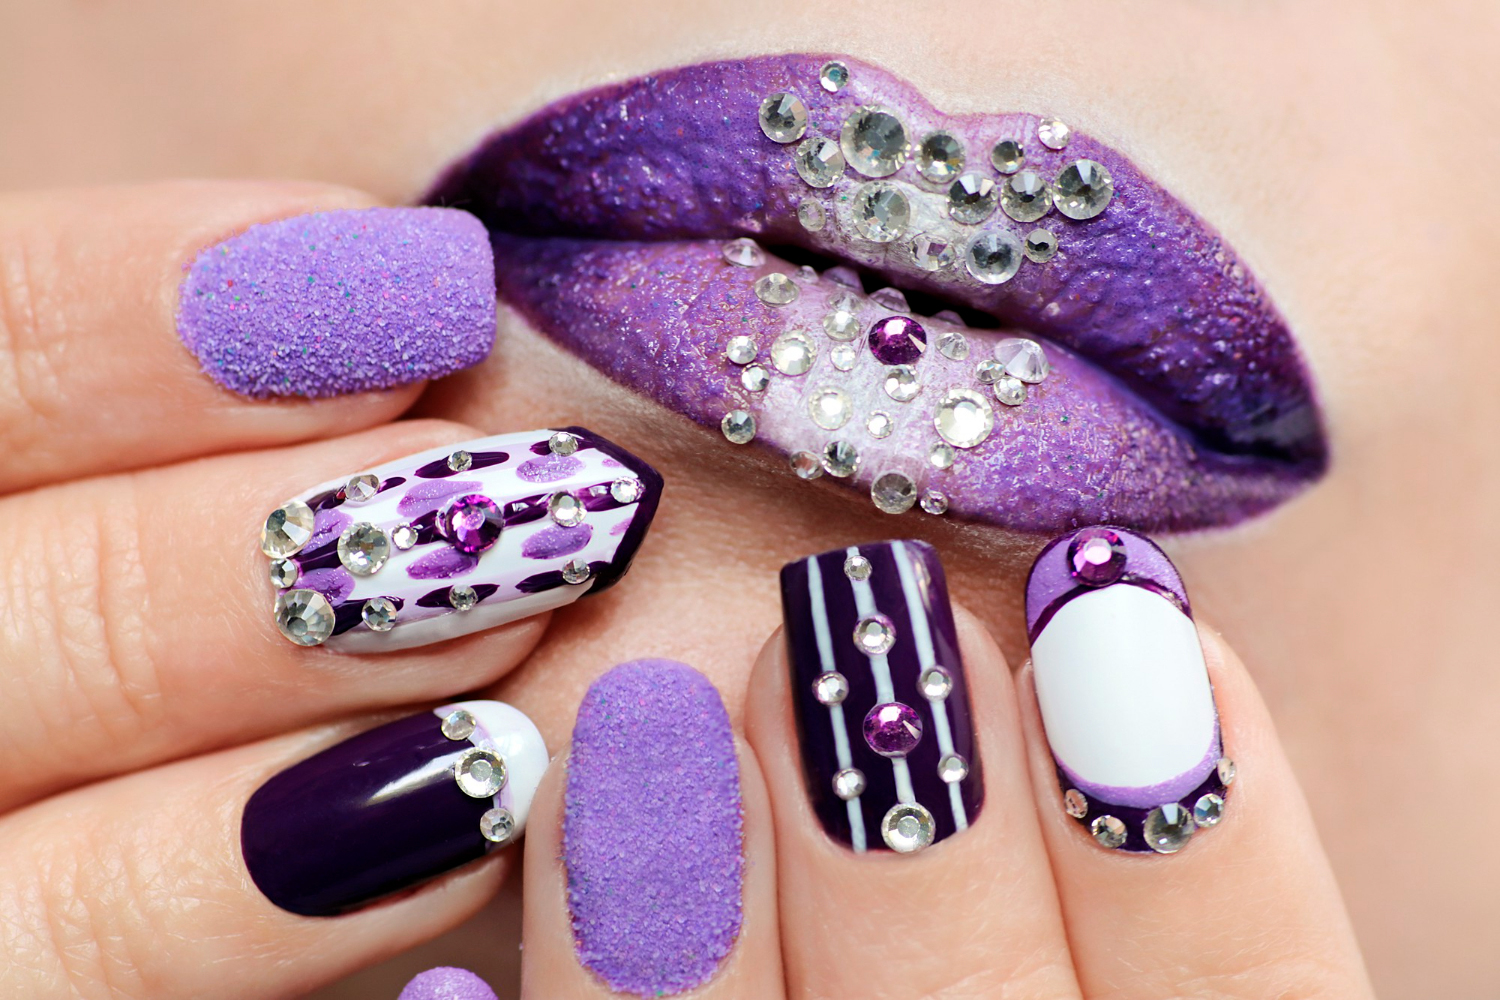
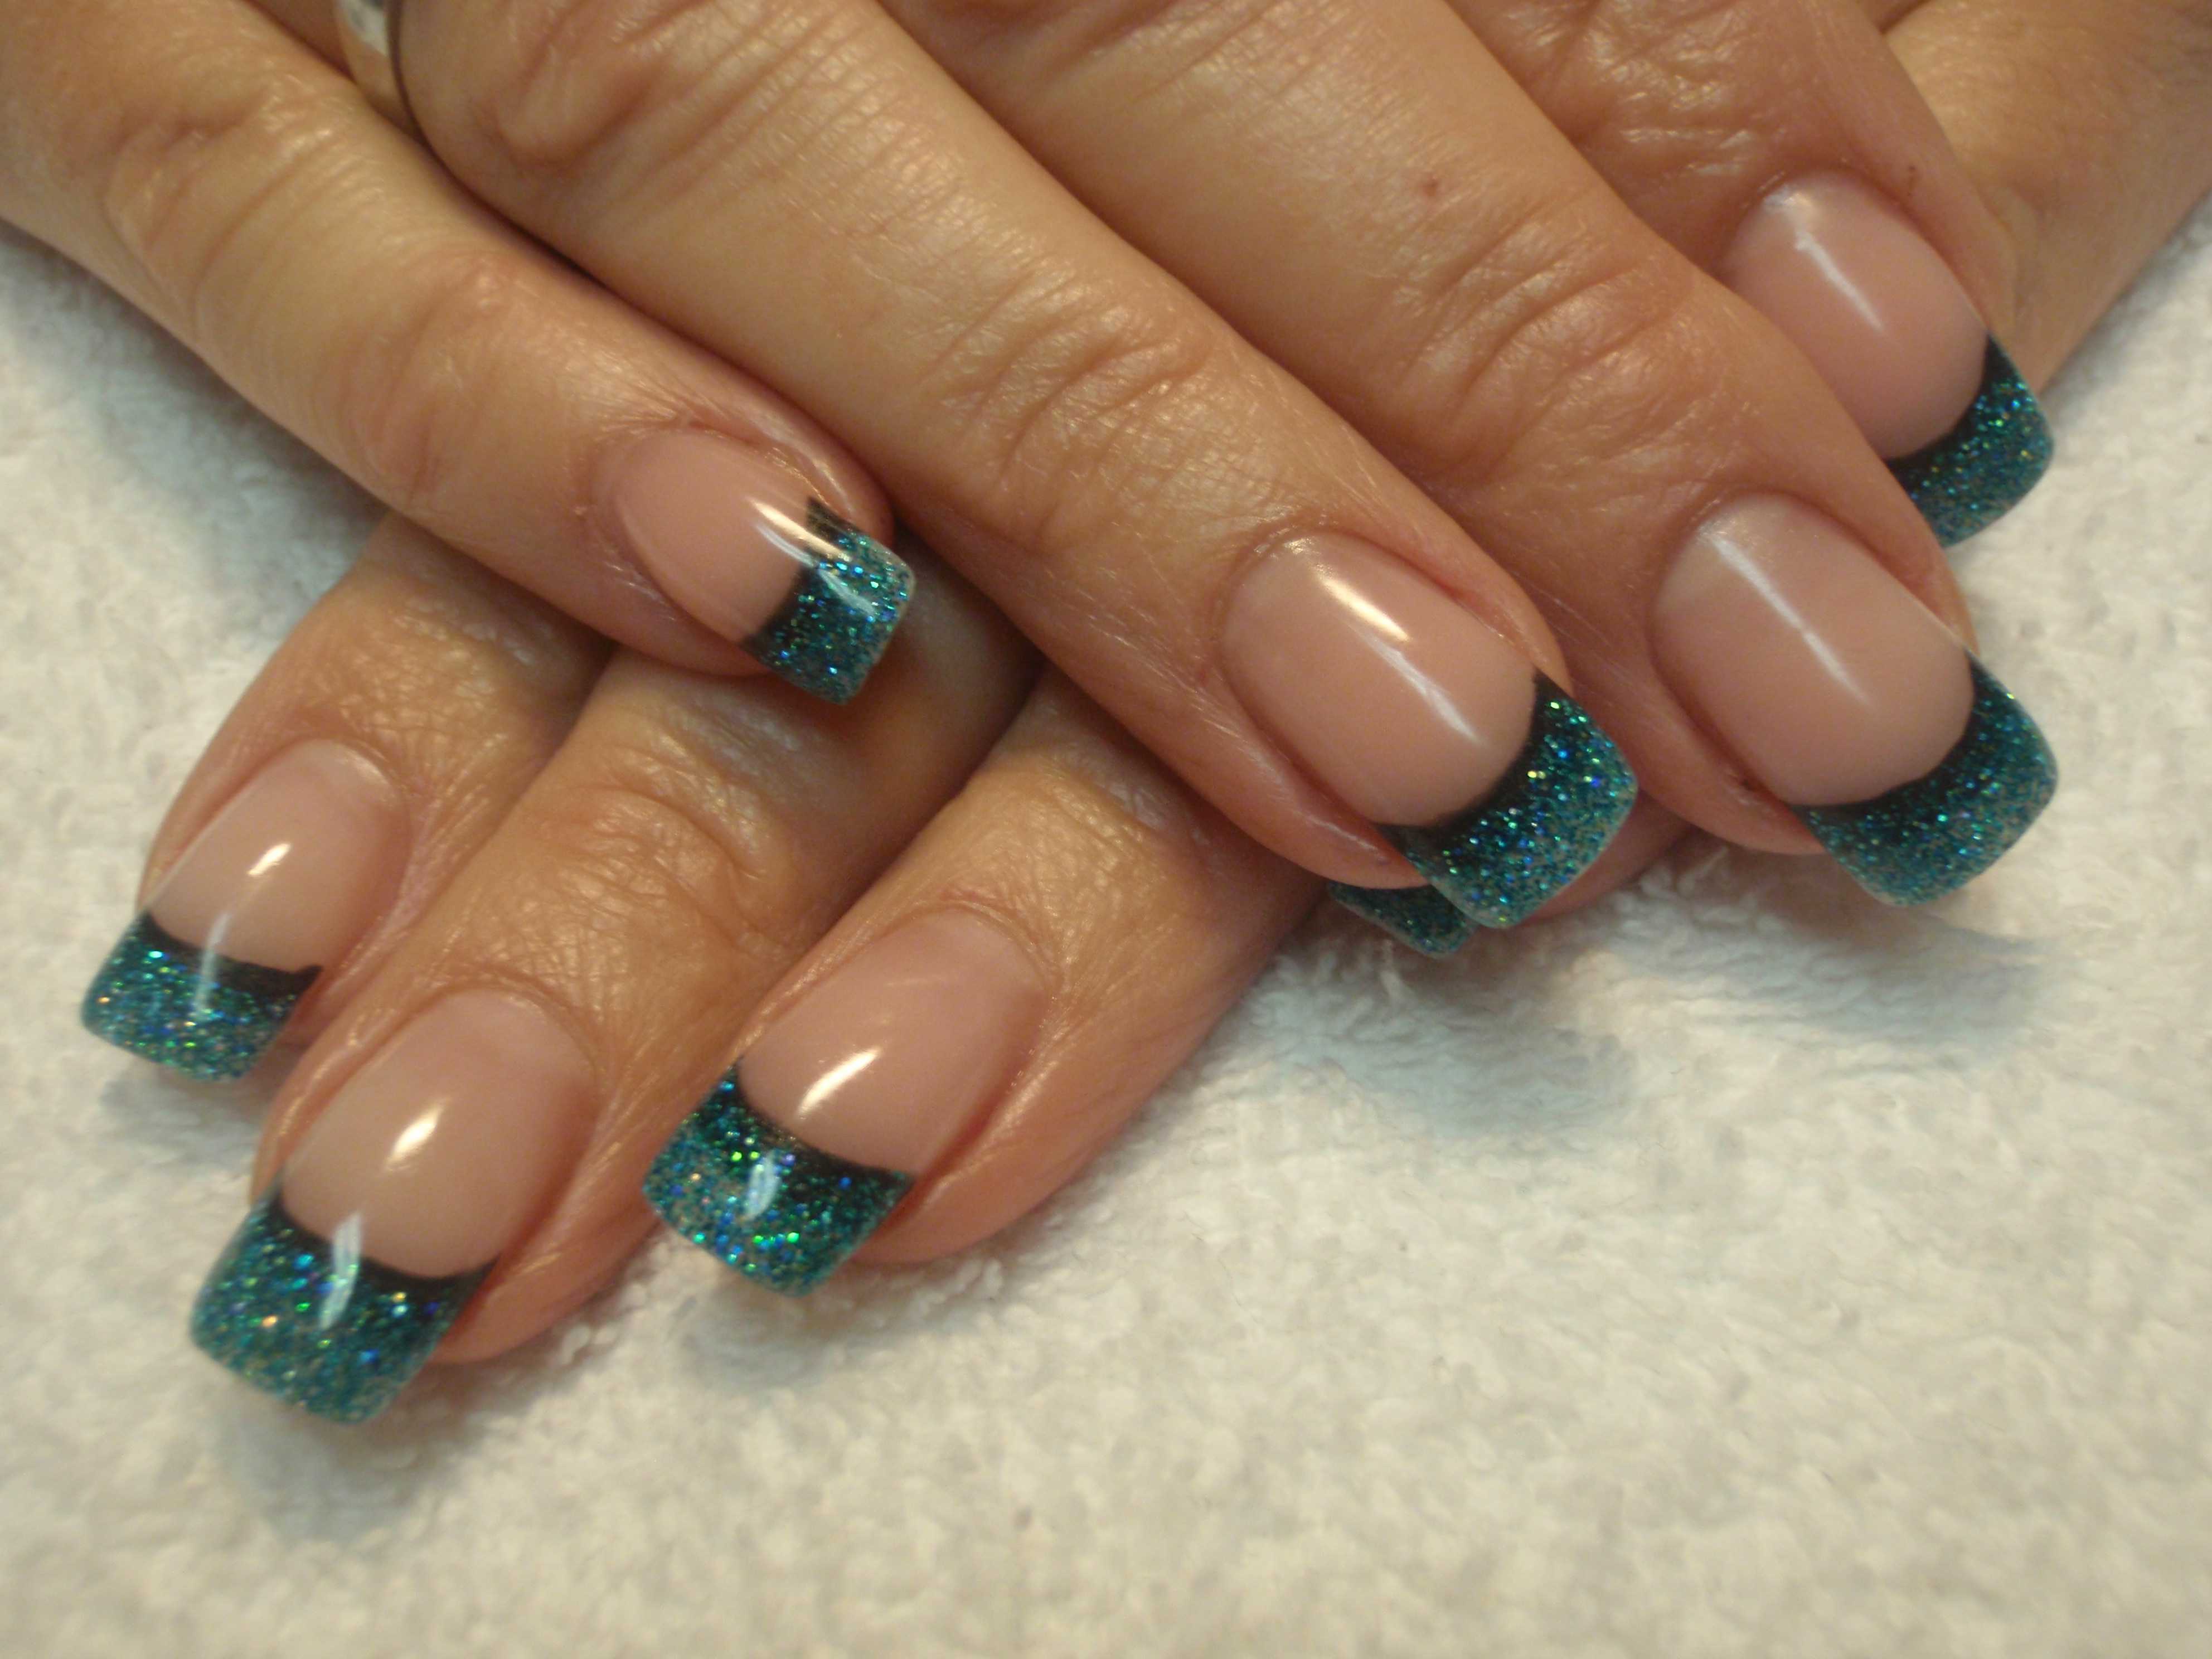
For those who love a bit of extra sparkle, combining rhinestones with glitter is the perfect way to amp up your nail game. To create a glitter and rhinestone nail art design, start by applying a base coat and then a layer of glitter polish. Once the glitter is dry, use a dotting tool or toothpick to apply rhinestones in a pattern on top of the glitter. You can create lines, shapes, or even a full glittery design using rhinestones. Finish with a layer of topcoat to seal the design.9. Glitter and Rhinestone Nail Art Tutorial


9. Glitter and Rhinestone Nail Art Tutorial

Last but not least, we have the classic French tip design with a twist - rhinestones! This easy and elegant look is perfect for any occasion and can be achieved in just a few simple steps. Start by painting your nails with a nude or light-colored base and let it dry completely. Then, using a dotting tool or toothpick, apply a line of rhinestones along the tip of your nail, following the curve of your natural nail. You can also use different colored rhinestones to create a colorful and unique French tip design. In conclusion, rhinestone nail art is a fun and easy way to add some sparkle and glam to your nails. With these simple and creative ideas, you can create stunning designs that will make your manicure stand out. So go ahead and have fun with rhinestones, and let your nails shine!10. Rhinestone French Tip Nail Art

10. Rhinestone French Tip Nail Art


Add Some Sparkle to Your Nails with These Simple Rhinestone Designs

Creating a Statement with Rhinestones
 If you're looking to elevate your nail game, rhinestones are the perfect way to add some glamour and sparkle to your nails. These tiny gems come in a variety of shapes, sizes, and colors, making it easy to create a unique and eye-catching design. Whether you're new to nail art or a seasoned pro, rhinestones are a simple and versatile option that can add a touch of elegance to any look.
Preparing Your Nails for Rhinestone Application
 Before diving into creating your rhinestone design, it's important to properly prepare your nails. Start by shaping and filing your nails to your desired length and shape. Then, apply a base coat to protect your nails and help the rhinestones adhere better. Next, choose your desired nail polish color and apply two coats for a smooth and even base.
Choosing the Perfect Rhinestones
 When it comes to choosing rhinestones, the options are endless. You can opt for clear rhinestones for a classic and elegant look, or go for colorful or iridescent ones for a more playful and vibrant design. Make sure to choose rhinestones that are the right size for your nails and the design you have in mind. You can find rhinestones at your local beauty supply store or online.
Creating Your Rhinestone Design
 Now comes the fun part – creating your rhinestone design! Using a pair of tweezers, carefully pick up each rhinestone and place it on your nail in your desired pattern. Don't be afraid to mix and match different sizes and colors for a more unique look. You can also use a dotting tool or toothpick to help place the rhinestones more precisely. Once you're happy with your design, gently press the rhinestones into the nail polish to secure them in place.
Sealing the Design
 To ensure your rhinestones stay in place, apply a top coat over your design. This will not only seal the rhinestones, but also give your nails a glossy finish. Make sure to let your nails dry completely before going about your day to prevent any smudging or smearing.
Removing Rhinestones
 When you're ready for a new design, removing rhinestones is a breeze. Simply soak a cotton ball in nail polish remover and place it on your nail for a few seconds. This will soften the polish and make it easier to wipe off. Gently remove the rhinestones with a toothpick or tweezers, and then wash your hands to remove any remaining residue.
Final Thoughts
 Rhinestones are a simple and fun way to add some sparkle and personality to your nails. With these easy steps, you can create a stunning rhinestone design that will have you standing out from the crowd. So, why not give it a try and add some glitz to your next manicure?


