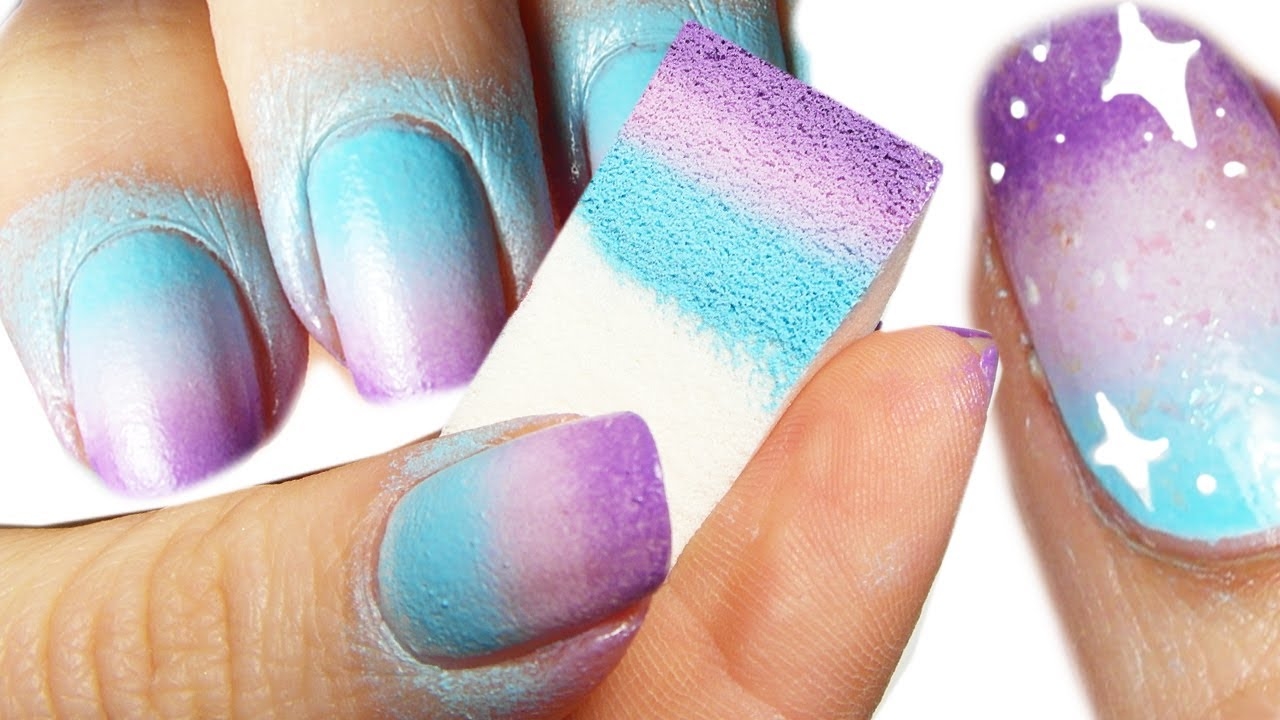
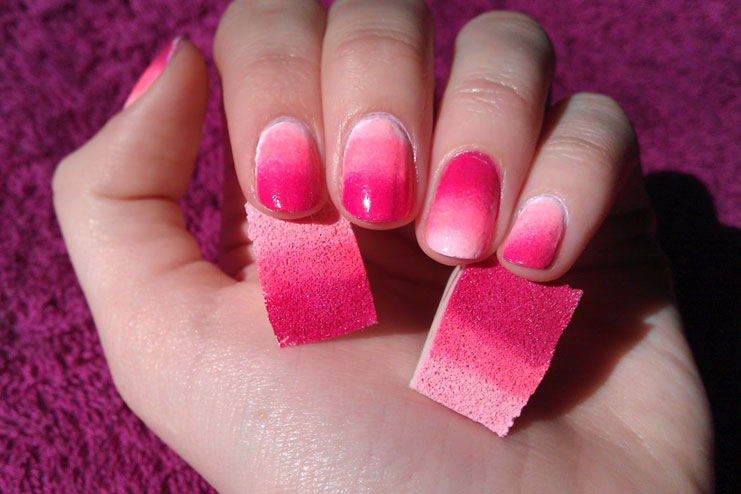
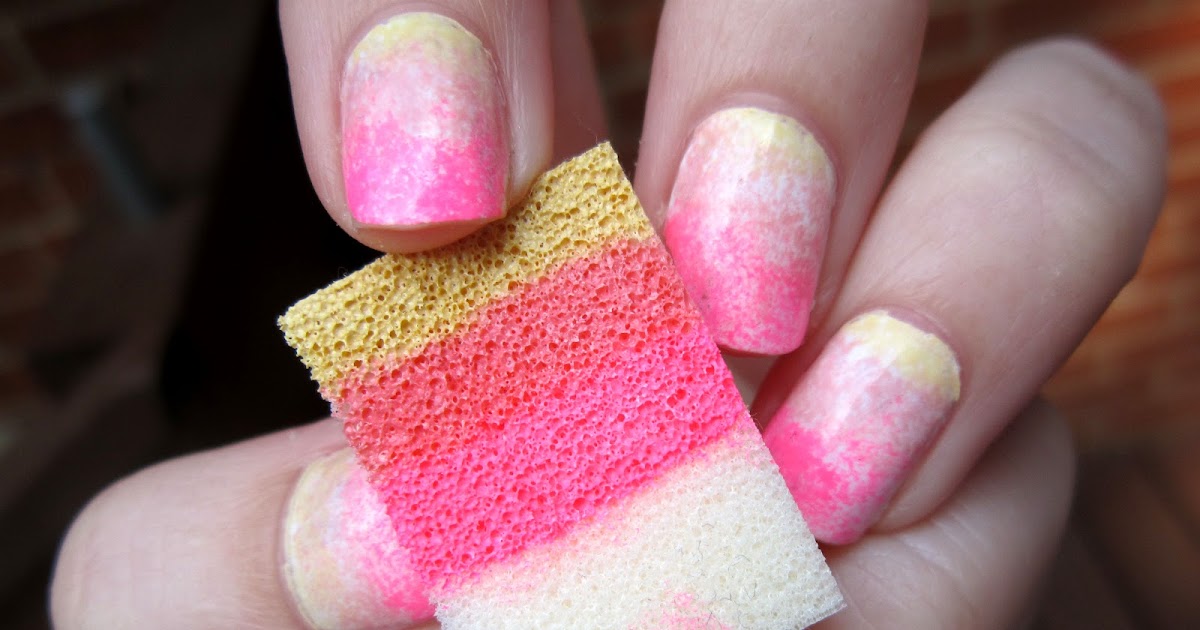
Looking for a simple and fun way to upgrade your nail game? Look no further than sponge nail art! Not only is it easy to do, but it also creates a beautiful gradient effect that will make your nails stand out. In this tutorial, we'll show you how to create a stunning sponge nail design using just a few simple steps. First, gather your materials. You'll need a few nail polish colors of your choice, a makeup sponge, and a top coat. Make sure to have a piece of paper or a paper towel on hand to protect your work surface. Next, paint your nails with a base color and let it dry completely. This will serve as the base for your sponge design. Lighter colors work best for this technique, so choose a soft pink, light blue, or pastel purple as your base. Once your base color is dry, it's time to create the gradient effect. Take your makeup sponge and apply a few drops of your chosen nail polish colors onto it. Make sure to overlap the colors slightly to create a blended effect. Gently dab the sponge onto your nails, starting from the tip and working your way down to the base. You may need to reapply the polish onto the sponge a few times to achieve the desired opacity. Don't worry if it looks messy at this point, we'll clean it up later. Once you're happy with the gradient effect, let it dry for a few minutes. Then, take a cotton swab dipped in nail polish remover and clean up any excess polish around your nails. This will give your sponge design a clean and polished look. Finish off with a top coat to seal in your design and add a glossy finish. And voila, you now have a beautiful and easy sponge nail art design that is sure to turn heads!1. Easy Sponge Nail Art Tutorial


1. Easy Sponge Nail Art Tutorial
.JPG)


/ScreenShot2020-01-13at1.02.35PM-f3cc8a0d04b748e9ab7aaa185aab409b.png)

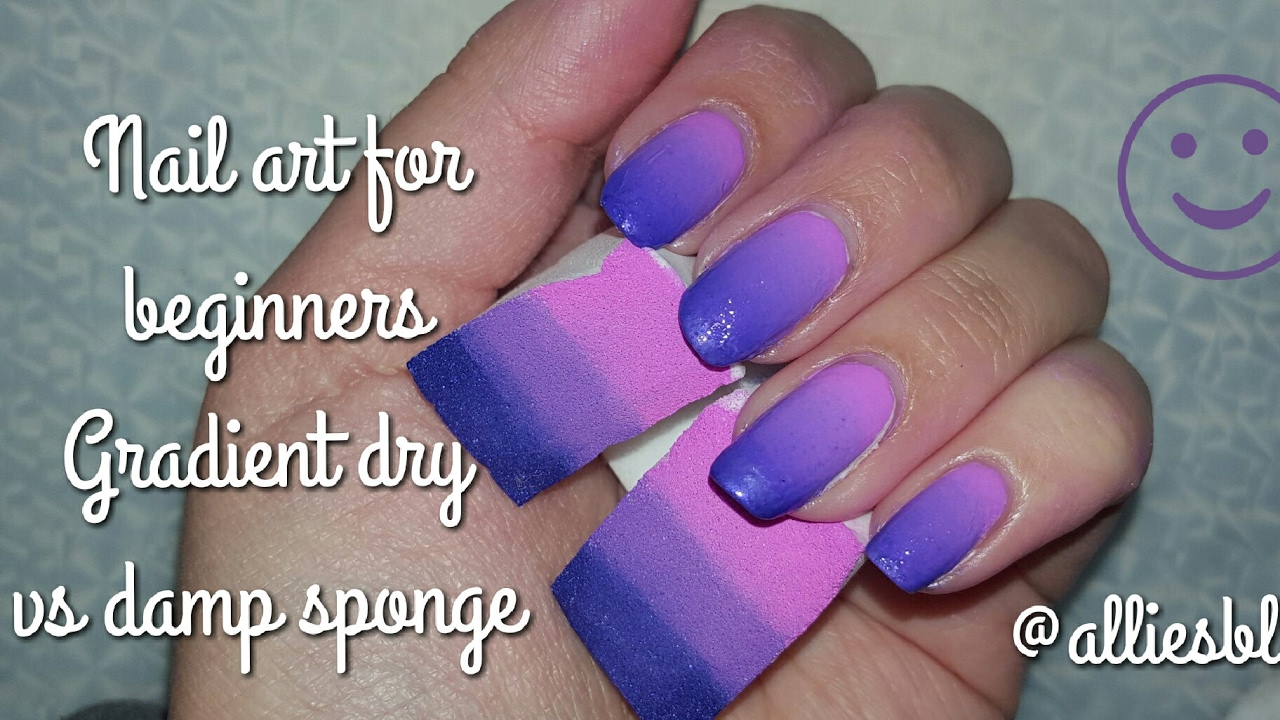
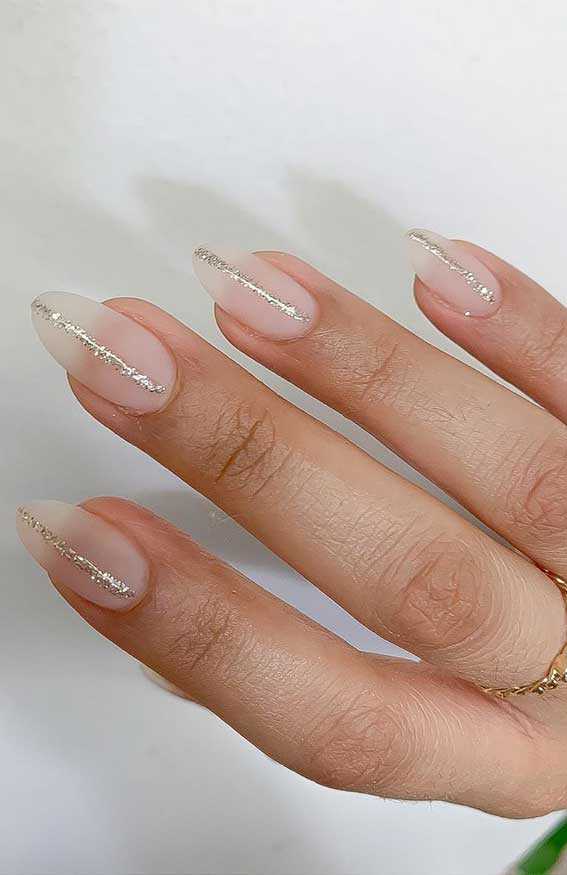
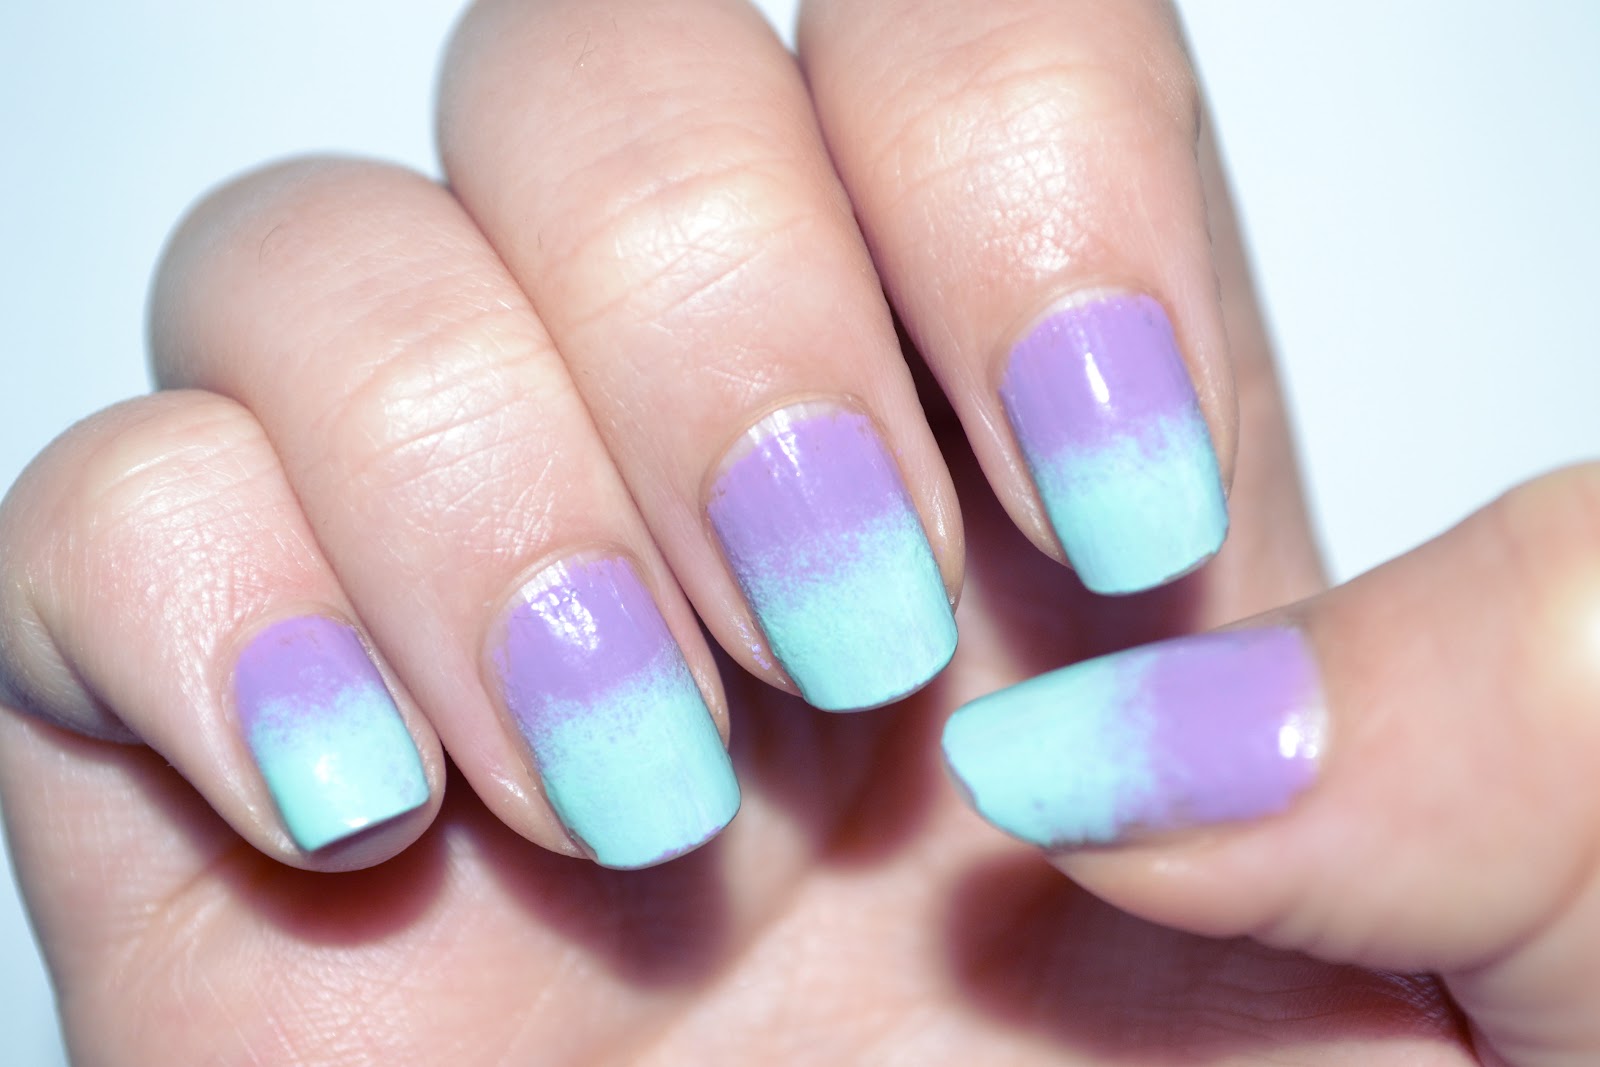
If you're new to sponge nail art, a simple gradient design is a great place to start. This technique is easy to do and requires minimal materials, making it perfect for beginners. To create this design, start by painting your nails with a light base color and letting it dry completely. Then, take your makeup sponge and apply a few drops of your chosen nail polish colors onto it. For a more subtle gradient, choose shades that are in the same color family. Next, dab the sponge onto your nails, starting from the tip and working your way down to the base. You can use a different part of the sponge for each nail to create a unique gradient on each one. Once you're happy with the gradient effect, let it dry for a few minutes. Then, use a cotton swab dipped in nail polish remover to clean up any excess polish around your nails. Finish with a top coat to seal in your design and give it a glossy finish. And there you have it, simple sponge gradient nails that are perfect for any occasion!2. Simple Sponge Gradient Nails


2. Simple Sponge Gradient Nails


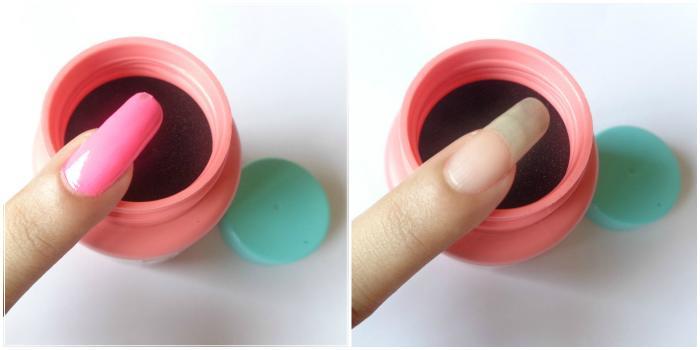
If you're someone who loves to experiment and create your own unique nail designs, then sponge nail art is the perfect DIY project for you. With just a few materials and some creativity, you can create endless designs that are sure to impress. Start by choosing your base color and painting your nails with it. Then, take your makeup sponge and apply a few drops of your chosen nail polish colors onto it. This is where you can get creative and experiment with different color combinations and patterns. Once you have your sponge loaded with polish, dab it onto your nails to create your desired design. You can use different parts of the sponge for different nails or even layer different colors to create a unique look. After your design has dried, use a cotton swab dipped in nail polish remover to clean up any excess polish around your nails. Finish with a top coat to seal in your design and give it a glossy finish. And there you have it, your very own DIY sponge nail design that is one-of-a-kind.3. DIY Sponge Nail Designs


3. DIY Sponge Nail Designs


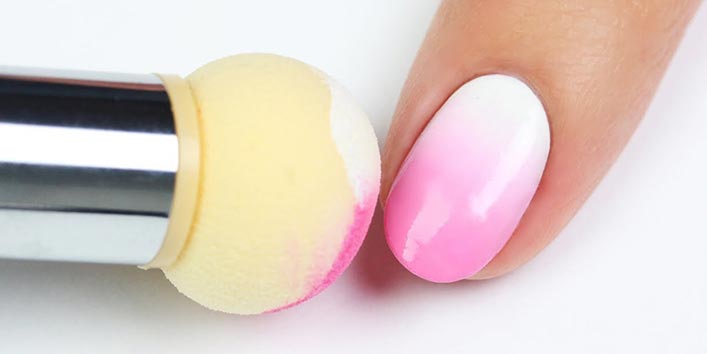
Short on time but still want to rock a cute nail design? Sponge nail art is the answer. This technique is quick and easy, making it perfect for those who are always on-the-go. Start by painting your nails with a light base color and letting it dry completely. Then, take your makeup sponge and apply a few drops of your chosen nail polish colors onto it. Make sure to overlap the colors slightly to create a blended effect. Gently dab the sponge onto your nails, starting from the tip and working your way down to the base. You may need to reapply the polish onto the sponge a few times to achieve the desired opacity. Don't worry if it looks messy at this point, we'll clean it up later. Once you're happy with the gradient effect, let it dry for a few minutes. Then, use a cotton swab dipped in nail polish remover to clean up any excess polish around your nails. Finish with a top coat to seal in your design and add a glossy finish. And there you have it, a quick and easy sponge nail art design that looks like it took hours to create.4. Quick and Easy Sponge Nail Art


4. Quick and Easy Sponge Nail Art


If you're new to nail art, it can be intimidating to try out intricate designs. But with sponge nail art, even beginners can create stunning designs with ease. Start by choosing your base color and painting your nails with it. Then, take your makeup sponge and apply a few drops of your chosen nail polish colors onto it. For a more subtle gradient, choose shades that are in the same color family. Next, dab the sponge onto your nails, starting from the tip and working your way down to the base. You can use a different part of the sponge for each nail to create a unique gradient on each one. Once you're happy with the gradient effect, let it dry for a few minutes. Then, take a thin brush and dip it in a contrasting color of nail polish. Use it to create simple designs on your nails, such as dots or lines. This will add an extra touch to your sponge design and make it stand out. Finish with a top coat to seal in your design and give it a glossy finish. And there you have it, a sponge nail art for beginners that looks like it was done by a pro.5. Sponge Nail Art for Beginners


5. Sponge Nail Art for Beginners


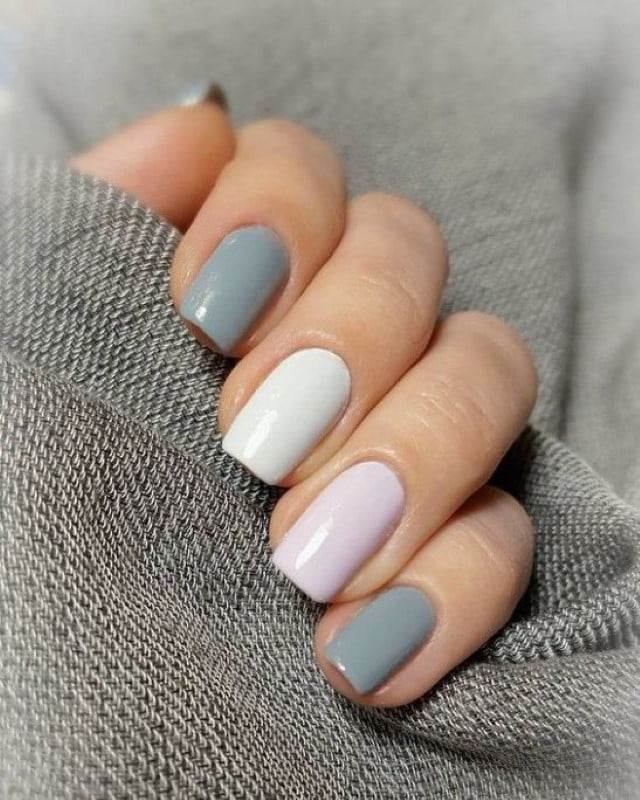
Sponge nail art doesn't have to be complicated to be cute. In fact, sometimes the simplest designs can make the biggest statement. Here are a few ideas for cute and simple sponge nail designs that you can easily recreate at home. Polka Dot Nails: Start by painting your nails with a light base color and letting it dry completely. Then, take your makeup sponge and apply a few drops of your chosen nail polish colors onto it. Dab the sponge onto your nails to create a gradient effect, and then use a dotting tool to add polka dots on top. Ombre Nails: This is a classic sponge nail design that never goes out of style. Simply load your sponge with two or three different shades of the same color and dab it onto your nails for a beautiful gradient effect. Striped Nails: For a modern twist on sponge nail art, try creating striped nails. Paint your nails with a light base color and let it dry. Then, use a thin brush to create vertical or horizontal stripes in a contrasting color. Finish off with a top coat to seal in your design and give it a glossy finish. These cute and simple sponge nail designs are perfect for any occasion.6. Cute and Simple Sponge Nail Designs


6. Cute and Simple Sponge Nail Designs


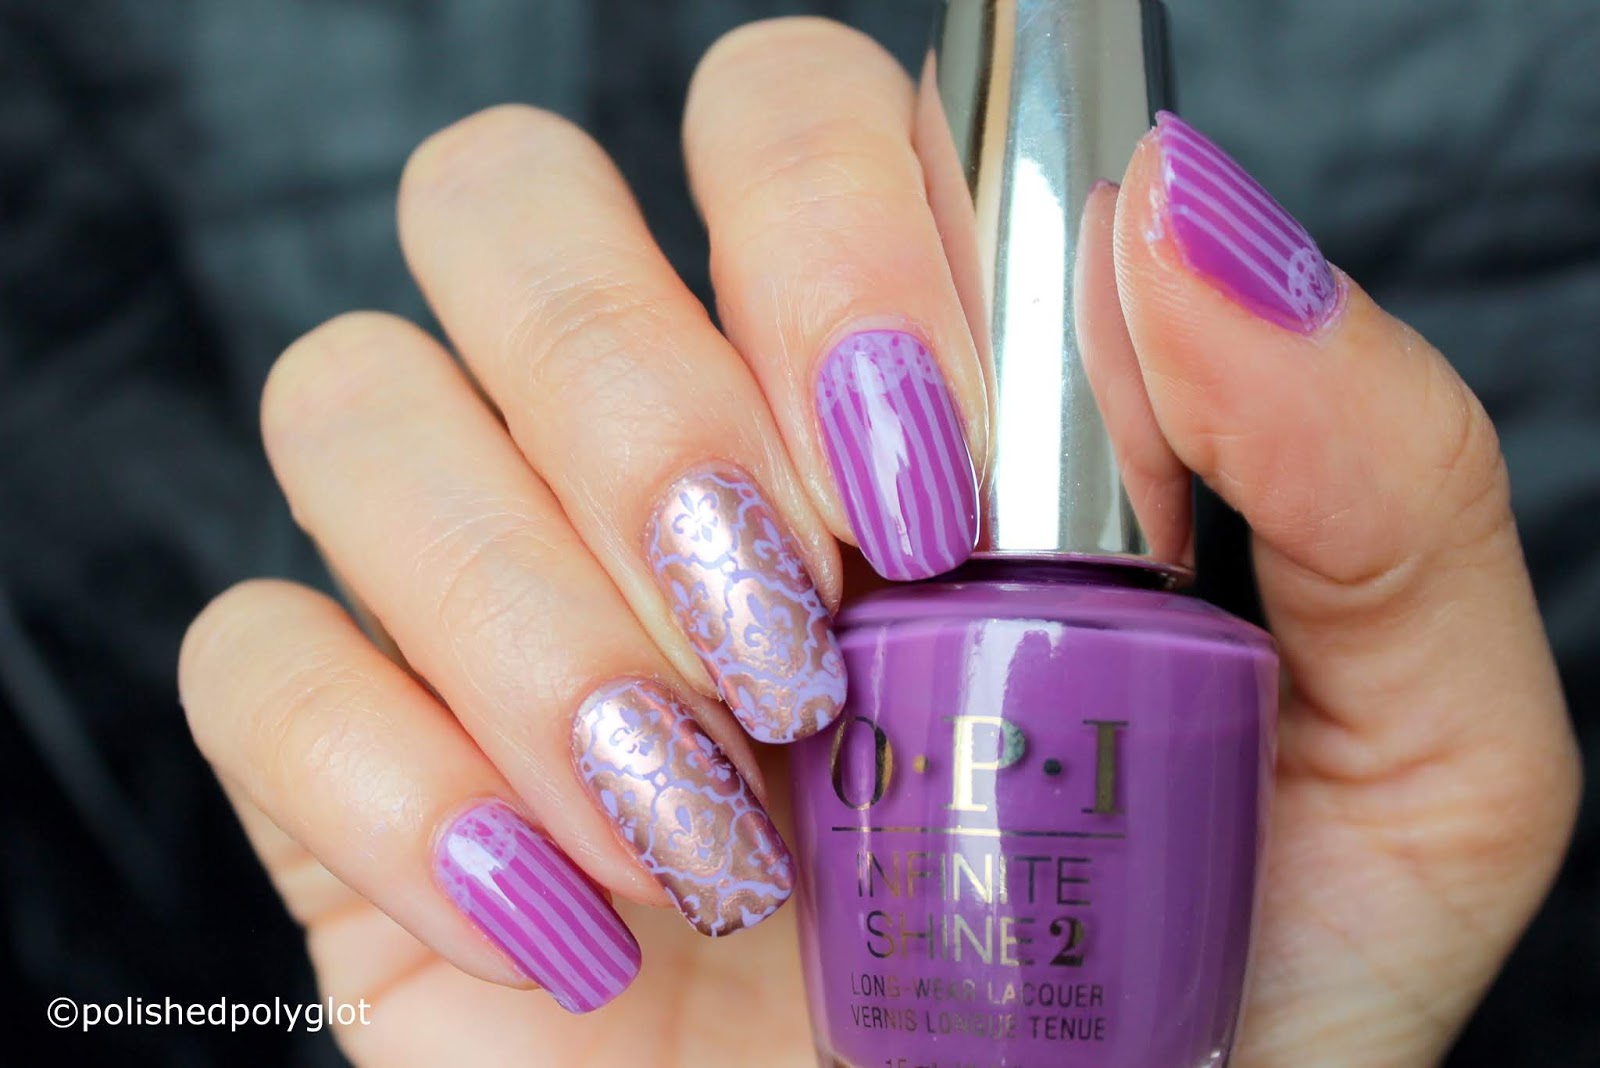

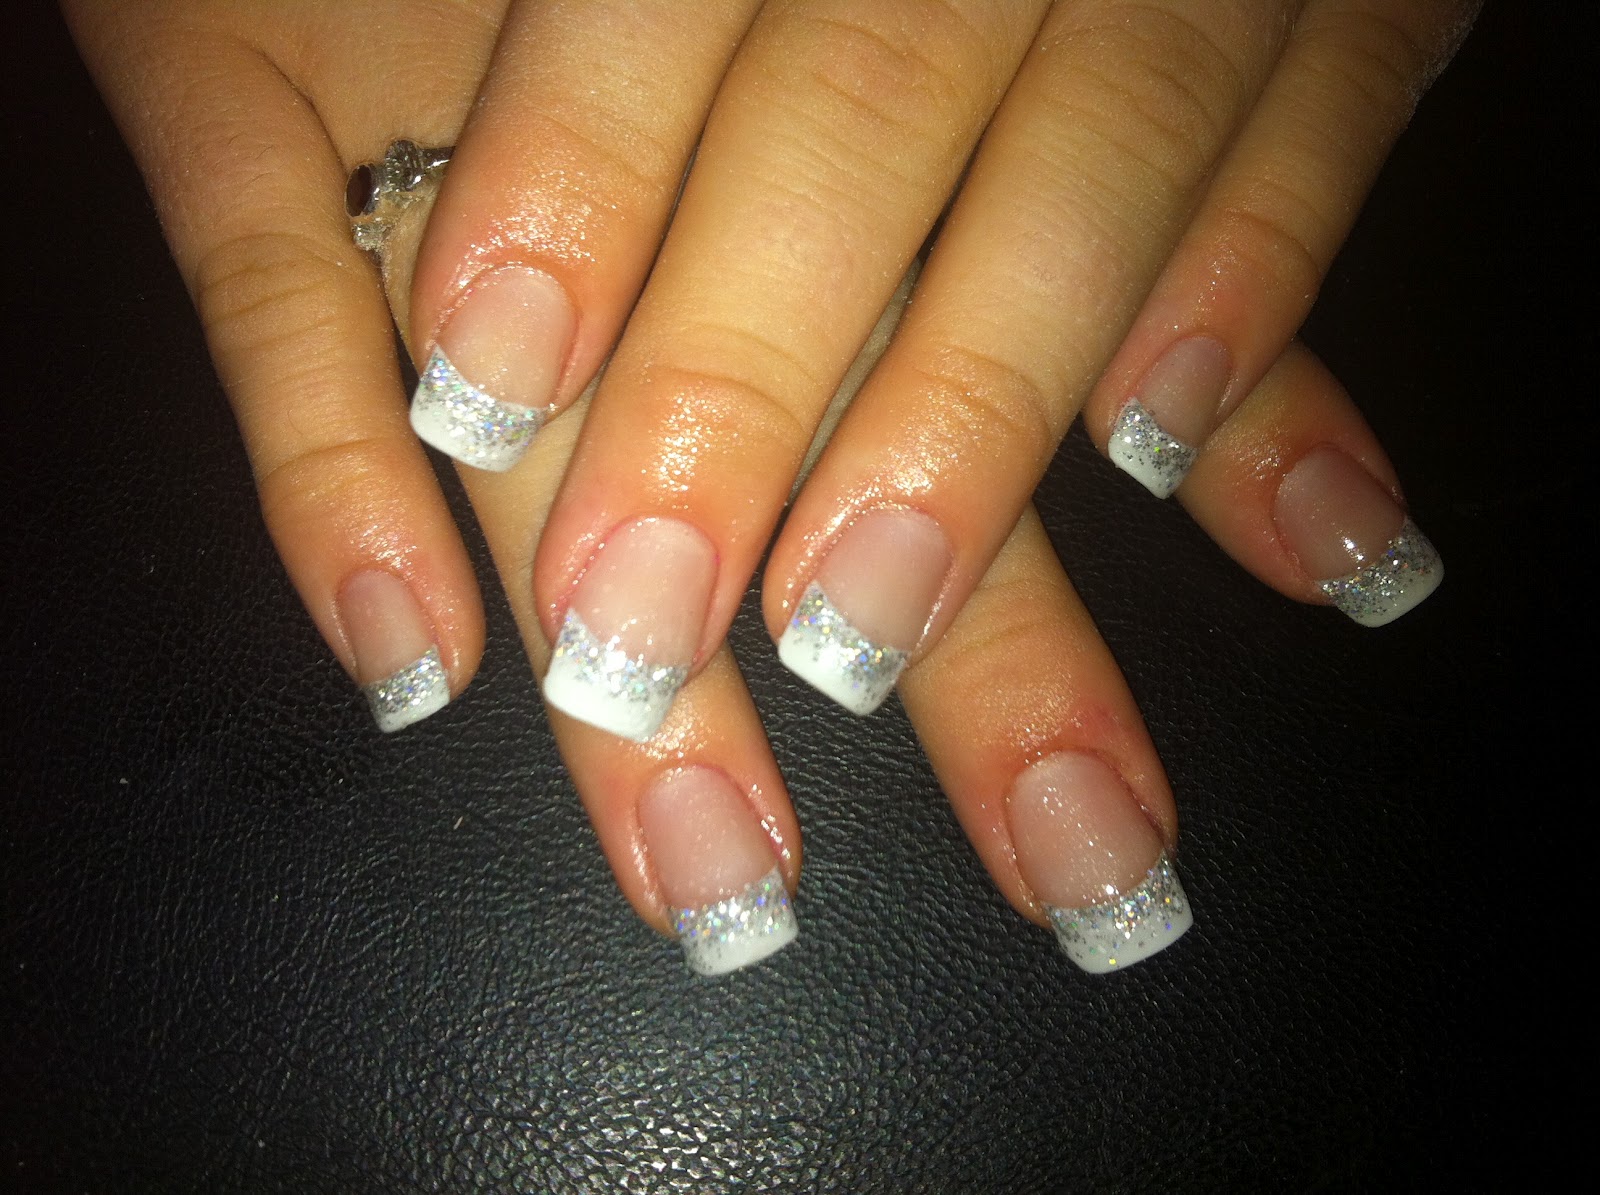
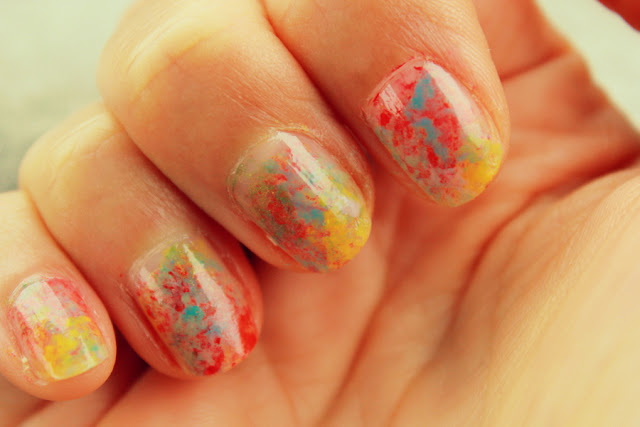
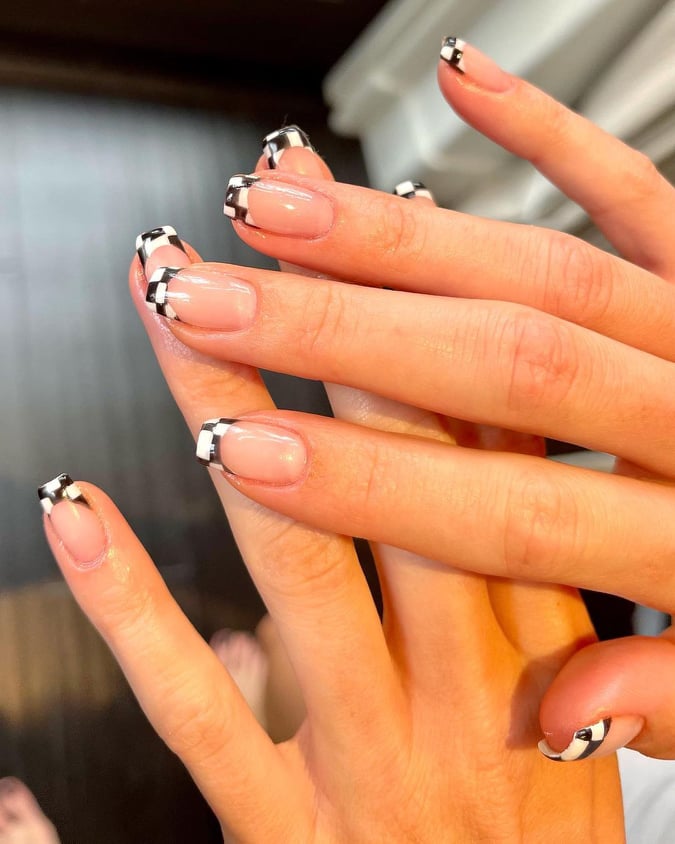
Looking for some inspiration for your next nail design? Look no further than these sponge nail art ideas that are sure to get your creative juices flowing. Color Block Nails: This is a fun and modern take on sponge nail art. Start by painting your nails with a light base color and letting it dry. Then, use your sponge to create blocks of color on your nails, either in a diagonal or vertical pattern. Marbled Nails: This design is perfect for those who love a little bit of chaos in their nail art. Load your sponge with two or three complementary colors and dab it onto your nails to create a marbled effect. Finish with a top coat to seal in your design. Glitter Nails: Who doesn't love a little sparkle? For this design, paint your nails with a light base color and let it dry. Then, use your sponge to dab on some glitter polish for a subtle yet eye-catching look. There are endless sponge nail art ideas that you can try, so don't be afraid to get creative and experiment with different colors and techniques.7. Sponge Nail Art Ideas


7. Sponge Nail Art Ideas


Creating a sponge nail design may seem daunting, but with a few simple steps, you'll be a pro in no time. Here's a step-by-step guide on how to create a beautiful sponge nail design. Step 1: Start by painting your nails with a light base color and letting it dry completely. Step 2: Take your makeup sponge and apply a few drops of your chosen nail polish colors onto it. Make sure to overlap the colors slightly to create a blended effect. Step 3: Gently dab the sponge onto your nails, starting from the tip and working your way down to the base. You may need to reapply the polish onto the sponge a few times to achieve the desired opacity. Don't worry if it looks messy at this point, we'll clean it up later. Step 4: Once you're happy with the gradient effect, let it dry for a few minutes. Then, use a cotton swab dipped in nail polish remover to clean up any excess polish around your nails. Step 5: Finish off with a top coat to seal in your design and add a glossy finish. And there you have it, a beautiful sponge nail design that will make your nails stand out.8. How to Create a Sponge Nail Design


8. How to Create a Sponge Nail Design
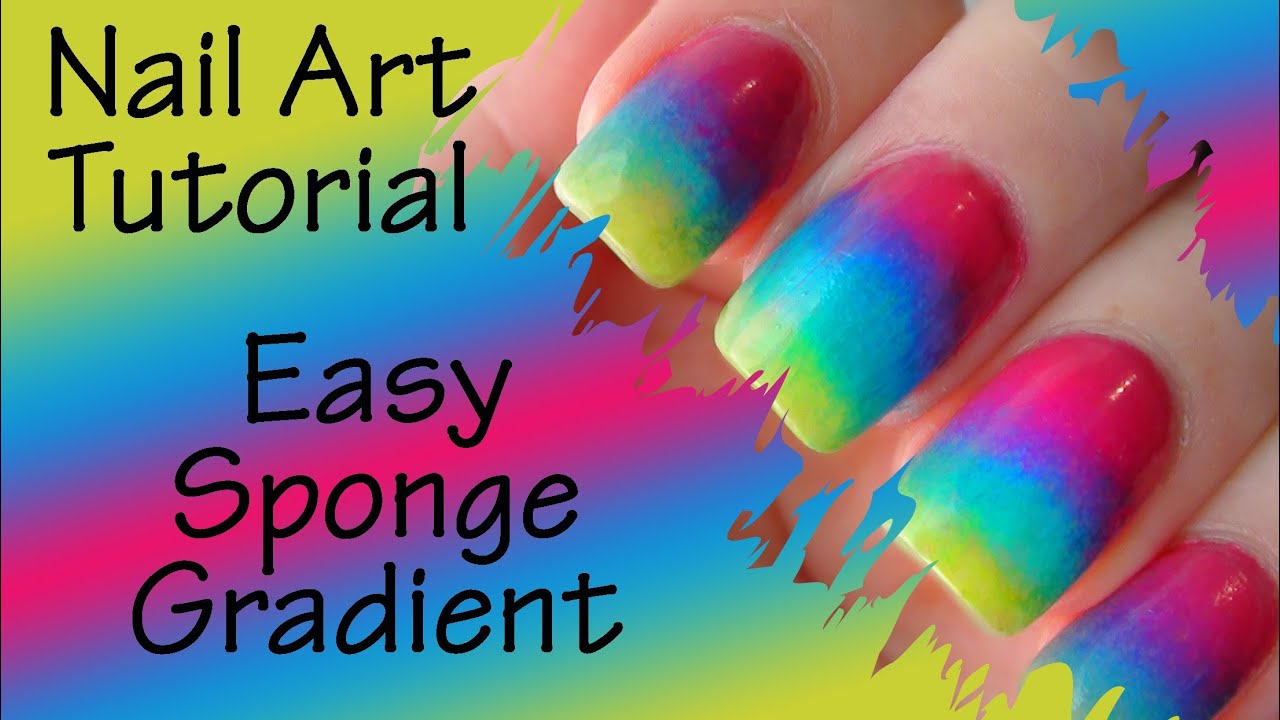
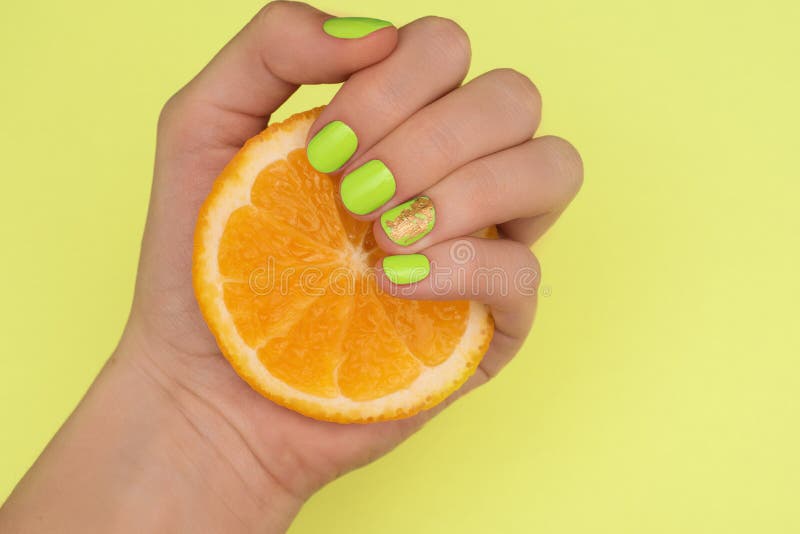
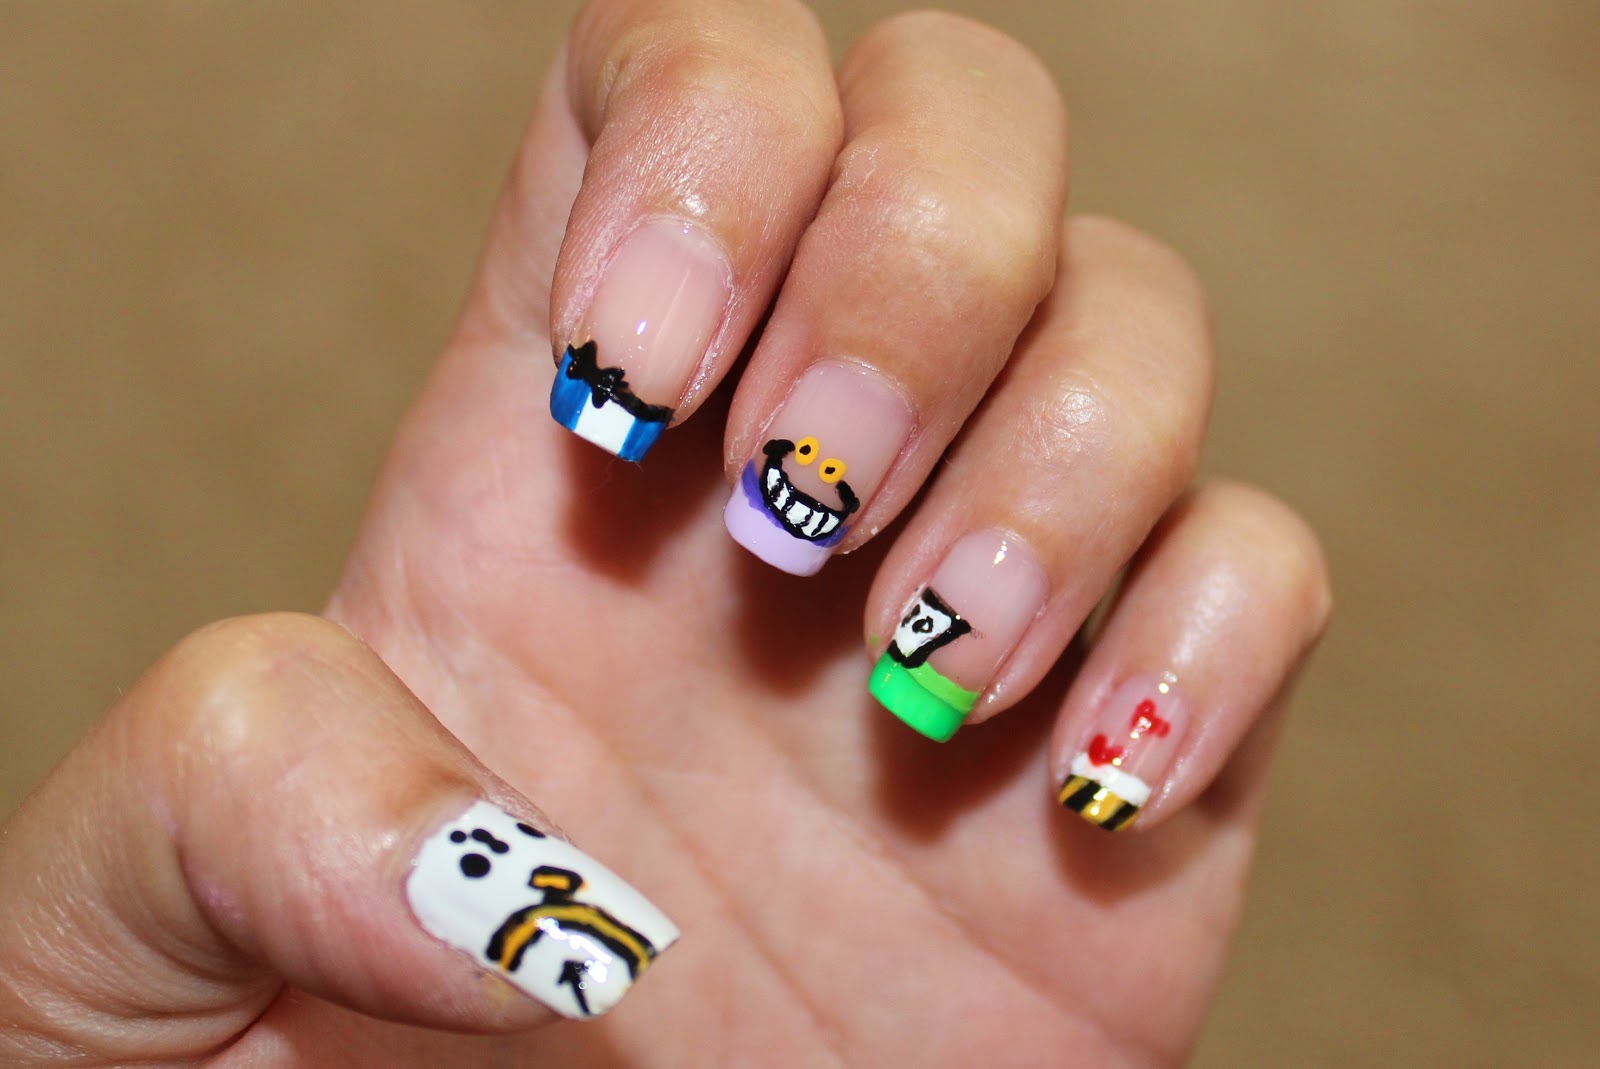
Sponge nail art doesn't have to be complicated to be fun. In fact, it's a great way to get creative and add some excitement to your nail game. Here are a few fun and easy sponge nail art ideas to try out. Rainbow Nails: This design is perfect for those who love a pop of color. Start by painting your nails with a white base color and letting it dry. Then, use your sponge to dab on different rainbow colors for a fun and vibrant look. Floral Nails: For a feminine and delicate look, try creating floral nails with sponge nail art. Use your sponge to create a gradient effect and then use a thin brush to add small flowers in a contrasting color. Neon Nails: Stand out with some neon nails created with sponge nail art. Use your sponge to dab on bright neon colors for a fun and bold look. Finish with a top coat to seal in your design. These fun and easy sponge nail art ideas are perfect for any occasion and will add a touch of excitement to your nails.9. Fun and Easy Sponge Nail Art

9. Fun and Easy Sponge Nail Art


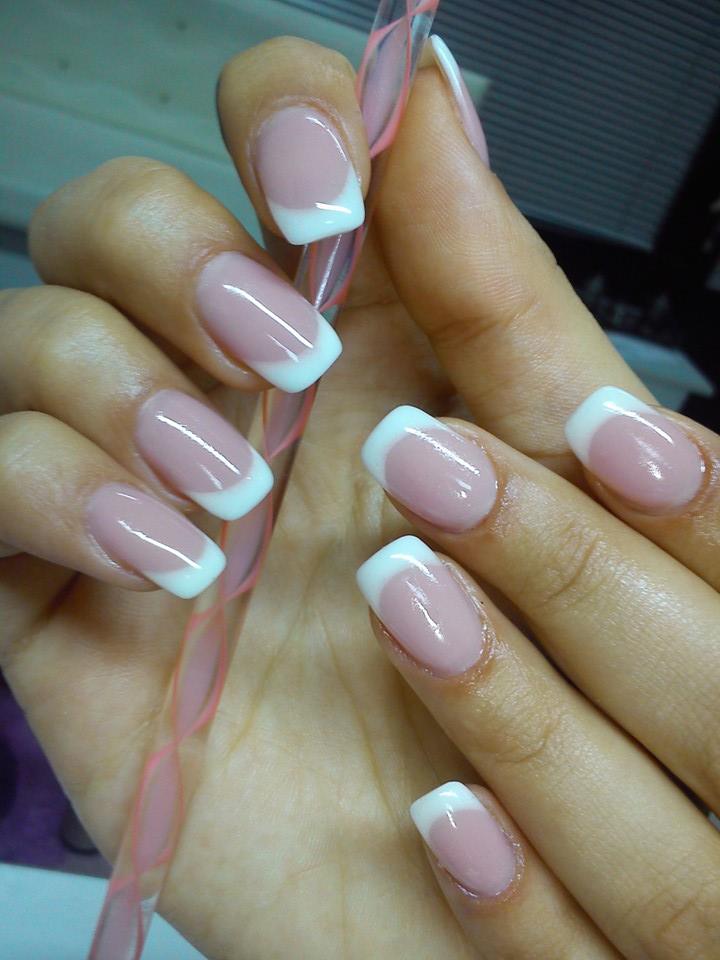
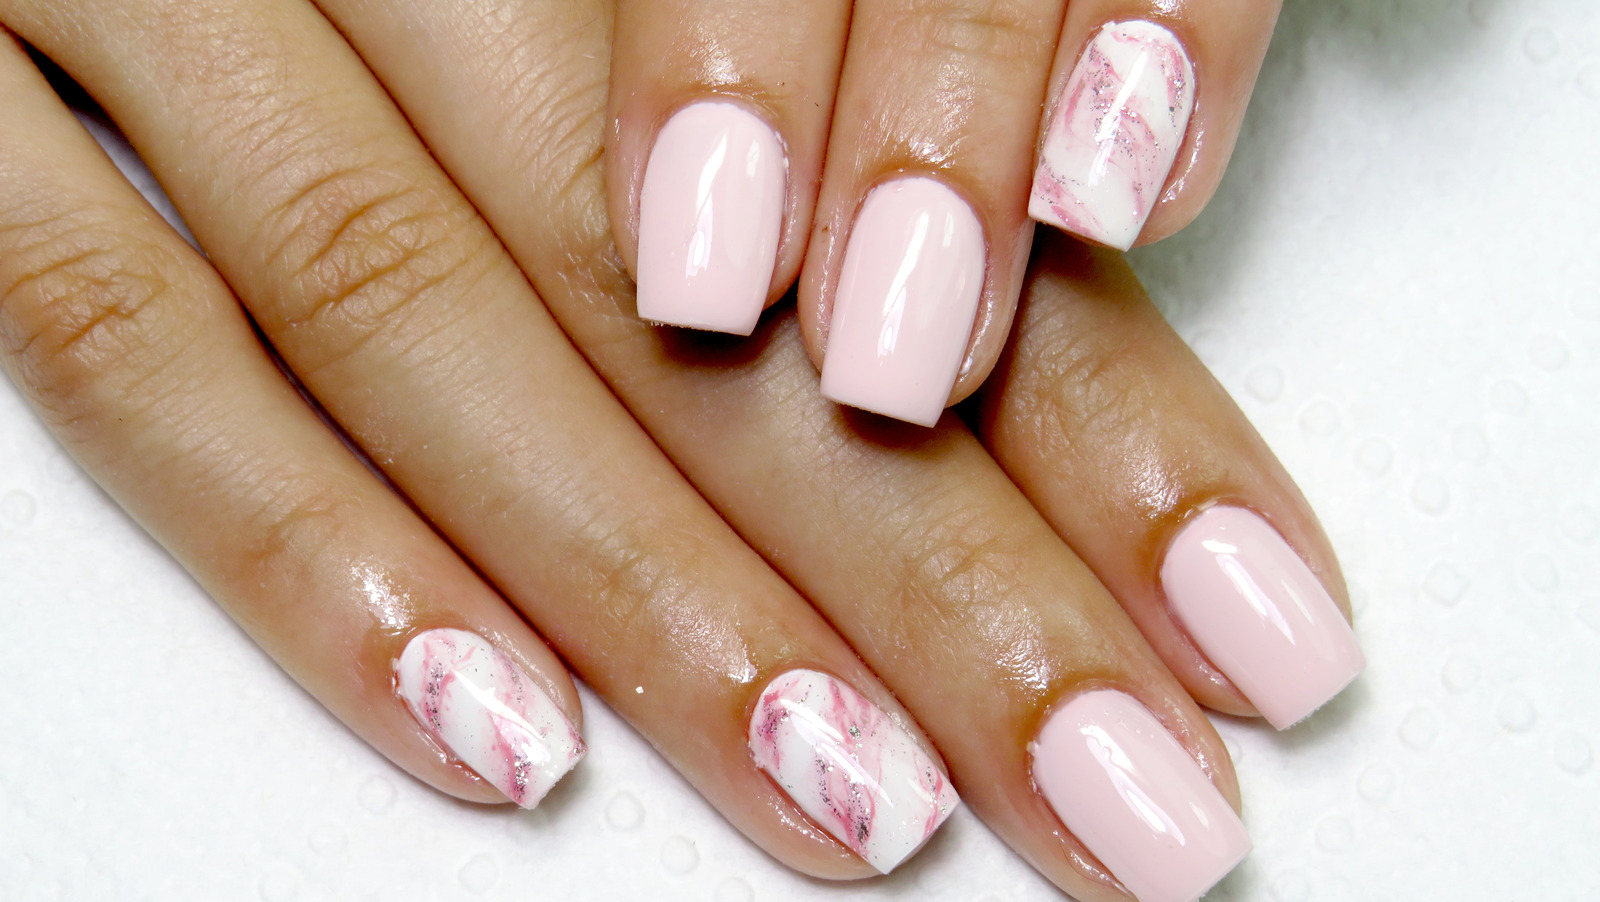
The best thing about sponge nail art is that it's versatile and can be customized for any occasion. Here are a few ideas for sponge nail designs for every occasion. Holiday Nails: Use sponge nail art to add some holiday spirit to your nails. For Christmas, try creating a red and green gradient, and for Halloween, go for an orange and black ombre. Wedding Nails: For a special occasion like a wedding, create elegant sponge nail designs using soft pastel colors and adding some pearl accents. Beach Nails: Bring some beach vibes to your nails with a blue and white gradient using sponge nail art. You can also add sea-inspired designs like seashells or starfish. There's a sponge nail design for every occasion, so don't be afraid to get creative and have fun with it.10. Sponge Nail Designs for Every Occasion


10. Sponge Nail Designs for Every Occasion


The Versatility of Simple Nail Design with a Sponge

The Perfect Addition to Your House Design

When it comes to creating a beautiful and unique house design, the little details can make all the difference. This is where simple nail design with a sponge comes in. Not only is it a fun and creative way to decorate your nails, but it can also add a touch of personality to your home.
Nail design with a sponge involves using a regular household sponge to create a textured effect on your nails. This technique can be used with any color combination and can create a variety of designs, from subtle ombre to bold patterns.
How to Create Simple Nail Design with a Sponge

The first step is to gather all your materials. You will need a base color of your choice, a second color for the sponge effect, a sponge, and a top coat. It's best to use a makeup sponge or a kitchen sponge that has a fine texture. Cut a small piece of the sponge and set it aside.
Start by painting your nails with the base color and letting it dry completely. Then, apply the second color onto the sponge and lightly dab it onto your nails. You can experiment with different amounts of pressure to create different effects. If you want a more subtle look, use less pressure and if you want a bolder look, use more pressure. Make sure to overlap the colors to blend them together.
Pro tip: You can also use multiple colors on the sponge to create a gradient effect on your nails.
Once you're happy with the design, let it dry for a few minutes and then seal it with a top coat. This will help the design last longer and give it a glossy finish.
Incorporating Simple Nail Design with a Sponge into Your House Design

The best part about this technique is that it can be applied to more than just your nails. You can use it to add a unique touch to your home decor as well. For example, you can create a sponge-painted accent wall or use the technique to add texture to picture frames or furniture.
Another idea is to use the sponge technique on your curtains or throw pillows to add a pop of color and interest to your living space. The possibilities are endless and can be tailored to fit your personal style.
Final Thoughts
Simple nail design with a sponge is a budget-friendly and versatile way to add a unique touch to both your personal style and house design. With a little bit of creativity and experimentation, you can achieve beautiful and one-of-a-kind results. So why not give it a try and see how this simple technique can elevate your home design game?


