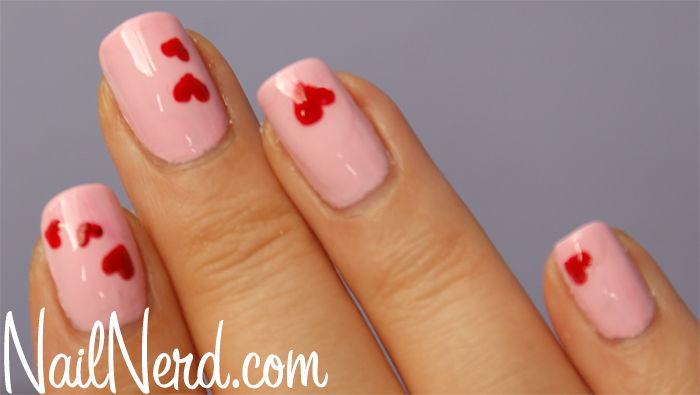
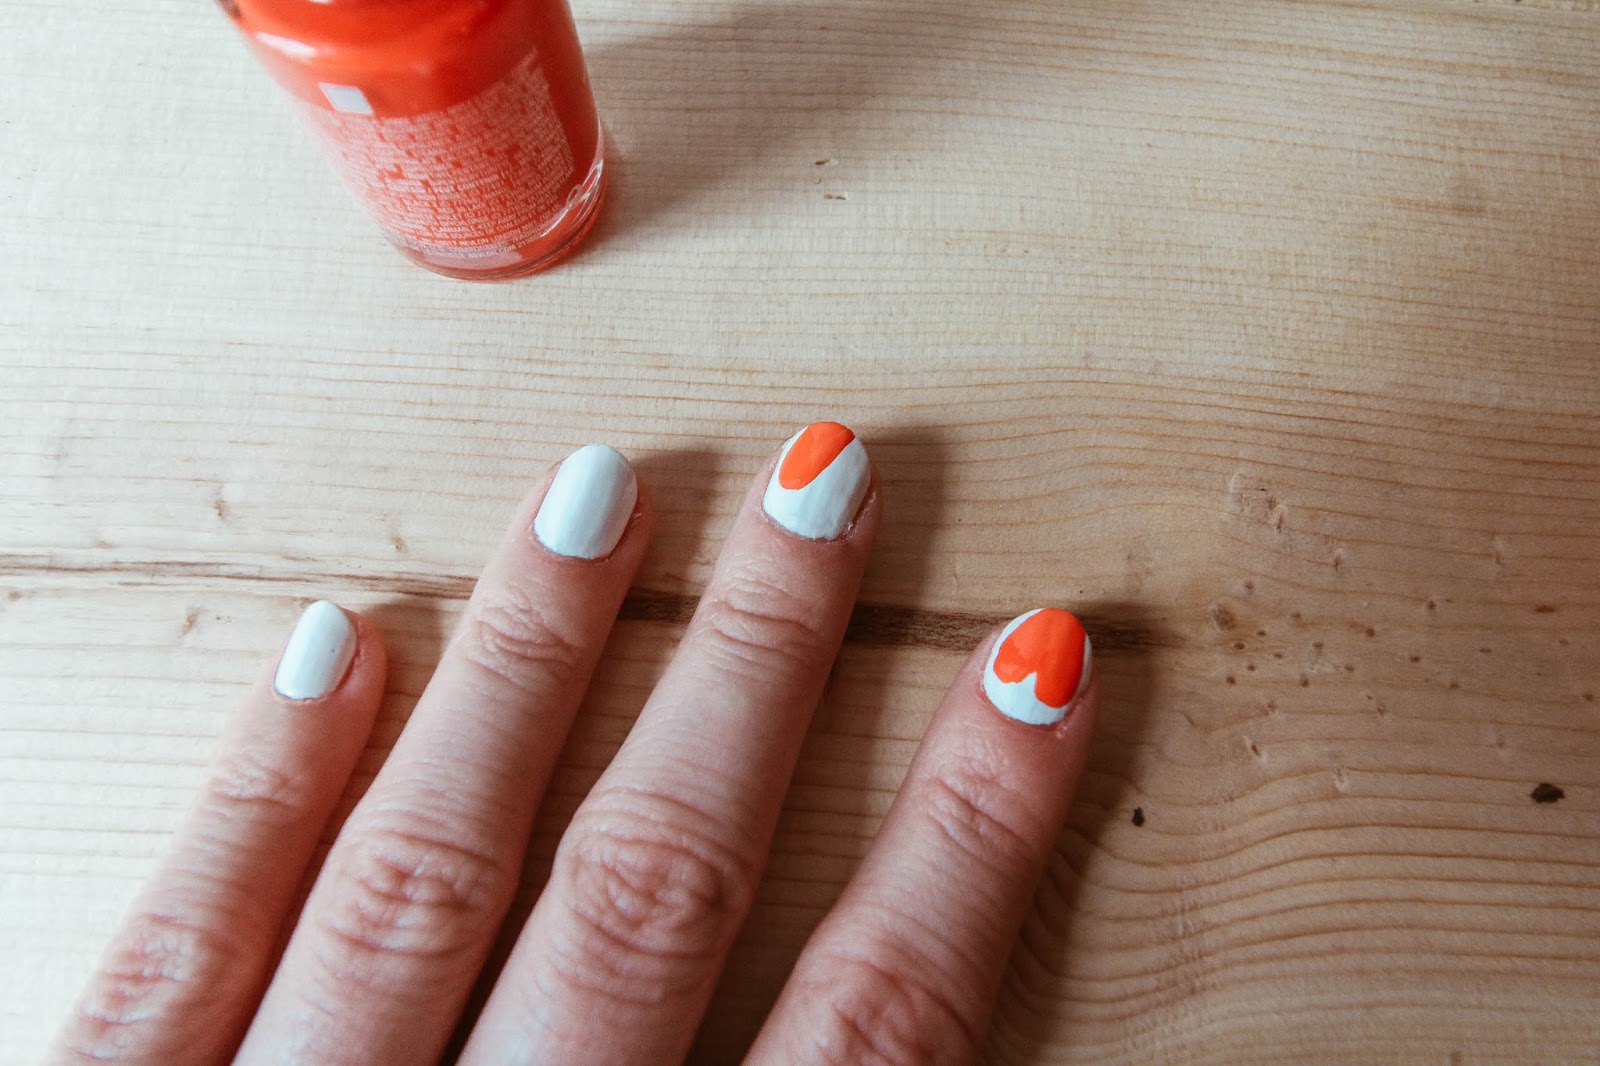
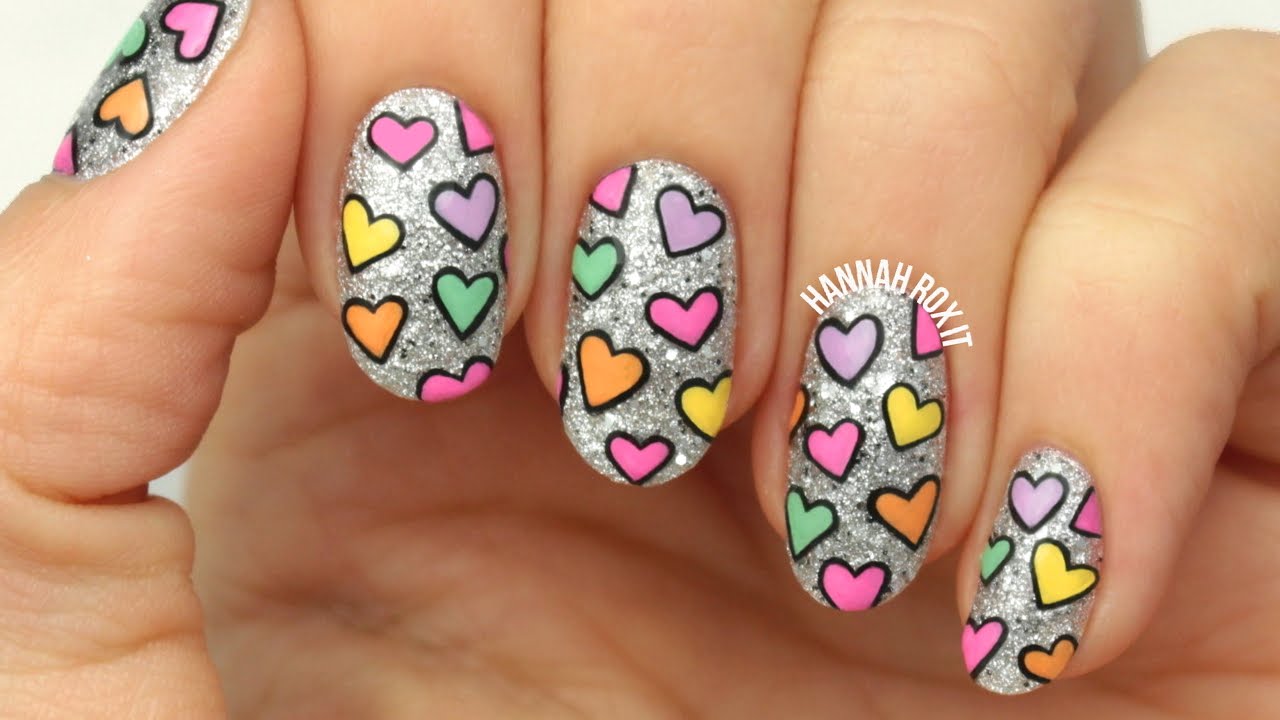
Looking for a cute and easy way to add some love to your nails? Look no further than this simple heart nail design tutorial. With just a few tools and nail polish colors, you can create a sweet and romantic look that will surely make your nails stand out. To start, gather your supplies. You will need a base coat, two nail polish colors (one for the base and one for the hearts), a thin brush or toothpick, and a top coat. Make sure to choose colors that complement each other well, such as a light pink base with a red heart design. Start by applying a base coat to protect your nails and help the polish adhere better. Once the base coat is dry, paint your nails with your chosen base color. Allow it to dry completely before moving on to the next step. Now comes the fun part - creating the heart design. Dip your thin brush or toothpick into the second nail polish color and carefully draw a small heart on each nail. If you're not confident in your freehand skills, you can use a stencil or small heart-shaped sticker as a guide. Make sure to leave some space between each heart to avoid a cluttered look. Once you have all the hearts drawn, let them dry for a few minutes before applying a top coat. This will seal in your design and make it last longer. And there you have it, a simple yet charming heart nail design that is perfect for any occasion.1. Simple Heart Nail Design Tutorial


1. Simple Heart Nail Design Tutorial


If you're a fan of DIY projects, then this easy heart nail art is perfect for you. With just a few household items, you can create a lovely and unique design that will make your nails stand out. To start, gather your supplies. You will need a base coat, two nail polish colors (one for the base and one for the hearts), a small piece of paper or cardstock, and a pair of scissors. Make sure to choose colors that contrast each other, such as a light base color with a dark heart design. Start by applying a base coat to protect your nails and help the polish adhere better. Once the base coat is dry, paint your nails with your chosen base color. While waiting for it to dry, take the piece of paper or cardstock and fold it in half. Draw a half-heart shape on the folded edge and cut it out to create a heart stencil. Place the stencil on your nail and paint over it with the second nail polish color. Carefully remove the stencil to reveal a crisp and clean heart shape on your nail. Repeat this step on all your nails or just a few for an accent nail design. After your design is complete, allow it to dry for a few minutes before applying a top coat. This will seal in your design and make it last longer. And there you have it, an easy DIY heart nail art that you can do at home with just a few simple steps.2. Easy DIY Heart Nail Art


2. Easy DIY Heart Nail Art


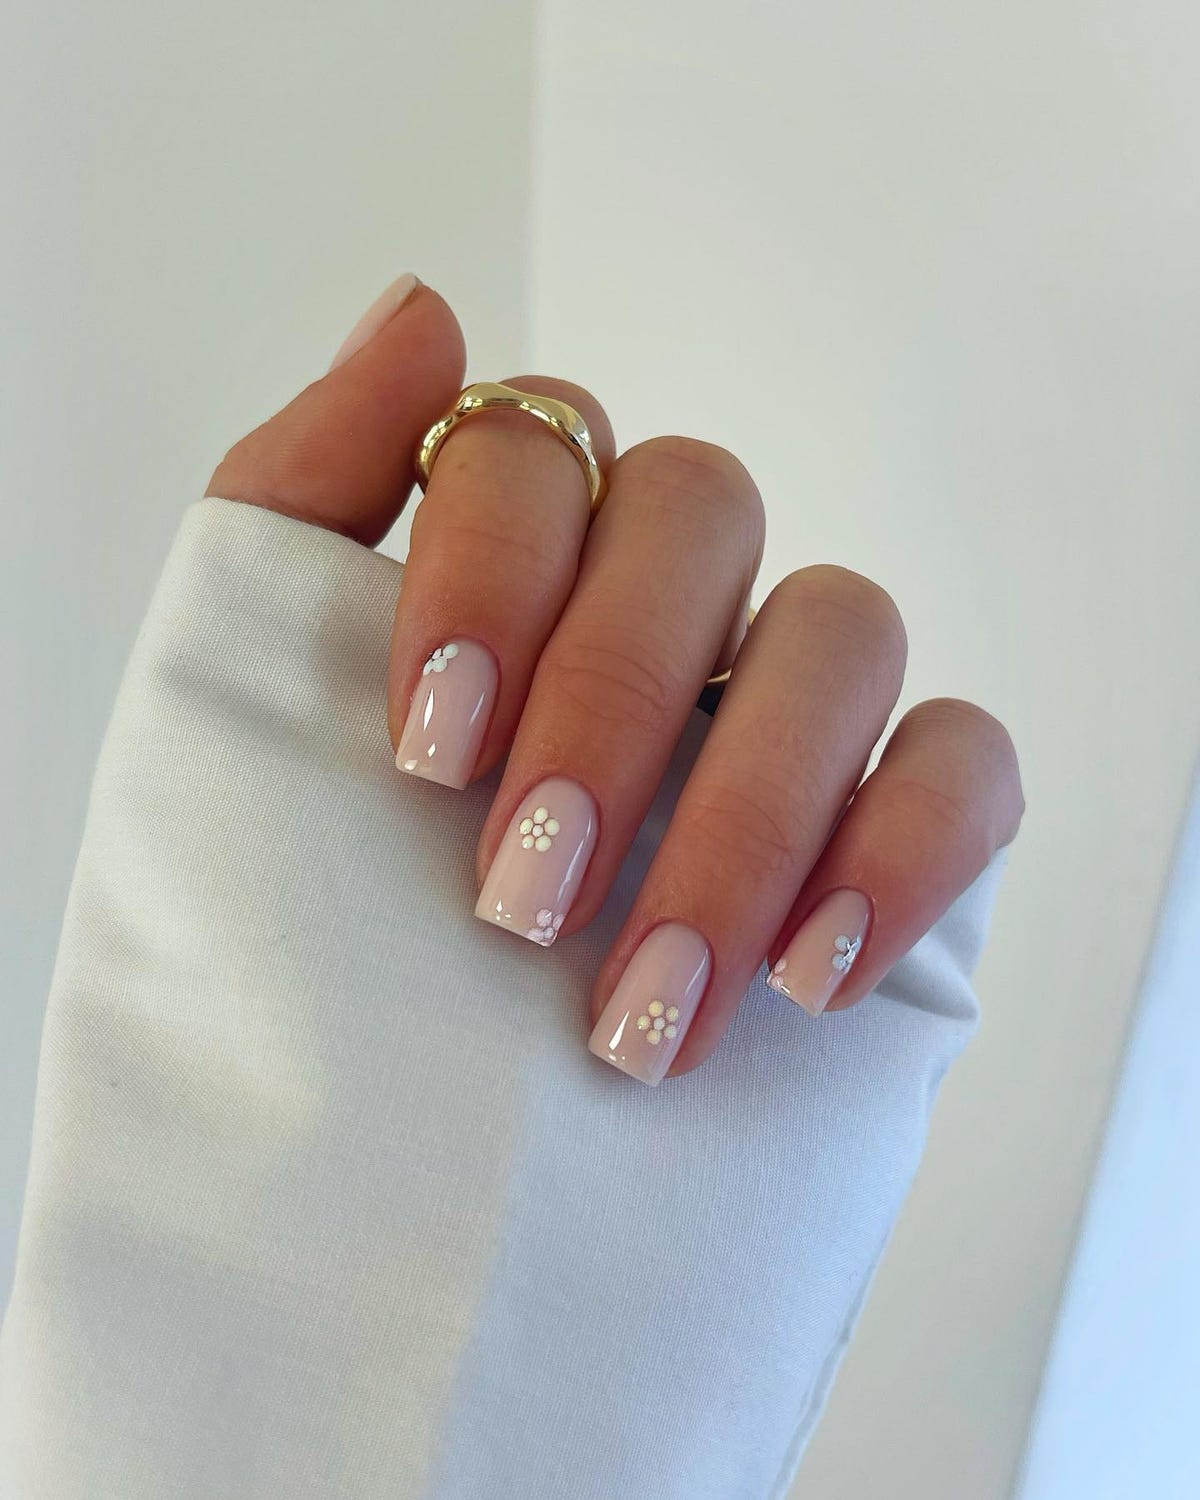
For those who prefer a more subtle and understated look, these cute and simple heart nail designs are perfect for you. These designs are elegant and versatile, making them suitable for any occasion. One idea is to create a negative space heart design. Start by painting your nails with a light base color. Once it dries, use a small brush or toothpick to draw a heart shape on each nail, leaving the center of the heart unpainted. This creates a negative space effect that is both chic and playful. Another option is to use glitter to add some sparkle to your heart nail design. Paint your nails with a base color and let it dry. Then, using a clear top coat, apply some glitter on the tips of your nails and use a toothpick to create a heart shape with the glitter. This will add a touch of glam to your nails without being too overwhelming. Whichever design you choose, make sure to seal it with a top coat to make it last longer. These cute and simple heart nail designs are perfect for those who want to add a little love to their nails in a subtle and stylish way.3. Cute and Simple Heart Nail Designs


3. Cute and Simple Heart Nail Designs


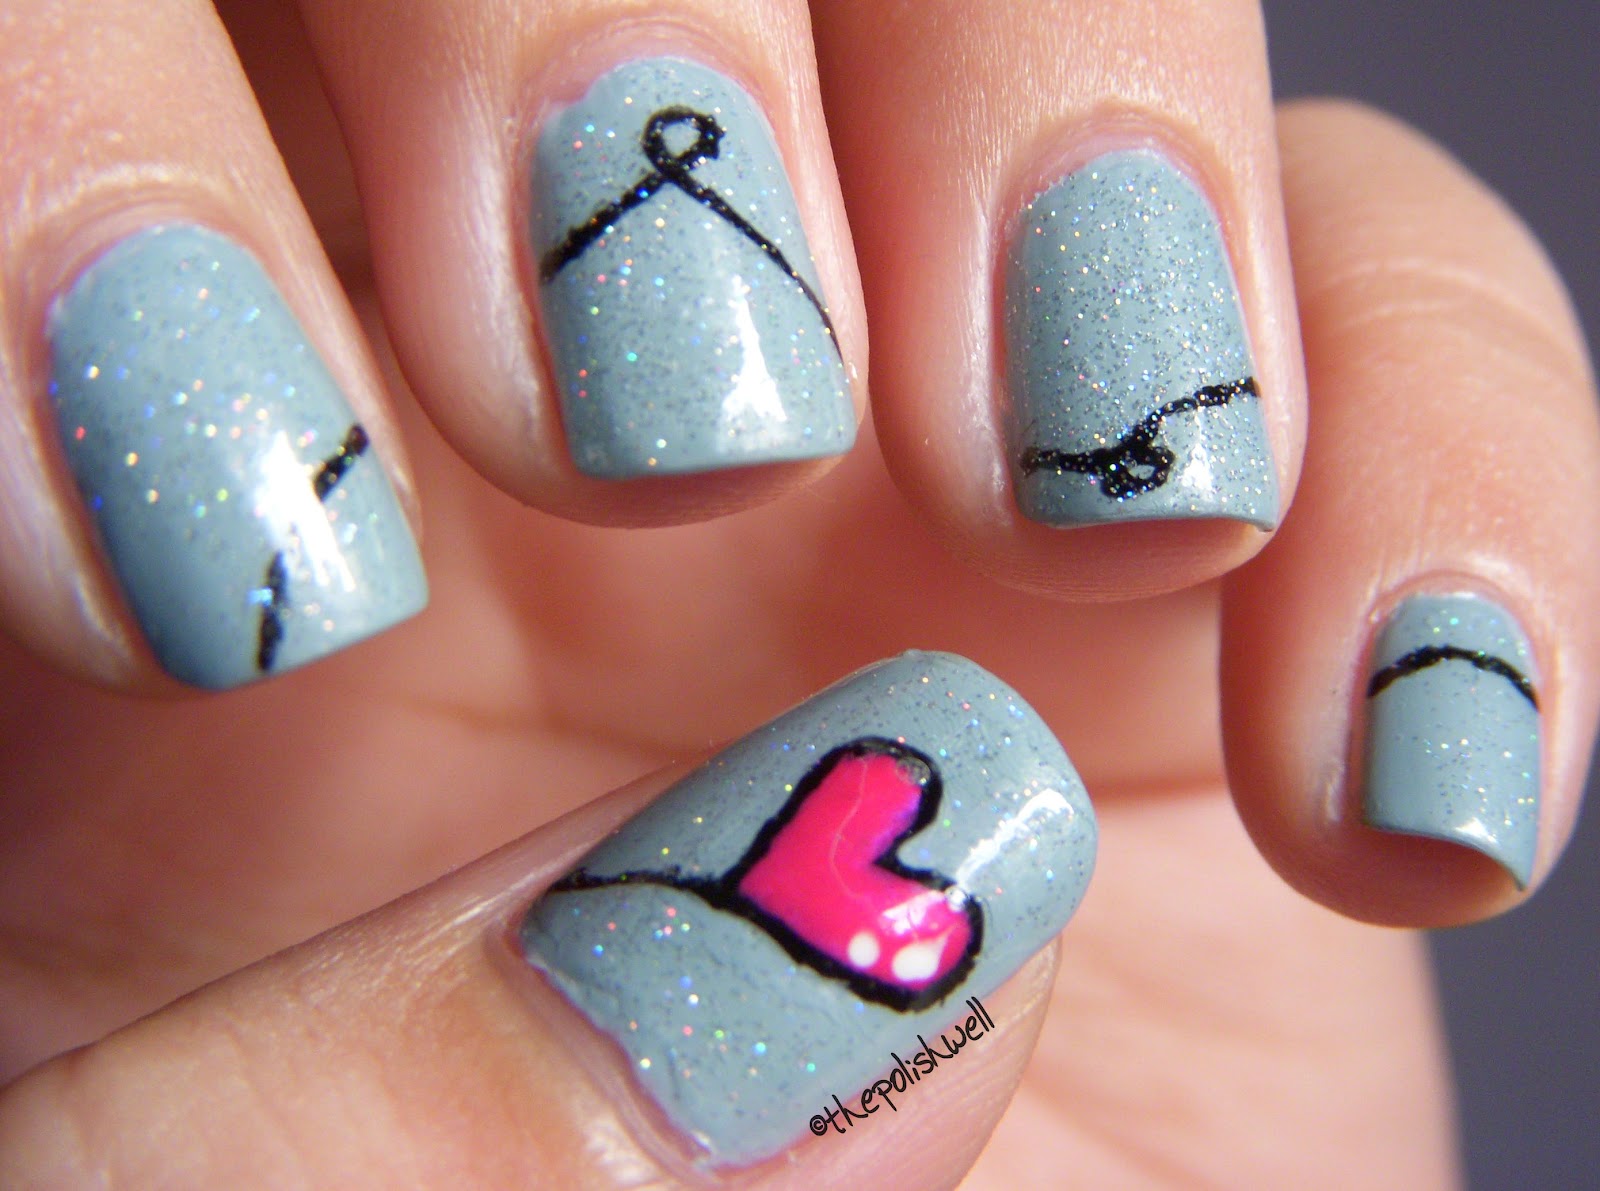
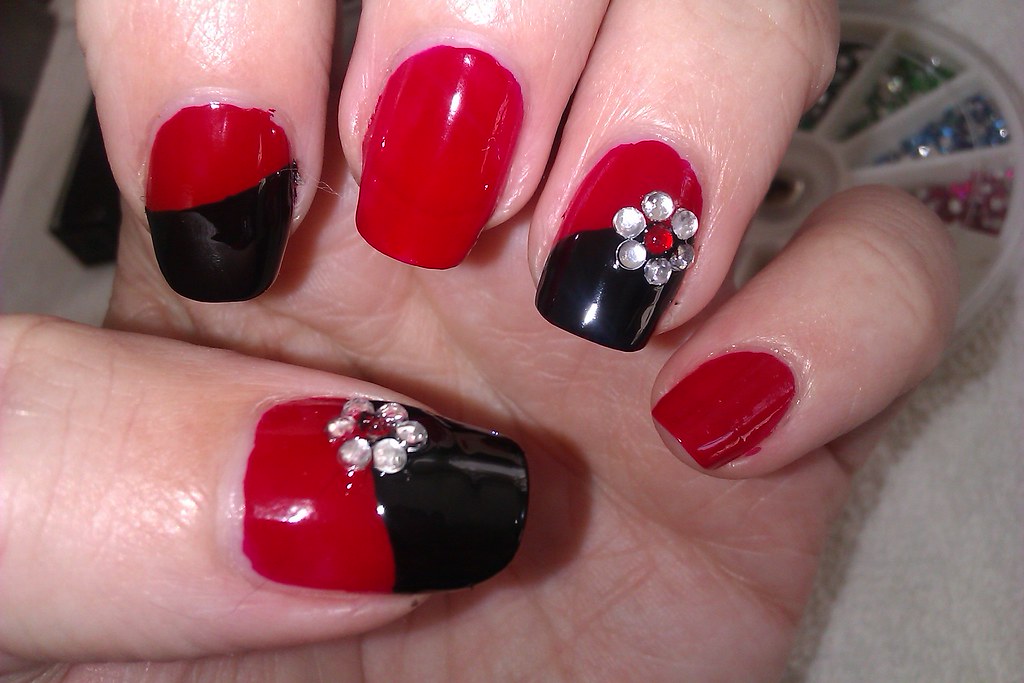
If you're a fan of minimalist nail art, then these heart nail design ideas are perfect for you. These designs are sleek, modern, and easy to create, making them ideal for those who prefer a more understated look. One idea is to create a single heart accent nail. Paint all your nails with a neutral base color and let it dry. Then, using a small brush or toothpick, draw a small heart on one of your nails using a contrasting color. This design is simple yet eye-catching. Another option is to create a negative space heart design using metallic nail polish. Paint your nails with a clear base coat and let it dry. Then, using a metallic nail polish, draw a small heart shape on each nail. This design is perfect for those who want to keep things minimal yet still want to add some shine to their nails. For a more subtle look, you can also use a small heart-shaped nail sticker as an accent on one of your nails. This adds a touch of cuteness without being too bold. Make sure to seal your design with a top coat to make it last longer.4. Minimalist Heart Nail Design Ideas


4. Minimalist Heart Nail Design Ideas
:max_bytes(150000):strip_icc()/121020-red-art-nail-designs-lead-2000-d0787e7365f44dfeaa27972ae713d448.jpg)

If you're new to nail art, don't worry, these heart nail designs are perfect for beginners. They are easy to create and require minimal tools, making them ideal for those who are just starting to experiment with nail art. One idea is to create a simple heart outline design. Paint your nails with a light base color and let it dry. Then, using a small brush or toothpick, draw a heart outline on each nail using a contrasting color. This design is simple yet charming, perfect for those who want to keep things uncomplicated. Another option is to create a heart-shaped French tip. Paint your nails with a neutral base color and let it dry. Then, using a small brush or toothpick, draw a heart shape on the tips of your nails using a contrasting color. This adds a cute and playful twist to the classic French manicure. For a more intricate design, you can use a small heart-shaped stamp or stencil to create a heart pattern on your nails. This takes away the stress of drawing a perfect heart shape and makes it easier for beginners to achieve a professional-looking design.5. Heart Nail Designs for Beginners


5. Heart Nail Designs for Beginners


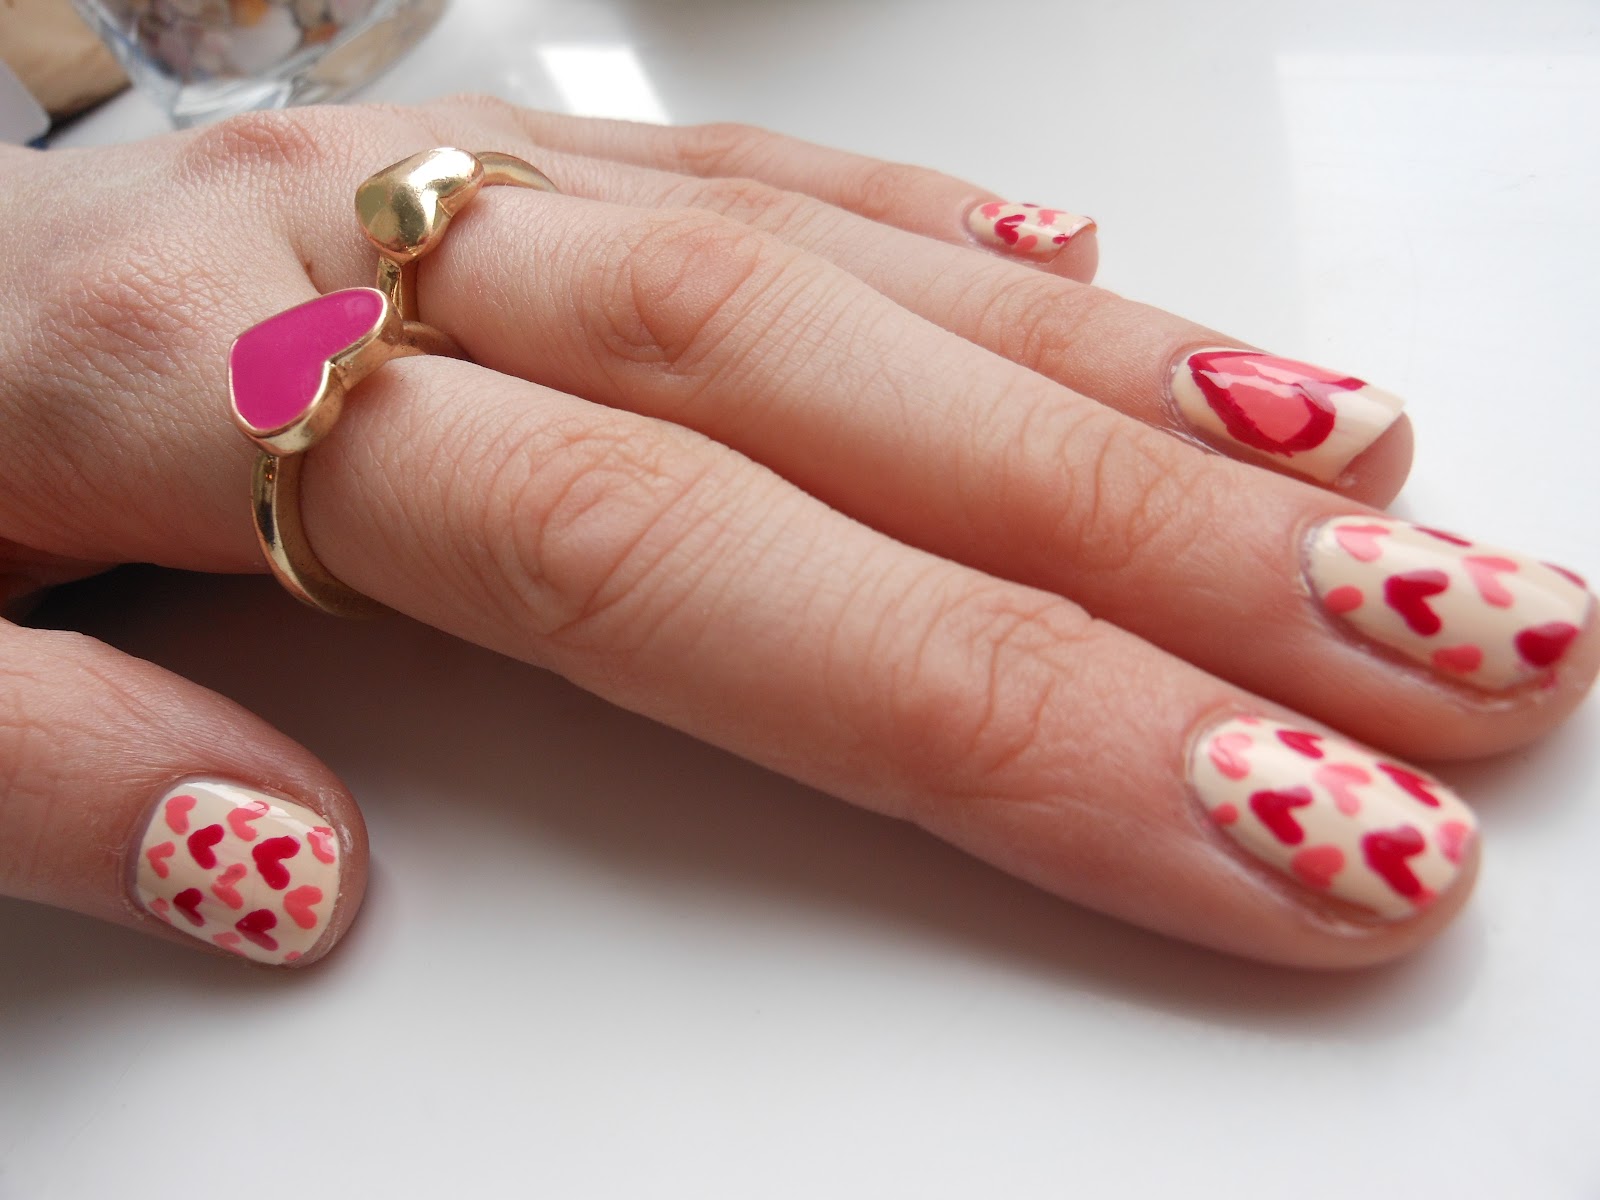
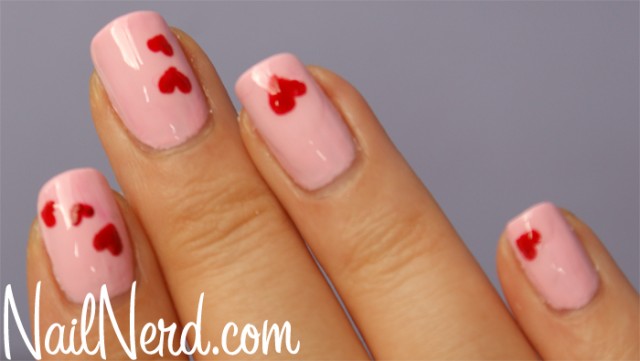
Short on time but still want to add a touch of love to your nails? These quick and simple heart nail art ideas are perfect for those who are always on-the-go. One idea is to create a heart accent nail using a nail wrap or sticker. These are easy to apply and come in a variety of designs. Simply choose a heart design that you like and apply it to one of your nails. This adds a pop of color and pattern without having to spend a lot of time and effort. Another option is to use a small heart-shaped stencil and sponge to create a gradient heart design. Paint your nails with a light base color and let it dry. Then, using the stencil and sponge, apply a darker color on the tips of your nails, blending it towards the center to create a gradient effect. This adds a subtle yet charming touch to your nails. For a more whimsical look, you can also use a small heart-shaped stamp to create a scattered heart pattern on your nails. This is quick and easy to do, making it perfect for those who don't have much time to spare but still want to have cute and stylish nails.6. Quick and Simple Heart Nail Art

6. Quick and Simple Heart Nail Art


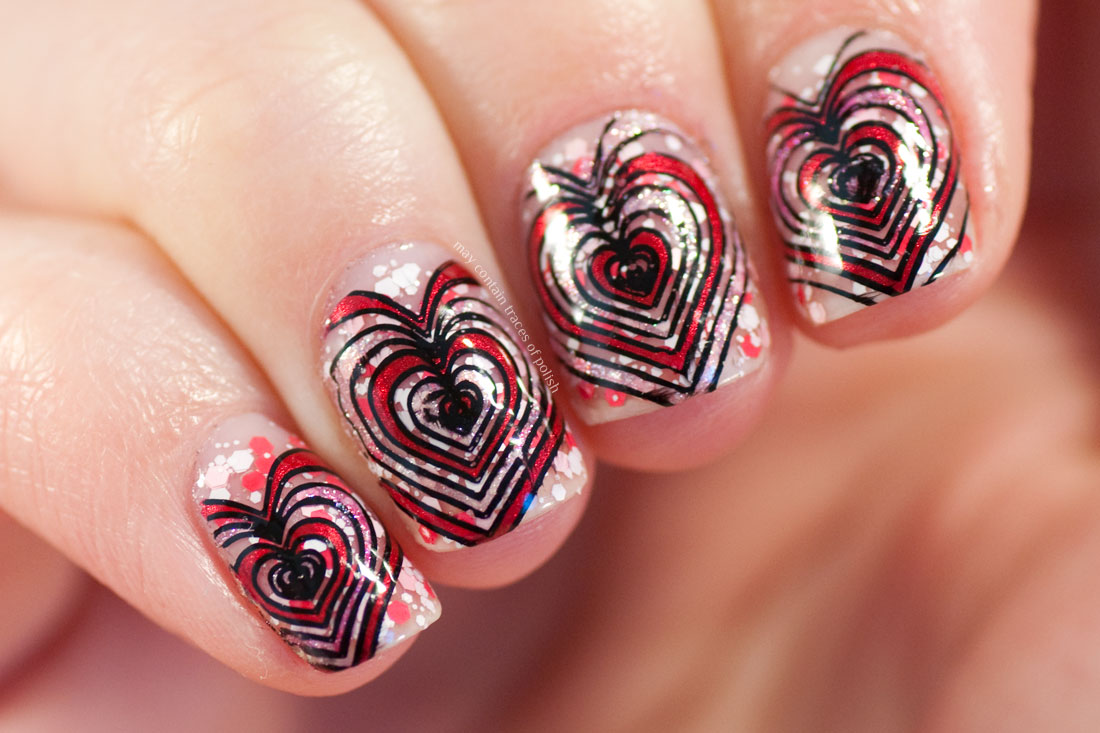
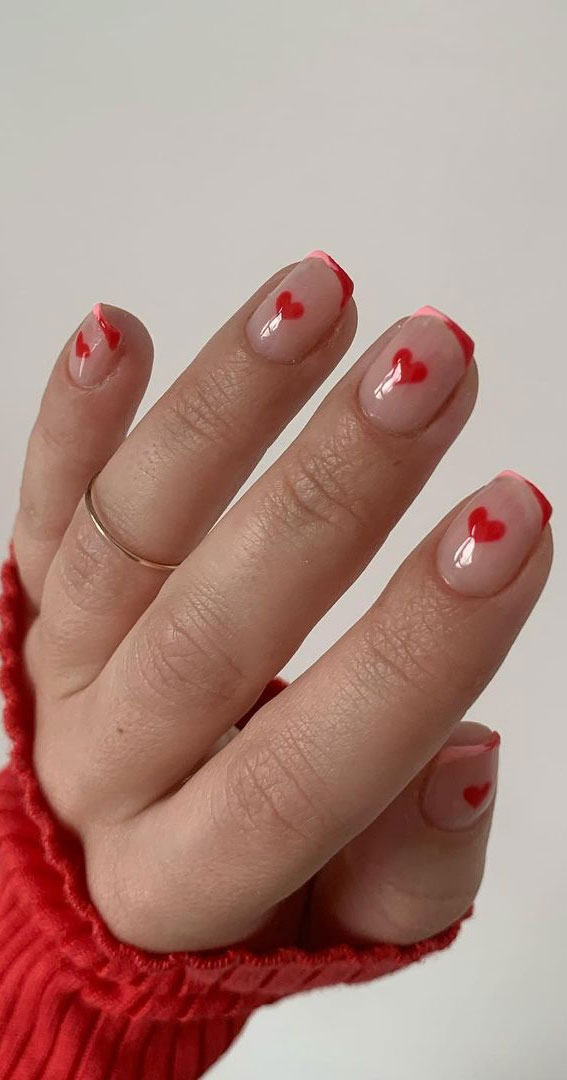
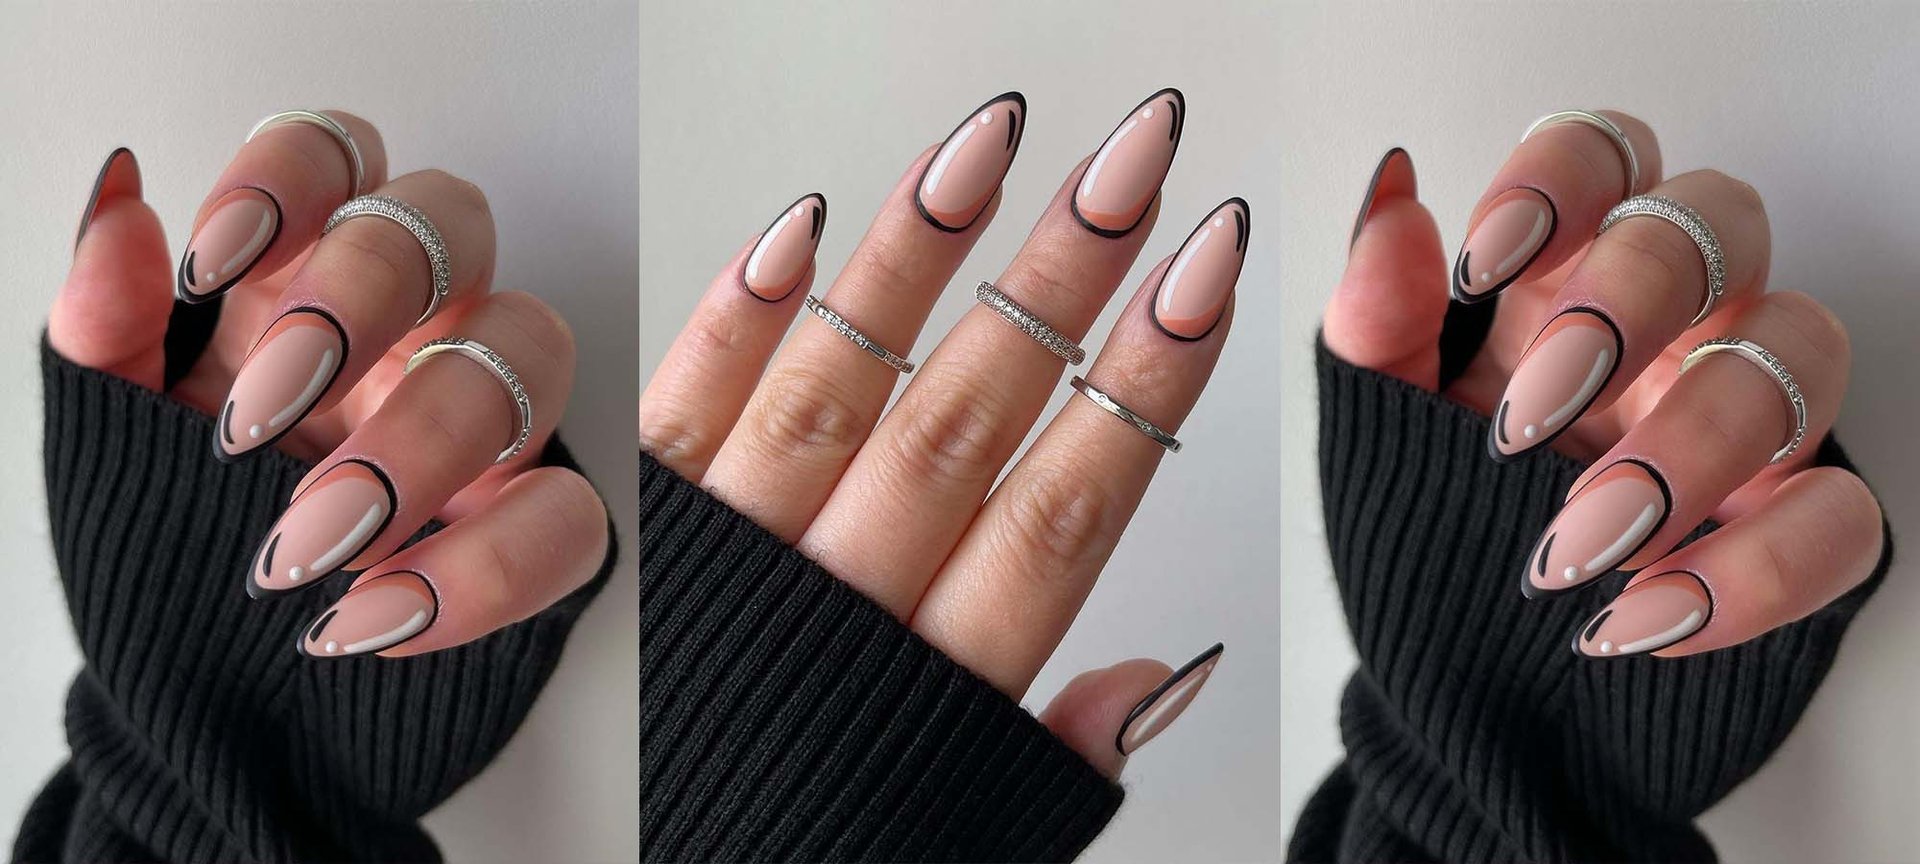
Negative space nail designs are popular and for a good reason - they are chic and modern. Adding a heart element to this trend makes for a unique and stylish look that is perfect for any occasion. One idea is to create a negative space heart French tip. Paint your nails with a clear base coat and let it dry. Then, using a small brush or toothpick, draw a small heart shape on the tips of your nails using a contrasting color. This adds a playful and romantic touch to the classic French manicure. Another option is to create a negative space heart cutout. Paint your nails with a neutral base color and let it dry. Then, using a small brush or toothpick, draw a heart shape on each nail, leaving the center of the heart unpainted. This creates a negative space effect that is unique and eye-catching. For a more intricate design, you can also use a small heart-shaped stencil and fill it in with a different color on each nail. This creates a fun and colorful look that is perfect for spring and summer.7. Heart Nail Designs with Negative Space


7. Heart Nail Designs with Negative Space


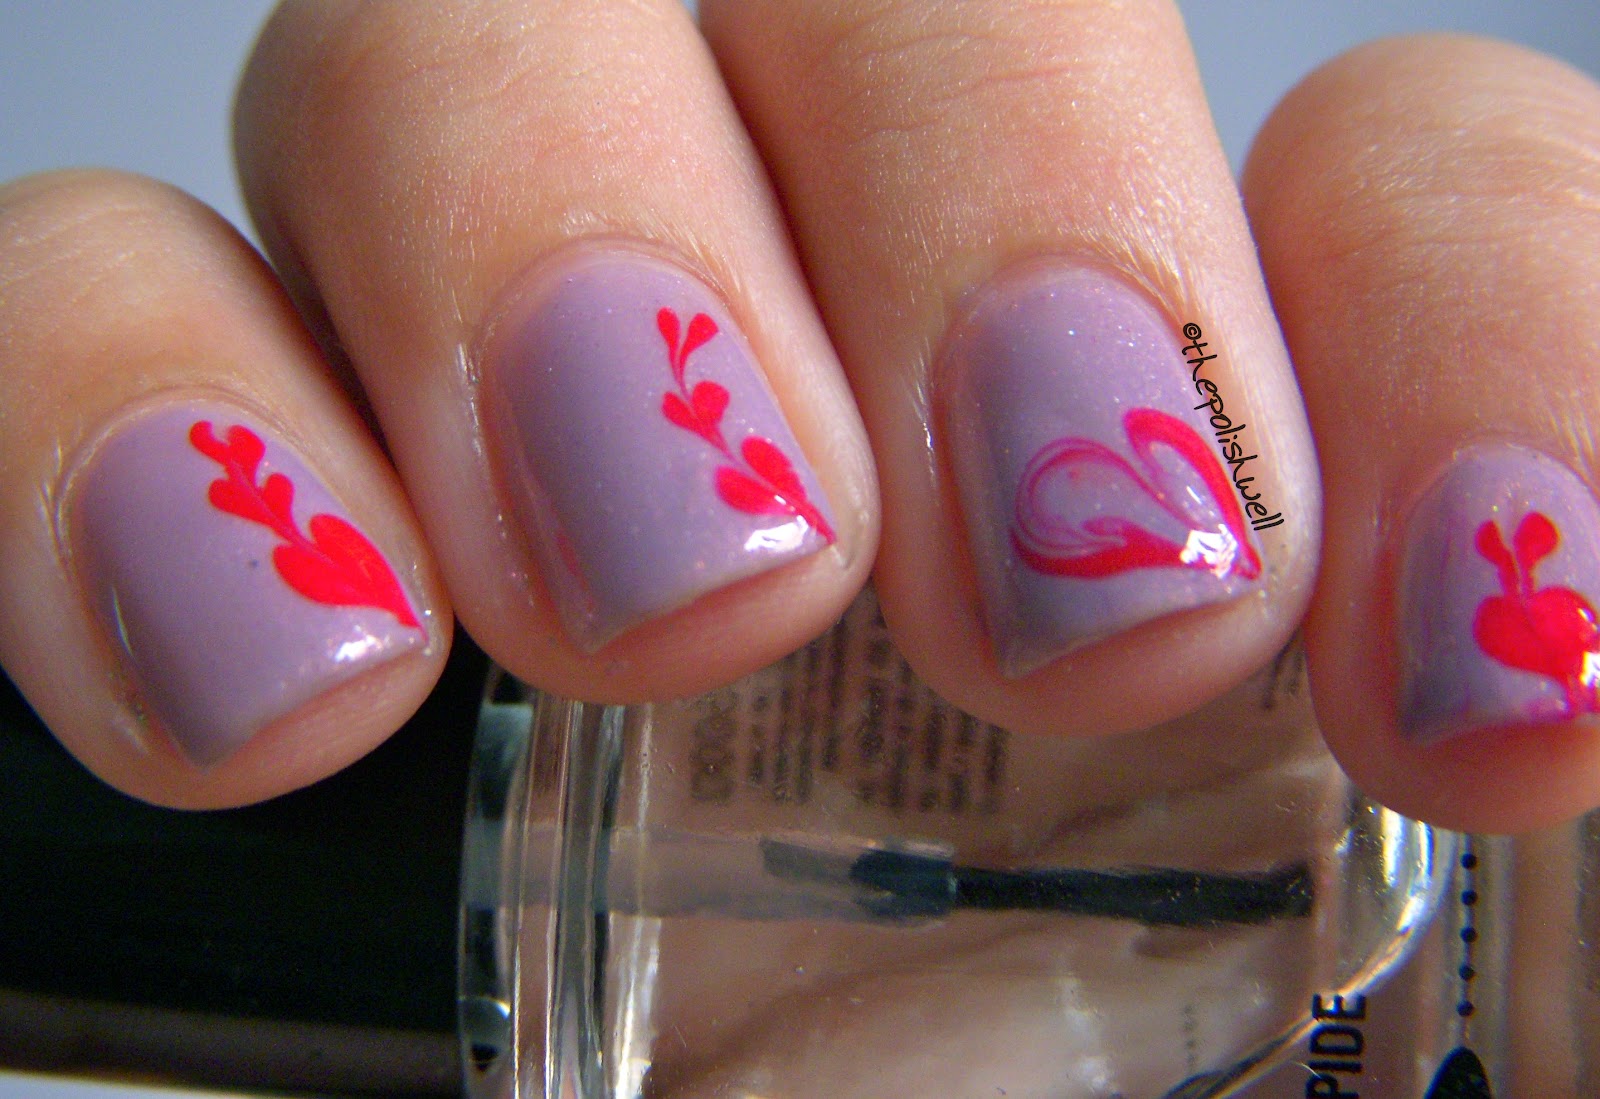
If you're looking for a more elegant and sophisticated heart nail design, then this tutorial is for you. With just a few tools and nail polish colors, you can create a chic and stylish look that is perfect for any formal event. To start, gather your supplies. You will need a base coat, two nail polish colors (one for the base and one for the hearts), a small brush or toothpick, a thin striping brush, and a top coat. Choose colors that complement each other well, such as a light base color with a gold heart design. Start by applying a base coat to protect your nails and help the polish adhere better. Once the base coat is dry, paint your nails with your chosen base color. Allow it to dry completely before moving on to the next step. To create the heart design, use the thin striping brush to draw two diagonal lines on each nail, crossing each other in the center. This creates the outline of the heart. Then, using the small brush or toothpick, fill in the heart shape with the second nail polish color. This adds a touch of elegance to the design. Once all the hearts are complete, allow them to dry for a few minutes before applying a top coat. This will seal in your design and make it last longer. And there you have it, an elegant and sophisticated heart nail design that is perfect for any formal occasion.8. Elegant Heart Nail Design Tutorial

8. Elegant Heart Nail Design Tutorial
Glitter adds a touch of sparkle and glam to any nail design, and when combined with hearts, it creates a fun and festive look that is perfect for parties and events. One idea is to create a glitter heart accent nail. Paint all your nails with a base color and let it dry. Then, using a small brush or toothpick, draw a heart shape on one of your nails using a clear top coat. While the top coat is still wet, sprinkle some glitter on top of the heart shape and gently press it down to make sure it sticks. This adds a touch of sparkle to your nails without overpowering the design. Another option is to use glitter to create a gradient heart design. Paint your nails with a base color and let it dry. Then, using a clear top coat and a toothpick, apply some glitter on the tips of your nails, gradually decreasing the amount of glitter as you move towards the center to create a gradient effect. This is a fun and unique twist on the classic French manicure. For a more subtle look, you can also use a small heart-shaped glitter piece as an accent on one of your nails. This adds a touch of sparkle without being too overwhelming. Make sure to seal your design with a top coat to make it last longer.9. Heart Nail Designs with Glitter Accents


9. Heart Nail Designs with Glitter Accents


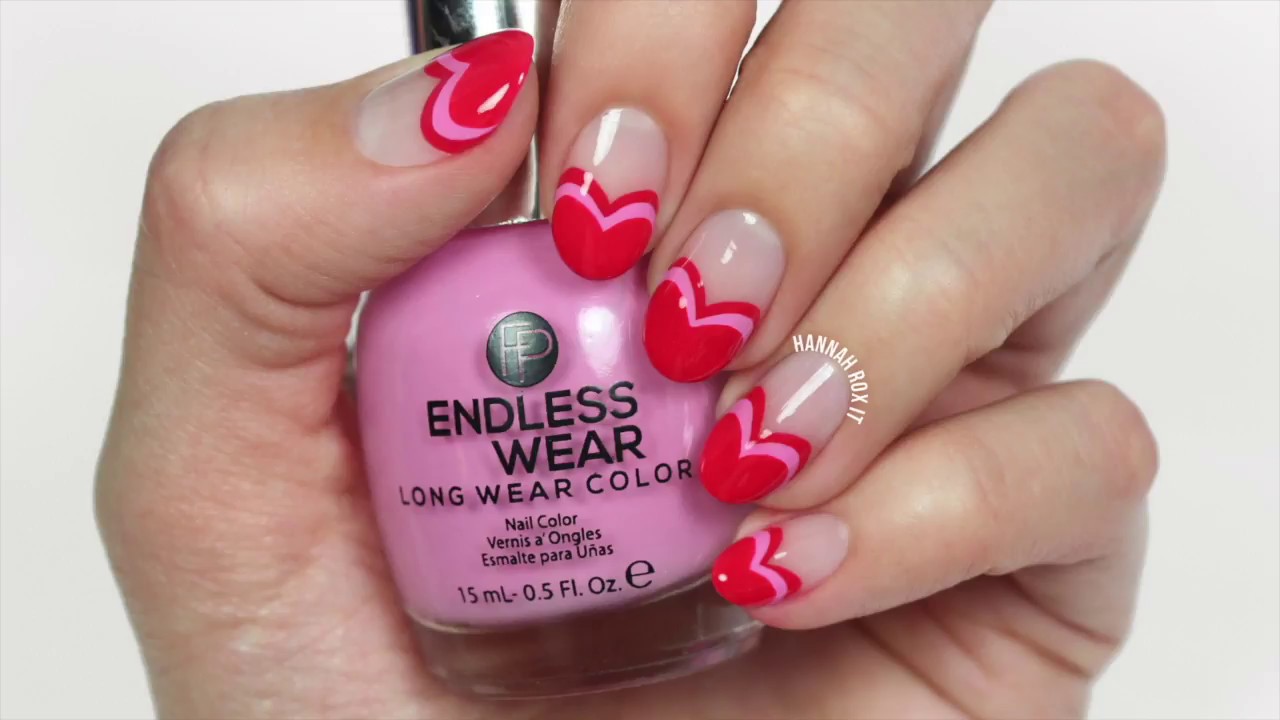
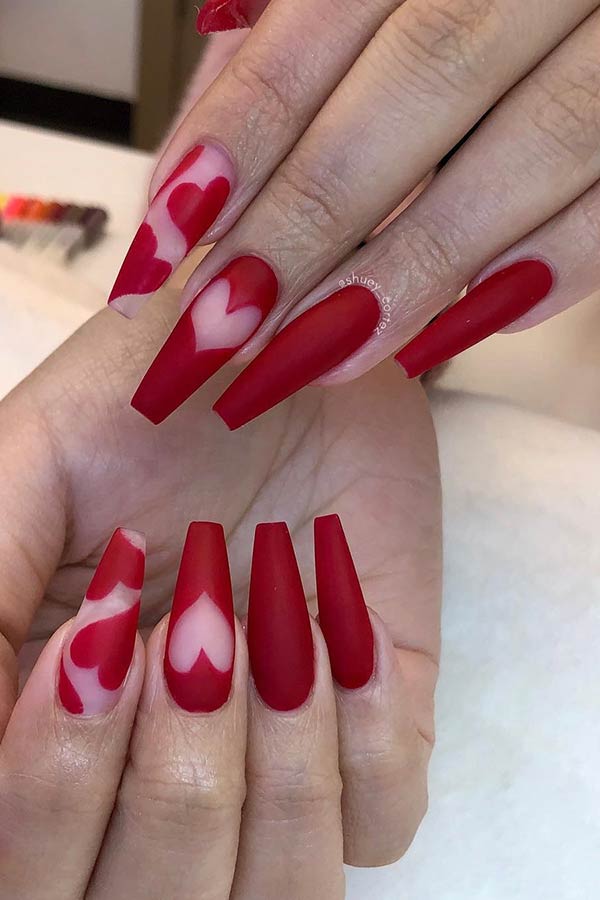
Planning a romantic date night? These heart nail designs are perfect for adding a touch of love to your look and setting the mood for a romantic evening. One idea is to create a heart French tip using a deep red nail polish. Paint your nails with a clear base coat and let it dry. Then, using a small brush or toothpick, draw a small heart shape on the tips of your nails using the red nail polish. This adds a bold and romantic touch to the classic French manicure. Another option is to create a heart-shaped ombre design. Paint your nails with a light base color and let it dry. Then, using a makeup sponge, apply a darker color on the tips of your nails, blending it towards the center to create an ombre effect. While the polish is still wet, use a toothpick to draw a heart shape on the tips, creating a heart-shaped ombre design. If you want a more subtle look, you can also use a small heart-shaped nail sticker as an accent on one of your nails. This adds a touch of cuteness without being too bold. Make sure to seal your design with a top coat to make it last longer.10. Romantic Heart Nail Designs for Date Night


10. Romantic Heart Nail Designs for Date Night


Adding Some Sparkle to Your Nails with Simple Heart Designs
 If you're looking to add some fun and love to your nail designs, look no further than simple heart designs. These cute and charming designs are perfect for any occasion and can be easily created at home. Whether you're a beginner or a pro at nail art, these heart designs are sure to make your nails stand out. With just a few steps, you can create a lovely and eye-catching look that will have everyone swooning over your nails.
Materials You Will Need
 To create the perfect heart design, you'll need a few essential materials. First, you'll need a base coat to protect your nails and ensure that your design lasts longer. Next, you'll need your chosen nail polish colors for the hearts. You can choose a single color or mix and match for a more vibrant look. Lastly, you'll need a thin brush or a toothpick for creating the heart shapes.
Step-by-Step Guide
 1. Begin by applying a base coat to your nails to protect them and create a smooth surface for the design.
2. Once the base coat is dry, apply your chosen nail polish color as the base color. You can use any color you like or even a clear polish for a subtle look.
3. Using a thin brush or toothpick, create two dots next to each other on your nail in the shape of a heart. These will be the top of your heart.
4. Then, create two more dots below the first two, slightly overlapping them to create the bottom of the heart shape.
5. Using the same brush or toothpick, carefully connect the dots to create the heart shape. You may need to go over the lines a few times to make them more defined.
6. Repeat this process on all of your nails until you have your desired amount of hearts.
7. Let the design dry completely before applying a top coat to seal and protect the design.
Pro tip:
You can play around with the size and placement of the hearts to create different looks. You can also add more hearts or other designs such as polka dots or stripes to make your nail design more unique.
1. Begin by applying a base coat to your nails to protect them and create a smooth surface for the design.
2. Once the base coat is dry, apply your chosen nail polish color as the base color. You can use any color you like or even a clear polish for a subtle look.
3. Using a thin brush or toothpick, create two dots next to each other on your nail in the shape of a heart. These will be the top of your heart.
4. Then, create two more dots below the first two, slightly overlapping them to create the bottom of the heart shape.
5. Using the same brush or toothpick, carefully connect the dots to create the heart shape. You may need to go over the lines a few times to make them more defined.
6. Repeat this process on all of your nails until you have your desired amount of hearts.
7. Let the design dry completely before applying a top coat to seal and protect the design.
Pro tip:
You can play around with the size and placement of the hearts to create different looks. You can also add more hearts or other designs such as polka dots or stripes to make your nail design more unique.
Final Thoughts
 Simple heart designs are an easy and fun way to add some love and charm to your nails. With just a few materials and simple steps, you can create a stunning and eye-catching look that is perfect for any occasion. So why not give it a try and add some sparkle to your nails with these adorable heart designs?


