Snowflakes are a beautiful and timeless symbol of winter. So why not incorporate them into your nail art? Snowflake nail designs are not only cute and festive, but they are also easy to create. Here are 10 simple snowflake nail art designs that you can try at home.Simple Snowflake Nail Art Design Ideas


Simple Snowflake Nail Art Design Ideas


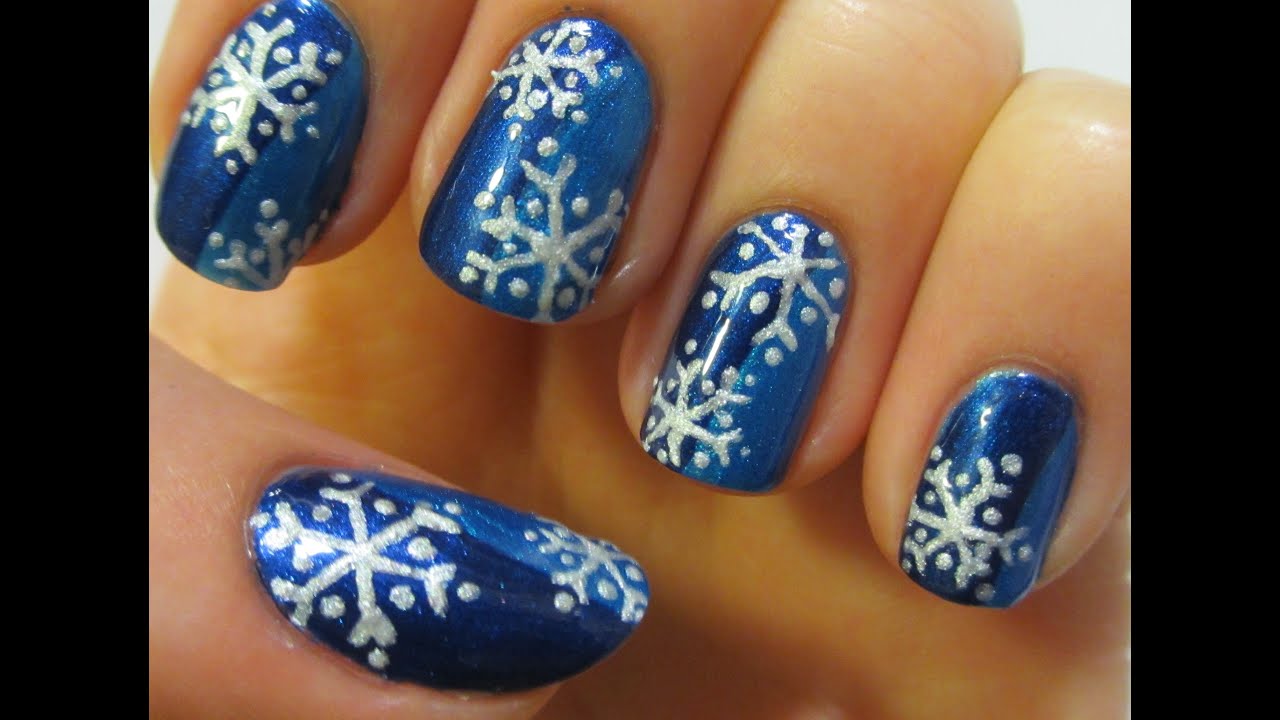
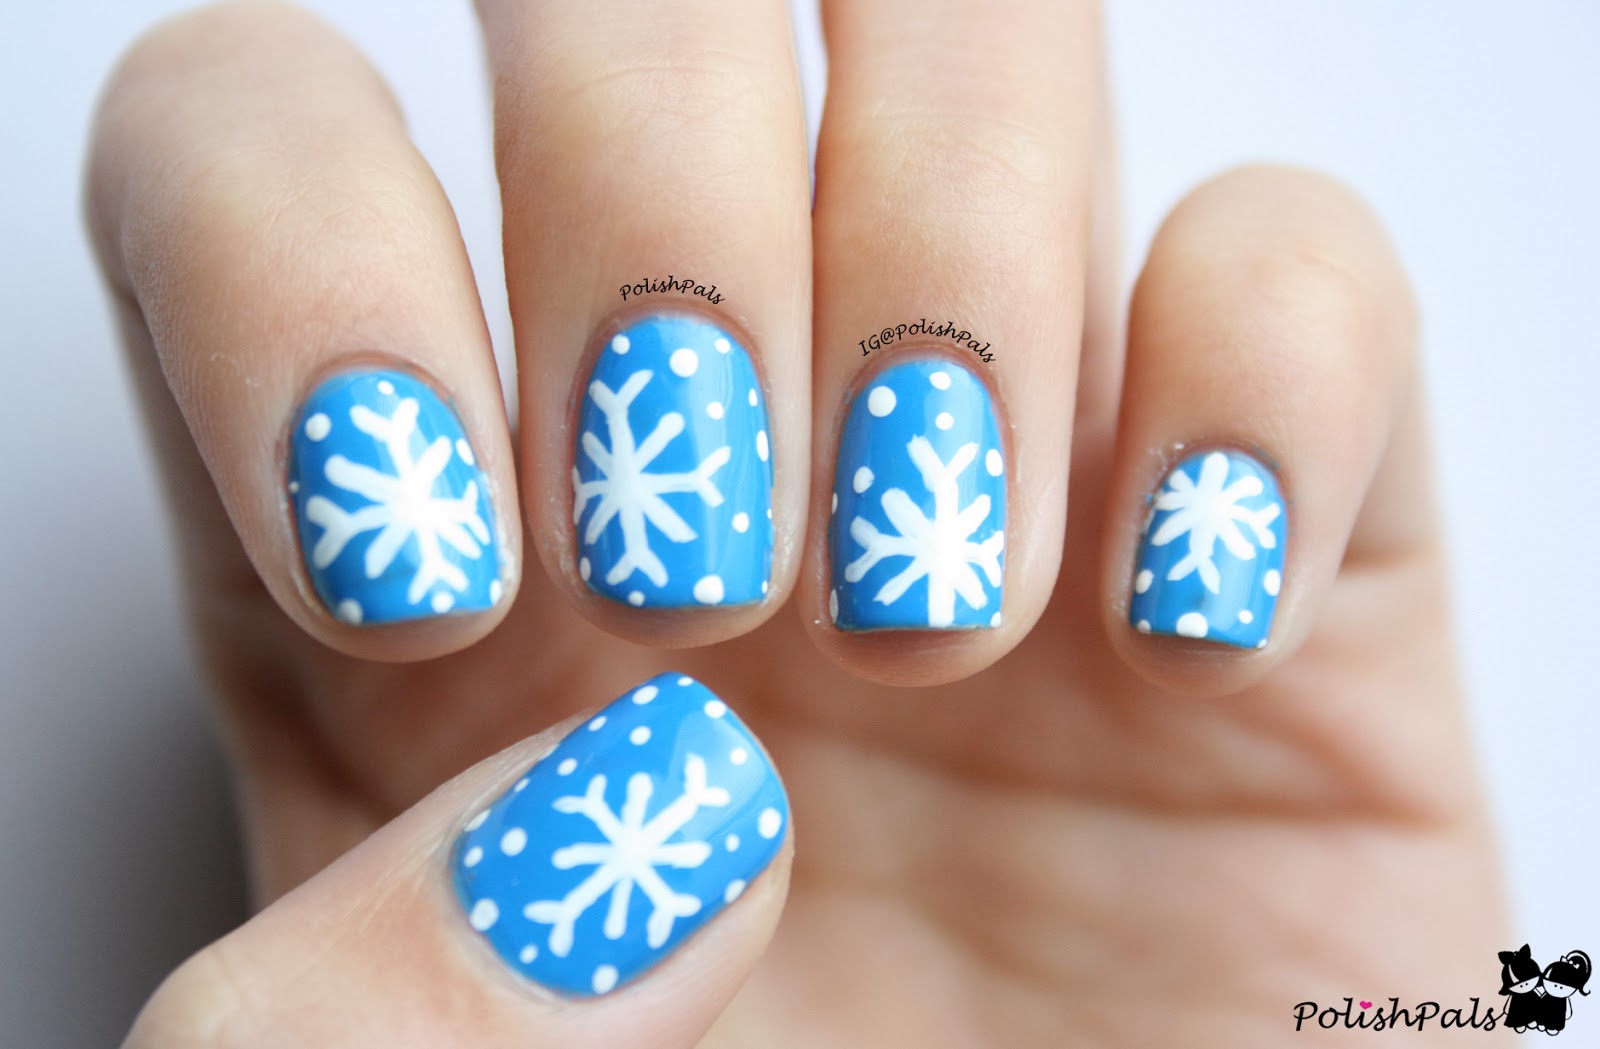
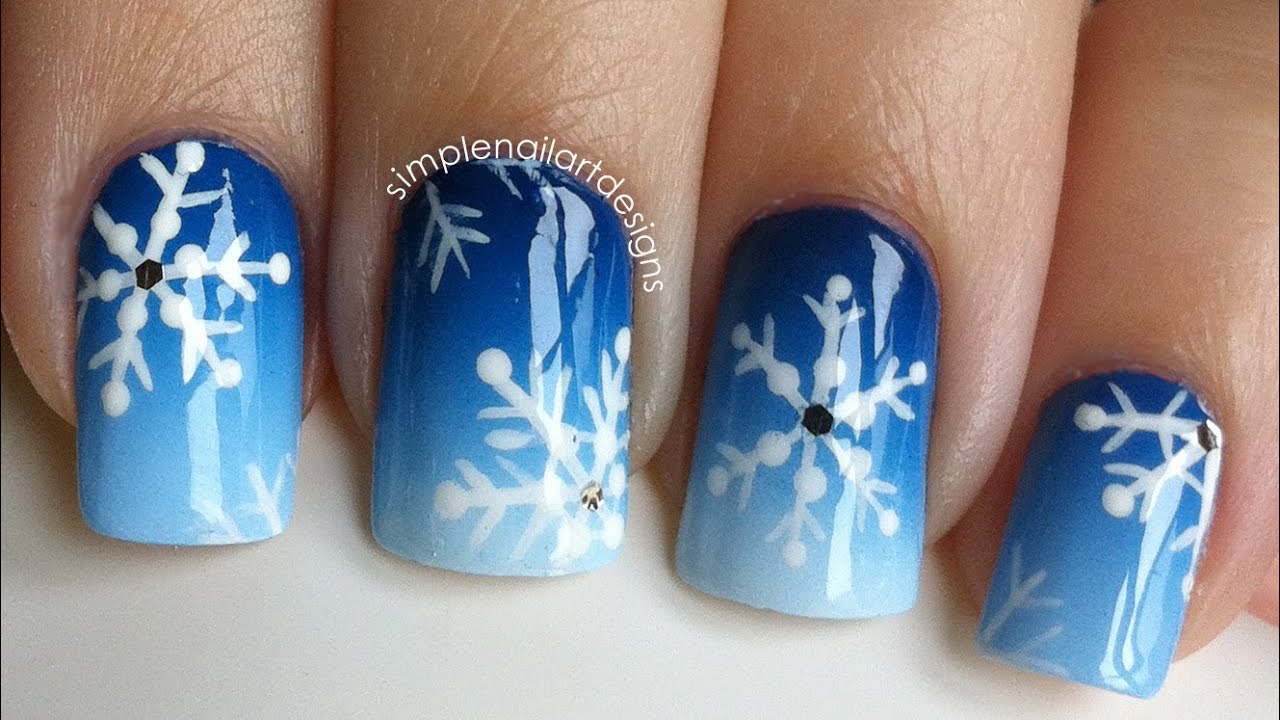
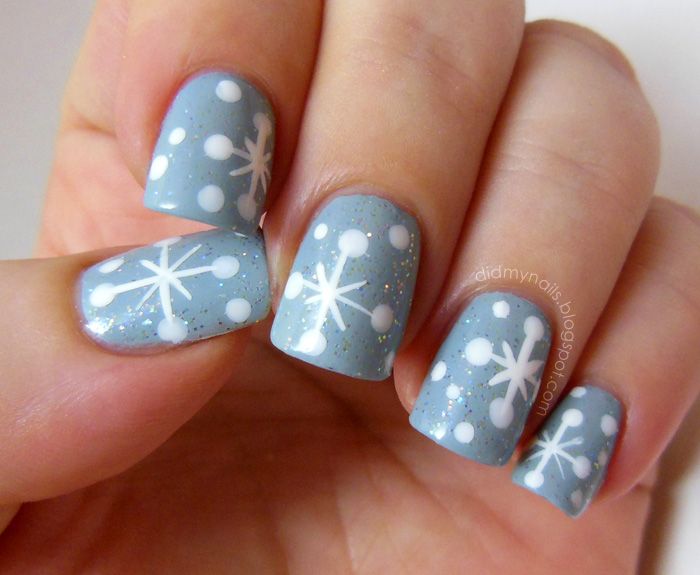
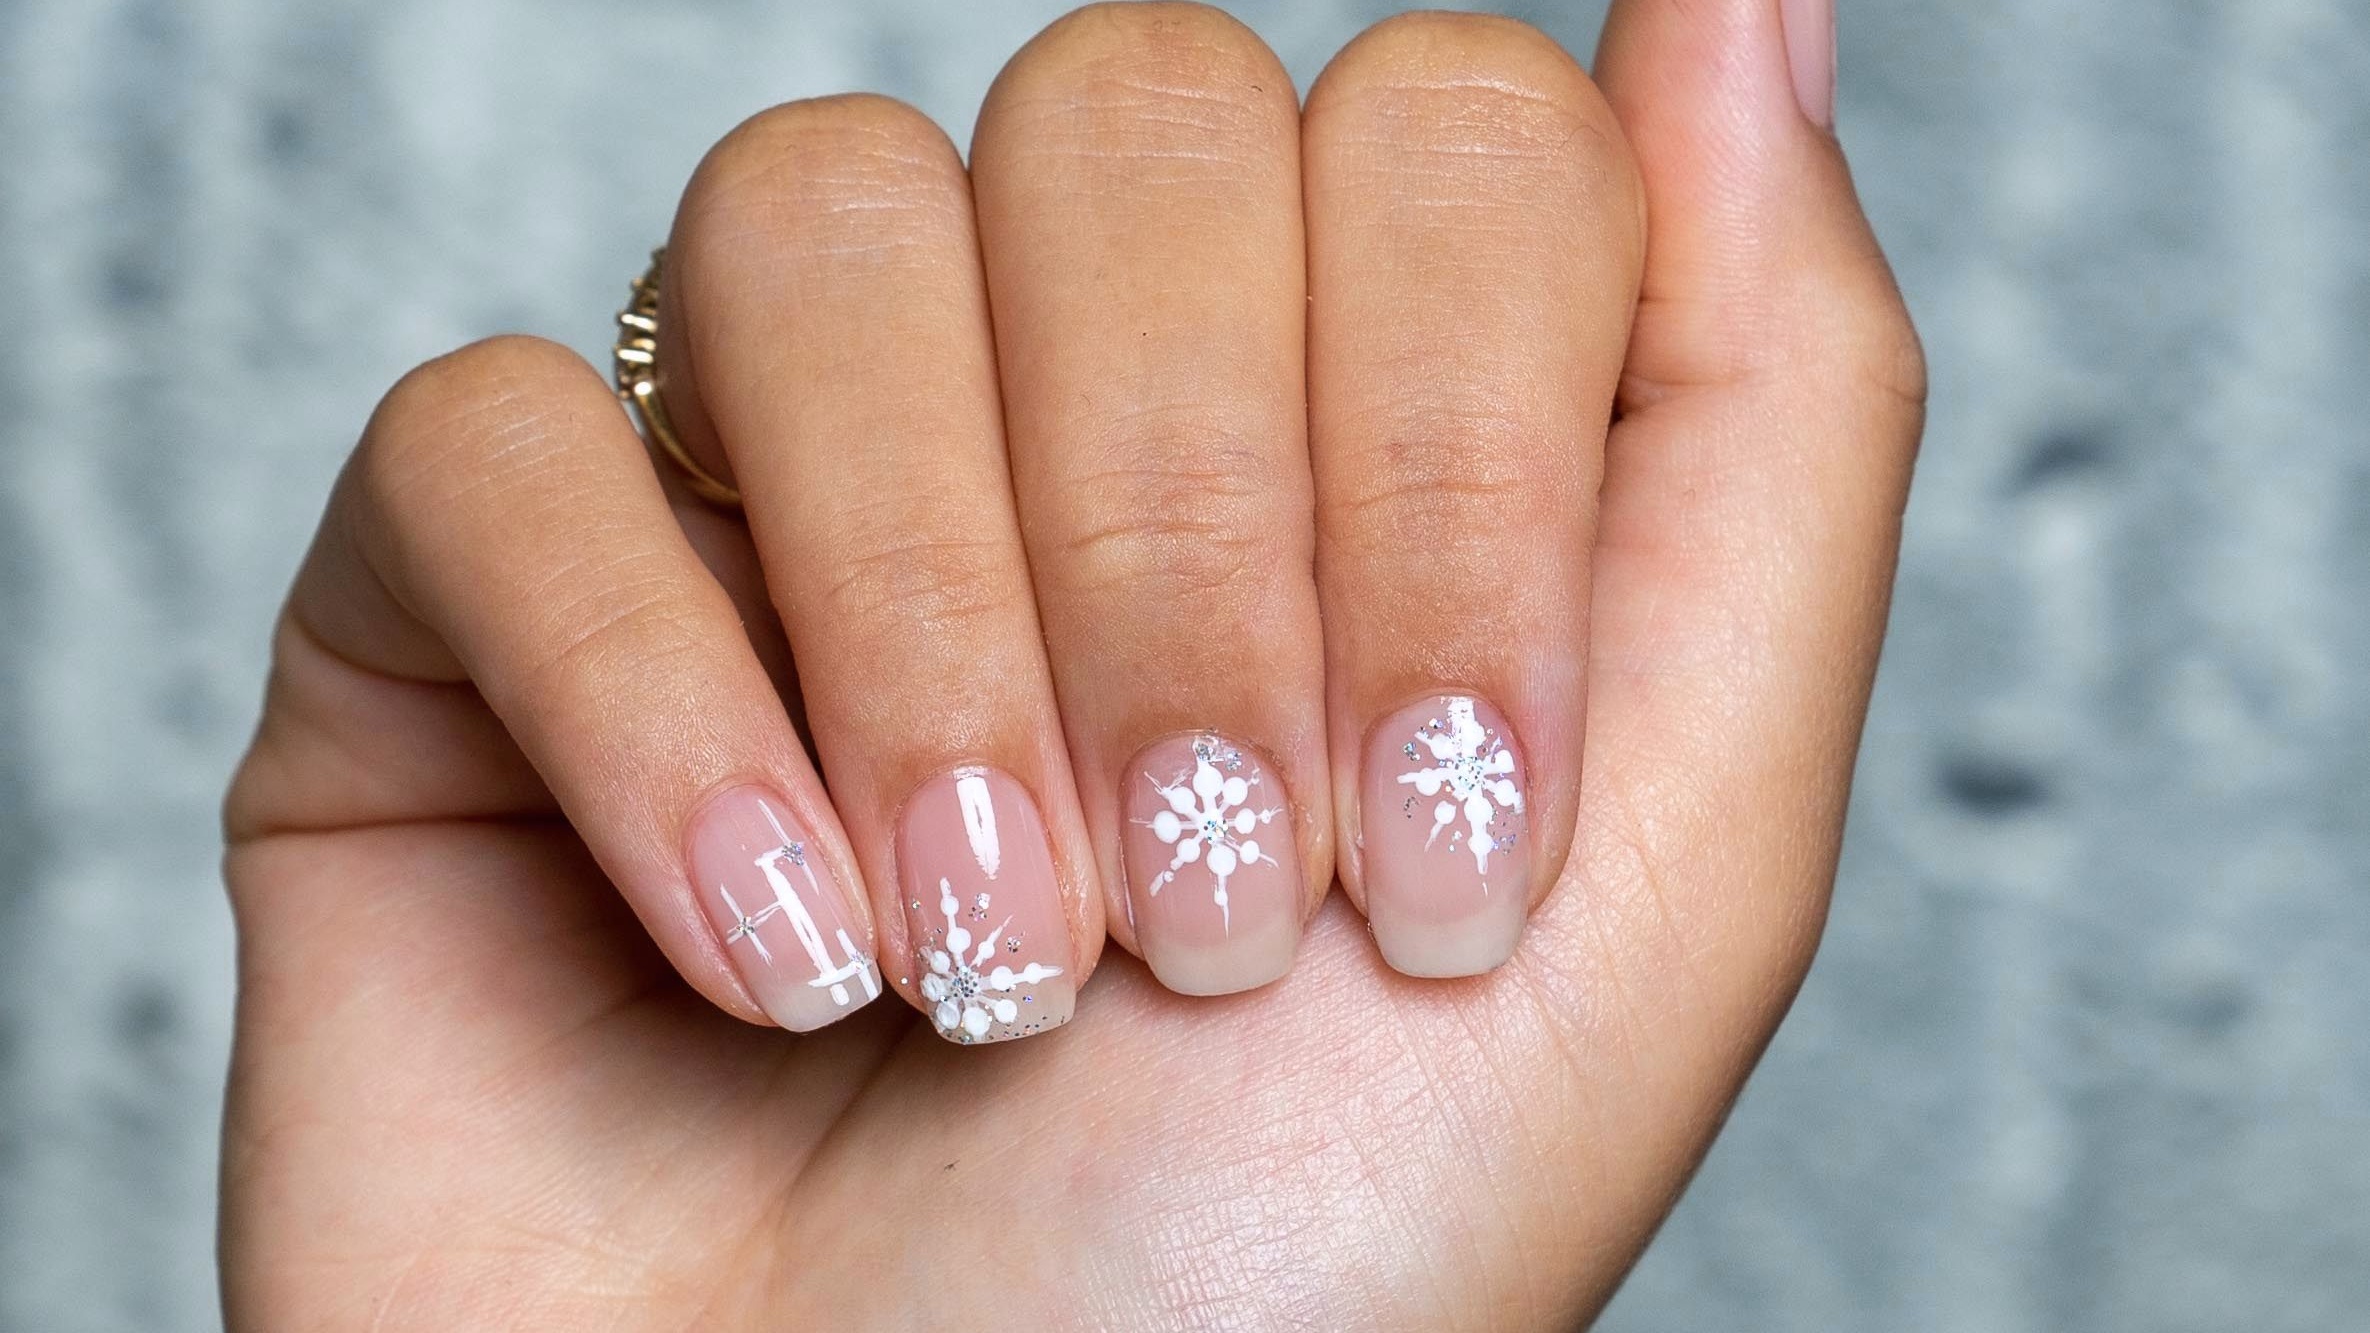
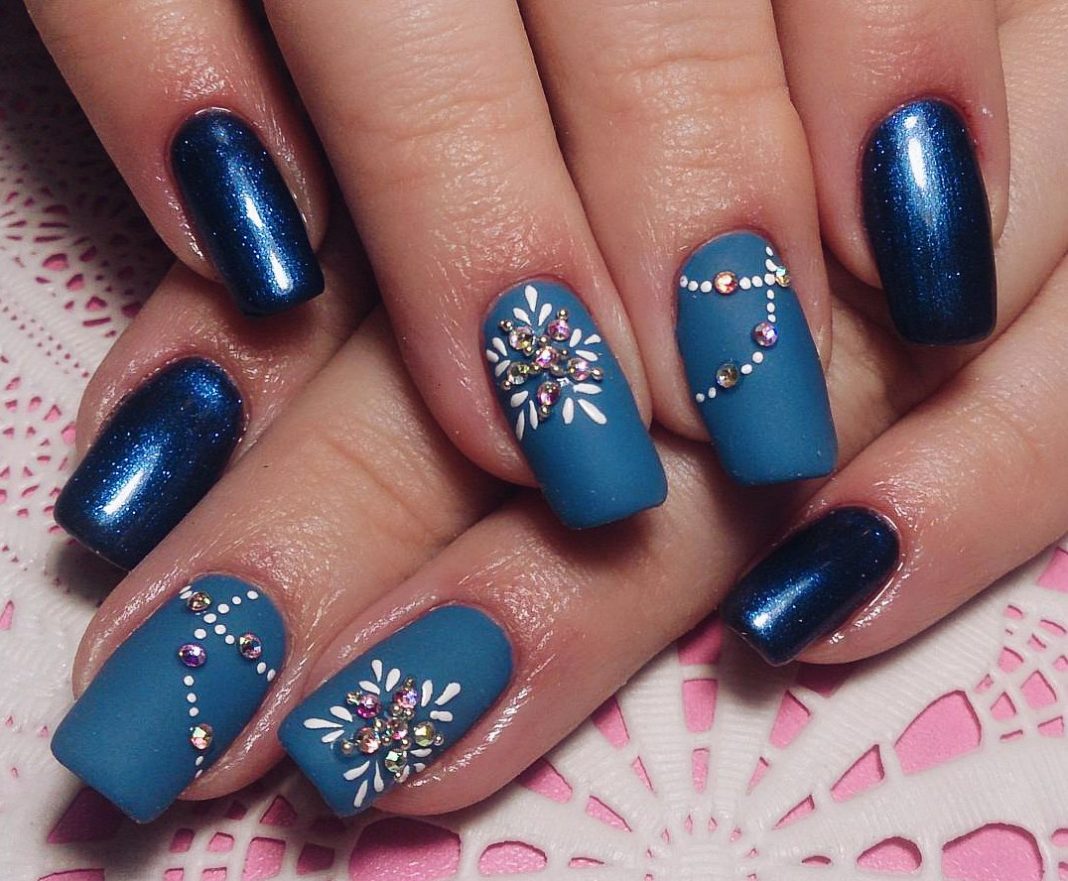
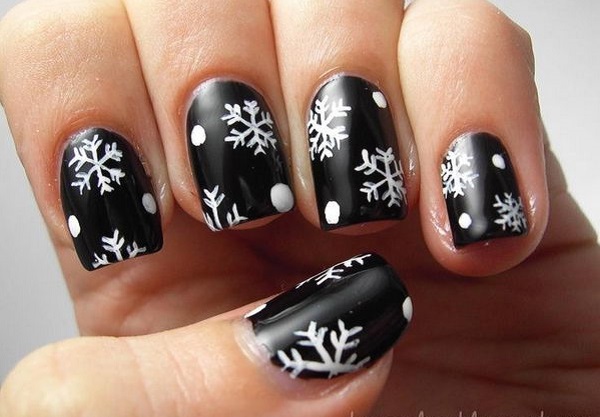
If you are new to nail art or just want a quick and easy design, these snowflake nail art ideas are perfect for you. Start by painting your nails with a light blue or white base color. Then, using a toothpick or a small brush, create simple snowflake shapes on each nail using white or silver nail polish. You can also add a little sparkle by using a glitter polish or adding some rhinestones to the center of each snowflake.Easy Snowflake Nail Art Designs


Easy Snowflake Nail Art Designs

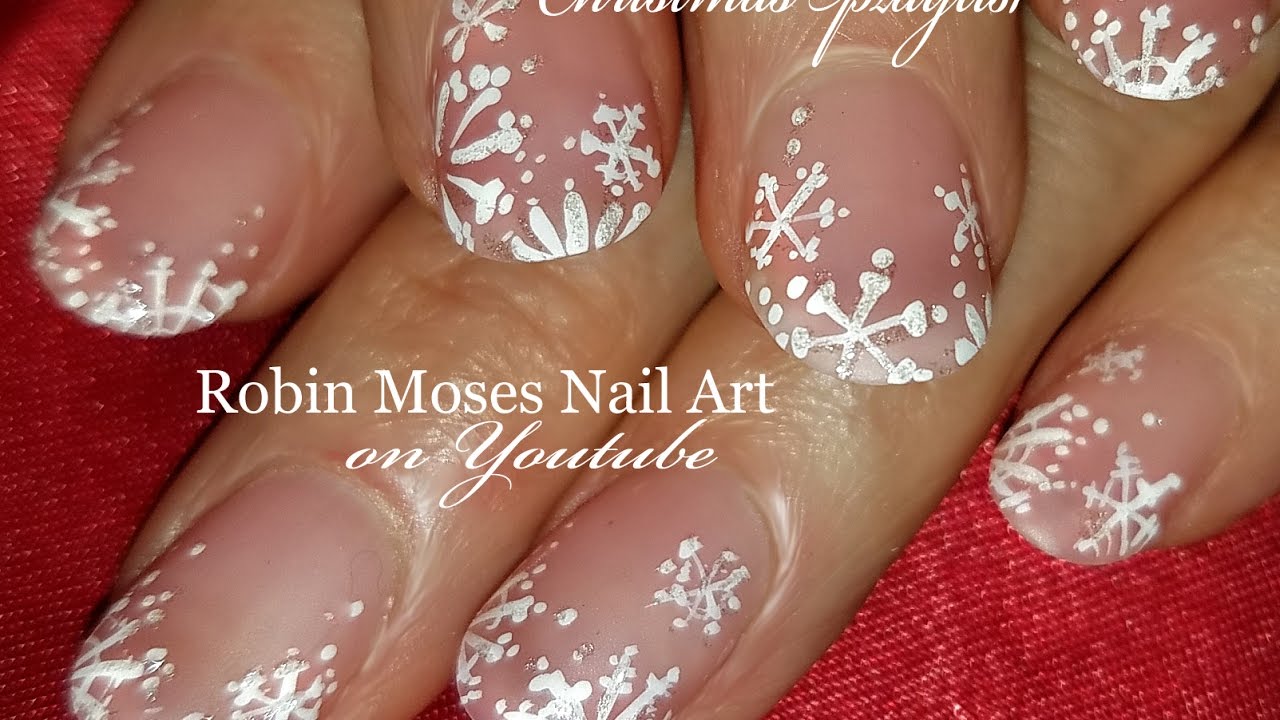
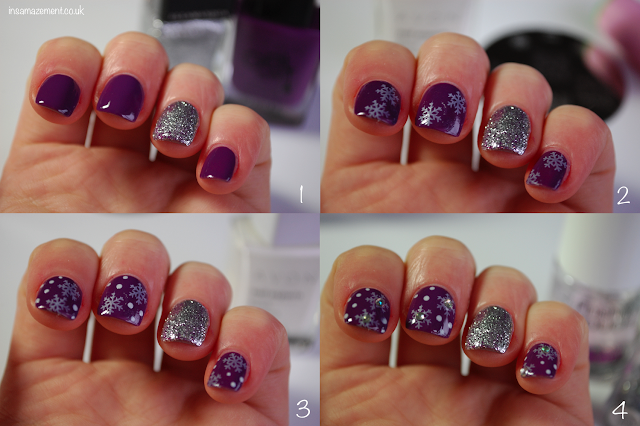
If you prefer a step-by-step guide, check out some DIY snowflake nail art tutorials online. These tutorials will provide you with detailed instructions on how to create different snowflake designs, from basic to more intricate ones. You can also find tutorials that use different techniques such as stamping or using nail stickers to create stunning snowflake nail art.DIY Snowflake Nail Art Tutorial


DIY Snowflake Nail Art Tutorial


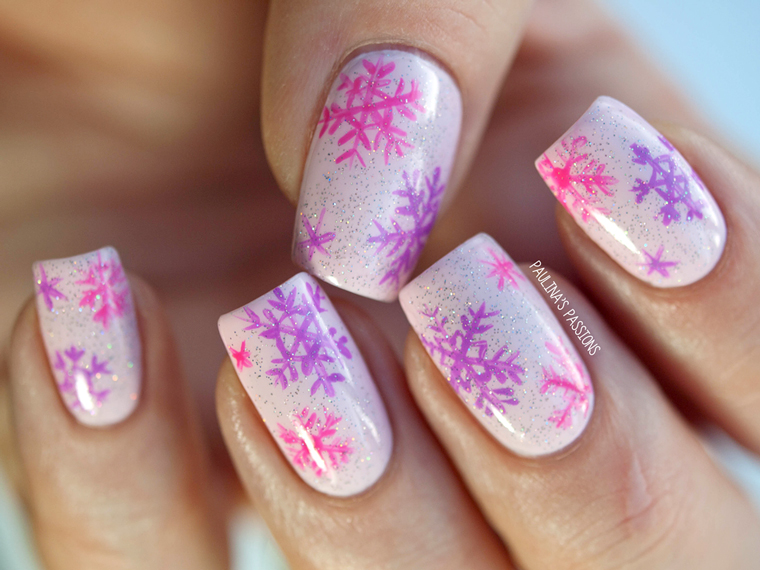
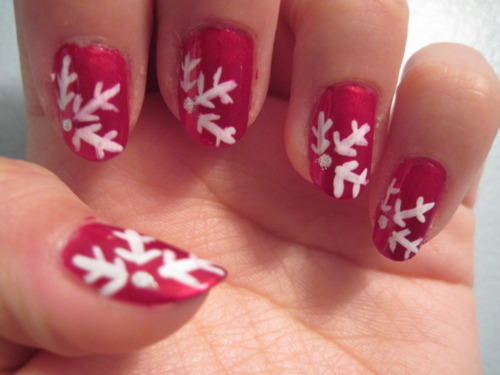
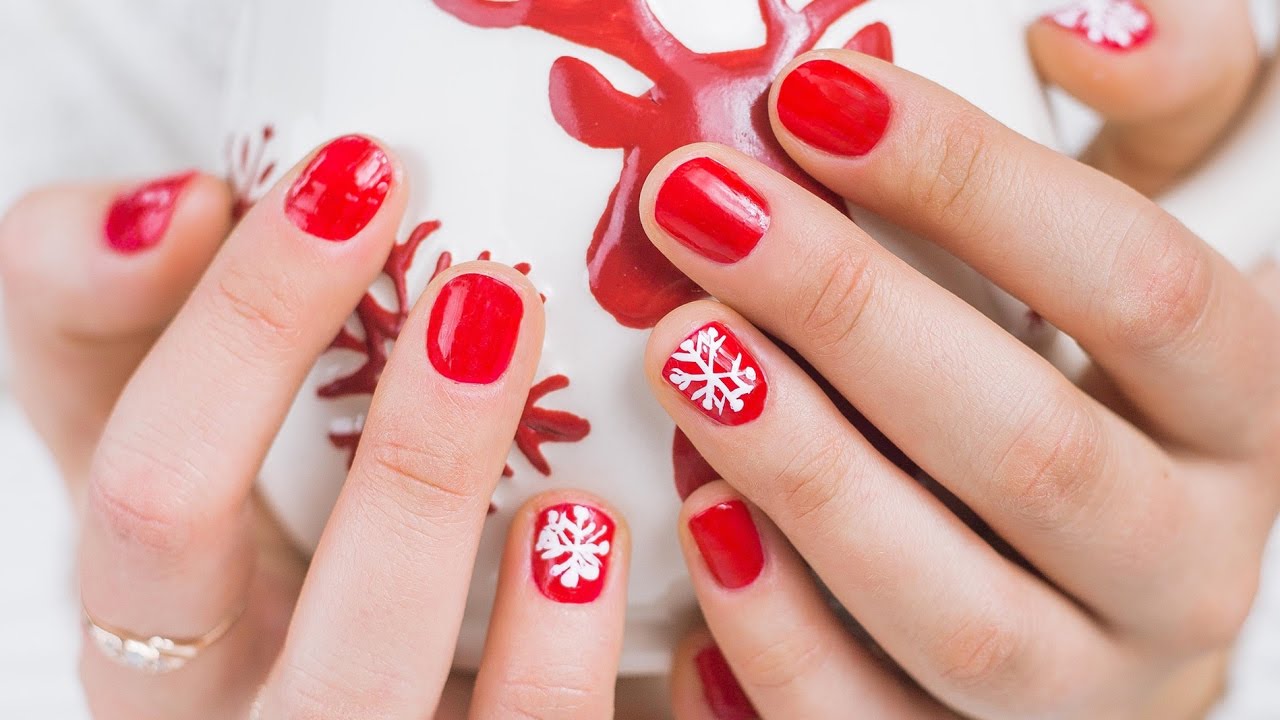
Snowflake nail art doesn't have to be limited to just white and silver. You can add a pop of color to your nails with cute snowflake designs. For example, you can paint your nails with a light pink or pastel blue base color and then create snowflakes using darker shades of the same color. This will give your nails a fun and playful look while still staying true to the winter theme.Cute Snowflake Nail Designs


Cute Snowflake Nail Designs


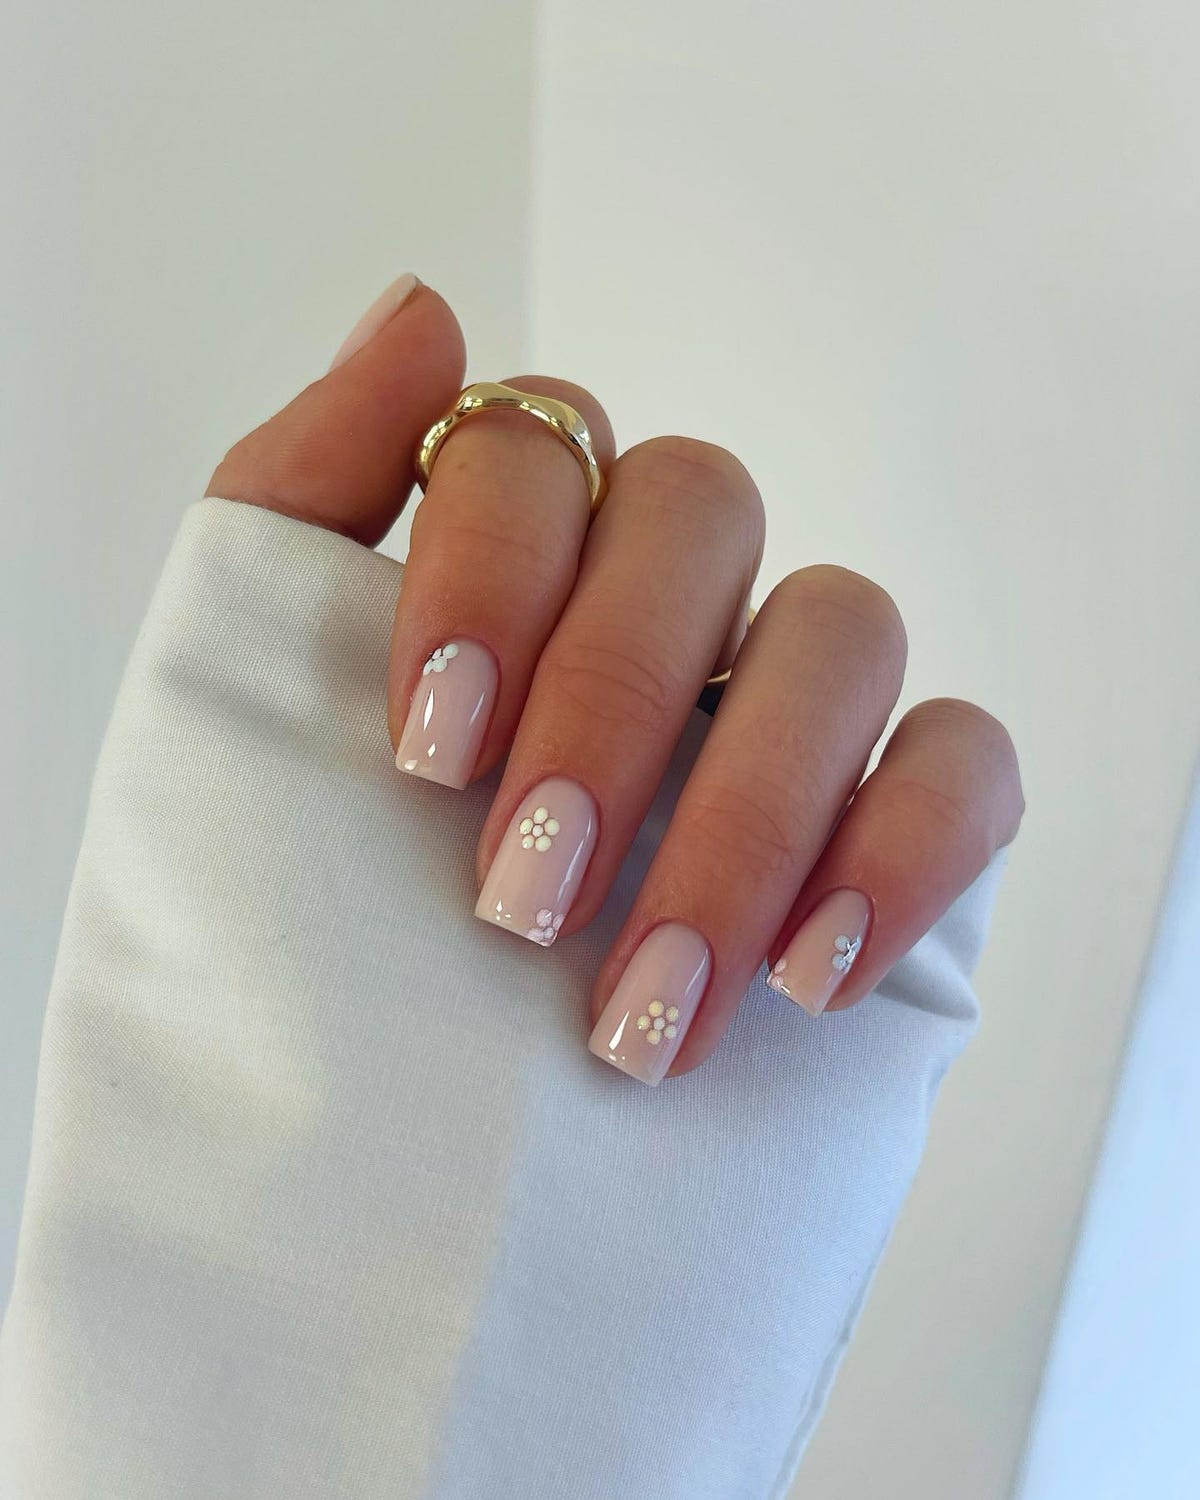
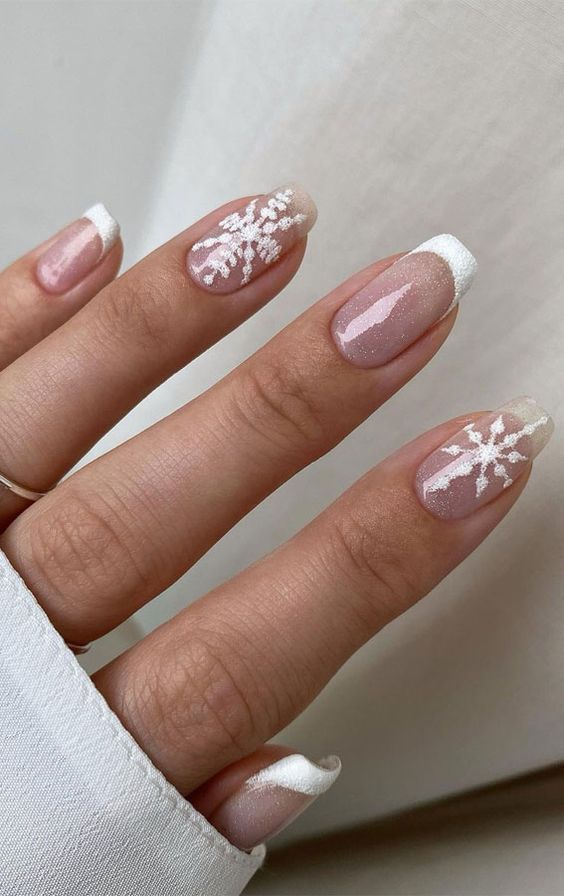
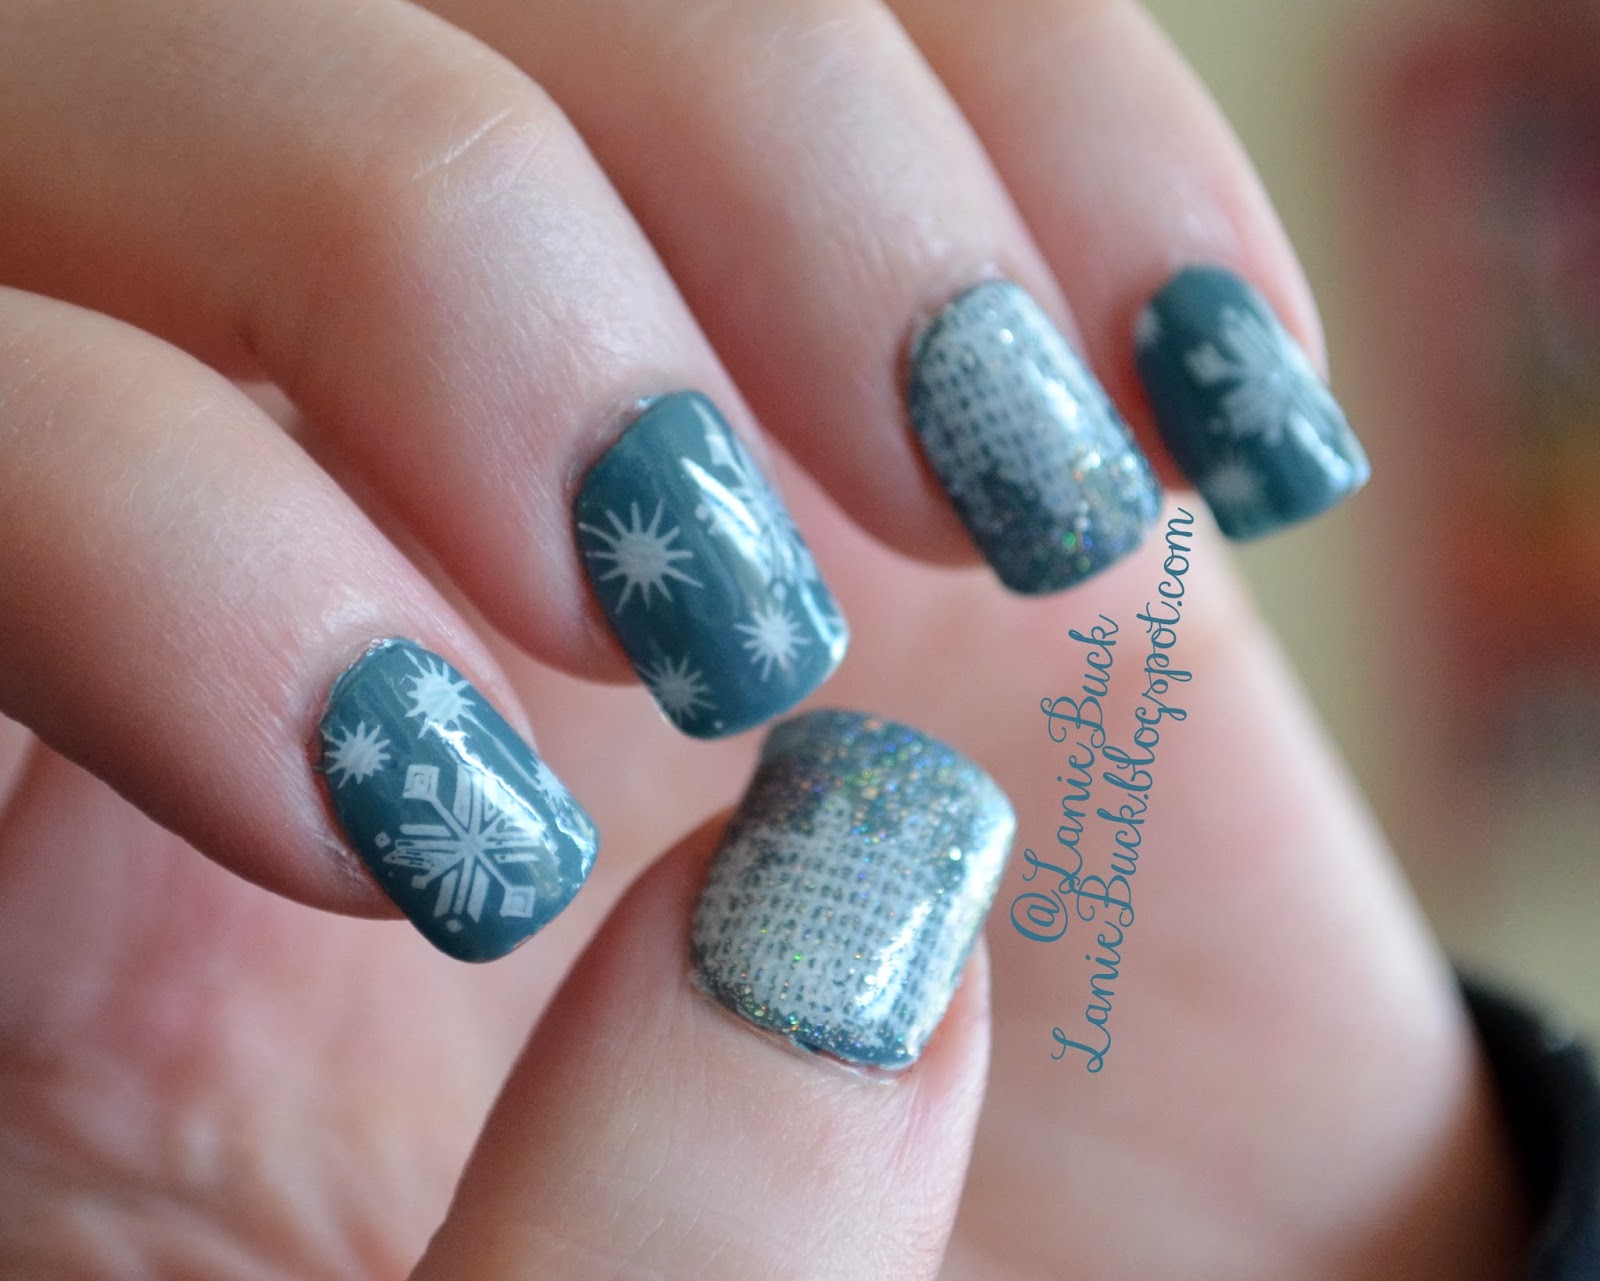
If you prefer a more subtle look, minimalist snowflake nail art is the way to go. Instead of creating intricate snowflake designs, opt for simple and clean lines. You can paint your nails with a nude or light grey base color and then use a thin brush to create thin lines in white or silver nail polish. This will give your nails a chic and minimalist look, perfect for any occasion.Minimalist Snowflake Nail Art

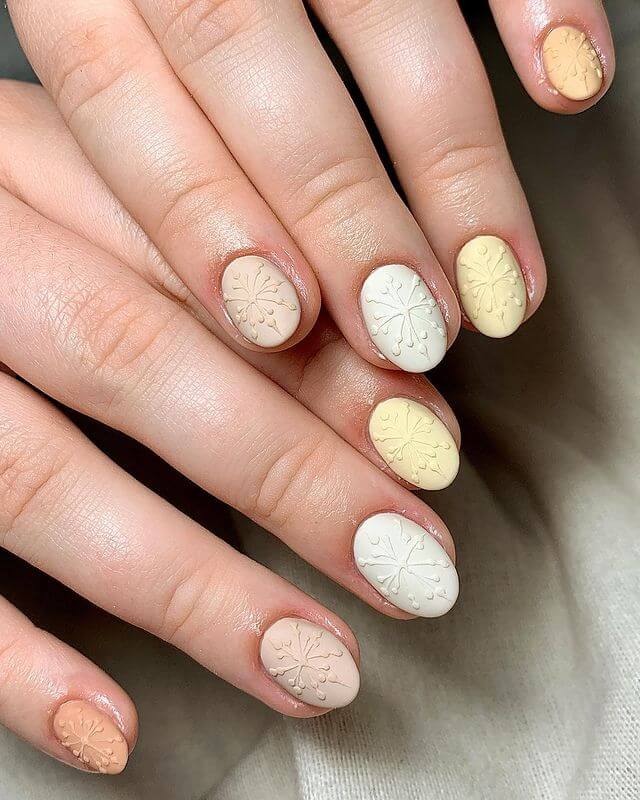
Minimalist Snowflake Nail Art


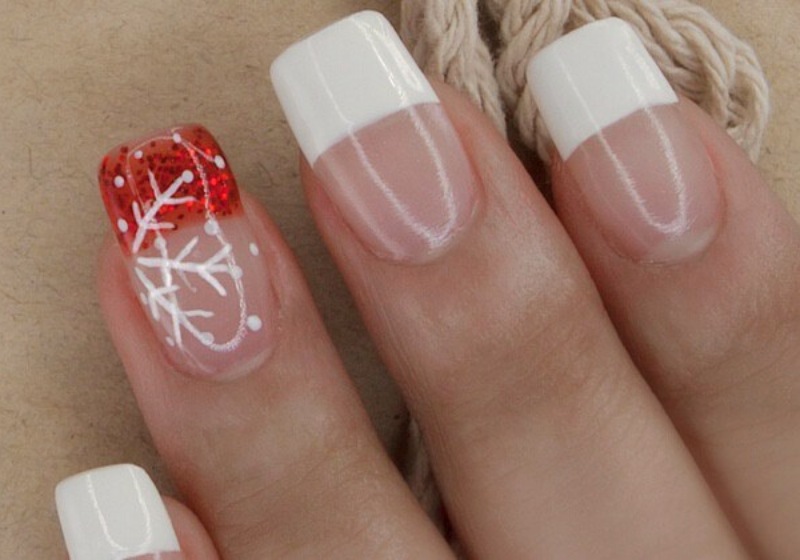
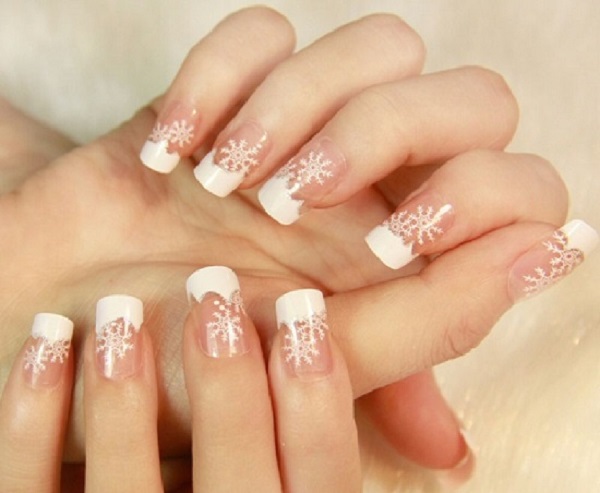
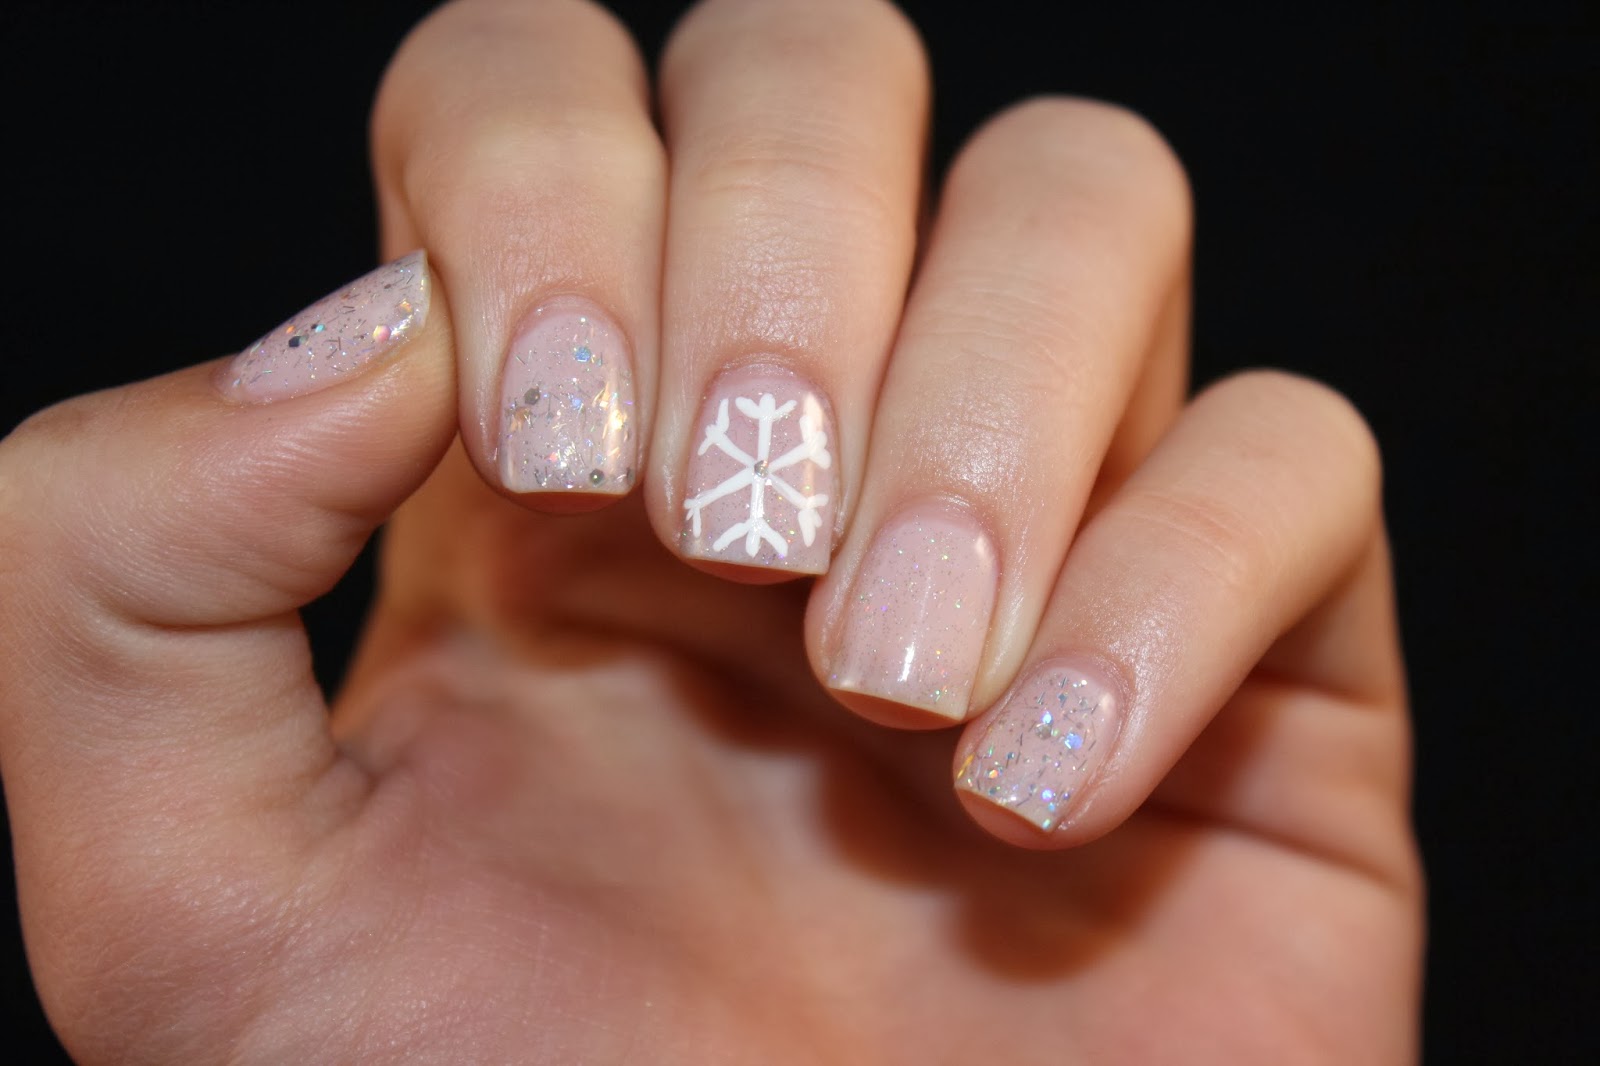
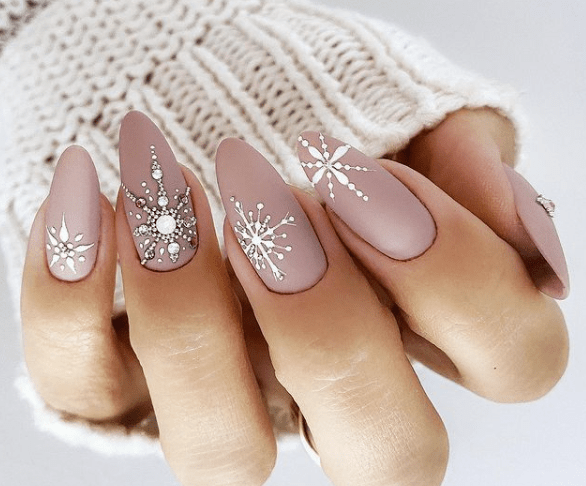
For a more elegant and sophisticated look, try incorporating snowflakes into a french manicure. Paint your nails with a light pink or nude base color and then create a white tip. Using a small brush, add a few snowflake designs on top of the white tip. You can also add some rhinestones or glitter to make your nails even more glamorous.Elegant Snowflake Nail Designs


Elegant Snowflake Nail Designs
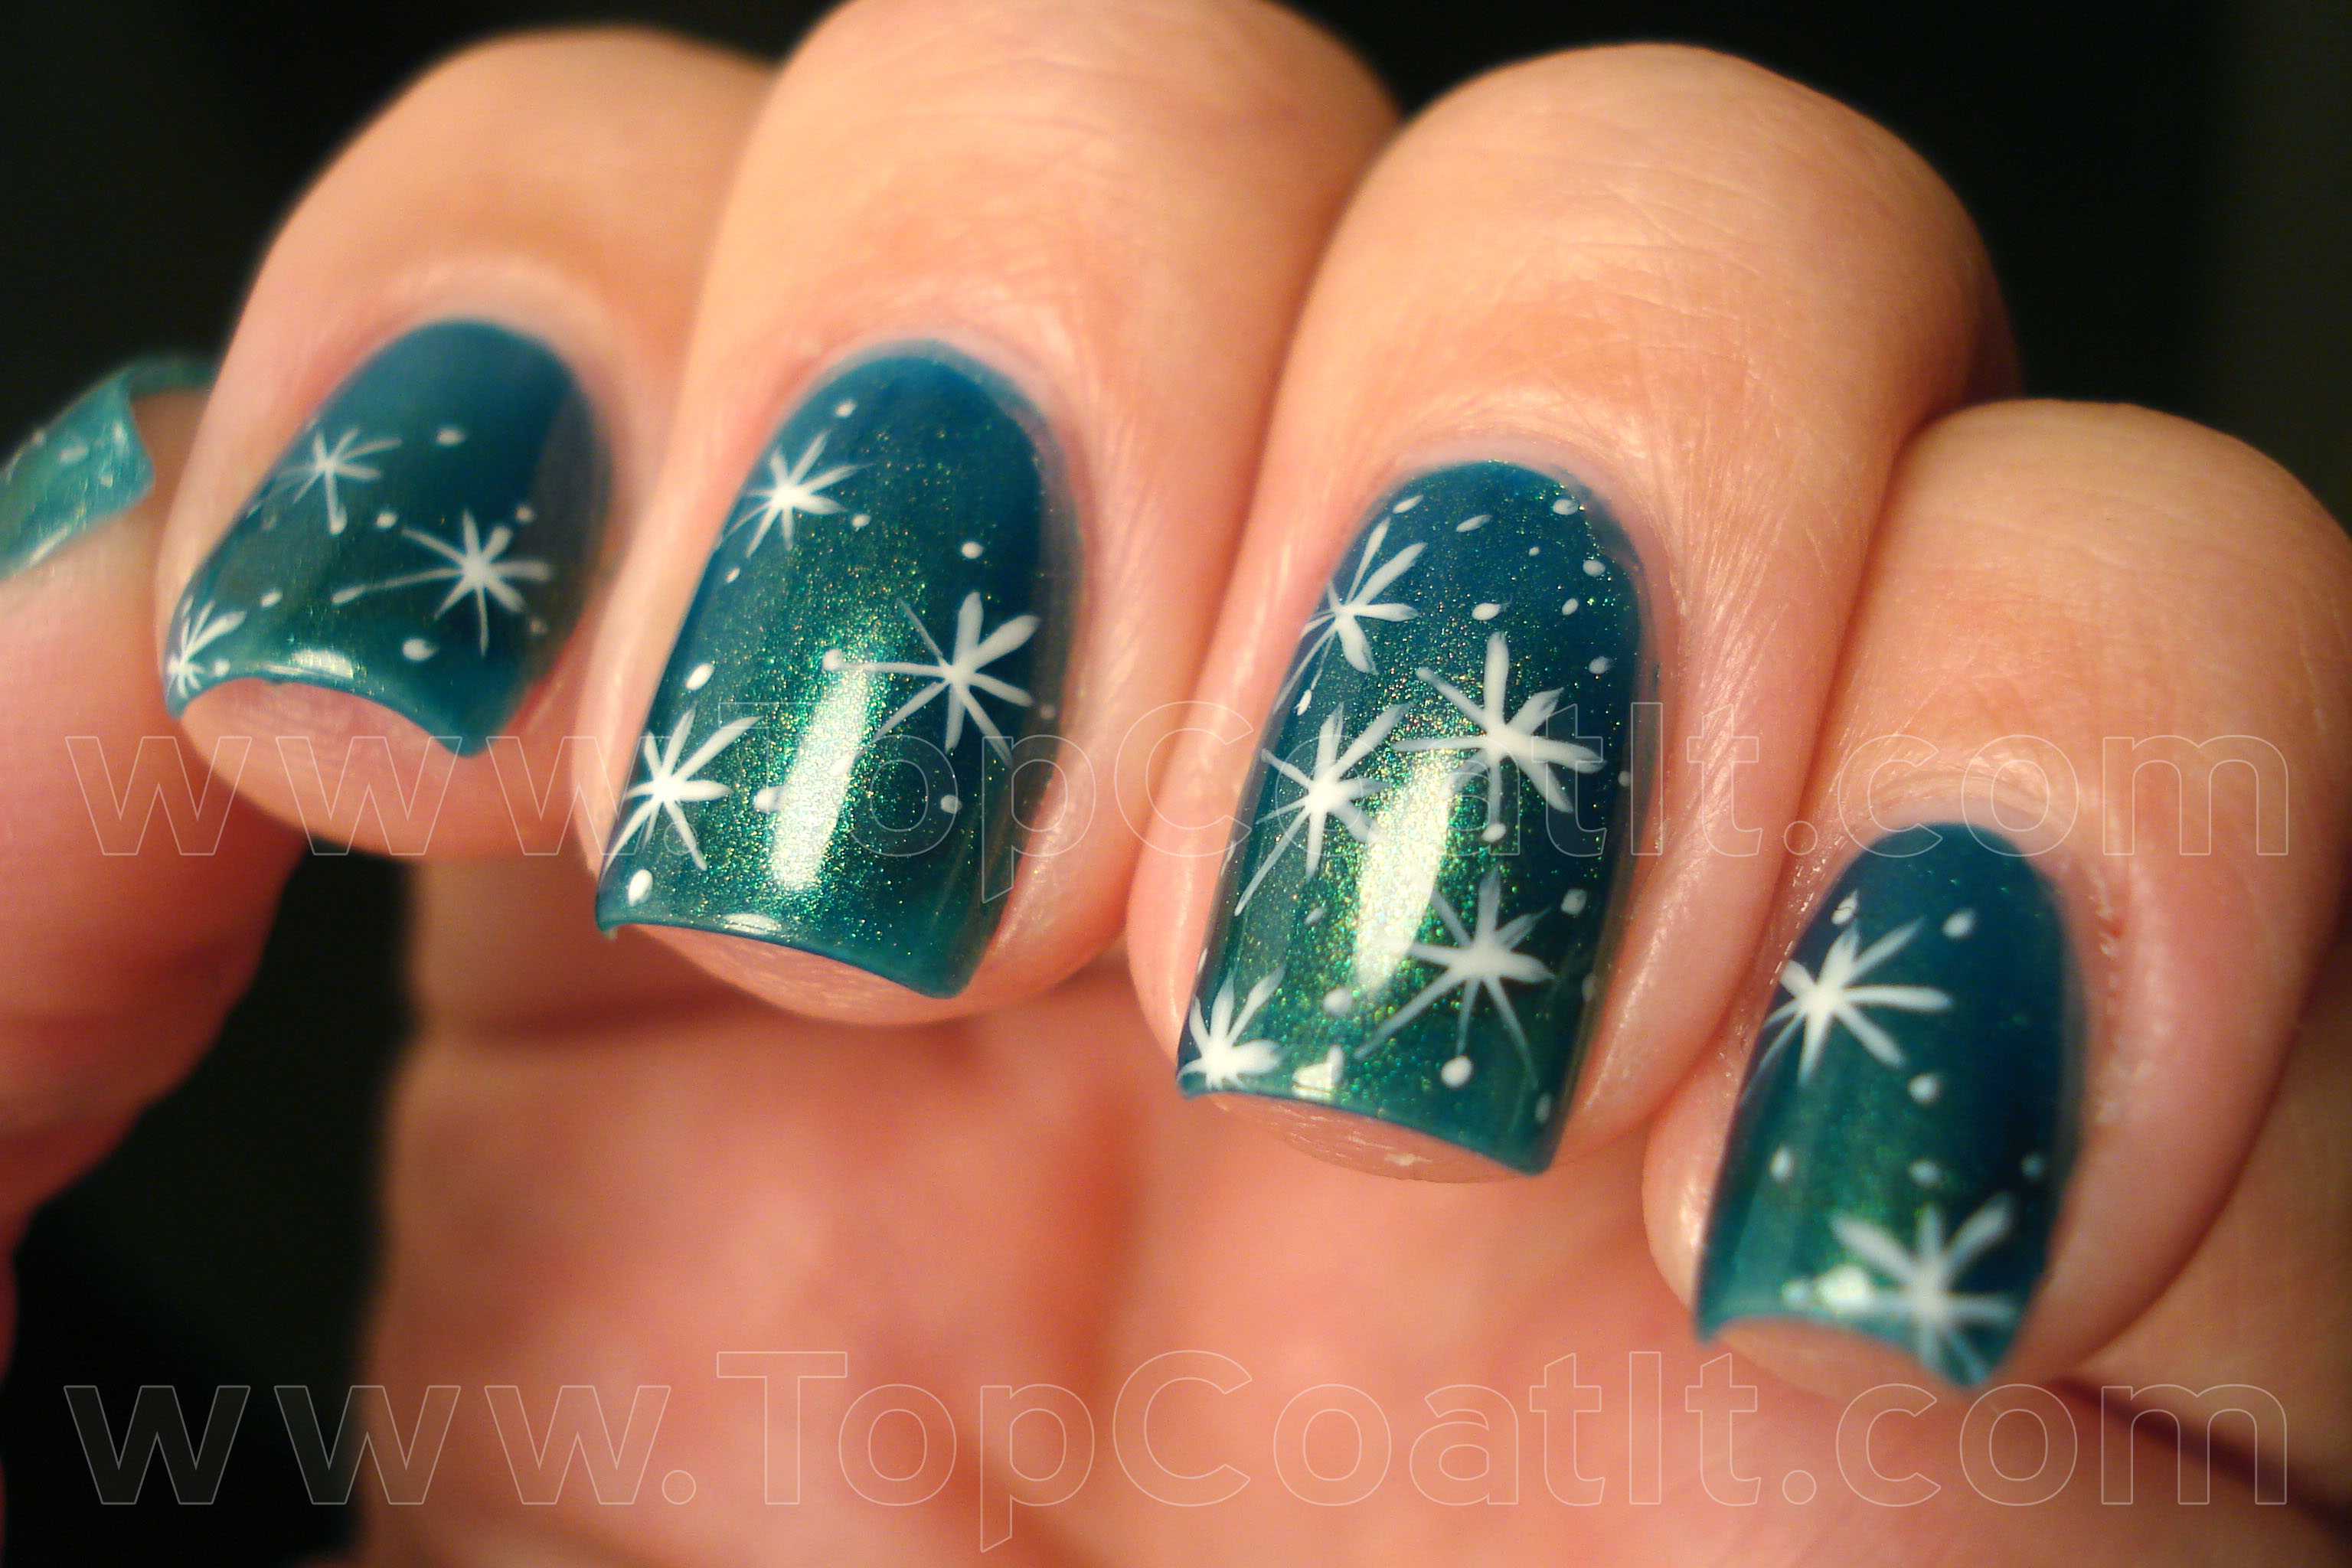
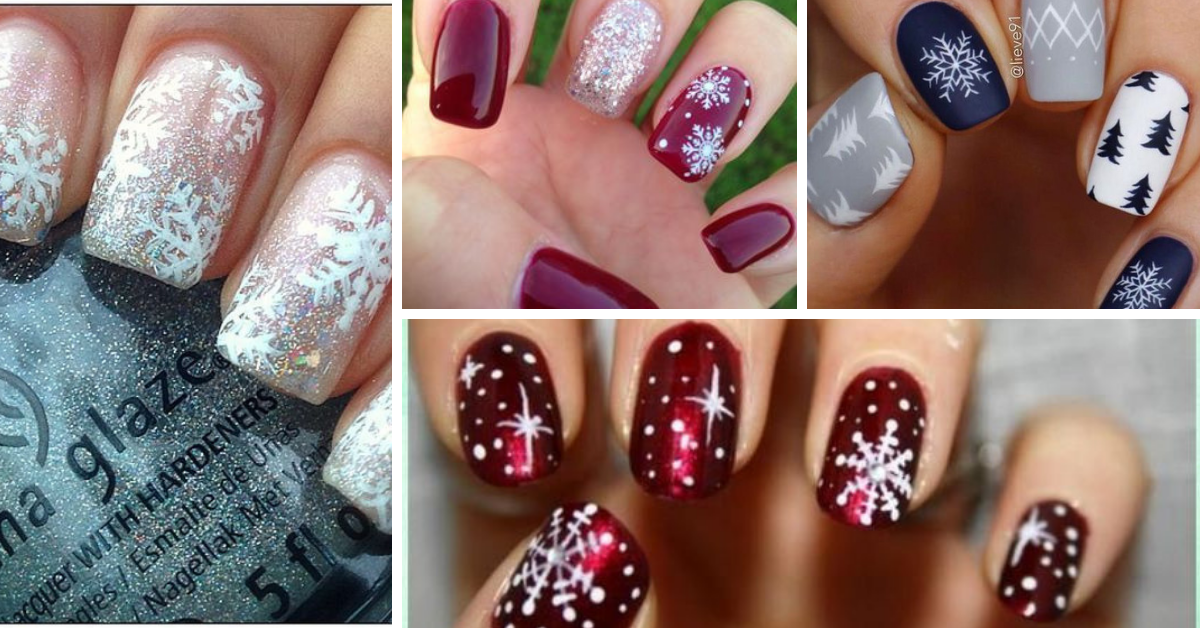
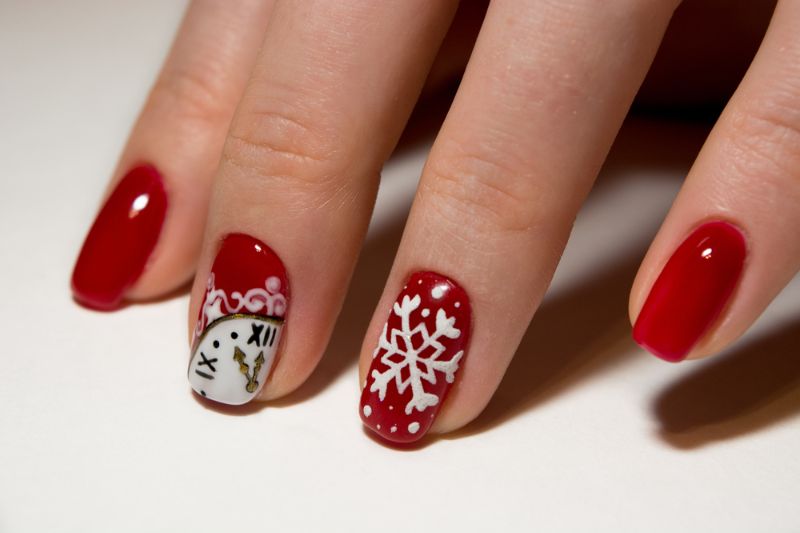
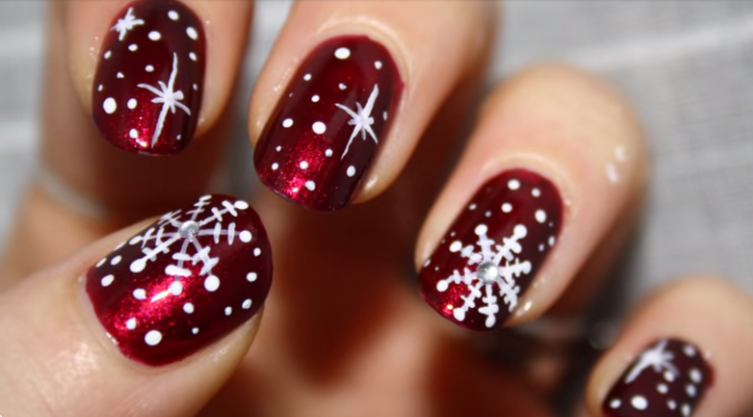
If you are looking for some inspiration, take a look at winter-themed nail art on social media or Pinterest. You will find a variety of snowflake nail designs, from simple to elaborate. You can also use your favorite winter colors such as deep red, dark green, or royal blue to create unique snowflake designs.Winter Snowflake Nail Art Inspiration


Winter Snowflake Nail Art Inspiration

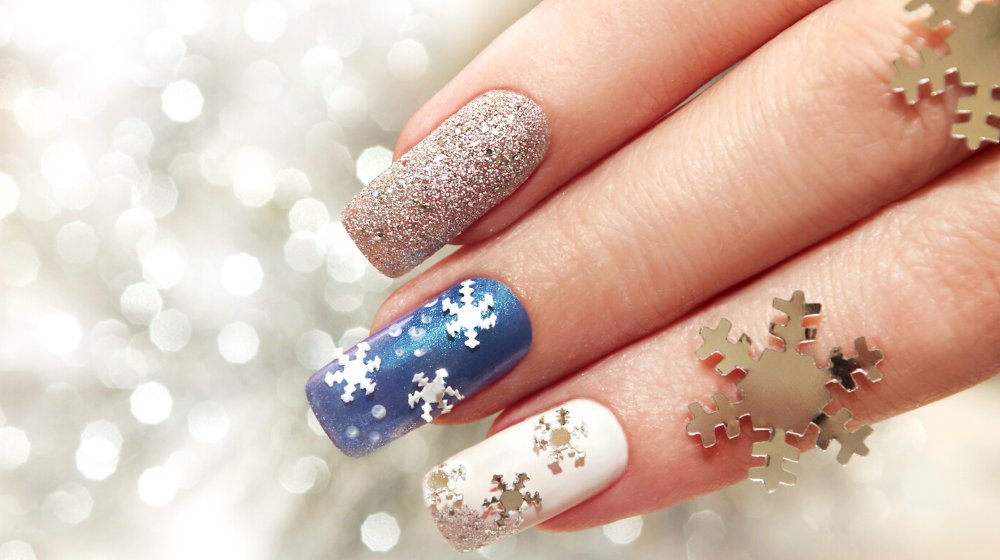
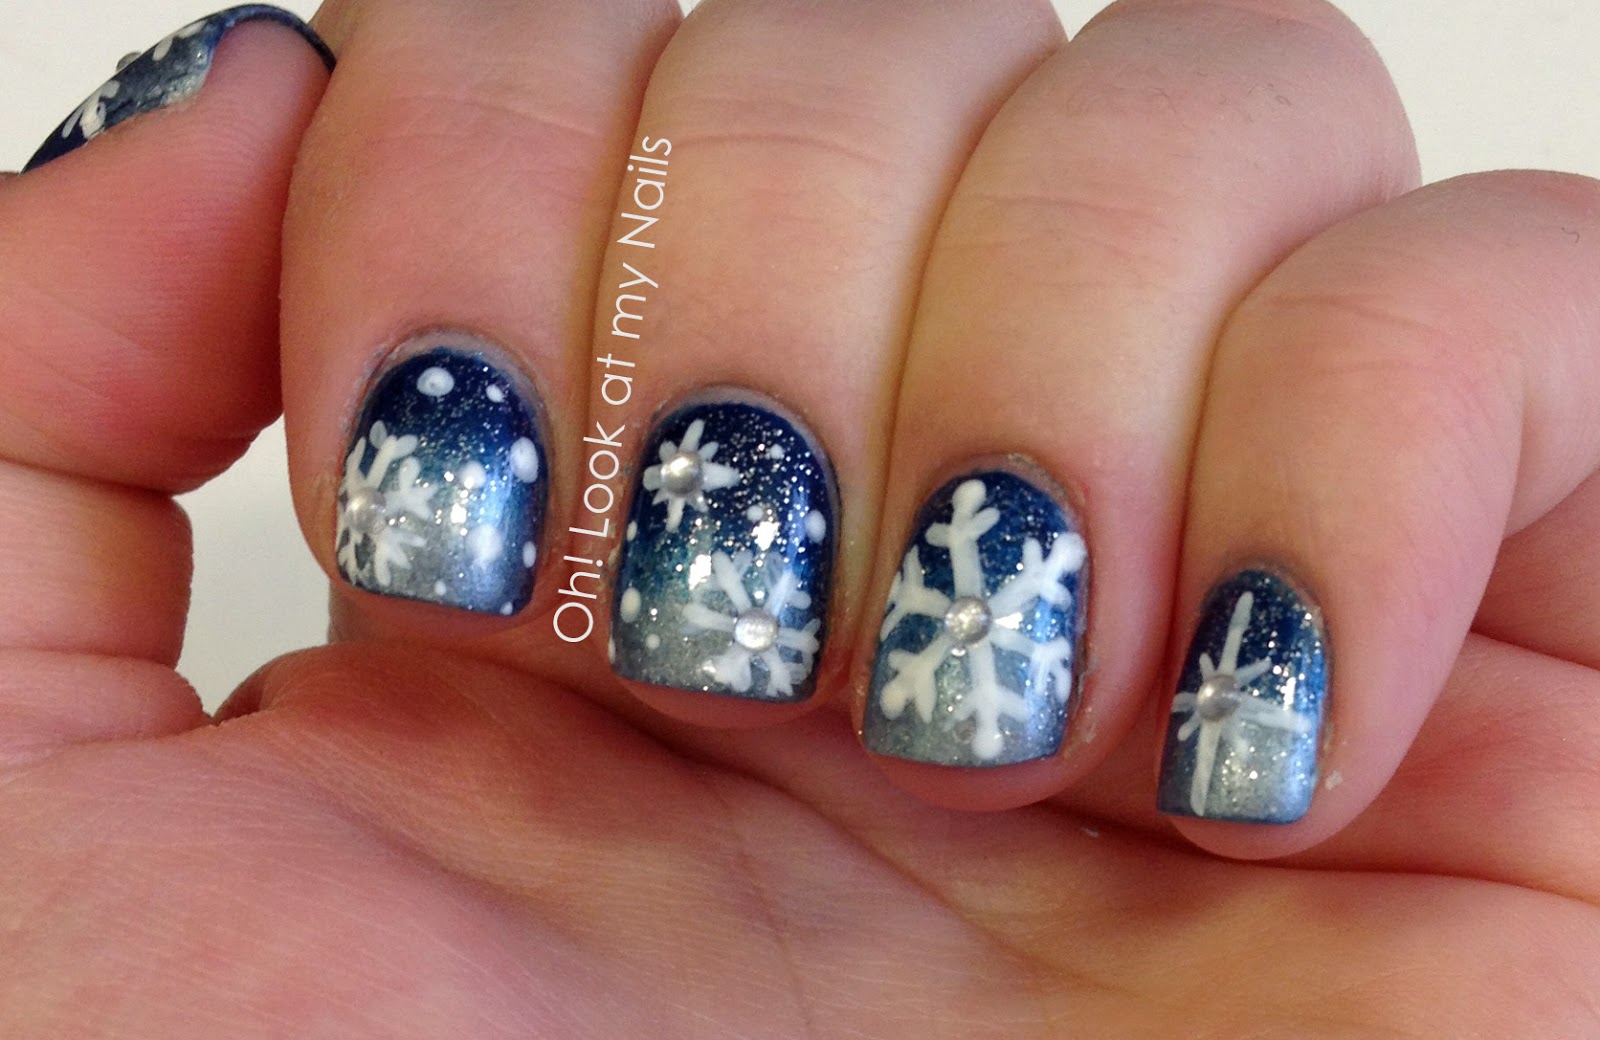
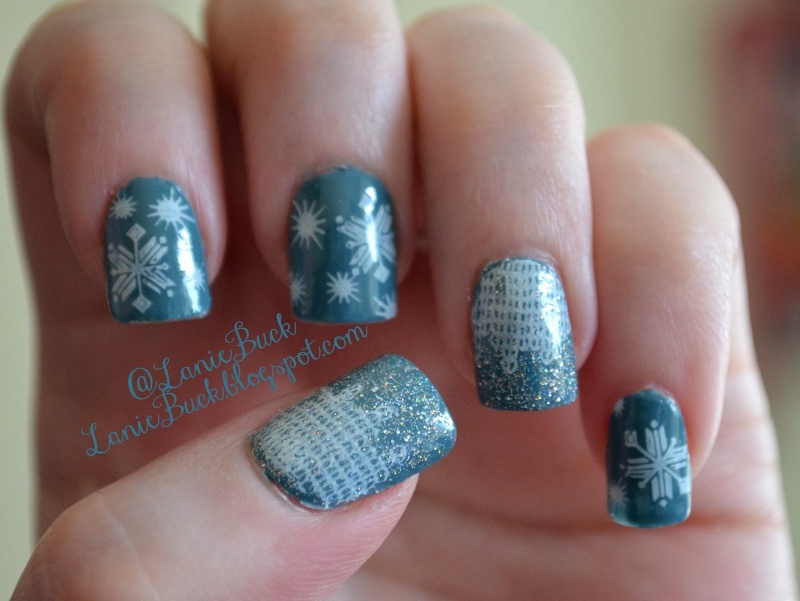
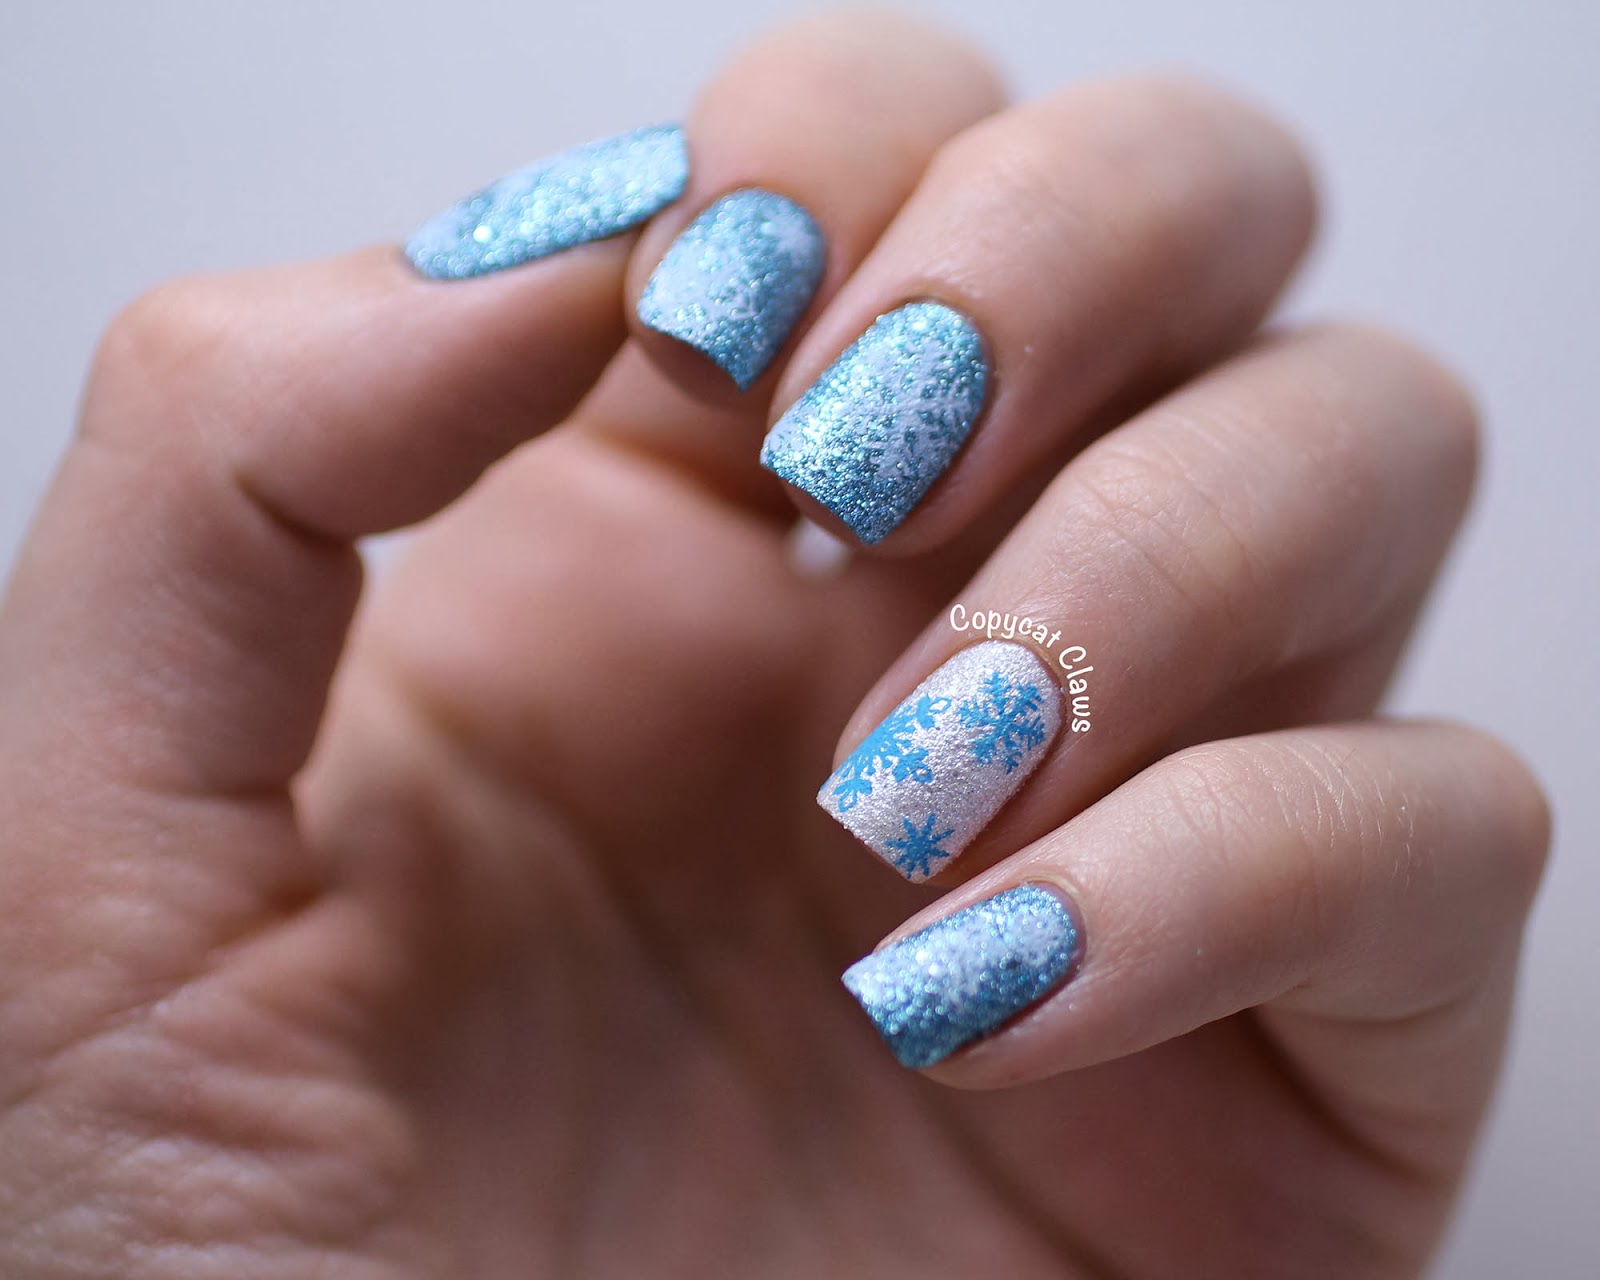
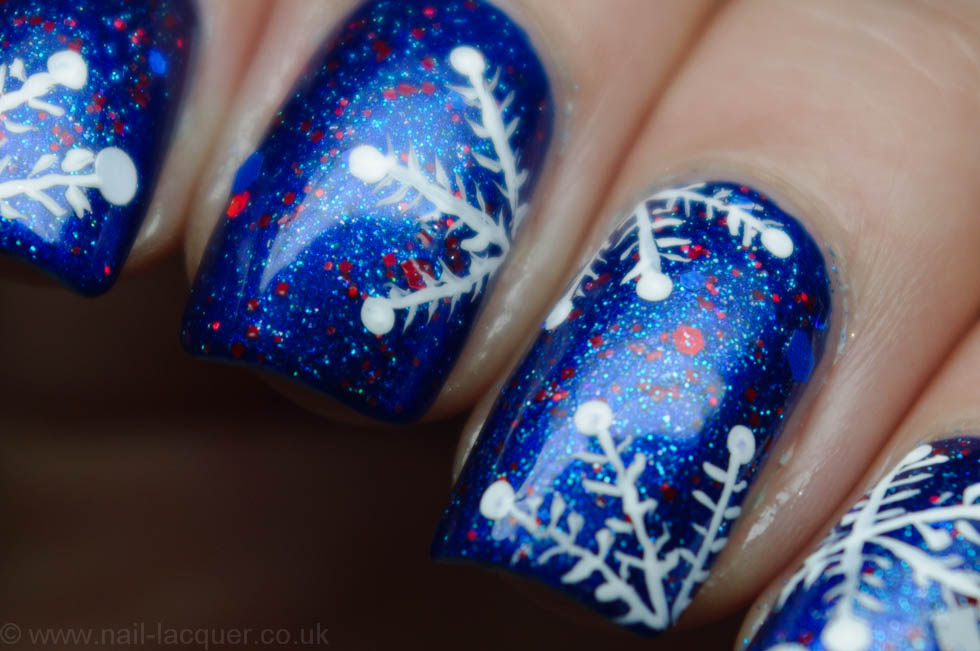
Nothing says winter like glitter. Incorporate some sparkle into your snowflake nail art by using glitter nail polish or adding some loose glitter on top of your design. You can also create a gradient effect by using different shades of glitter on each nail.Glitter Snowflake Nail Designs


Glitter Snowflake Nail Designs


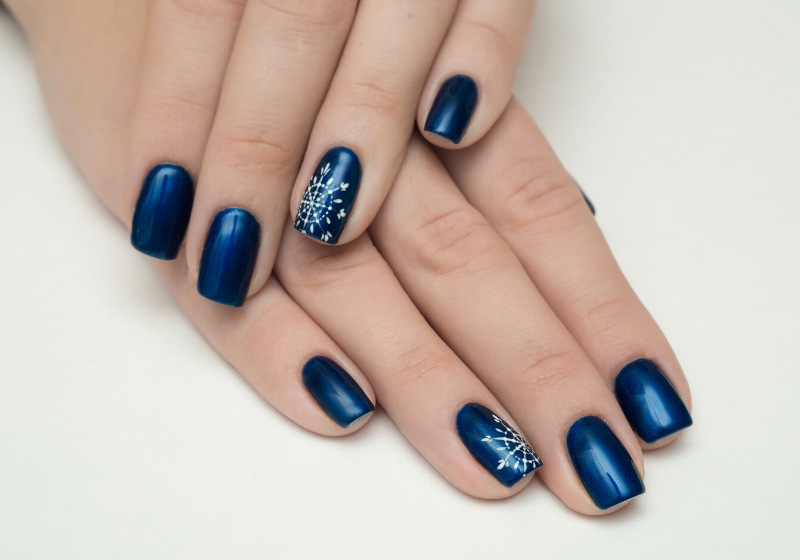
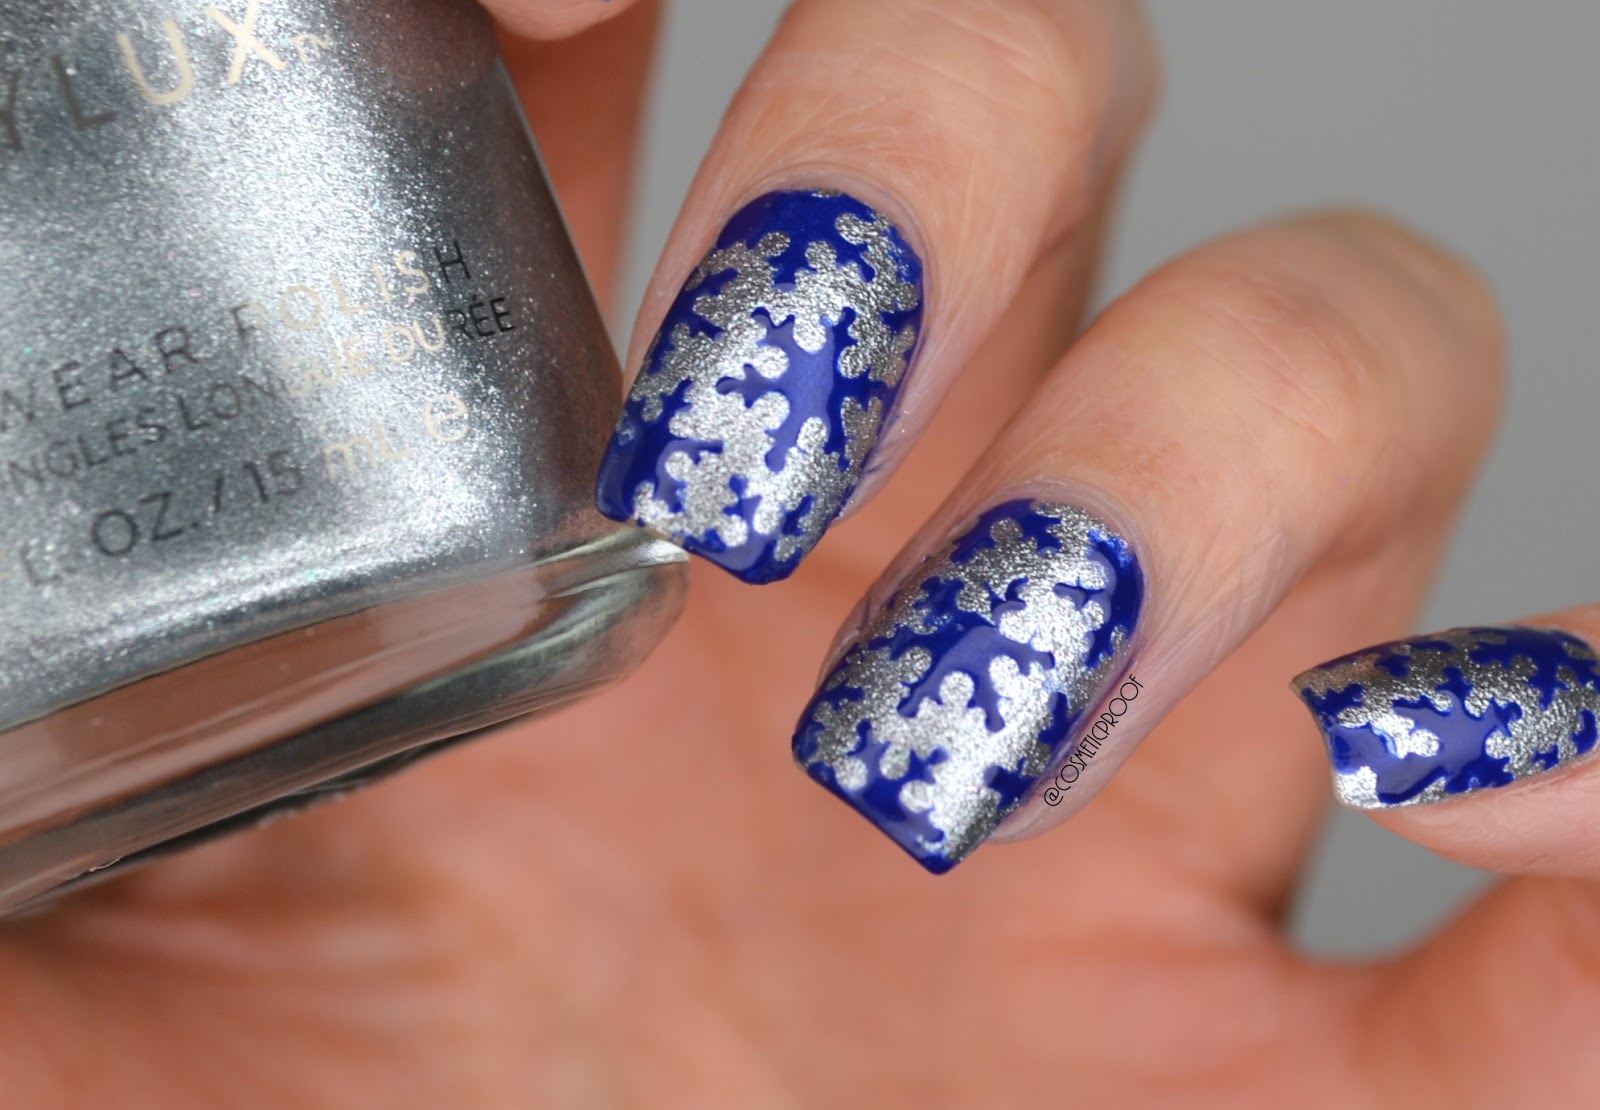
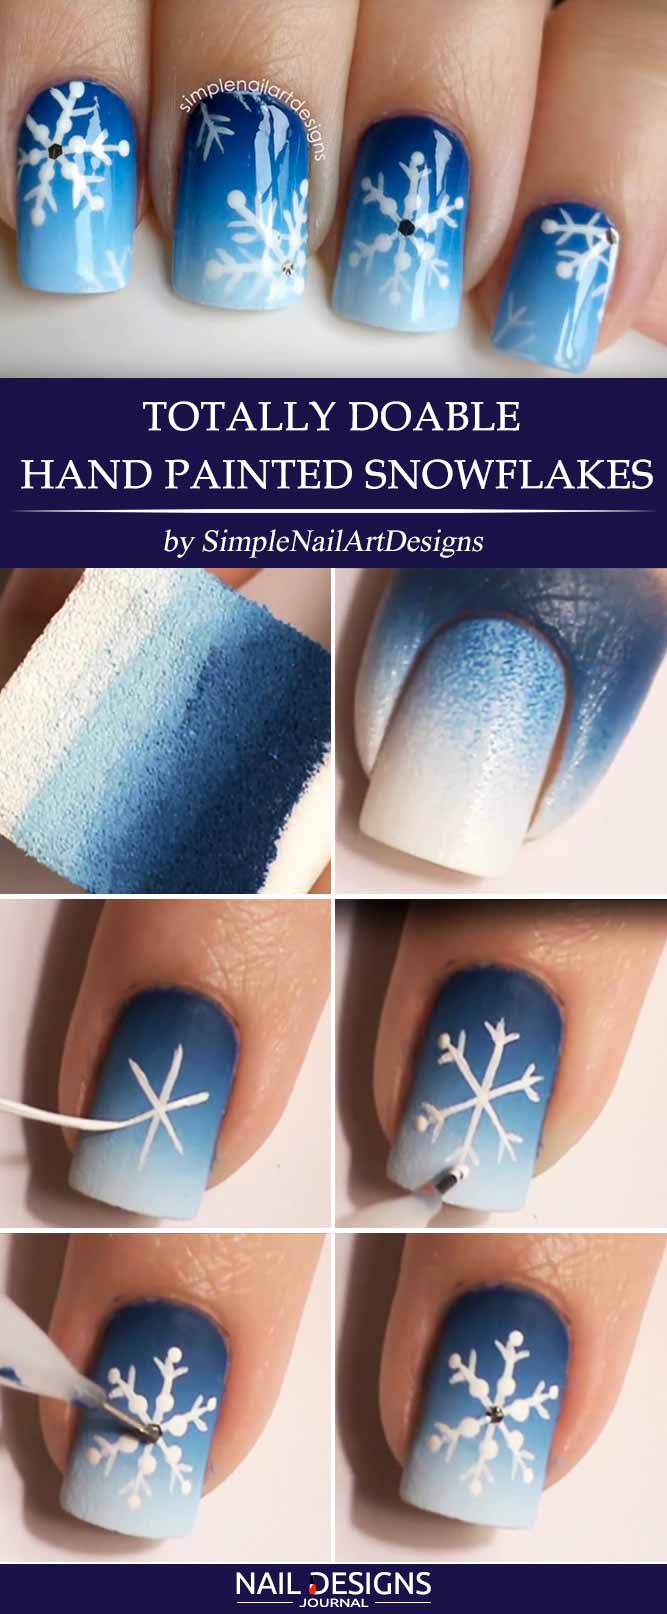
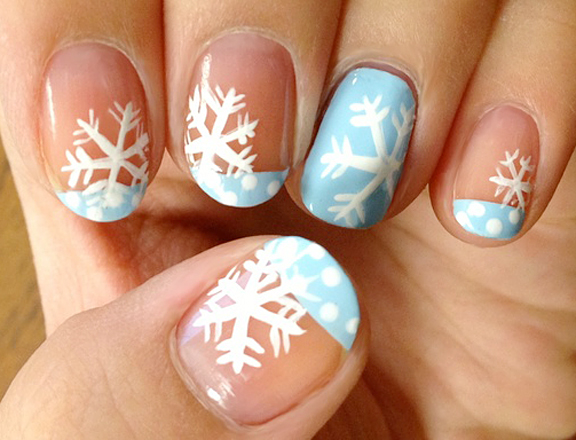
The classic color combination for snowflake nail art is blue and white. These two colors represent the winter season perfectly. You can create different designs using these two colors, such as painting your nails with a blue gradient and adding white snowflakes on top. Or you can create a reverse french manicure with a white base and blue tips.Blue and White Snowflake Nail Art

Blue and White Snowflake Nail Art
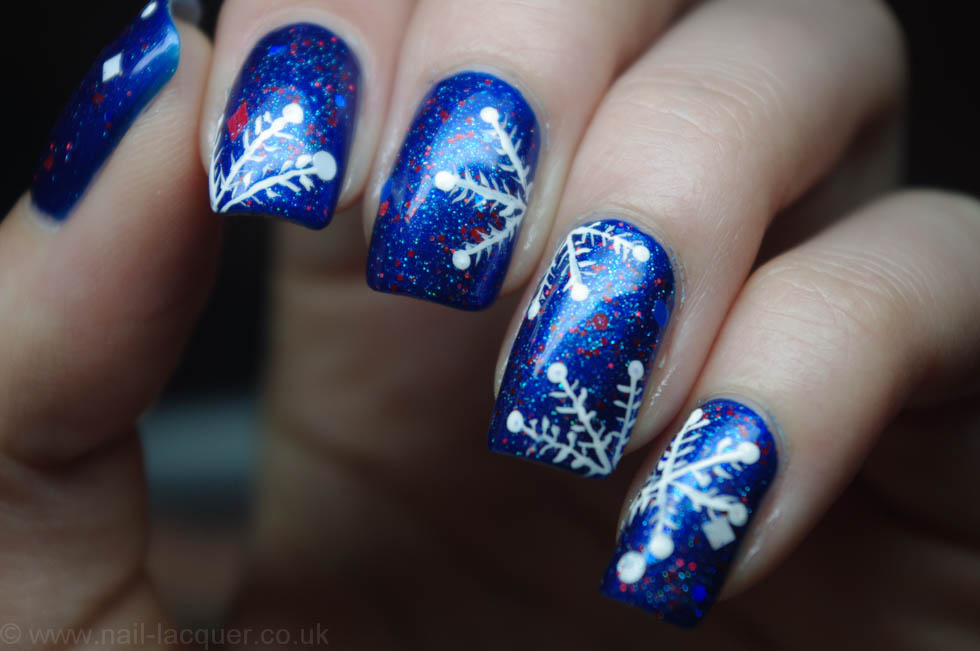

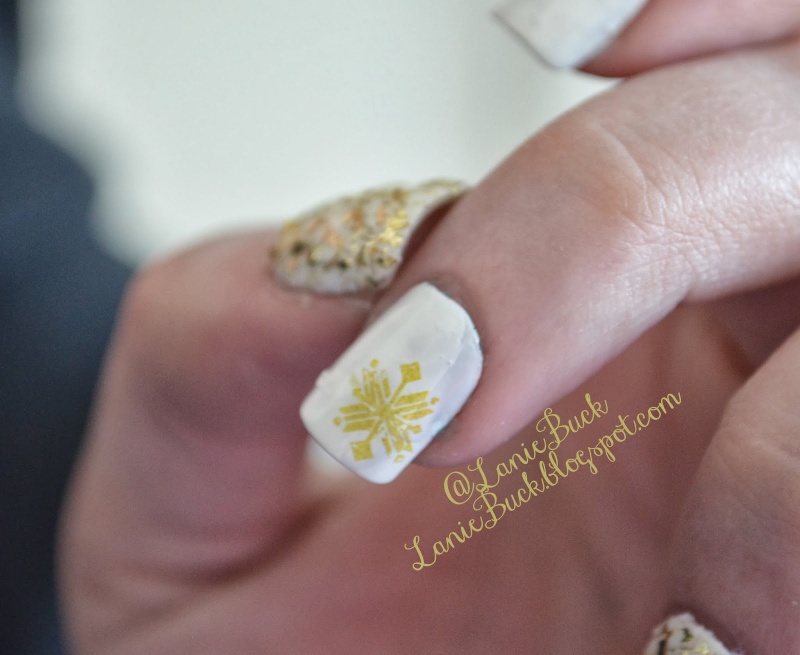
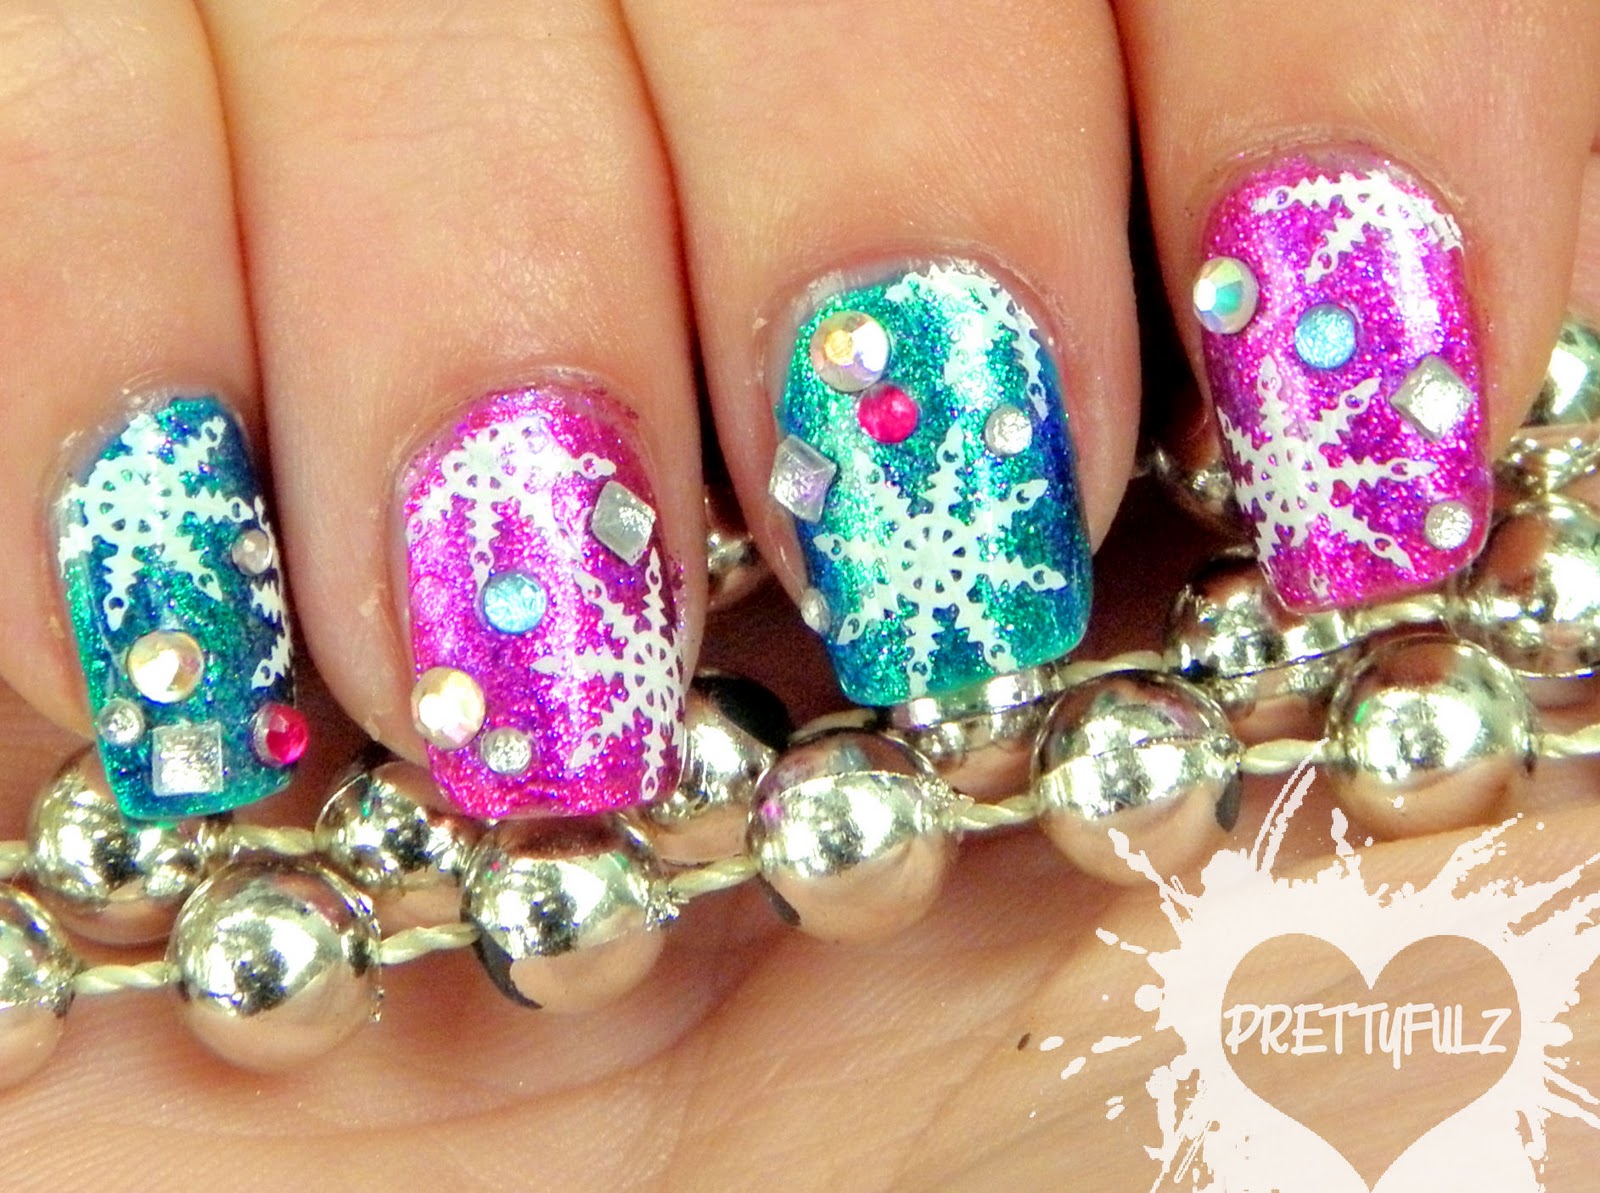
If you want to achieve intricate and detailed snowflake designs without the hassle of free-handing, try using nail stamps. Nail stamps are like little rubber stamps that you can use to transfer designs onto your nails. You can find snowflake nail stamping plates online or at your local beauty supply store. Simply paint your nails with a base color, choose a snowflake design, and stamp it onto your nails for a flawless and professional-looking design.Snowflake Nail Stamping Designs

Snowflake Nail Stamping Designs

How to Create a Stunning Snowflake Nail Art Design

Get Ready to Embrace the Winter Season
 Winter is the perfect time to experiment with new nail art designs and what better way to do so than with a beautiful snowflake design? Snowflakes are not only a classic winter symbol, but they also add a touch of elegance and glamour to any manicure. In this article, we will guide you through the steps to create a simple yet stunning snowflake nail art design that will surely make your nails stand out this season.
Gather Your Supplies
 Before you begin, make sure you have all the necessary supplies handy. This includes a base coat, a white nail polish, a silver glitter nail polish, a thin nail art brush, a dotting tool, and a top coat. You can also add additional supplies such as rhinestones or glitter to enhance the design further.
Prep and Prime
 To ensure your snowflake nail art lasts longer, start by prepping your nails. Remove any old nail polish and shape your nails to your desired length. Then, apply a base coat to protect your natural nails from any potential damage. This step is especially important if you have weak or brittle nails.
Paint the Base
 Once your base coat has dried, it's time to add some color. Apply two coats of white nail polish to all your nails. This will provide a clean and crisp background for the snowflake design. Allow the polish to dry completely before moving onto the next step.
Create the Snowflakes
 Now comes the fun part - creating the snowflakes! Using your thin nail art brush, dip into the silver glitter nail polish and draw a small "x" shape at the center of your nail. Then, add additional lines on either side to create the arms of the snowflake. Use your dotting tool to add small dots in between the lines to give the illusion of snowflakes. Repeat this step on all your nails, creating different variations of snowflakes for a unique look.
Seal the Design
 Once you are satisfied with your snowflake design, let it dry for a few minutes before adding a top coat. This will not only seal the design but also give your nails a glossy finish. You can also add some rhinestones or glitter on top of the snowflakes for added sparkle and dimension.
Embrace Your Winter Wonderland
 And there you have it, a stunning snowflake nail art design that is perfect for the winter season. Don't be afraid to get creative and add your own personal touch to the design. With this simple tutorial, you can easily achieve a professional-looking manicure in the comfort of your own home. So go ahead and embrace the winter wonderland with your beautiful snowflake nails!


