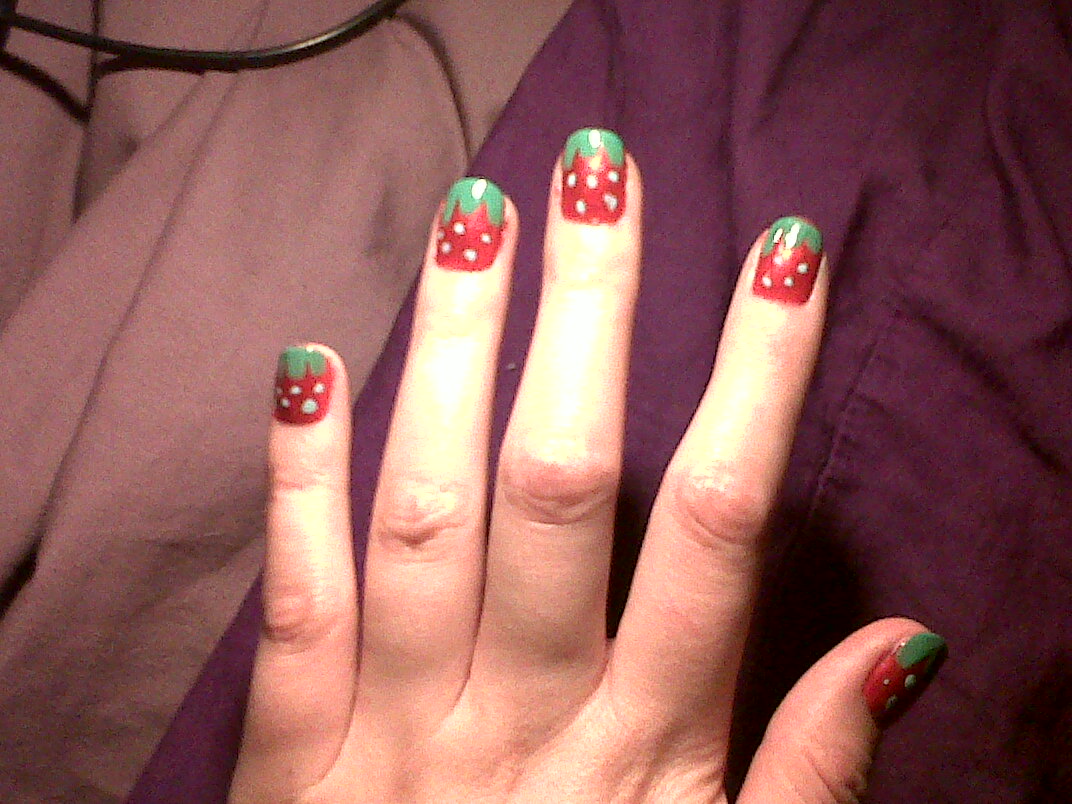
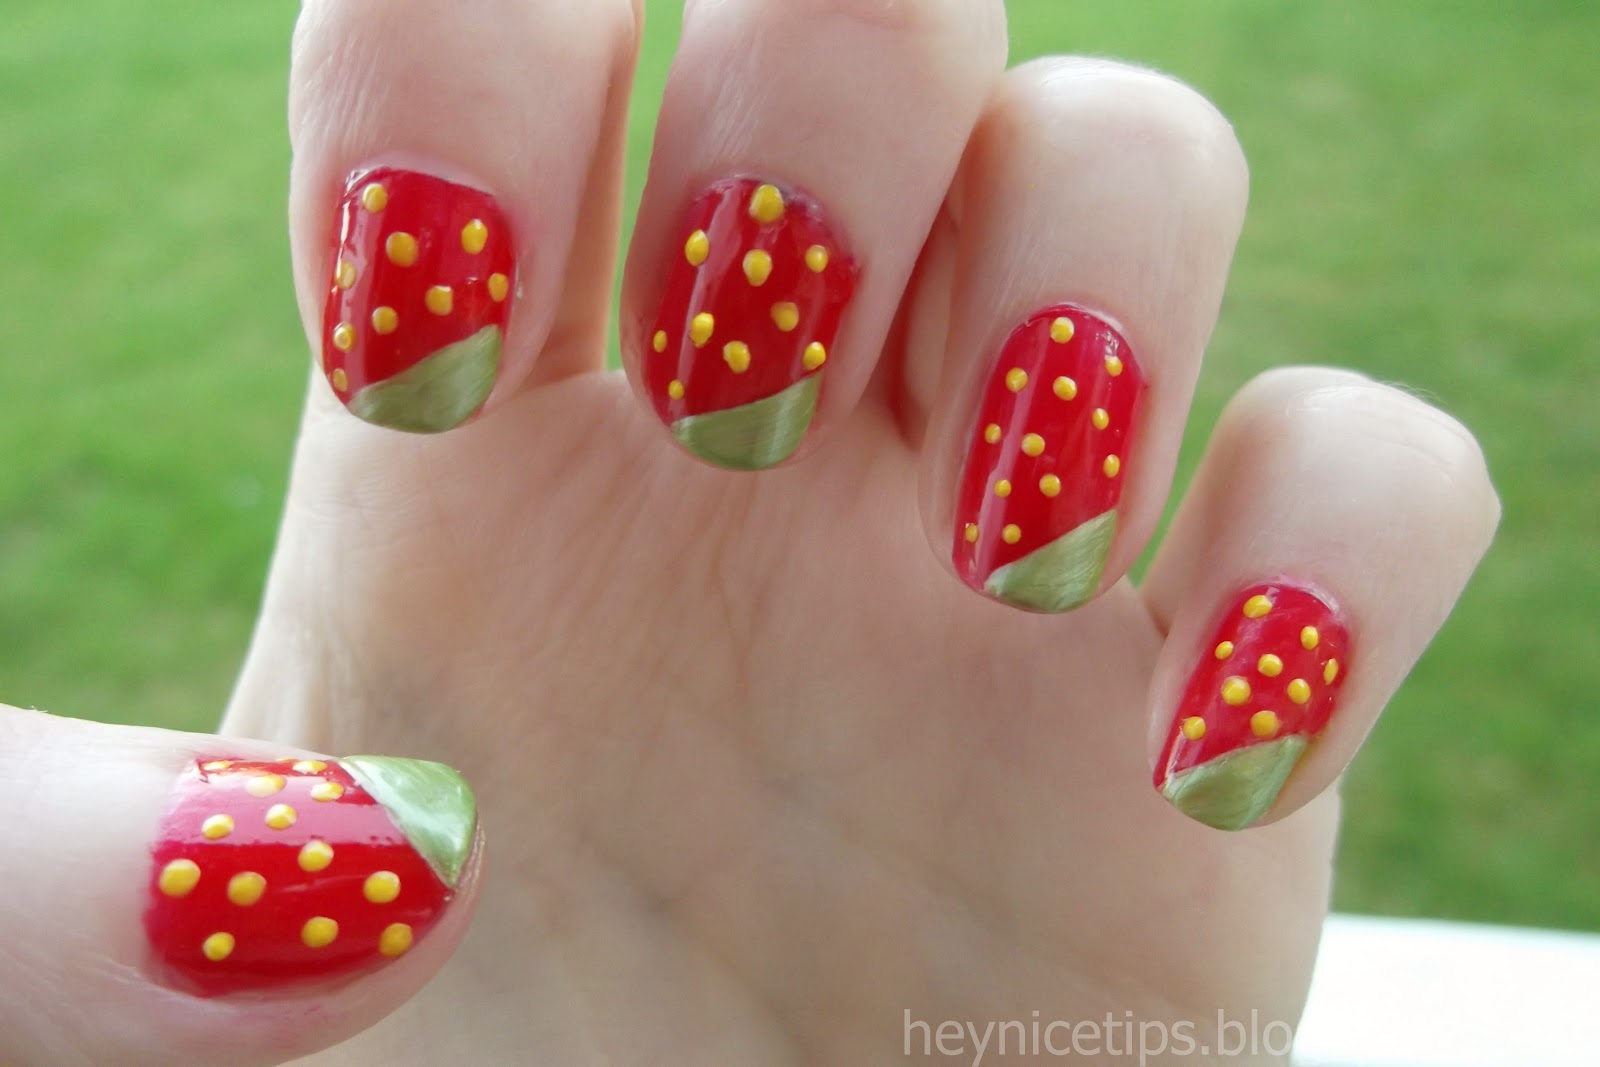
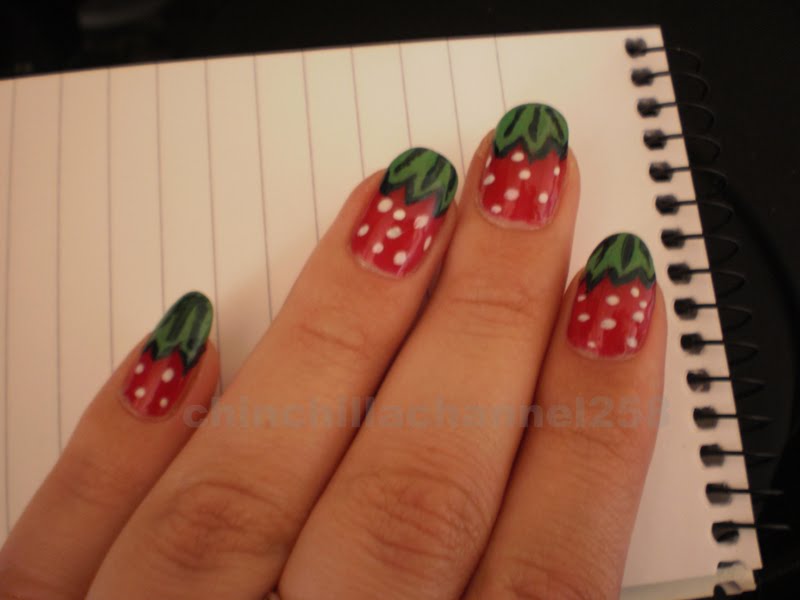
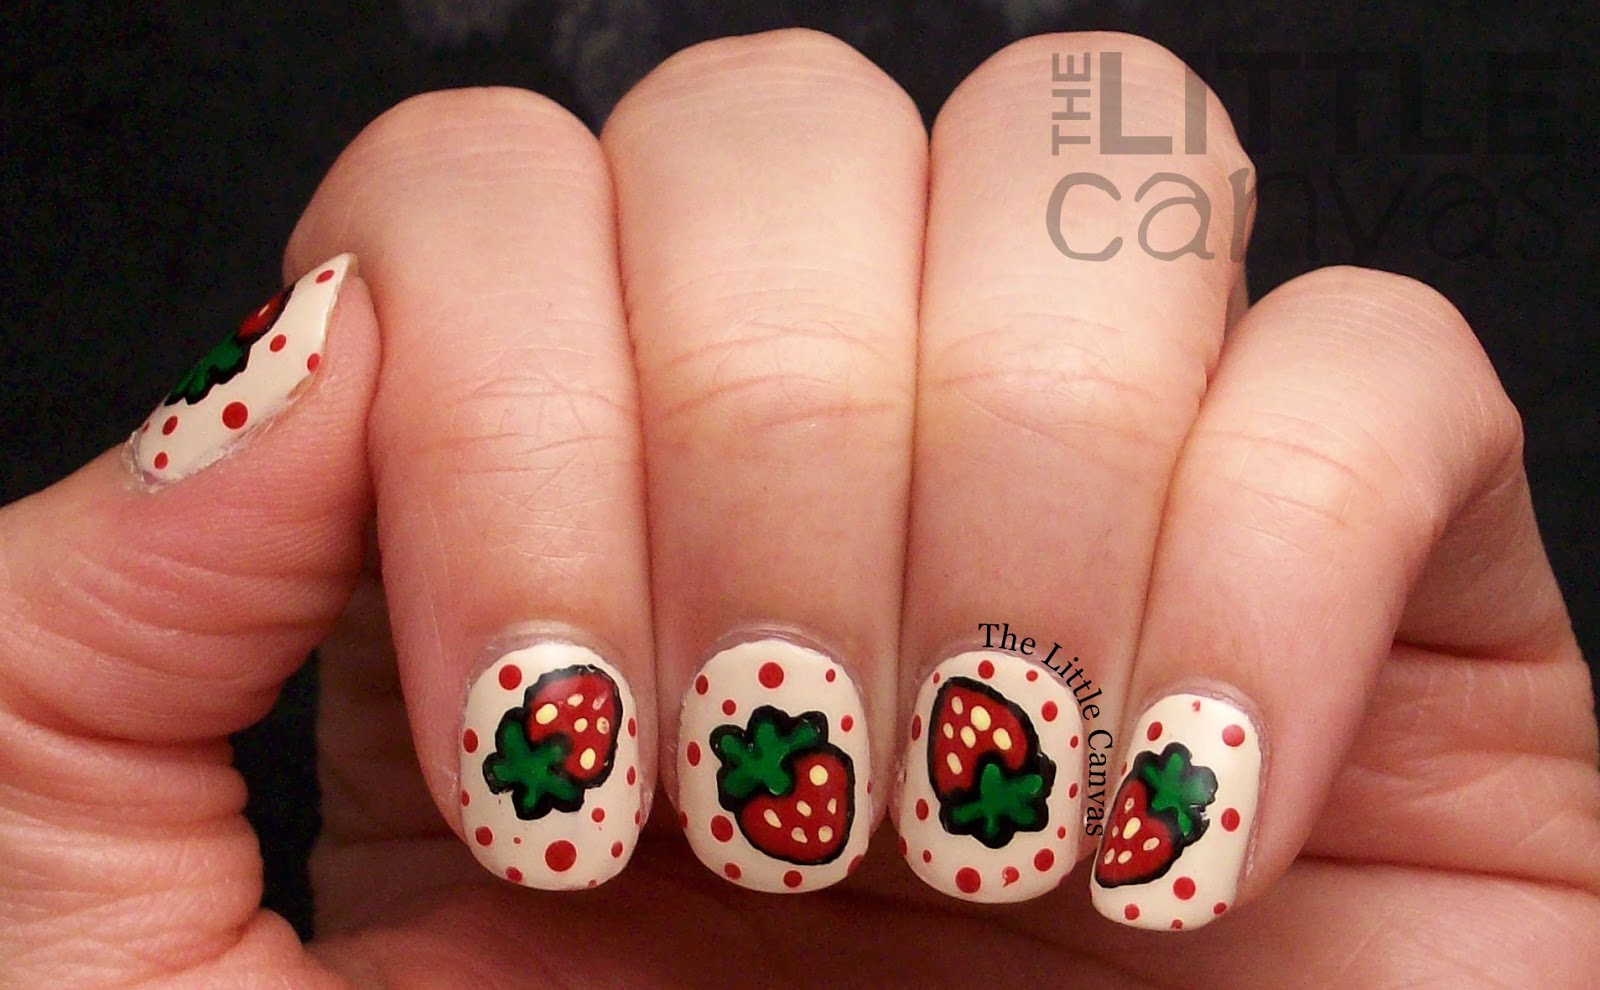
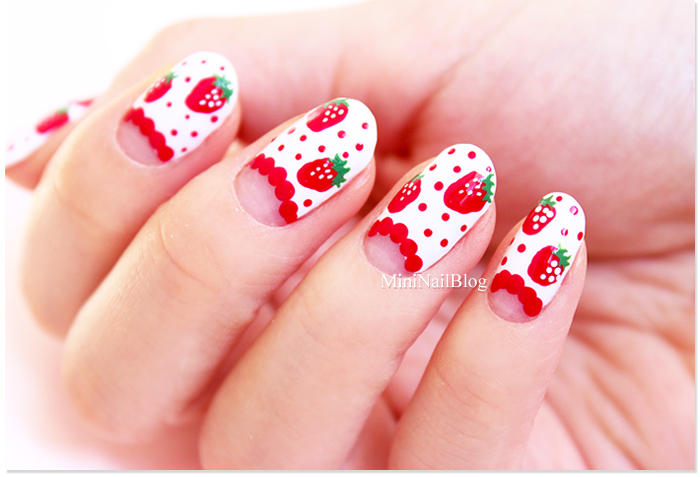
If you're looking for a fun and fruity nail design, look no further than this easy strawberry nail art tutorial! With just a few simple steps, you can create a cute and colorful look that will make your nails stand out. Start by painting your nails with a bright red polish as the base. Once that dries, use a green polish to create the strawberry leaves at the tips of your nails. You can use a nail art brush or a toothpick to create the shape. Next, use a white polish to create the seeds of the strawberry. You can use a dotting tool or the end of a bobby pin to create small dots on the red part of your nails. Finally, add a top coat to seal in your design and give it a shiny finish.1. Strawberry Nail Art Tutorial


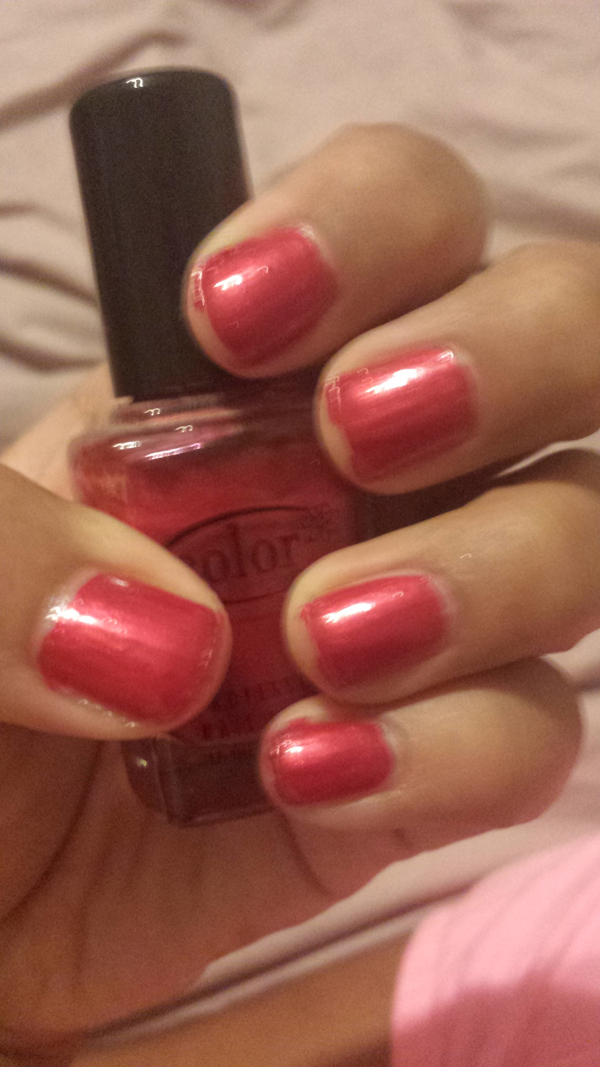
1. Strawberry Nail Art Tutorial


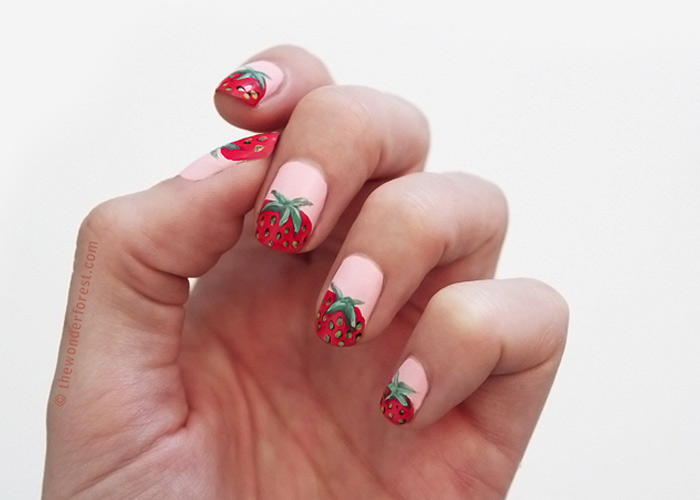
If you're new to nail art, this easy strawberry design is perfect for you. It only requires a few steps and minimal tools, making it a great choice for beginners. Start by painting your nails with a light pink polish as the base. Once it dries, use a dark pink polish to create the strawberry shape at the tip of your nails. You can use a toothpick or a nail art brush to create the curved shape. Next, use a green polish to add the leaves of the strawberry. You can use a toothpick to create small lines for the leaves. Finally, add a few white dots for the seeds of the strawberry and finish with a top coat for a glossy finish.2. Easy Strawberry Nail Design


2. Easy Strawberry Nail Design


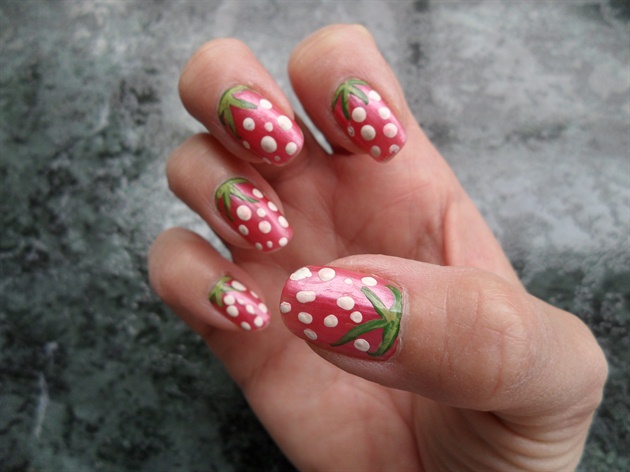
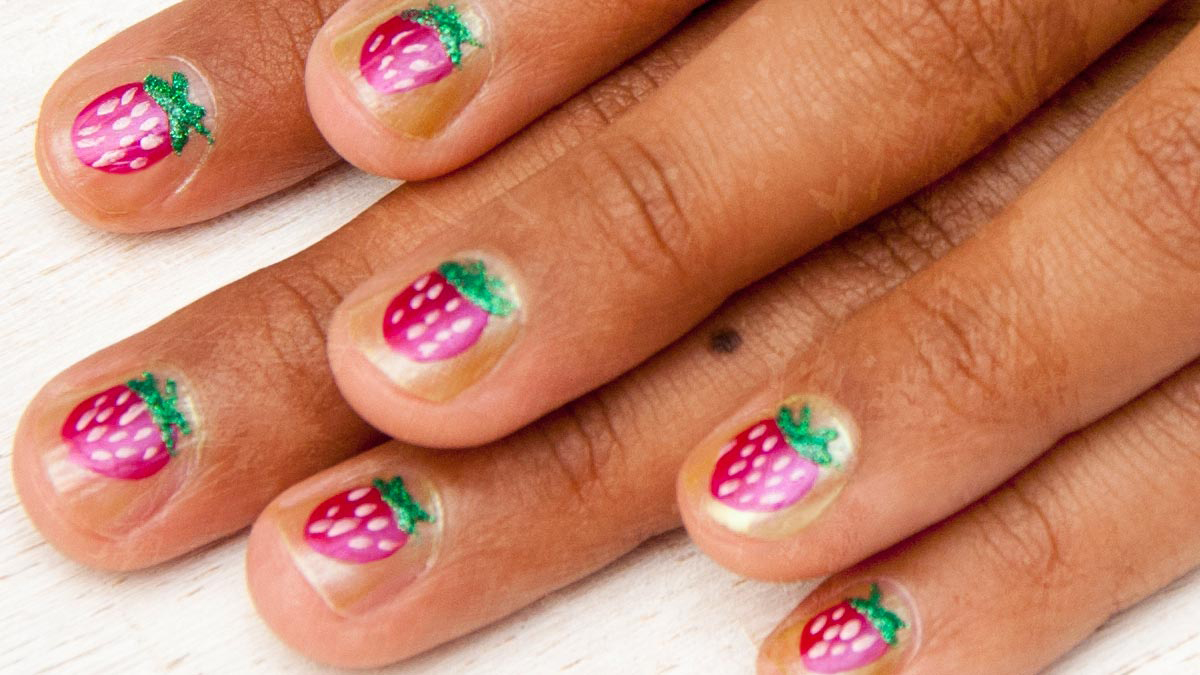
If you want to add a touch of cuteness to your nails, try this adorable strawberry nail design. It's perfect for summer and will make your nails look like tiny strawberries. Start by painting your nails with a light pink polish as the base. Once it dries, use a red polish to create the strawberry shape at the tip of your nails. You can use a nail art brush or a toothpick to create the curved shape. Next, use a dark green polish to create the leaves of the strawberry. You can use a toothpick to create small lines for the leaves. Finally, add a top coat to seal in your design and give it a shiny finish.3. Cute Strawberry Nails


3. Cute Strawberry Nails
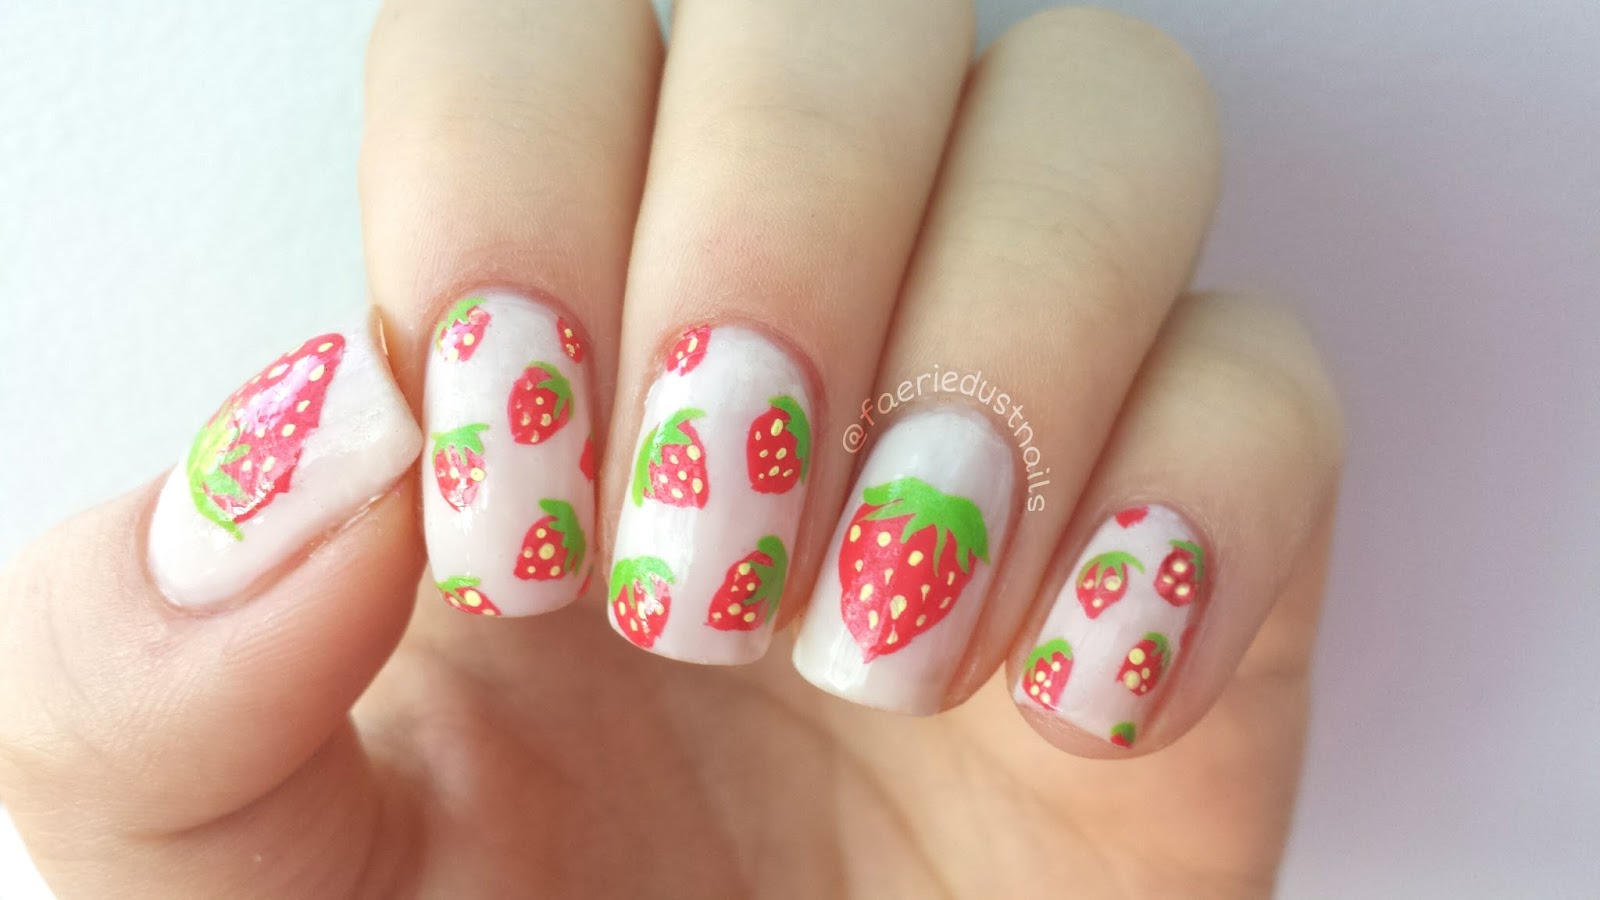


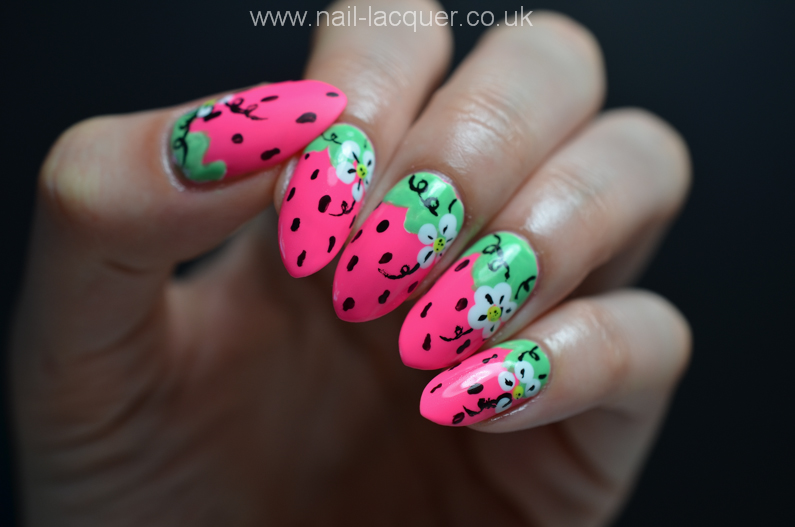
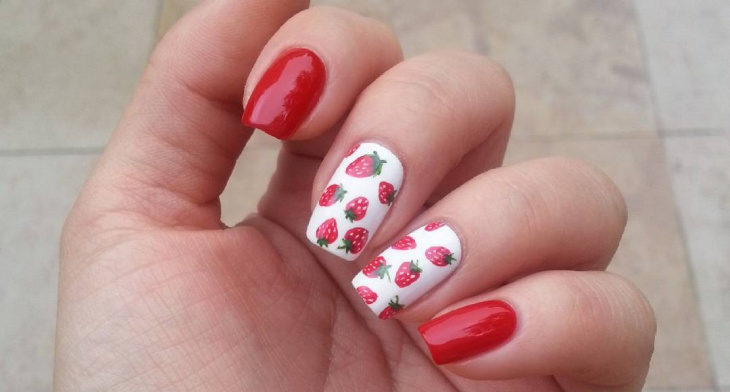
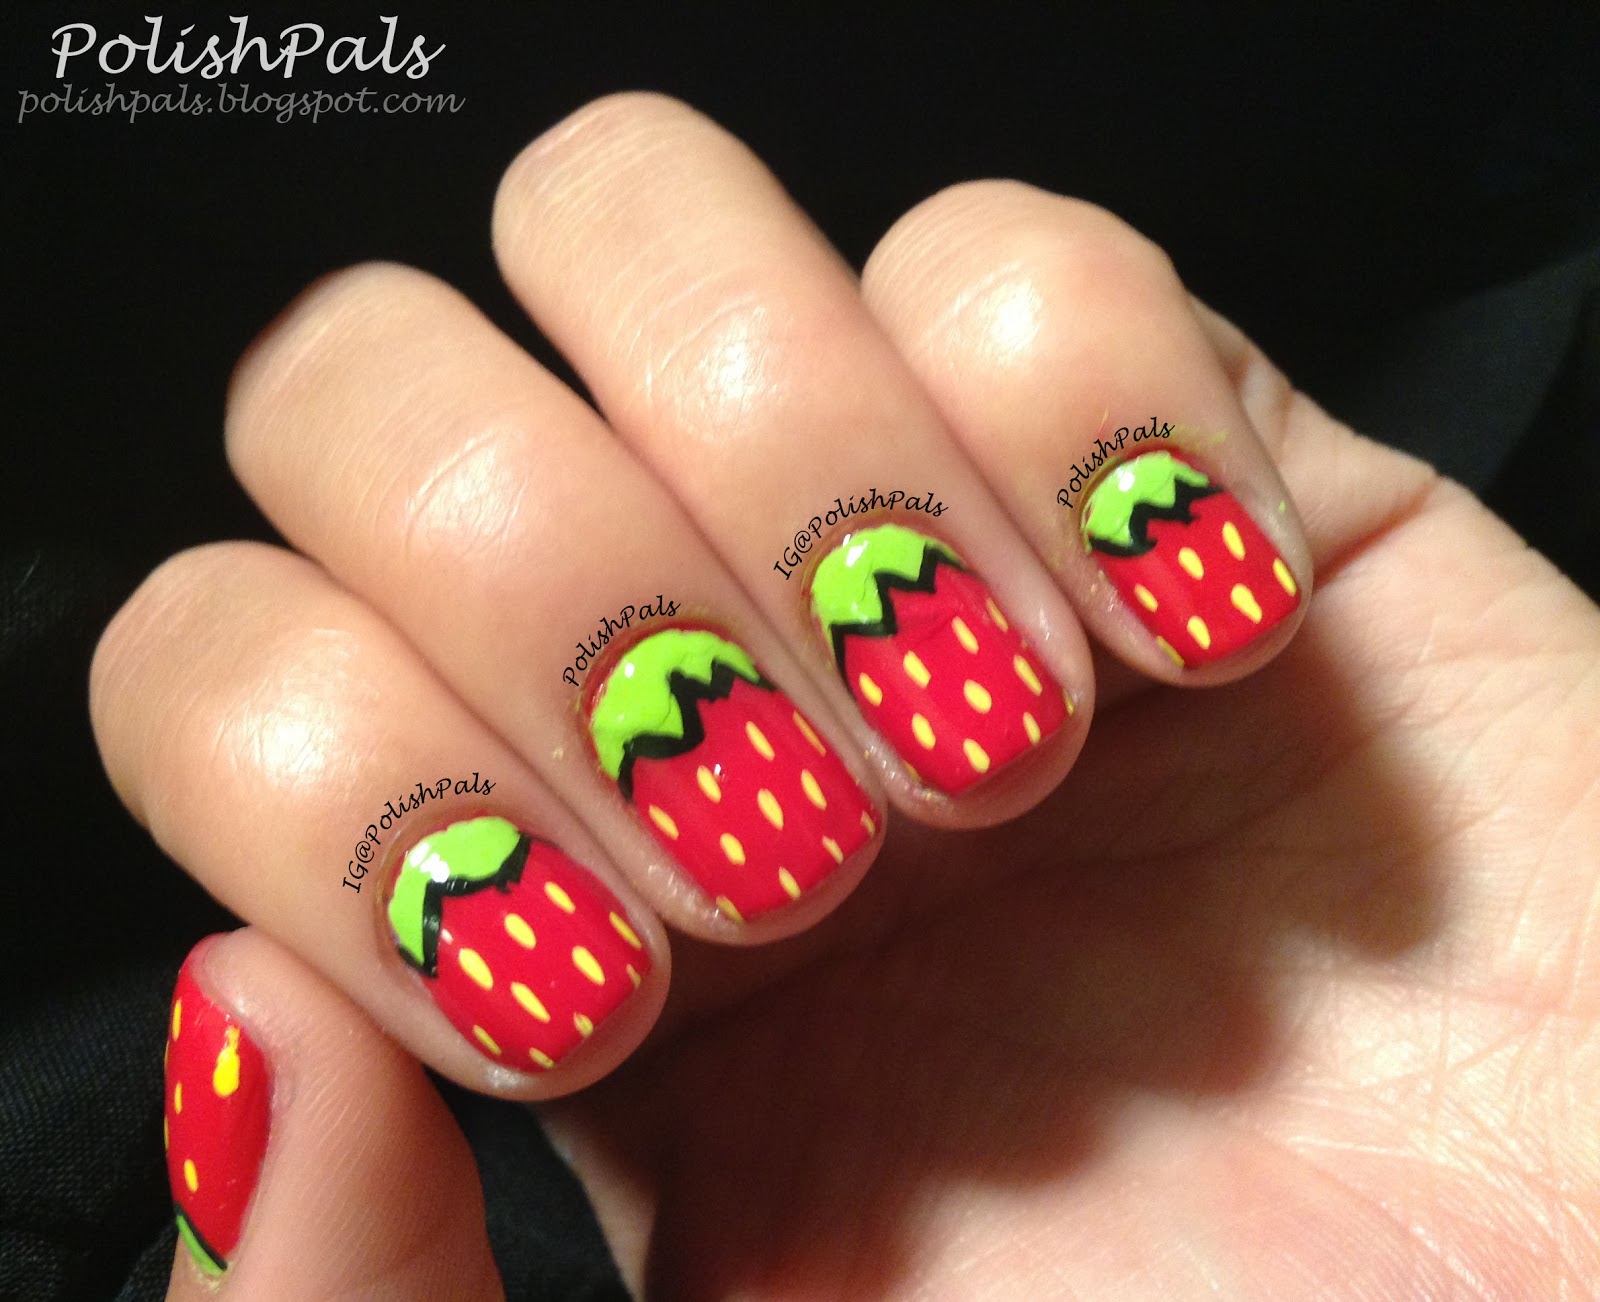
If you love all kinds of fruit, why not incorporate them into your nail art? This simple fruit nail design features not just strawberries, but other fruits like watermelon and pineapple for a fun and colorful look. Start by painting each of your nails with a different pastel color. Once that dries, use a white polish to create the base of each fruit. For the strawberry, use a red polish to create the shape and add seeds with a black polish. For the watermelon, use a green polish to create the rind and pink for the fruit. And for the pineapple, use a yellow polish to create the body and brown for the top. Finally, add a top coat to seal in your design and give it a glossy finish. This fun and fruity nail art is sure to make your nails stand out.4. Simple Fruit Nail Art


4. Simple Fruit Nail Art
If you're new to nail art, it can be intimidating to try more complicated designs. But don't worry, this strawberry nail design is perfect for beginners and only requires a few simple steps. Start by painting your nails with a light pink polish as the base. Once it dries, use a red polish to create the strawberry shape at the tip of your nails. You can use a nail art brush or a toothpick to create the curved shape. Next, use a dark green polish to create the leaves of the strawberry. You can use a toothpick to create small lines for the leaves. Finally, add a few white dots for the seeds of the strawberry and finish with a top coat for a glossy finish.5. Strawberry Nail Designs for Beginners


5. Strawberry Nail Designs for Beginners
If you prefer a more understated look, this minimalist strawberry nail design is perfect for you. It's simple, yet still adds a touch of fun and color to your nails. Start by painting your nails with a light pink polish as the base. Once it dries, use a red polish to create a small V shape at the tip of your nails. This will create the appearance of a strawberry without being too obvious. Next, use a dark green polish to create a small leaf at the top of the V shape. Finally, add a top coat to seal in your design and give it a shiny finish.6. Minimalist Strawberry Nails


6. Minimalist Strawberry Nails

If you love DIY projects, why not try creating your own strawberry nail art? This fun and easy design is perfect for a day of crafting and will make your nails look extra cute. Start by painting your nails with a light pink polish as the base. Once it dries, use a red polish to create the strawberry shape at the tip of your nails. You can use a nail art brush or a toothpick to create the curved shape. Next, use a dark green polish to create the leaves of the strawberry. You can use a toothpick to create small lines for the leaves. Finally, add a few white dots for the seeds of the strawberry and finish with a top coat for a glossy finish.7. DIY Strawberry Nail Art

7. DIY Strawberry Nail Art
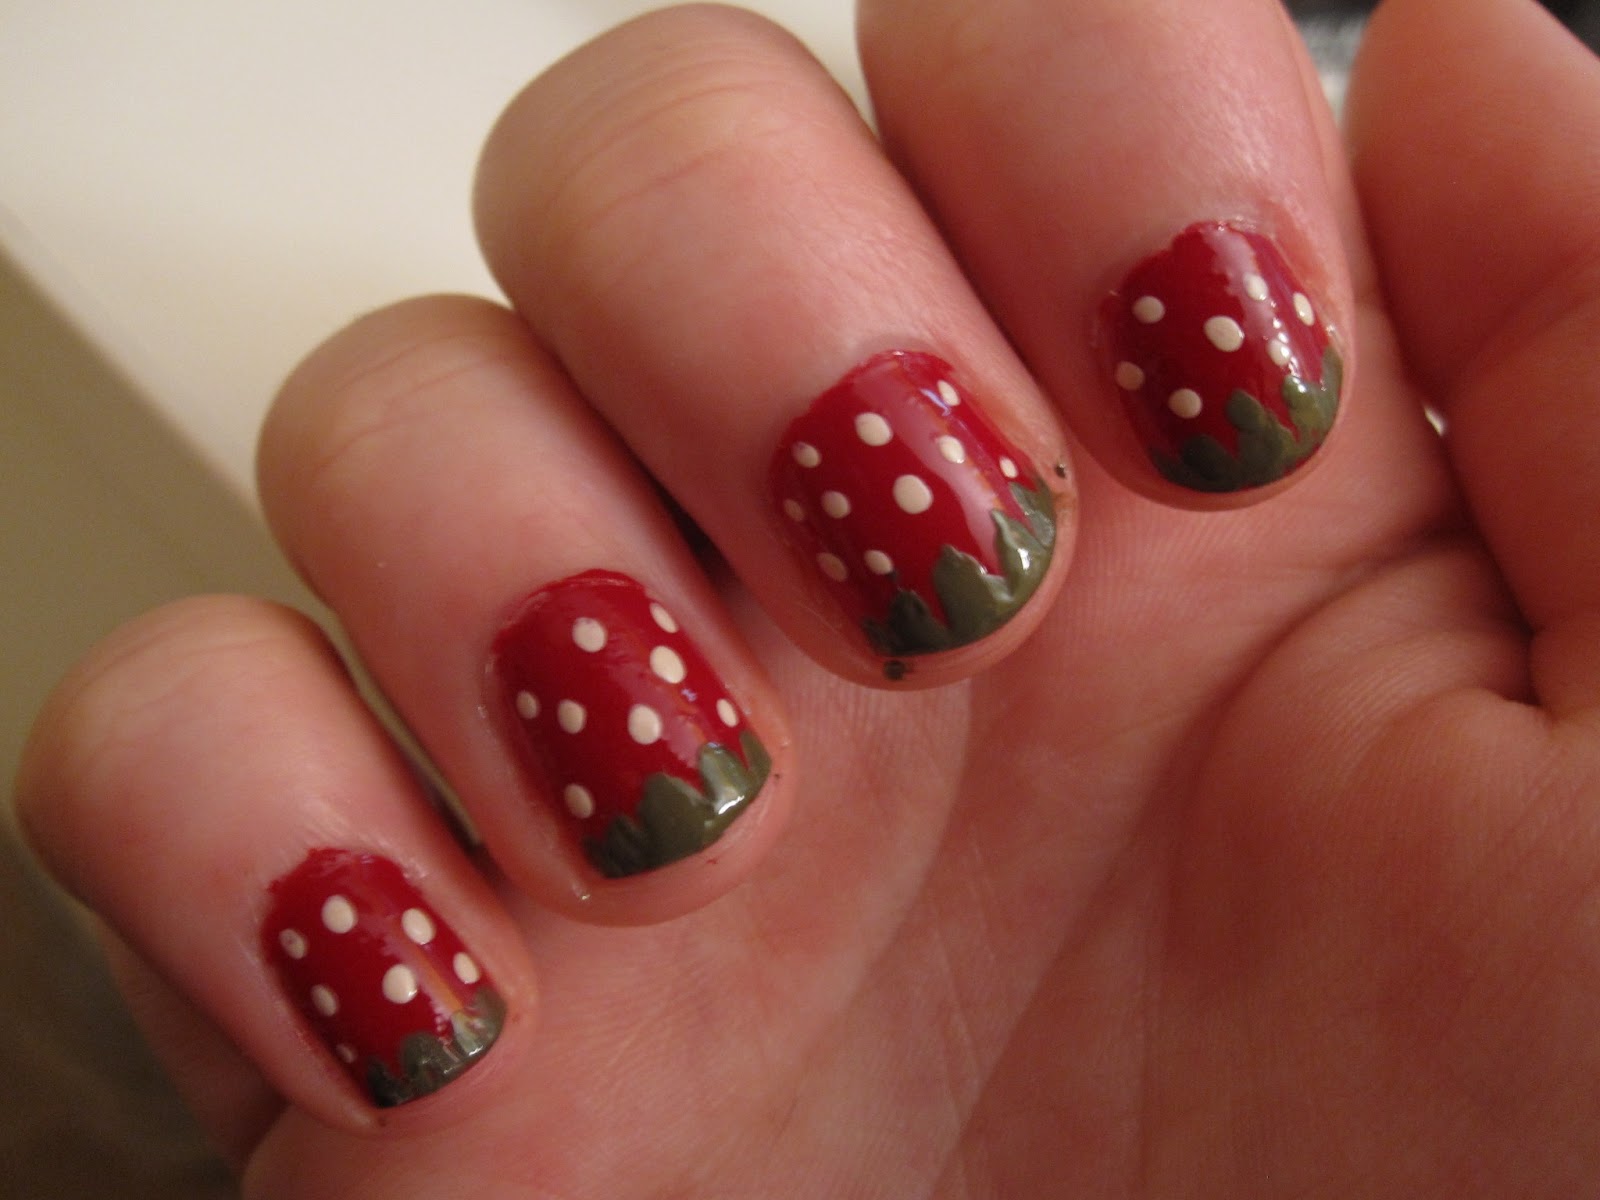
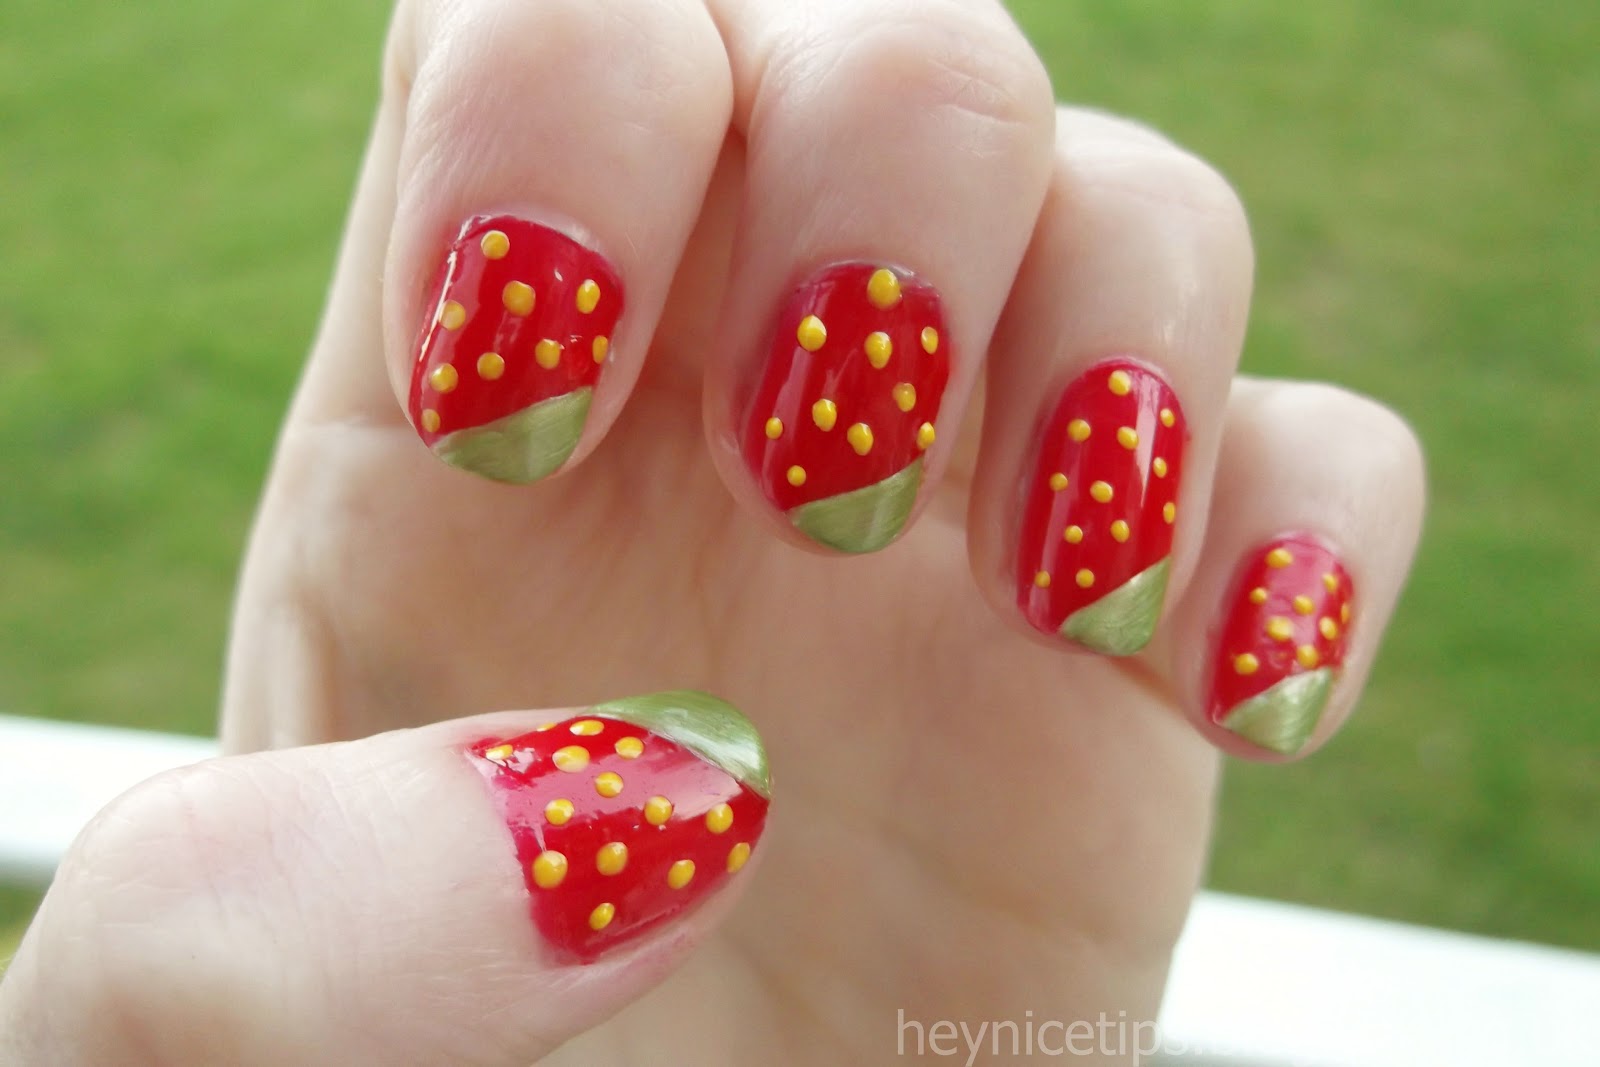
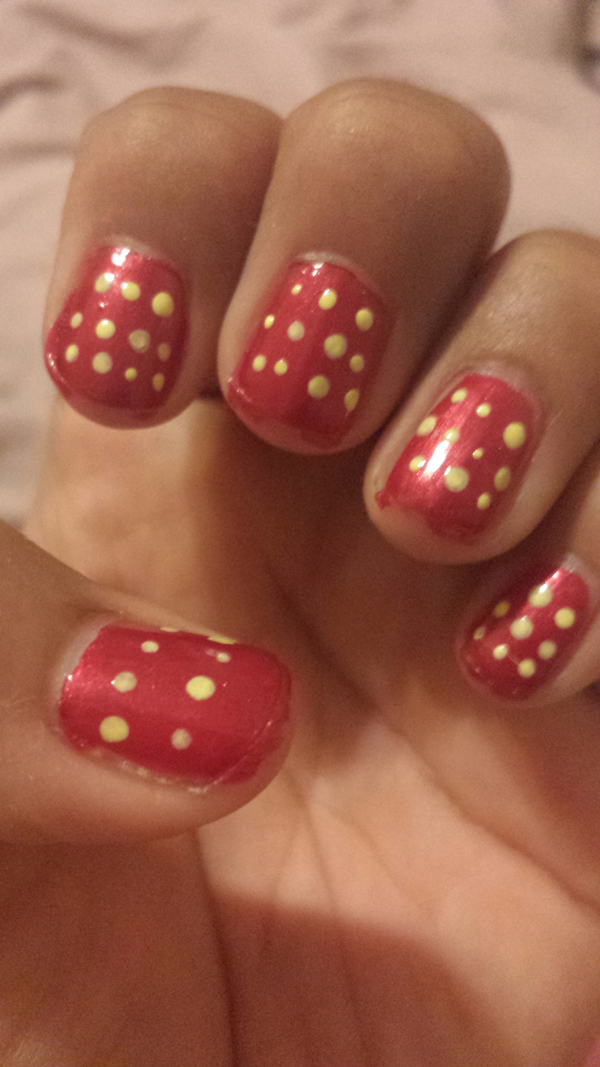
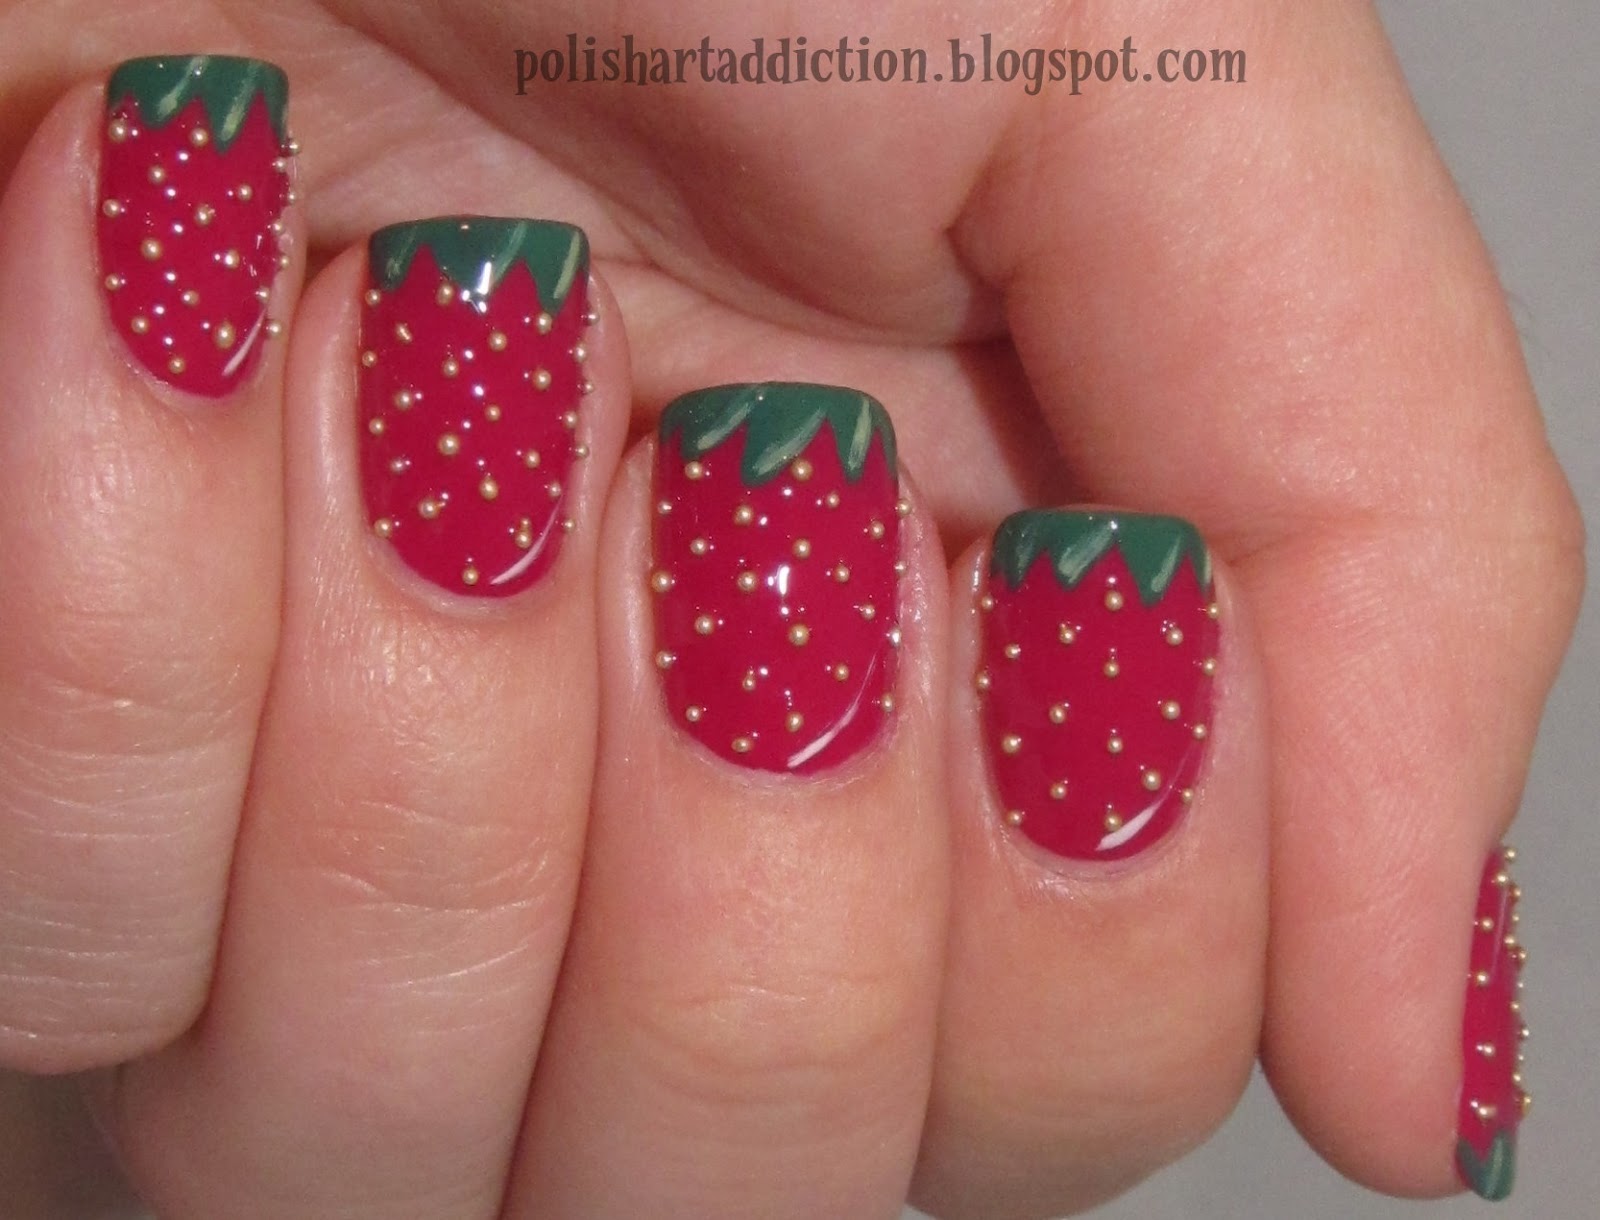
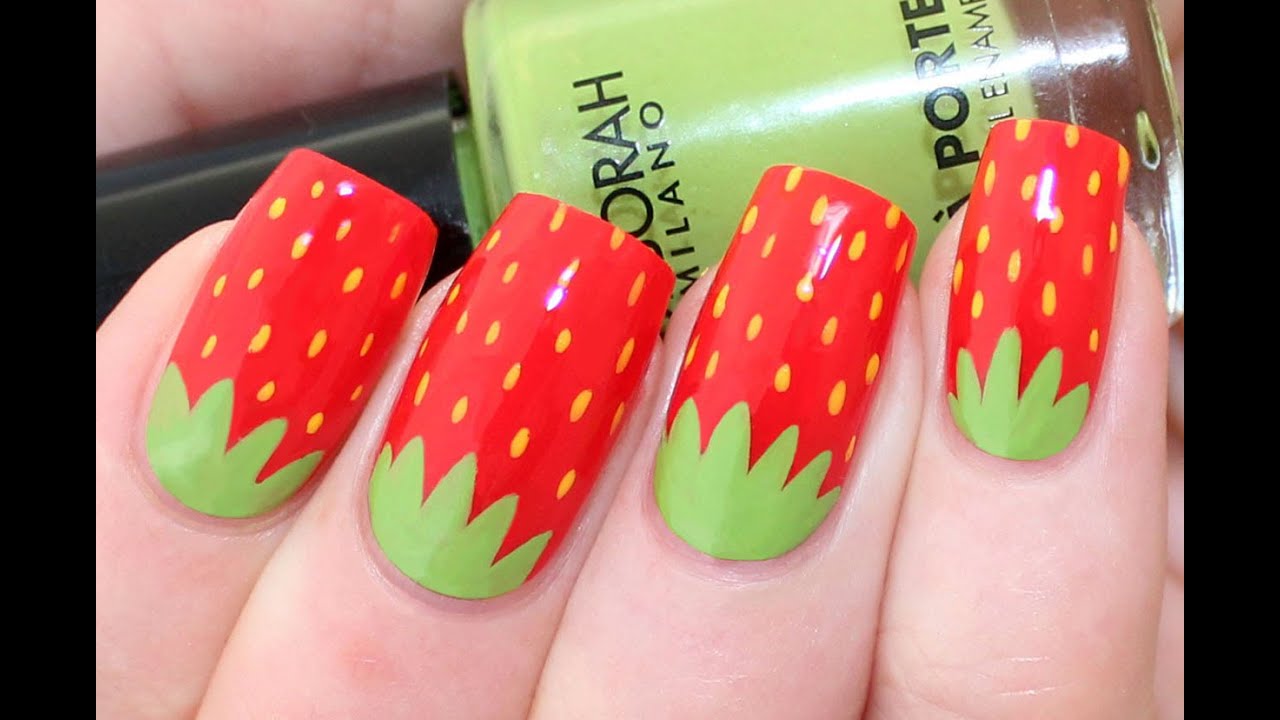
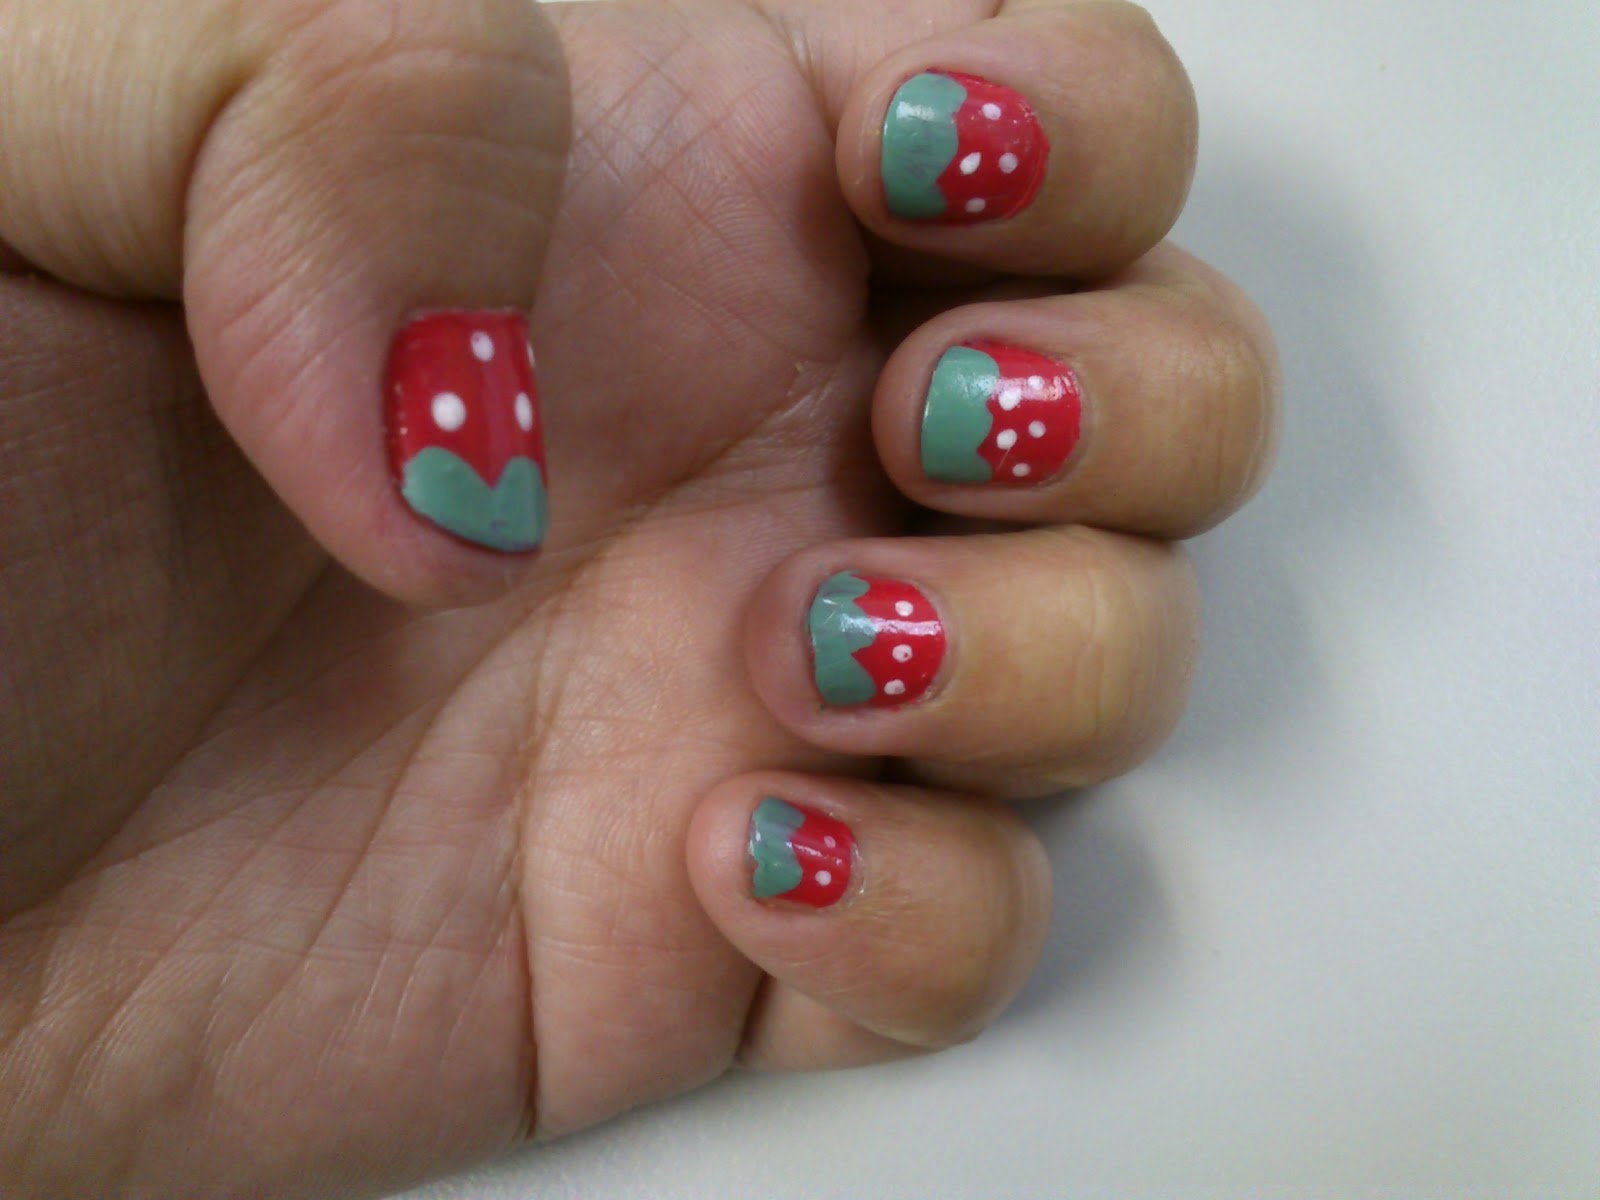
If you want a more traditional look, this red and green strawberry nail design is perfect for you. It's simple, yet still captures the essence of a juicy and ripe strawberry. Start by painting your nails with a red polish as the base. Once it dries, use a green polish to create the leaves at the tips of your nails. You can use a nail art brush or a toothpick to create the shape. Next, use a white polish to create the seeds of the strawberry. You can use a dotting tool or the end of a bobby pin to create small dots on the red part of your nails. Finally, add a top coat to seal in your design and give it a shiny finish.8. Red and Green Strawberry Nails


8. Red and Green Strawberry Nails
If you're a fan of nail stamping, this strawberry design is perfect for you. It's easy to achieve and adds a touch of fun to your nails. Start by painting your nails with a light pink polish as the base. Once it dries, use a nail stamping plate with a strawberry design and a red stamping polish to transfer the strawberry image onto your nails. Next, use a green polish to fill in the leaves of the strawberry. You can use a toothpick to create small lines for the leaves. Finally, add a top coat to seal in your design and give it a shiny finish.9. Strawberry Nail Stamping Design

9. Strawberry Nail Stamping Design


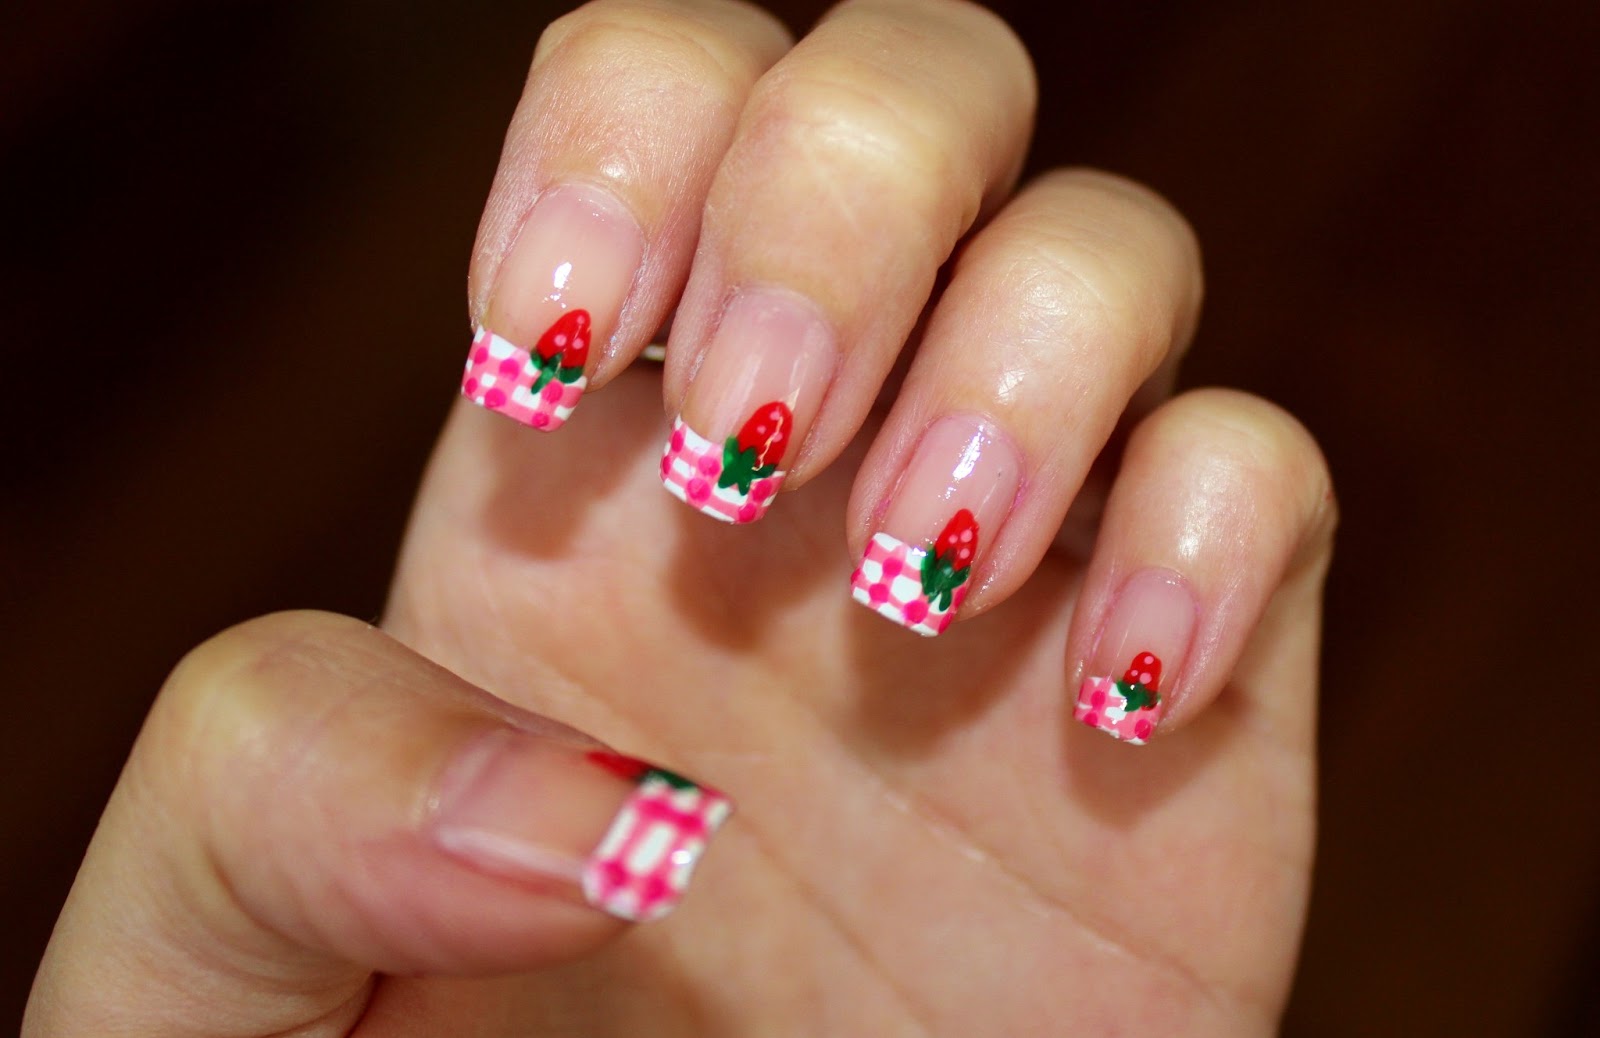
If you want a more subtle strawberry design, try incorporating it into a classic French tip manicure. This elegant and sophisticated look still adds a touch of fun with the strawberry accents. Start by painting your nails with a light pink polish as the base. Once it dries, use a white polish to create the classic French tip at the end of your nails. Then, use a green polish to create a small leaf at the base of the French tip. Finally, use a red polish to create small dots in a line between the white and green for the seeds of the strawberry. Add a top coat to seal in your design and give it a shiny finish.10. Strawberry French Tip Nails
10. Strawberry French Tip Nails


How to Create a Simple Strawberry Nail Design

The Perfect Combination of Sweetness and Style
 Looking for a fun and feminine nail design? Look no further than the simple strawberry nail design. This design is perfect for any occasion, from a casual day out to a special event. Not only does it add a touch of sweetness to your look, but it also showcases your creativity and style. In this article, we will guide you through the steps of creating your own simple strawberry nail design. So, let's get started and add some berrylicious flair to your nails!
Gather Your Supplies
 Before getting started, make sure you have all the necessary supplies. You will need:
- Red and green nail polish
- White nail polish
- Black nail polish
- Toothpicks or a fine-tipped brush
- Clear top coat
- Nail polish remover
- Cotton swabs
- Nail polish remover pen (optional)
Before getting started, make sure you have all the necessary supplies. You will need:
- Red and green nail polish
- White nail polish
- Black nail polish
- Toothpicks or a fine-tipped brush
- Clear top coat
- Nail polish remover
- Cotton swabs
- Nail polish remover pen (optional)
Step 1: Prep Your Nails
 Start by removing any old nail polish and shaping your nails to your desired length and shape. Next, apply a base coat to protect your nails and help the polish adhere better. Let it dry completely before moving on to the next step.
Step 2: Paint Your Nails with Red Polish
 Once the base coat is dry, it's time to add the red color to your nails.
Using your red nail polish, paint all of your nails except for your ring finger.
This will be the accent nail and will be painted green.
Once the base coat is dry, it's time to add the red color to your nails.
Using your red nail polish, paint all of your nails except for your ring finger.
This will be the accent nail and will be painted green.
Step 3: Create the Accent Nail
 On your ring finger, paint the entire nail with green polish.
Once it's dry, use a toothpick or a fine-tipped brush to create small black dots on the green nail. These will represent the seeds of the strawberry. Let the dots dry completely before moving on to the next step.
On your ring finger, paint the entire nail with green polish.
Once it's dry, use a toothpick or a fine-tipped brush to create small black dots on the green nail. These will represent the seeds of the strawberry. Let the dots dry completely before moving on to the next step.
Step 4: Add the Strawberry
 Using your red nail polish, create a small triangle shape at the top of your accent nail.
This will be the top of the strawberry. Then, using the toothpick or fine-tipped brush, create small lines extending from the triangle to the tip of the nail. These lines will represent the texture of the strawberry. Let it dry completely.
Using your red nail polish, create a small triangle shape at the top of your accent nail.
This will be the top of the strawberry. Then, using the toothpick or fine-tipped brush, create small lines extending from the triangle to the tip of the nail. These lines will represent the texture of the strawberry. Let it dry completely.
Step 5: Add the Details
 To make your strawberry look even more realistic, add a small green stem at the top of the triangle using the green nail polish. You can also add small white dots using the white polish to give the strawberry a shine. Let everything dry completely.
Step 6: Seal the Design
 Once all of your nails are dry,
apply a clear top coat to seal in your design and add a glossy finish.
This will also help your design last longer.
Once all of your nails are dry,
apply a clear top coat to seal in your design and add a glossy finish.
This will also help your design last longer.
Final Thoughts
 Creating a simple strawberry nail design is not as difficult as it may seem. With a little bit of patience and some basic supplies, you can have berry beautiful nails in no time. Feel free to experiment with different colors and designs to make it your own. So go ahead and give it a try, your nails will thank you!


