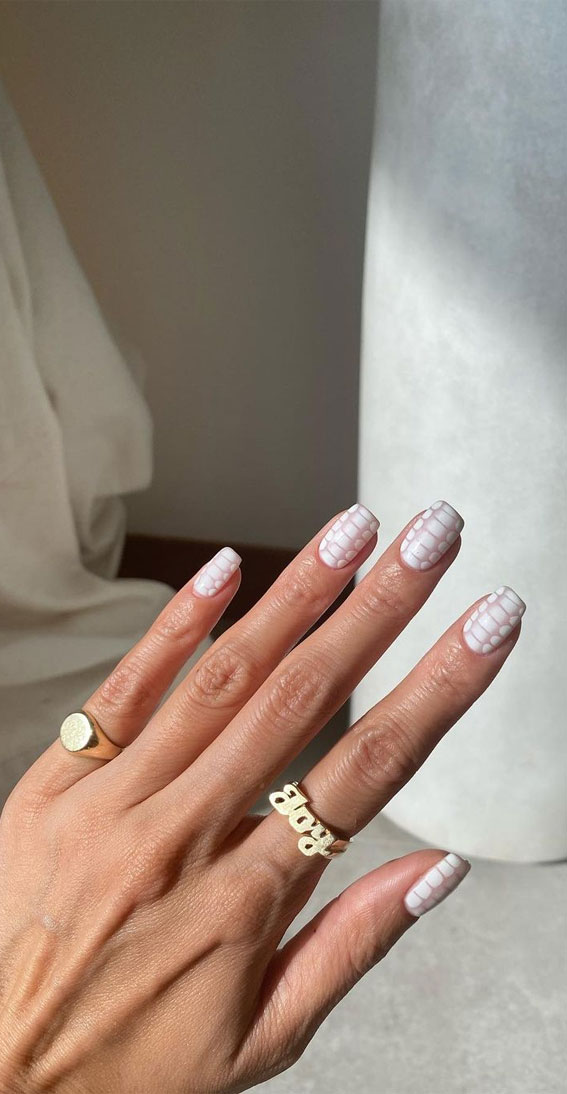
Are you looking for a unique and eye-catching nail art design? Look no further than the snakeskin pattern! This trendy design is perfect for any occasion and can be easily created at home. Follow these simple steps to learn how to create a snakeskin pattern nail art design. First, start by prepping your nails. Make sure they are clean and free of any old polish. Trim and file your nails to your desired shape and length. Apply a base coat to protect your nails from staining and help the polish adhere better. Next, choose your base color. This can be any color you like, but for a realistic snakeskin look, opt for a neutral shade like beige, grey, or brown. Apply two coats of your base color and let it dry completely. Now it's time to create the snakeskin pattern. To do this, you will need a thin nail art brush and two contrasting colors. We recommend using black and brown for a classic snakeskin look. Dip your brush into the black polish and draw random, uneven lines on your nails. These lines will act as the "scales" of the snakeskin. Don't worry about making them perfect – imperfection adds to the realistic effect. Next, take your brown polish and fill in the spaces between the black lines. Again, don't worry about being too precise. Let the colors blend together for a more natural look. You can also use a dotting tool to create smaller scales and add more dimension to the design. Once you are happy with the snakeskin pattern, let it dry completely. Then, seal in your design with a top coat to protect it and add shine. And voila! You now have a stunning snakeskin pattern nail art design. For an extra touch, you can also add small accents like glitter or rhinestones to your nails. This will give your snakeskin design a more glamorous look. Experiment with different colors and patterns to create your own unique snakeskin nail art.1. How to Create a Snakeskin Pattern Nail Art Design Tutorial


1. How to Create a Snakeskin Pattern Nail Art Design Tutorial


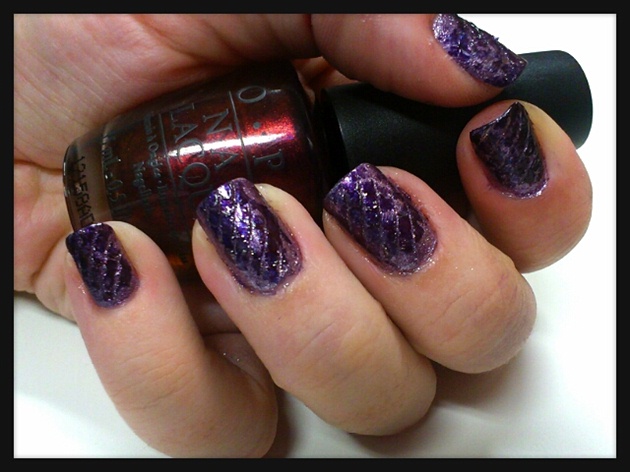
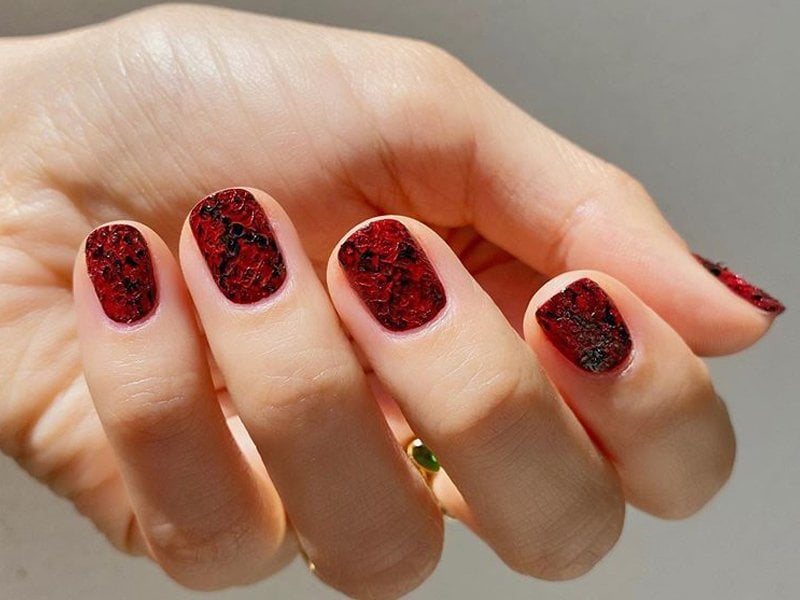
If you're new to nail art or just looking for a quick and easy design, this snakeskin nail art tutorial is perfect for you. With just a few simple steps, you can achieve a beautiful snakeskin pattern on your nails. Start by prepping your nails as mentioned in the previous tutorial. Then, choose your base color and apply two coats. Let it dry completely. Next, take a piece of saran wrap and crumple it up. Dip it into a different color of polish and gently dab it onto your nails. This will create a textured effect, similar to the scales of a snake. You can use different colors for a more colorful snakeskin look. Once you are satisfied with the texture, let it dry and seal it with a top coat. This easy snakeskin nail art tutorial is perfect for beginners or those short on time, but still want a unique and stylish design.2. Easy Snakeskin Nail Art Tutorial


2. Easy Snakeskin Nail Art Tutorial


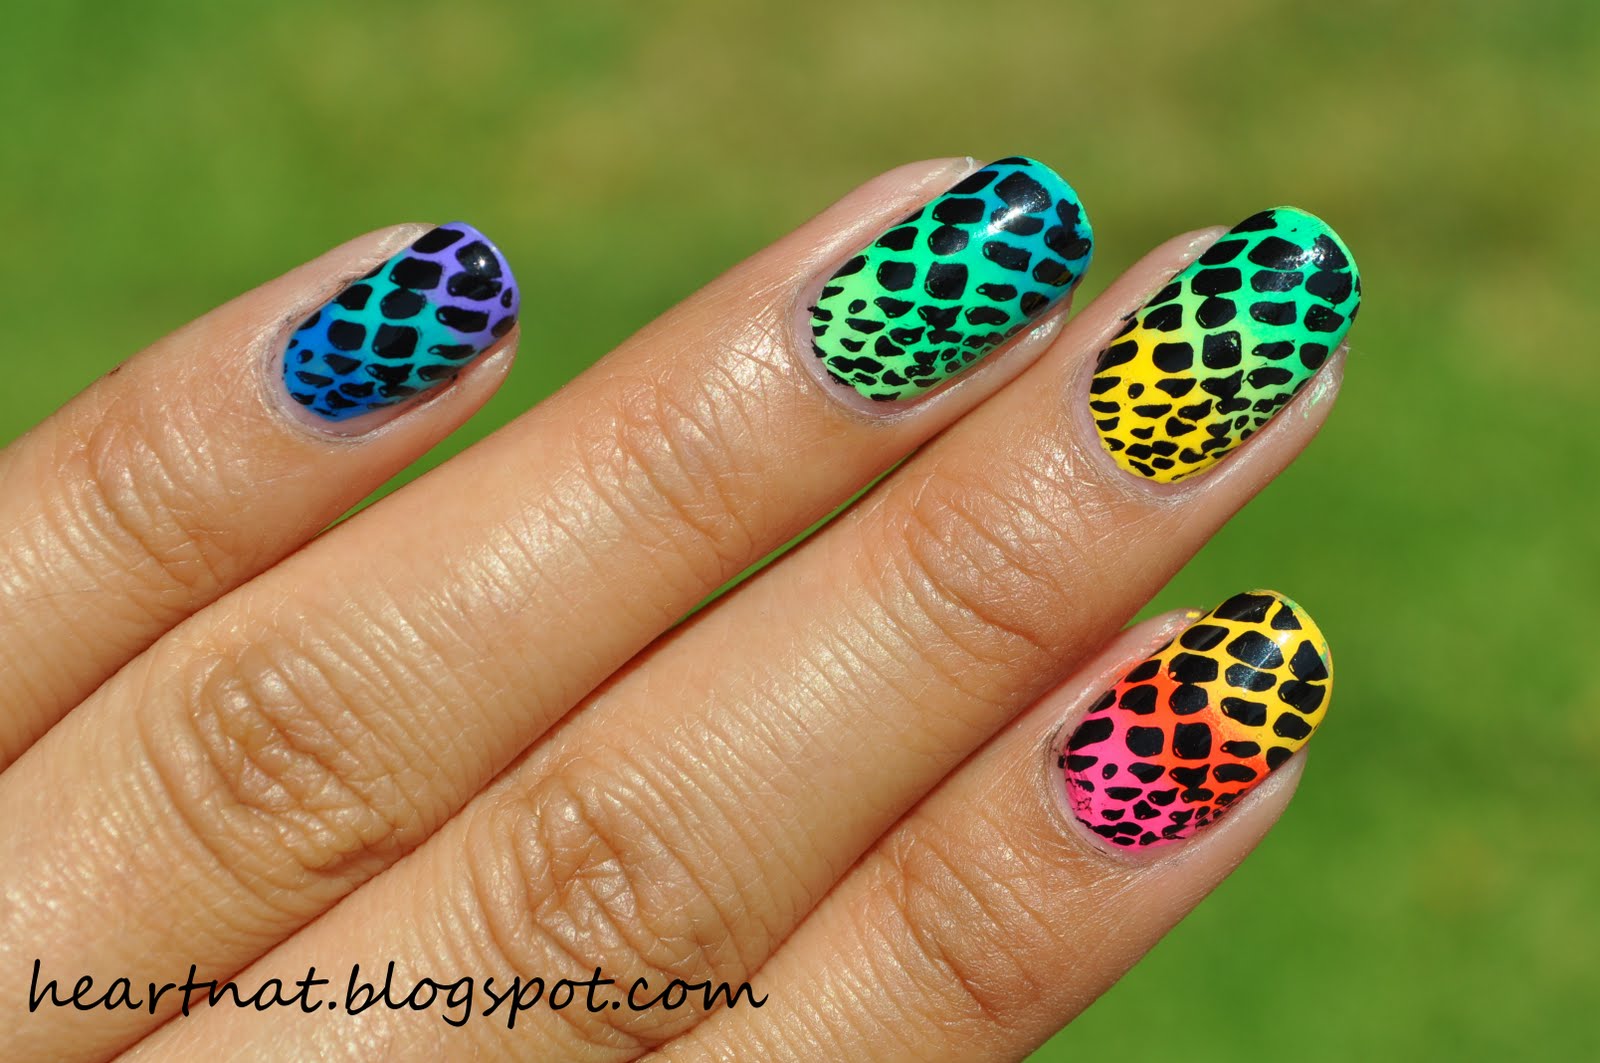
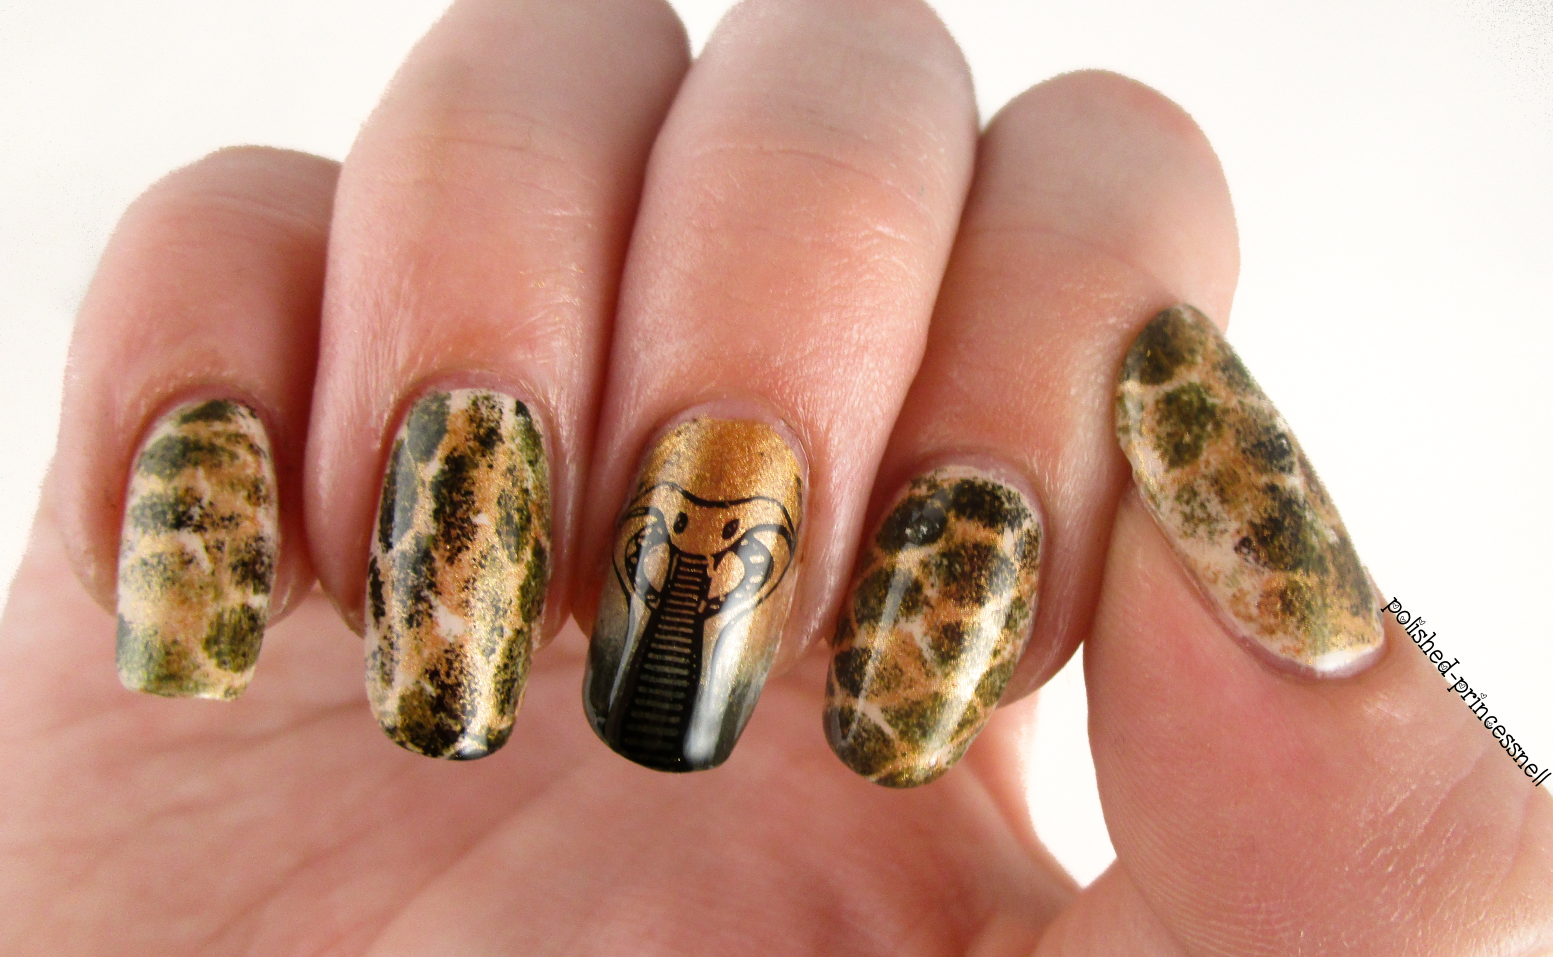
For those who prefer a more detailed tutorial, here is a step-by-step guide on how to create a snakeskin nail art design. Start by prepping your nails and applying a base coat. Then, choose your base color and apply two coats. Let it dry completely. Next, take a thin nail art brush and dip it into a different color of polish. Draw random, squiggly lines on your nails. You can use a variety of colors for a more vibrant look. Using a dotting tool or the end of your brush, create smaller scales in between the bigger lines. Again, don't worry about being too precise – imperfection adds to the realistic effect. Once you are happy with the snakeskin pattern, let it dry and seal it with a top coat. You can also add small accents like glitter or rhinestones for a more glamorous look. This step-by-step snakeskin nail art design tutorial may take a bit more time, but the end result is worth it. Play around with different colors and patterns to create your own unique snakeskin design.3. Step-by-Step Snakeskin Nail Art Design Tutorial


3. Step-by-Step Snakeskin Nail Art Design Tutorial


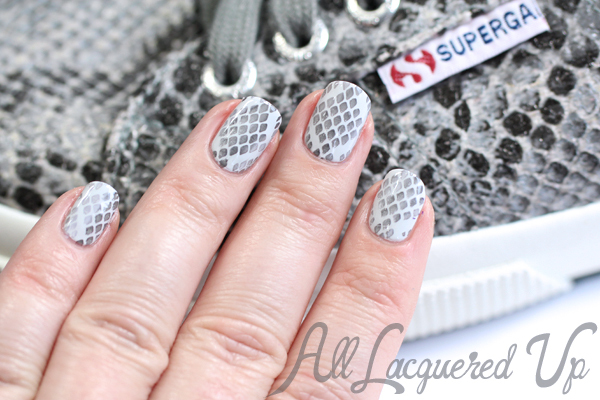
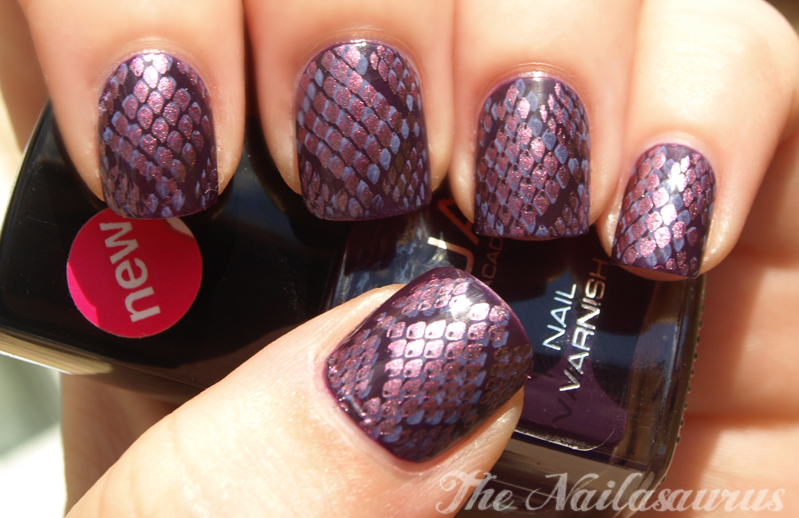
If you're new to nail art, the thought of creating a snakeskin pattern may seem daunting. But fear not, this snakeskin nail art tutorial is perfect for beginners. Start by prepping your nails and applying a base coat. Then, choose a base color and apply two coats. Let it dry completely. Next, take a piece of lace or a fishnet stocking and place it over your nail. Using a different color, dab the polish over the lace or stocking. This will create a textured effect, similar to the scales of a snake. Once you are satisfied with the texture, remove the lace or stocking and let it dry. Then, seal it with a top coat. This technique is quick and easy, but still produces a stunning snakeskin pattern.4. Snakeskin Nail Art Tutorial for Beginners


4. Snakeskin Nail Art Tutorial for Beginners


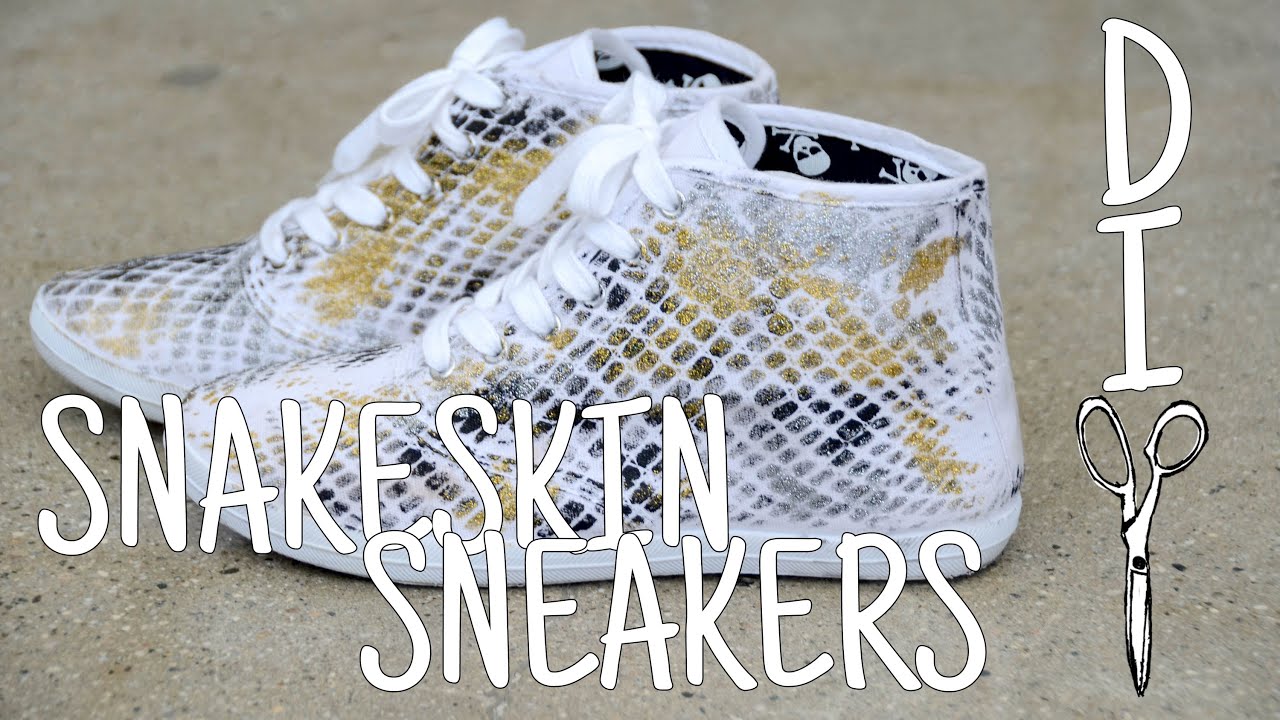
Want to create a snakeskin nail art design without any nail art tools? This DIY snakeskin nail art tutorial is perfect for you. Start by prepping your nails and applying a base coat. Then, choose a base color and apply two coats. Let it dry completely. Next, take a piece of plastic wrap and crumple it up. Dip it into a different color of polish and gently dab it onto your nails. This will create a textured effect, similar to the scales of a snake. Once you are satisfied with the texture, let it dry and seal it with a top coat. This DIY snakeskin nail art design is easy and can be done with items you already have at home.5. DIY Snakeskin Nail Art Design Tutorial


5. DIY Snakeskin Nail Art Design Tutorial

If you have stamping plates in your nail art collection, you can easily create a snakeskin pattern with this tutorial. Start by prepping your nails and applying a base coat. Then, choose a base color and apply two coats. Let it dry completely. Next, take a stamping plate with a snakeskin pattern and a stamping tool. Apply a different color of polish onto the pattern, scrape off the excess, and stamp it onto your nail. Repeat this step for each nail. Once you are satisfied with the pattern, let it dry and seal it with a top coat. This technique is quick and easy, and the stamping plate does all the work for you.6. Snakeskin Nail Art Tutorial Using Stamping Plates


6. Snakeskin Nail Art Tutorial Using Stamping Plates


If you prefer using gel polish for your nail art designs, you can still achieve a stunning snakeskin pattern with this tutorial. Start by prepping your nails and applying a base coat. Then, choose a base color and apply two coats of gel polish. Cure each coat under a UV or LED lamp. Next, take a different color of gel polish and use a thin nail art brush to draw random, squiggly lines on your nails. Cure under the lamp. Using a dotting tool or the end of your brush, create smaller scales in between the bigger lines. Cure under the lamp again. Once you are satisfied with the snakeskin pattern, seal it with a top coat and cure under the lamp. This tutorial may take longer due to the curing process, but the end result is a long-lasting and vibrant snakeskin design.7. Snakeskin Nail Art Tutorial with Gel Polish

7. Snakeskin Nail Art Tutorial with Gel Polish

For a twist on the classic snakeskin pattern, try this gradient snakeskin nail art tutorial. Start by prepping your nails and applying a base coat. Then, choose two different colors and apply a base color to each nail. Let it dry completely. Next, take a makeup sponge and apply both colors onto it. Dab the sponge onto your nails, creating a gradient effect. Once the gradient is dry, follow the steps in the previous tutorials to create the snakeskin pattern. Seal it with a top coat and you now have a unique and colorful snakeskin design.8. Gradient Snakeskin Nail Art Design Tutorial

8. Gradient Snakeskin Nail Art Design Tutorial

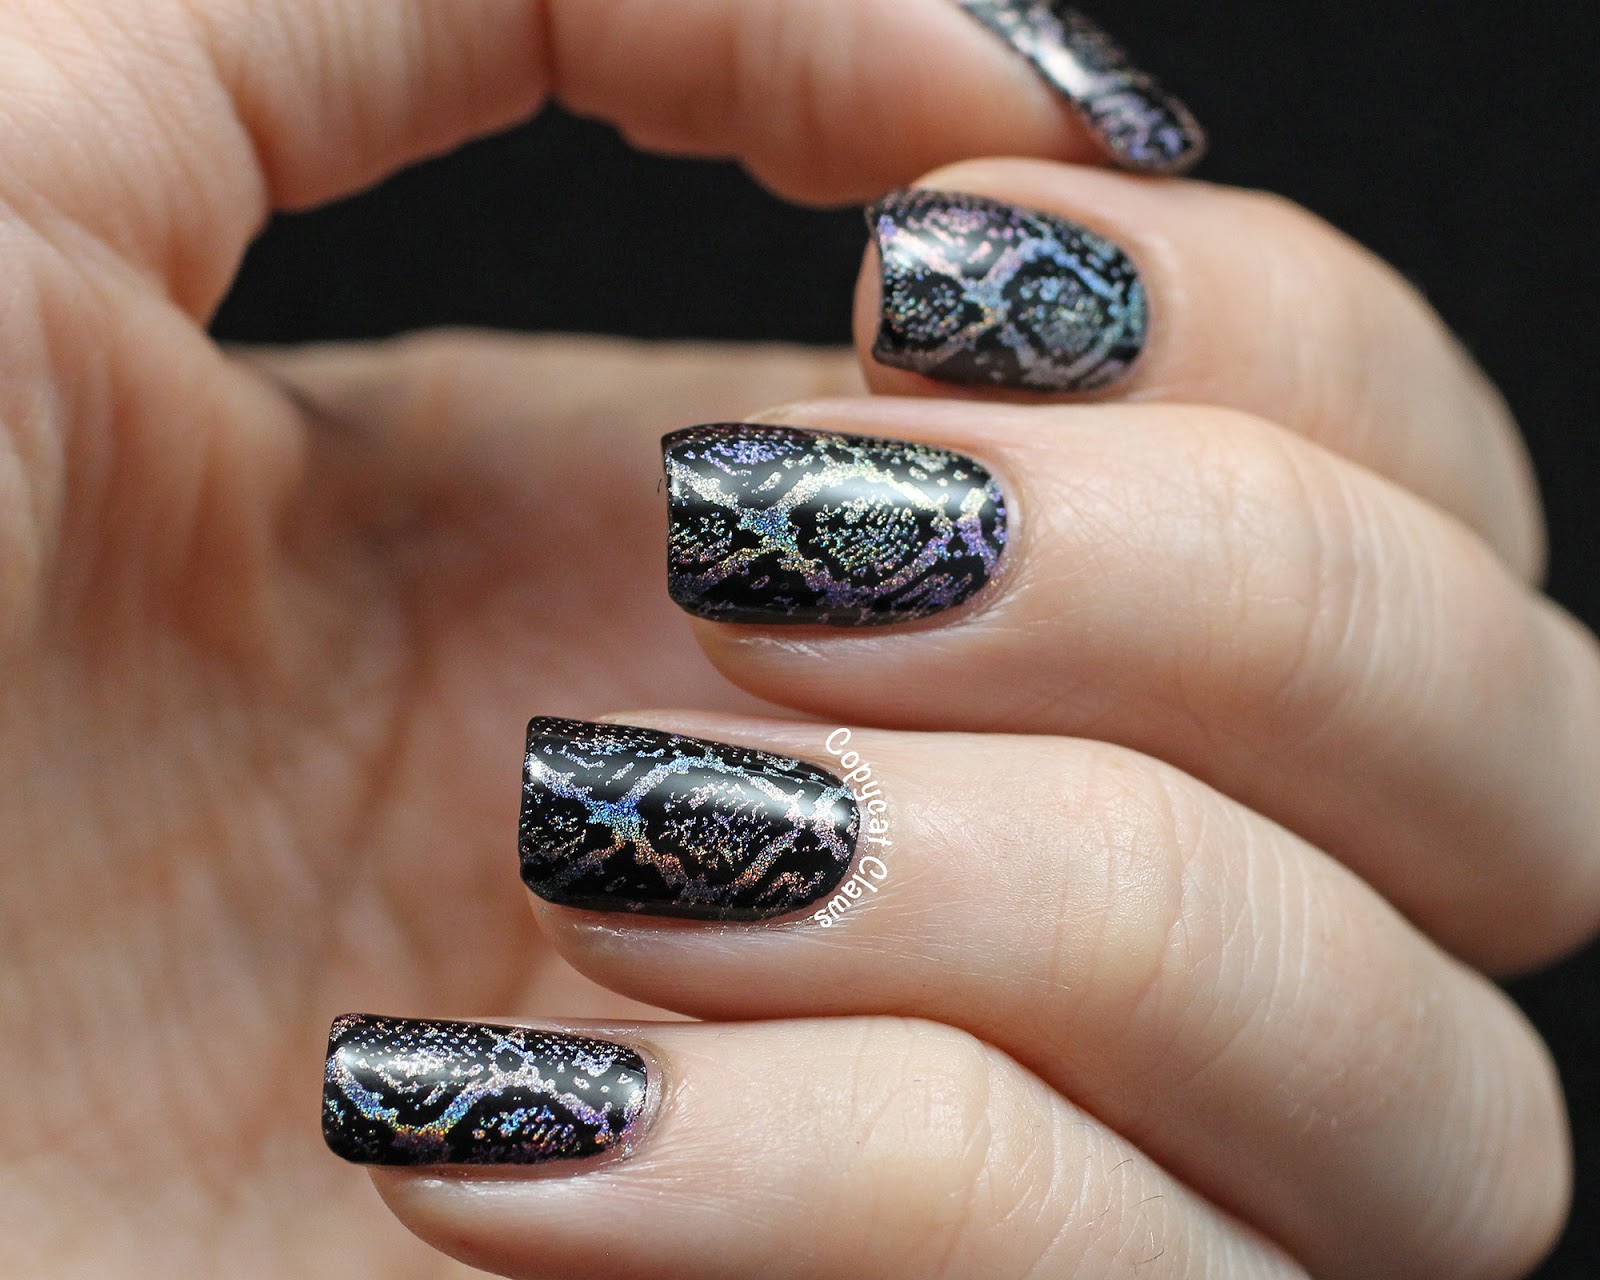
Foil can add a metallic and shiny effect to your nails, making it the perfect addition to a snakeskin nail art design. Start by prepping your nails and applying a base coat. Then, choose a base color and apply two coats. Let it dry completely. Next, take a different color of foil and cut it into small pieces. Using a foil adhesive, apply it onto your nails in a random pattern. Once the foil is dry, follow the steps in the previous tutorials to create the snakeskin pattern. Seal it with a top coat and you now have a unique and shiny snakeskin design.9. Snakeskin Nail Art Tutorial with Foil


9. Snakeskin Nail Art Tutorial with Foil
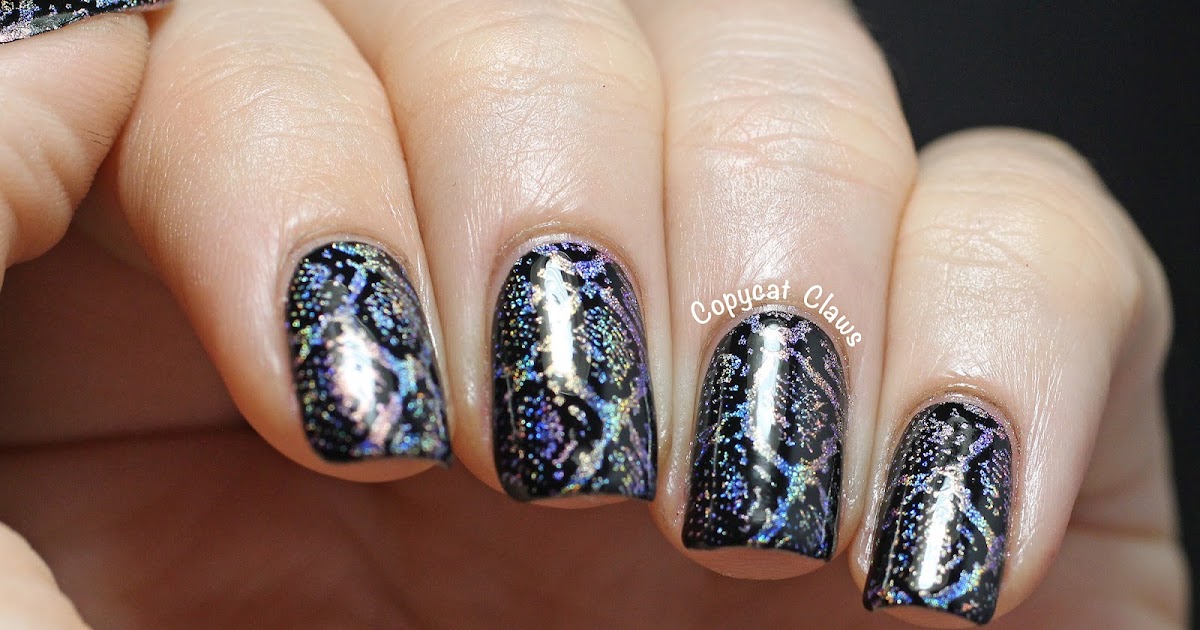
For a more luxurious and glamorous snakeskin design, try this black and gold snakeskin nail art tutorial. Start by prepping your nails and applying a base coat. Then, choose a black base color and apply two coats. Let it dry completely. Next, take a gold nail polish and apply it onto a makeup sponge. Dab the sponge onto your nails, creating a gradient effect. Once the gradient is dry, follow the steps in the previous tutorials to create the snakeskin pattern using black polish. You can also add small gold accents using a dotting tool or a thin nail art brush. Seal it with a top coat and you now have a chic and elegant snakeskin design. In conclusion, the snakeskin pattern is a versatile and trendy nail art design that can be easily created at home. Experiment with different techniques and colors to create your own unique snakeskin nail art. Have fun and let your creativity run wild!10. Black and Gold Snakeskin Nail Art Tutorial
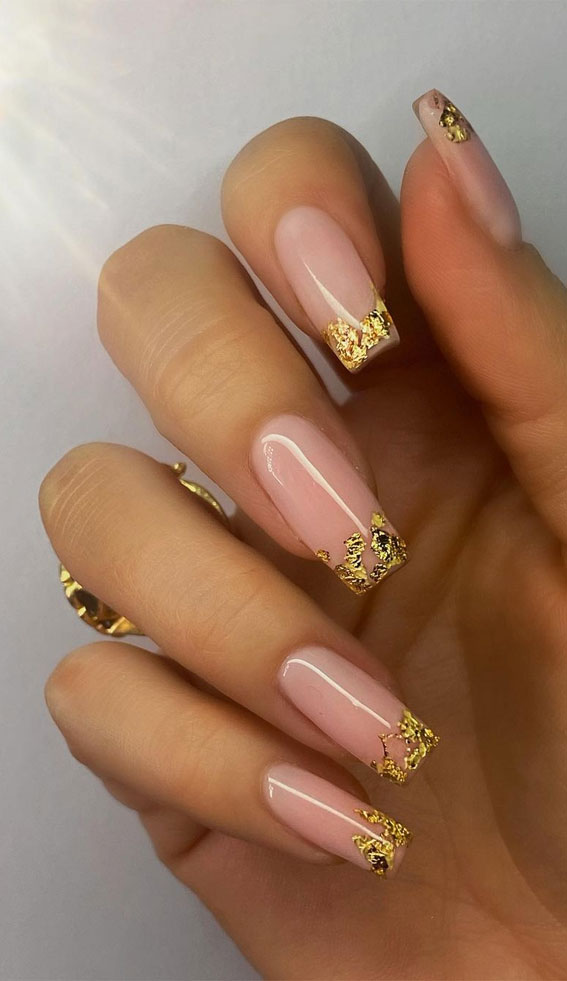

10. Black and Gold Snakeskin Nail Art Tutorial

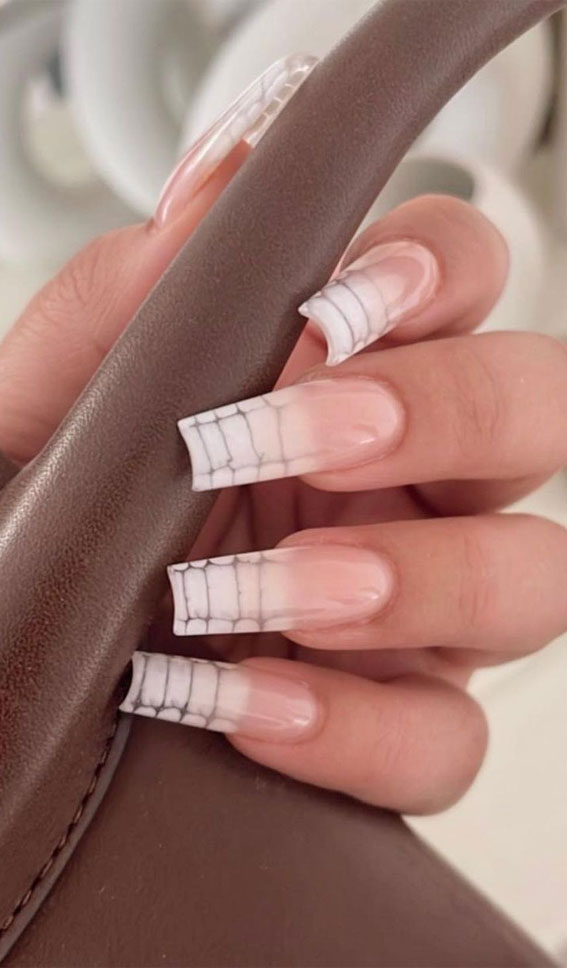
How to Create a Stunning Snakeskin Pattern Nail Art Design

Unleashing Your Inner Wild Side
 When it comes to nail art, there are endless options and designs to choose from. But if you want to add a touch of edginess and sophistication to your nails, then look no further than a snakeskin pattern nail art design. This bold and eye-catching design is sure to make a statement and have everyone asking where you got your nails done. And the best part? You can easily create this look at home with just a few simple steps.
Gather Your Materials
 Before you get started, make sure you have all the necessary materials. You will need a base coat, top coat,
nail polish
in two different colors (one for the base and one for the pattern), a
nail art brush
, and a
dotting tool
. You can also use a
snakeskin pattern nail sticker
if you prefer a quicker and easier method.
Before you get started, make sure you have all the necessary materials. You will need a base coat, top coat,
nail polish
in two different colors (one for the base and one for the pattern), a
nail art brush
, and a
dotting tool
. You can also use a
snakeskin pattern nail sticker
if you prefer a quicker and easier method.
Prep Your Nails
 As with any
nail art
design, it's important to start with clean and well-groomed nails. Begin by shaping and buffing your nails to your desired length and shape. Then, apply a base coat to protect your nails and help the polish adhere better. Let it dry completely before moving on to the next step.
As with any
nail art
design, it's important to start with clean and well-groomed nails. Begin by shaping and buffing your nails to your desired length and shape. Then, apply a base coat to protect your nails and help the polish adhere better. Let it dry completely before moving on to the next step.
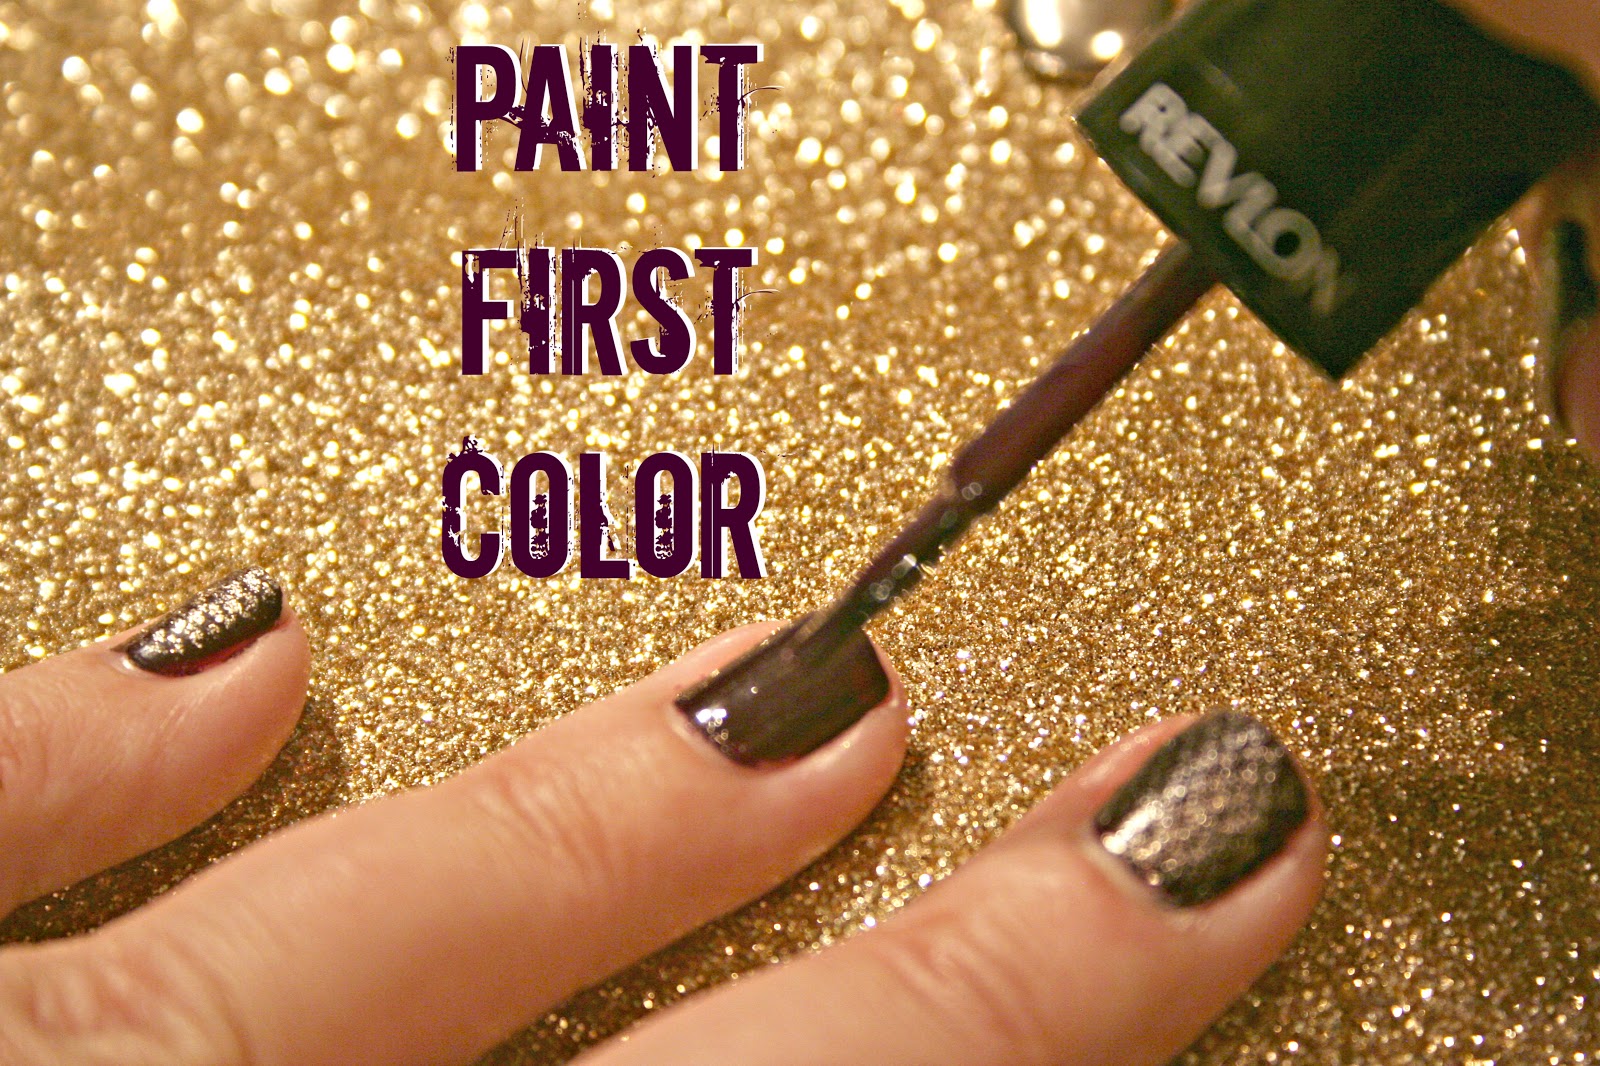
Paint the Base Color
 Choose your desired base color and apply two coats for full coverage. Let the polish dry completely before moving on to the next step. You can also use a quick-dry top coat to speed up the process.
Create the Snakeskin Pattern
 Now it's time to unleash your creativity and create the
snakeskin pattern
. Using a
nail art brush
or the
dotting tool
, create random, curved lines on your nails using the second color of nail polish. These lines should resemble the natural pattern of a snakeskin. You can also add small dots and lines to give it more depth and texture. Don't worry about making it perfect, imperfections will only add to the realistic look of the design.
Now it's time to unleash your creativity and create the
snakeskin pattern
. Using a
nail art brush
or the
dotting tool
, create random, curved lines on your nails using the second color of nail polish. These lines should resemble the natural pattern of a snakeskin. You can also add small dots and lines to give it more depth and texture. Don't worry about making it perfect, imperfections will only add to the realistic look of the design.
Seal the Look
 Once you're happy with the pattern, let the polish dry completely before sealing it with a top coat. This will not only protect your design but also give it a shiny finish. Make sure to seal the edges of your nails to prevent chipping.
Take it Up a Notch
 For an extra touch of glam, you can add some
rhinestones
or
glitter
to your nails. Simply apply a small amount of clear polish and use tweezers to place the
rhinestones
or
glitter
on your nails.
Now you have a stunning
snakeskin pattern nail art design
that is sure to turn heads and make you stand out from the crowd. So go ahead and unleash your inner wild side with this stylish and fierce nail art design.
For an extra touch of glam, you can add some
rhinestones
or
glitter
to your nails. Simply apply a small amount of clear polish and use tweezers to place the
rhinestones
or
glitter
on your nails.
Now you have a stunning
snakeskin pattern nail art design
that is sure to turn heads and make you stand out from the crowd. So go ahead and unleash your inner wild side with this stylish and fierce nail art design.


