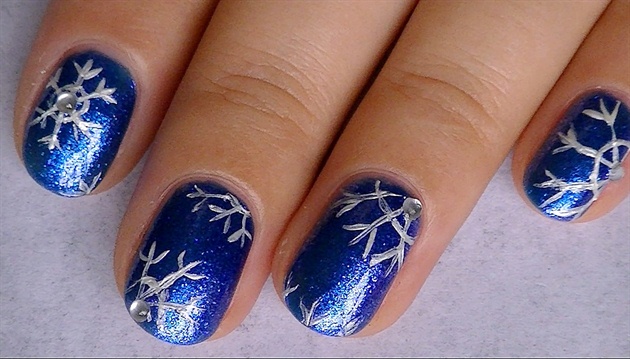
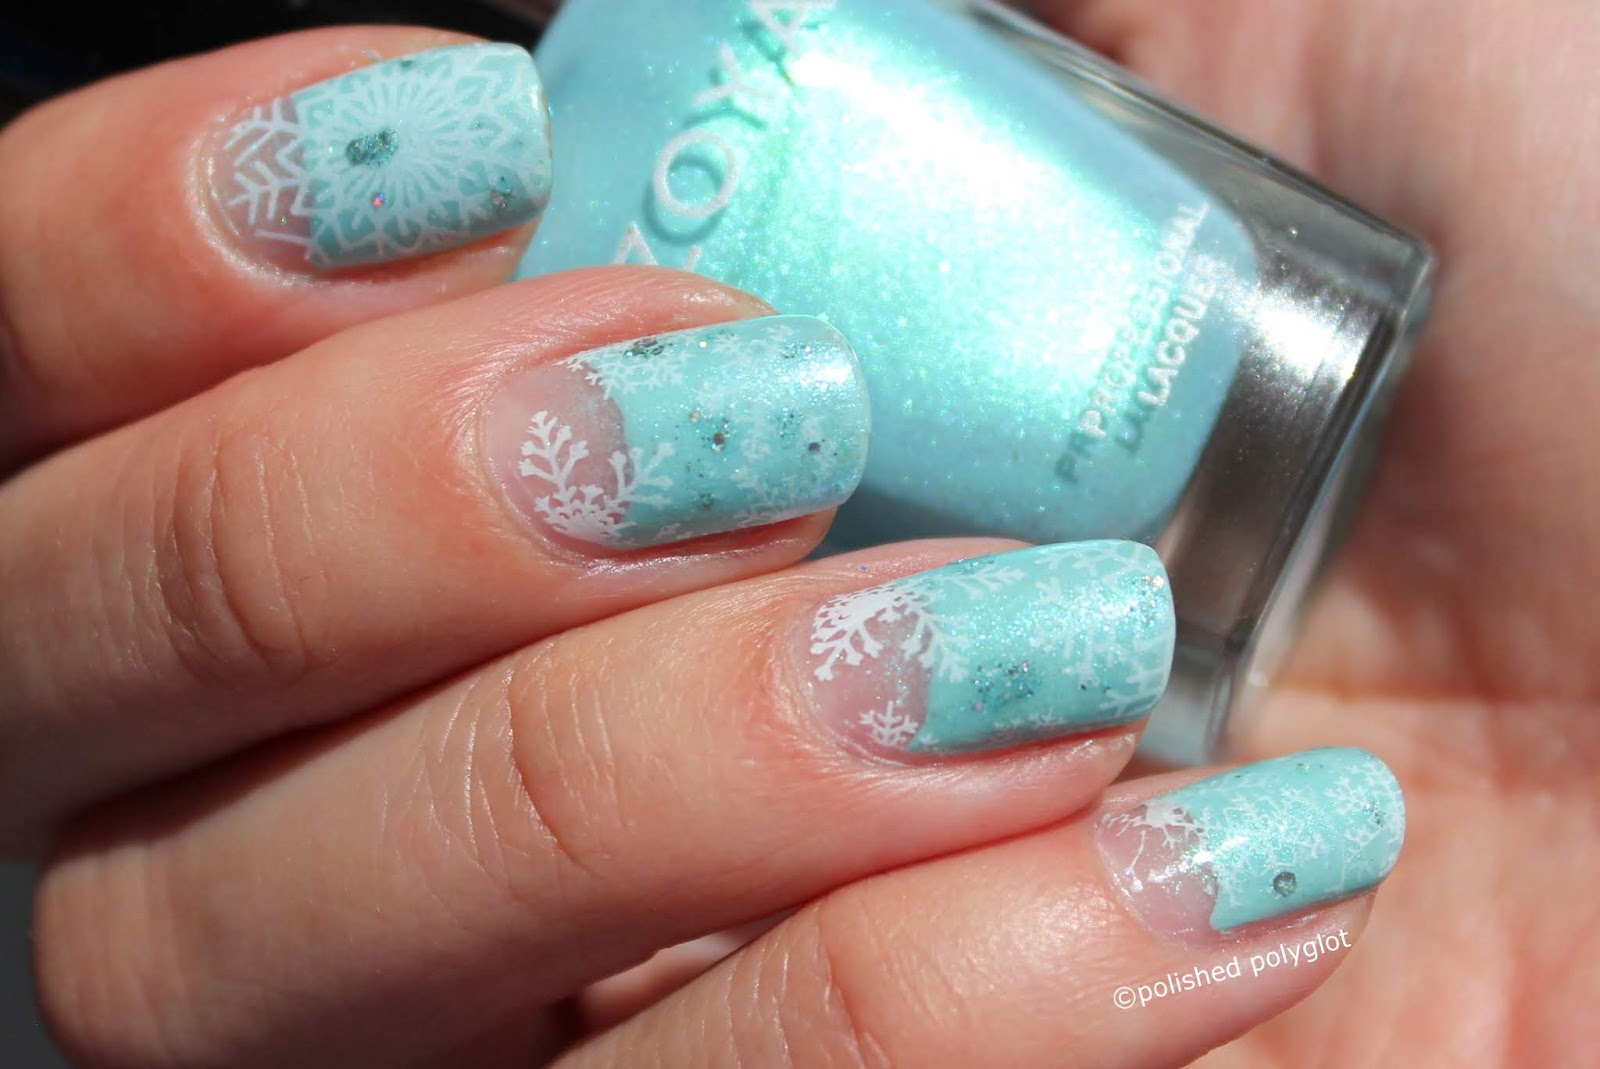
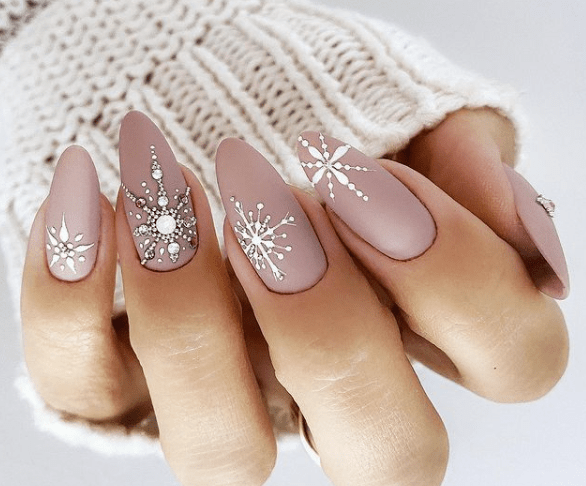
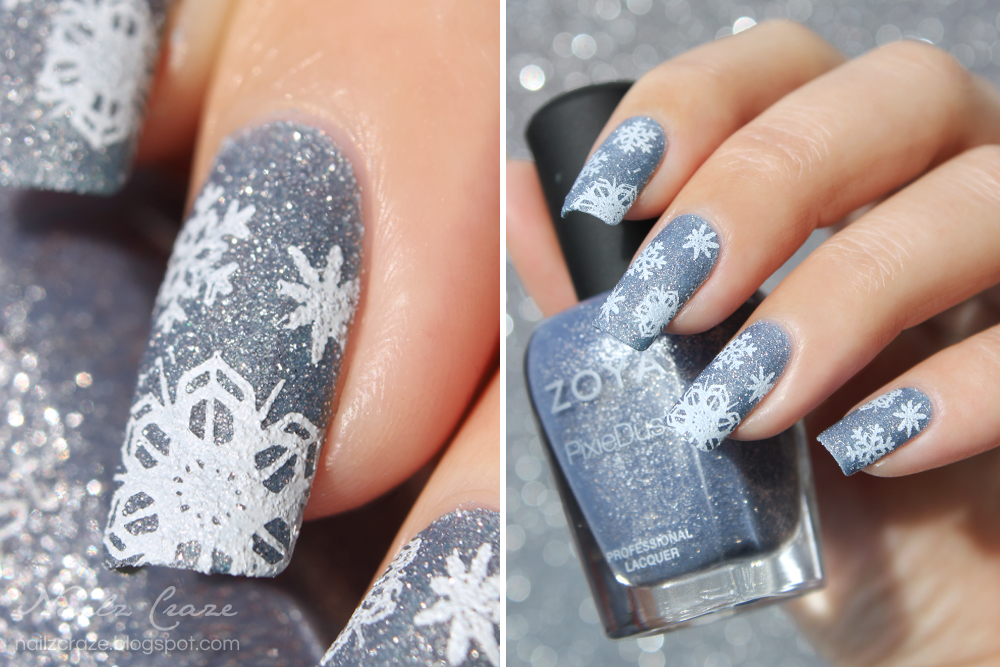
If you love the magical feeling of a winter wonderland, then this snowflake nail art design is perfect for you. Start by painting your nails with a light blue base color, such as "Frosty Sky" , to give the illusion of a snowy sky. Then, using a thin brush, create delicate white snowflakes on each nail. For a more detailed look, you can add a touch of silver glitter to the center of each snowflake. This design is simple yet elegant, making it perfect for any winter occasion.Winter Wonderland Snowflake Nail Art


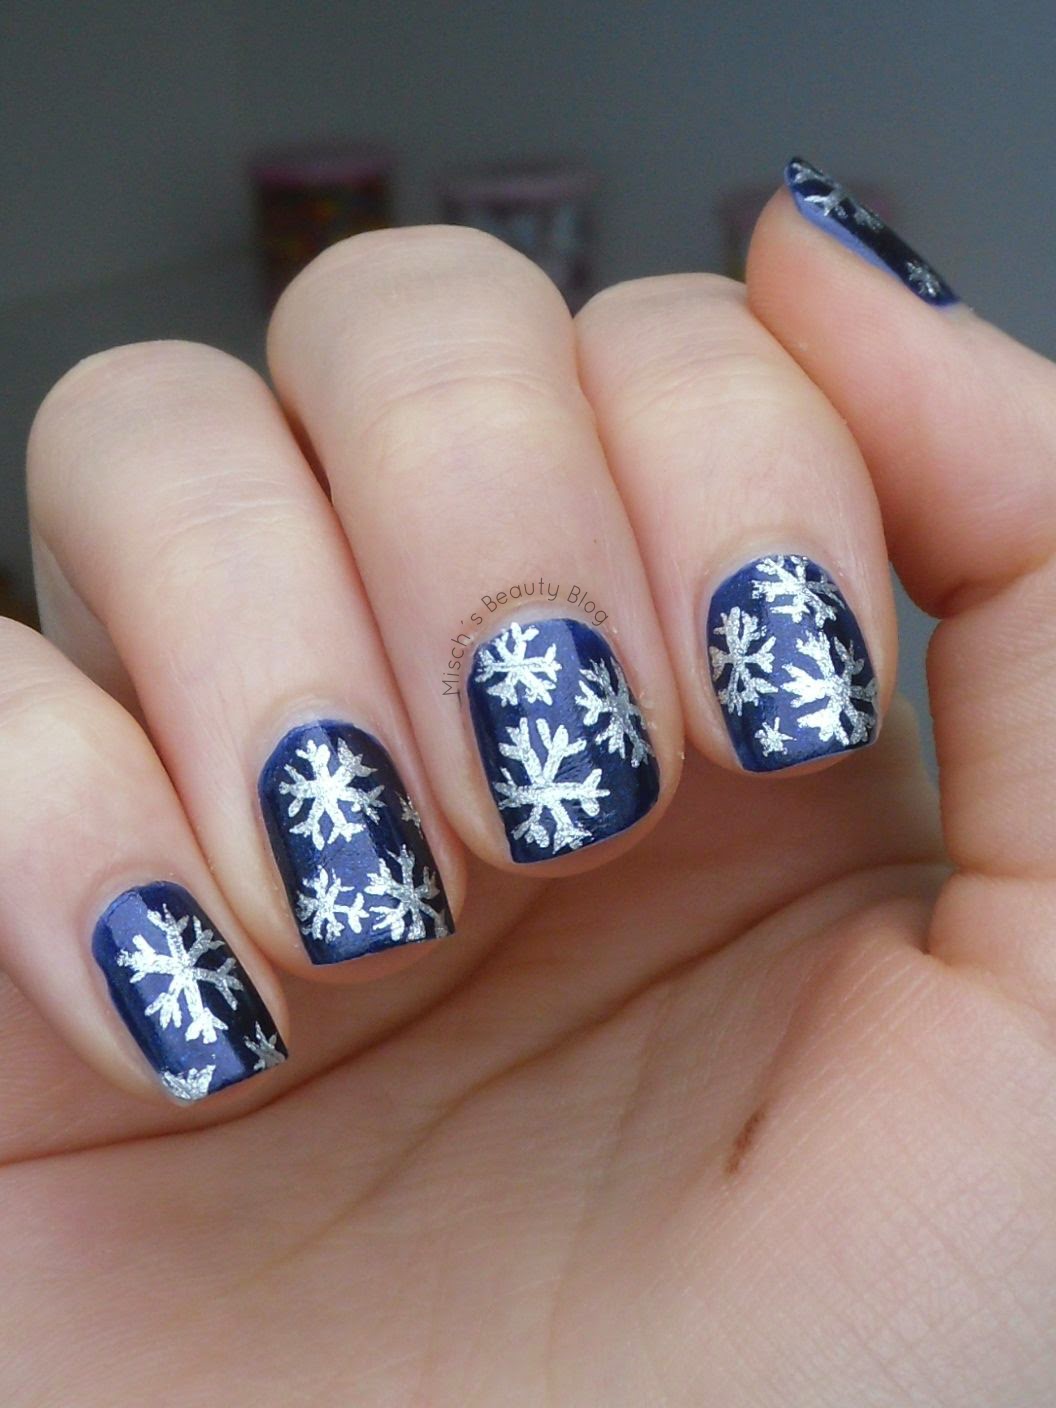
Winter Wonderland Snowflake Nail Art


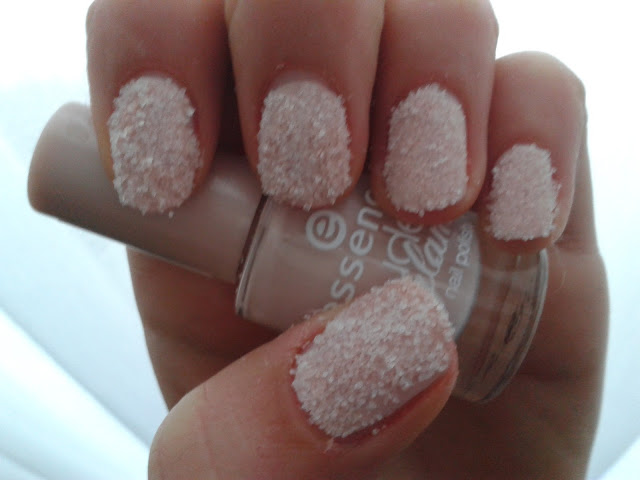
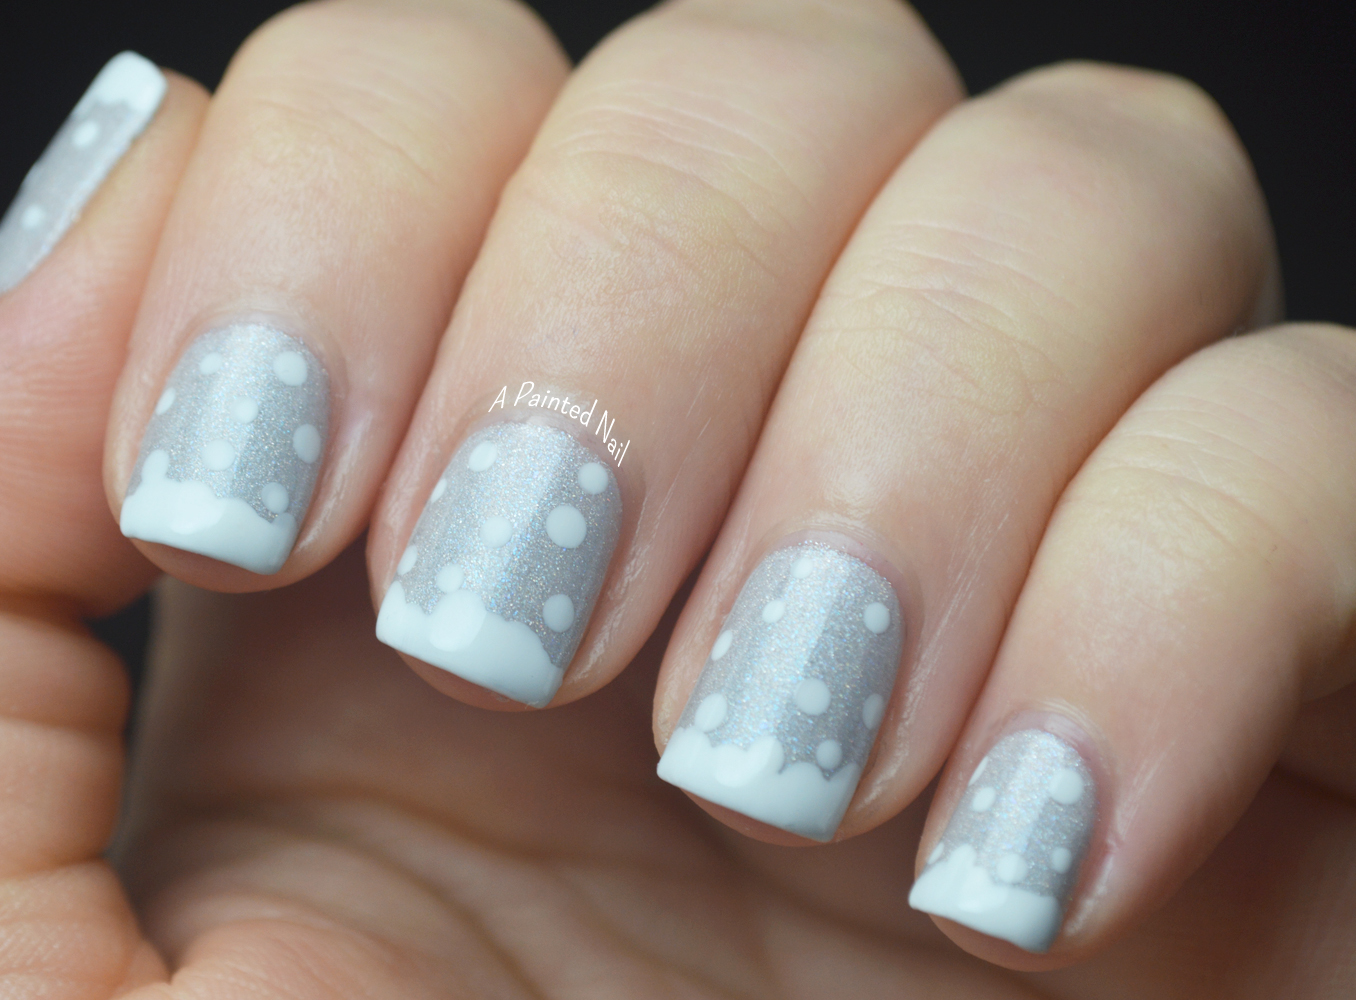
If you're new to nail art or just looking for a quick and easy design, this snow nail art tutorial is for you. Start by painting your nails with a white base color. Then, using a "Snow" nail polish, create small dots on each nail. Use a toothpick or a small dotting tool to create different sized dots for a more realistic snowfall effect. Finish off with a layer of clear top coat to seal in your design. This is a simple and fun way to add a touch of winter to your nails.Easy Snow Nail Art Tutorial


Easy Snow Nail Art Tutorial
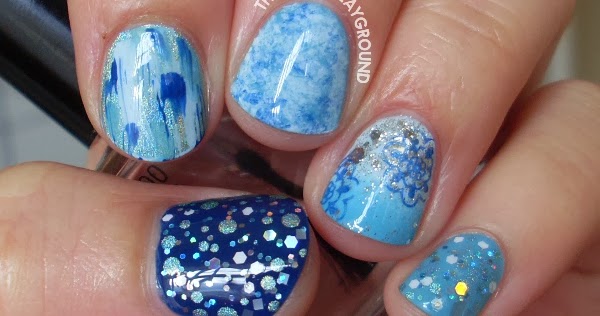


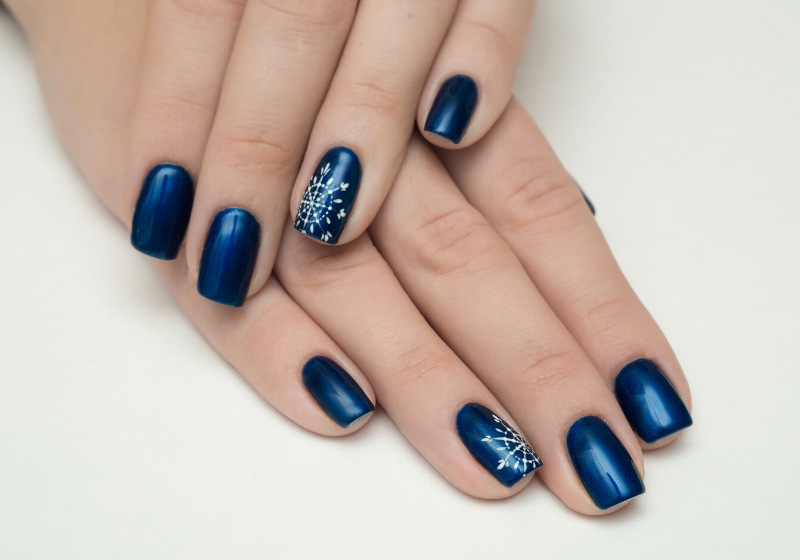
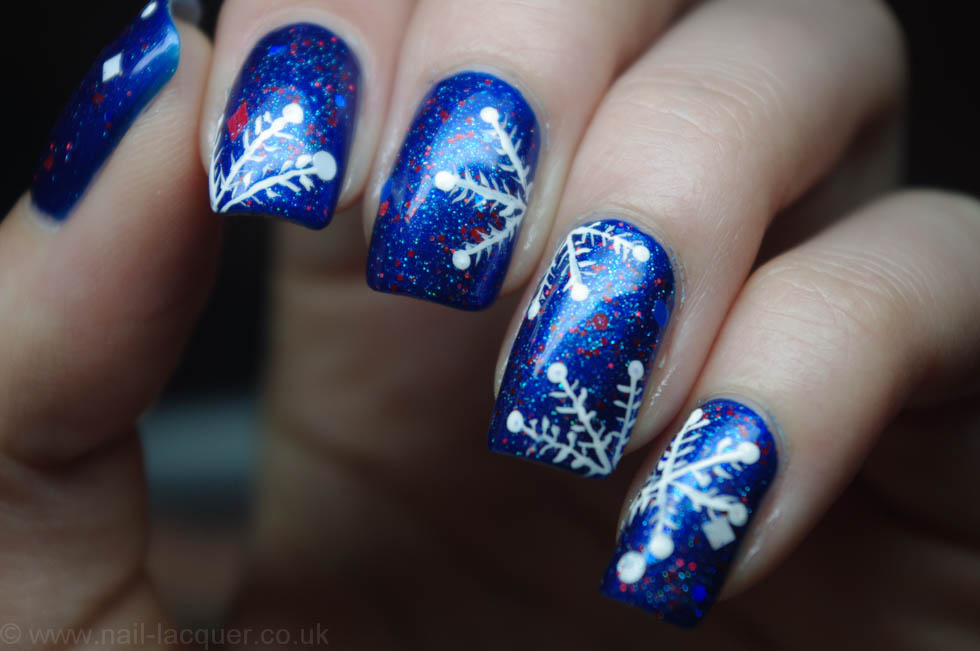
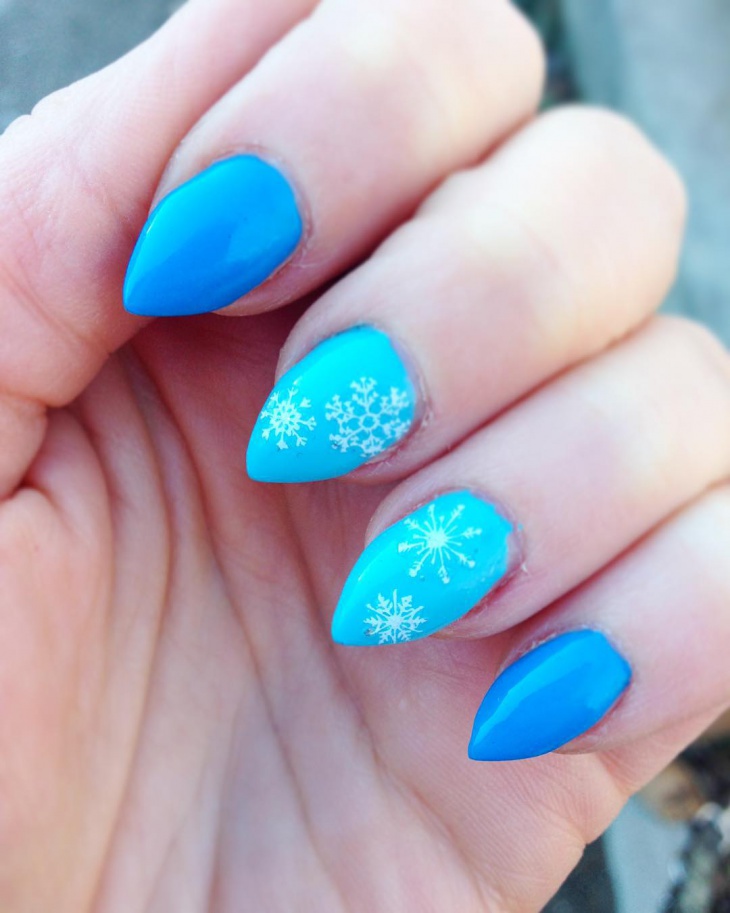
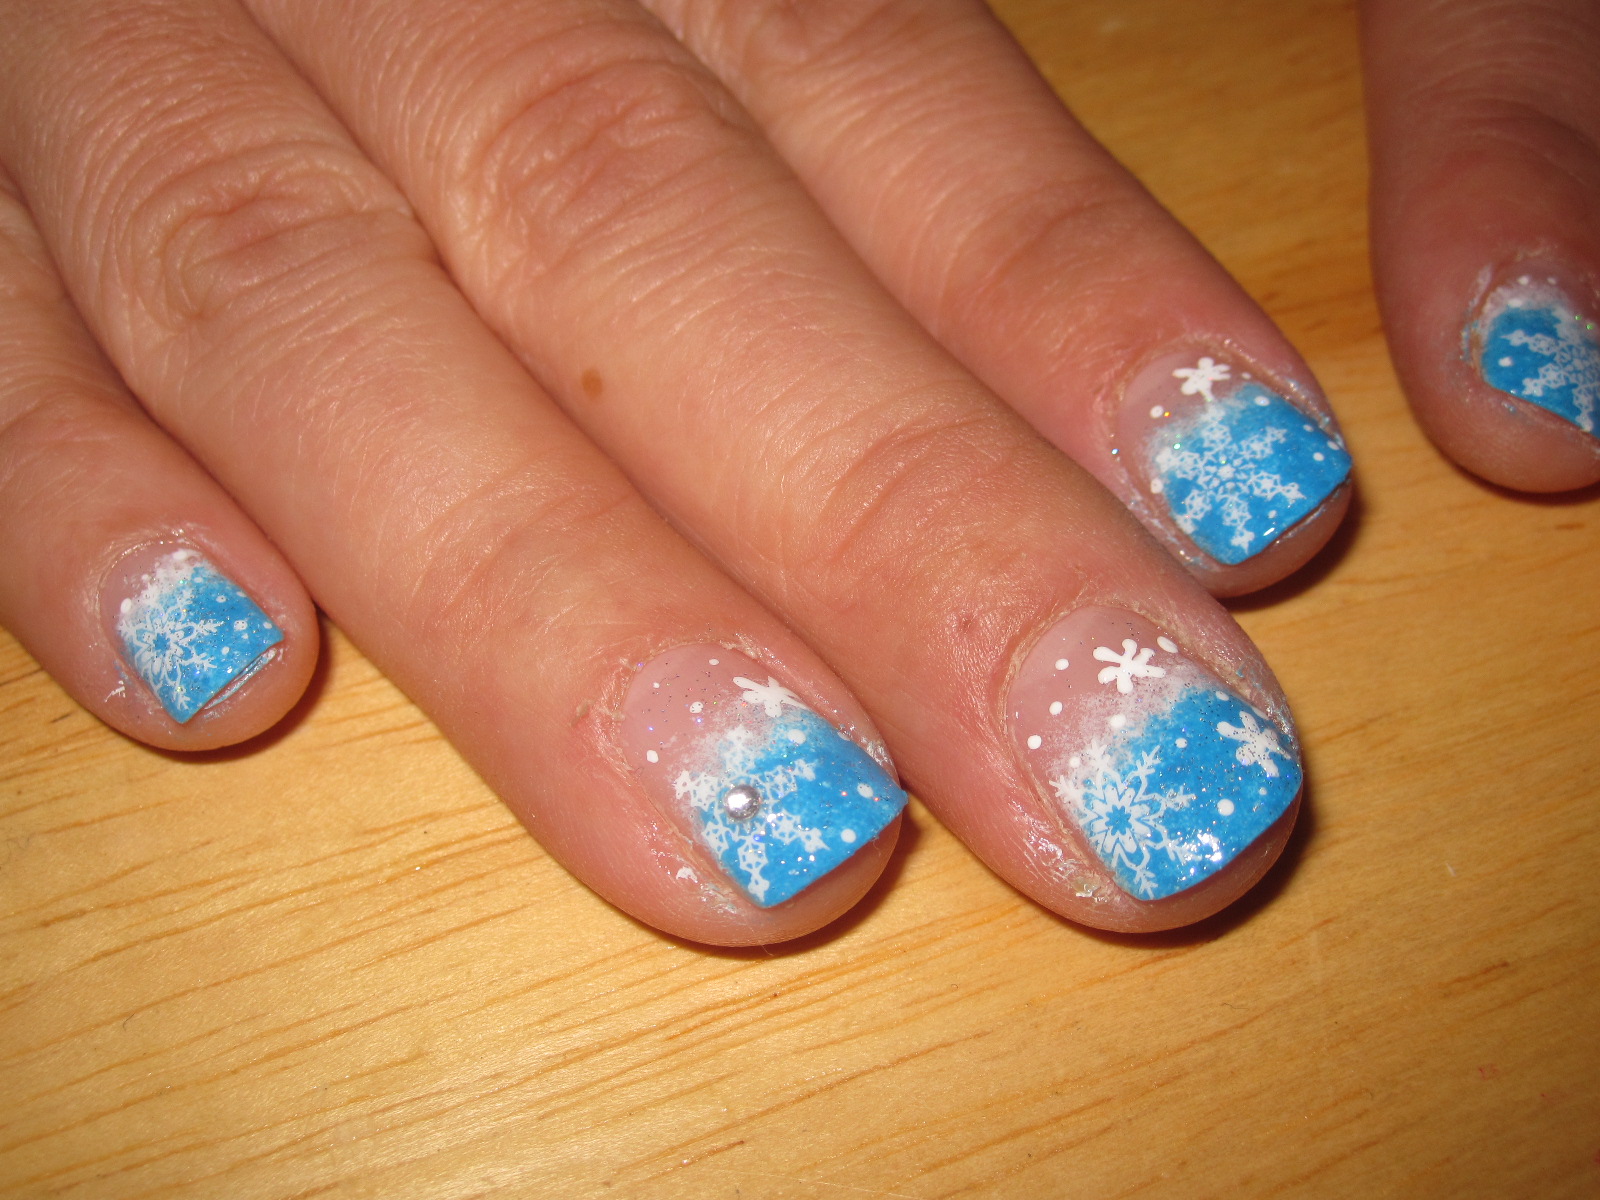
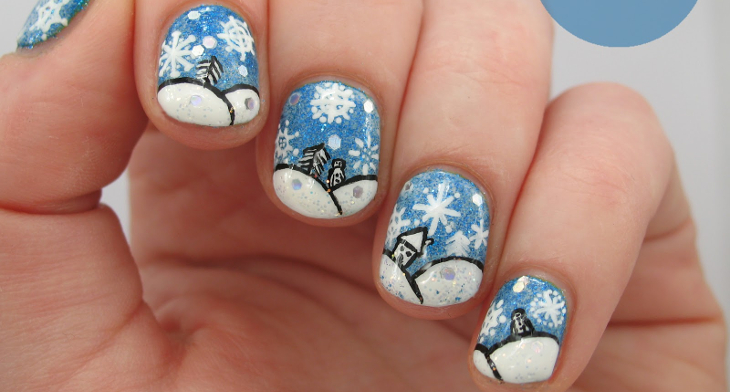
This blue and white snowflake nail design is perfect for those who love a bold and colorful look. Start by painting your nails with a light blue base color, "Icy Breeze" would be perfect for this. Then, using a "Snow White" nail polish, create various sized snowflakes on each nail. You can even add a touch of silver glitter to give the design some sparkle. This is a fun and unique way to incorporate snowflakes into your nail art.Blue and White Snowflake Nail Design


Blue and White Snowflake Nail Design


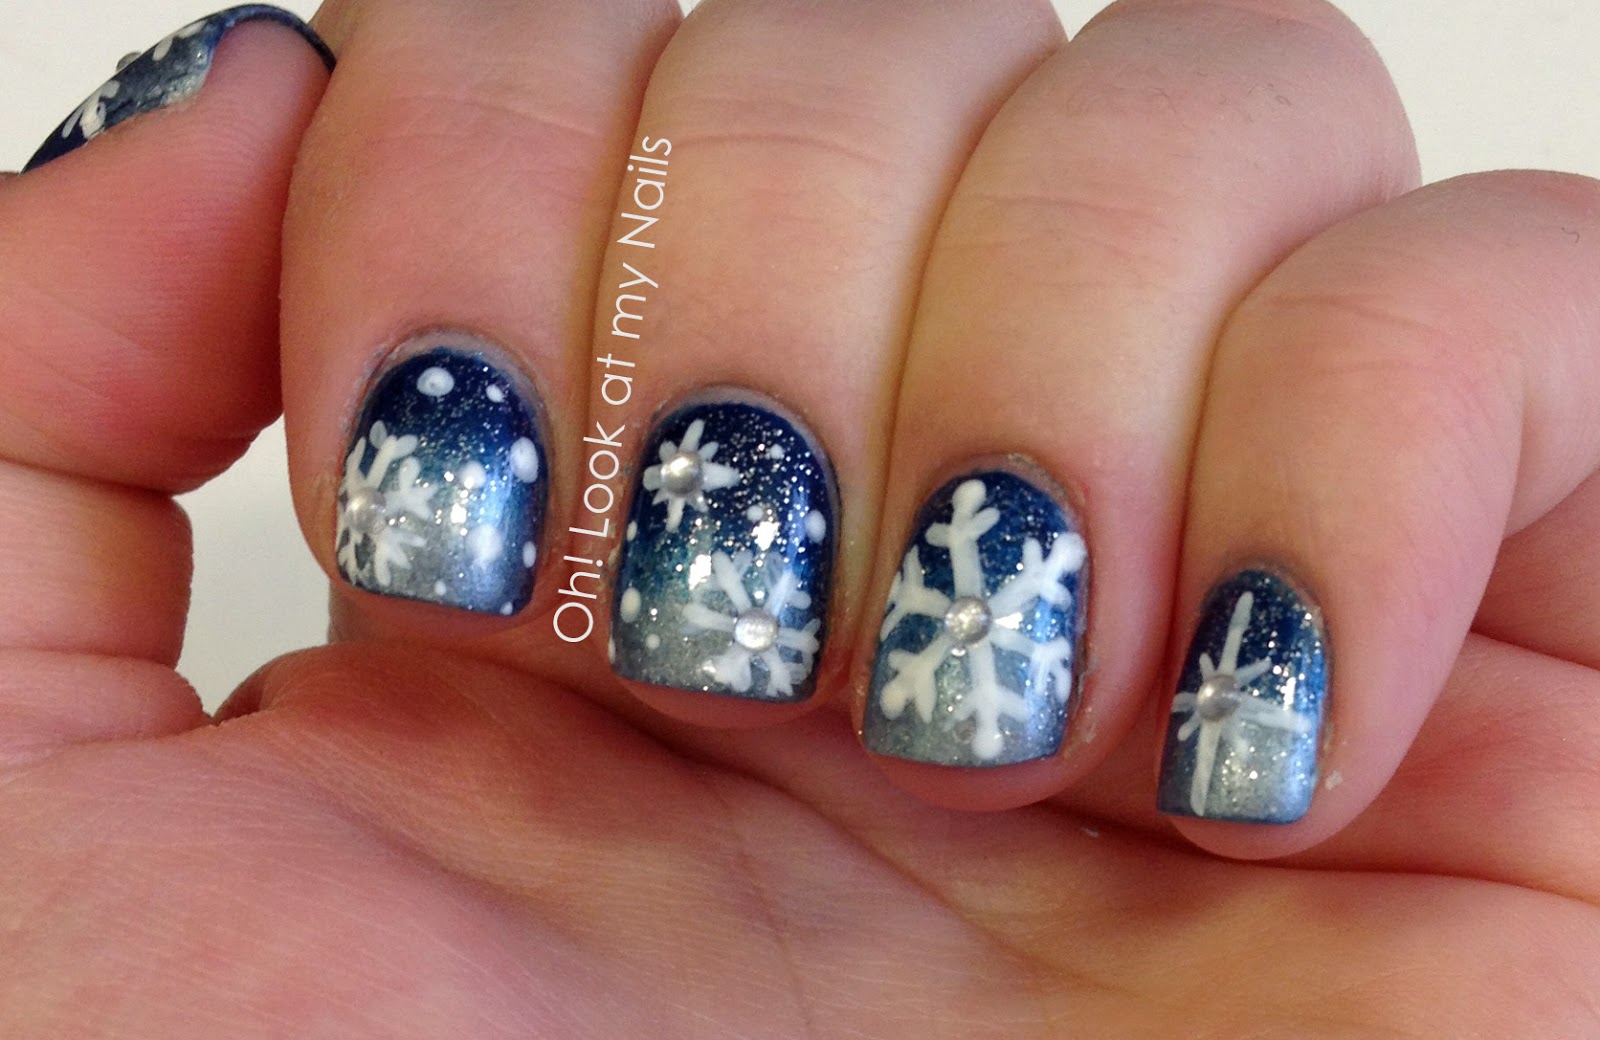
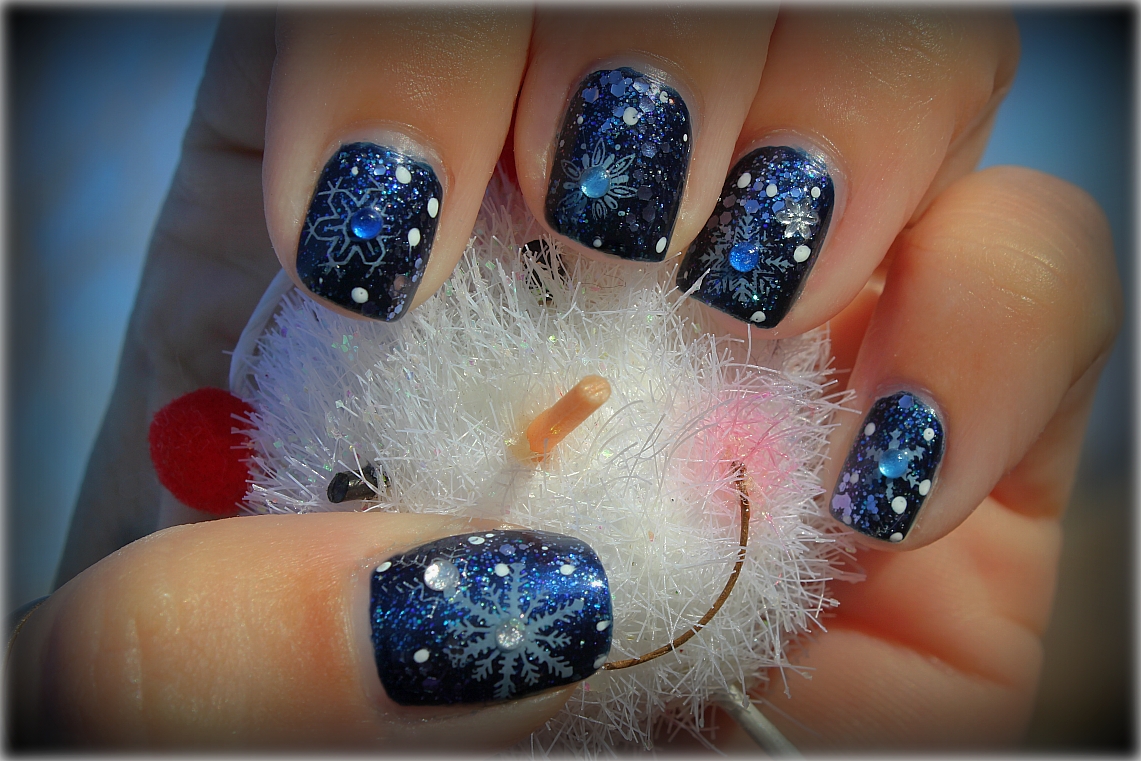
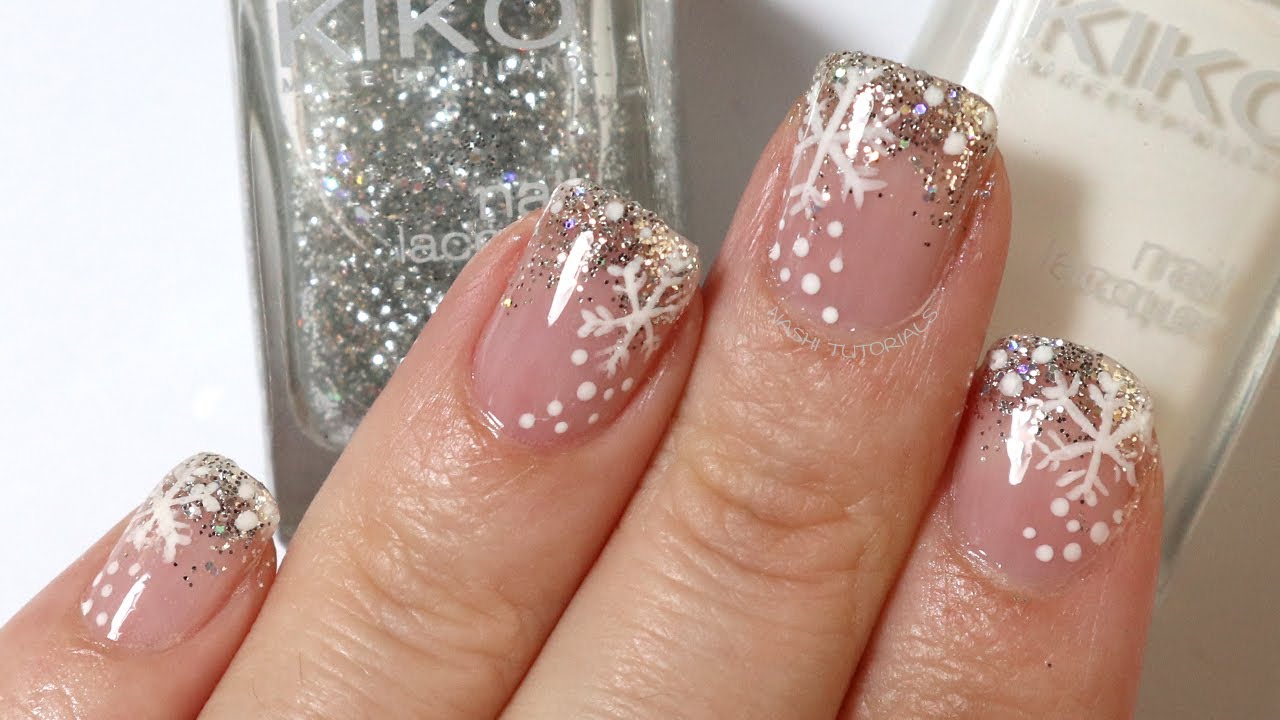
For those who love a touch of glam, this glittery snow nail art is the perfect choice. Start by painting your nails with a light "Powder Blue" color. Then, using a "Crystal Snow" glitter nail polish, create a gradient effect on the tips of your nails. You can also add a few snowflakes using a thin brush and white nail polish. This design is perfect for a winter party or any special occasion.Glittery Snow Nail Art


Glittery Snow Nail Art

This snowy mountain nail design is perfect for those who love a minimalist and chic look. Start by painting your nails with a light "Minty Fresh" color. Then, using a thin brush and white nail polish, create a triangle at the base of each nail. This will be the snowy mountain. You can also add a few dots of white nail polish to create a snowy effect. Finish off with a layer of clear top coat to seal in your design.Snowy Mountain Nail Design


Snowy Mountain Nail Design


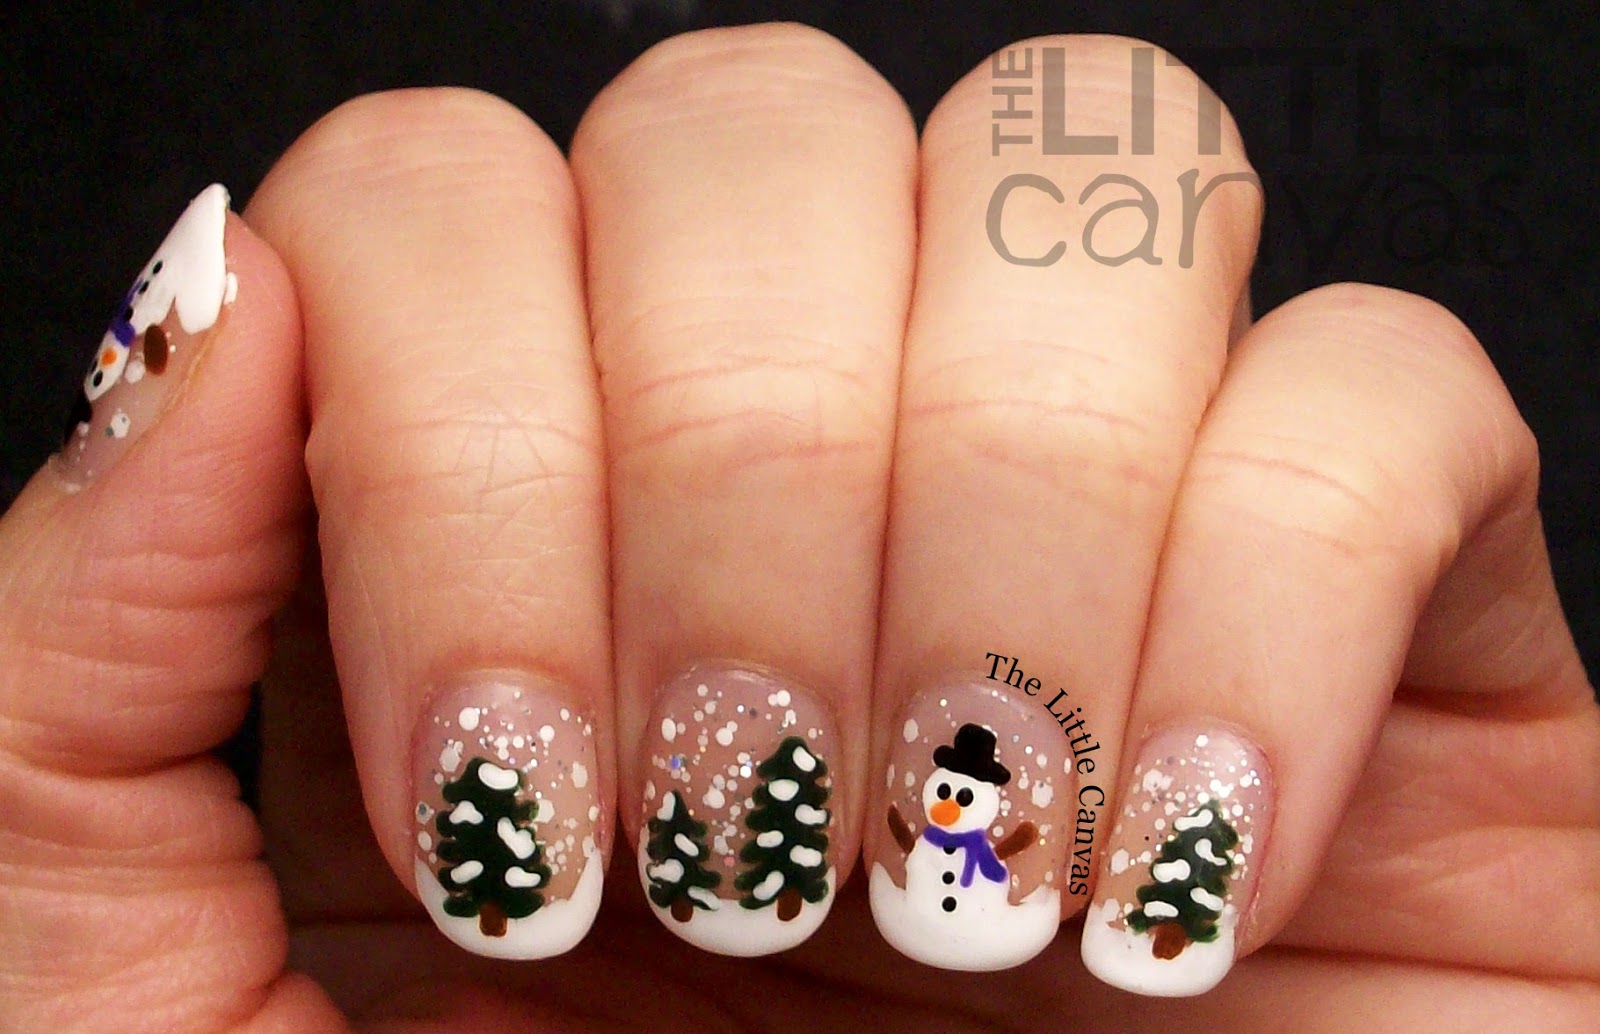
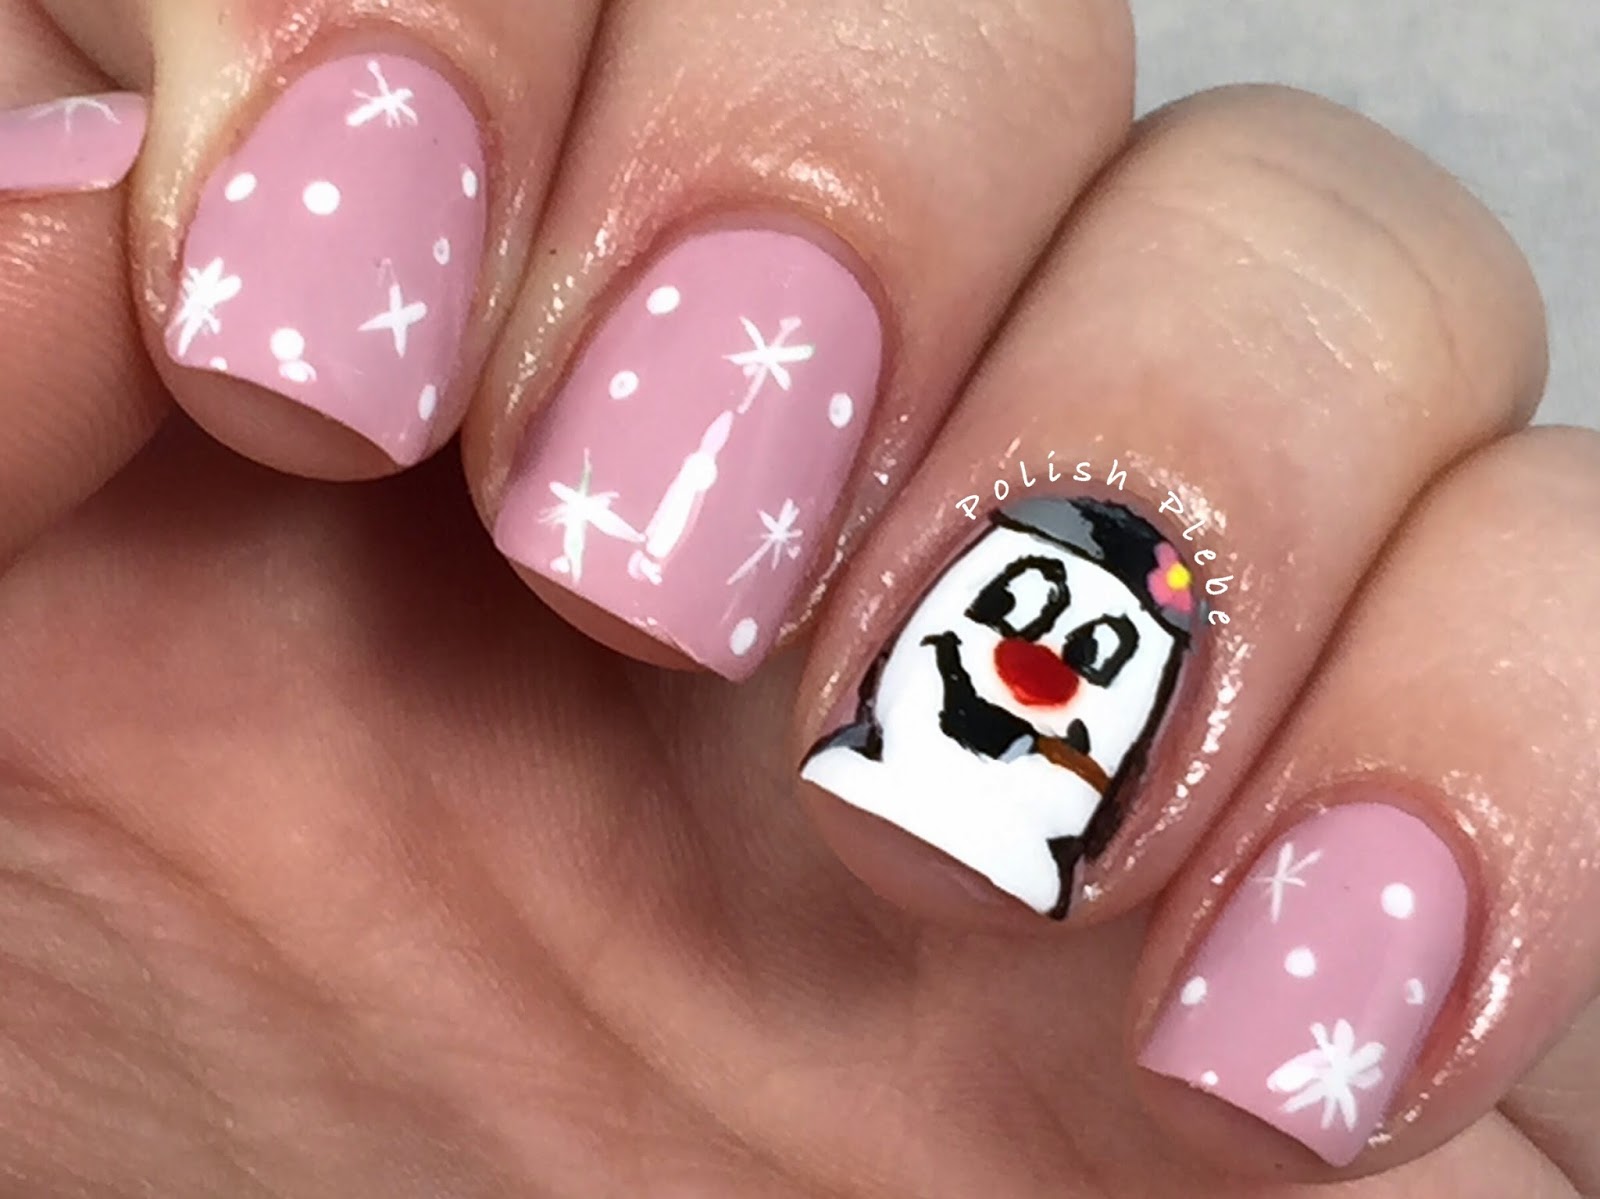
What's winter without a cute snowman? This snowman nail art is perfect for adding a touch of whimsy to your nails. Start by painting your nails with a light blue base color. Then, using a thin brush and white nail polish, create a snowman on one of your nails. You can add details like a scarf, hat, and even a carrot nose using different colored nail polishes. This design is fun and playful, perfect for the holiday season.Snowman Nail Art


Snowman Nail Art


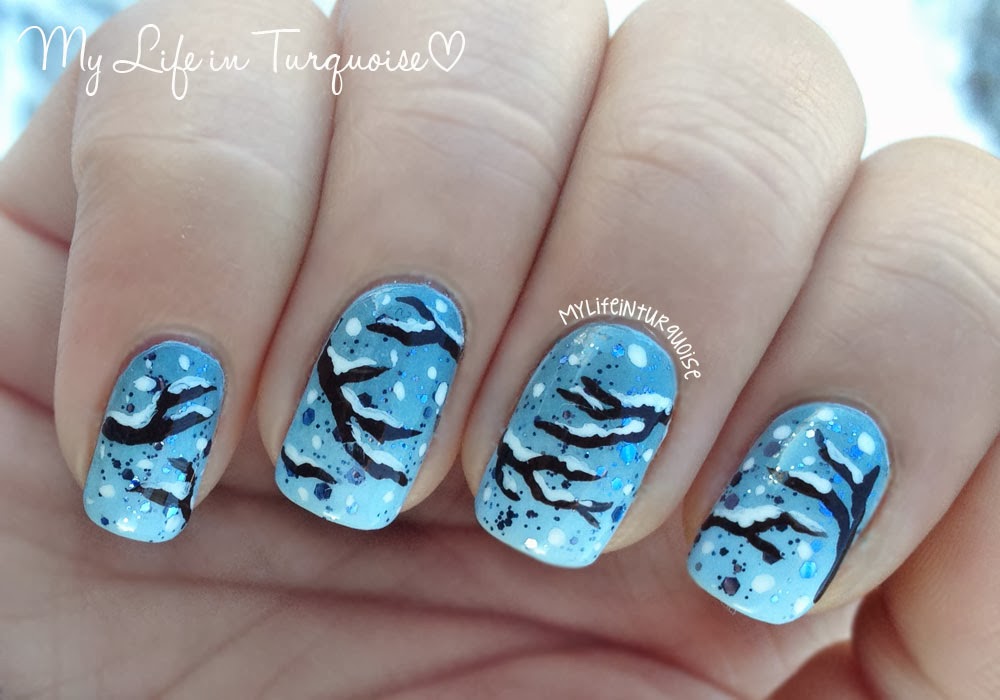
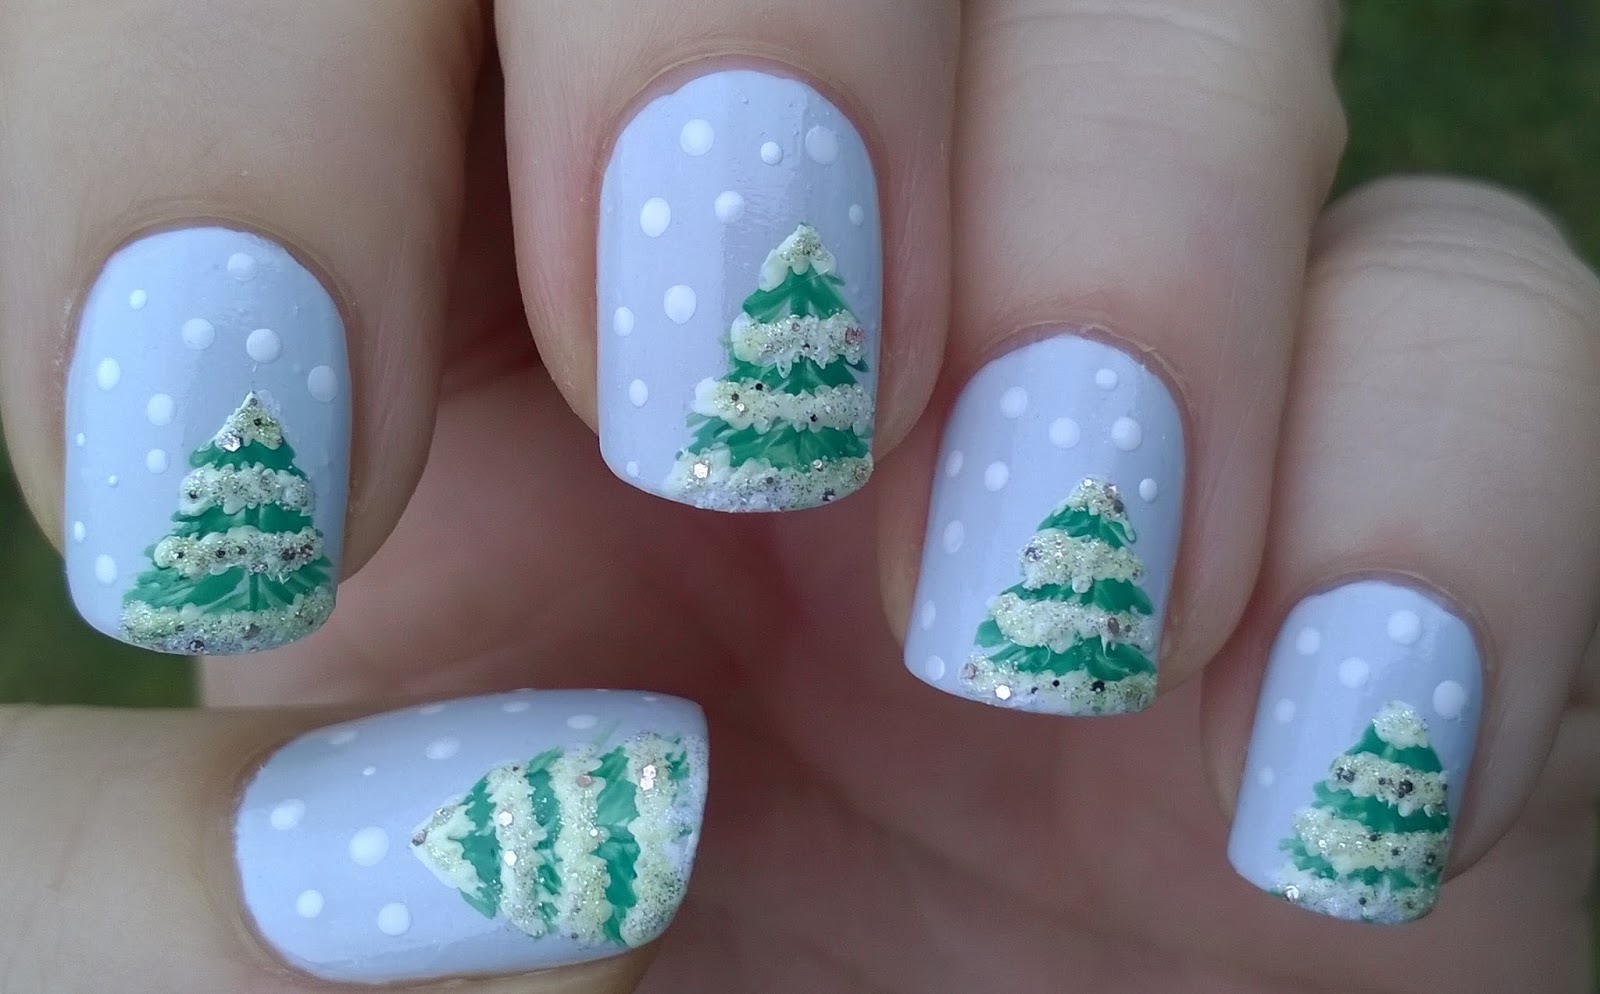
For a more subtle take on winter nail art, try this snowy tree design. Start by painting your nails with a light "Frosty Green" color. Then, using a thin brush and white nail polish, create a tree on one of your nails. You can also add a few dots of white nail polish to create snow on the tree. This design is simple yet eye-catching, and perfect for those who prefer a more understated look.Snowy Tree Nail Design

Snowy Tree Nail Design


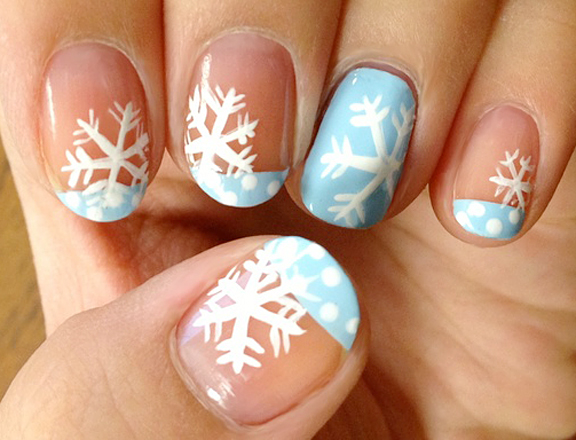
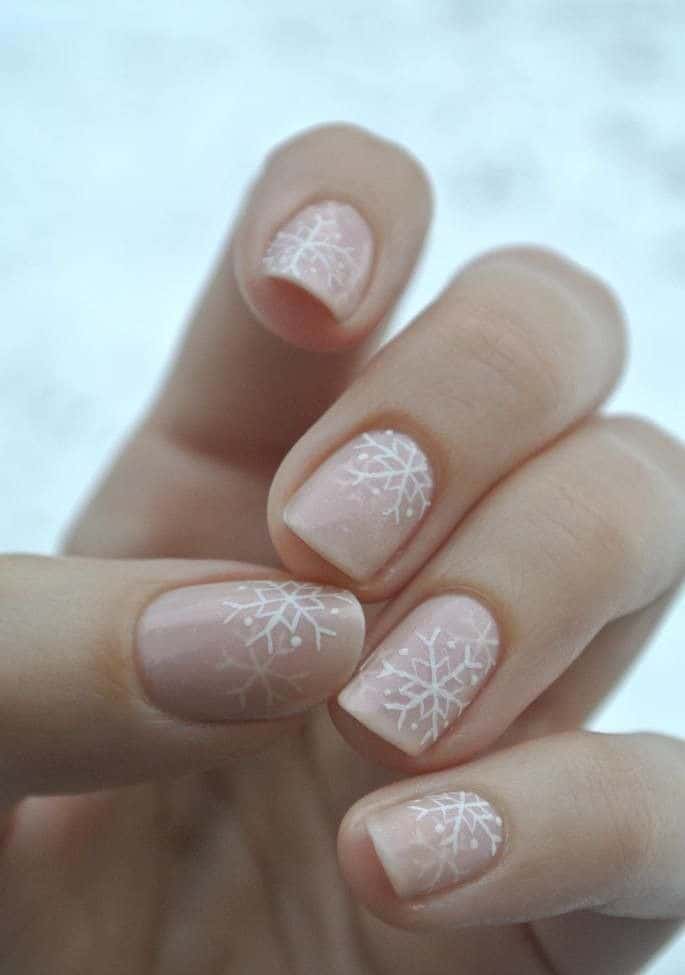
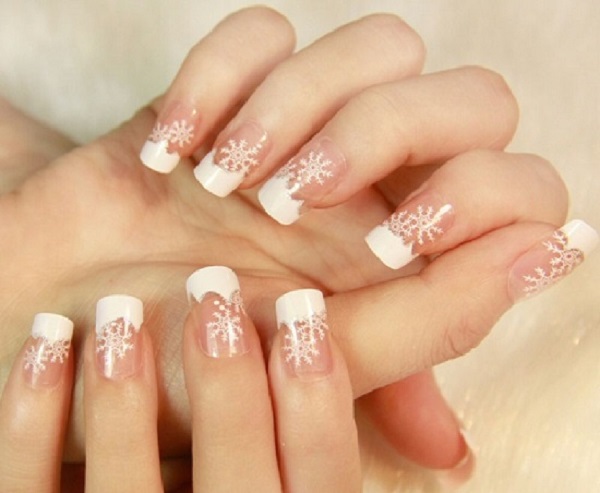
If you love a classic French tip, why not add a wintery twist to it? Start by painting your nails with a light pink base color. Then, using a thin brush and white nail polish, create delicate snowflakes on the tips of your nails. You can also add some silver glitter for an extra touch of sparkle. This design is elegant and perfect for any winter event.Snowflake French Tip Nails
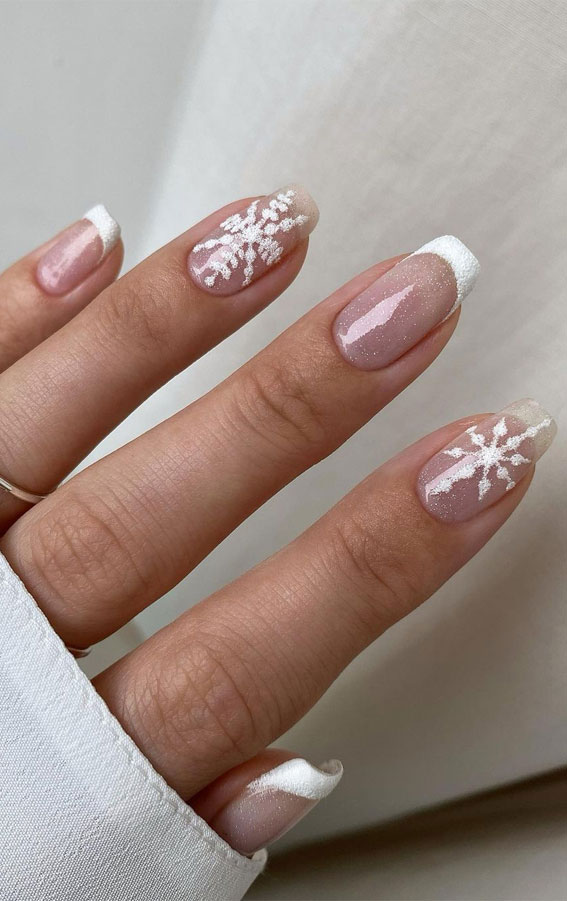
Snowflake French Tip Nails


This snowy gradient nail art is perfect for those who love a bold and colorful look. Start by painting your nails with a light "Winter Berry" color. Then, using a makeup sponge, create a gradient effect with a white nail polish. You can also add some glitter for a more festive touch. This design is perfect for a winter party or a night out with friends.Snowy Gradient Nail Art
Snowy Gradient Nail Art

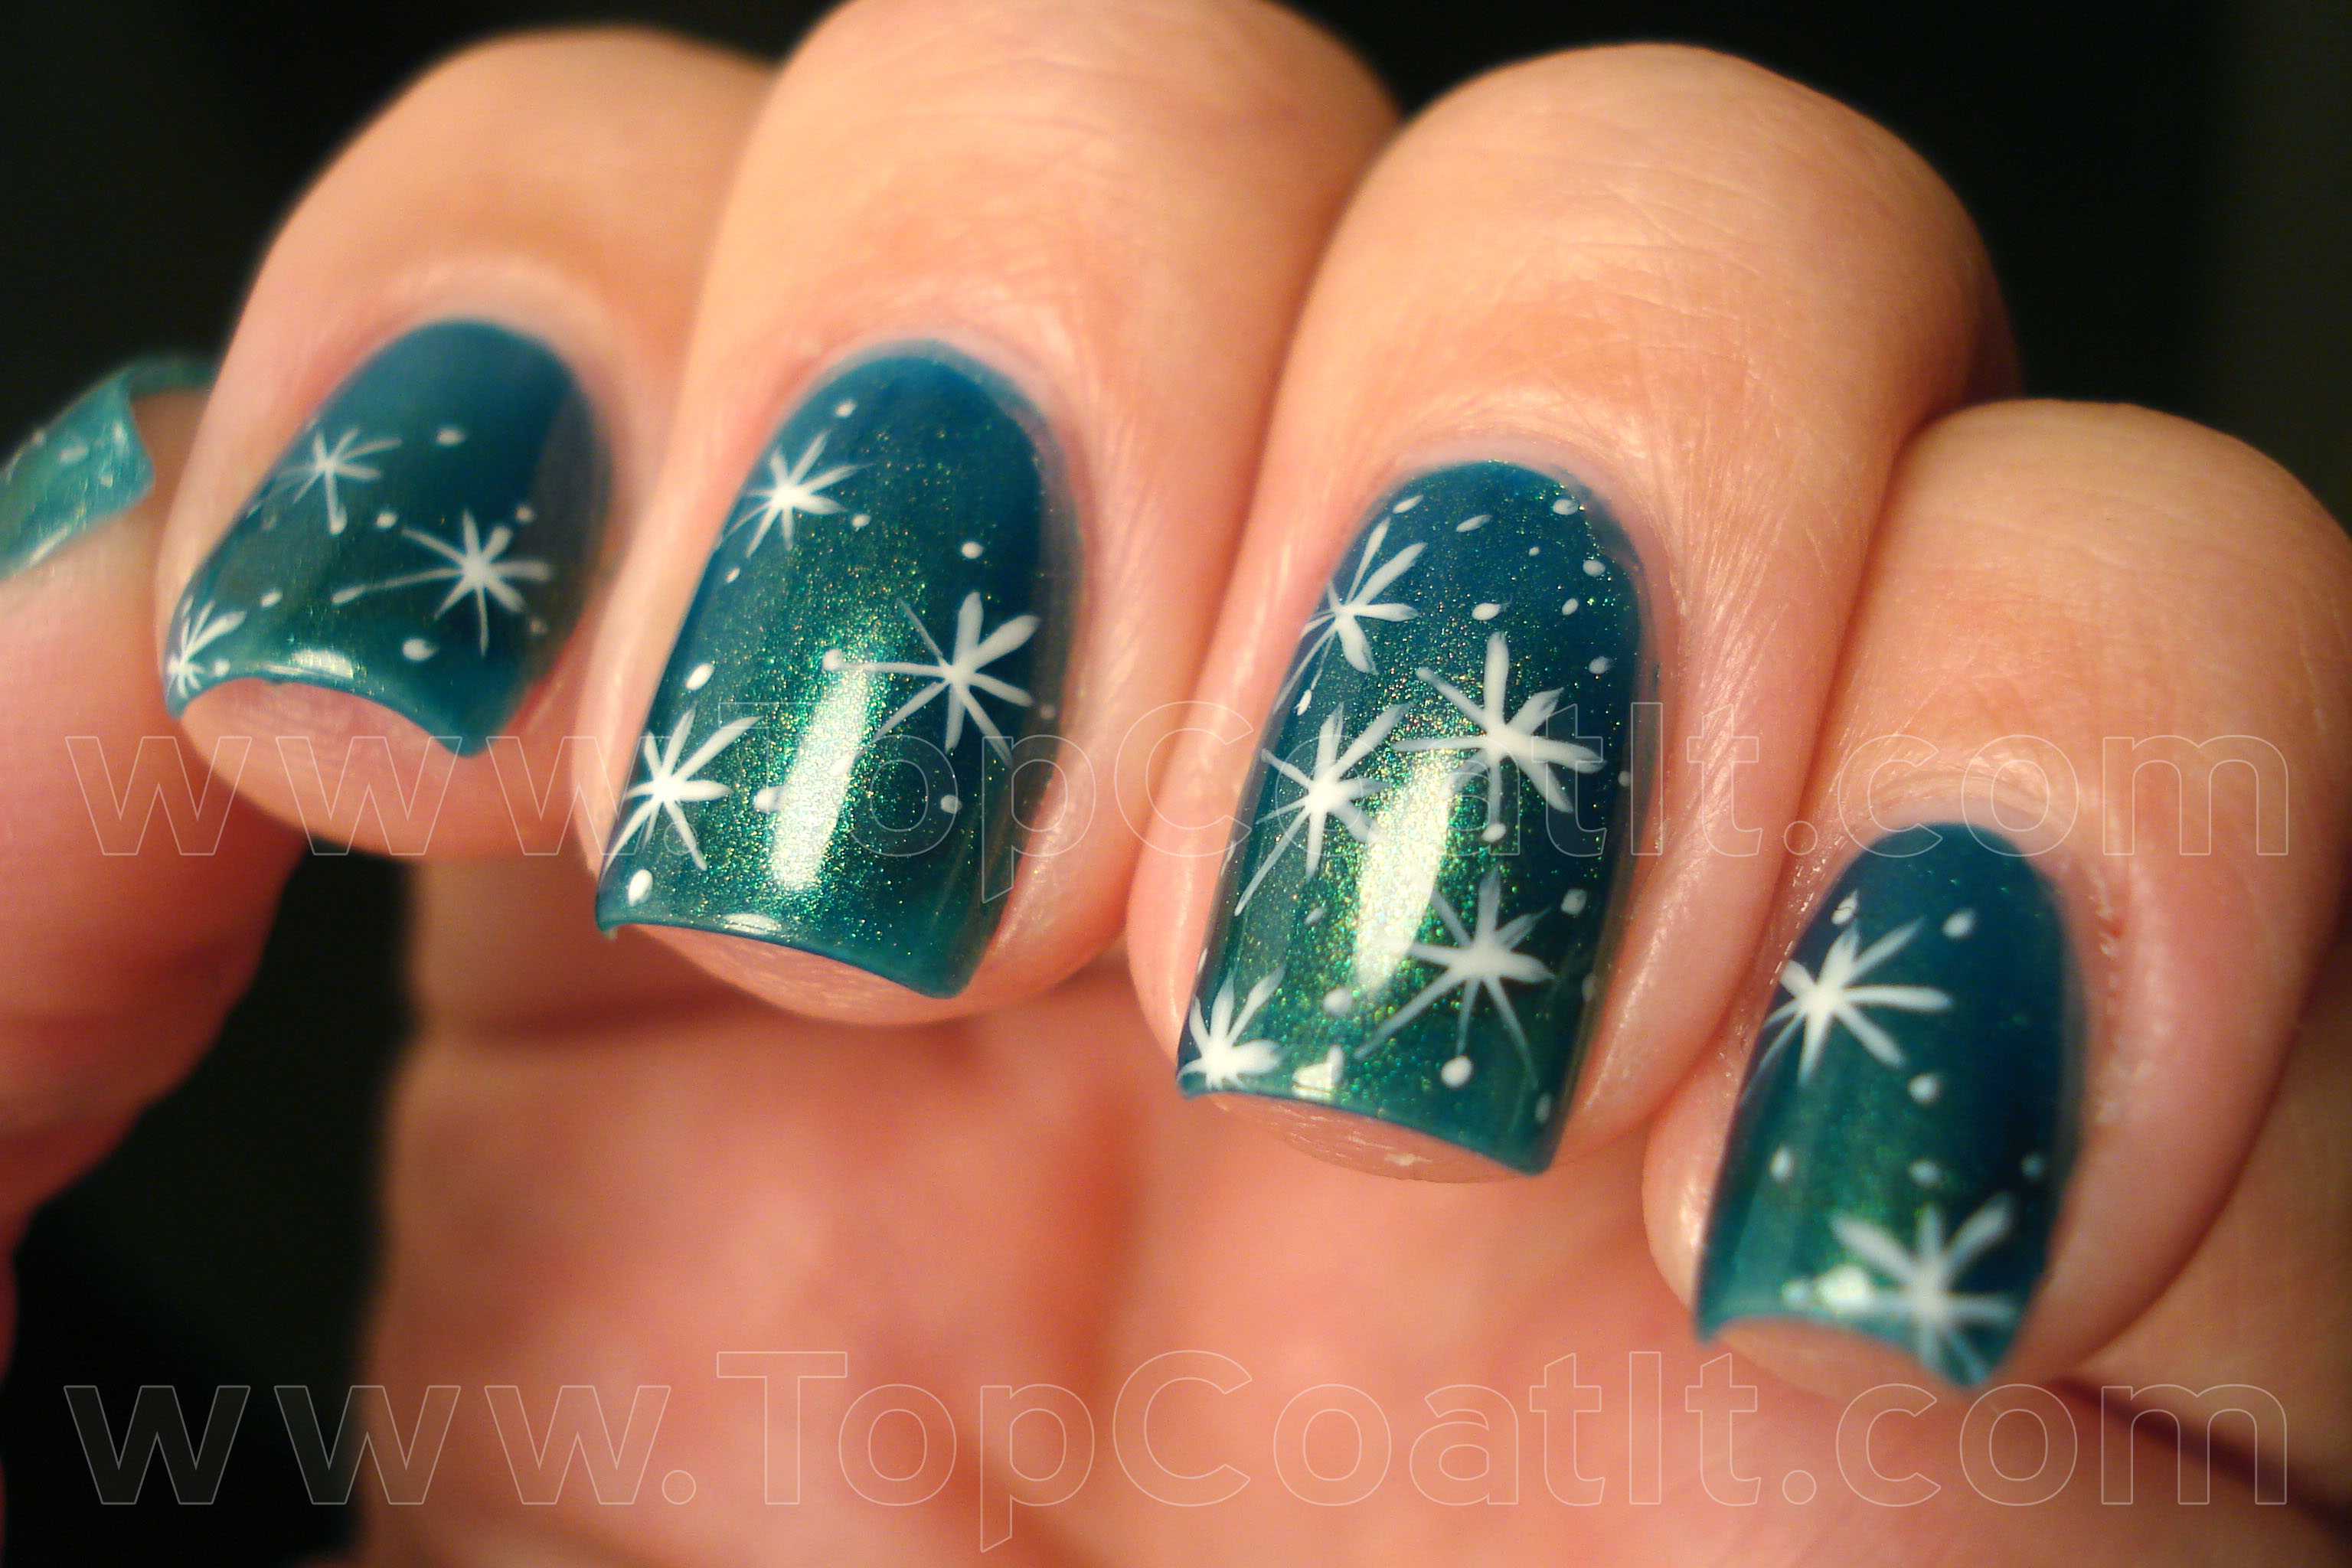
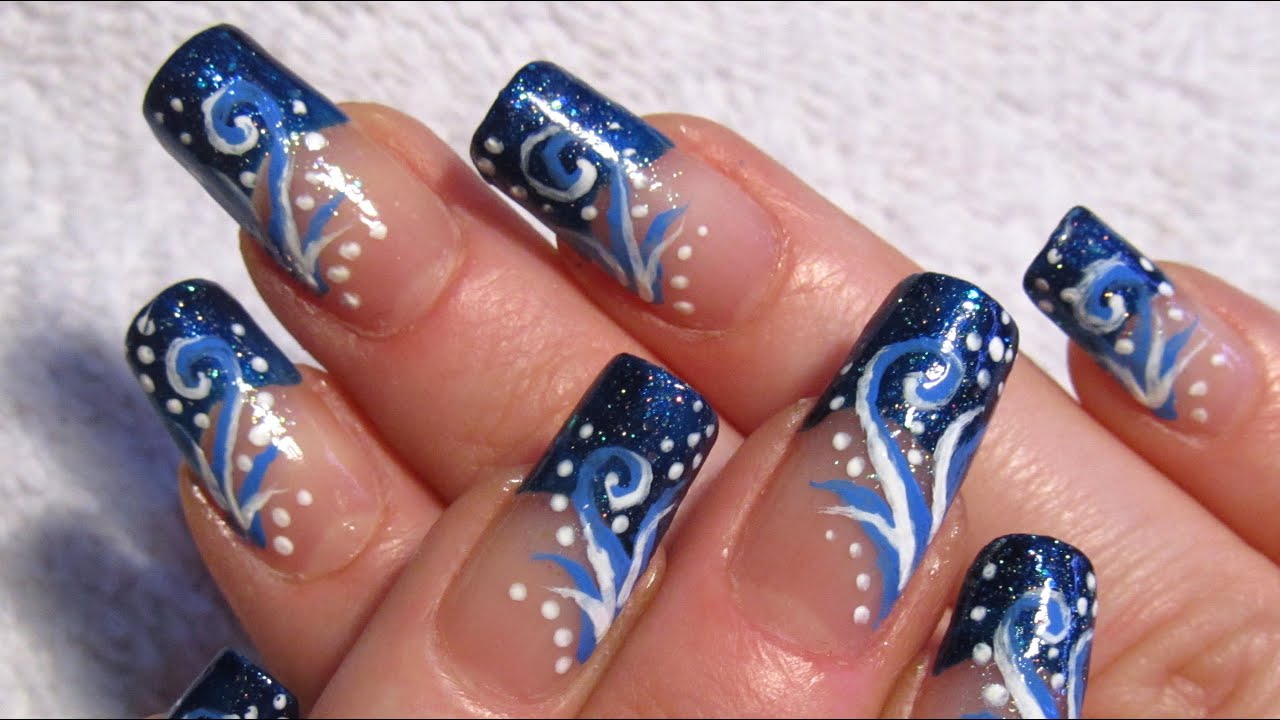
This snowy night sky nail design is perfect for those who love a dramatic and unique look. Start by painting your nails with a dark blue base color, "Midnight Sky" would be perfect for this. Then, using a thin brush and white nail polish, create stars on each nail. You can also add a touch of silver glitter to give the design some sparkle. This design is perfect for a winter wedding or a special occasion.Snowy Night Sky Nail Design
Snowy Night Sky Nail Design
The Perfect Winter Look: Snow Nail Art Design
Transform Your Nails into a Winter Wonderland
 Winter is the perfect time of year to embrace all things cozy and festive. And what better way to show off your holiday spirit than with
snow nail art design
? This trend has gained popularity in recent years, with nail artists creating stunning designs that incorporate the beauty and magic of snow. From delicate snowflakes to adorable snowmen, there are endless possibilities to express your love for the winter season through your nails.
Winter is the perfect time of year to embrace all things cozy and festive. And what better way to show off your holiday spirit than with
snow nail art design
? This trend has gained popularity in recent years, with nail artists creating stunning designs that incorporate the beauty and magic of snow. From delicate snowflakes to adorable snowmen, there are endless possibilities to express your love for the winter season through your nails.
How to Create the Perfect Snow Nail Art Design
 Creating a winter wonderland on your nails may seem daunting, but with the right tools and techniques, anyone can achieve this stunning look. Here are some steps to help you create the perfect
snow nail art design
:
Step 1: Prepare Your Nails
Before you begin, make sure your nails are clean, trimmed, and filed. Apply a base coat to protect your nails and help the design last longer.
Step 2: Choose Your Winter Colors
When it comes to winter, we often think of shades like white, blue, and silver. These colors are perfect for creating a snowy look on your nails. You can also add some glitter for a touch of sparkle and shine.
Step 3: Add Snowflakes
The most iconic symbol of winter is undoubtedly the snowflake. To create this look, you can use a fine-tipped brush or a toothpick to draw small snowflakes on your nails. Don't worry about making them perfect – the uniqueness of each snowflake is what makes this design so charming.
Step 4: Get Creative
Don't limit yourself to just snowflakes. You can also add other winter elements like snowmen, snow-covered trees, or even a cute penguin. Let your imagination run wild and have fun with it!
Step 5: Seal the Design
Once your design is complete, seal it with a top coat to protect it and give it a glossy finish. This will also ensure that your
snow nail art design
lasts longer.
Creating a winter wonderland on your nails may seem daunting, but with the right tools and techniques, anyone can achieve this stunning look. Here are some steps to help you create the perfect
snow nail art design
:
Step 1: Prepare Your Nails
Before you begin, make sure your nails are clean, trimmed, and filed. Apply a base coat to protect your nails and help the design last longer.
Step 2: Choose Your Winter Colors
When it comes to winter, we often think of shades like white, blue, and silver. These colors are perfect for creating a snowy look on your nails. You can also add some glitter for a touch of sparkle and shine.
Step 3: Add Snowflakes
The most iconic symbol of winter is undoubtedly the snowflake. To create this look, you can use a fine-tipped brush or a toothpick to draw small snowflakes on your nails. Don't worry about making them perfect – the uniqueness of each snowflake is what makes this design so charming.
Step 4: Get Creative
Don't limit yourself to just snowflakes. You can also add other winter elements like snowmen, snow-covered trees, or even a cute penguin. Let your imagination run wild and have fun with it!
Step 5: Seal the Design
Once your design is complete, seal it with a top coat to protect it and give it a glossy finish. This will also ensure that your
snow nail art design
lasts longer.
Final Thoughts
 Snow nail art design is the perfect way to add a touch of winter magic to your look. Whether you're attending holiday parties or just want to spread some cheer, this trend is a must-try. So grab your favorite winter colors and get creative with your nails this season!


