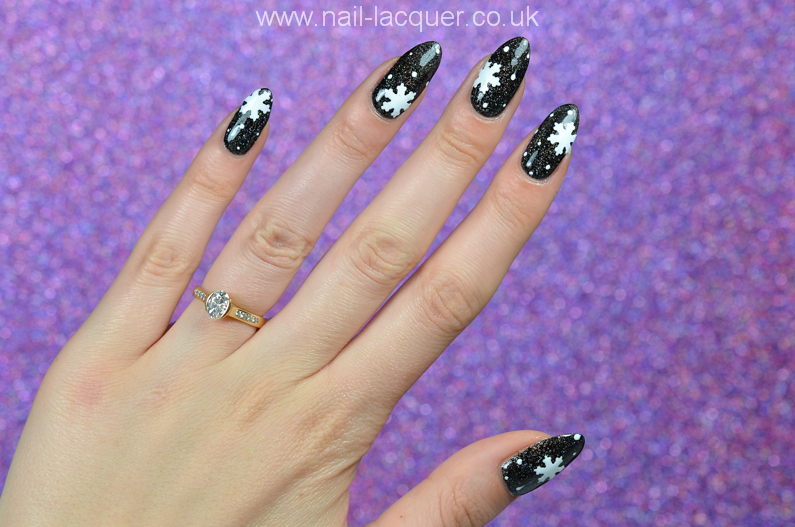
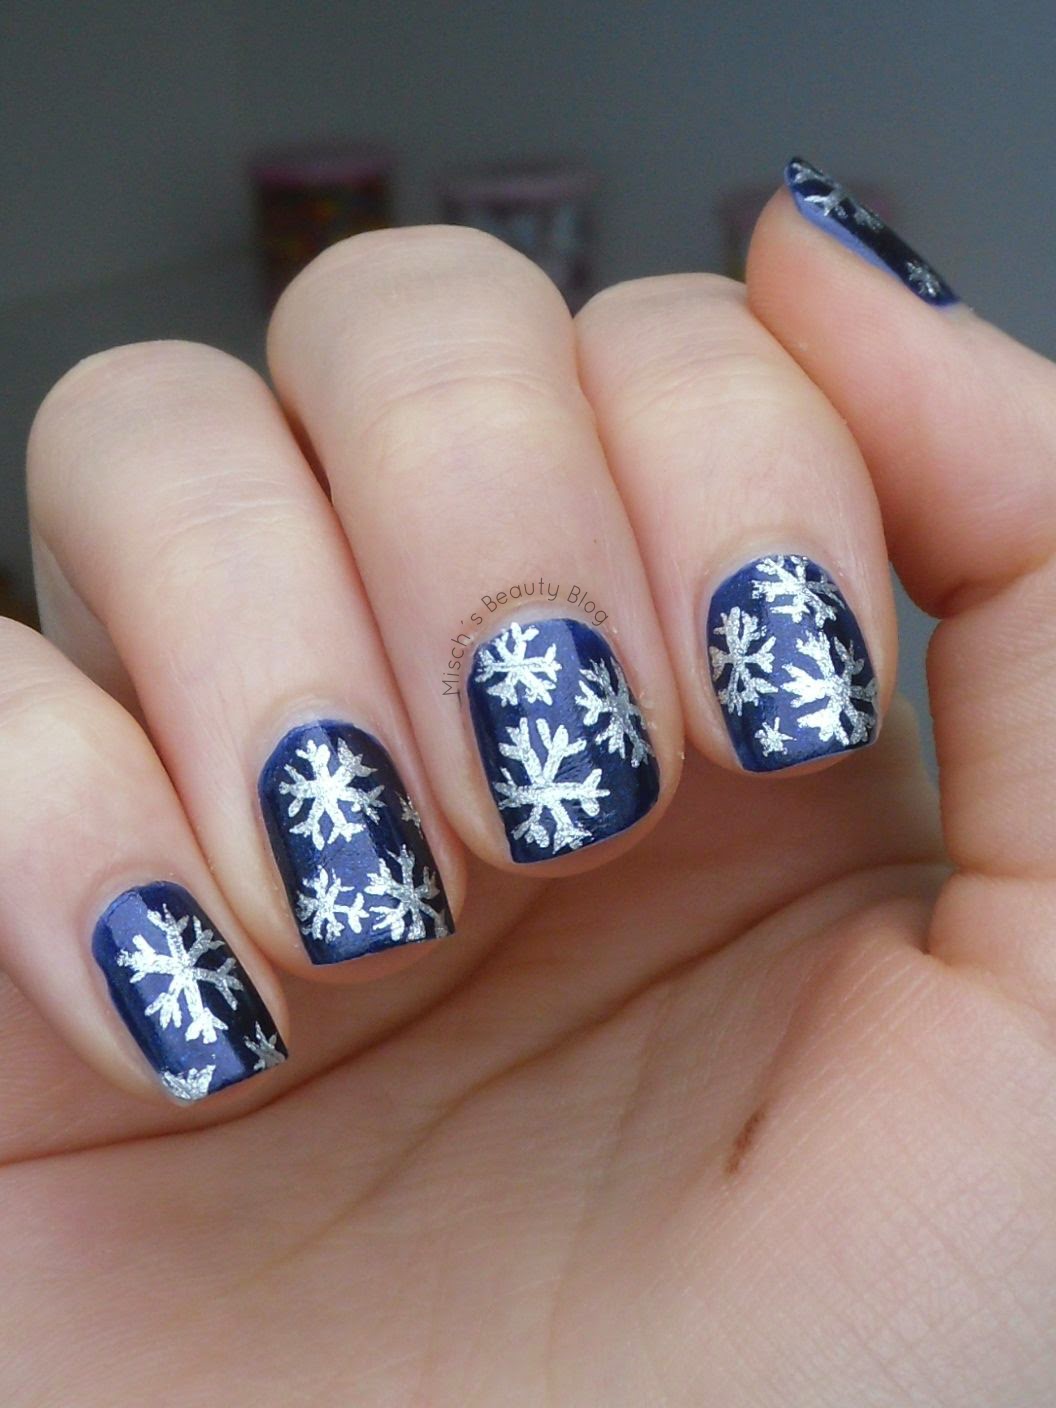
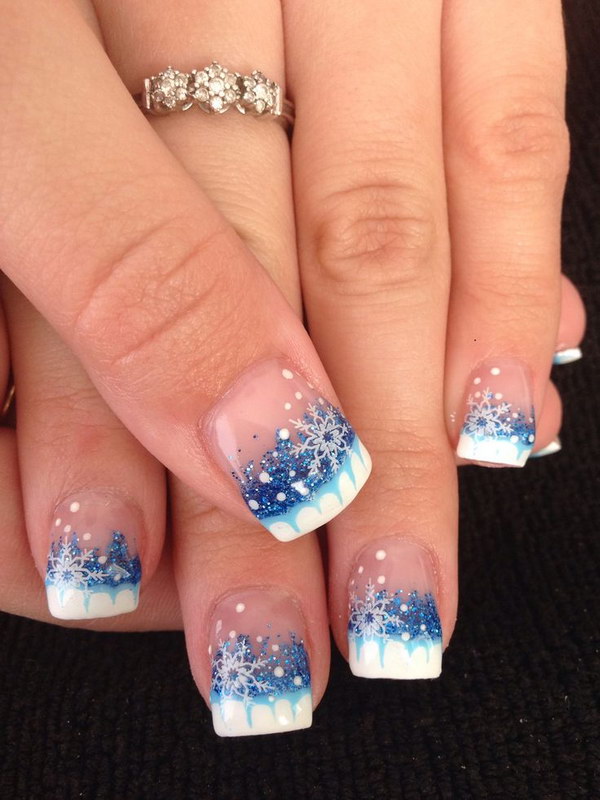
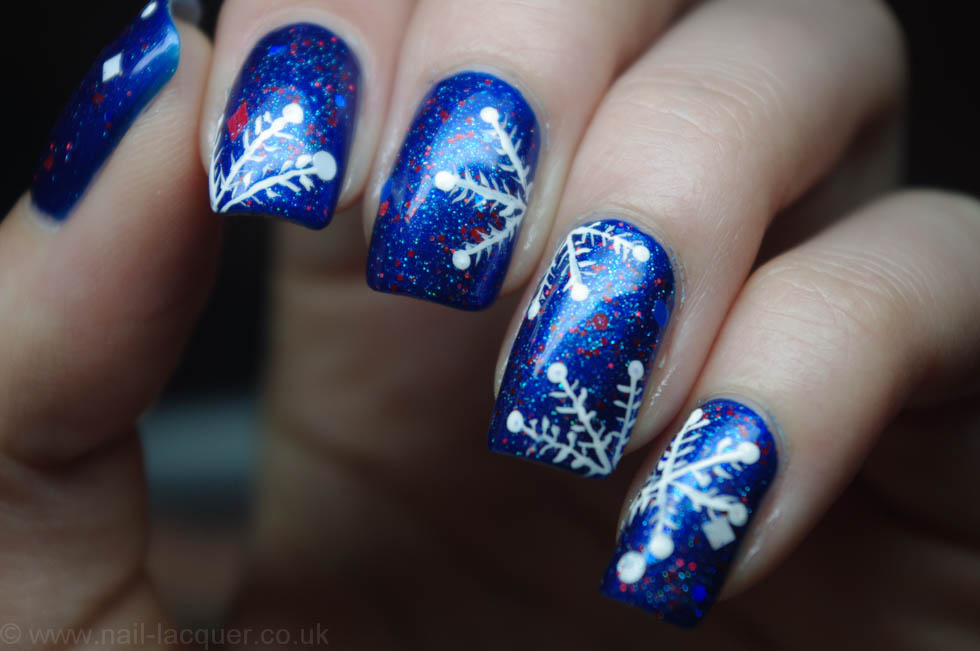
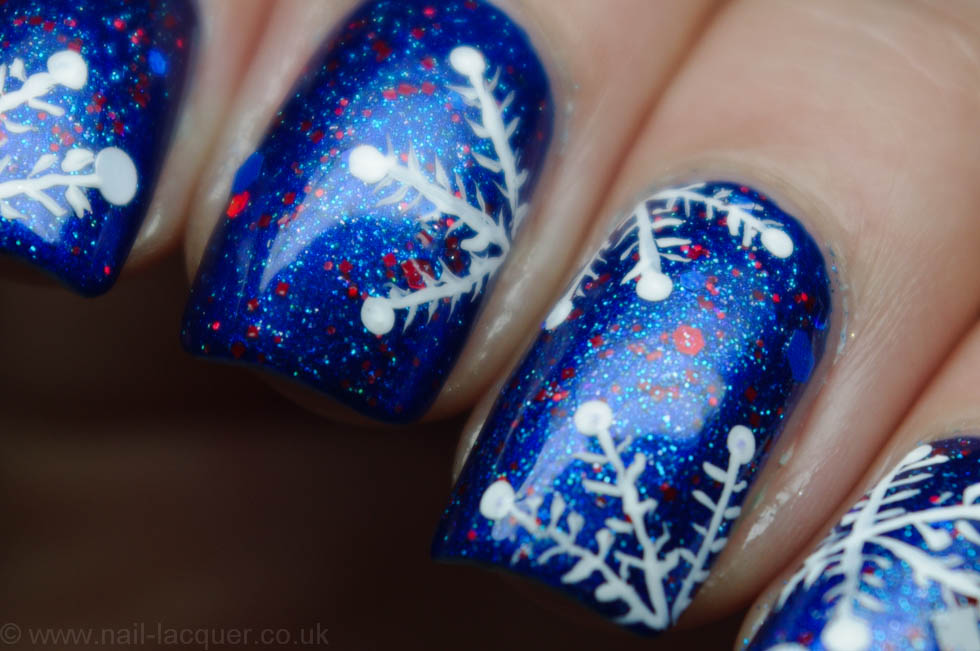
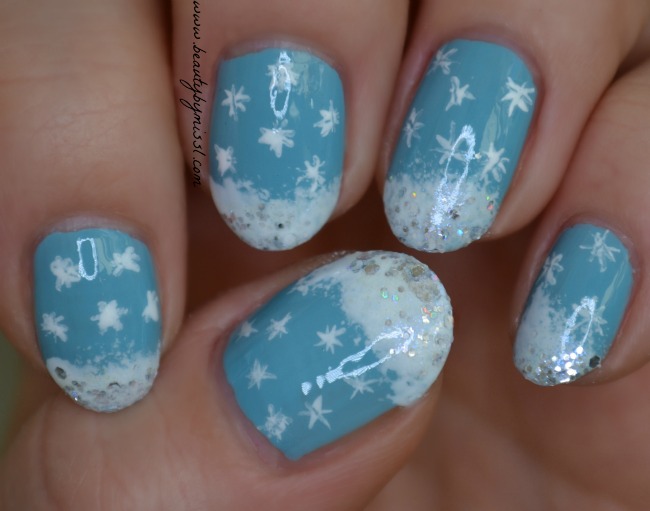
Looking for a unique and festive nail design for the winter season? Look no further than a snowflake nail art tutorial! With just a few simple steps, you can achieve a gorgeous snowflake design on your nails that will make you feel like a winter wonderland princess. Follow along with this step by step guide to create your own snowflake nails.1. Snowflake Nail Art Tutorial


1. Snowflake Nail Art Tutorial

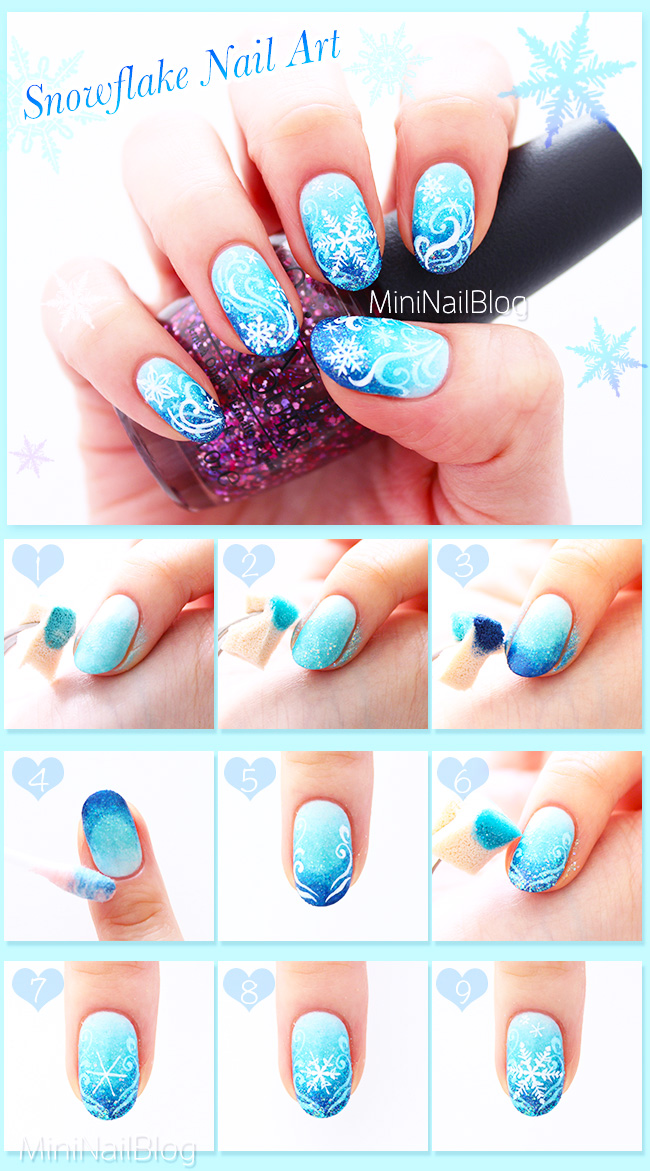
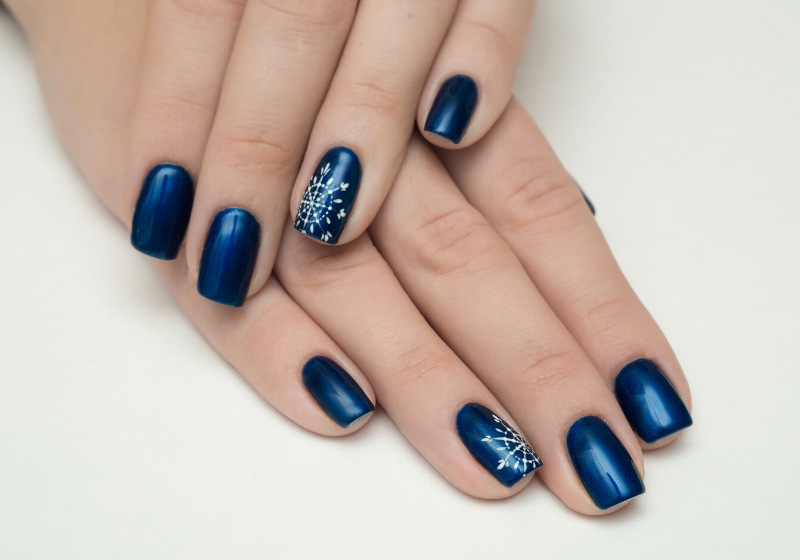
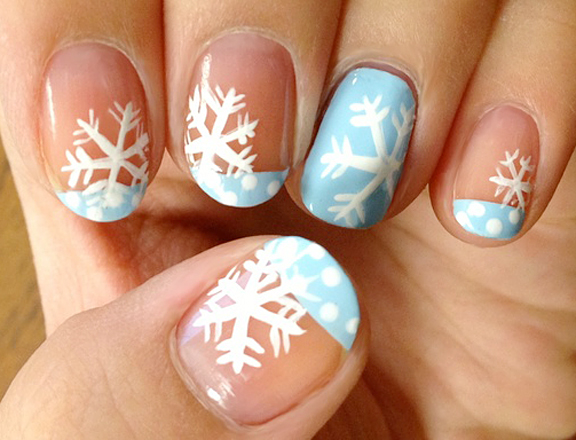
Step 1: Start by prepping your nails. Remove any old polish and file your nails to your desired shape. Apply a base coat to protect your nails and help the polish last longer. Step 2: Choose a base color for your nails. Classic winter colors like white, light blue, or silver would work well. Apply two coats of your chosen color and let it dry completely. Step 3: Using a fine nail art brush or a toothpick, create a small white dot in the center of your nail. This will act as the center of your snowflake. Step 4: Next, create six lines extending from the center dot to the edge of your nail. These lines will be the base for your snowflake's branches. Step 5: Using the same brush or toothpick, create smaller lines branching off of the main ones to give your snowflake a more intricate look. Step 6: Add small dots at the end of each branch to mimic the look of snowflakes. You can use different shades of blue or silver for a more dimensional effect. Step 7: Seal in your design with a top coat to protect it and add shine.2. Step by Step Snowflake Nail Design


2. Step by Step Snowflake Nail Design


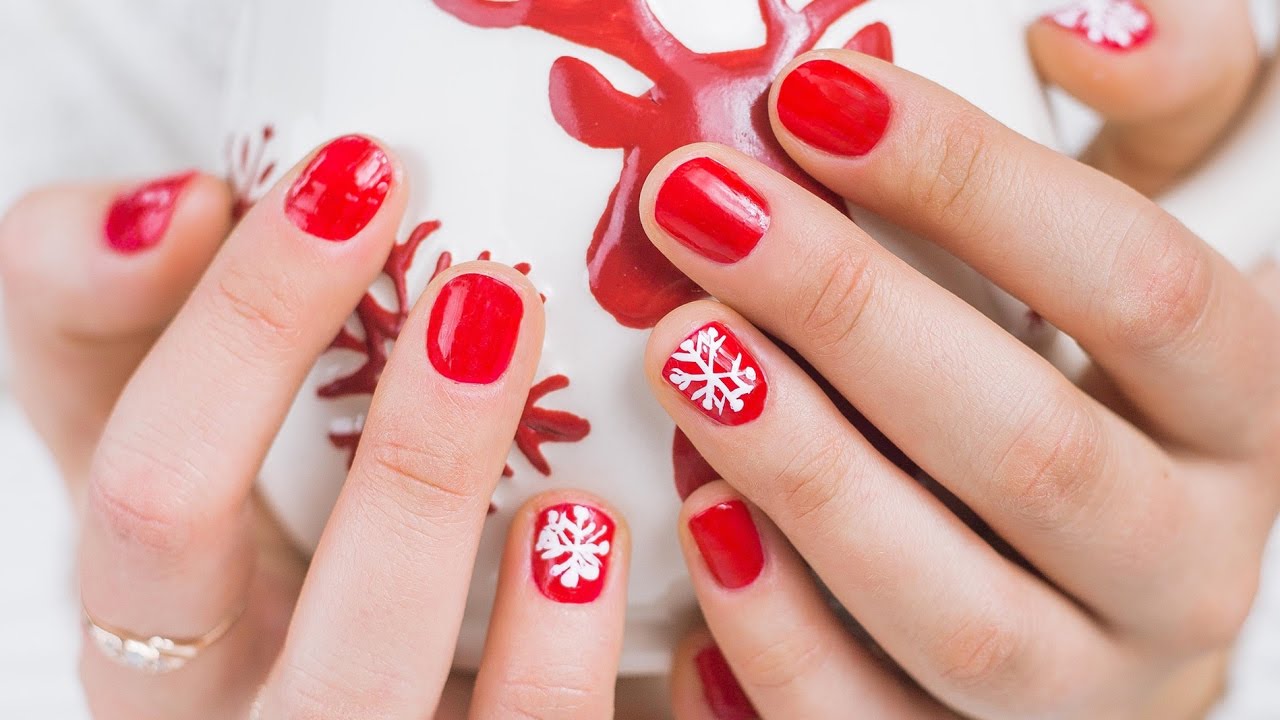
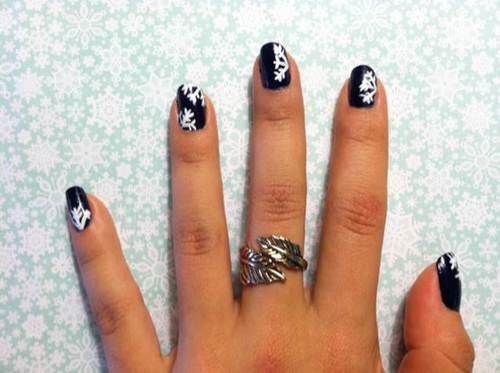
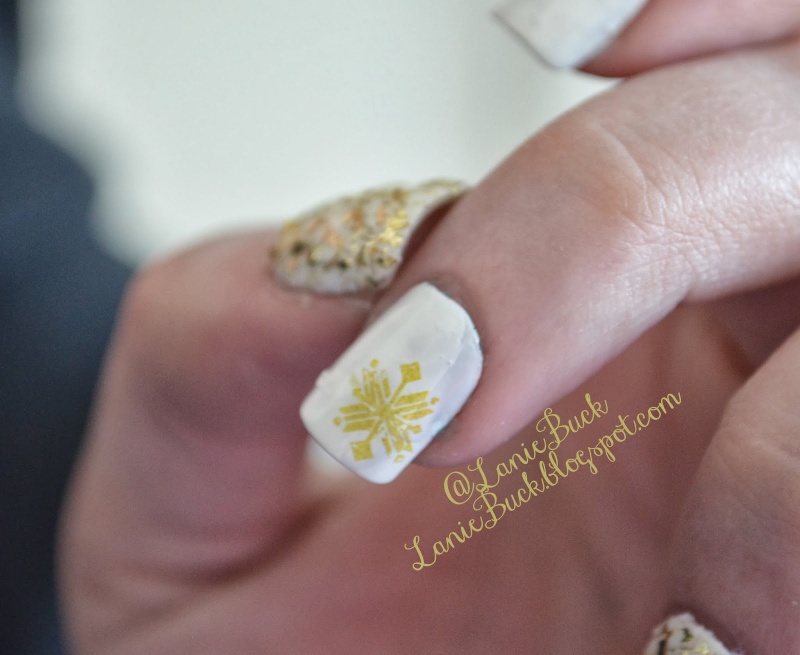
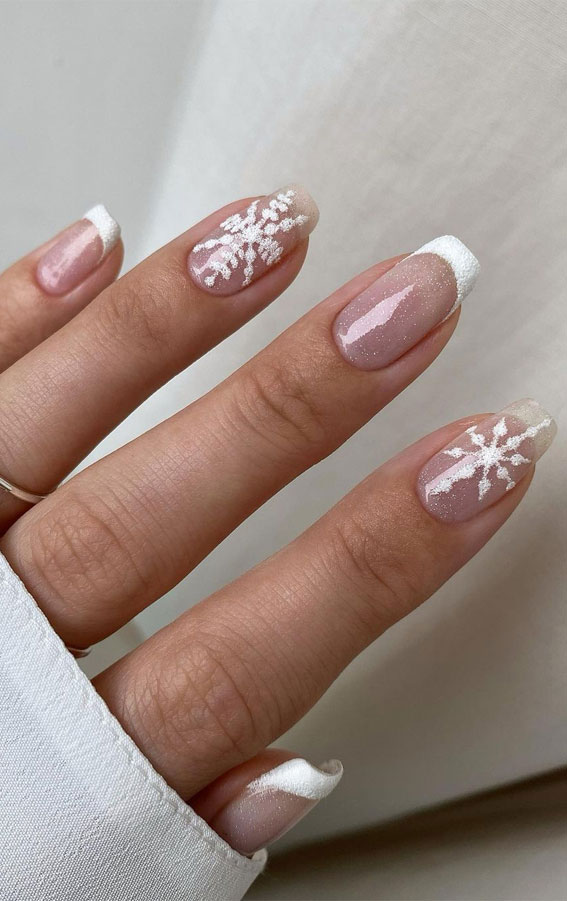
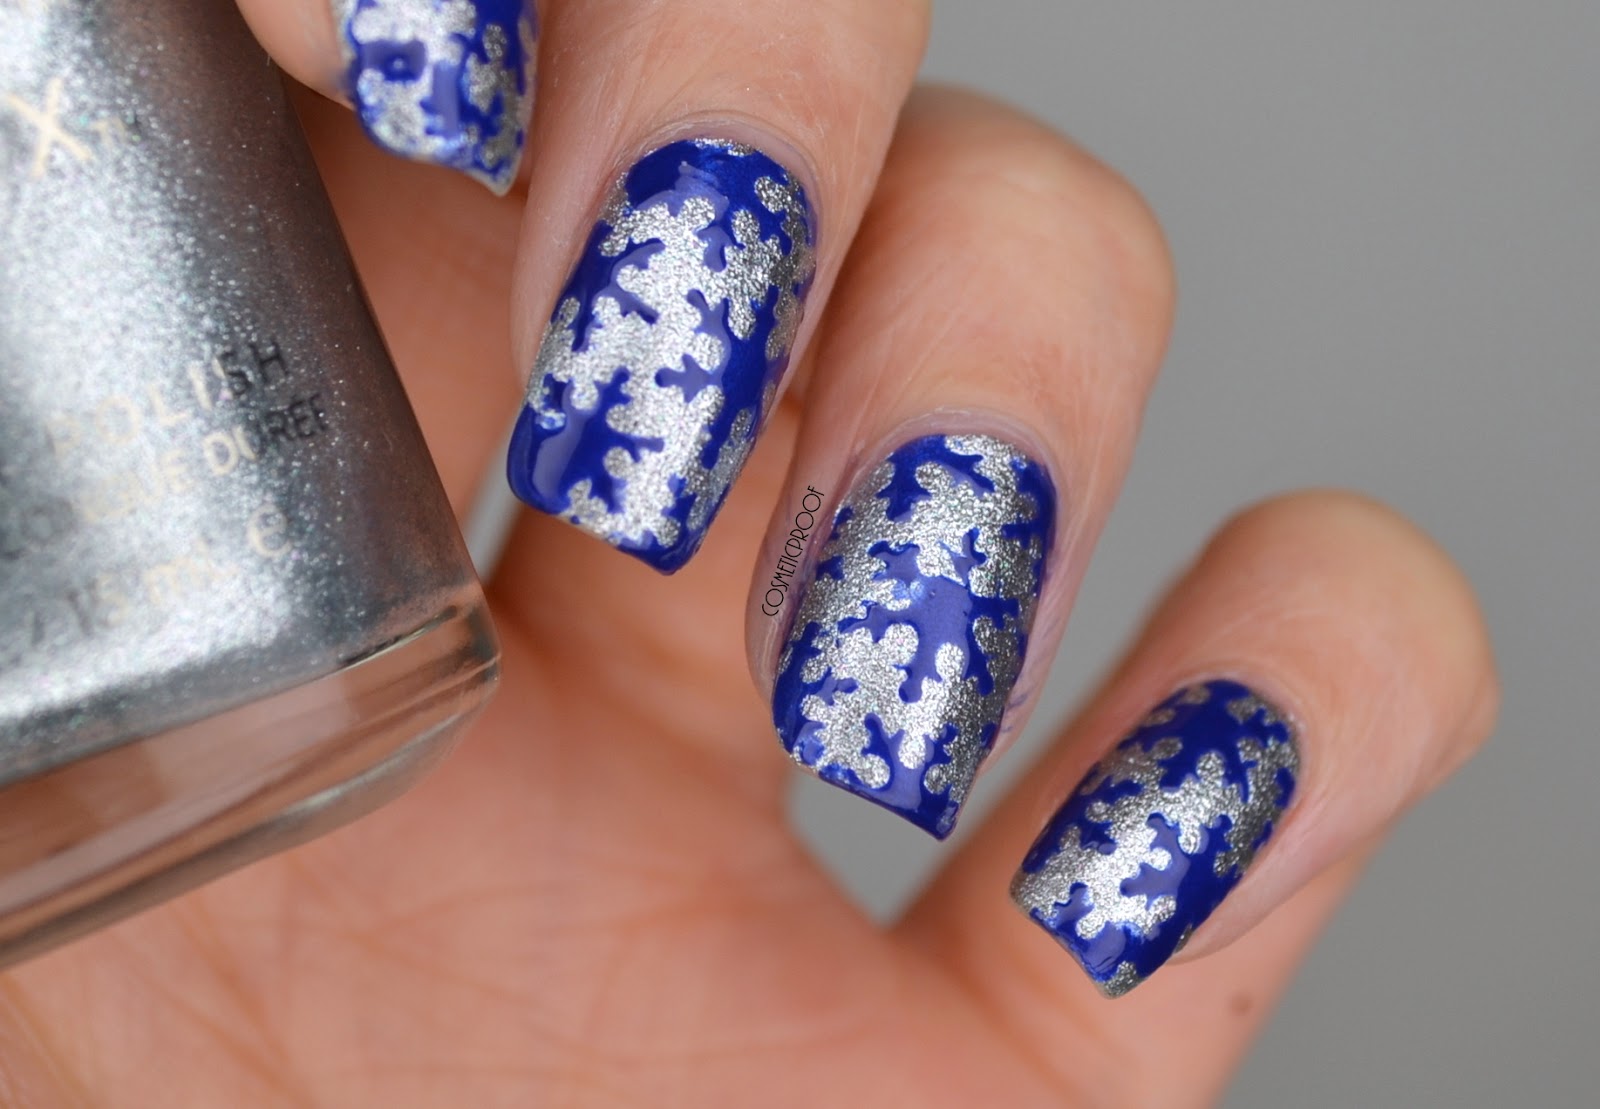
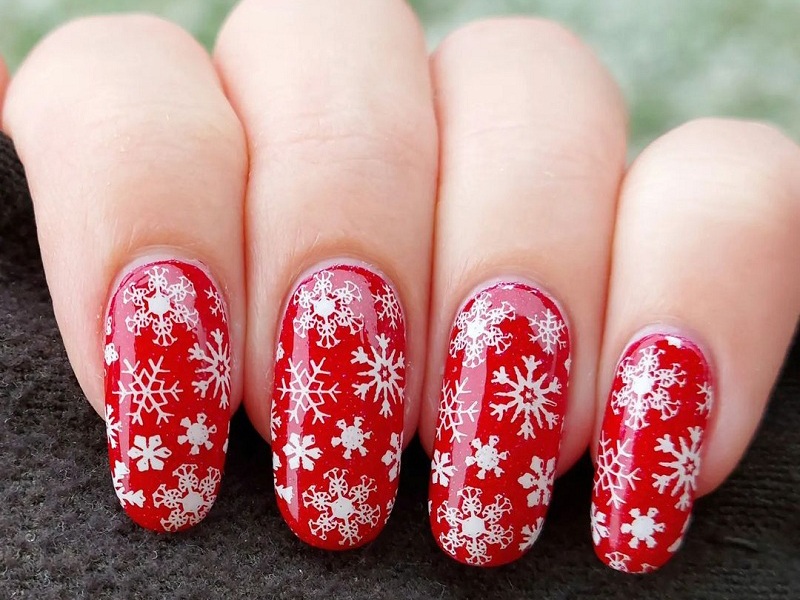
If you're new to nail art or don't have a steady hand, don't worry! There are plenty of easy snowflake nail art designs that anyone can do. One simple way is to use a snowflake nail stencil. These can be found at most beauty supply stores or online. Place the stencil on your nail and use a sponge or brush to dab on white or silver polish. Peel off the stencil and voila! A perfect snowflake design. Another easy technique is to use a snowflake nail stamp. Similar to a stencil, you simply apply polish to the stamp and then press it onto your nail. This is a quick and easy way to achieve a detailed snowflake design without having to do any freehand work.3. Easy Snowflake Nail Art Tutorial

3. Easy Snowflake Nail Art Tutorial


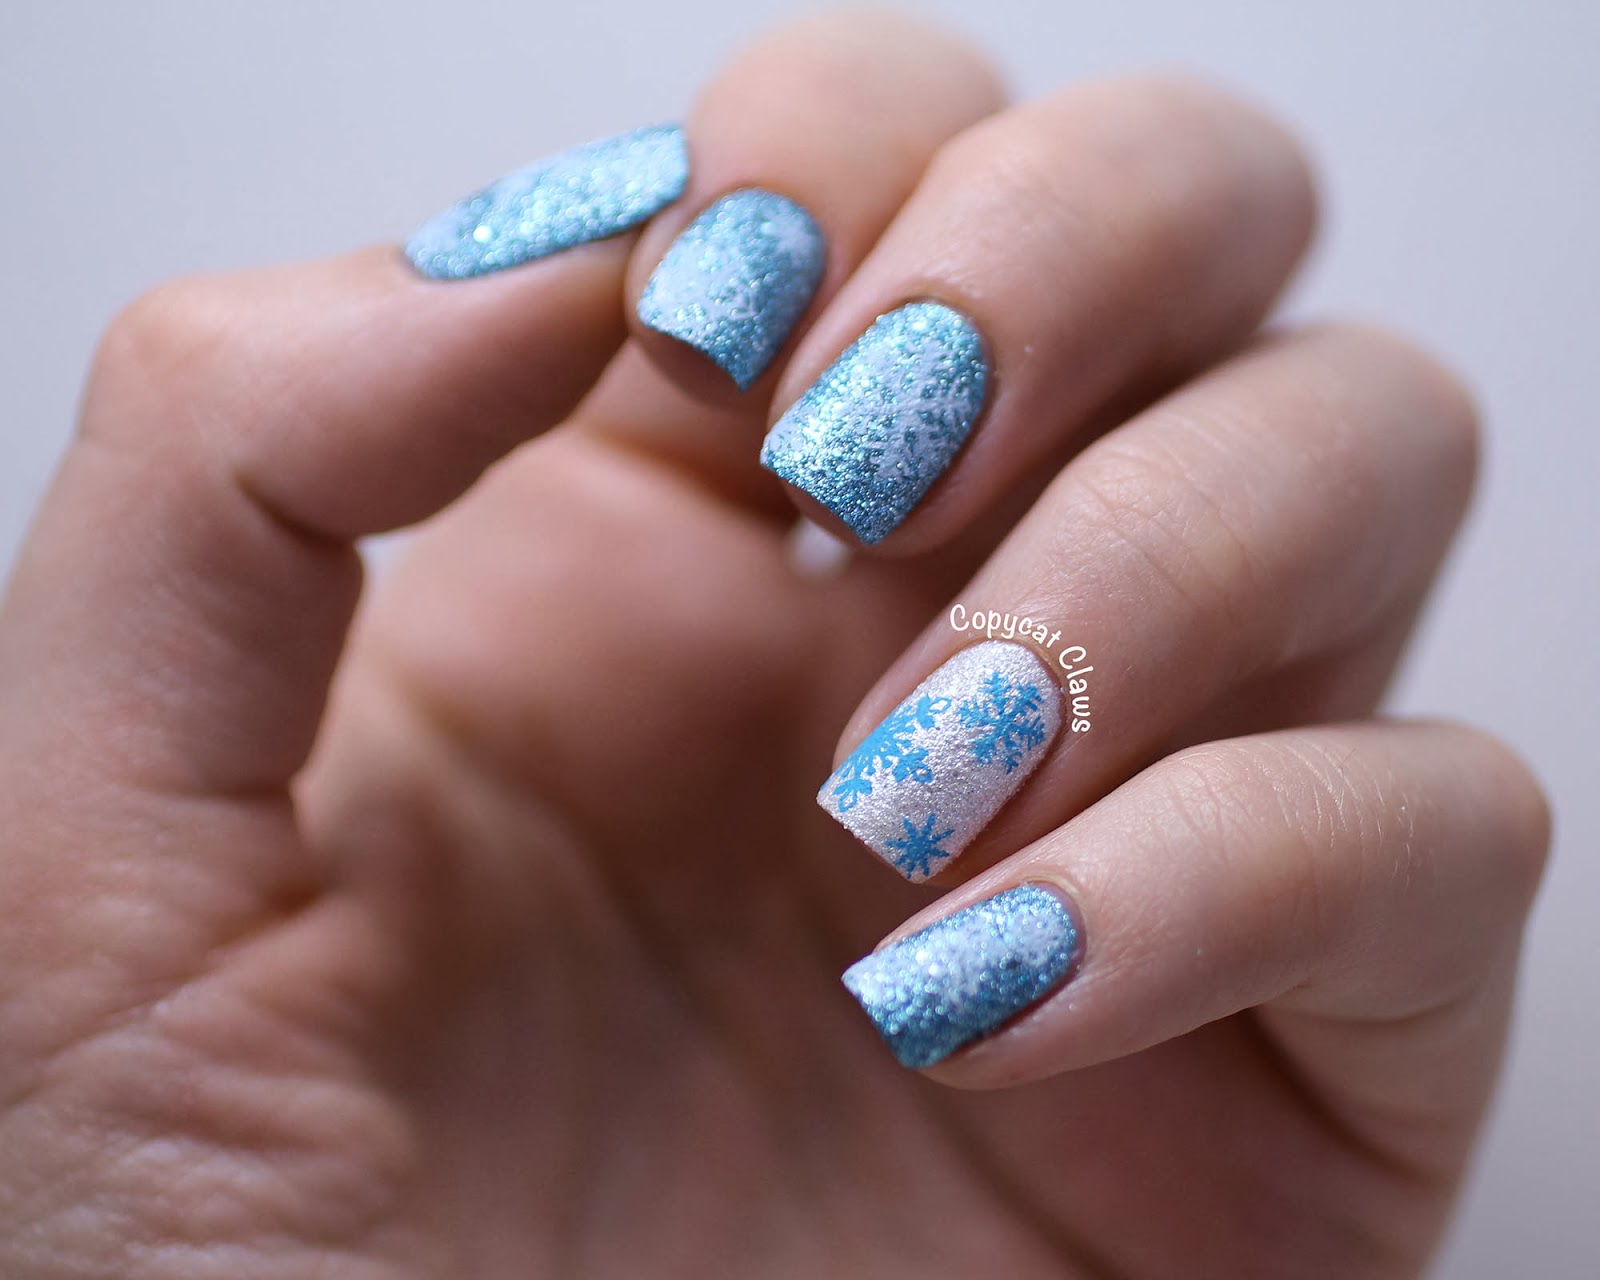
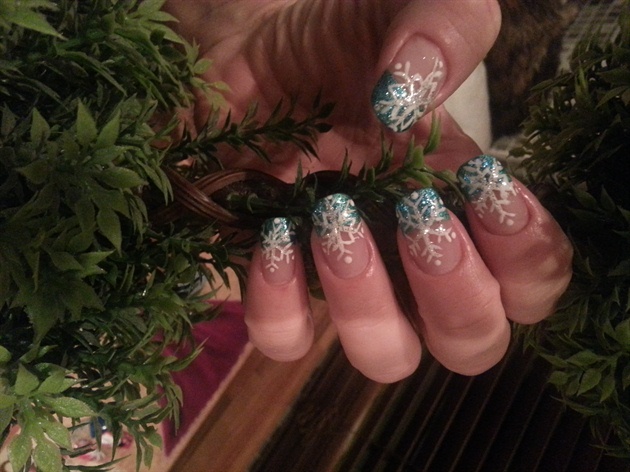
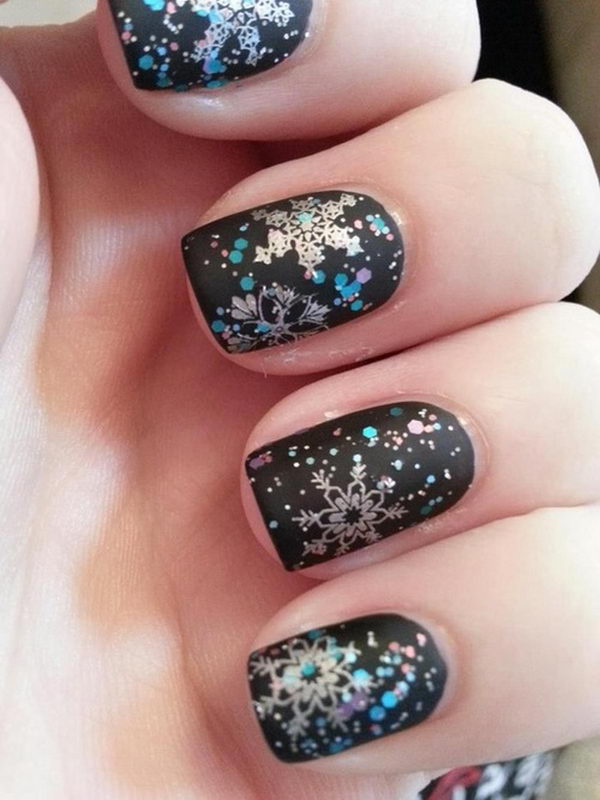
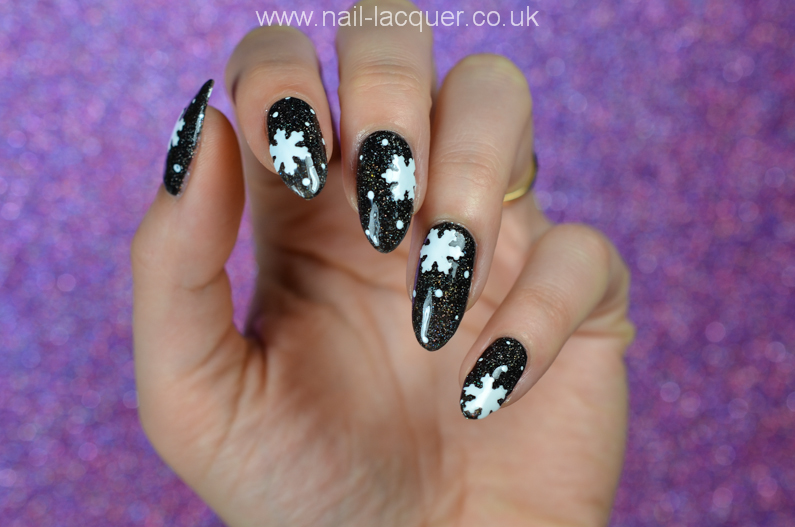
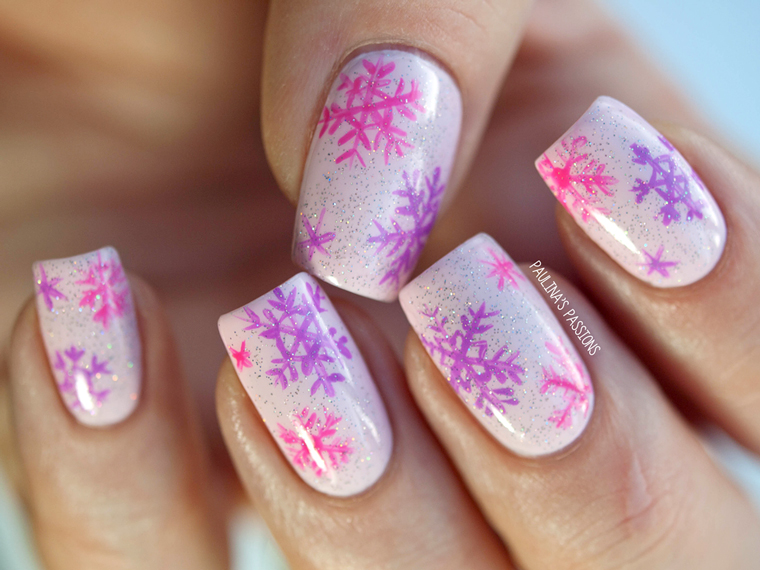
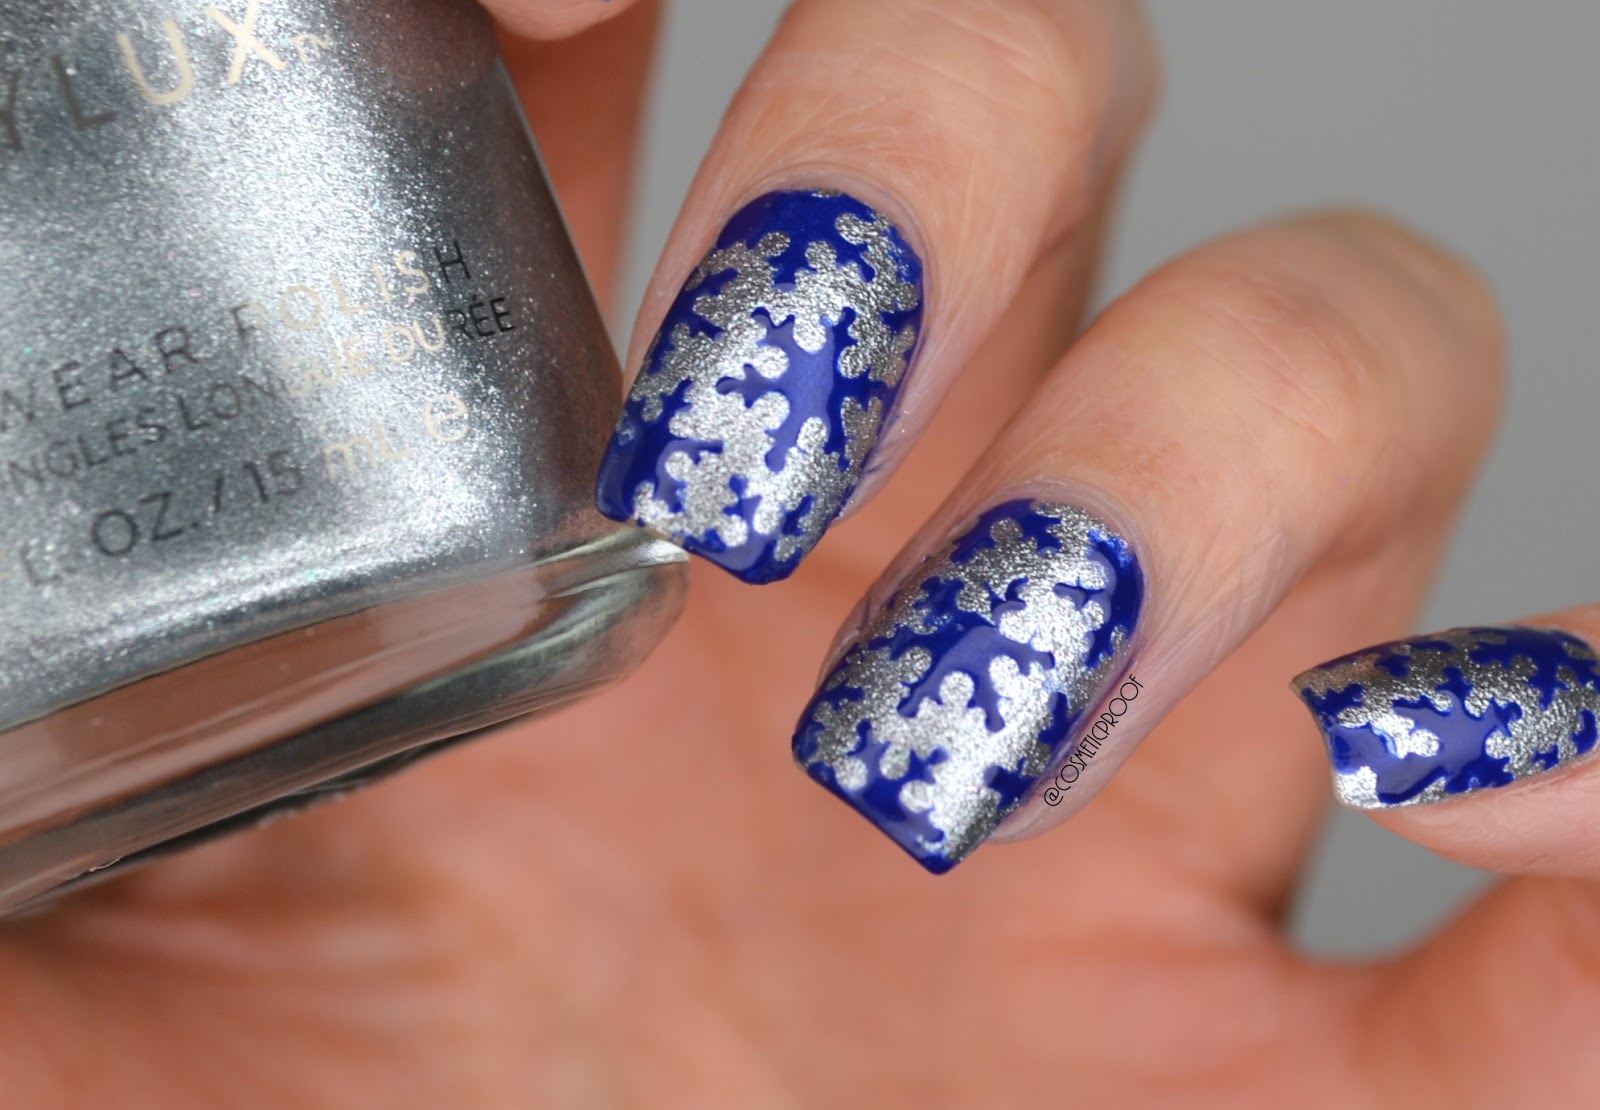
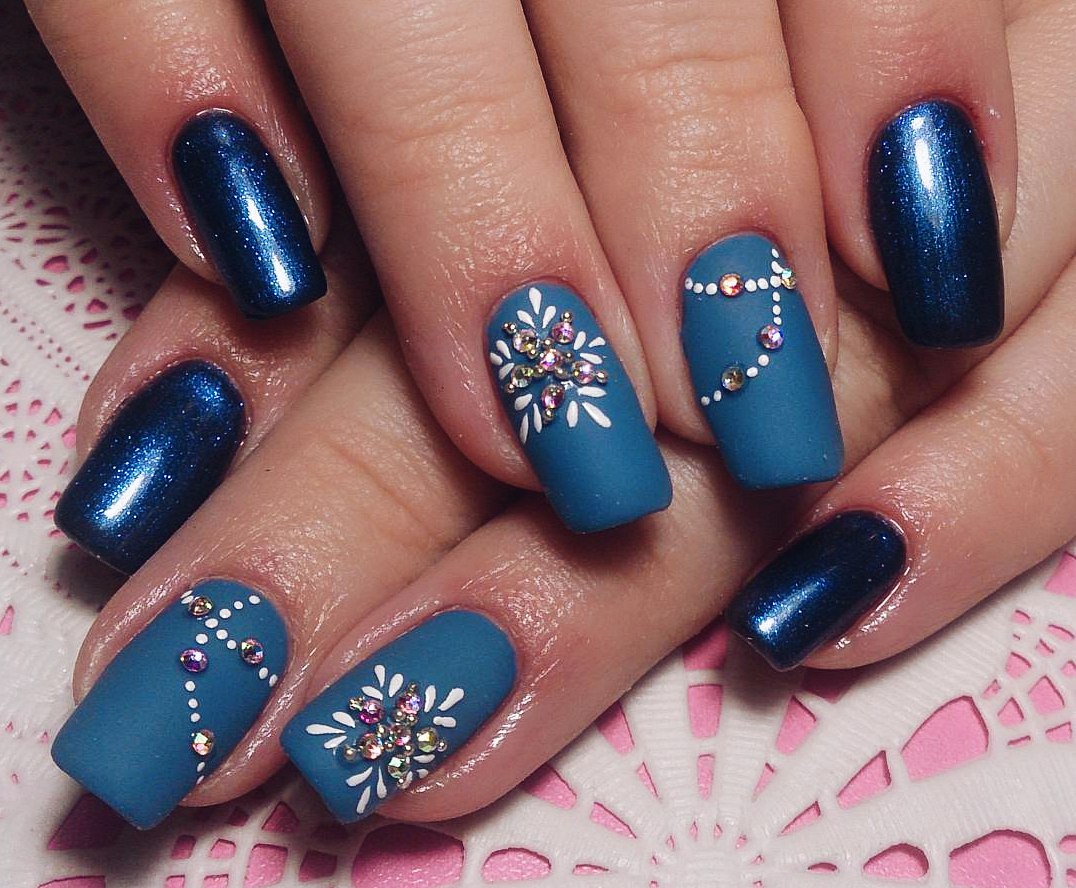
Want to take your snowflake nail art to the next level? Try incorporating other wintery elements into your design. A popular trend is to use a glittery or iridescent polish as your base color to mimic the look of snow or ice. You could also add small rhinestones or pearls to your snowflake design for an added touch of glam. Another fun idea is to create a gradient effect with your base color, using a darker shade at the tip of your nail and gradually getting lighter towards the base. This will give your snowflake design a cool ombré effect.4. Winter Snowflake Nail Design Tutorial

4. Winter Snowflake Nail Design Tutorial
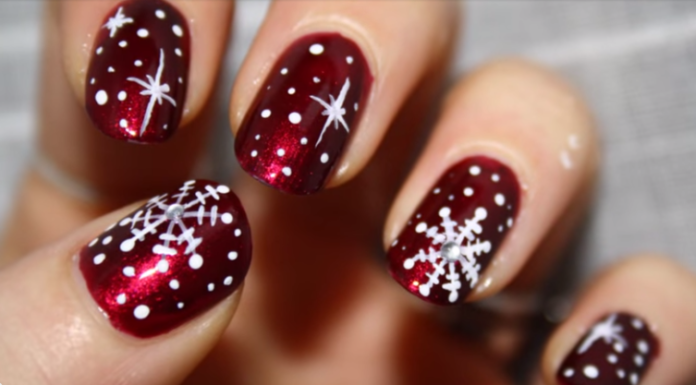
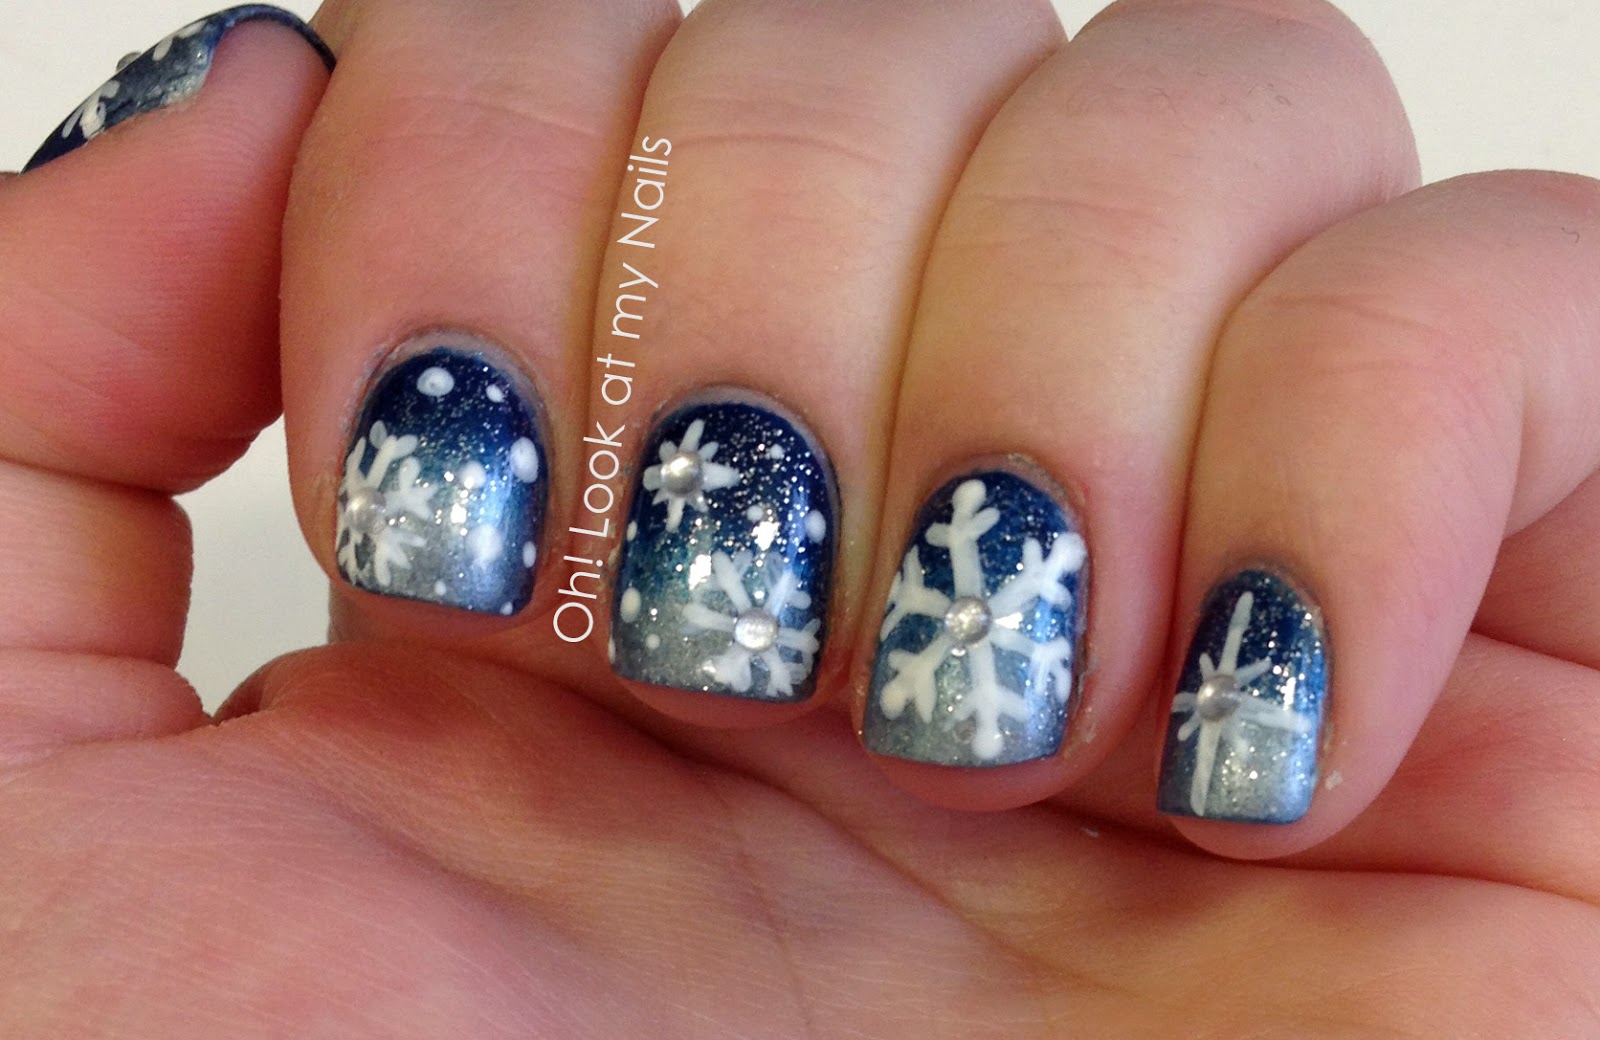
Don't want to spend money on nail stencils or stamps? You can easily create your own DIY versions at home! For a stencil, simply cut out a small snowflake shape from a piece of tape or a post-it note. Stick it onto your nail and use a brush or sponge to apply polish over it. Peel off the stencil and you have a homemade snowflake design. To make your own stamp, use a bobby pin or a toothpick to create small dots in the shape of a snowflake onto a pencil eraser. Dip the eraser into your polish and stamp it onto your nail. You can also use the eraser end of a pencil for a larger snowflake design.5. DIY Snowflake Nail Art Tutorial

5. DIY Snowflake Nail Art Tutorial


If you want to create a more intricate snowflake design, you can use a nail art brush to draw on each individual snowflake. This may take a bit more time and practice, but the end result will be worth it. Start by creating the center dot and then draw on six lines extending out from it. For a more delicate snowflake, you can use a thinner brush and make the lines thinner. Then add in smaller branches and dots to create the unique shape of a snowflake. Don't worry about making each snowflake perfect – the beauty of snowflakes is that they are all unique and imperfect.6. How to Create a Snowflake Nail Design


6. How to Create a Snowflake Nail Design


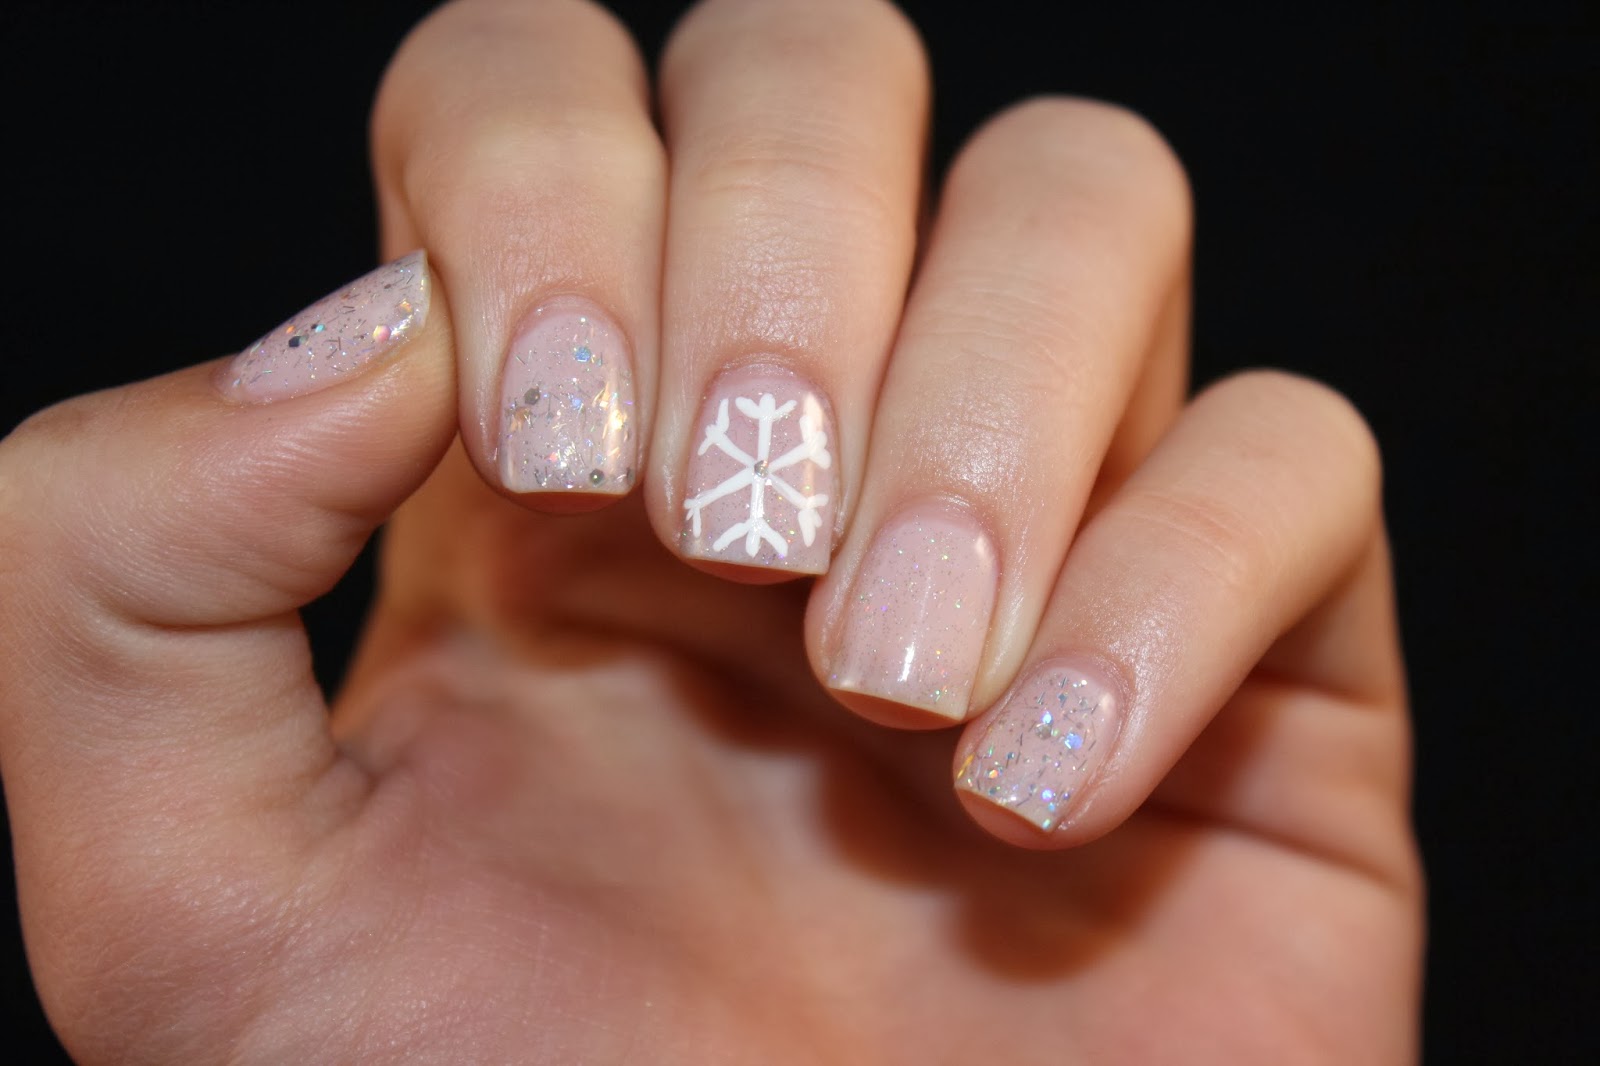
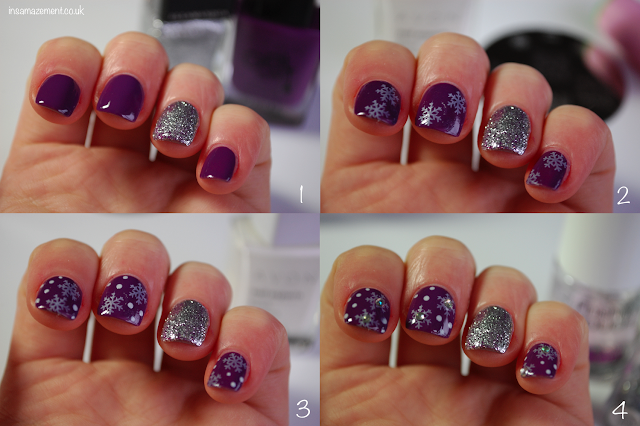
Follow these simple steps to create a stunning snowflake nail art design: Step 1: Prep your nails by removing old polish and applying a base coat. Step 2: Choose a base color and apply two coats. Let dry completely. Step 3: Create a center dot with white polish. Step 4: Draw on six lines extending from the dot to the edge of your nail. Step 5: Add smaller branches and dots to create a snowflake shape. Step 6: Seal in with a top coat for shine and protection.7. Snowflake Nail Art Step by Step Guide
7. Snowflake Nail Art Step by Step Guide

If you're short on time or want a more subtle snowflake design, try this simple tutorial: Step 1: Prep your nails and apply a base coat. Step 2: Choose a base color and apply two coats. Let dry. Step 3: Use a white nail art pen or a toothpick to draw on small snowflakes on each nail. Step 4: Seal in with a top coat.8. Simple Snowflake Nail Design Tutorial
8. Simple Snowflake Nail Design Tutorial

If you're new to nail art, don't be intimidated by snowflake designs. Start with a simple tutorial and work your way up to more intricate designs as you gain confidence and practice. Remember to take your time and have fun with it. Experiment with different colors and techniques to find your own unique snowflake nail art style.9. Snowflake Nail Art Design for Beginners
9. Snowflake Nail Art Design for Beginners


Snowflake nail art is perfect for the holiday season, whether you celebrate Christmas, Hanukkah, or simply love the winter season. You can even add in other festive elements like holly leaves or snowmen to your design. Get creative and have fun with it – your snowflake nails will be the talk of any holiday party or gathering. In conclusion, snowflake nail art is a fun and festive way to add some winter magic to your nails. With these step by step tutorials, even beginners can achieve a beautiful snowflake design. So gather your supplies and get ready to have the most unique and gorgeous snowflake nails this winter season!10. Step by Step Snowflake Nail Art for the Holidays


10. Step by Step Snowflake Nail Art for the Holidays
Create a Winter Wonderland with Snowflake Nail Art
Elevate Your Nail Game with Snowflake Designs

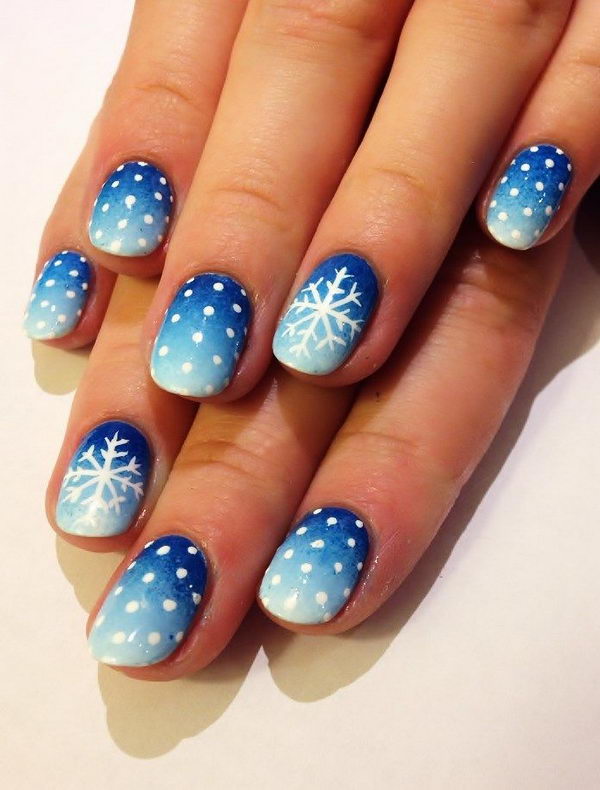
Looking for a way to add a touch of glamour to your winter nails? Look no further than snowflake nail art. This trendy and versatile design is perfect for the holiday season and beyond. Whether you're a nail art pro or a beginner, creating a snowflake design on your nails is simple and fun. Follow our step-by-step guide to achieve a winter wonderland on your fingertips.
Gather Your Supplies
Before getting started, make sure you have all the necessary supplies. You'll need a base coat, white nail polish, a thin brush or toothpick, and a top coat. Additionally, you can add some sparkle with silver or glitter nail polish, and a dotting tool for added detail.
Prep Your Nails
Start by prepping your nails. Remove any old polish, file and shape your nails, and apply a base coat to protect your nails and ensure the design lasts longer.
Paint Your Nails
Once the base coat is dry, apply two coats of white nail polish for a solid base. If you prefer a more subtle look, you can use a light grey or nude polish instead.
Create the Snowflakes

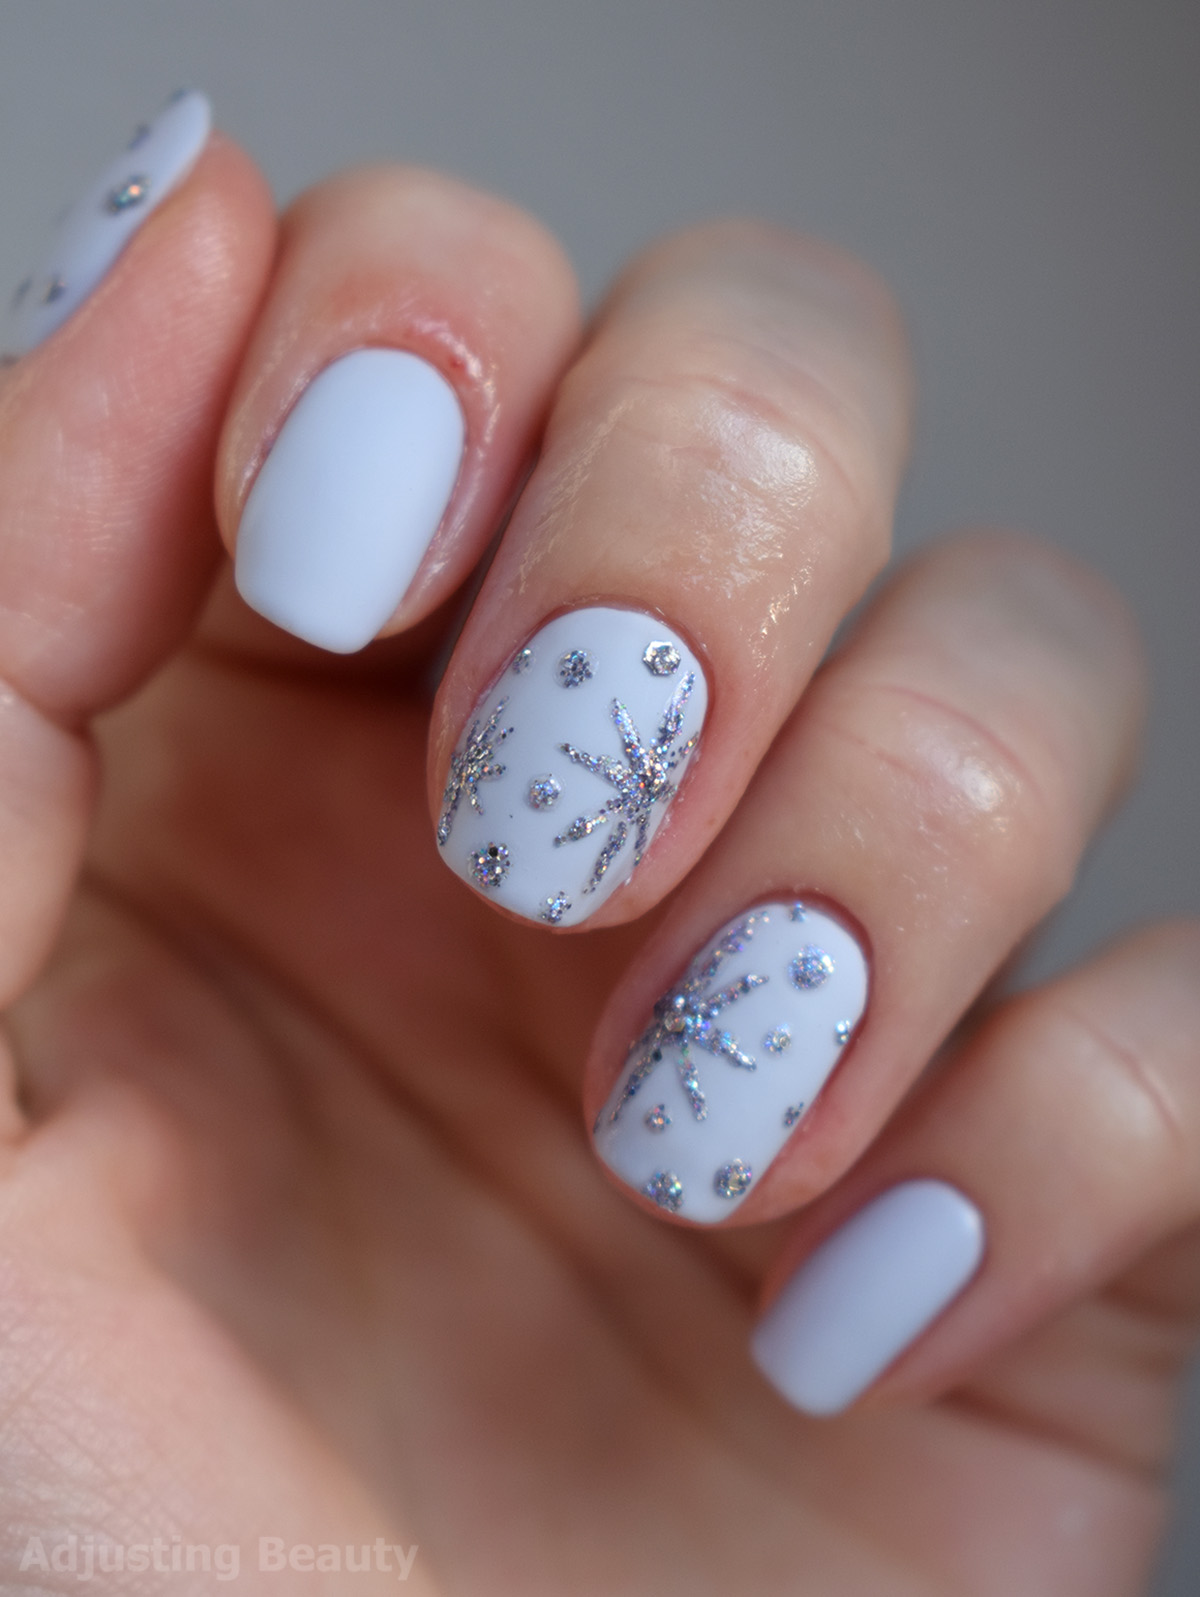
Now it's time to add the snowflakes. Using a thin brush or toothpick, dip it into the white nail polish and create a small "x" shape on your nail. This will be the base of your snowflake. Then, add two more diagonal lines on each side of the "x" to form the snowflake's arms. You can create multiple snowflakes on each nail or keep it simple with just one on each nail.
Add Some Sparkle

If you want to add some sparkle to your snowflakes, now is the time to do so. Use a dotting tool or toothpick to add dots of silver or glitter polish on the snowflake's arms and center. This will give your design an extra festive touch.
Seal the Design

Once you're happy with your snowflake design, let it dry completely. Then, apply a top coat to seal the design and add shine. This will also help your design last longer.
Voila! You now have a beautiful snowflake nail art design to show off this winter. Experiment with different colors and designs to make it your own. With this step-by-step guide, you can easily achieve a winter wonderland on your fingertips. Happy nail painting!


