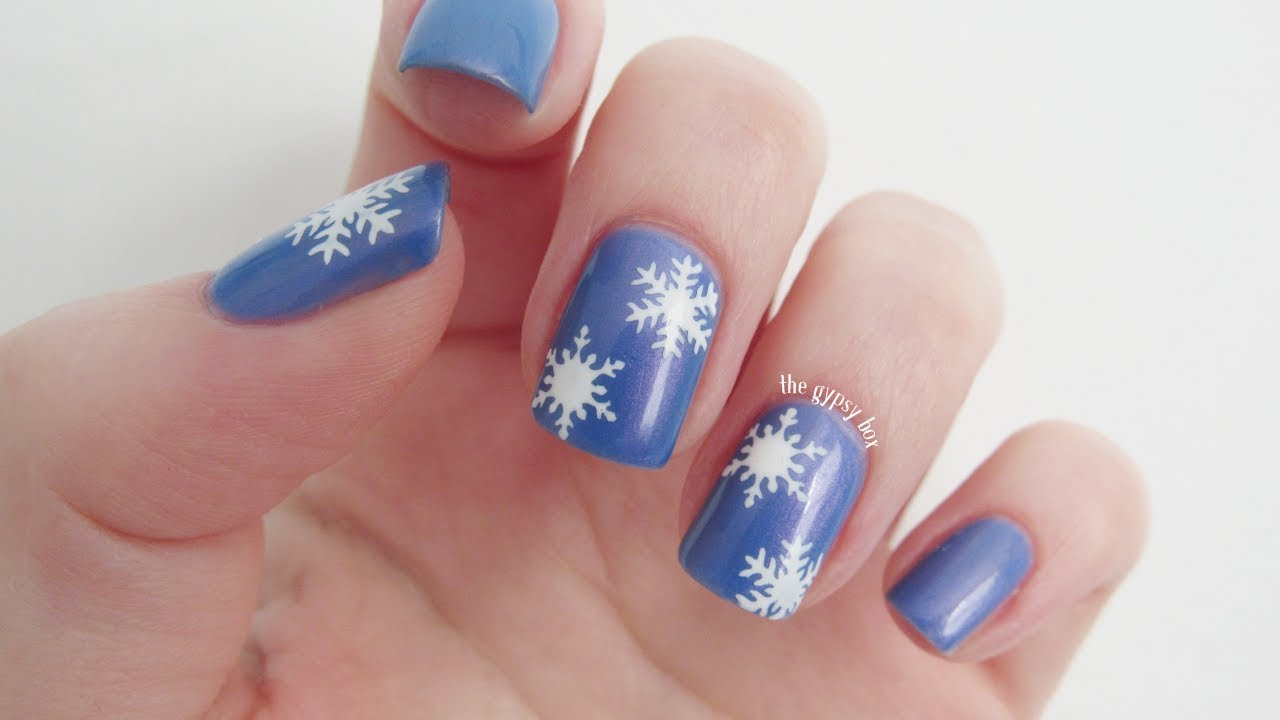
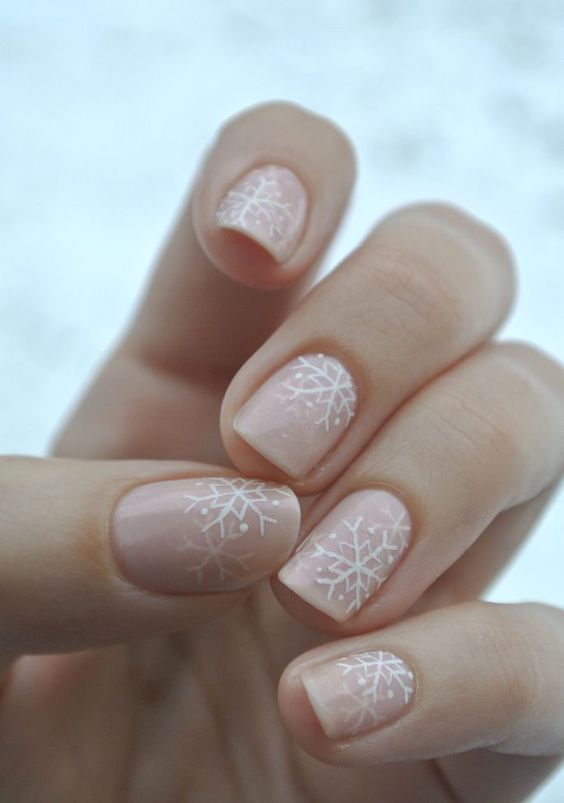
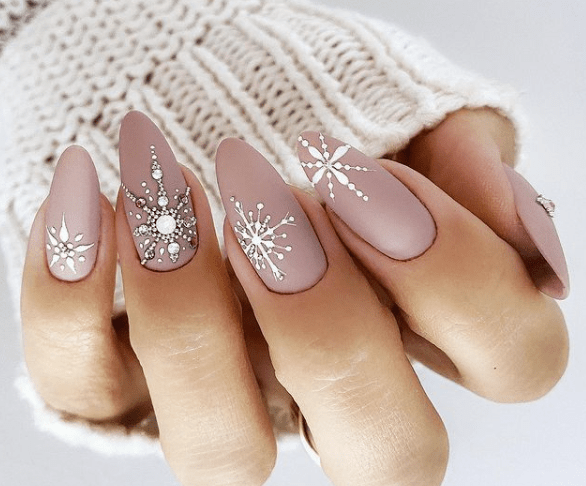
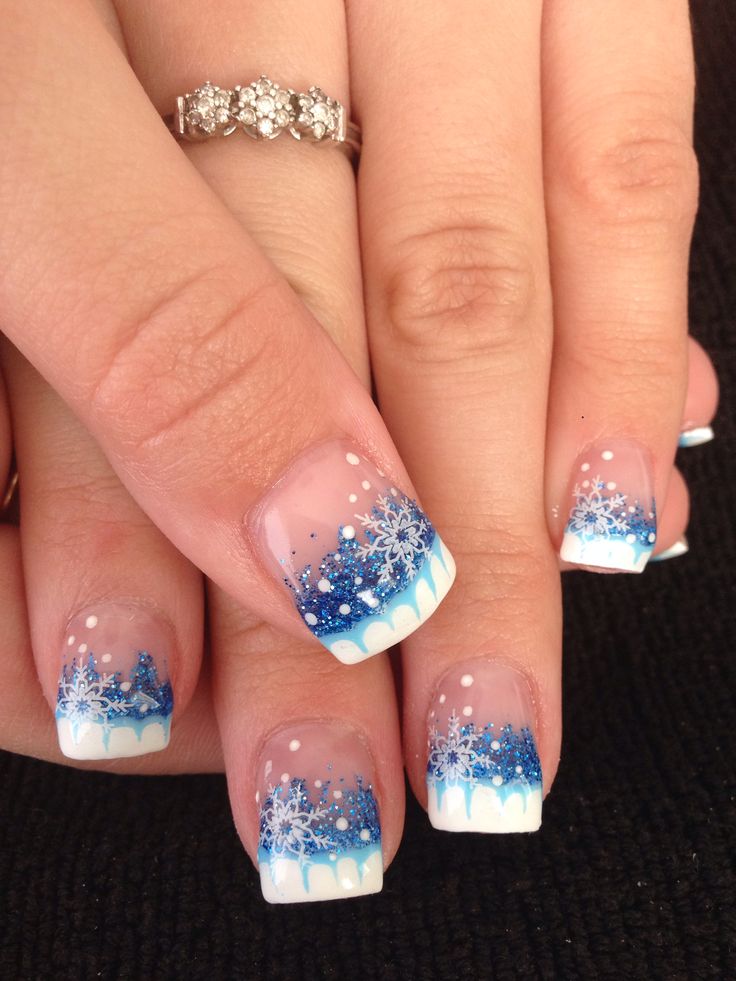
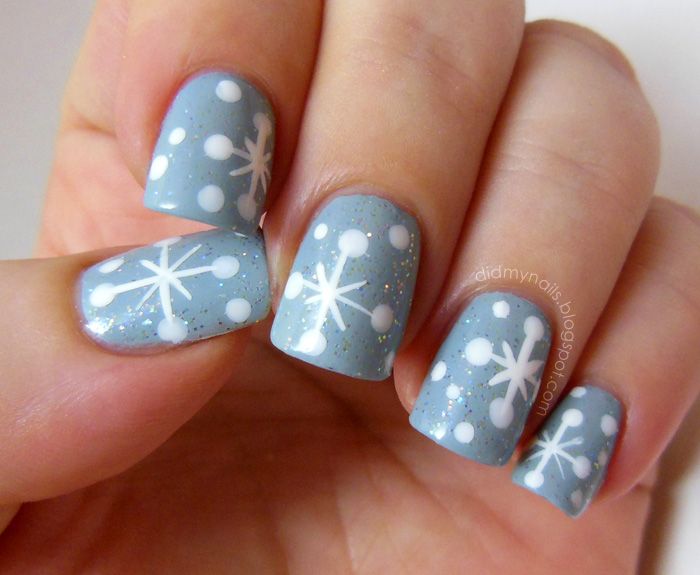
Get ready to embrace the winter season with these stunning snowflake nail designs! With just a few simple steps, you can achieve a beautiful and festive manicure that will make you stand out this holiday season. Follow this easy tutorial to create your own snowflake nails. Start by applying a base coat to protect your nails and help the polish last longer. Then, apply two coats of your favorite light blue nail polish for a wintery base color. Let it dry completely before moving on to the next step. Next, take a white nail polish and create a small dot in the center of your nail. This will serve as the center of your snowflake. Then, using a small nail art brush, create six thin lines coming out from the dot to create the snowflake pattern. You can also use a toothpick or a dotting tool if you don't have a nail art brush. For a more intricate design, you can add smaller dots or lines in between the main lines to create a more detailed snowflake. Don't worry about making it perfect, snowflakes are unique and imperfect in nature, so embrace the imperfections in your design. Once you're satisfied with your snowflake, let it dry completely before applying a layer of top coat to seal in your design and add shine. And there you have it, a simple and beautiful snowflake nail art that will make your nails stand out this winter.1. Easy Snowflake Nail Art Tutorial


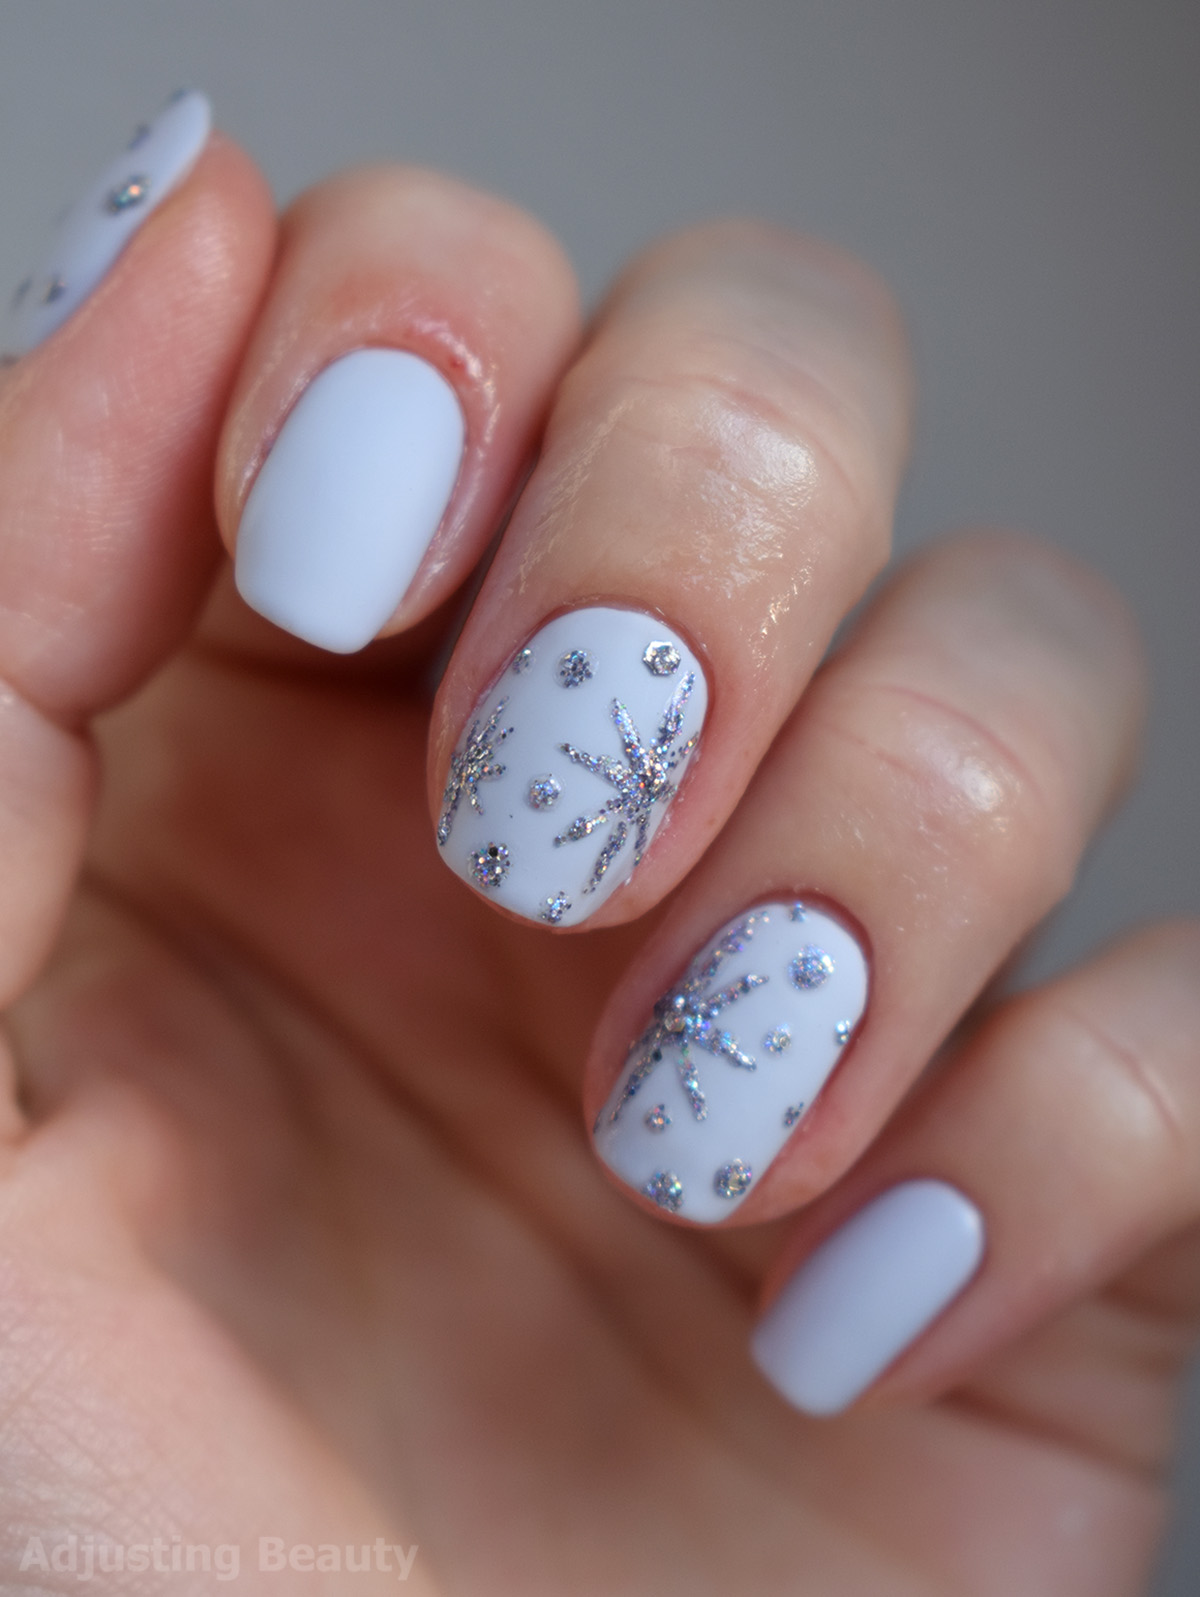
1. Easy Snowflake Nail Art Tutorial
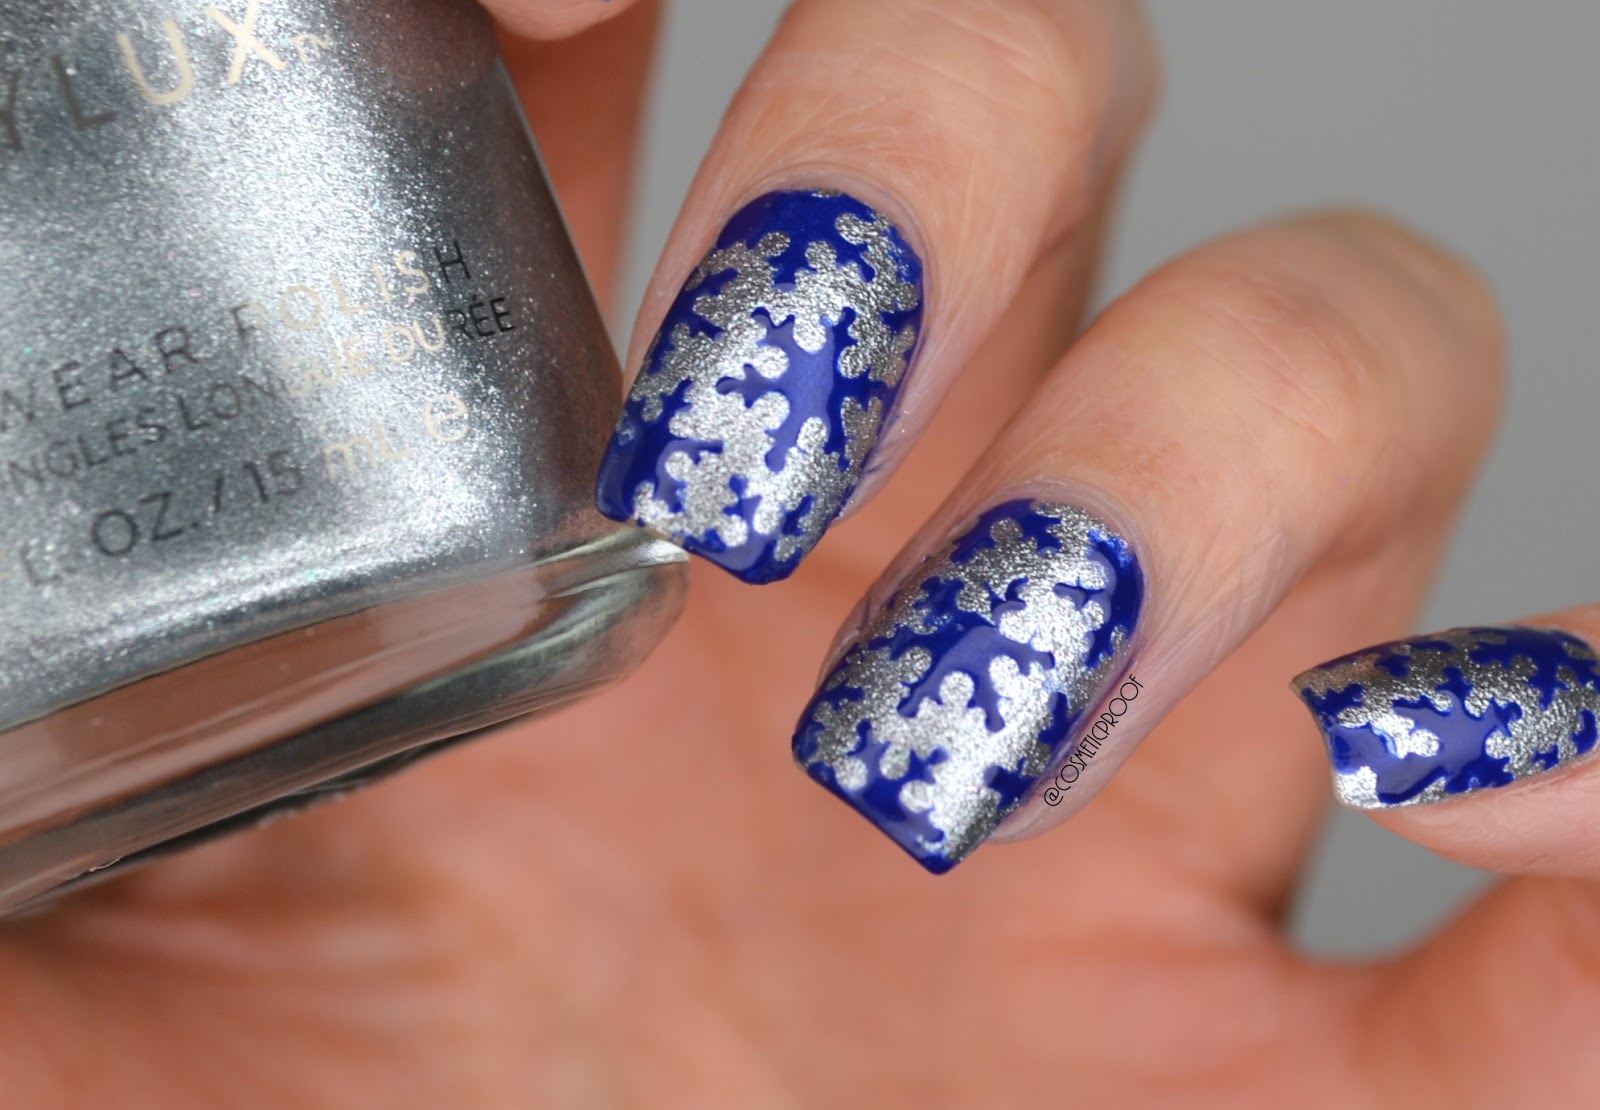
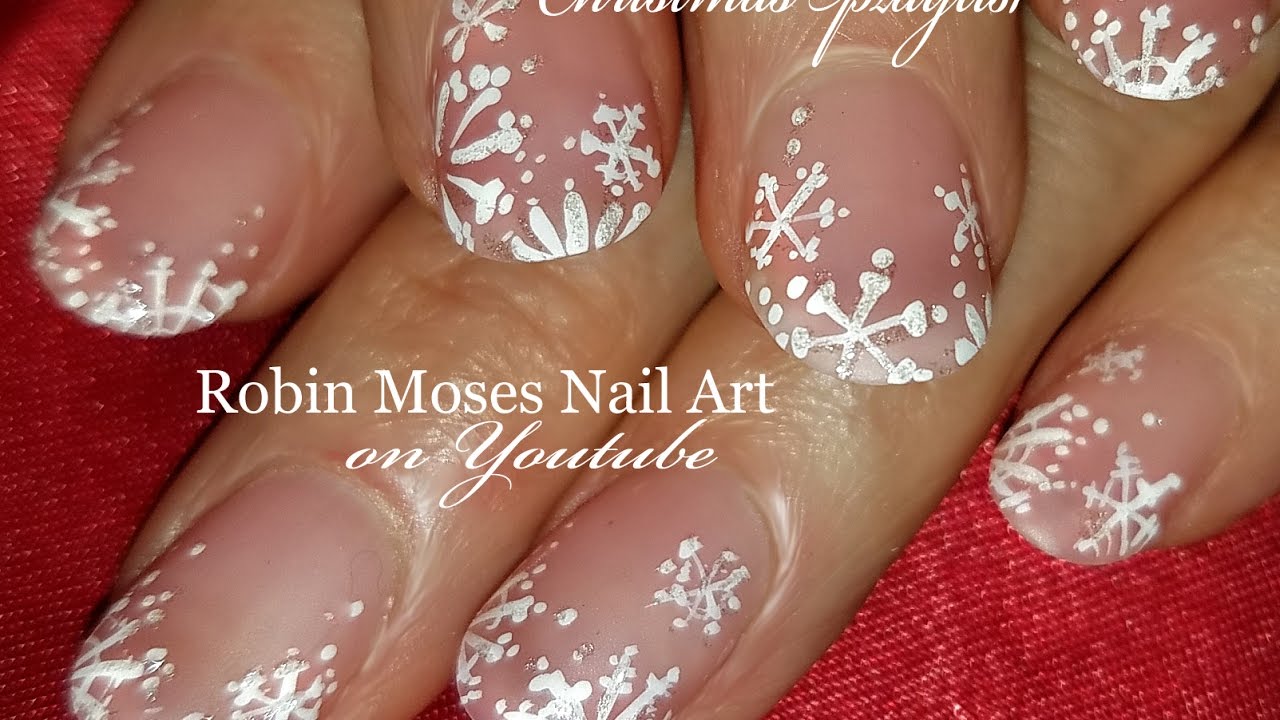
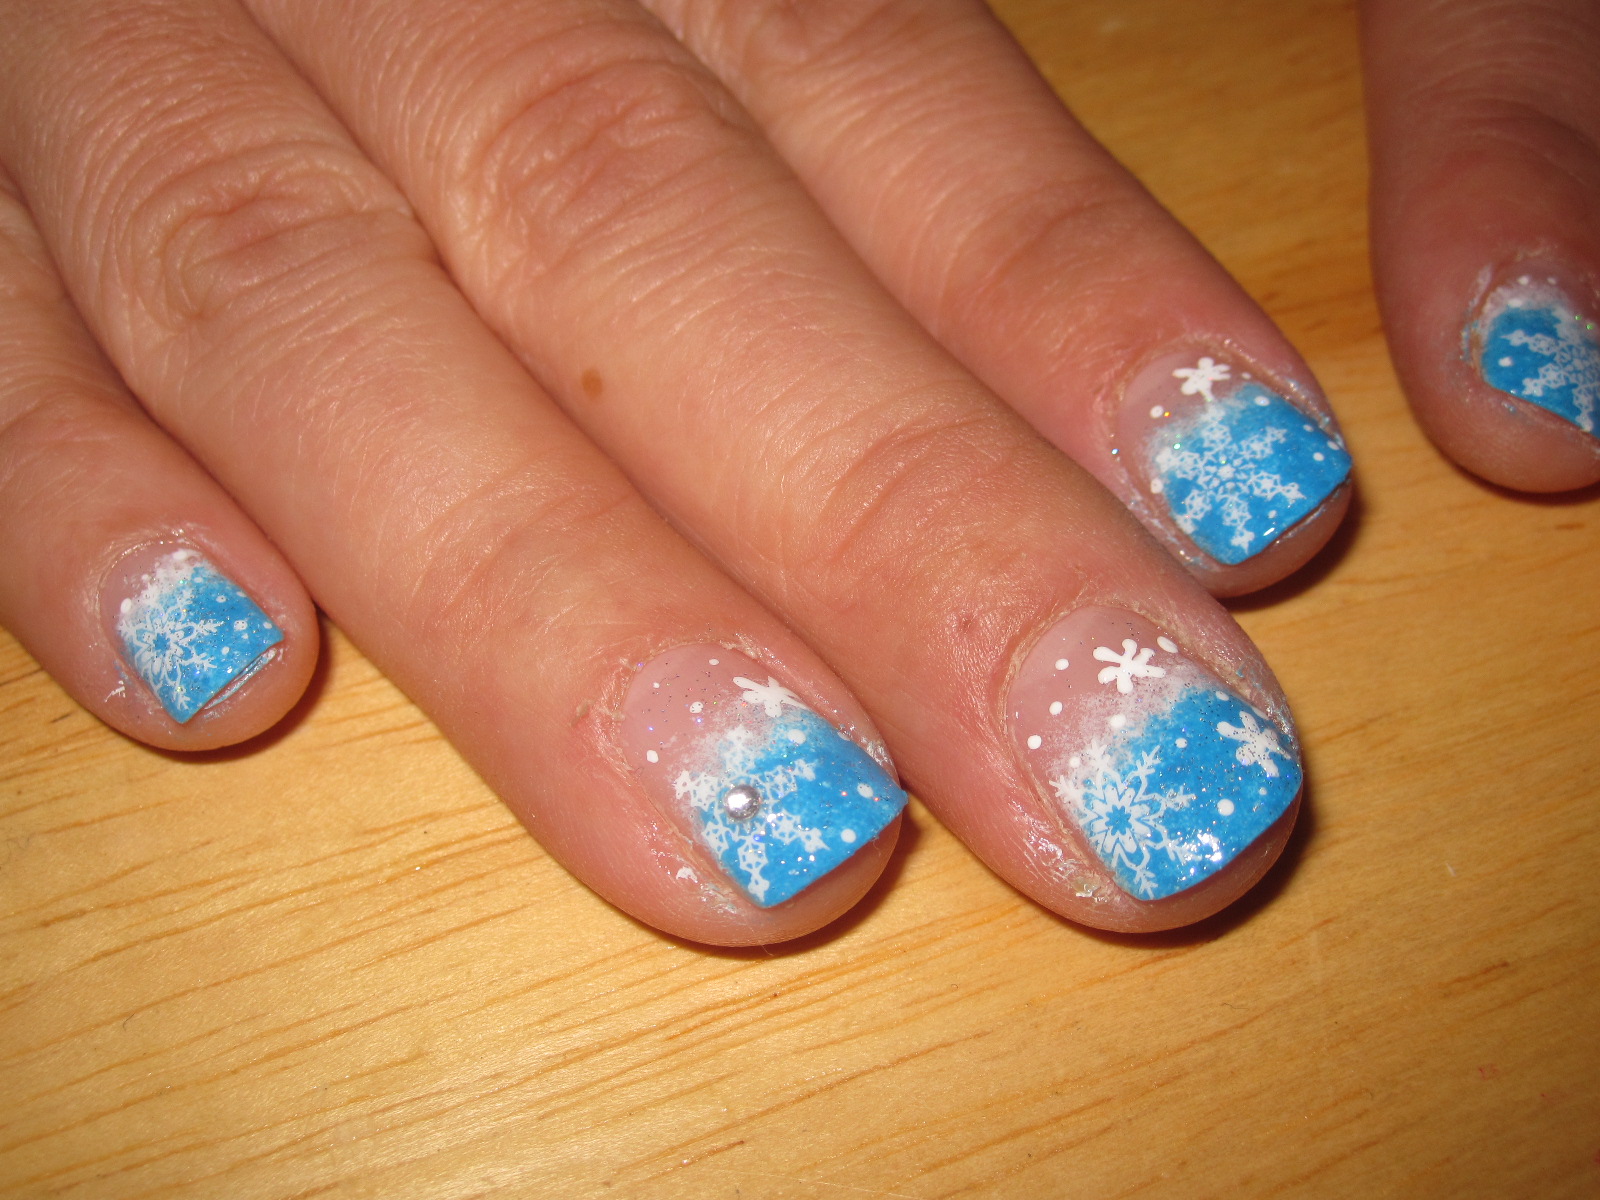
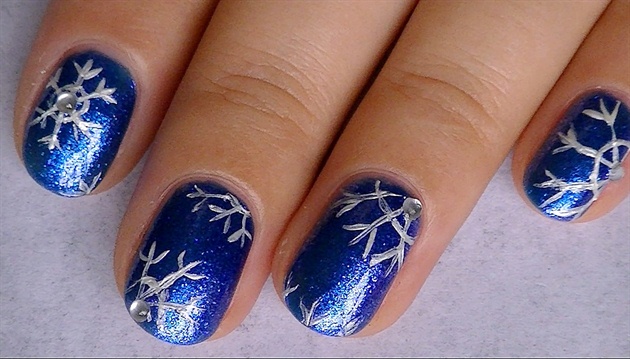
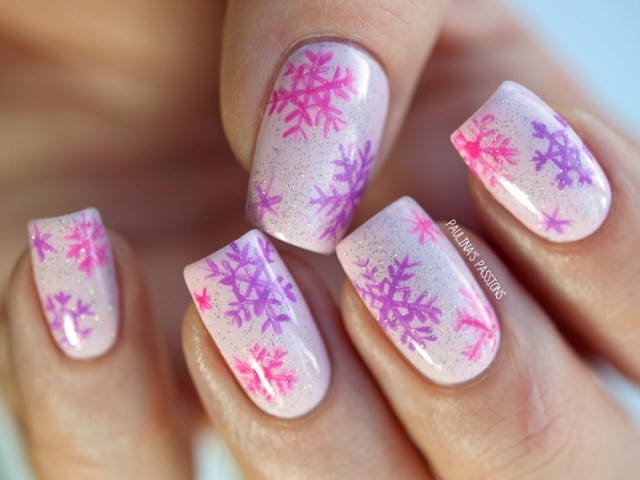
Looking for a budget-friendly way to achieve a gorgeous snowflake nail design? Look no further, because this DIY tutorial has got you covered. With just a few household items, you can create stunning snowflake nails without breaking the bank. Start by painting your nails with a light blue nail polish as your base color. Then, take a white nail polish and dot a few small dots on your nail to create the snowflake pattern. Use a toothpick or a dotting tool to create the dots if you don't have a nail art brush. Next, take a plastic sandwich bag and cut it into small pieces. These will serve as your stencils for the snowflake design. Place the plastic pieces on your nail, leaving some space between them to create the snowflake shape. Using a silver or white nail polish, paint over the plastic stencils and then carefully remove them to reveal your snowflake design. You can repeat this step on all your nails or just accent nails for a more subtle look. Once the design is dry, apply a top coat to seal in your design and add shine. And there you have it, a DIY snowflake nail design that looks like it was done in a salon.2. DIY Snowflake Nail Design


2. DIY Snowflake Nail Design


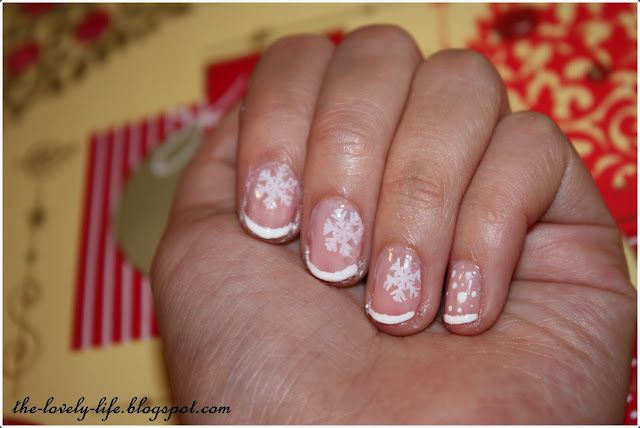
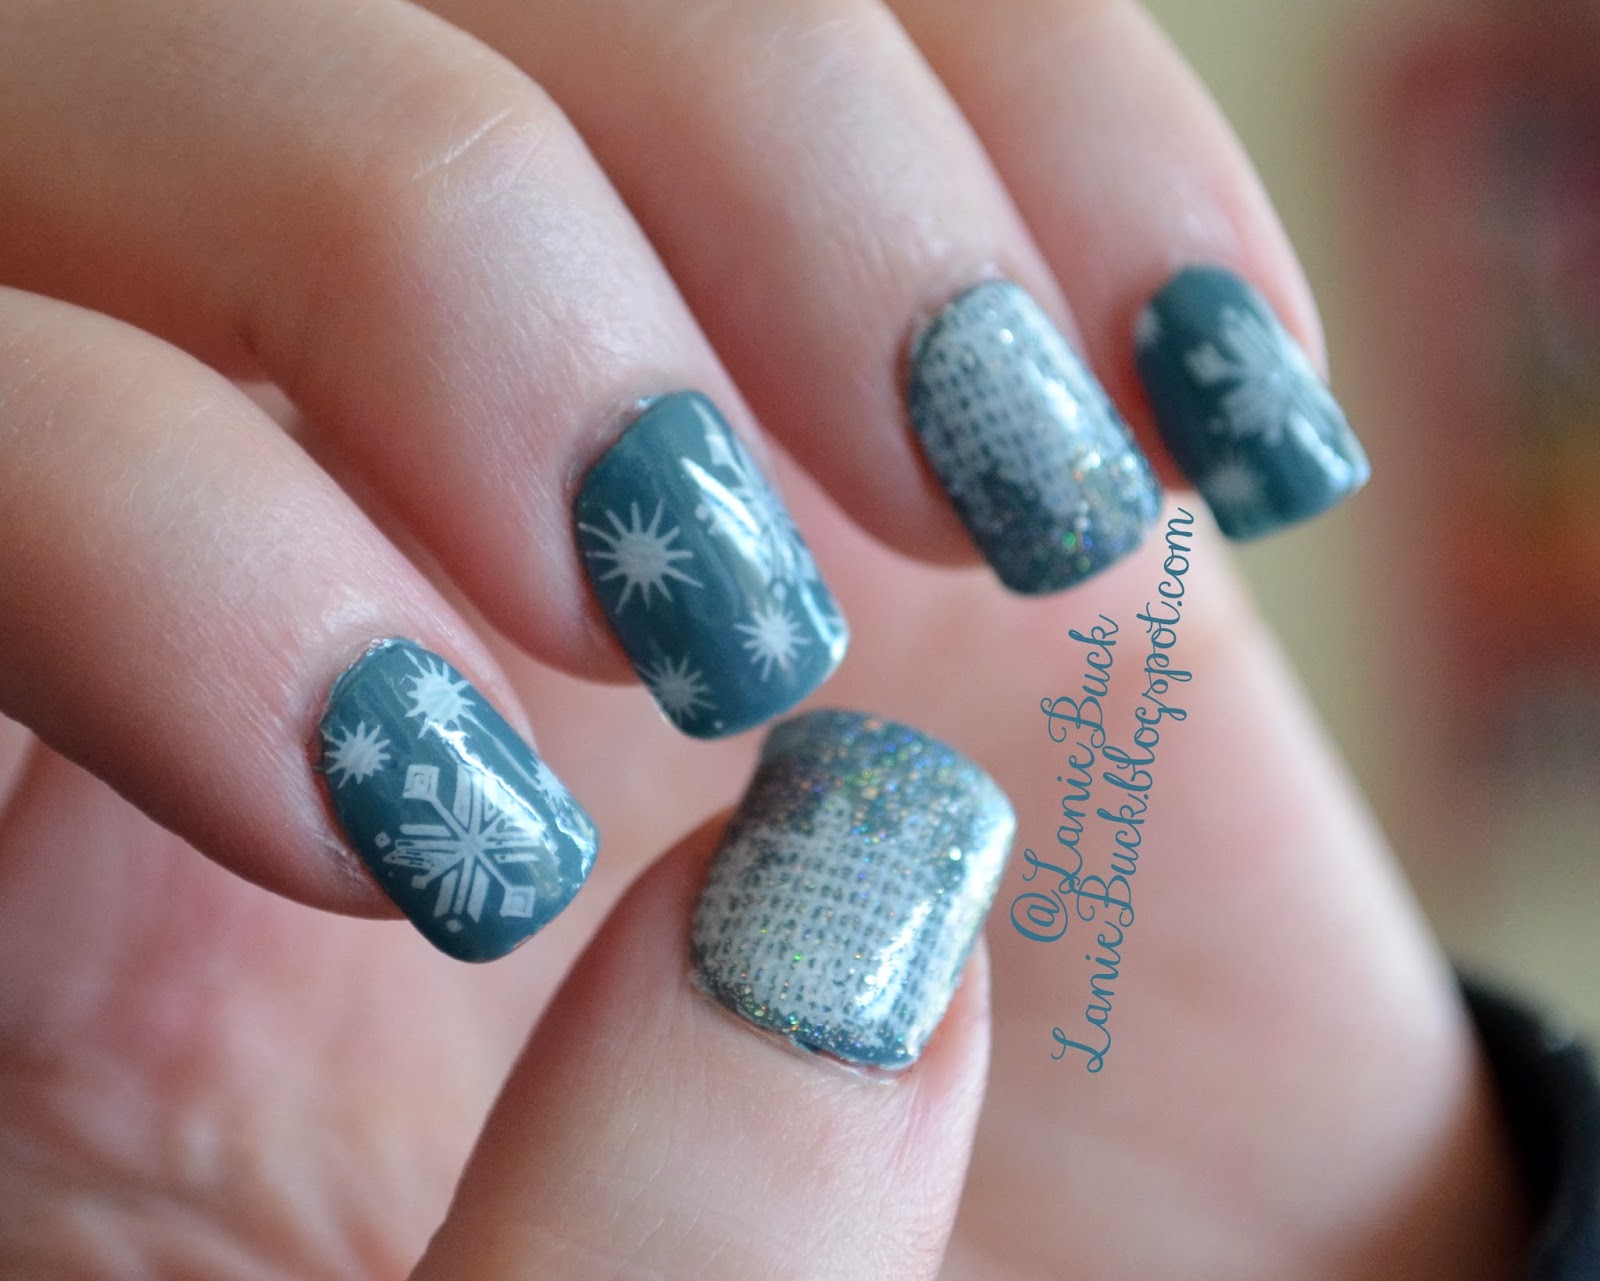
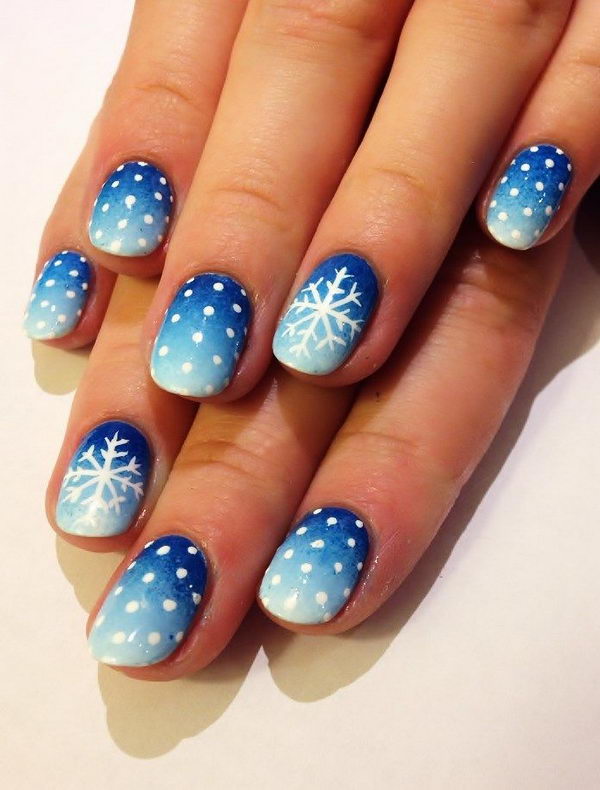
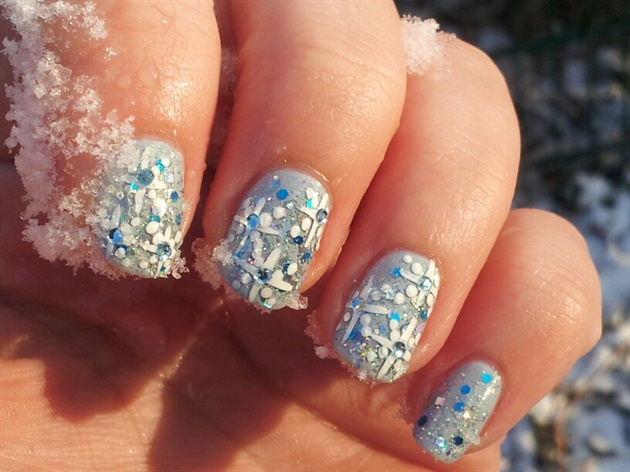
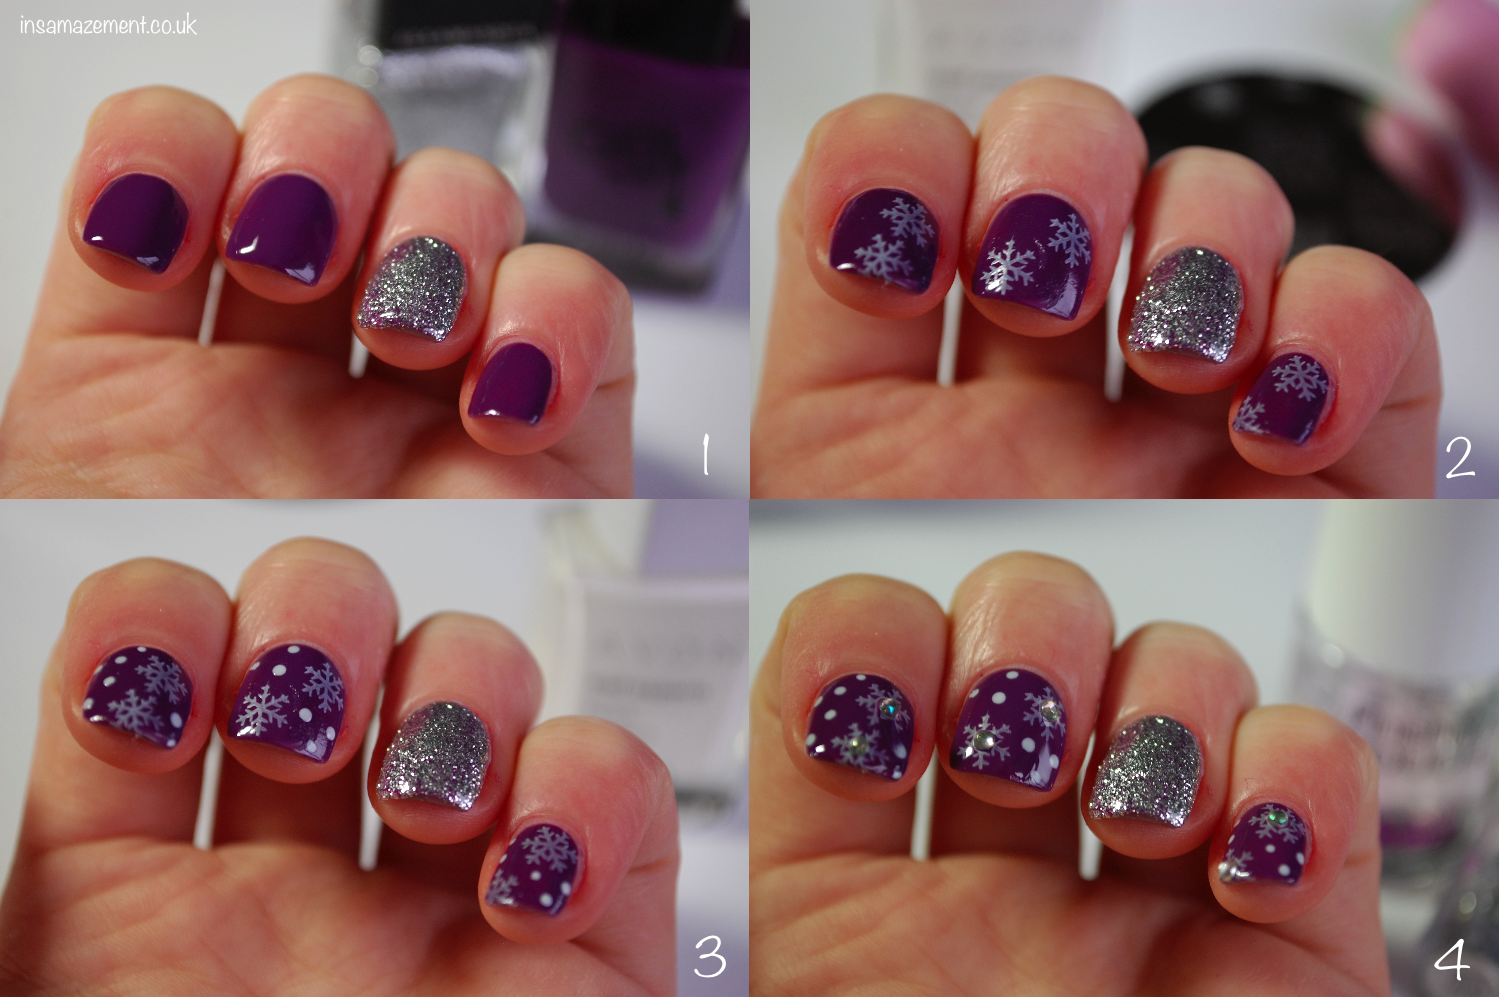
If you're a visual learner and prefer a step-by-step guide, then this tutorial is for you. Follow these simple steps to create a stunning snowflake nail design that will make your nails stand out this winter. Start by applying a base coat to protect your nails. Then, paint your nails with a light blue nail polish as your base color. Let it dry completely before moving on to the next step. Next, take a white nail polish and create a small dot in the center of your nail. Then, using a thin nail art brush, create six lines coming out from the dot to create the snowflake shape. You can also use a toothpick or a dotting tool if you don't have a nail art brush. For a more intricate design, you can add smaller dots or lines in between the main lines to create a more detailed snowflake. Let it dry completely before moving on to the next step. Once your design is dry, take a silver or white glitter nail polish and apply it on top of the snowflake design to add some sparkle. You can also add some glitter to the rest of your nails for a festive touch. Finish off with a layer of top coat to seal in your design and add shine. And there you have it, a step-by-step snowflake nail tutorial that will make your nails look like a winter wonderland.3. Step-by-Step Snowflake Nail Tutorial


3. Step-by-Step Snowflake Nail Tutorial


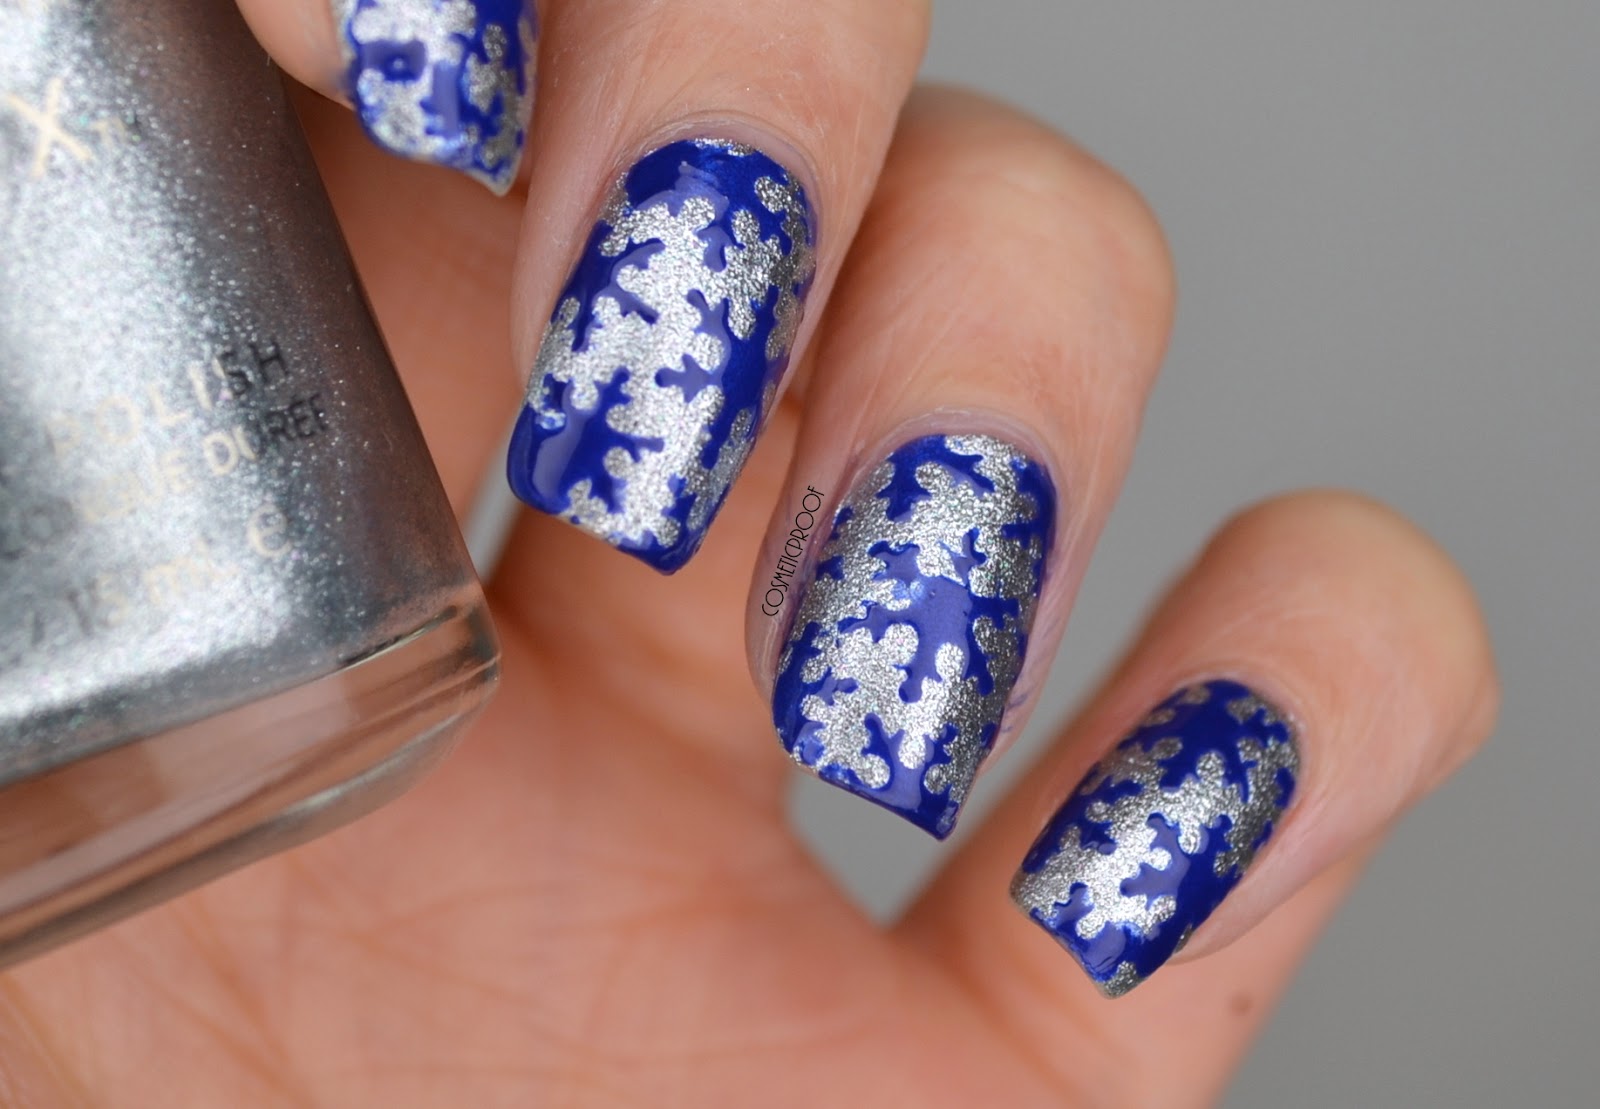
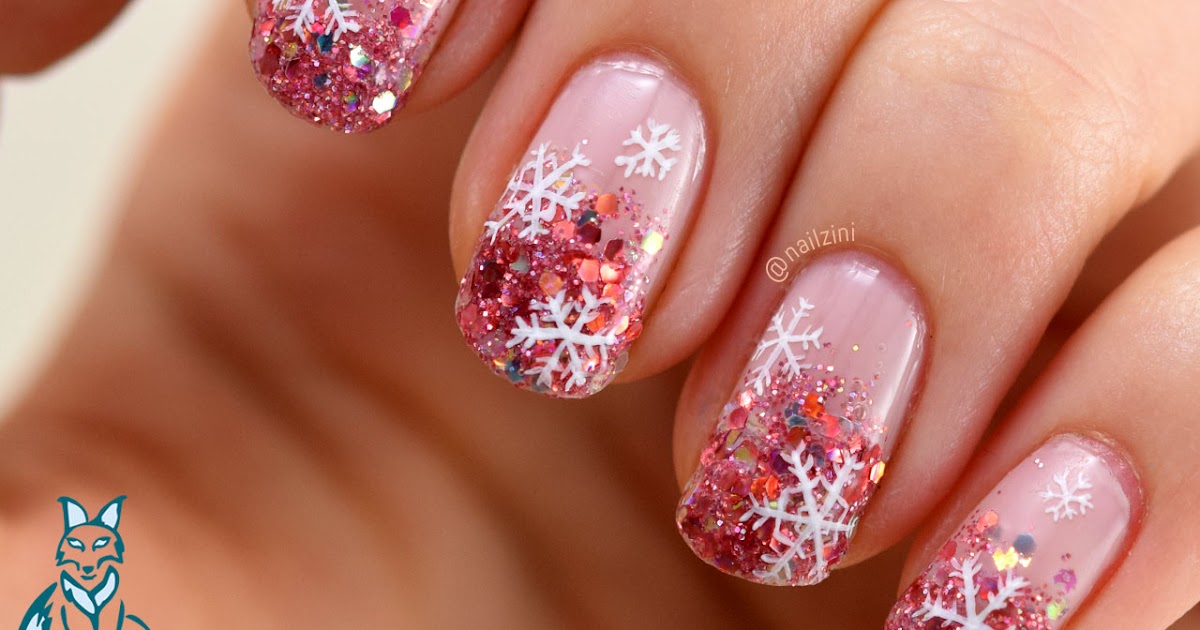
Bring a winter wonderland to your fingertips with this stunning nail design. With a combination of snowflakes and glitter, this manicure will make your nails look like they're covered in freshly fallen snow. Start by applying a base coat to protect your nails. Then, paint your nails with a light blue nail polish as your base color. Let it dry completely before moving on to the next step. Next, take a white nail polish and create a small dot in the center of your nail. Then, using a thin nail art brush, create six lines coming out from the dot to create the snowflake shape. You can also use a toothpick or a dotting tool if you don't have a nail art brush. For a more intricate design, you can add smaller dots or lines in between the main lines to create a more detailed snowflake. Let it dry completely before moving on to the next step. Next, take a silver or white glitter nail polish and apply it on top of the snowflake design to add some sparkle. You can also add some glitter to the rest of your nails for a festive touch. For the final touch, take a holographic glitter nail polish and apply it on the tips of your nails to create a snow-covered effect. Finish off with a layer of top coat to seal in your design and add shine. And there you have it, a winter wonderland nail design that will make your nails stand out this season.4. Winter Wonderland Nail Design Tutorial
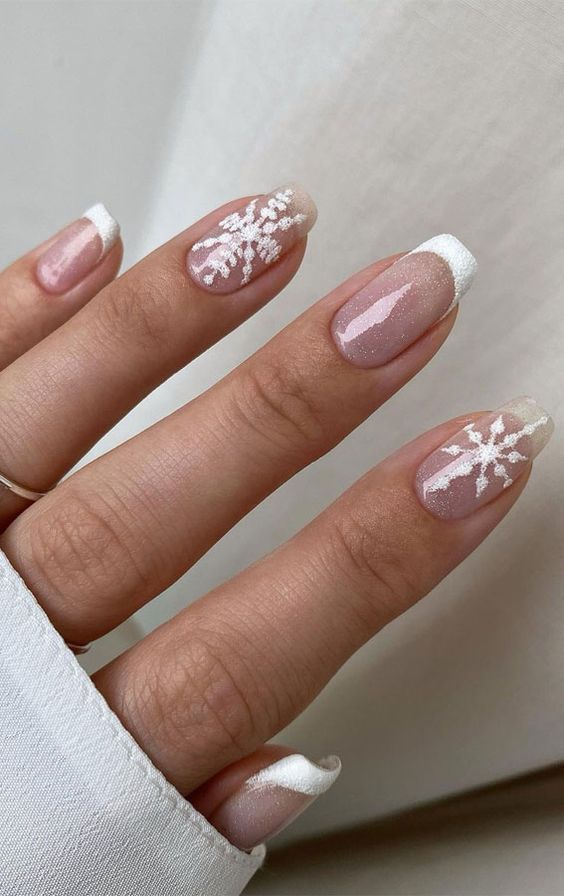
4. Winter Wonderland Nail Design Tutorial


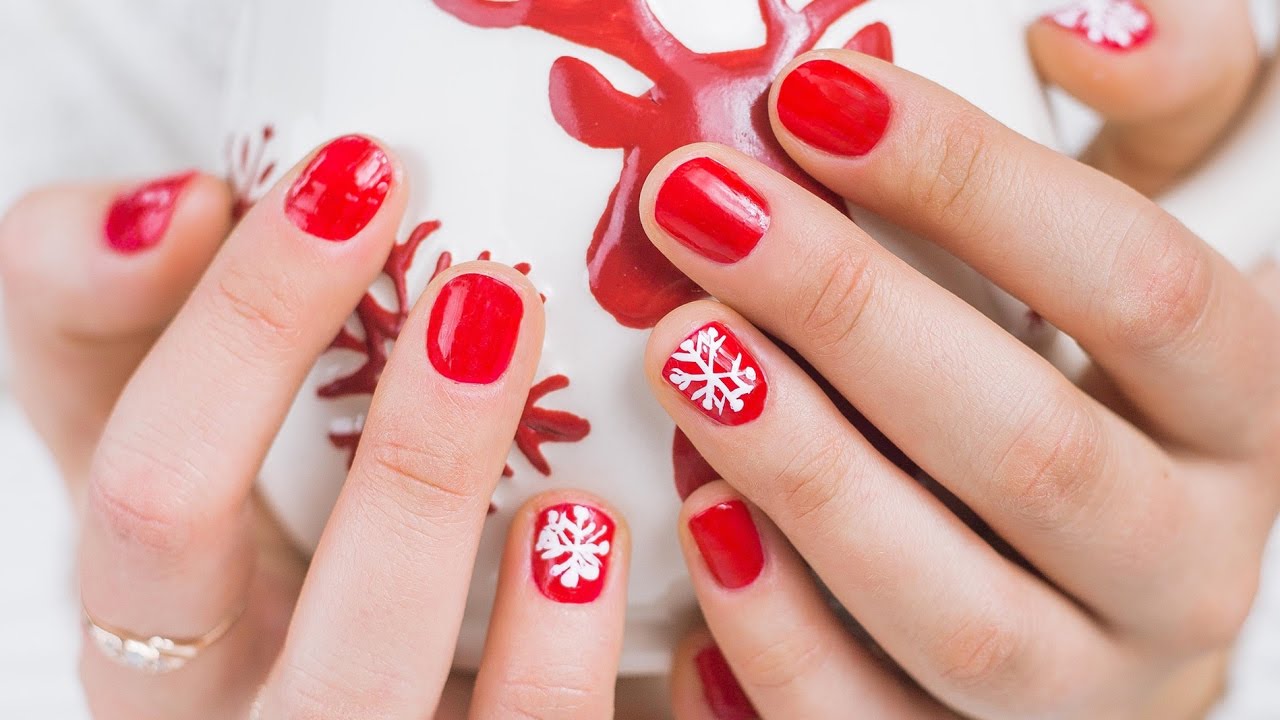
Ready to create your own snowflake nails but not sure where to start? Follow this simple guide to achieve a gorgeous and festive manicure that will make your nails look like they're covered in snowflakes. Start by applying a base coat to protect your nails. Then, paint your nails with a light blue nail polish as your base color. Let it dry completely before moving on to the next step. Next, take a white nail polish and create a small dot in the center of your nail. Then, using a thin nail art brush, create six lines coming out from the dot to create the snowflake shape. You can also use a toothpick or a dotting tool if you don't have a nail art brush. For a more intricate design, you can add smaller dots or lines in between the main lines to create a more detailed snowflake. Let it dry completely before moving on to the next step. Once your snowflake design is dry, take a silver or white glitter nail polish and apply it on top of the design to add some sparkle. You can also add some glitter to the rest of your nails for a festive touch. Finish off with a layer of top coat to seal in your design and add shine. And there you have it, a beautiful snowflake nail design that is perfect for the winter season.5. How to Create Snowflake Nails

5. How to Create Snowflake Nails

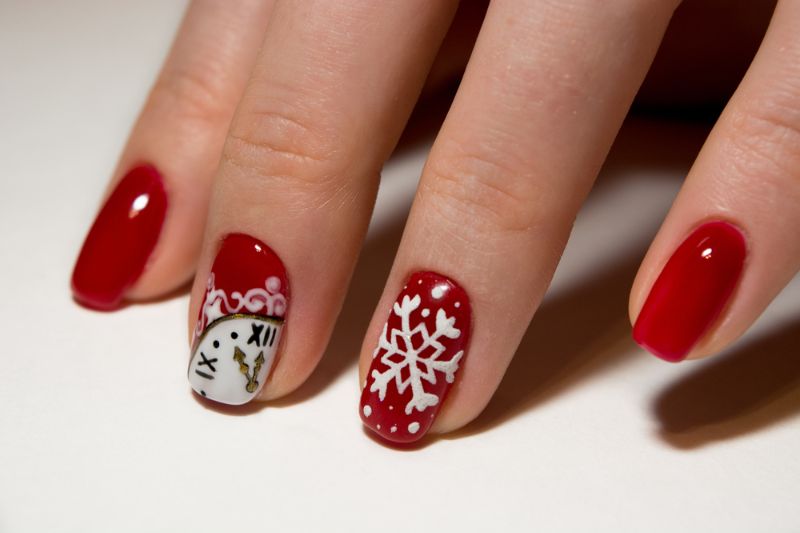
Get into the holiday spirit with this festive snowflake nail tutorial. With a combination of red, green, and white, this manicure will make your nails look like a Christmas wonderland. Start by applying a base coat to protect your nails. Then, paint your nails with a red nail polish as your base color. Let it dry completely before moving on to the next step. Next, take a white nail polish and create a small dot in the center of your nail. Then, using a thin nail art brush, create six lines coming out from the dot to create the snowflake shape. You can also use a toothpick or a dotting tool if you don't have a nail art brush. For a more intricate design, you can add smaller dots or lines in between the main lines to create a more detailed snowflake. Let it dry completely before moving on to the next step. Once your snowflake design is dry, take a green nail polish and create small dots or lines around the snowflake to represent holly leaves. You can also add some silver or gold glitter for some extra sparkle. Finish off with a layer of top coat to seal in your design and add shine. And there you have it, a festive snowflake nail tutorial that is perfect for the holiday season.6. Festive Snowflake Nail Tutorial


6. Festive Snowflake Nail Tutorial
If you're new to nail art and want to try your hand at creating snowflake nails, this tutorial is perfect for you. With just a few simple steps, you can achieve a beautiful snowflake design that is perfect for beginners. Start by applying a base coat to protect your nails. Then, paint your nails with a light blue nail polish as your base color. Let it dry completely before moving on to the next step. Next, take a white nail polish and create a small dot in the center of your nail. Then, using a toothpick or a dotting tool, create six small dots around the center dot to create the snowflake shape. For a more intricate design, you can add smaller dots or lines in between the main dots to create a more detailed snowflake. Let it dry completely before moving on to the next step. Once your snowflake design is dry, take a silver or white glitter nail polish and apply it on top of the design to add some sparkle. Finish off with a layer of top coat to seal in your design and add shine. And there you have it, a simple and beautiful snowflake nail art for beginners.7. Snowflake Nail Art for Beginners

7. Snowflake Nail Art for Beginners


Elevate your snowflake nail design with this elegant tutorial. With a combination of white, silver, and gold, this manicure will make your nails look like a winter wonderland. Start by applying a base coat to protect your nails. Then, paint your nails with a white nail polish as your base color. Let it dry completely before moving on to the next step. Next, take a silver nail polish and create a small dot in the center of your nail. Then, using a thin nail art brush, create six lines coming out from the dot to create the snowflake shape. You can also use a toothpick or a dotting tool if you don't have a nail art brush. For a more intricate design, you can add smaller dots or lines in between the main lines to create a more detailed snowflake. Let it dry completely before moving on to the next step. Next, take a gold nail polish and create small dots or lines around the snowflake to add some dimension and elegance to the design. Finish off with a layer of top coat to seal in your design and add shine. And there you have it, an elegant snowflake nail design that is perfect for any winter occasion.8. Elegant Snowflake Nail Design Tutorial

8. Elegant Snowflake Nail Design Tutorial

Take your snowflake nail design to the next level with this glittery tutorial. With a combination of glitter and snowflake accents, this manicure will make your nails sparkle like freshly fallen snow. Start by applying a base coat to protect your nails. Then, paint your nails with a light blue nail polish as your base color. Let it dry completely before moving on to the next step. Next, take a silver or white glitter nail polish and apply it on all your nails except for your accent nail. For the accent nail, create a snowflake design using a white nail polish and a thin nail art brush or a toothpick. For a more intricate design, you can add smaller dots or lines in between the main lines to create a more detailed snowflake. Let it dry completely before moving on to the next step. Once your snowflake design is dry, take a silver or white glitter nail polish and apply it on top of the design to add some sparkle. Finish off with a layer of top coat to seal in your design and add shine. And there you have it, a glitter snowflake nail tutorial that will make your nails stand out this winter.9. Glitter Snowflake Nail Tutorial


9. Glitter Snowflake Nail Tutorial


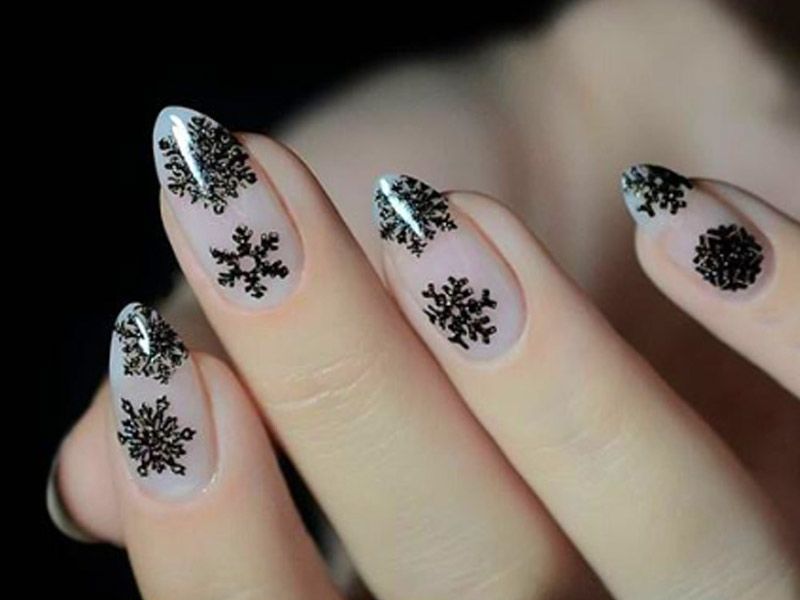
If you're a fan of nail stamping, then this tutorial is for you. With a snowflake stamping plate and a few simple steps, you can achieve a beautiful snowflake nail design that will make your nails look like they're covered in delicate snowflakes. Start by applying a base coat to protect your nails. Then, paint your nails with a light blue nail polish as your base color. Let it dry completely before moving on to the next step. Next, take a silver or white nail polish and stamp a snowflake design onto your nails using a snowflake stamping plate. You can also use a toothpick or a dotting tool to create the snowflake design if you don't have a stamping plate. For a more intricate design, you can add smaller dots or lines in between the main lines to create a more detailed snowflake. Let it dry completely before moving on to the next step. Once your design is dry, apply a layer of top coat to seal in your design and add shine. And there you have it, a snowflake nail stamping tutorial that will make your nails stand out this winter.10. Snowflake Nail Stamping Tutorial

10. Snowflake Nail Stamping Tutorial


Snowflake Nail Design Tutorial: The Perfect Addition to Your Winter Look
Why Snowflake Nail Designs are Trending
 Snowflake nail designs have become increasingly popular in recent years, especially during the winter season. This trend has taken the nail art world by storm, with people of all ages and styles incorporating snowflakes into their manicures. The delicate and intricate nature of snowflakes makes them the perfect design for nail art, and they add a touch of elegance and charm to any look. Whether you're going for a subtle and minimalistic design or a bold and eye-catching look, snowflakes are a versatile choice that can be customized to fit your personal style.
How to Create Your Own Snowflake Nail Design
 If you want to try out this trend for yourself, here is a step-by-step tutorial on how to create your own snowflake nail design:
Step 1:
Start by prepping your nails. This means shaping them, pushing back your cuticles, and applying a base coat to protect your nails.
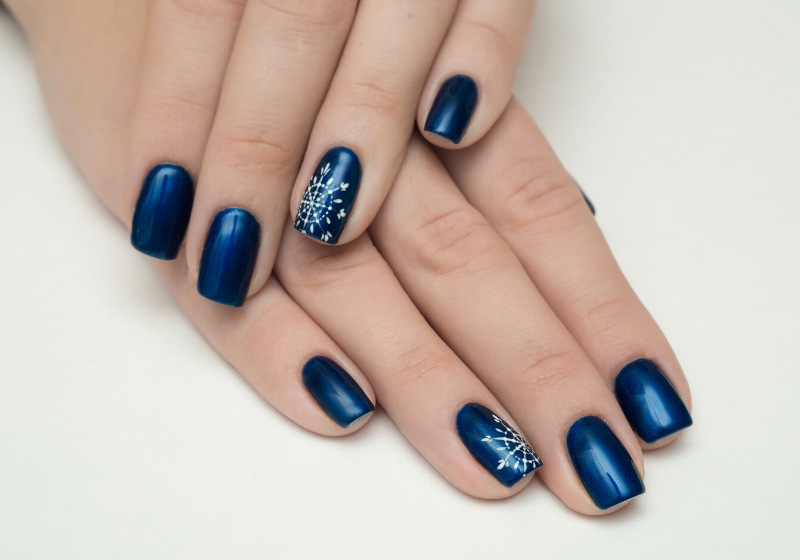
Step 2:
Choose a base color for your nails. This can be a classic winter shade like white, silver, or blue, or you can go for a more unique color that complements your skin tone.
Step 3:
Using a thin nail art brush or a toothpick, create six lines that intersect in the center of your nail. These will form the basic shape of your snowflake.
Step 4:
Add smaller lines and dots to the six lines to create a more intricate and detailed snowflake design.
Step 5:
Let the design dry for a few minutes, then seal it with a top coat to protect your design and make it last longer.
If you want to try out this trend for yourself, here is a step-by-step tutorial on how to create your own snowflake nail design:
Step 1:
Start by prepping your nails. This means shaping them, pushing back your cuticles, and applying a base coat to protect your nails.
Step 2:
Choose a base color for your nails. This can be a classic winter shade like white, silver, or blue, or you can go for a more unique color that complements your skin tone.
Step 3:
Using a thin nail art brush or a toothpick, create six lines that intersect in the center of your nail. These will form the basic shape of your snowflake.
Step 4:
Add smaller lines and dots to the six lines to create a more intricate and detailed snowflake design.
Step 5:
Let the design dry for a few minutes, then seal it with a top coat to protect your design and make it last longer.
Adding a Personal Touch
 While the basic snowflake design is beautiful on its own, you can add your own unique twist to make it stand out. Consider adding glitter, rhinestones, or other embellishments to your design for a touch of sparkle and glamour. You can also experiment with different color combinations and textures to create a one-of-a-kind snowflake nail design that reflects your personal style.
Caring for Your Snowflake Nails
 To make your snowflake nail design last, be sure to take proper care of your nails. Avoid using your nails as tools and wear gloves when doing household chores. You can also apply a top coat every few days to keep your design looking fresh and protect it from chipping.
In conclusion, snowflake nail designs are a fun and festive way to add some winter magic to your look. With a little bit of patience and creativity, you can create your own unique snowflake nail design that will make you stand out from the crowd. So, grab your nail polish and get ready to embrace the winter season with the perfect snowflake manicure.
To make your snowflake nail design last, be sure to take proper care of your nails. Avoid using your nails as tools and wear gloves when doing household chores. You can also apply a top coat every few days to keep your design looking fresh and protect it from chipping.
In conclusion, snowflake nail designs are a fun and festive way to add some winter magic to your look. With a little bit of patience and creativity, you can create your own unique snowflake nail design that will make you stand out from the crowd. So, grab your nail polish and get ready to embrace the winter season with the perfect snowflake manicure.


