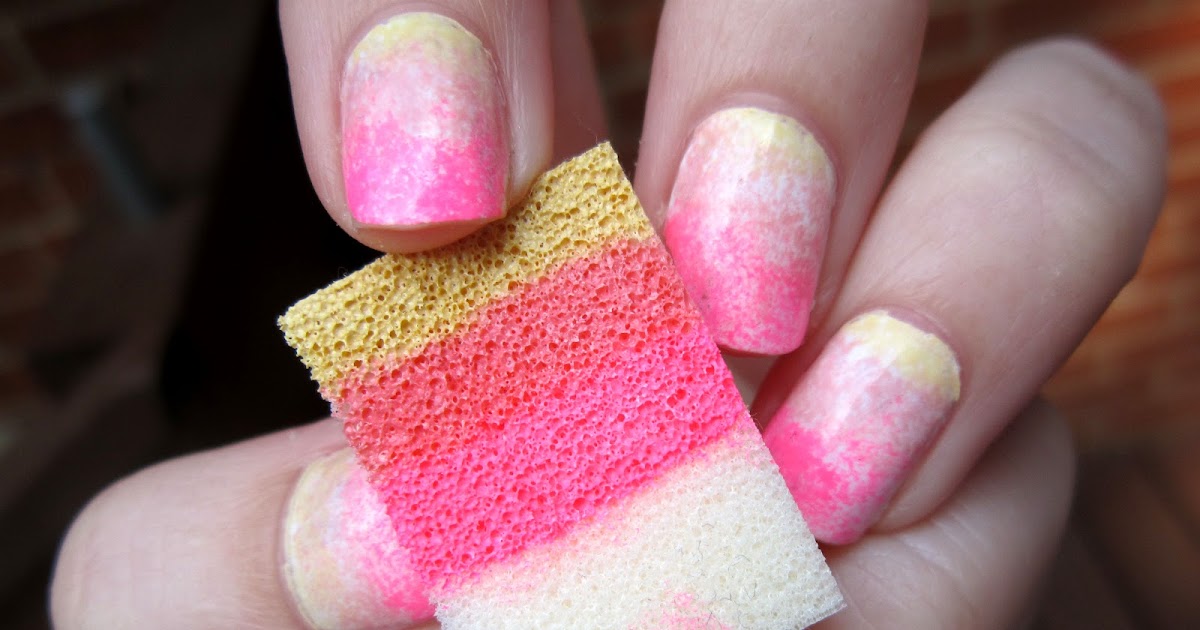
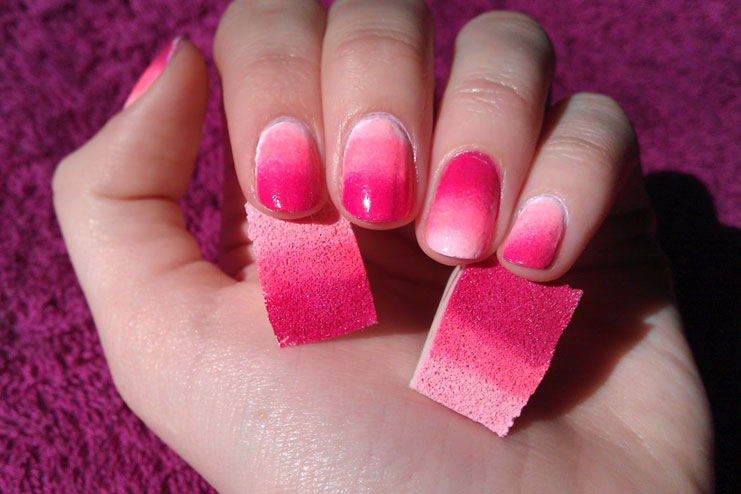
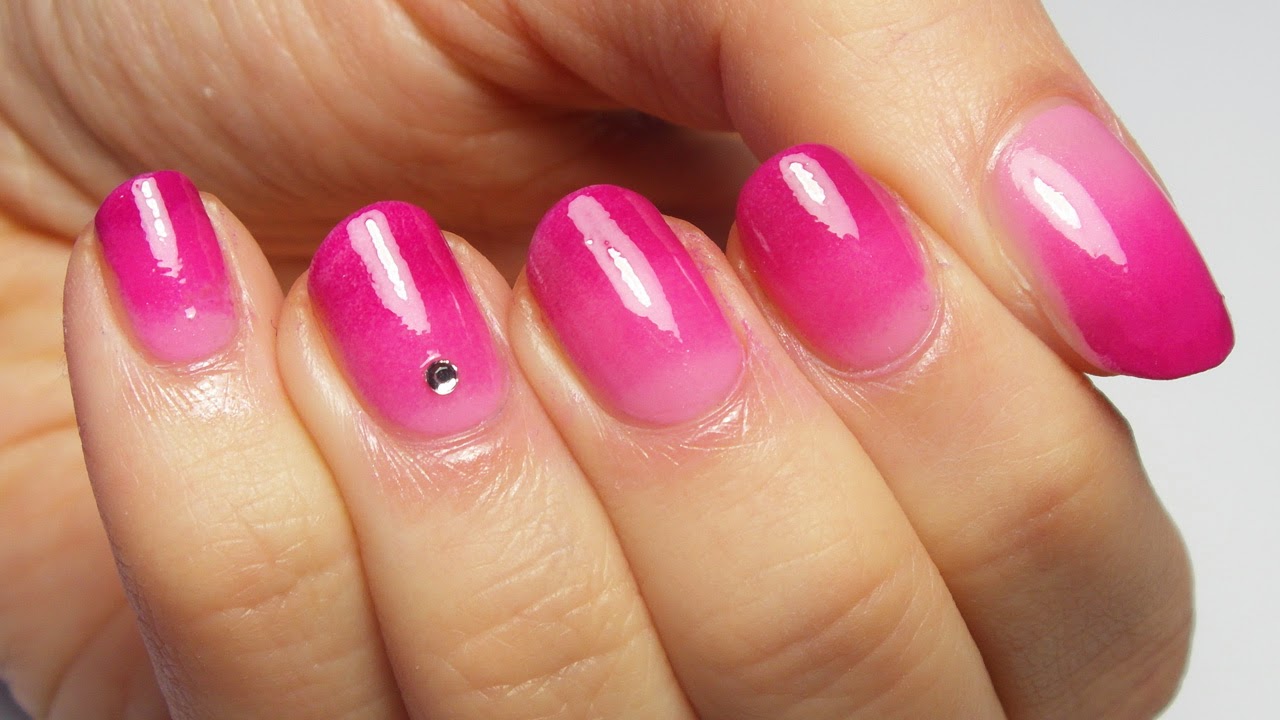
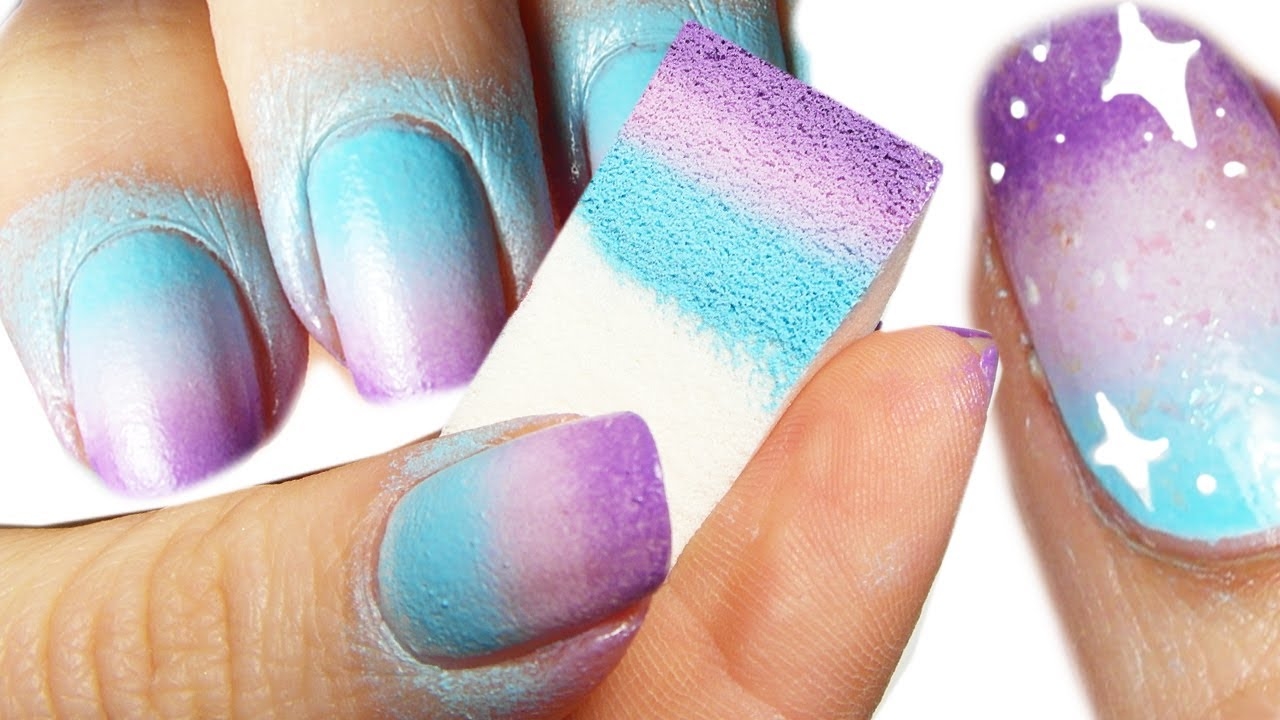
Get ready to achieve the perfect gradient nail art with a simple sponge! This technique is perfect for beginners and gives a beautiful, ombre effect to your nails. Start by applying a base coat to protect your nails and allow it to dry completely. Then, choose two or more nail polish colors that you want to use for your gradient. Apply a layer of the lighter color as your base color and let it dry. Next, apply a few drops of the lighter and darker color(s) onto a piece of foil or a paper plate. Use a small piece of sponge or a makeup sponge to dab the colors onto your nail, starting from the cuticle and moving towards the tip. Continue dabbing until you achieve the desired gradient effect. Finish with a top coat for a smooth and glossy finish.1. Sponge Gradient Nail Art Design


1. Sponge Gradient Nail Art Design


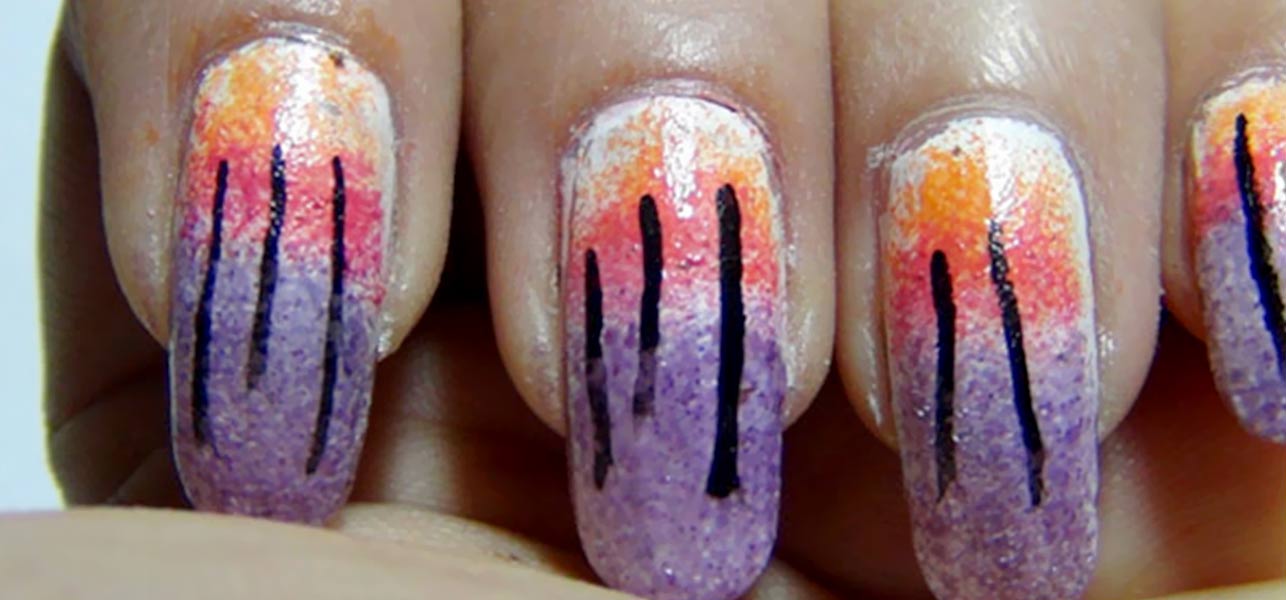
If you're new to nail art or just want a simple yet stunning design, try out this easy sponge nail art tutorial. Start by applying a base coat and let it dry. Then, choose two or more nail polish colors that you want to use for your design. Apply a layer of the lighter color as your base color and let it dry. Next, dip a small piece of sponge or makeup sponge into the darker color and gently dab it onto your nail. You can also create a dripping effect by dabbing the sponge from the cuticle to the tip. Experiment with different colors and dabbing techniques to create your own unique design. Finish with a top coat for a polished look.2. Easy Sponge Nail Art Tutorial


2. Easy Sponge Nail Art Tutorial
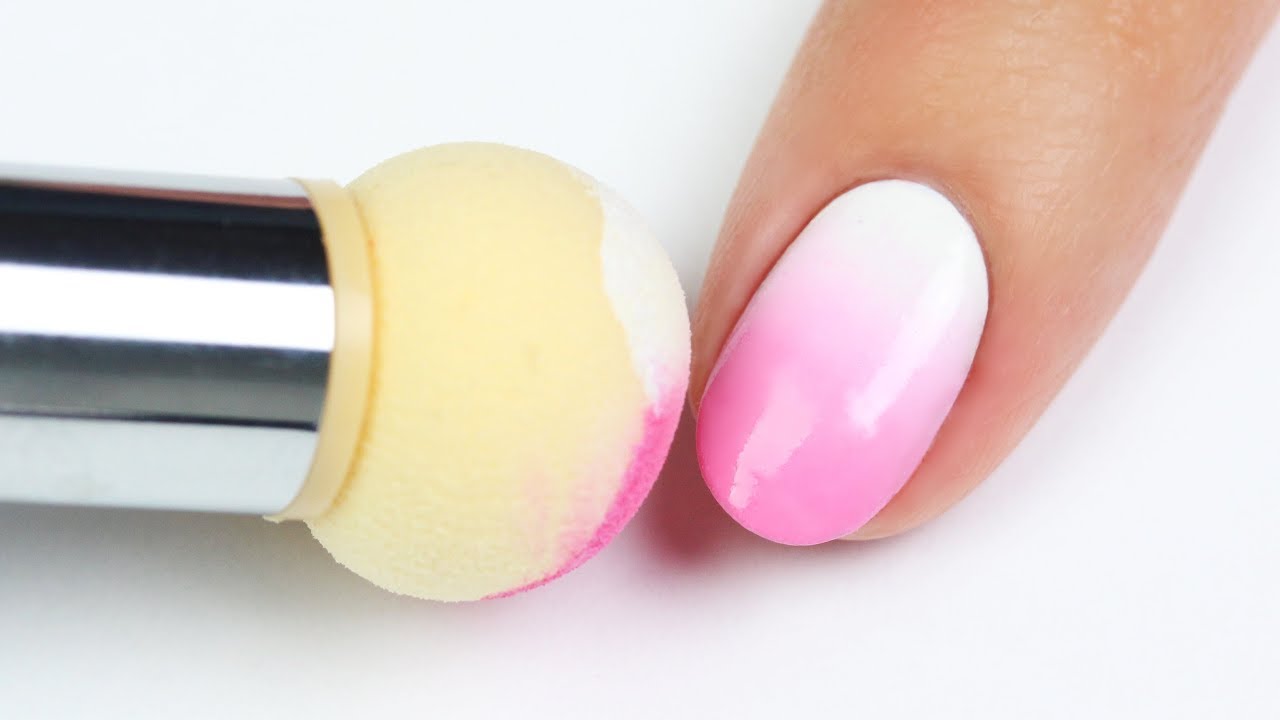


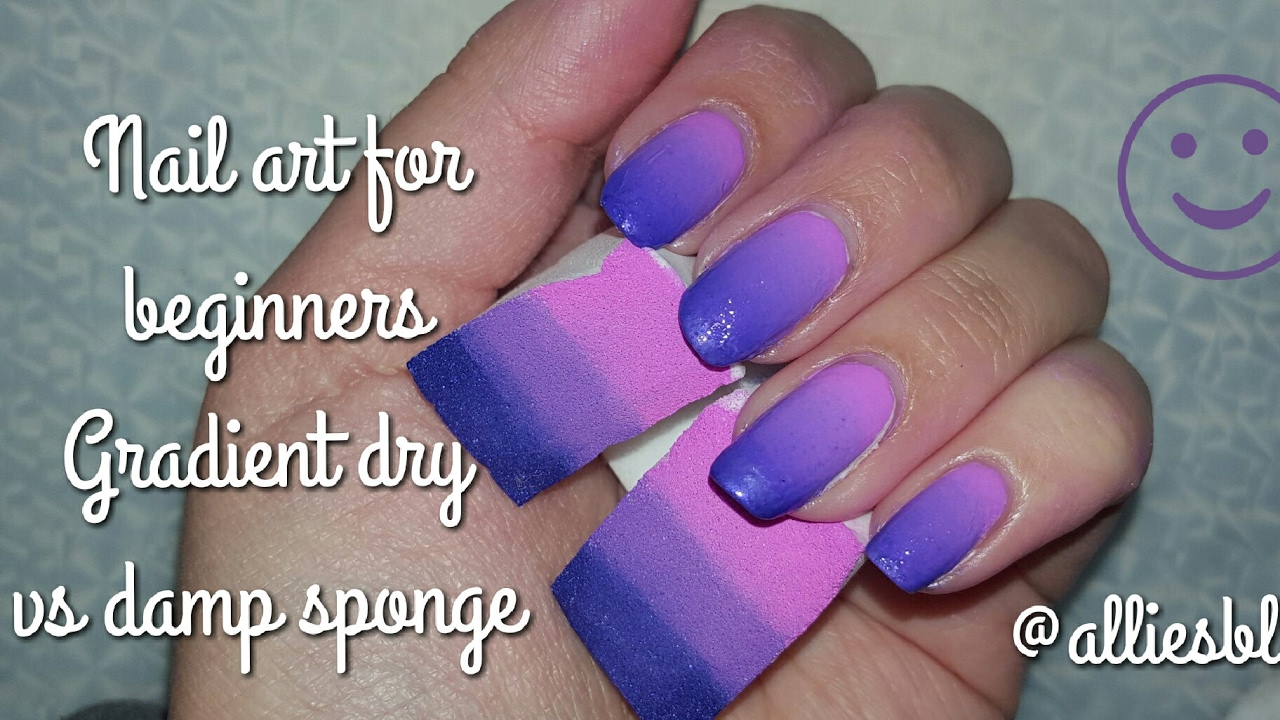
The ombre trend is not just limited to hair, it can also be incorporated into your nails with the help of a sponge! To achieve this gradient effect, start by applying a base coat and let it dry. Then, choose two or more nail polish colors that you want to use for your ombre design. Apply a layer of the lighter color as your base color and let it dry. Next, dip a small piece of sponge or makeup sponge into the darker color and dab it onto the middle of your nail. Use a dabbing motion to blend the colors together, creating a gradient effect. Finish with a top coat to seal in your design.3. Ombre Sponge Nail Art


3. Ombre Sponge Nail Art


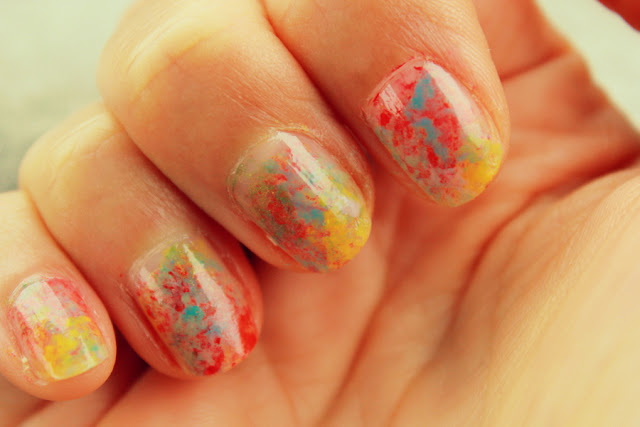
Want to give your nails a unique and mesmerizing look? Try out this marble sponge nail art design! Start by applying a base coat and let it dry. Then, choose two or more nail polish colors that you want to use for your marble design. Apply a layer of the lighter color as your base color and let it dry. Next, apply a few drops of the lighter and darker color(s) onto a piece of foil or a paper plate. Use a small piece of sponge or makeup sponge to dab the colors onto your nail in a random pattern. Continue dabbing until you achieve a marble effect. Finish with a top coat for a watercolor effect on your nails.4. Marble Sponge Nail Art
4. Marble Sponge Nail Art


Who says you can only have one color on your nails? Get ready to create a rainbow on your fingertips with this sponge nail art design. Start by applying a base coat and let it dry. Then, choose 4-6 nail polish colors and arrange them in a rainbow order on a paper plate. Use a small piece of sponge or makeup sponge and dab each color onto your nail, starting from the cuticle and moving towards the tip. Repeat this process with each color, slightly overlapping them for a gradient effect. Finish with a top coat for a vibrant and colorful look.5. Rainbow Sponge Nail Art


5. Rainbow Sponge Nail Art


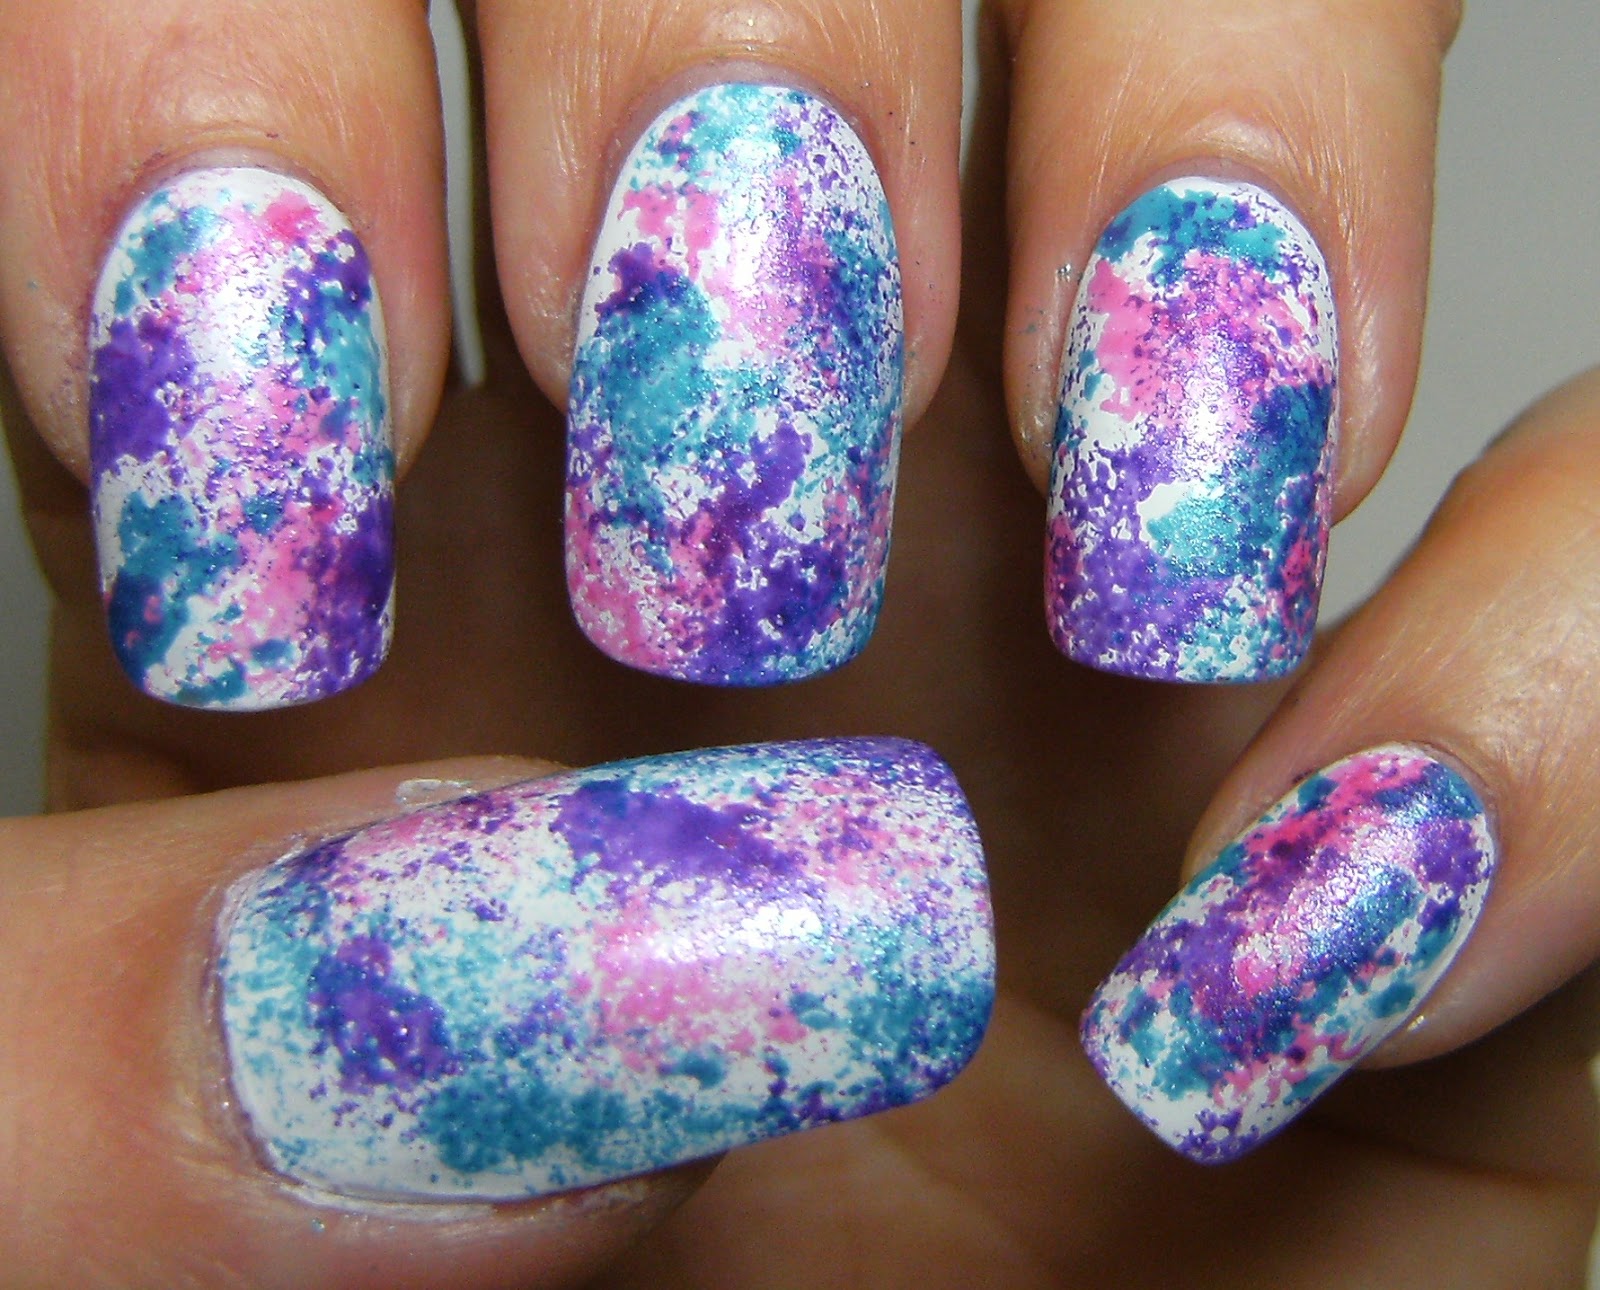
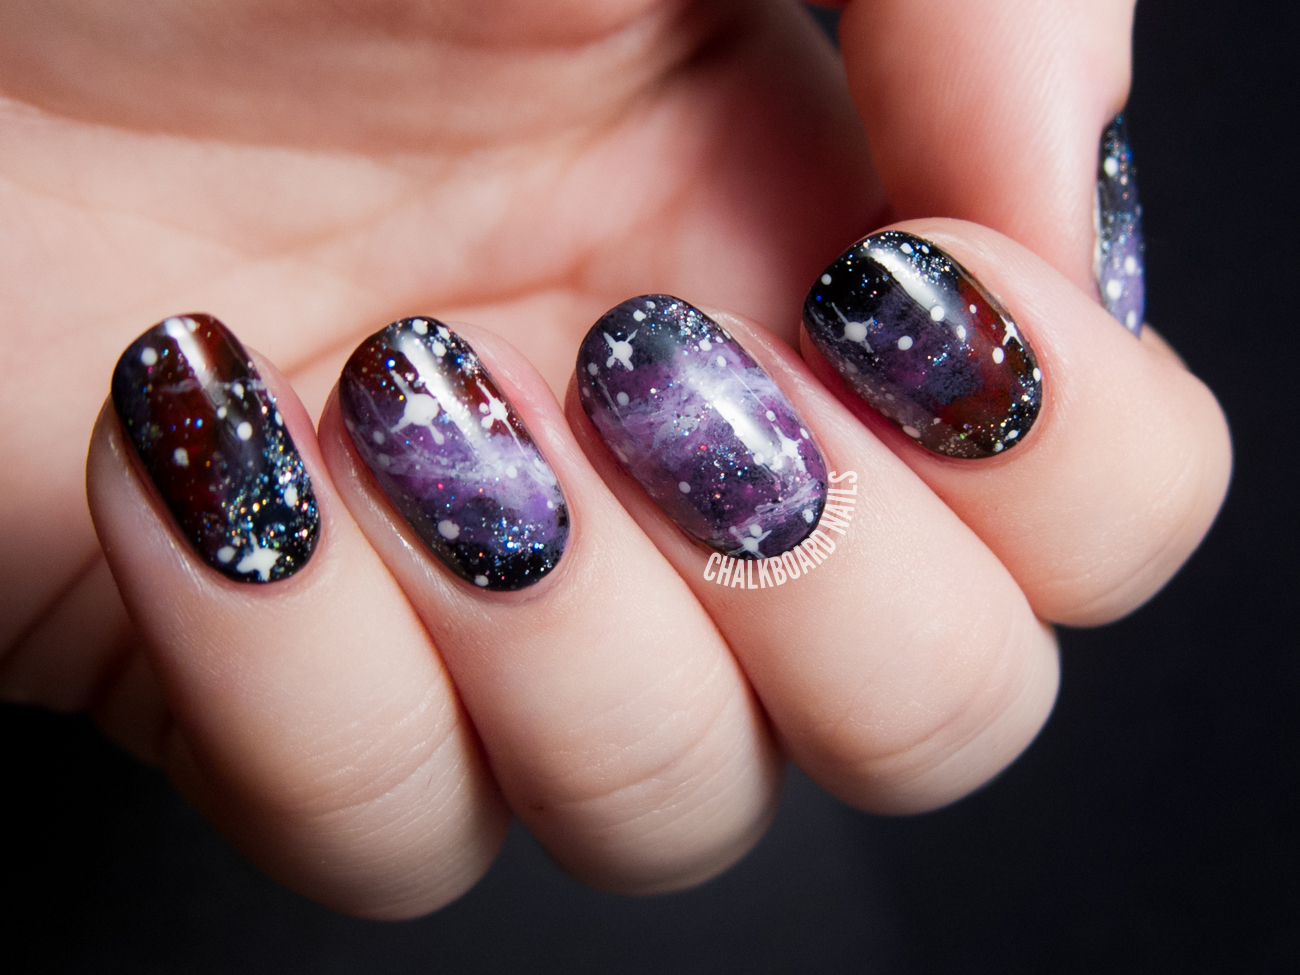
Bring the galaxy to your nails with this stunning sponge nail art design. Start by applying a base coat and let it dry. Then, choose 4-6 nail polish colors that represent the galaxy such as blues, purples, and sparkly shades. Apply a layer of the darkest color as your base color and let it dry. Next, use a small piece of sponge or makeup sponge and dab each color onto your nail in a random pattern. Repeat this process with each color, slightly overlapping them for a galaxy effect. Finish with a top coat to seal in your cosmic nails.6. Galaxy Sponge Nail Art

6. Galaxy Sponge Nail Art


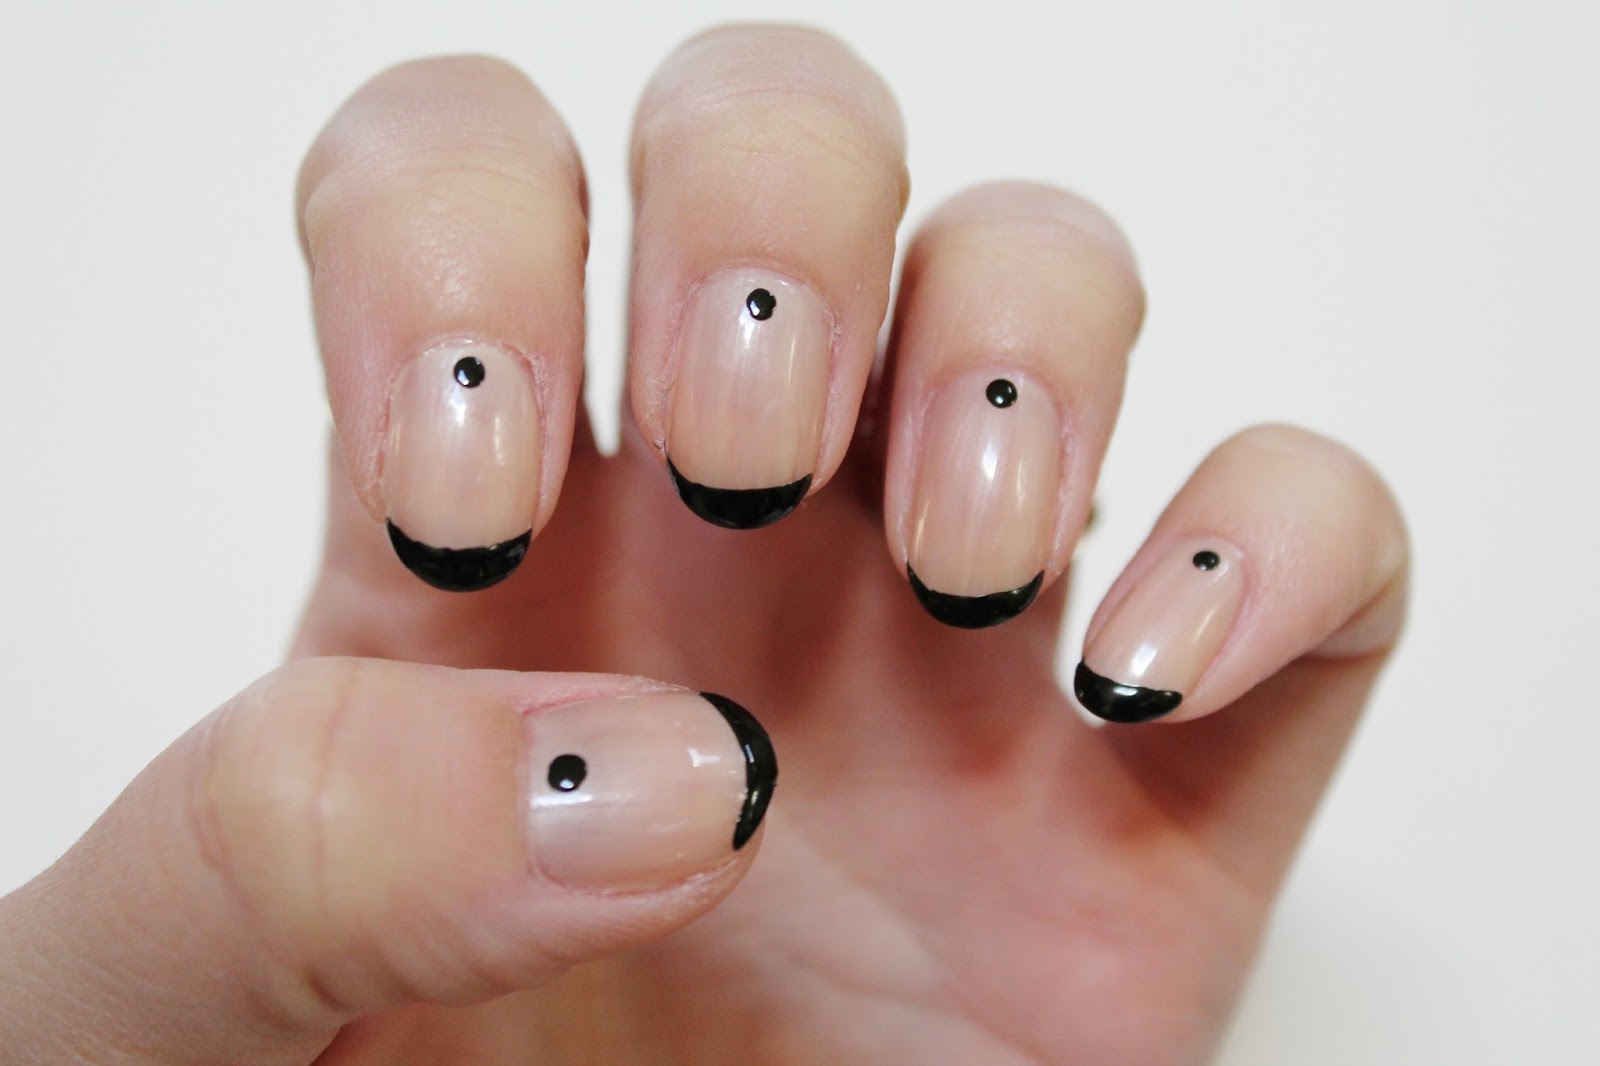
Make your nails bloom with this gorgeous floral sponge nail art design. Start by applying a base coat and let it dry. Then, choose nail polish colors that you want to use for your flowers and apply a base color. Next, use a small piece of sponge or makeup sponge and dab the colors onto your nail in a random pattern. For the center of the flower, use a dotting tool or a toothpick to create a small circle with a yellow or white polish. Finish with a top coat and add some green leaves with a nail art brush for a complete floral look.7. Floral Sponge Nail Art


7. Floral Sponge Nail Art


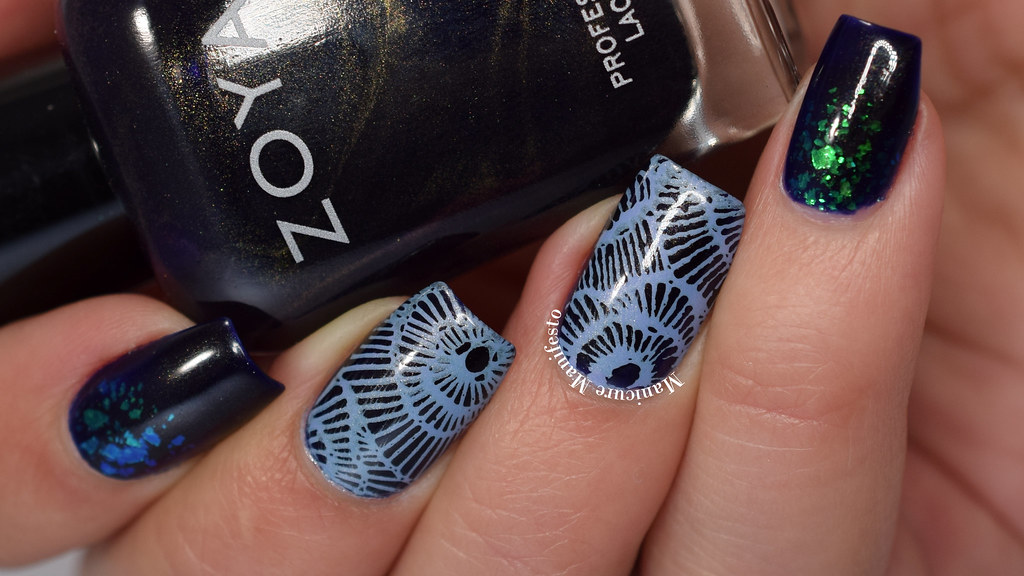
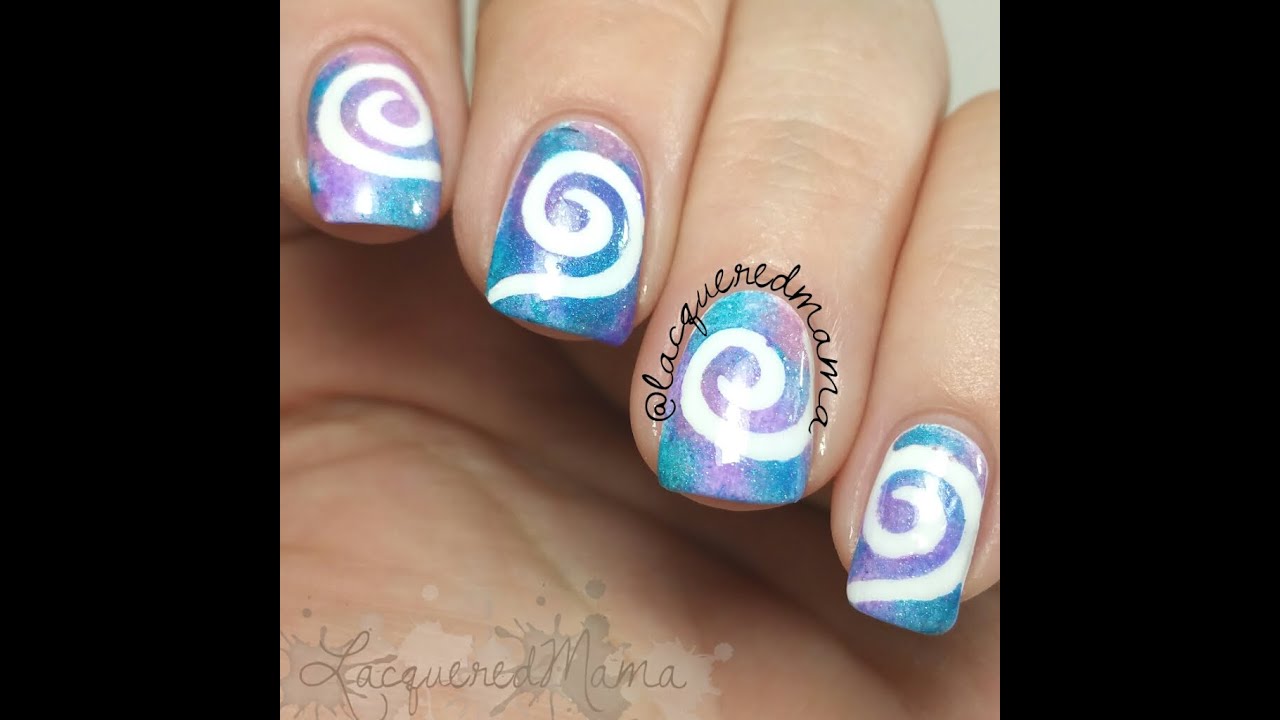
Unleash your creativity with this abstract sponge nail art design. Start by applying a base coat and let it dry. Then, choose two or more nail polish colors that you want to use for your abstract design. Apply a layer of the lighter color as your base color and let it dry. Next, dip a small piece of sponge or makeup sponge into the darker color and dab it onto your nail in a random pattern. Continue dabbing until you achieve a unique and abstract look. Finish with a top coat for a polished finish.8. Abstract Sponge Nail Art

8. Abstract Sponge Nail Art
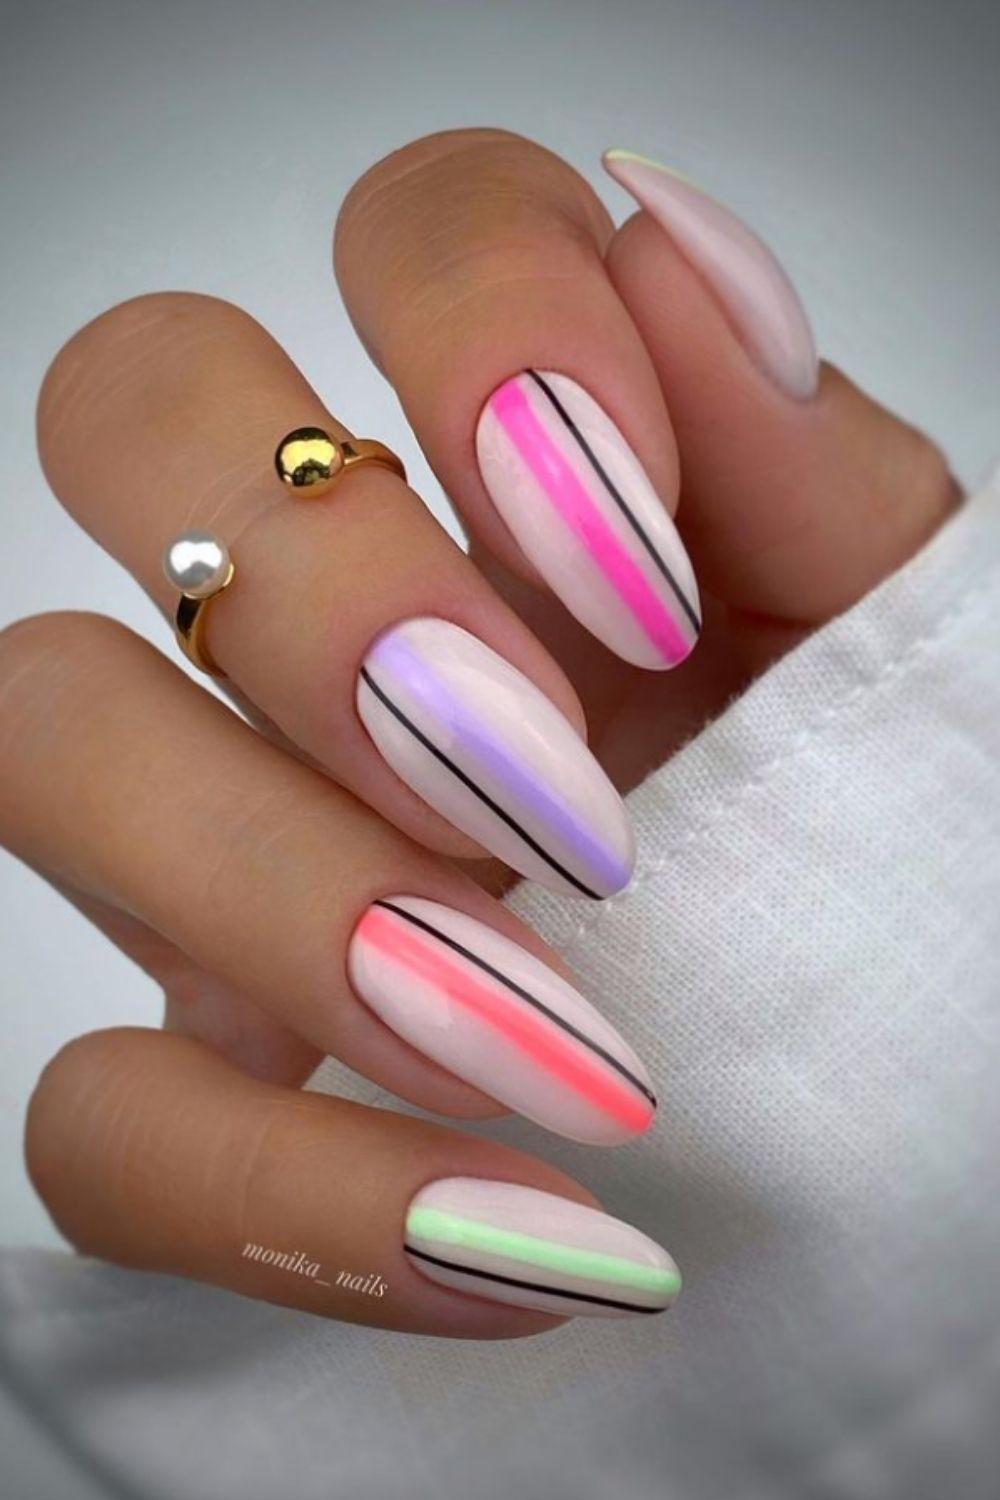
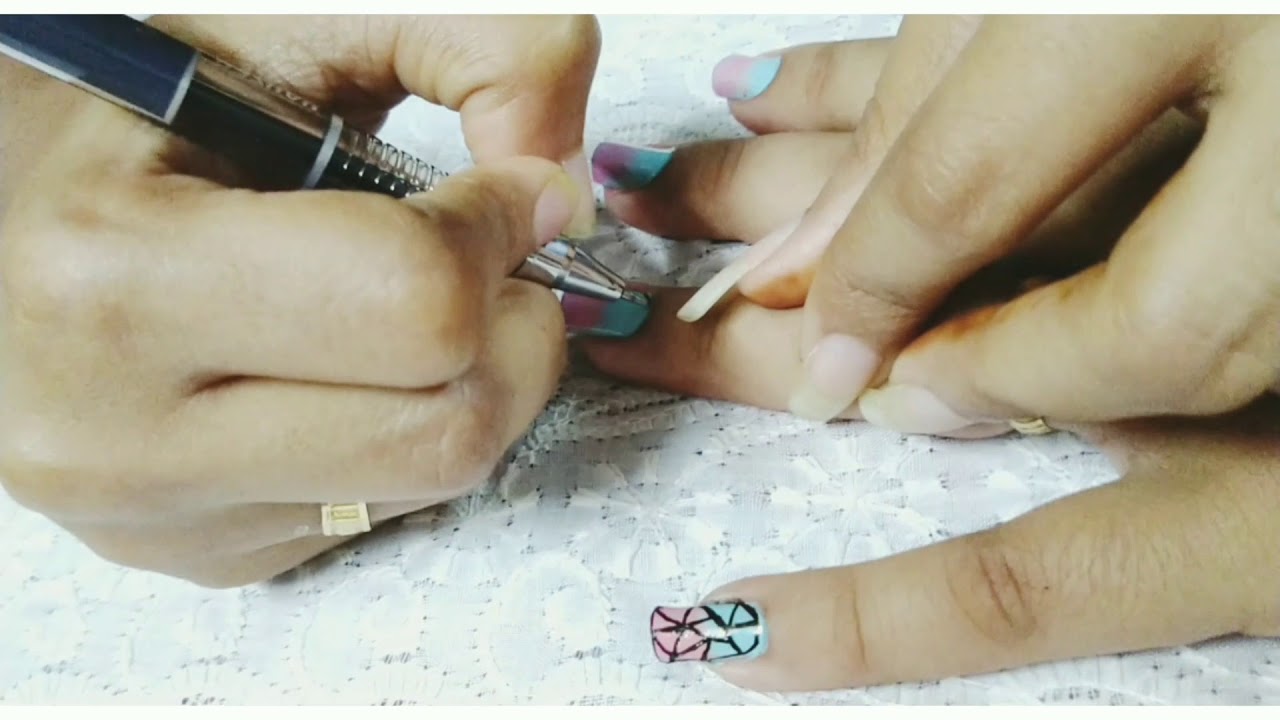
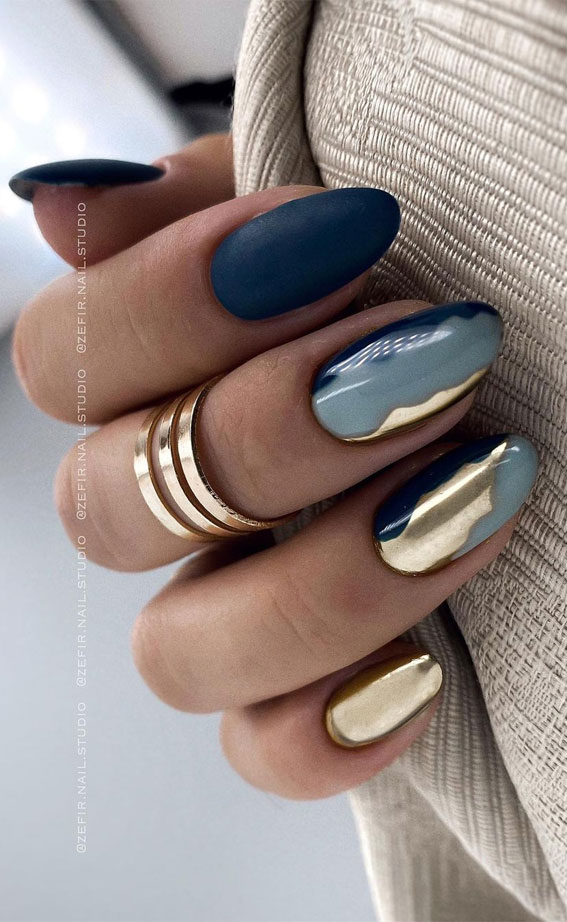
If you're a fan of geometric designs, this sponge nail art is perfect for you. Start by applying a base coat and let it dry. Then, choose two or more nail polish colors that you want to use for your design. Apply a layer of the lighter color as your base color and let it dry. Next, use a nail art brush or a toothpick to create geometric shapes with the darker color(s). Then, use a small piece of sponge or makeup sponge to dab the colors onto your nail, blending them together for a gradient effect. Finish with a top coat for a modern and stylish look.9. Geometric Sponge Nail Art
9. Geometric Sponge Nail Art
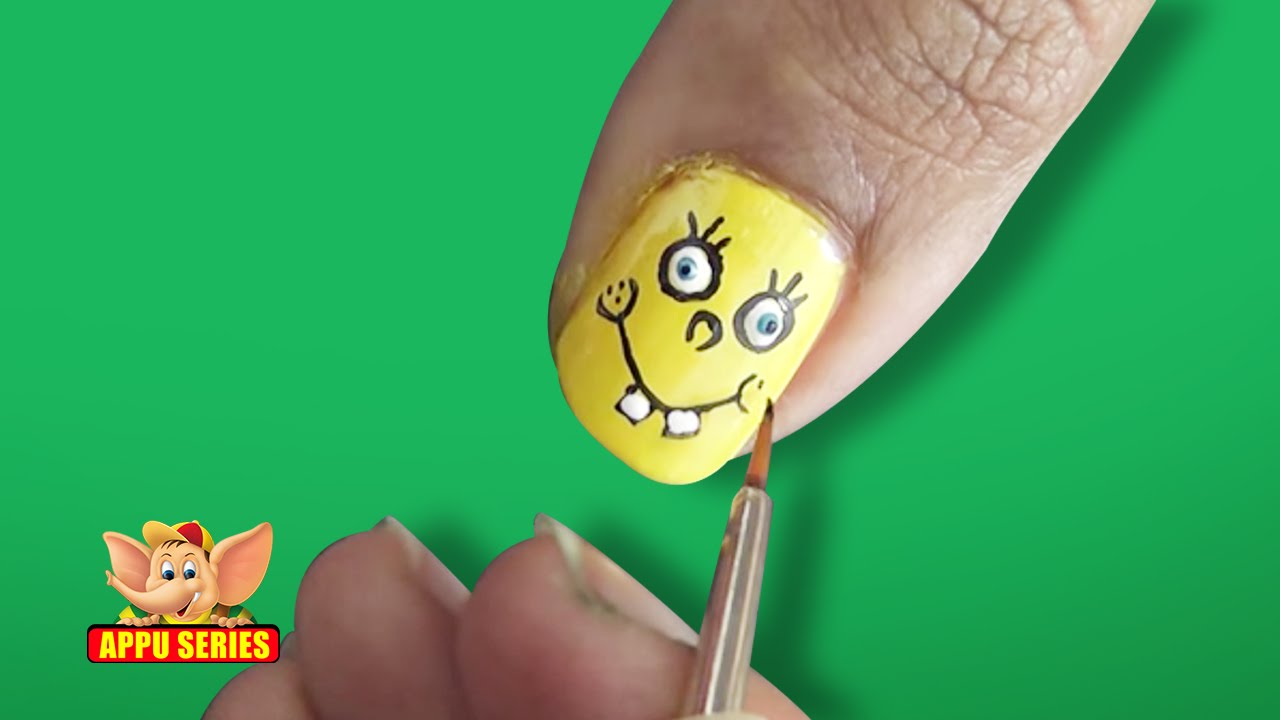
Get into the Halloween spirit with this spooky and fun sponge nail art design. Start by applying a base coat and let it dry. Then, choose nail polish colors that you want to use for your Halloween design such as orange, black, and white. Apply a layer of the base color and let it dry. Next, use a small piece of sponge or makeup sponge to dab the colors onto your nail in a random pattern. You can also create spiders or ghosts with a nail art brush or a toothpick. Finish with a top coat and show off your festive Halloween nails.10. Halloween Sponge Nail Art

10. Halloween Sponge Nail Art

Creating a Unique Look with Sponge Nail Art Design
Unleashing Your Creativity
 Looking for a fun and easy way to spice up your nails? Look no further than sponge nail art design! This trendy technique allows you to unleash your creativity and create a unique look that is sure to turn heads. Whether you're a nail art pro or just starting out, sponge nail art is a fun and simple way to add some personality to your nails.
The Basics of Sponge Nail Art
 So, how does sponge nail art work? It's simple! All you need is a makeup sponge, some
nail polish
, and a
base coat
. Start by applying your base coat and letting it dry completely. Then, using a small piece of the makeup sponge,
dab
a few drops of your chosen nail polish onto the sponge. Gently press the sponge onto your nail,
dabbing
until you achieve your desired look. Repeat this process on each nail, using a different color or combination of colors for a unique look.
So, how does sponge nail art work? It's simple! All you need is a makeup sponge, some
nail polish
, and a
base coat
. Start by applying your base coat and letting it dry completely. Then, using a small piece of the makeup sponge,
dab
a few drops of your chosen nail polish onto the sponge. Gently press the sponge onto your nail,
dabbing
until you achieve your desired look. Repeat this process on each nail, using a different color or combination of colors for a unique look.
Get Creative with Colors and Patterns
 One of the best things about sponge nail art is that the possibilities are endless. You can use any color or combination of colors that you like! Mix and match different shades to create a
gradient
effect or use a
metallic
polish for a shimmery look. You can also get creative with patterns by using different sized sponges or
dabbing
in a
zigzag
or
criss-cross
motion. The key is to experiment and have fun!
One of the best things about sponge nail art is that the possibilities are endless. You can use any color or combination of colors that you like! Mix and match different shades to create a
gradient
effect or use a
metallic
polish for a shimmery look. You can also get creative with patterns by using different sized sponges or
dabbing
in a
zigzag
or
criss-cross
motion. The key is to experiment and have fun!
Adding Some Extra Touches
 Once your base design is complete, you can add some extra touches to really make it stand out. You can use a
fine-tipped brush
to add
accents
or
details
to your design, such as
dots
or
stripes
. You can also add some
glitter
or
jewels
for a touch of sparkle. The possibilities are endless, so let your imagination run wild!
Once your base design is complete, you can add some extra touches to really make it stand out. You can use a
fine-tipped brush
to add
accents
or
details
to your design, such as
dots
or
stripes
. You can also add some
glitter
or
jewels
for a touch of sparkle. The possibilities are endless, so let your imagination run wild!
Final Thoughts
 Sponge nail art design is a fun and easy way to add some personality to your nails. With just a few simple steps, you can create a unique and eye-catching look that is sure to impress. So why not give it a try and unleash your creativity with sponge nail art? Your nails will thank you!


