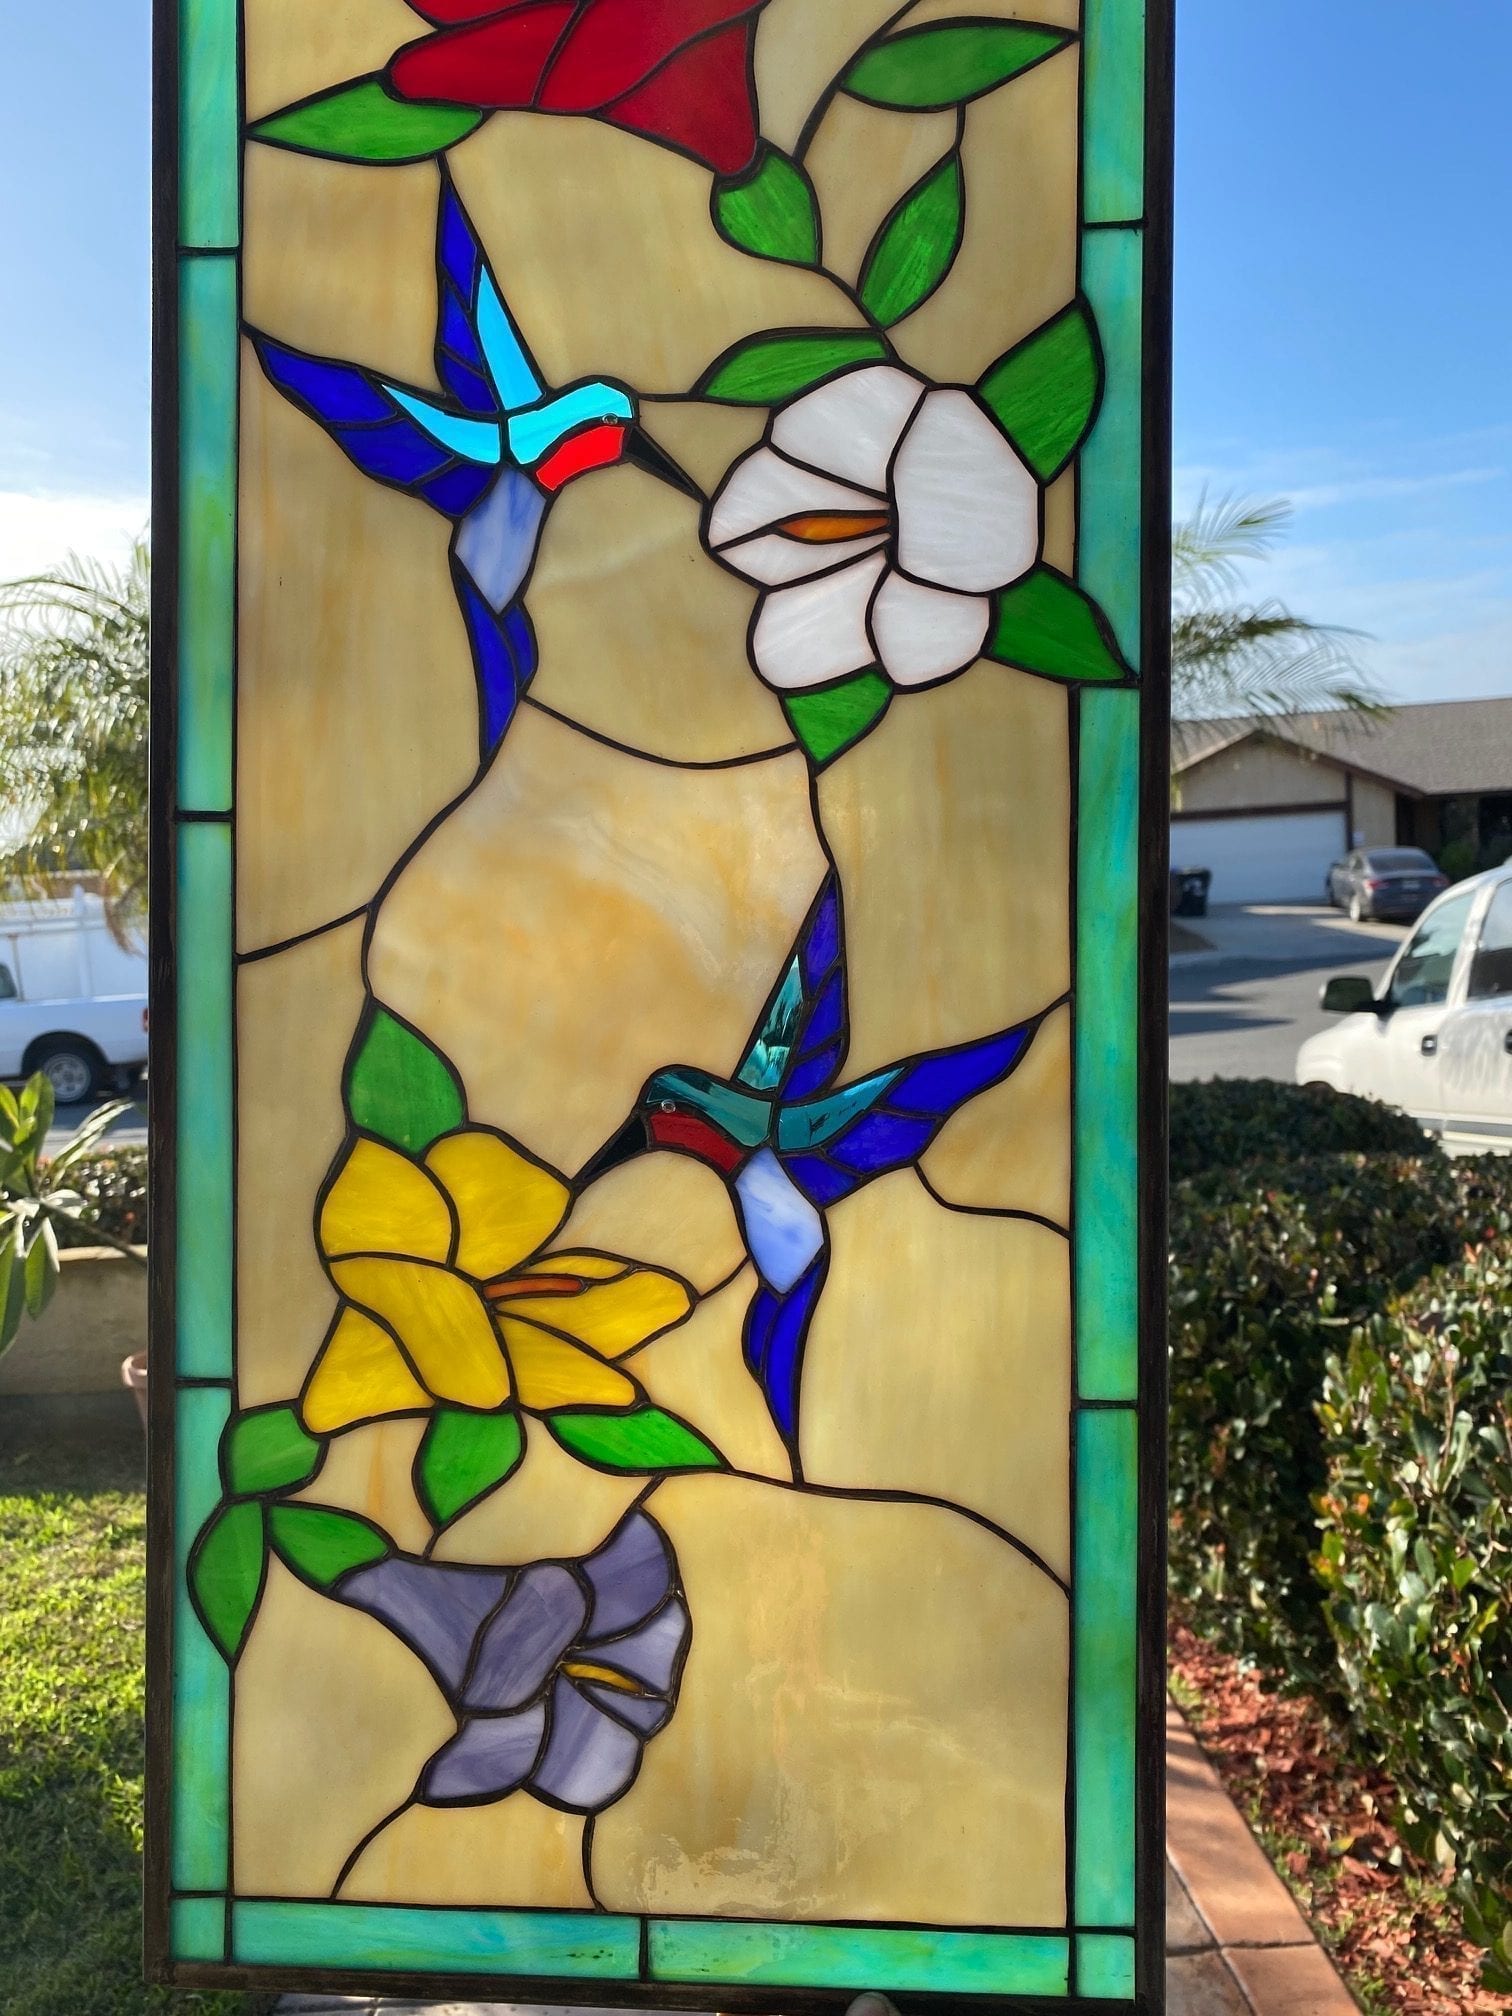
If you're looking for a creative and affordable way to add some color and character to your home, look no further than DIY stained glass designs using nail polish. This fun and easy project allows for endless possibilities and is a great way to repurpose old or unused nail polish. Nail polish is not just for your nails anymore – it can be used to create beautiful stained glass designs on a variety of surfaces such as glass, plastic, or even paper. With a little bit of creativity and some simple materials, you can easily transform any ordinary object into a stunning piece of art. So, gather up your nail polish collection and let's dive into the top 10 stain glass designs you can create using nail polish!1. DIY Stained Glass Design Using Nail Polish


1. DIY Stained Glass Design Using Nail Polish

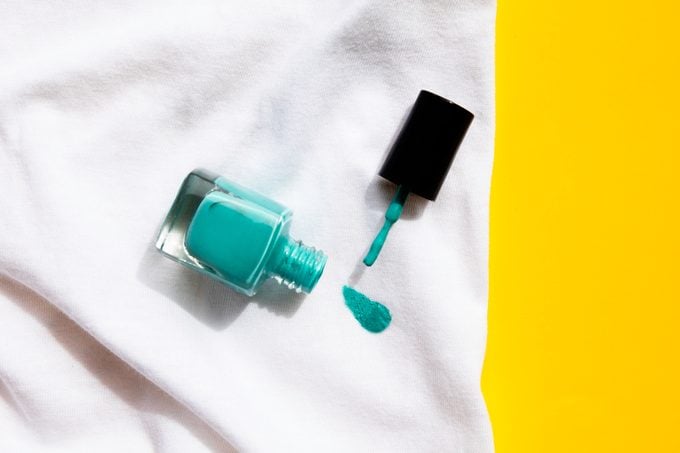


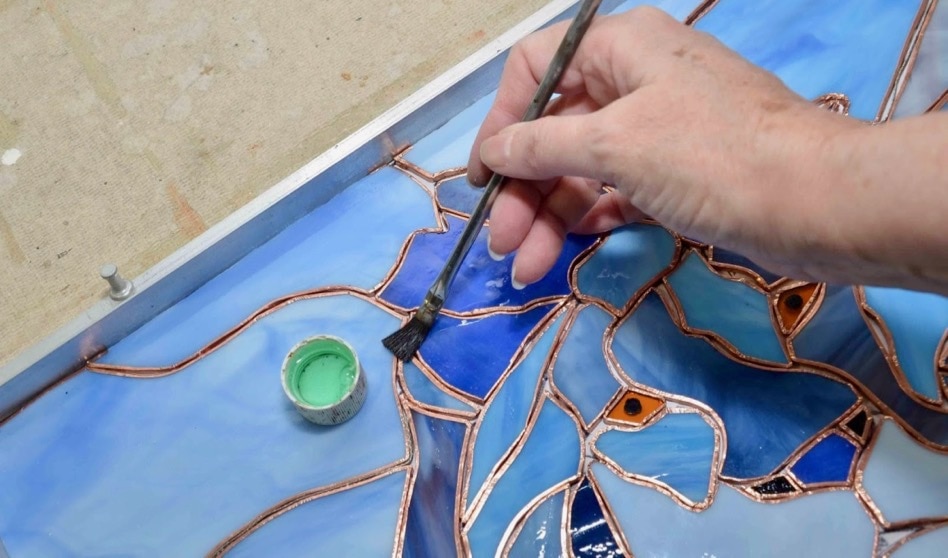
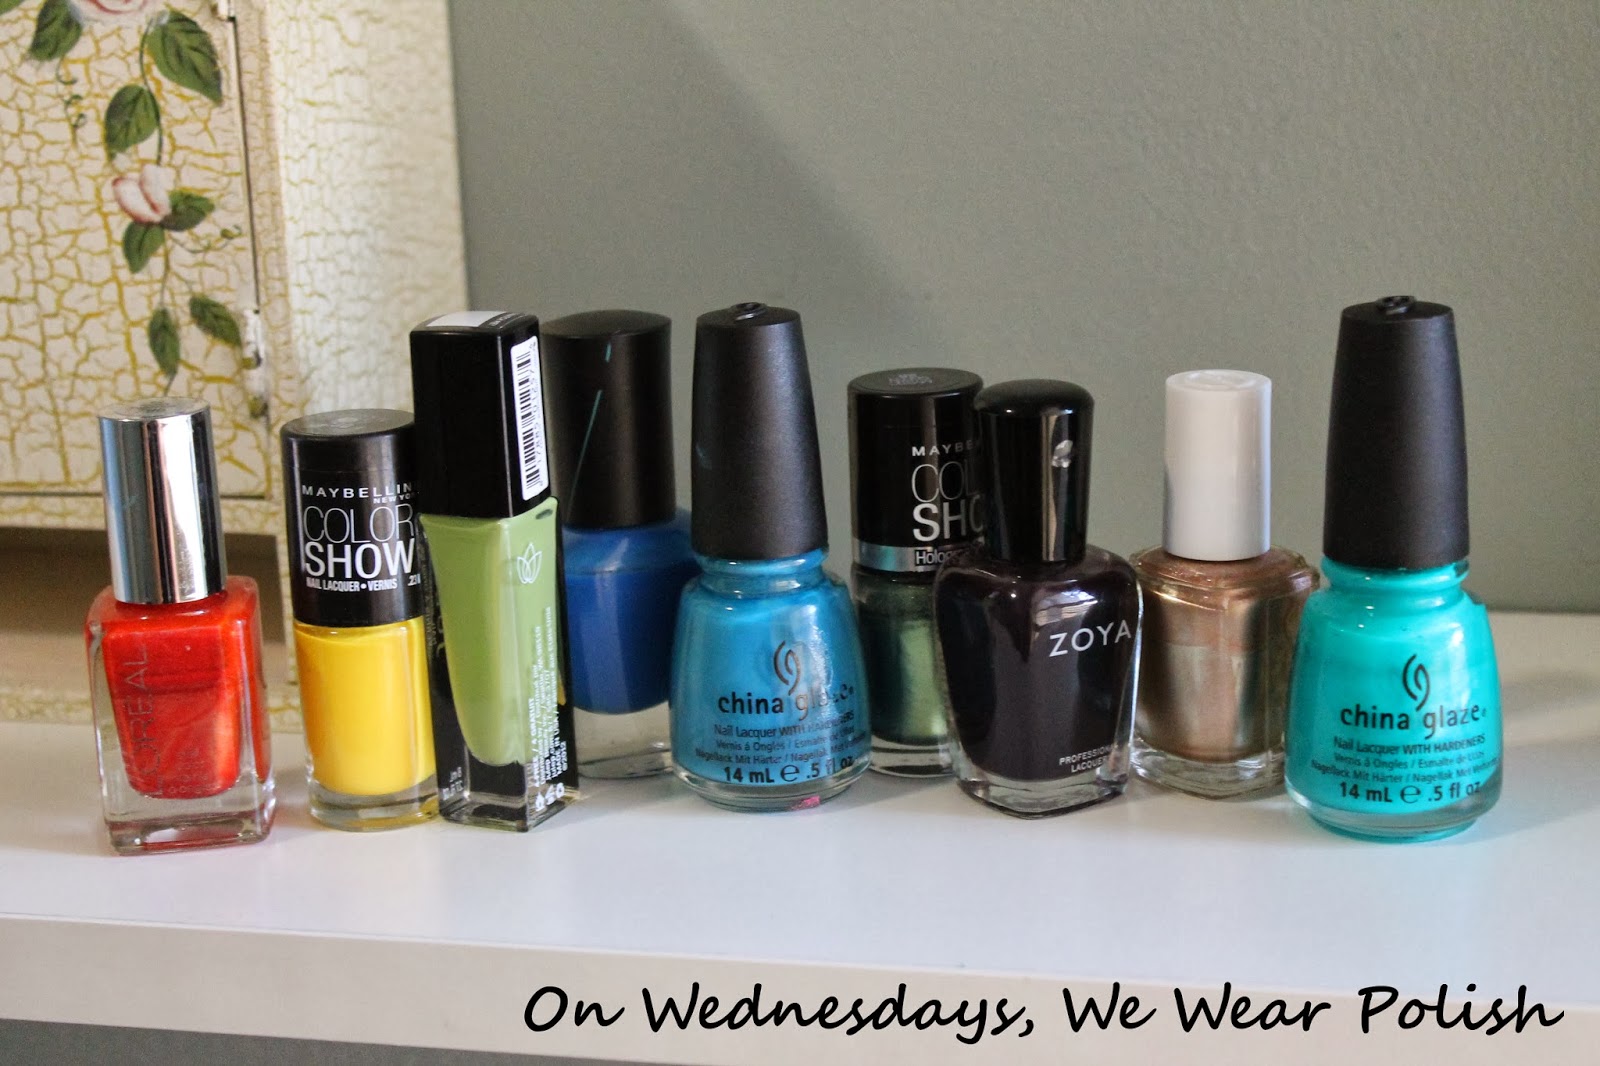
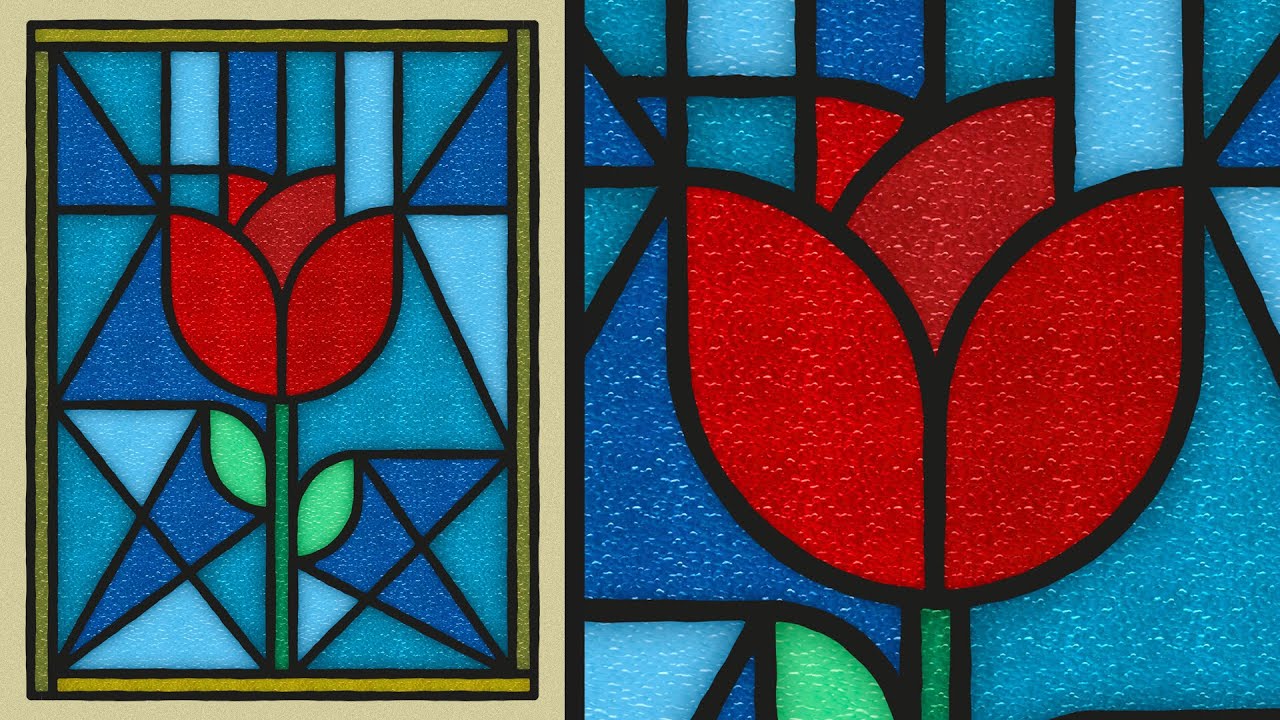
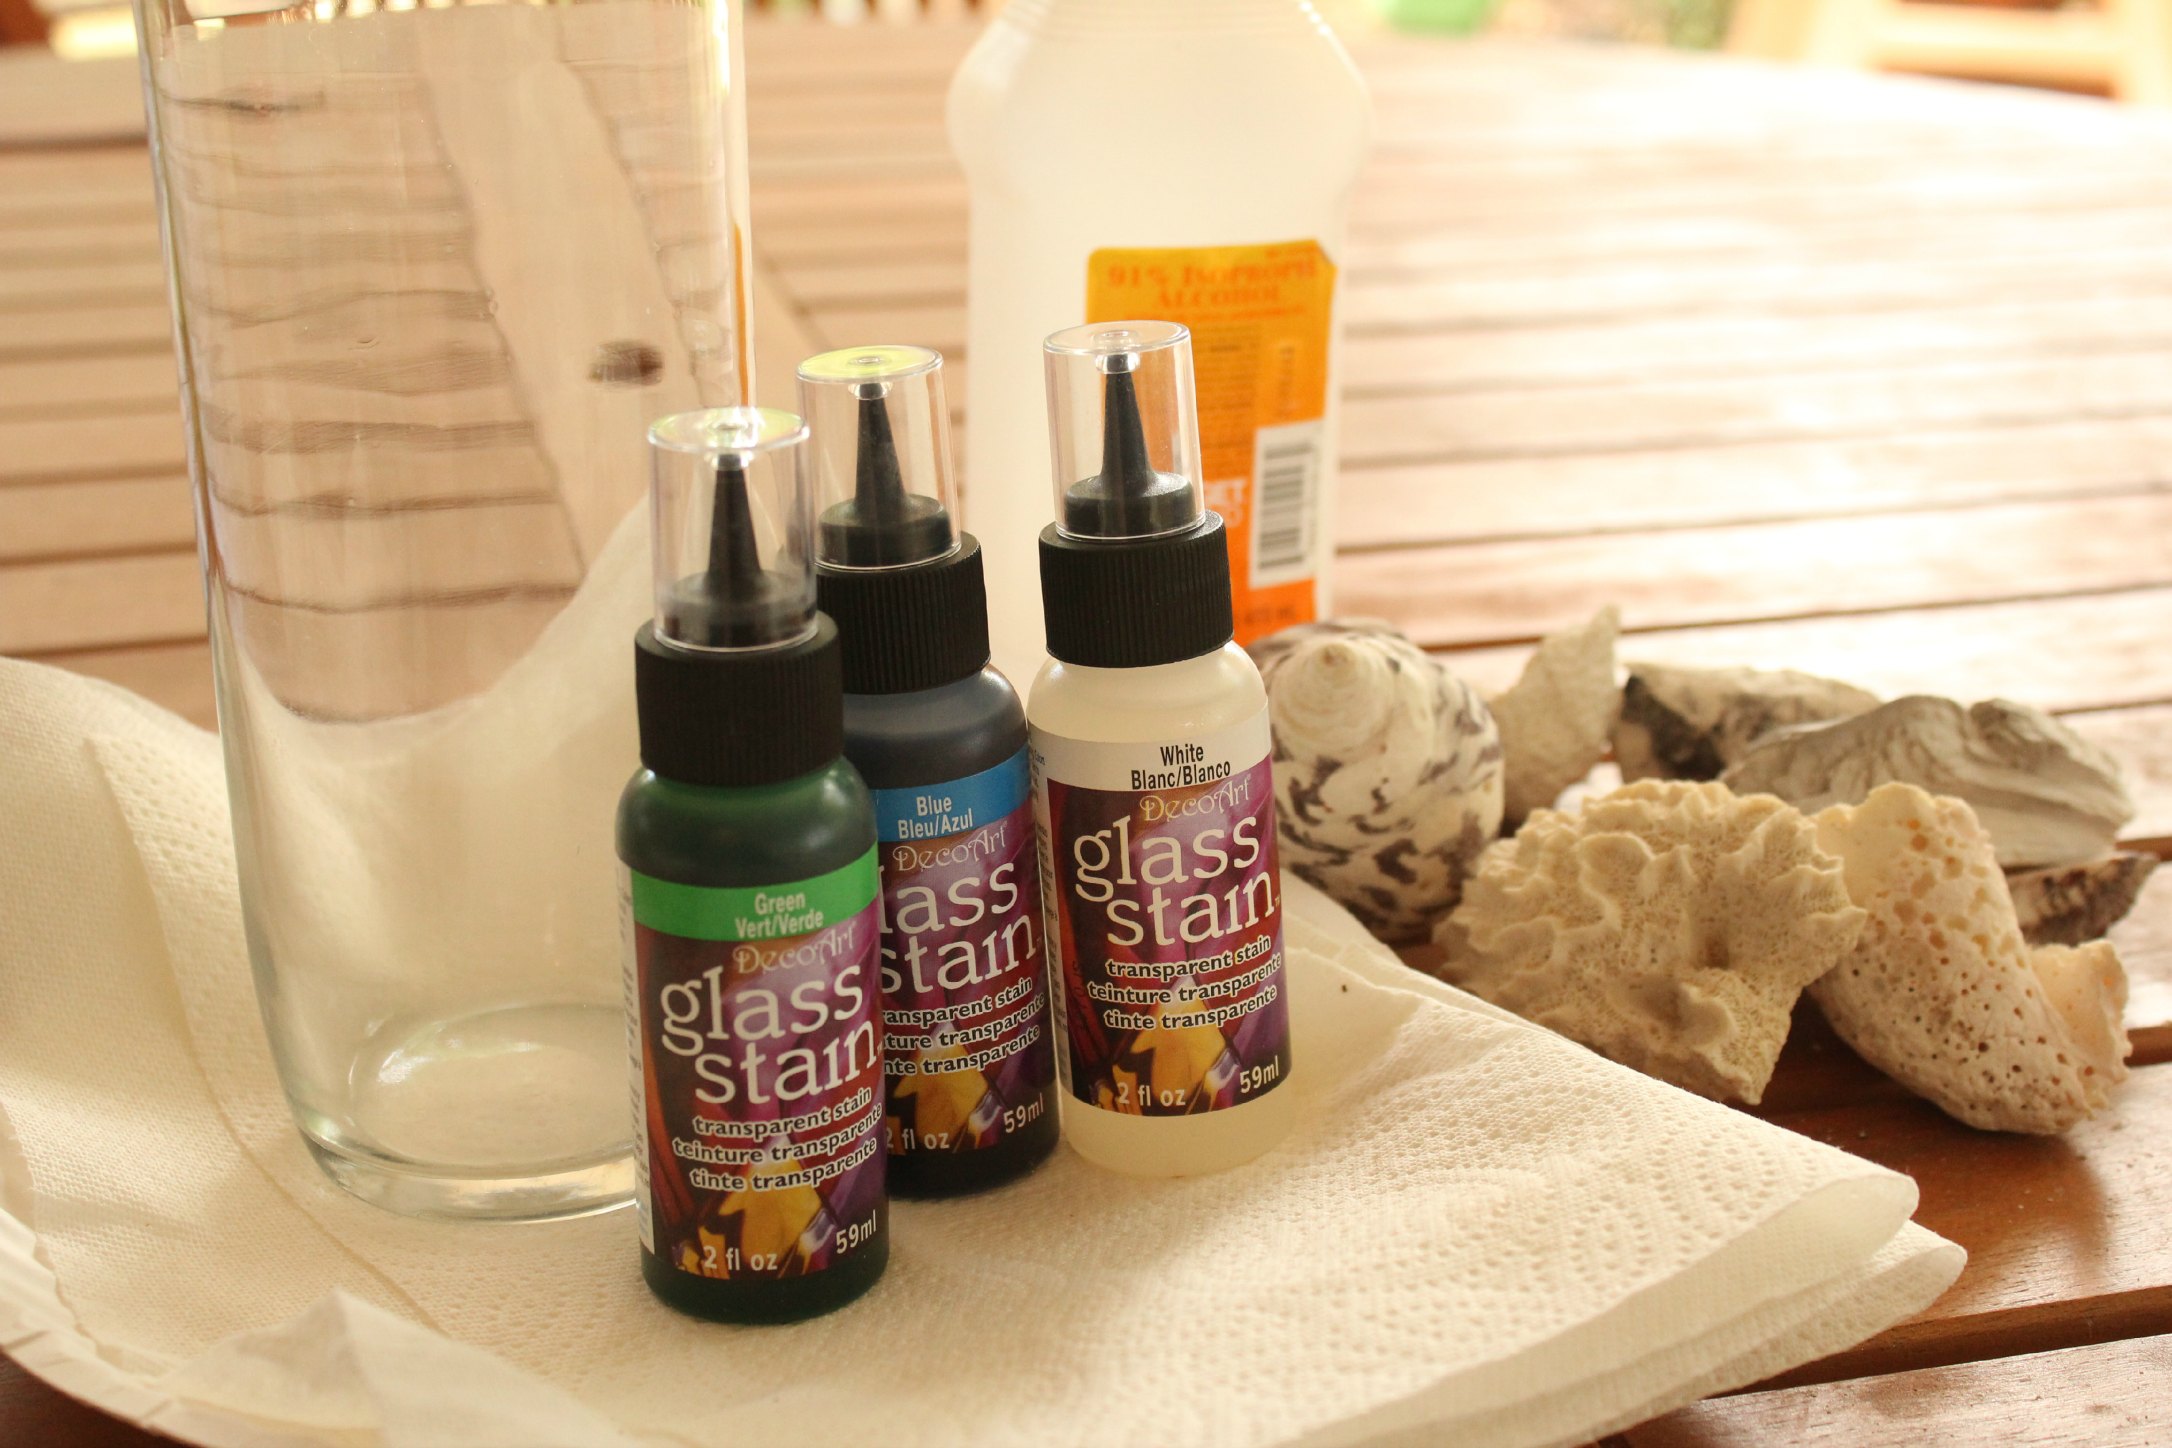
The first step to creating a beautiful stained glass design with nail polish is to gather your materials. You will need a variety of nail polish colors, a clear glass surface (such as a vase or picture frame), and some rubbing alcohol. Pro tip: use bold and bright nail polish colors for a more vibrant and eye-catching design. Start by cleaning the glass surface with the rubbing alcohol to remove any dirt or oils. Then, using your chosen nail polish colors, paint small dots or lines onto the glass, making sure to leave spaces in between for the "lead" lines. You can use a toothpick or a small brush to create more intricate designs. Once you have completed your design, let it dry completely before adding a layer of clear nail polish to seal and protect the design. And voila, you have your very own DIY stained glass masterpiece!2. How to Create a Stunning Stained Glass Effect with Nail Polish

2. How to Create a Stunning Stained Glass Effect with Nail Polish


If you're new to the world of nail polish stained glass, don't worry – there are plenty of tutorials available online to guide you through the process. You can find step-by-step videos on YouTube or detailed written tutorials on crafting blogs. One great tutorial to check out is from DIY Network, which not only provides instructions on creating a stained glass effect on glassware but also offers tips on how to create a similar effect on paper or fabric using nail polish. So, whether you're a visual learner or prefer written instructions, there's a tutorial out there for you to create your own stunning stained glass designs using nail polish.3. Nail Polish Stained Glass Tutorial


3. Nail Polish Stained Glass Tutorial


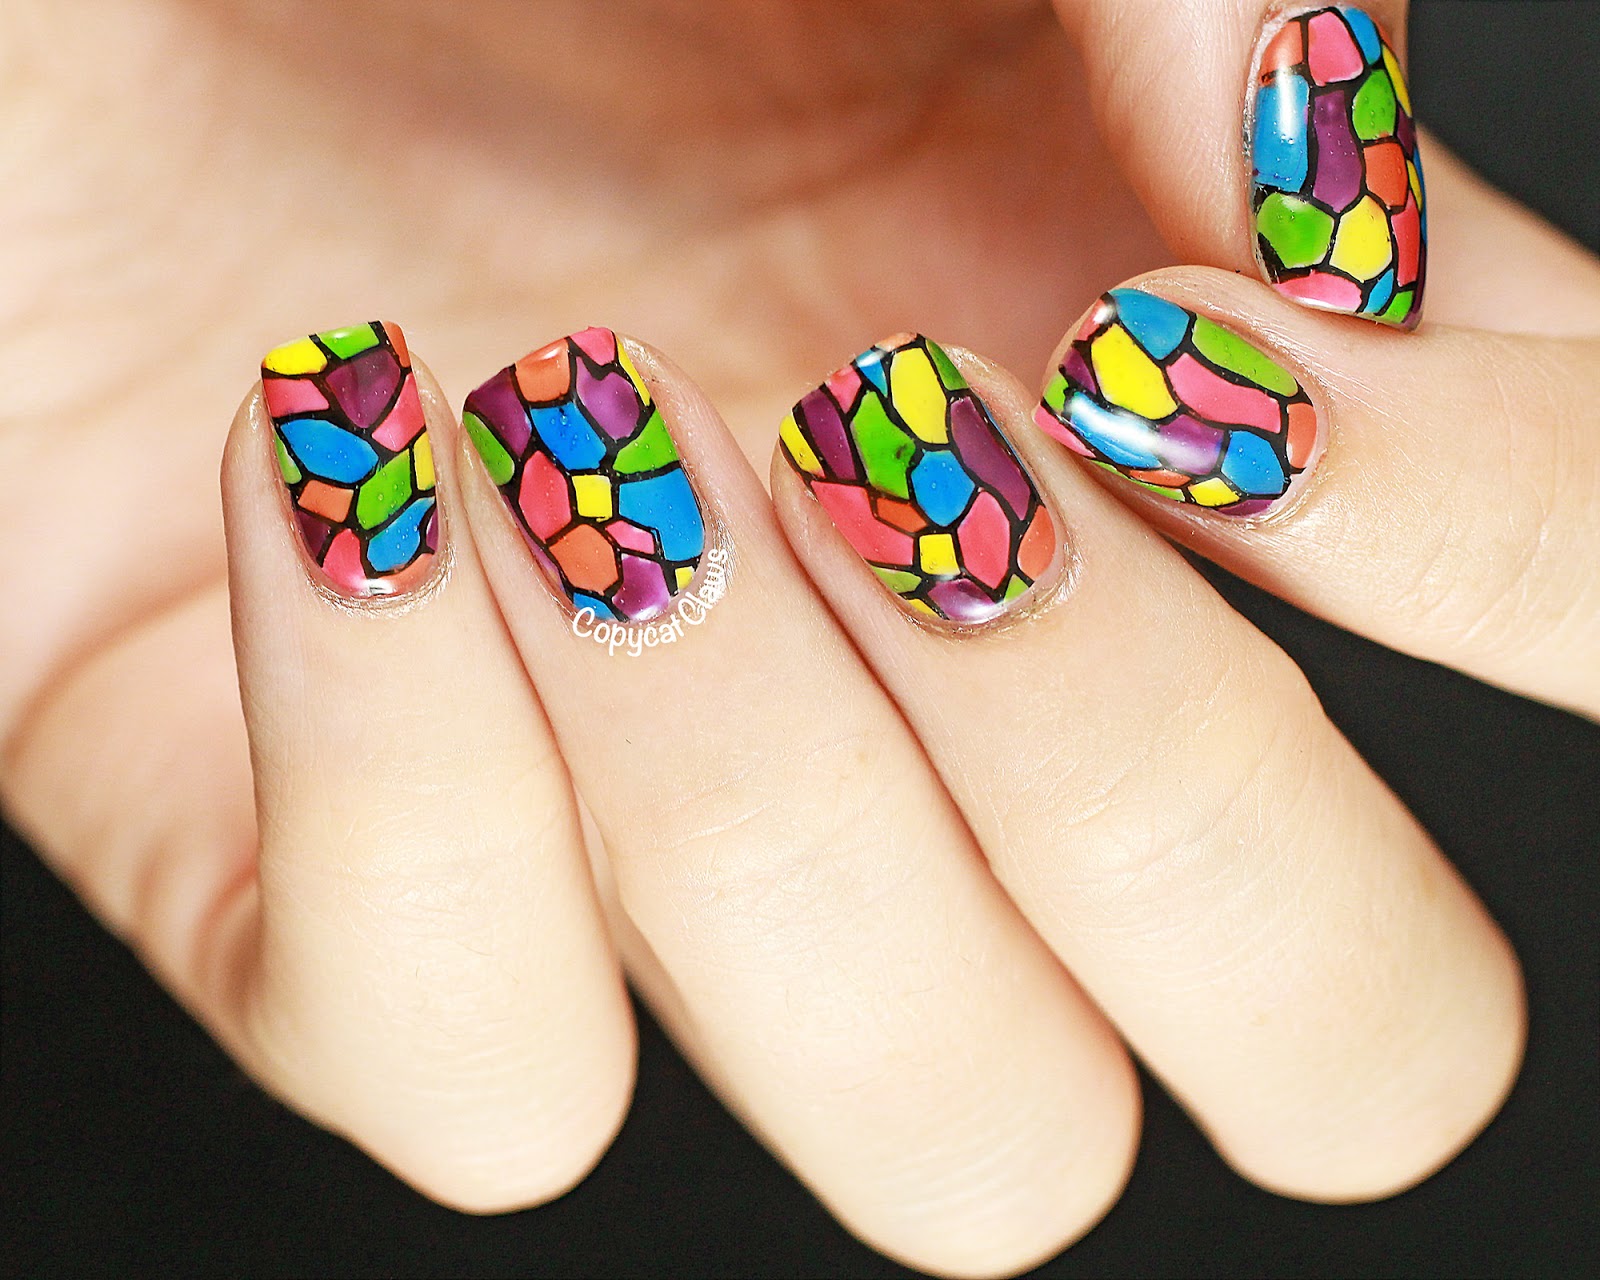
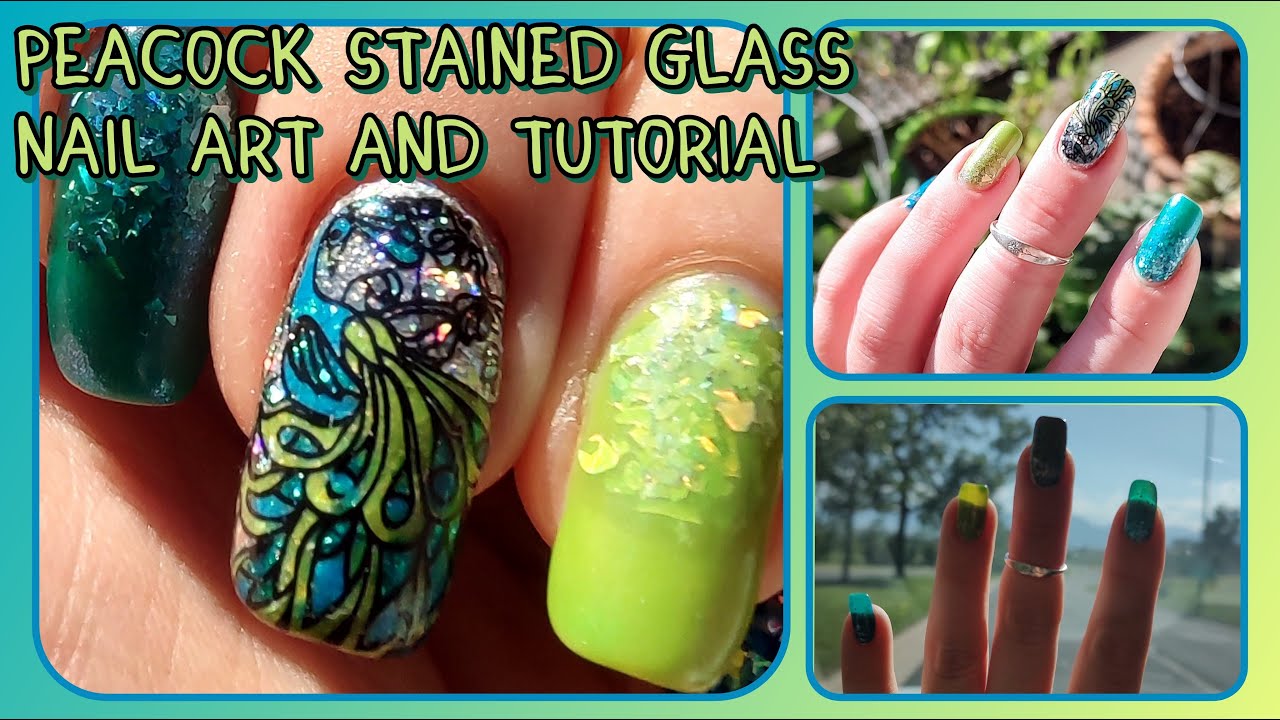
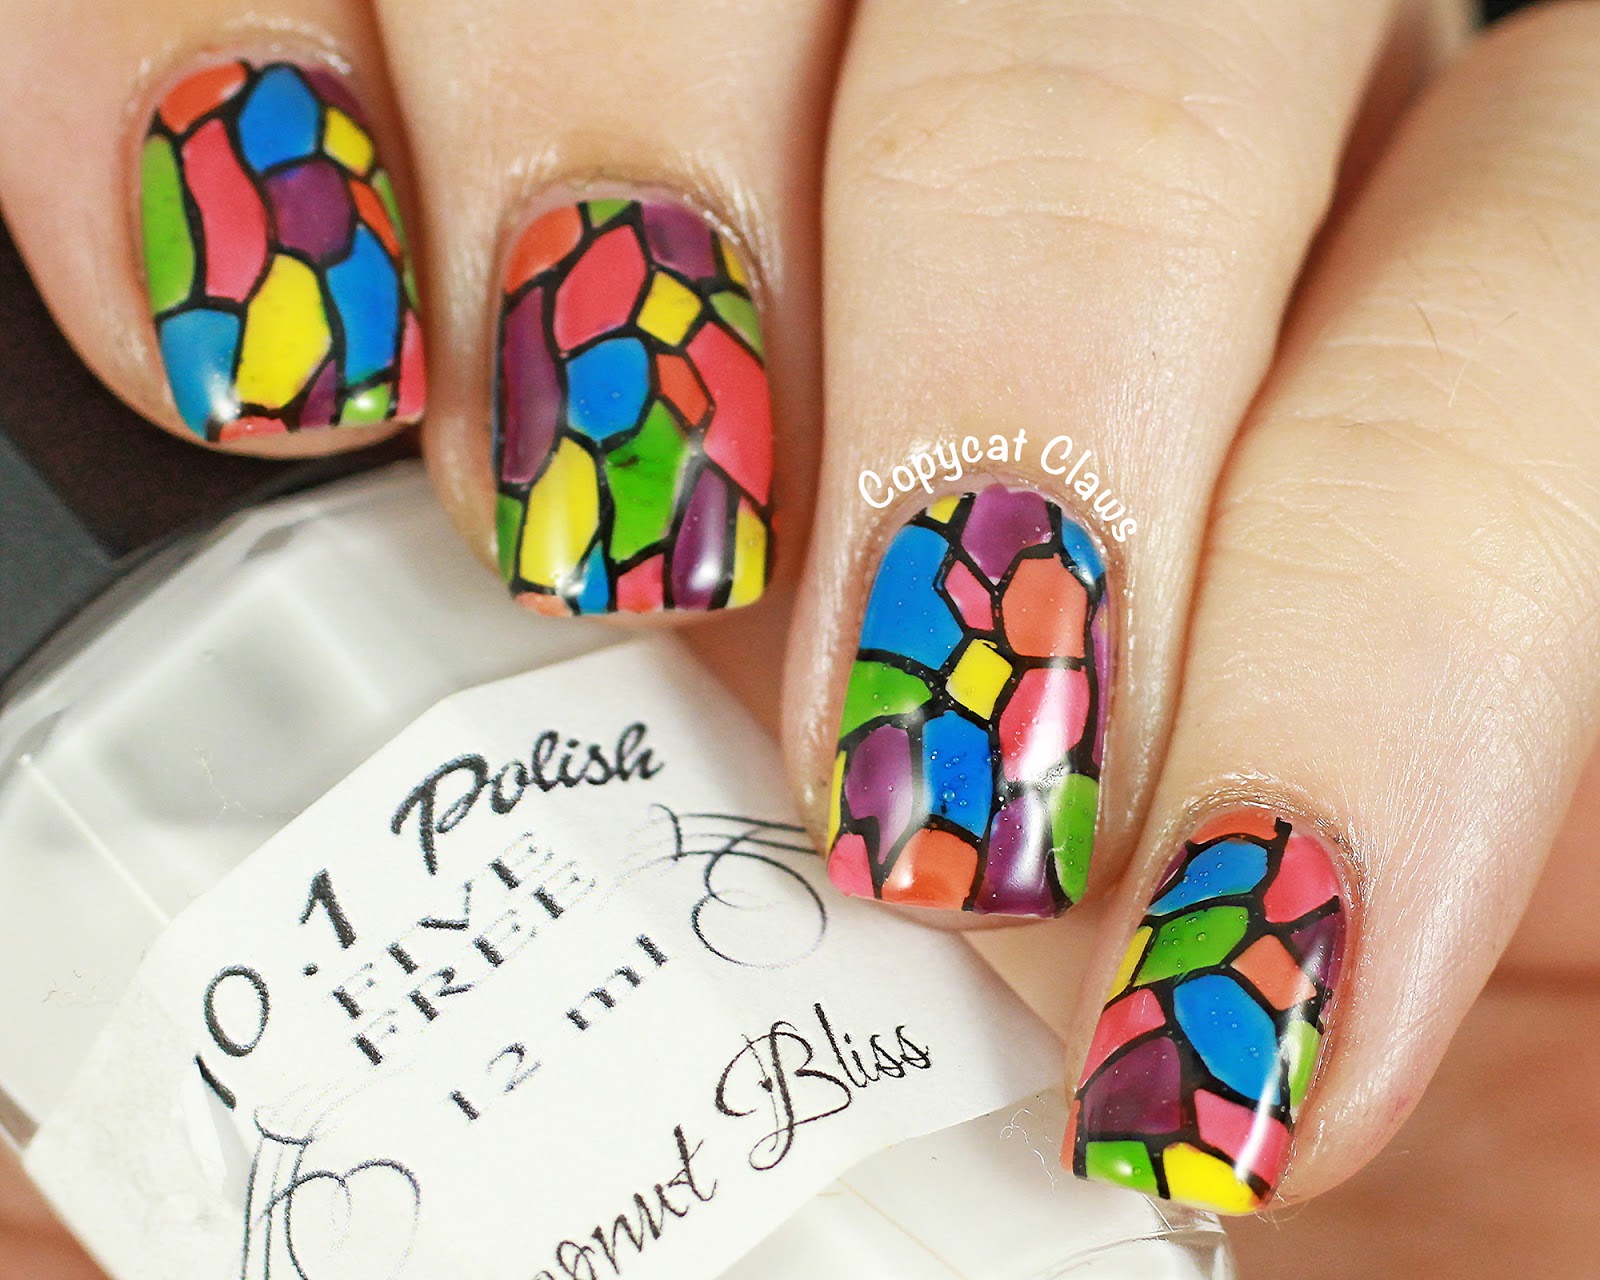
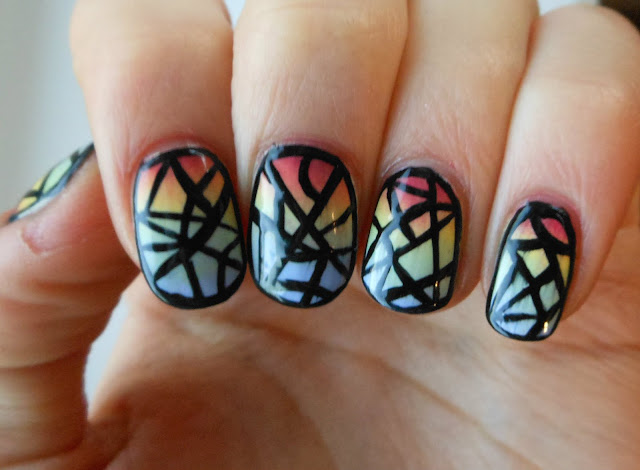
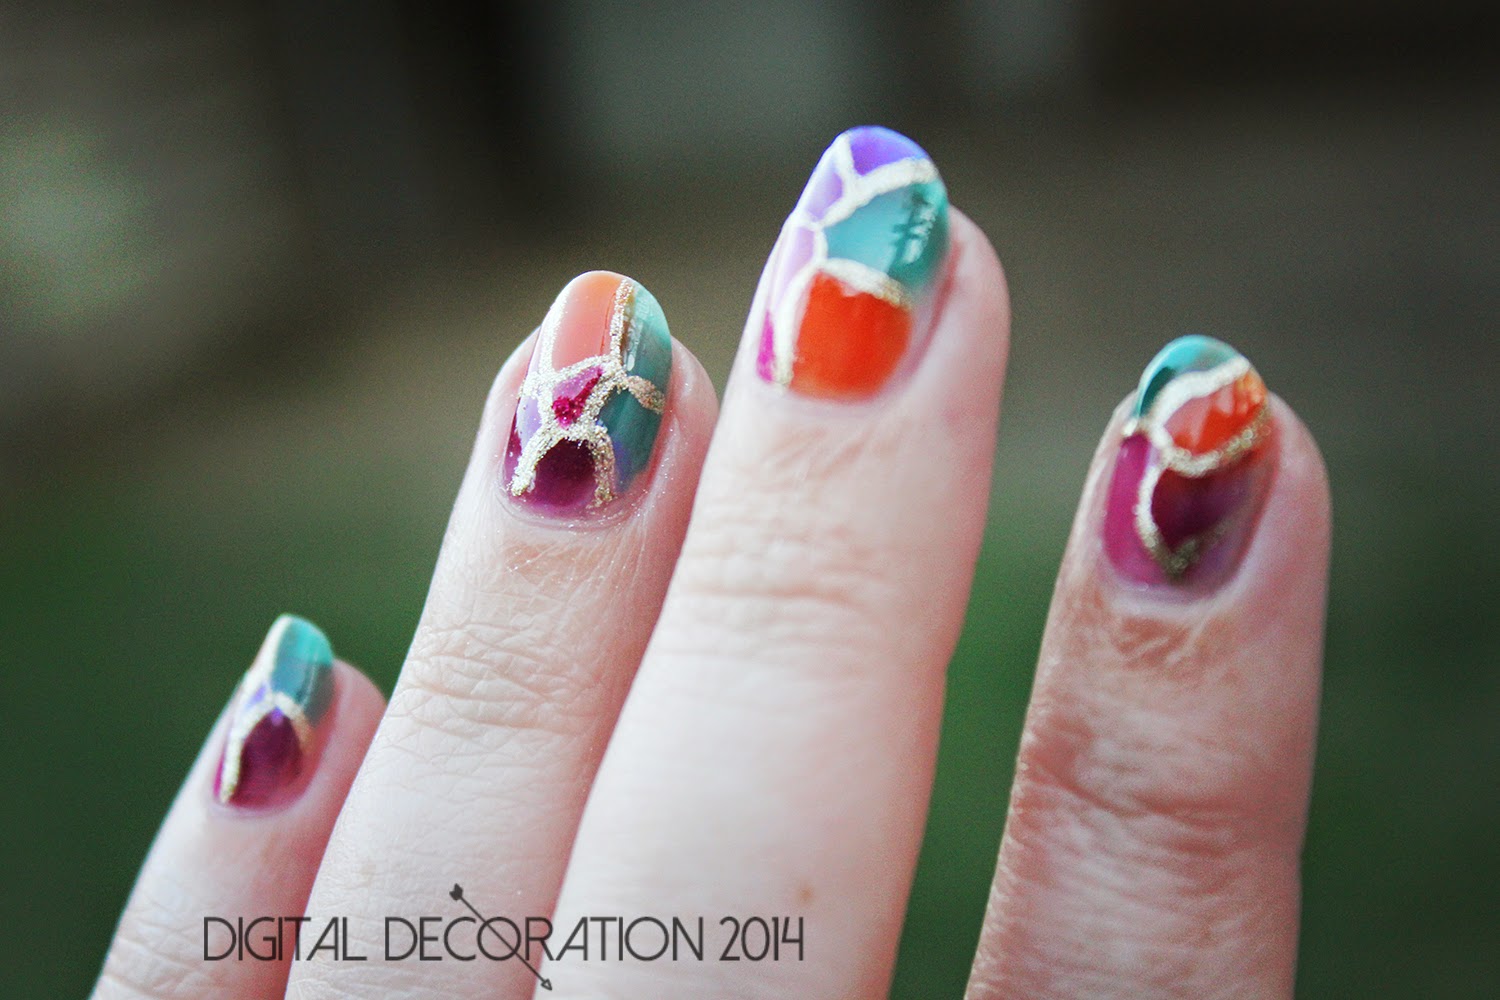
Who says you can only use nail polish to decorate objects? With the right technique, you can also create beautiful stained glass nail art using nail polish. Simply paint your nails with a base color and let it dry. Then, using a thin brush or a toothpick, create small dots or lines with different colors of nail polish to mimic the look of stained glass. Finish off with a top coat to seal and protect the design. Pro tip: for an even easier stained glass nail design, use nail polish strips or decals!4. Easy Stained Glass Nails Using Nail Polish


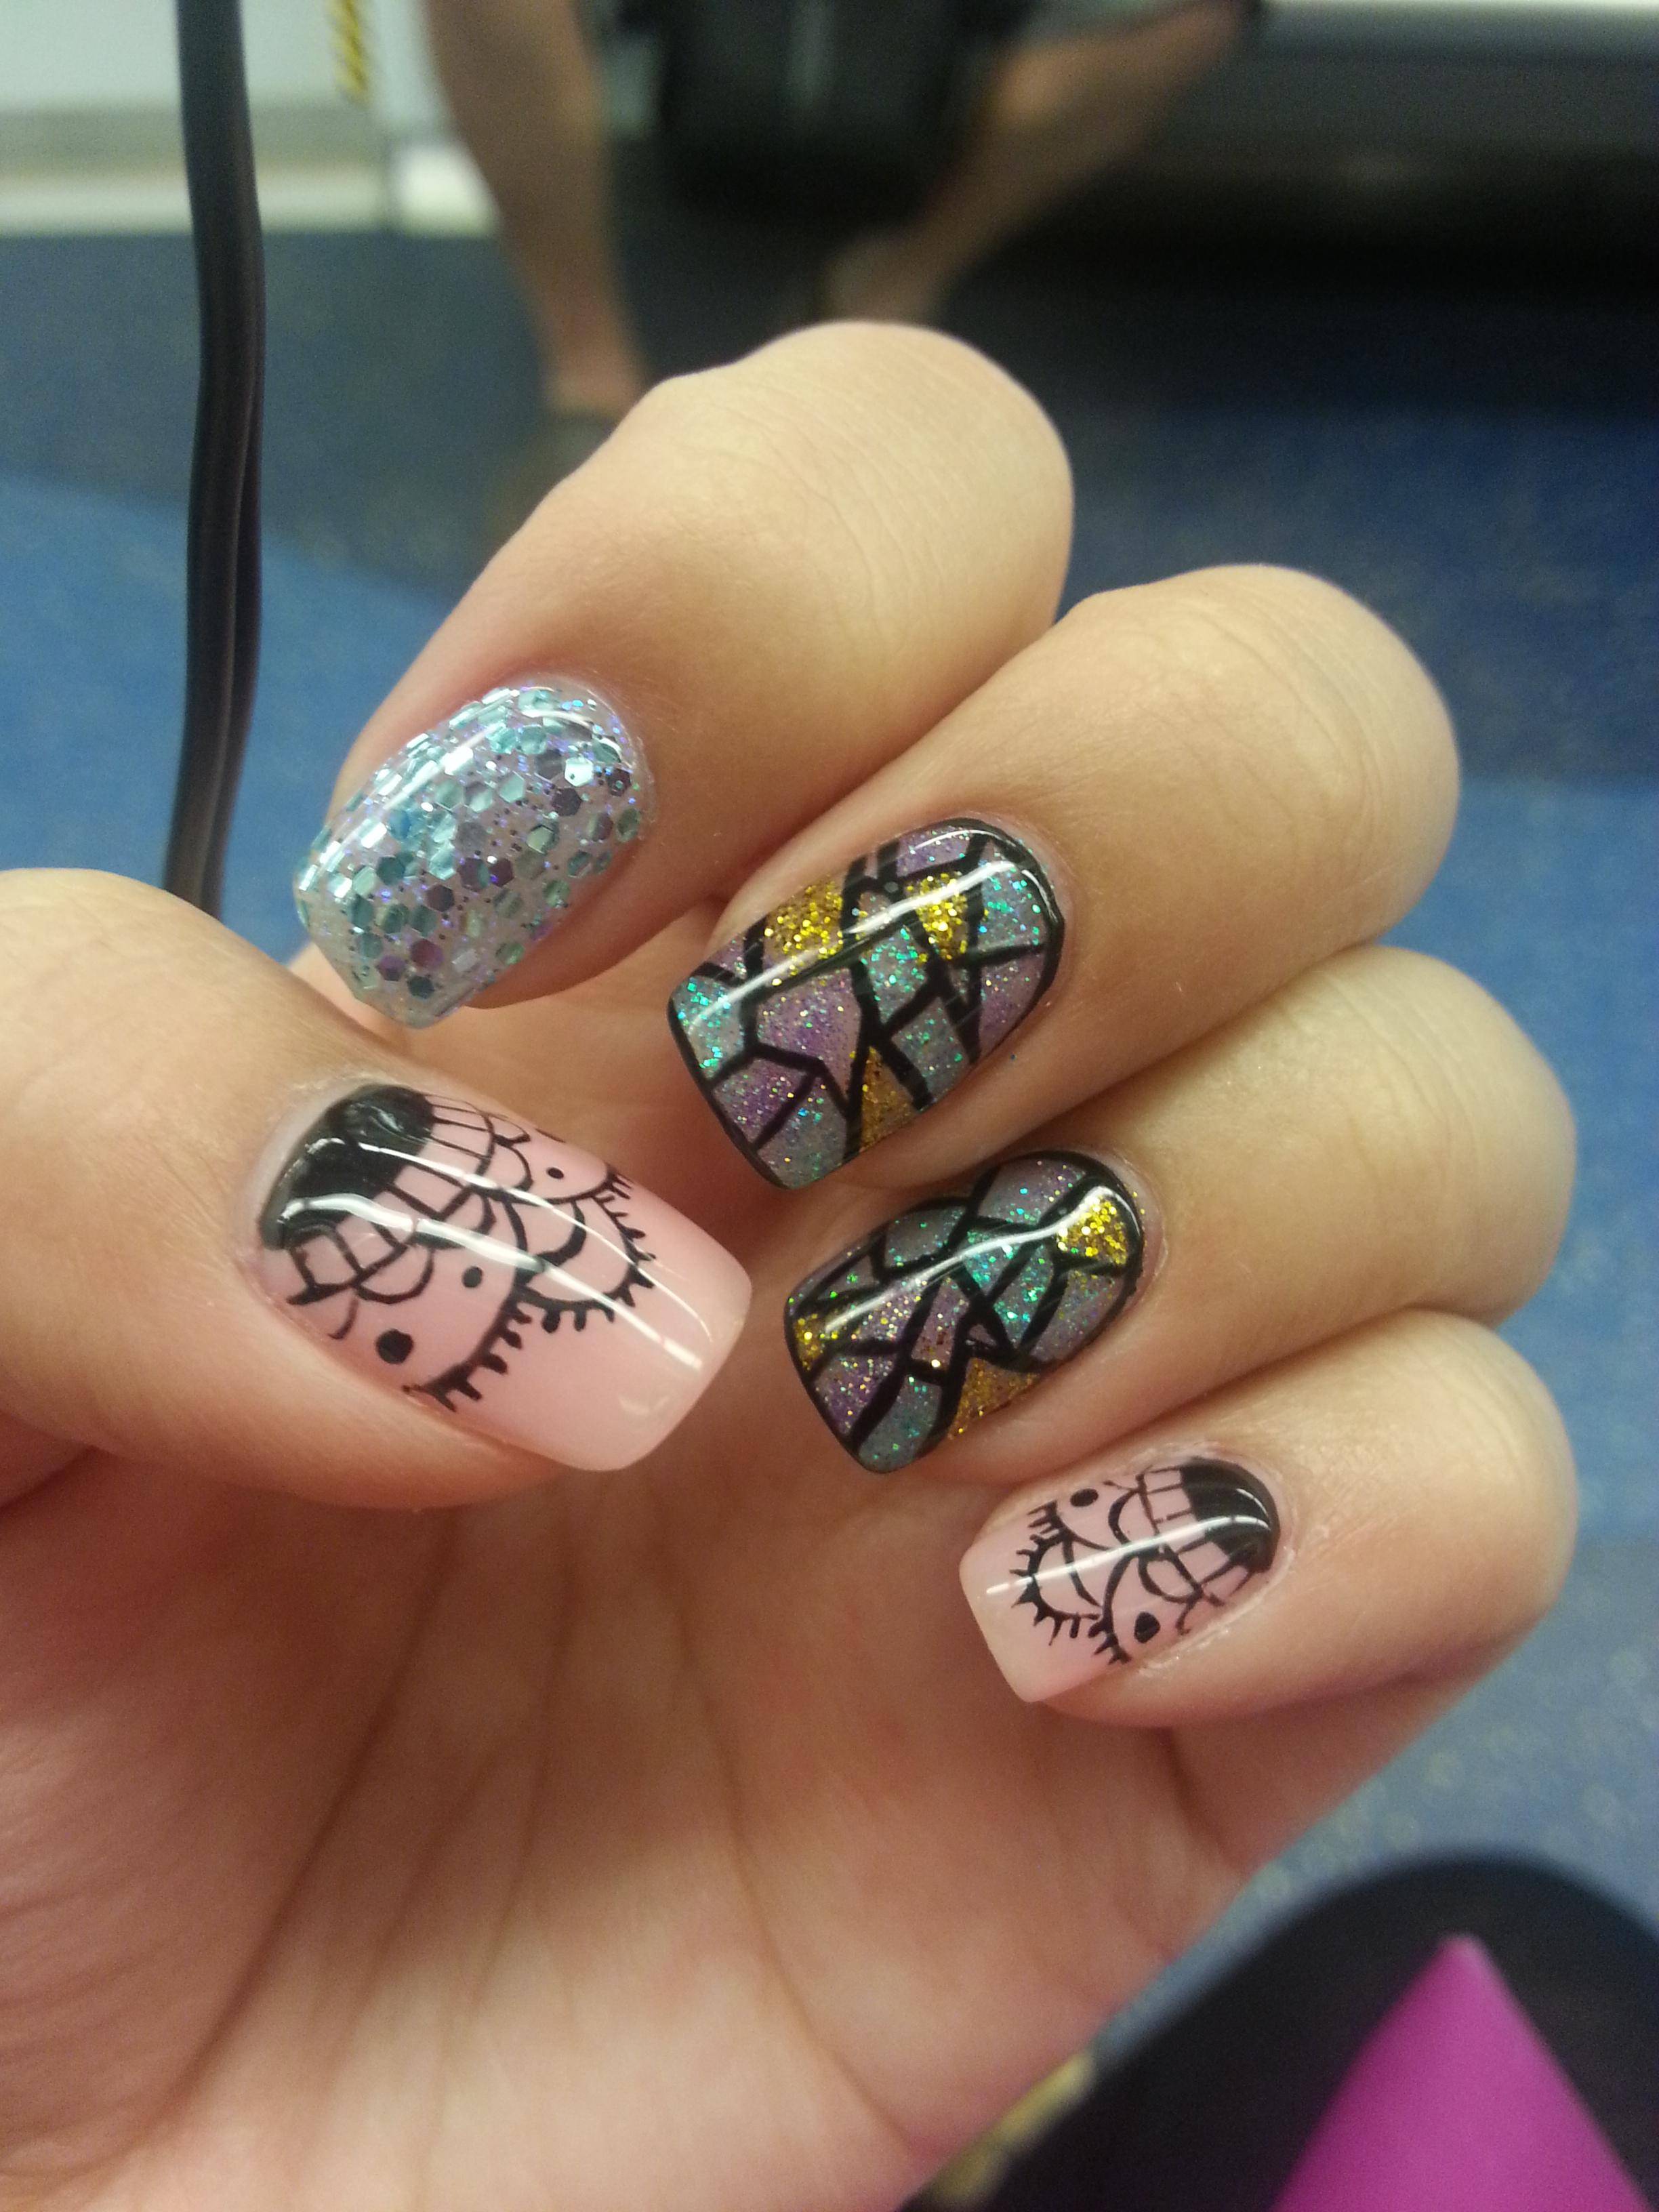
4. Easy Stained Glass Nails Using Nail Polish

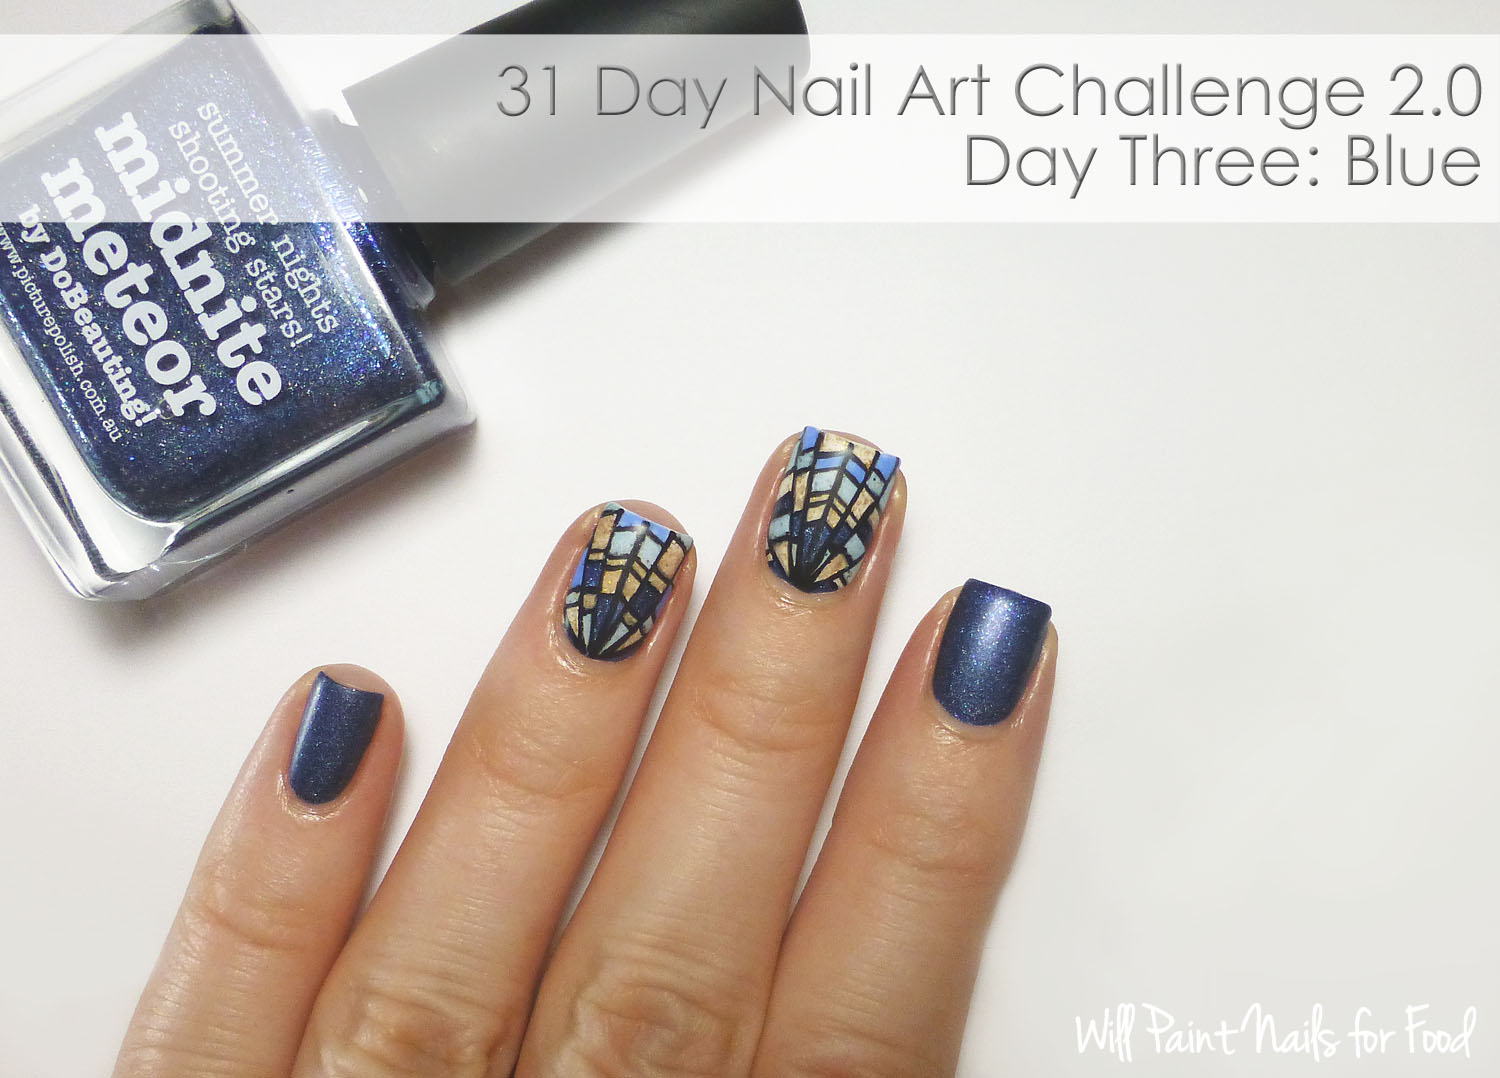

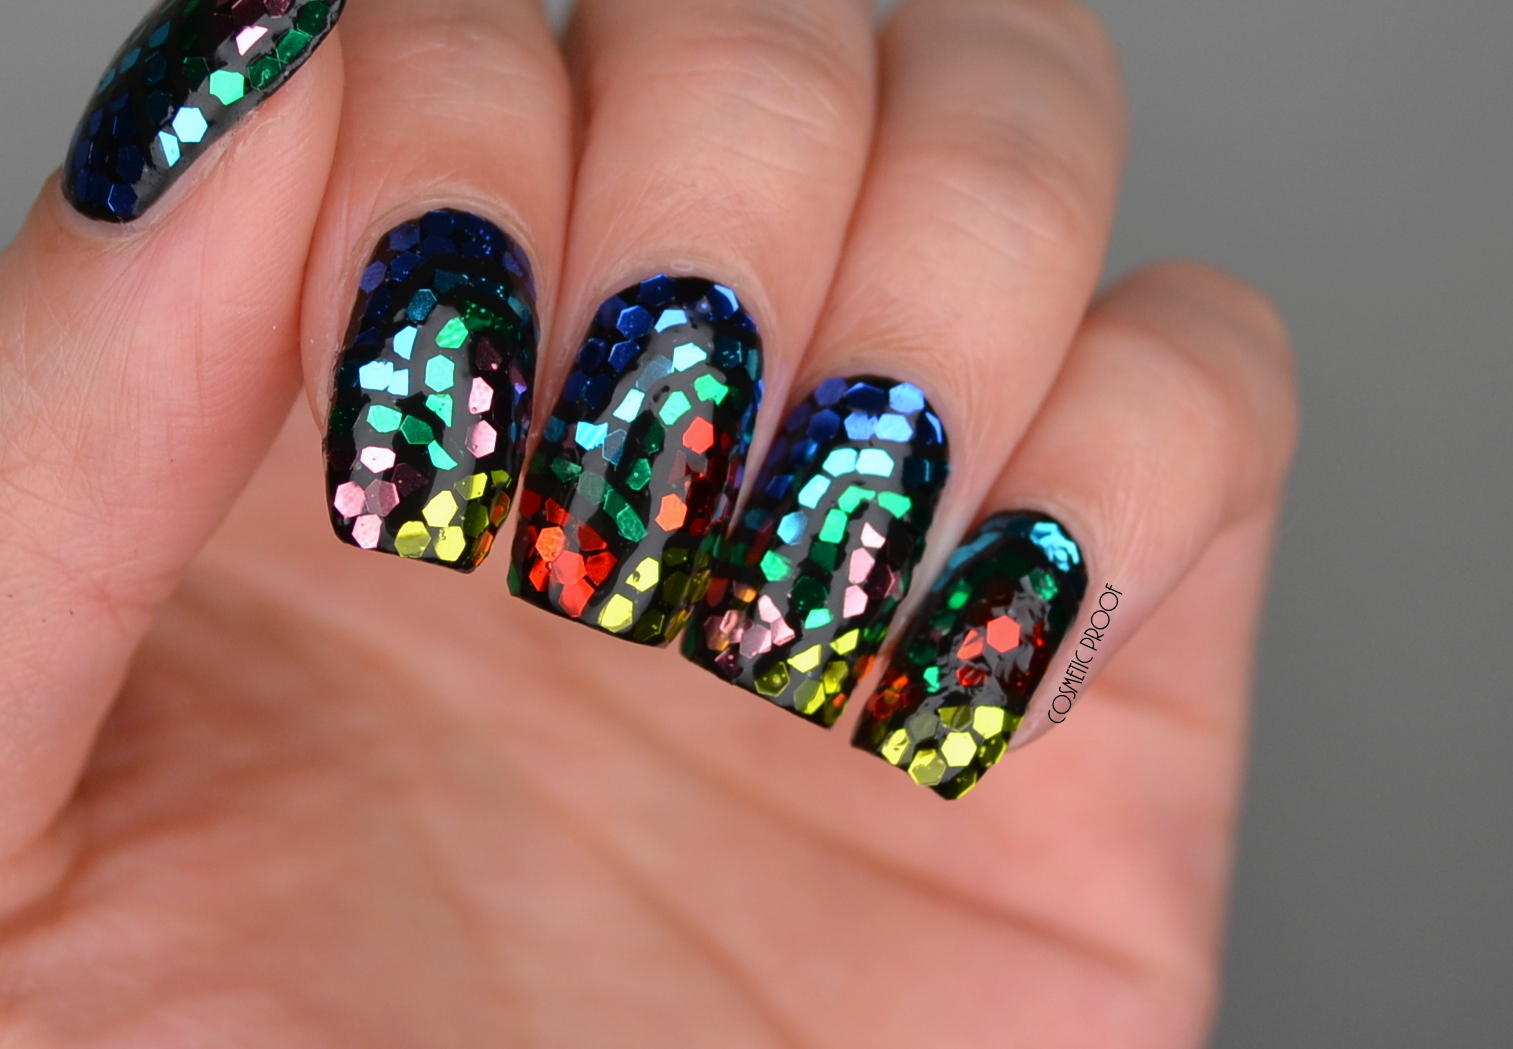
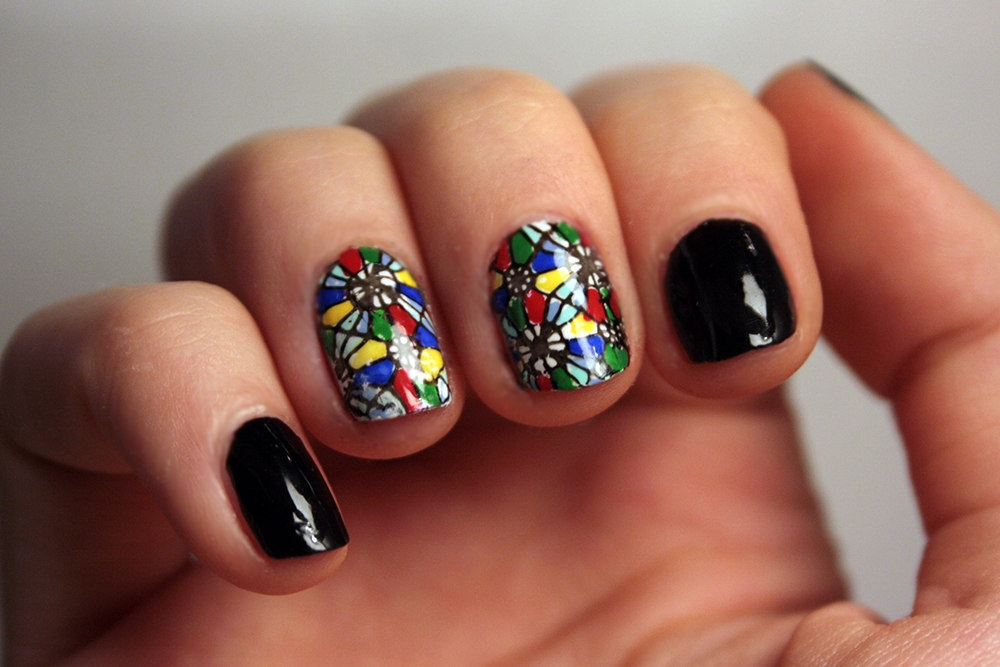

Take your stained glass nail art to the next level by incorporating different techniques and designs. For example, you can use a sponge to create a gradient effect as the background for your stained glass design, or you can use a matte top coat to give a more muted and abstract look. Experiment with different colors and shapes to create your own unique stained glass nail designs. Who knows, you might end up starting a new trend!5. Stained Glass Nail Art with Nail Polish


5. Stained Glass Nail Art with Nail Polish

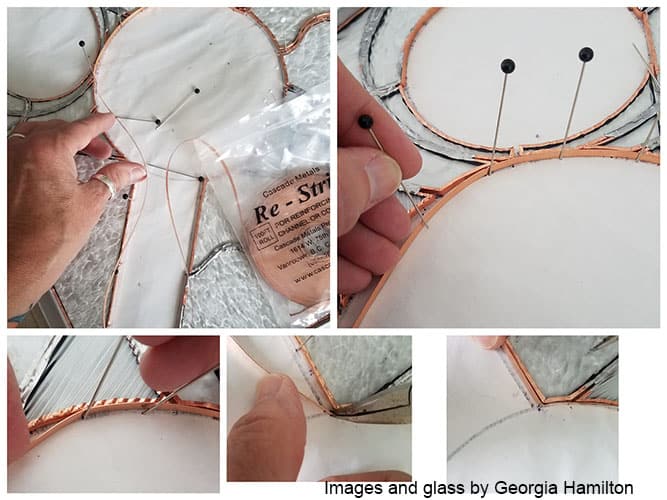
Looking to add some color to your windows? Nail polish stained glass window crafts are the perfect solution. This craft is great for kids and adults alike and can easily be customized to fit any theme or season. Ideas for designs: flowers for spring, pumpkins for fall, snowflakes for winter, or even your own initials. All you need is clear contact paper, a variety of nail polish colors, and some scissors. Cut out your desired shape on the contact paper, peel off the backing, and place it on your window. Then, use the nail polish to fill in the gaps and create a colorful stained glass effect.6. Nail Polish Stained Glass Window Craft


6. Nail Polish Stained Glass Window Craft


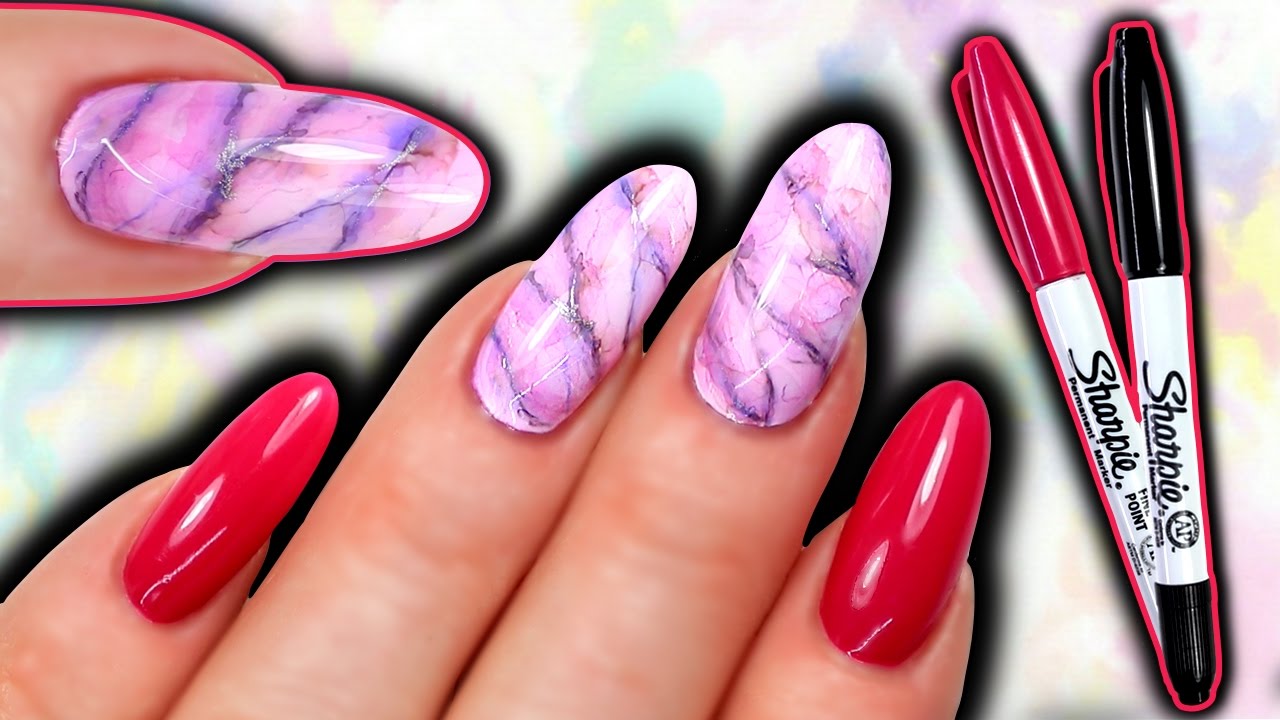
If you don't have a steady hand for creating intricate designs with nail polish, don't worry – you can still achieve a beautiful stained glass effect using nail polish and a sharpie. Start by drawing your desired design on a clear glass surface using a sharpie. Then, fill in the gaps with nail polish, letting each color dry before adding the next. Finish off with a layer of clear nail polish to seal and protect the design. This technique is great for creating more precise and detailed designs, such as flowers or animals.7. Stained Glass Design with Nail Polish and Sharpie


7. Stained Glass Design with Nail Polish and Sharpie


Add some ambiance to your home with DIY stained glass candle holders using nail polish. This project is simple but creates a stunning result that will impress your guests. Start by painting a clear glass candle holder with a layer of white nail polish to act as a base. Then, using your chosen colors of nail polish, create your stained glass design on the holder. Once dry, add a tealight candle and watch the colorful light shine through the design.8. DIY Stained Glass Candle Holders with Nail Polish


8. DIY Stained Glass Candle Holders with Nail Polish


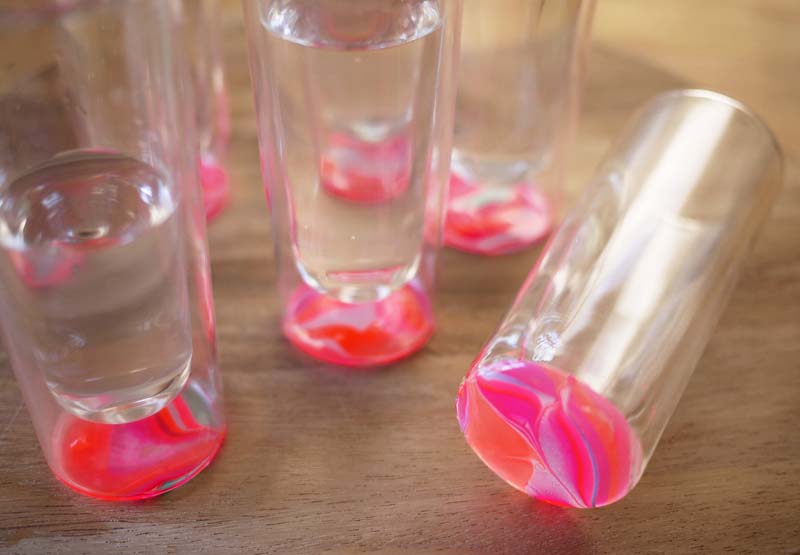
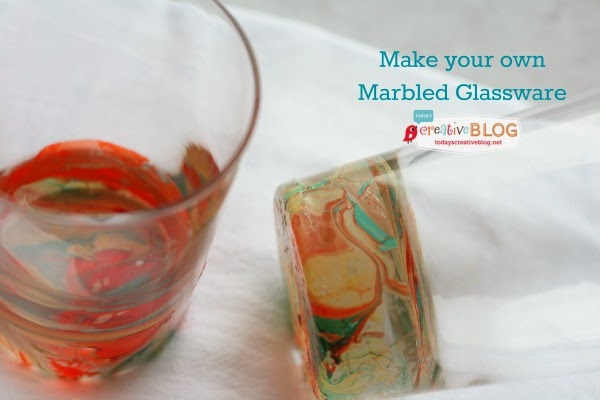
Another fun and easy way to add some color to your home is by creating a stained glass effect on glassware using nail polish. This is a great project for updating old or plain glassware and giving them a new life. For this project, you can either use a clear glass surface or paint a layer of white nail polish as a base to make the colors pop. Then, using your chosen nail polish colors, paint small dots or lines on the glass, leaving spaces in between for the "lead" lines. You can also use stencils or tape to create more intricate designs.9. Stained Glass Effect on Glassware Using Nail Polish


9. Stained Glass Effect on Glassware Using Nail Polish

Lastly, for a simple and elegant home decor piece, try creating a stained glass vase using nail polish. This project is perfect for adding a pop of color to any room and can also make for a thoughtful homemade gift. Start by painting a clear glass vase with a layer of white nail polish as a base. Then, using different shades of the same color or a variety of colors, create your stained glass design on the vase. Let it dry completely before adding a layer of clear nail polish to seal and protect the design. Place some fresh flowers in your new stained glass vase and enjoy the beautiful colors and light shining through.10. Nail Polish Stained Glass Vase Craft

10. Nail Polish Stained Glass Vase Craft


Transforming Your Home with Stained Glass Design Using Nail Polish

Why Choose Stained Glass Design?
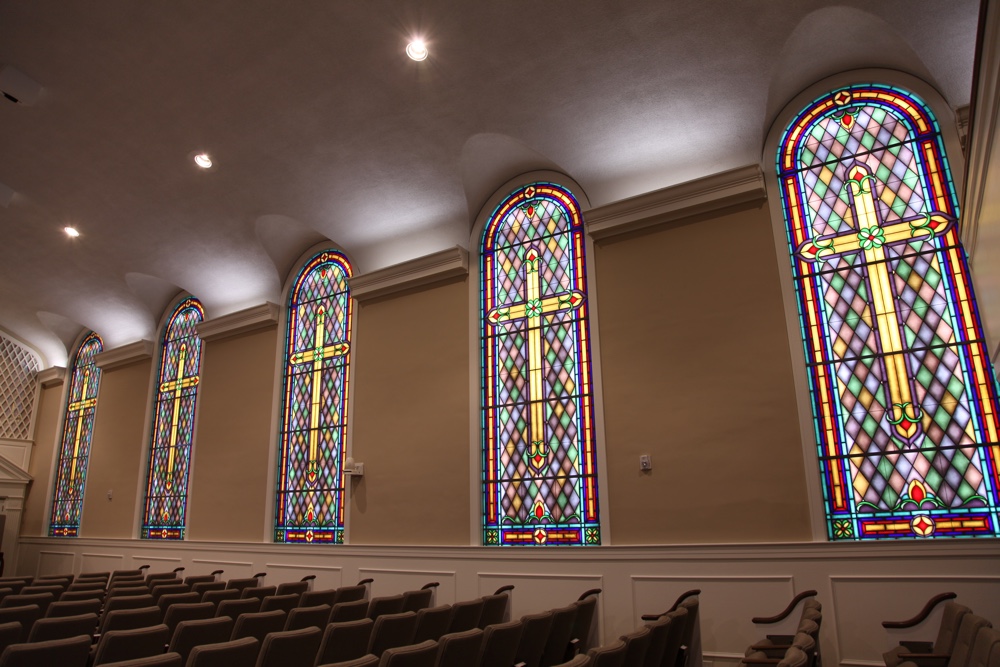
 Stained glass design has been around for centuries, adorning churches, cathedrals, and historic buildings. However, in recent years, it has gained popularity in modern home design. The intricate patterns and vibrant colors of stained glass can add a touch of elegance and uniqueness to any home. And with the rise of DIY projects, more and more people are discovering the fun and creativity of making their own stained glass pieces. But what if we told you that you can achieve the same stunning results with just a bottle of nail polish? Yes, you read that right – nail polish can be a game-changer in stained glass design.
Creating Stained Glass Art with Nail Polish
 Stained glass design using nail polish is a budget-friendly and easy way to add a pop of color and style to your home. All you need is a clear glass surface, some nail polish, and a little bit of patience. You can use any clear glass surface, such as a vase, a picture frame, or even a window. Simply choose a design or pattern, and get ready to unleash your creativity.
Start by cleaning the glass surface thoroughly and let it dry completely. Then, using your chosen nail polish colors, start painting your design directly onto the glass. The best part about using nail polish is that you can mix and blend colors to create unique shades and effects. You can also use different nail art techniques, such as marbling or gradient, to add more depth and dimension to your design. Once you are satisfied with your masterpiece, let it dry for at least 24 hours.
Stained glass design using nail polish is a budget-friendly and easy way to add a pop of color and style to your home. All you need is a clear glass surface, some nail polish, and a little bit of patience. You can use any clear glass surface, such as a vase, a picture frame, or even a window. Simply choose a design or pattern, and get ready to unleash your creativity.
Start by cleaning the glass surface thoroughly and let it dry completely. Then, using your chosen nail polish colors, start painting your design directly onto the glass. The best part about using nail polish is that you can mix and blend colors to create unique shades and effects. You can also use different nail art techniques, such as marbling or gradient, to add more depth and dimension to your design. Once you are satisfied with your masterpiece, let it dry for at least 24 hours.
The Beauty of Imperfection
 One of the most charming aspects of stained glass design using nail polish is its imperfections. Unlike traditional stained glass, where precision and perfection are crucial, nail polish allows for more room for errors and experimentation. The uneven brush strokes, the subtle drips, and the occasional smudges give each piece a one-of-a-kind look. So, don't be afraid to let your creative juices flow and embrace the beauty of imperfection.
Endless Possibilities for Your Home
 The versatility of nail polish allows you to create an endless array of designs and patterns for your home. You can create a cohesive theme by using the same color scheme throughout your house or mix and match different designs for a more eclectic look. You can also use different glass surfaces, such as mason jars, candle holders, or even old wine bottles, to add a touch of stained glass to every room in your home.
In conclusion, stained glass design using nail polish is a fun and budget-friendly way to transform your home into a work of art. So, why settle for plain and boring glass surfaces when you can unleash your creativity and add a personal touch to your home? Give it a try and see the stunning results for yourself.
The versatility of nail polish allows you to create an endless array of designs and patterns for your home. You can create a cohesive theme by using the same color scheme throughout your house or mix and match different designs for a more eclectic look. You can also use different glass surfaces, such as mason jars, candle holders, or even old wine bottles, to add a touch of stained glass to every room in your home.
In conclusion, stained glass design using nail polish is a fun and budget-friendly way to transform your home into a work of art. So, why settle for plain and boring glass surfaces when you can unleash your creativity and add a personal touch to your home? Give it a try and see the stunning results for yourself.


