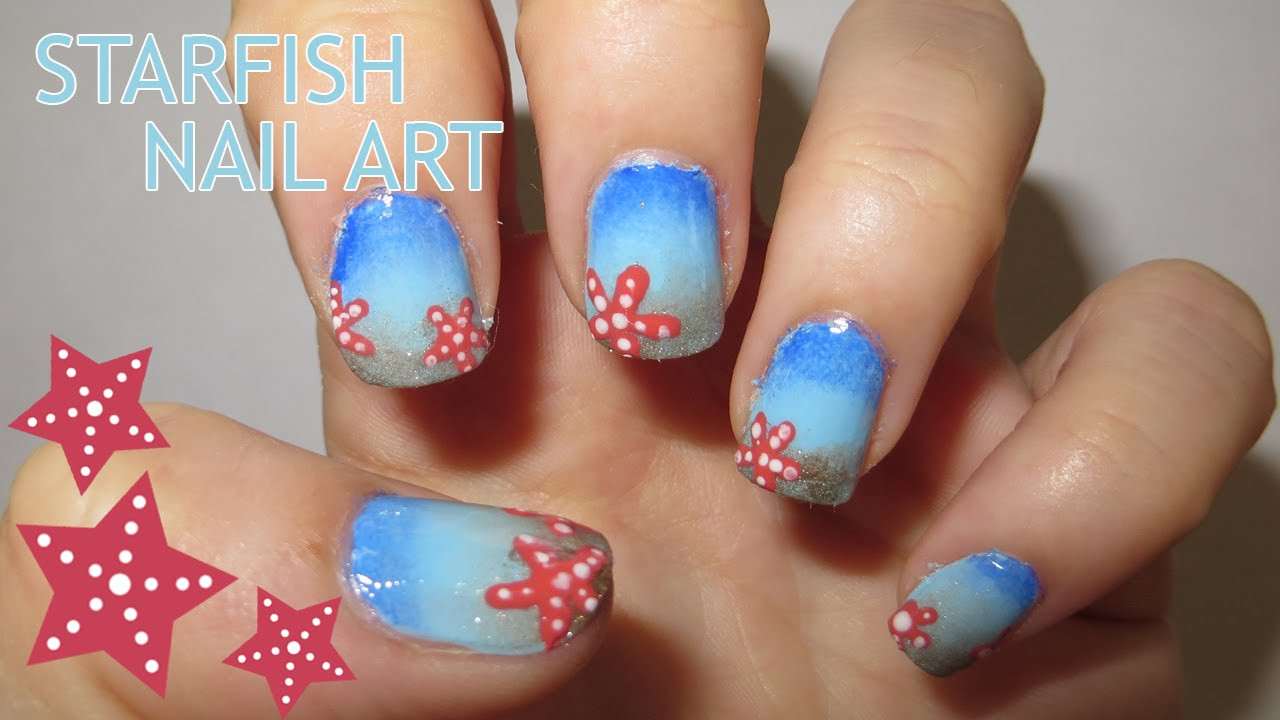
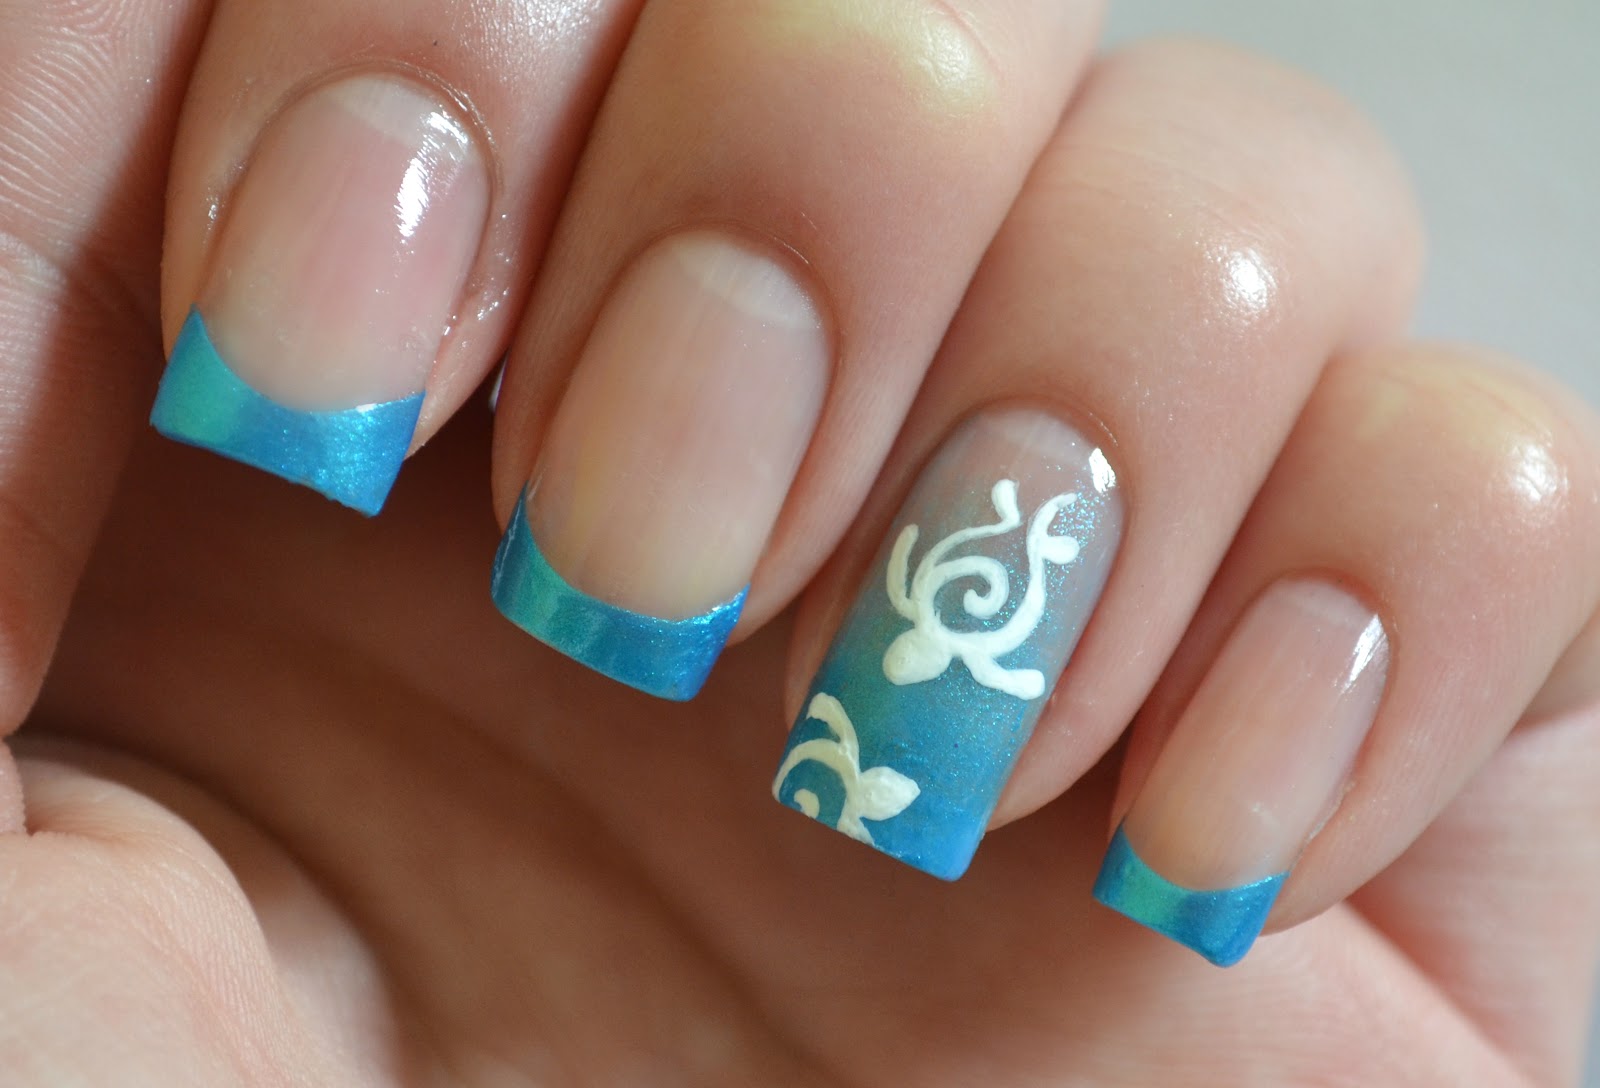
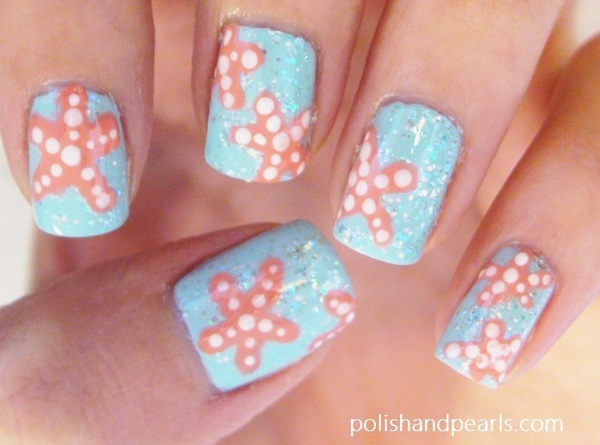
If you're looking to add a touch of whimsy and beachy vibes to your nail game, then starfish nail art is the way to go. This design is perfect for summer, but can also brighten up any gloomy day. And the best part? You can easily recreate this look at home with a few simple steps. So grab your nail polish and get ready to unleash your inner mermaid with this starfish nail art tutorial. To begin, start by prepping your nails. Give them a good file and buff to create a smooth surface. Apply a base coat to protect your nails and help your polish last longer. Then, paint your nails with a light blue nail polish to create a beautiful ocean-inspired backdrop for your starfish design. Next, you'll need a small nail art brush or a toothpick to create the starfish shape. Dip the brush or toothpick into a coral-colored nail polish and carefully draw a star shape on your nail. Don't worry if it's not perfect, as starfish come in all shapes and sizes. Repeat this step on all your nails or choose to have the starfish on just a few accent nails. For the final touch, add some dimension and sparkle to your starfish. Using a gold or silver glitter nail polish, add some dots or lines to the starfish to create a textured look. This will make your nails shine like the sun hitting the ocean water. Complete the look with a top coat to seal and protect your design. And voila, you now have a beautiful starfish nail art design that is sure to turn heads and make you feel like a beach goddess.1. Starfish Nail Art Tutorial


1. Starfish Nail Art Tutorial


If you want to take your starfish nail art to the next level, you can add some beachy elements to your design. This will give your nails a more tropical and vacation-ready feel. To achieve this look, follow the same steps as the basic starfish nail art tutorial, but this time, add some extra touches. Use a white nail polish to create small waves on one or two of your nails. You can do this by using a thin nail art brush or a toothpick to create curved lines. This will add a fun and playful element to your design. You can also add some tiny seashells or starfish nail charms on top of your starfish design. These can be found at most beauty supply stores or online. Simply apply a small amount of clear nail polish on your nail and stick the charm on top. This will add some dimension and make your nails look like they just washed up on the shore. To complete the beachy look, add a coat of matte top coat to give your nails a sandy and textured finish. This will make your nails look like they've been kissed by the sun and sea.2. Beachy Starfish Nail Design


2. Beachy Starfish Nail Design


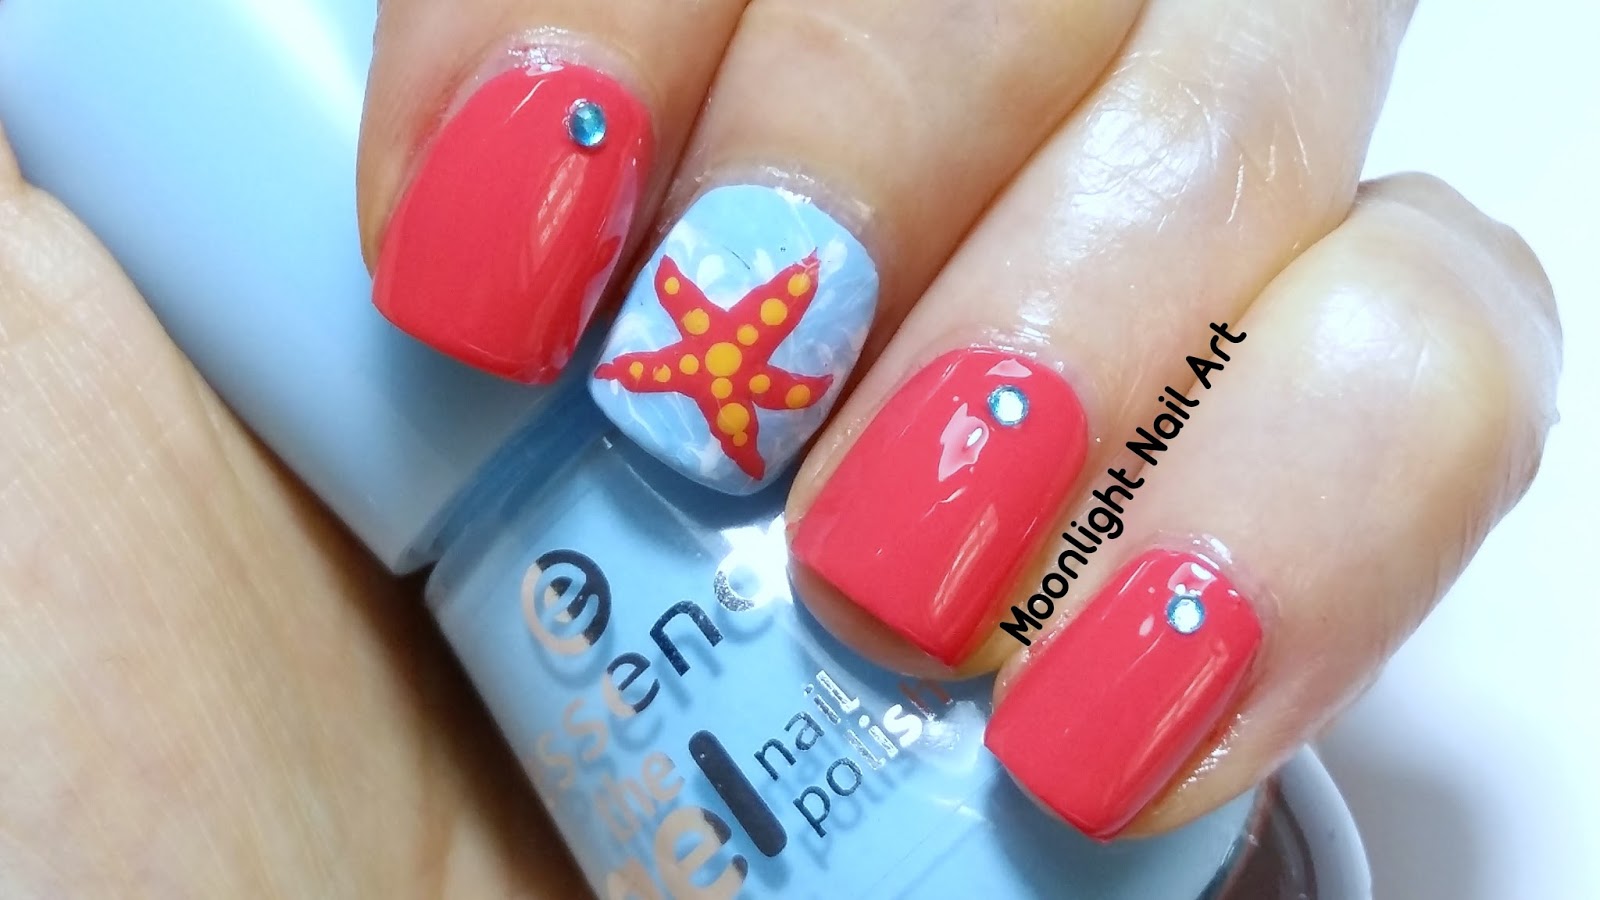
If you're not a fan of intricate designs and prefer a more minimalistic look, you can still rock starfish nail art with a simple and elegant design. Start by painting your nails with a nude or light pink nail polish. This will give your nails a clean and polished look. Then, using a nail art brush or a toothpick, create a small starfish near the base of your nail. You can use a white or metallic nail polish for this step. You can also add a small dot or rhinestone in the center of the starfish for a touch of sparkle and glam. Seal the design with a top coat and you're done! This simple starfish nail art is perfect for those who want a subtle nod to the ocean and summer.3. Simple Starfish Nail Art


3. Simple Starfish Nail Art


Summer is the perfect time to experiment with bright and bold colors, and your nails should be no exception. For a fun and vibrant starfish nail design, you'll need a variety of bright nail polishes such as orange, yellow, pink, and blue. Start by painting each nail a different color, creating a rainbow effect. Then, using a nail art brush or toothpick, draw a starfish on each nail using a contrasting color. For example, if your nail is yellow, use pink or blue for the starfish. This will make your nails pop and give them a playful summer vibe. Add some small dots or stripes in different colors around the starfish to create a fun and abstract background. Seal with a top coat and you're ready to hit the beach with your colorful and summery starfish nails.4. Summer Starfish Nail Design


4. Summer Starfish Nail Design
If you love all things cute and adorable, then this starfish nail art design is perfect for you. This design incorporates elements such as hearts and polka dots to create a fun and quirky look. Start by painting your nails with a light pink or coral nail polish. Then, using a thin nail art brush or a toothpick, create a starfish on your nail using a white or metallic nail polish. Next, add some small pink hearts around the starfish to make it look like it's surrounded by love. To add some extra cuteness, use a dotting tool or a toothpick to create small polka dots in different colors on your nails. This will add some playfulness and make your nails look like they're from a cartoon. Finish off with a top coat and get ready for some compliments on your adorable starfish nails.5. Cute Starfish Nail Art


5. Cute Starfish Nail Art
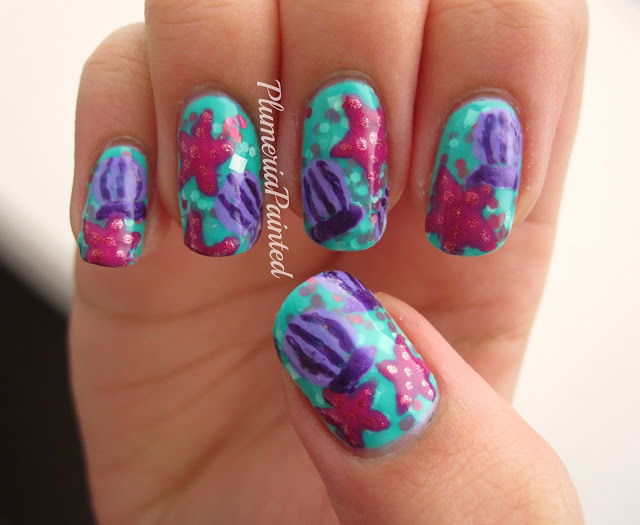
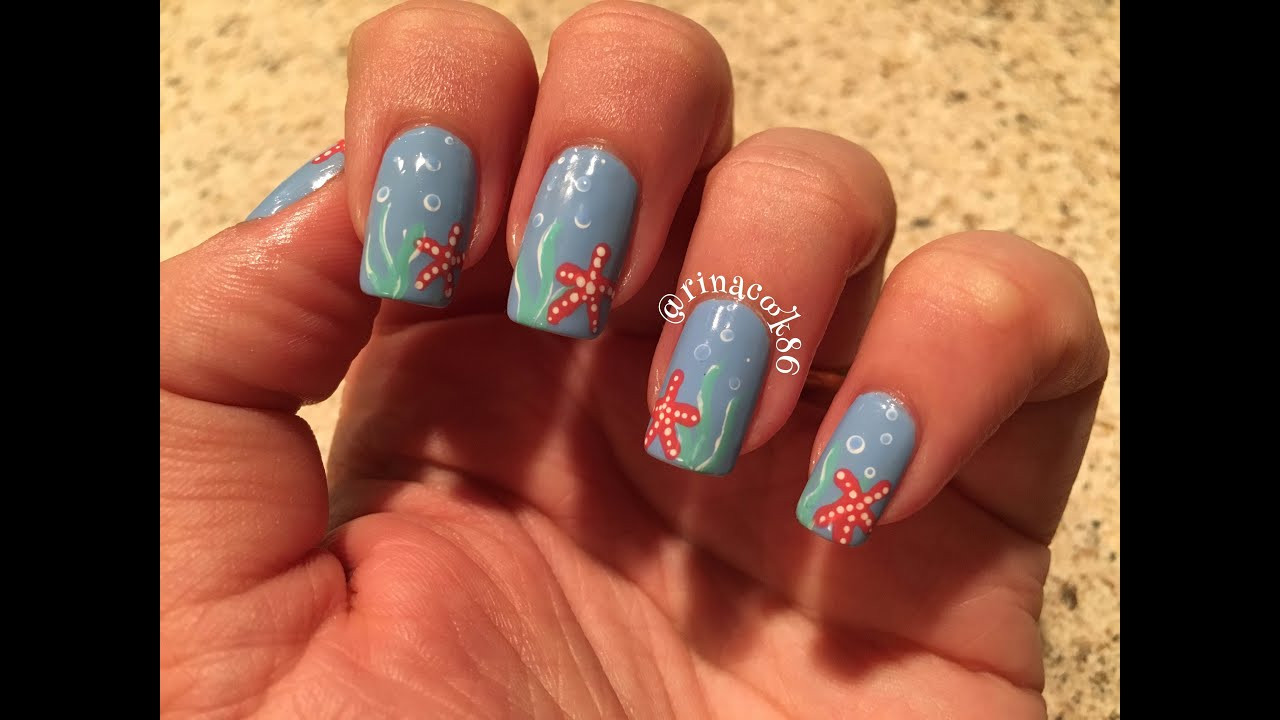
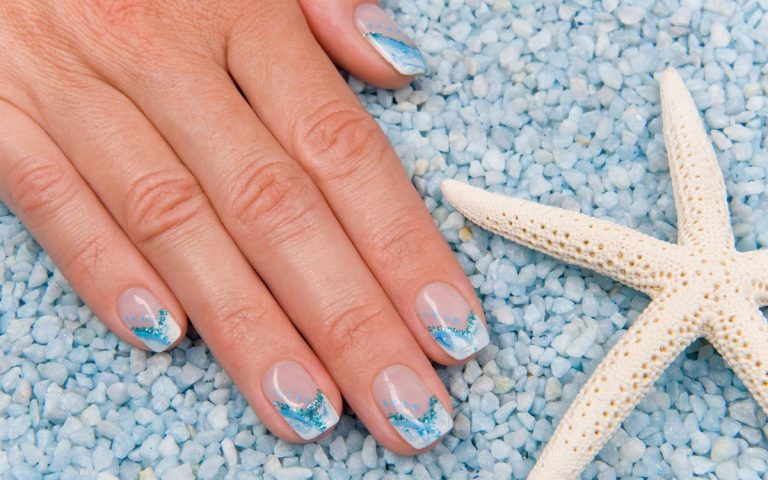
For a more abstract and artsy take on starfish nail art, try an ocean-inspired design. This design incorporates different shades of blue, green, and white to create a beautiful and mesmerizing look. Start by painting your nails with a light blue or turquoise nail polish. Then, using a nail art brush or toothpick, create a starfish on each nail using a white nail polish. Next, add some curvy lines in different shades of blue and green to create a wave-like effect on your nails. This will make it look like your starfish is swimming in the ocean. For the final touch, add some small white dots using a dotting tool or a toothpick to create bubbles in the water. Seal with a top coat and you'll have a mesmerizing ocean-inspired starfish nail design that will transport you to a tropical paradise.6. Ocean-Inspired Starfish Nails


6. Ocean-Inspired Starfish Nails

If you love all things sparkly and glamorous, then this glittery starfish nail design will be right up your alley. This design incorporates different shades of glitter nail polish to create a beautiful and eye-catching look. Start by painting your nails with a light pink or coral nail polish. Then, using a nail art brush or toothpick, create a starfish on each nail using a white or metallic nail polish. Next, choose a glitter nail polish in a complementary color and paint over the starfish. This will create a sparkly and textured effect. You can also add some small dots or lines using a different glitter nail polish to add some extra sparkle and dimension to your design. Seal with a top coat and get ready to shine like a starfish.7. Glittery Starfish Nail Design


7. Glittery Starfish Nail Design
For a tropical and vacation-ready look, try this tropical starfish nail art design. This design incorporates bright colors, palm trees, and, of course, starfish to create a fun and summery look. To begin, paint your nails with a light blue or turquoise nail polish. Then, using a thin nail art brush or a toothpick, create a starfish on each nail using a white or metallic nail polish. Next, add some small palm trees using a green nail polish. You can also choose to have a palm tree on just one or two accent nails. To complete the tropical look, add some small dots or stripes in different colors around the starfish. This will add some vibrancy and make your nails look like they're ready for a day at the beach. Finish off with a top coat and you'll have a fun and playful tropical starfish nail design.8. Tropical Starfish Nail Art


8. Tropical Starfish Nail Art
If you're looking for a more elegant and sophisticated starfish nail art design, try this elegant look that incorporates a nude nail polish and gold accents. Start by painting your nails with a nude or light pink nail polish. Then, using a thin nail art brush or a toothpick, create a starfish on each nail using a metallic gold nail polish. Next, add some small dots or lines using the gold nail polish to create a textured look. To add some extra glam, you can also add a small rhinestone in the center of the starfish. This will add some sparkle and make your nails look like they're fit for a mermaid queen. Seal with a top coat and you'll have a chic and elegant starfish nail design that will elevate any outfit.9. Elegant Starfish Nail Design
9. Elegant Starfish Nail Design
For those who love experimenting with different colors and patterns, this colorful starfish nail art design is a must-try. This design incorporates different shades of nail polish and a watercolor effect to create a unique and artistic look. Start by painting your nails with a light color such as white or light pink. Then, using a nail art brush or toothpick, create a starfish on each nail using a different color. You can choose to have a different color for each nail or alternate colors on each nail. Next, using a small sponge, dab some white nail polish on your nails to create a watercolor effect. This will give your starfish a soft and dreamy look. You can also choose to add some small dots or lines using a metallic nail polish to add some dimension and shine. Seal with a top coat and you'll have a colorful and unique starfish nail art design that is sure to make a statement. With these 10 starfish nail art designs, you can unleash your creativity and embrace your inner mermaid. So go ahead and add some beachy and whimsical vibes to your nails with these fun and easy nail art tutorials. And don't forget to snap a picture and show off your beautiful starfish nails to the world.10. Colorful Starfish Nail Art

10. Colorful Starfish Nail Art
Adding a Touch of the Ocean with Starfish Nail Art Design

Bringing the Beach to Your Fingertips
 When it comes to nail art, there are endless possibilities for creative designs that can make a statement. One trend that has been gaining popularity is starfish nail art design. This unique and eye-catching design adds a touch of the ocean to your nails, making them stand out and giving them a beachy vibe.
How to Achieve the Look
 To create a starfish nail art design, you will need a few essential tools such as a base coat, top coat, a light blue or turquoise nail polish, a white nail polish, and a dotting tool or toothpick. Start by applying the base coat to your nails to protect them and make your polish last longer. Once the base coat is dry, apply two coats of the light blue or turquoise polish to each nail and let it dry completely.
Next, using the white polish and your dotting tool or toothpick, create small dots in a starfish shape on each nail. You can also use a stencil or stamp to create a more precise design. Once you have your starfish shape, you can add some smaller dots to create a textured look. Finally, seal in your design with a top coat for a glossy and long-lasting finish.
To create a starfish nail art design, you will need a few essential tools such as a base coat, top coat, a light blue or turquoise nail polish, a white nail polish, and a dotting tool or toothpick. Start by applying the base coat to your nails to protect them and make your polish last longer. Once the base coat is dry, apply two coats of the light blue or turquoise polish to each nail and let it dry completely.
Next, using the white polish and your dotting tool or toothpick, create small dots in a starfish shape on each nail. You can also use a stencil or stamp to create a more precise design. Once you have your starfish shape, you can add some smaller dots to create a textured look. Finally, seal in your design with a top coat for a glossy and long-lasting finish.
Why Choose Starfish Nail Art Design?
 Not only is starfish nail art design a fun and creative way to express your love for the ocean, but it also has a deeper meaning. In many cultures, starfish represent resilience and regeneration, making this design not only beautiful but also symbolic.
Furthermore, this nail art design is versatile and can be customized to your liking. You can use different colors, add glitter or rhinestones, or even combine it with other beach-themed designs like seashells or waves. The options are endless, allowing you to create a unique and personalized look.
Not only is starfish nail art design a fun and creative way to express your love for the ocean, but it also has a deeper meaning. In many cultures, starfish represent resilience and regeneration, making this design not only beautiful but also symbolic.
Furthermore, this nail art design is versatile and can be customized to your liking. You can use different colors, add glitter or rhinestones, or even combine it with other beach-themed designs like seashells or waves. The options are endless, allowing you to create a unique and personalized look.
Final Thoughts
 Incorporating starfish nail art design into your manicure routine is a great way to bring a touch of the ocean to your everyday look. It's a simple and fun way to express your creativity and add a pop of color to your nails. So why not give it a try and let your nails become a canvas for your imagination?


