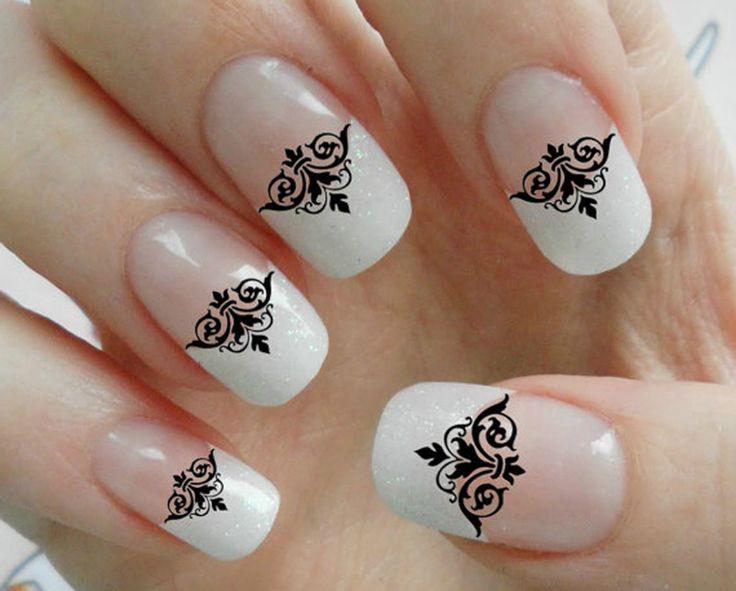
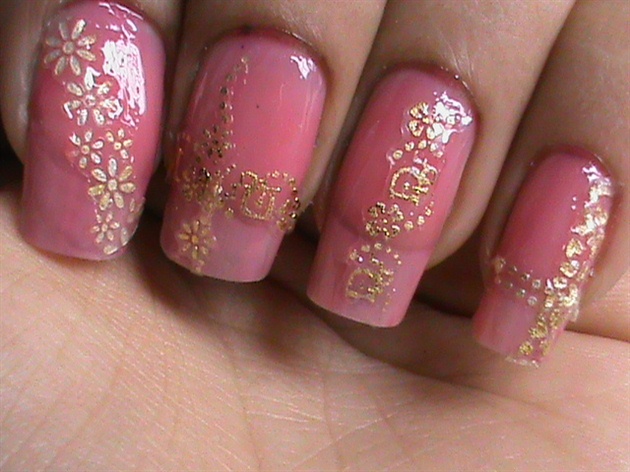
If you're a fan of elegant and feminine nail designs, then you'll love the lace nail design. This intricate and delicate design adds a touch of sophistication to any manicure. And the best part is, you can create it yourself at home with just a few simple steps. In this step by step guide, we'll show you how to achieve a stunning lace nail design that will make your nails stand out. To start, you'll need a few basic supplies:1. How to Create a Stunning Lace Nail Design: Step by Step Guide


1. How to Create a Stunning Lace Nail Design: Step by Step Guide


If you're new to nail art, don't worry. This easy step by step tutorial will guide you through creating a gorgeous lace nail design. First, paint your nails with your desired base color. This will be the color that shows through the lace design. Once your base color is completely dry, it's time to add the lace. If you have lace fabric, cut out small pieces that will fit on your nails. If you're using lace nail stickers, simply peel them off and apply them to your nails. Next, using a small brush or toothpick, apply a thin layer of nail glue to the back of the lace fabric or sticker. Carefully place it on your nail, pressing down gently to ensure it sticks. Repeat this process on all of your nails. Once the glue is completely dry, apply a layer of clear top coat to seal in the lace and give your nails a glossy finish.2. Easy Step by Step Lace Nail Art Tutorial


2. Easy Step by Step Lace Nail Art Tutorial


If you're feeling crafty, you can create your own lace nail design using nail polish. Start by painting your nails with a base color of your choice. Next, using a small brush or toothpick, draw thin lines in a lace-like pattern on your nails using white nail polish. You can also use a stamping plate with lace designs and a stamping nail polish to achieve this look. Once your lace design is complete, apply a layer of clear top coat to seal it in and give your nails a beautiful shine.3. DIY Lace Nail Design: Step by Step Instructions


3. DIY Lace Nail Design: Step by Step Instructions


If you want a more detailed lace design, follow these simple steps to create a stunning look:4. 10 Simple Steps to Achieve a Beautiful Lace Nail Design


4. 10 Simple Steps to Achieve a Beautiful Lace Nail Design


If you're new to stamping, don't worry. With some practice, you can easily create a gorgeous lace nail design using stamping plates. Here's a step by step guide:5. Step by Step Guide to Creating a Lace Nail Design with Stamping


5. Step by Step Guide to Creating a Lace Nail Design with Stamping


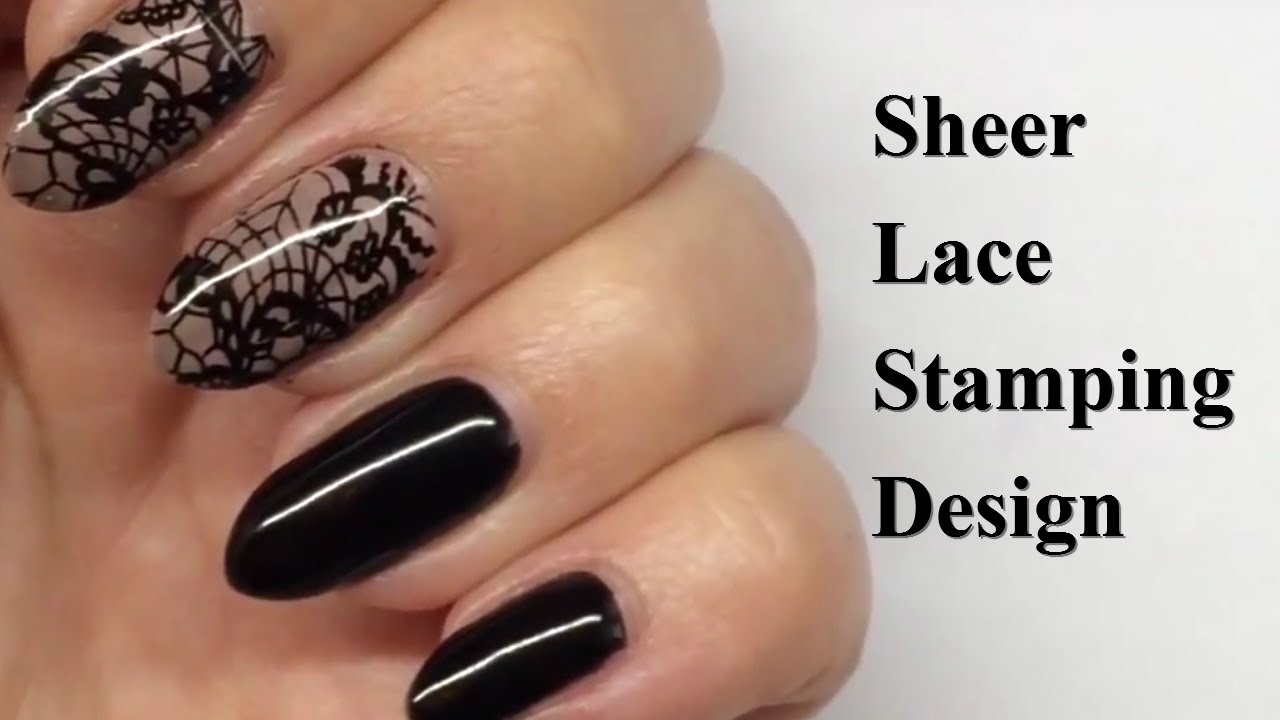
Don't let the intricate look of lace nail designs intimidate you. This step by step tutorial is perfect for beginners. Start by painting your nails with a light base color. Once it's dry, use a small brush or dotting tool to create a lace-like pattern on your nails using white nail polish. For a more subtle lace design, use a sheer or nude nail polish for your base color. Once your lace design is complete, add a layer of clear top coat to seal it in and give your nails a glossy finish.6. Lace Nail Design for Beginners: Step by Step Tutorial


6. Lace Nail Design for Beginners: Step by Step Tutorial


If you're not confident in your freehand nail art skills, you can still achieve a beautiful lace nail design using nail wraps. These pre-designed stickers are easy to apply and give your nails a professional look. Simply peel off the backing and apply the wrap to your nail, smoothing out any air bubbles. Trim off the excess and seal it in with a layer of clear top coat.7. Step by Step Lace Nail Design Using Nail Wraps


7. Step by Step Lace Nail Design Using Nail Wraps
You don't have to cover your entire nail with lace to achieve this elegant look. Instead, try adding a touch of lace to your existing nail design. Start by painting your nails with your desired base color. Next, using a small brush or toothpick, create a lace design on one or two nails with white nail polish. Seal it in with a layer of clear top coat and you'll have a unique and beautiful lace accent nail.8. How to Add Lace to Your Nail Design: Step by Step Tutorial


8. How to Add Lace to Your Nail Design: Step by Step Tutorial


If you want to add an accent nail to your lace design, here's a simple step by step guide:9. Step by Step Guide to Creating a Lace Accent Nail Design


9. Step by Step Guide to Creating a Lace Accent Nail Design


If you're a fan of gel polish, you can still achieve a beautiful lace nail design. Start by painting your nails with your desired base color and curing it under a UV or LED lamp. Next, using a small brush or toothpick, create a lace-like pattern on your nails with white gel polish. Cure the design under the lamp and then add a layer of clear top coat to seal it in. Cure it again and your lace nail design will be long-lasting and chip-free. With these 10 step by step lace nail design tutorials, you'll be able to create stunning and elegant designs on your own. Whether you're a beginner or a nail art pro, there's a lace design that's perfect for you. So grab your supplies and get ready to show off your beautiful lace nails.10. Lace Nail Design with Gel Polish: Step by Step Tutorial


10. Lace Nail Design with Gel Polish: Step by Step Tutorial

Creating Your Own Unique Lace Nail Design

Choosing the Right Supplies
 When it comes to creating a lace nail design, it's important to have the right tools and supplies. You will need a base coat, a top coat, your chosen nail polish color, a thin brush or toothpick, and of course, the lace. You can use actual lace fabric or opt for a lace nail sticker. Whichever you choose, make sure to have it ready and easily accessible.
Prepping Your Nails
 Before starting your lace nail design, make sure to properly prep your nails. This includes shaping, filing, and buffing them to your desired length and shape. It's also important to remove any old nail polish and push back your cuticles. This will ensure a clean and smooth surface for your lace design to adhere to.
Applying the Base Coat
 Start by applying a thin layer of your chosen base coat to your nails. This will help protect your nails from any potential staining from the nail polish. It will also provide a smooth base for the lace design to stick to. Let the base coat dry completely before moving on to the next step.
Creating the Lace Design
 Now comes the fun part – creating the lace design! If you are using lace fabric, cut small pieces that will fit onto your nails. If you are using a lace nail sticker, simply peel it off and apply it to your desired nail. Using a thin brush or toothpick, carefully place the lace on your nail in your desired pattern. You can also use the brush or toothpick to smooth out any wrinkles or air bubbles.
Sealing the Design
 Once you are satisfied with your lace design, it's time to seal it in with a top coat. Apply a thin layer of top coat over your entire nail, making sure to cover the lace completely. This will not only seal in the design, but also add shine and protection to your nails.
Final Touches
 After the top coat has dried, you can add some final touches to your lace nail design. You can use a small brush and some nail polish remover to clean up any excess polish around your cuticles. You can also add some
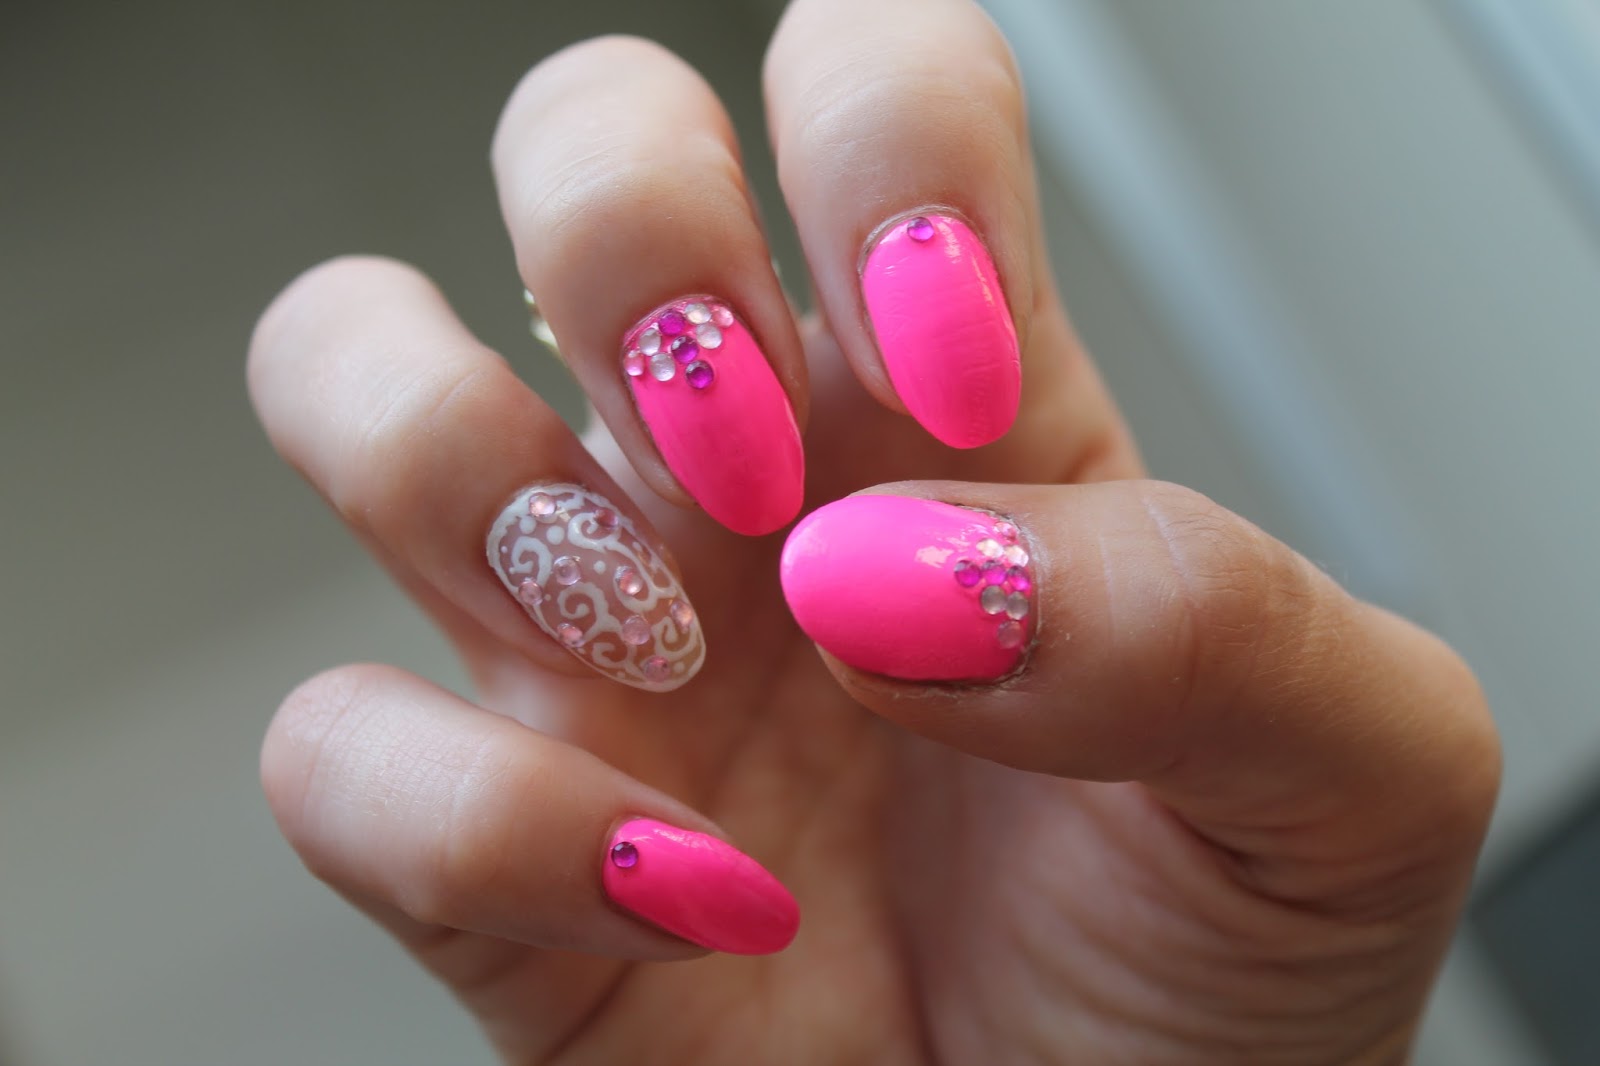
glitter
or
rhinestones
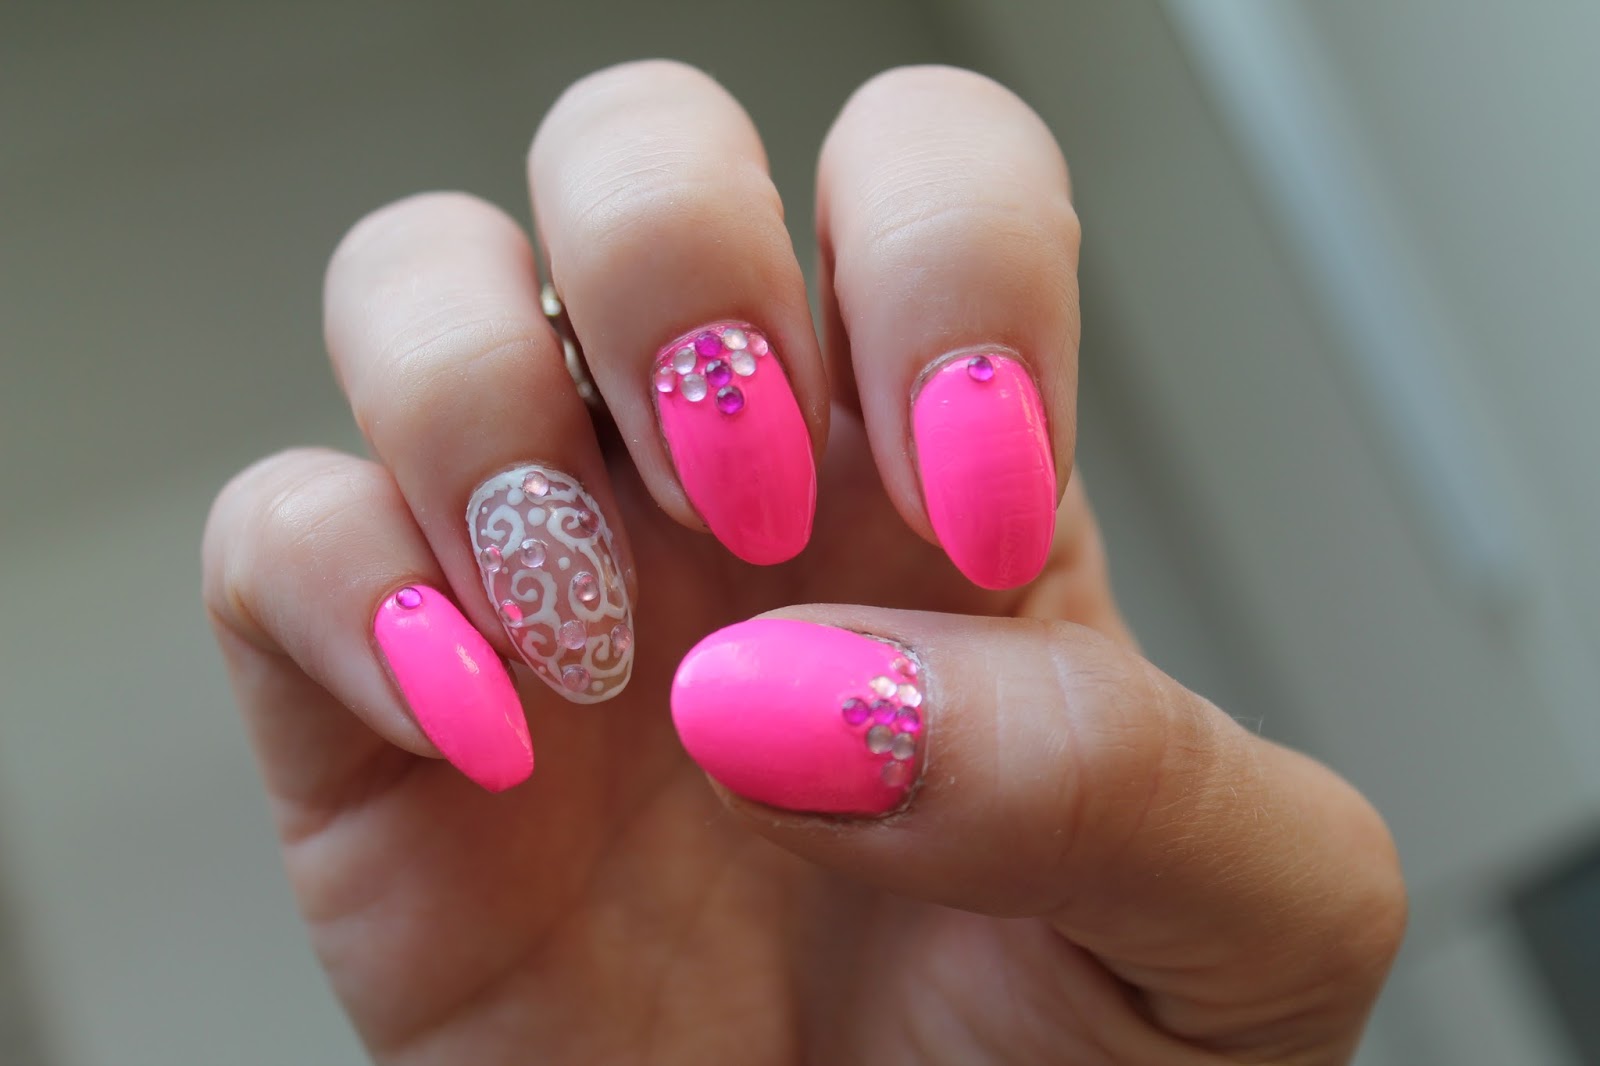
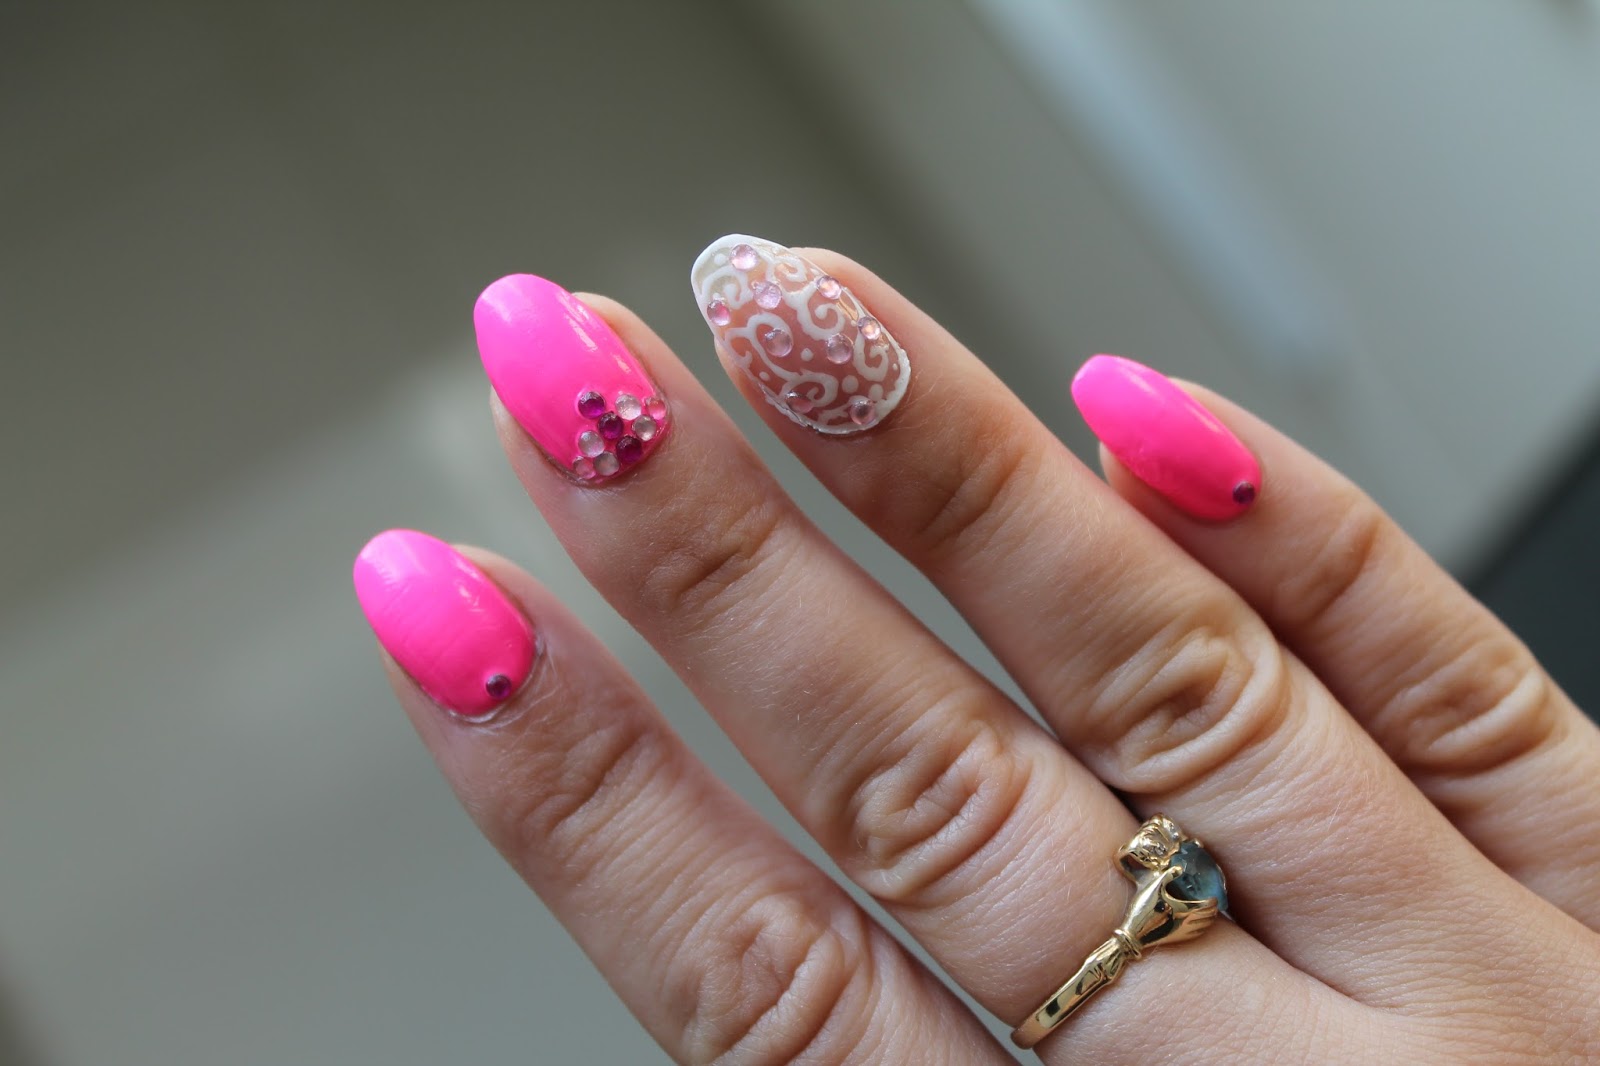
to enhance the design and make it truly unique.
After the top coat has dried, you can add some final touches to your lace nail design. You can use a small brush and some nail polish remover to clean up any excess polish around your cuticles. You can also add some
glitter
or
rhinestones
to enhance the design and make it truly unique.
With these simple steps, you can easily create your own lace nail design at home. Don't be afraid to experiment with different lace patterns and colors to create your own signature look. And remember, practice makes perfect – so have fun and keep perfecting your lace nail design skills!


