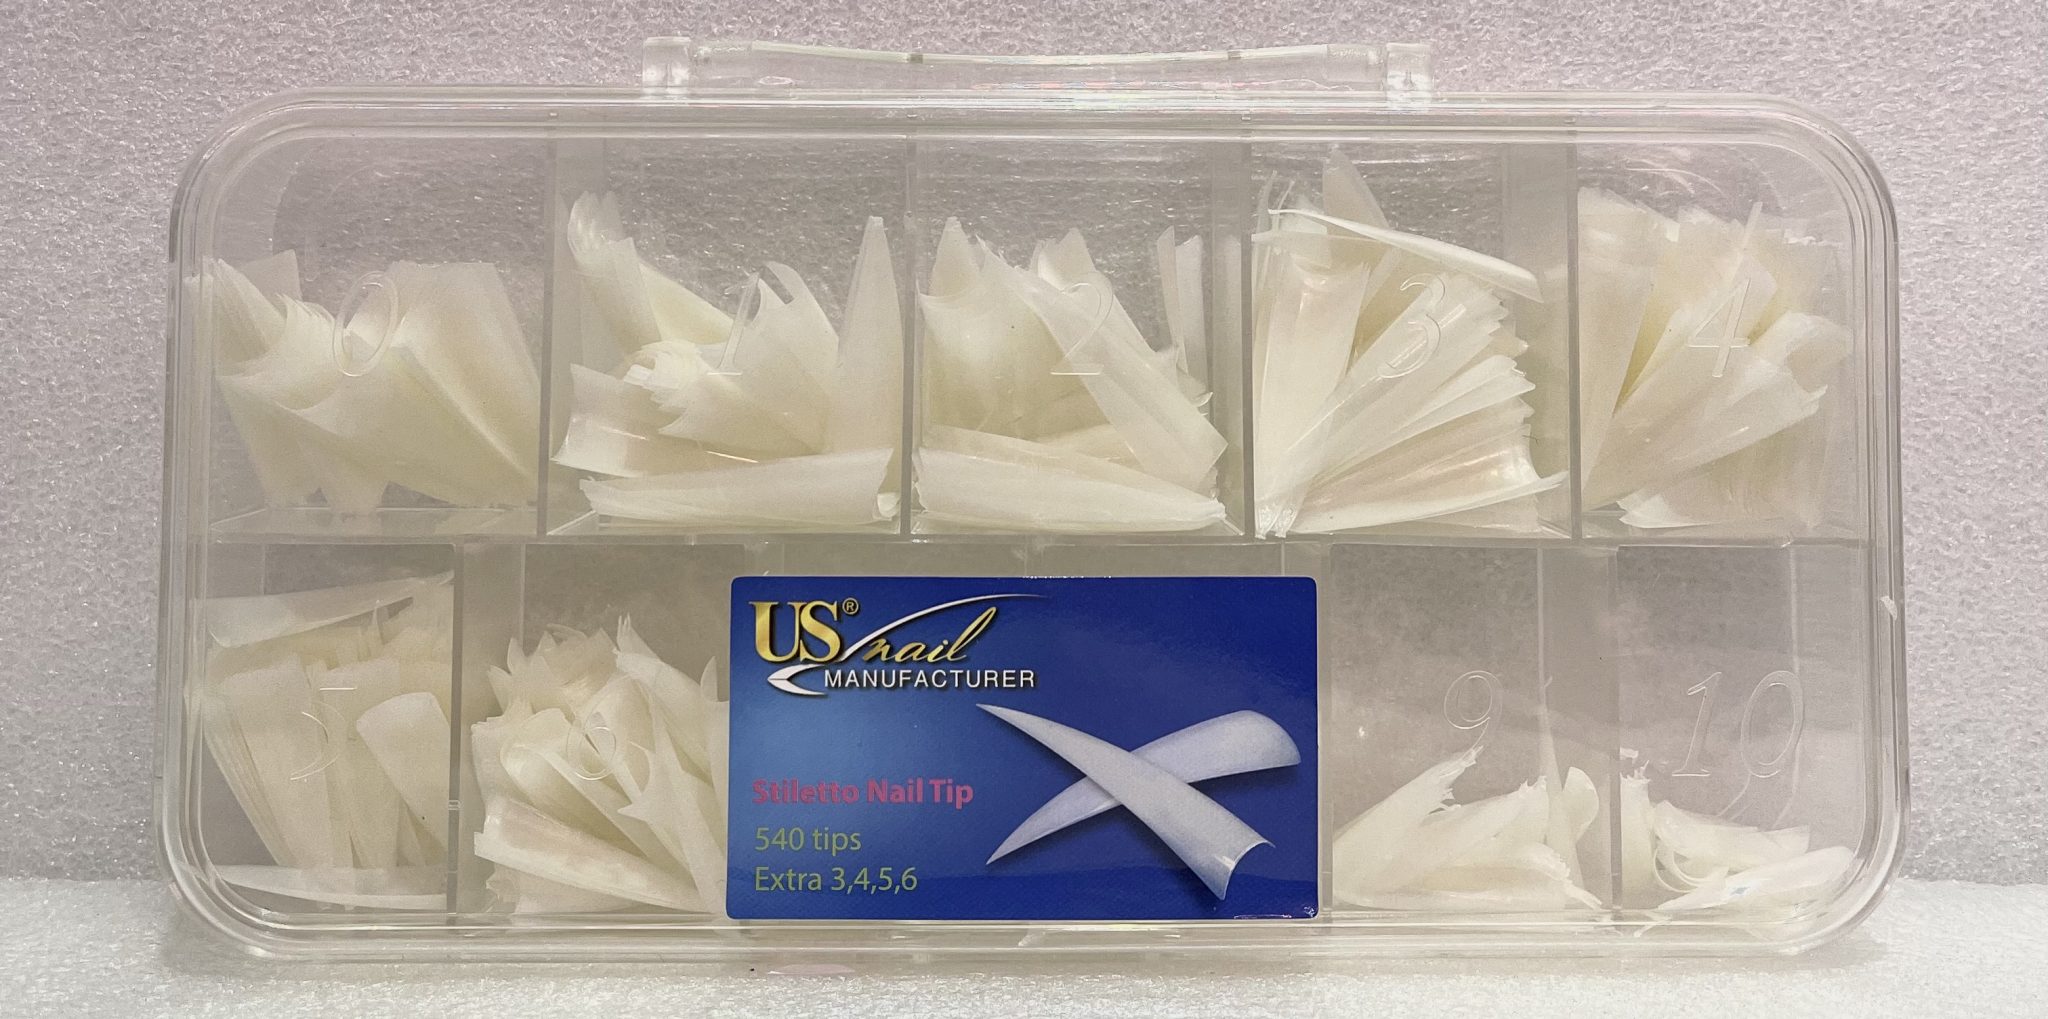
If you're new to the world of stiletto nails, don't worry - we've got you covered with this easy tutorial. Stiletto nails may seem intimidating, but with the right techniques and tools, you can achieve a stunning and unique look for your nails. Stiletto nails are known for their sharp and elongated shape, resembling a stiletto heel. They have been a popular trend in the nail world for years, and for good reason - they make a bold statement and add a touch of edginess to any look. To start, you'll need a set of stiletto nail tips, a nail file, nail glue, and your choice of nail polish or design. Let's get started on creating your perfect stiletto nails.1. "Easy Stiletto Nail Design Tutorial for Beginners"


1. "Easy Stiletto Nail Design Tutorial for Beginners"


For those who prefer a more detailed guide, this step-by-step tutorial will walk you through the process of creating stiletto nails from start to finish. First, choose the length of your stiletto nails by trimming the tips to your desired length. Next, file the tips into a sharp, pointed shape. Make sure to file in one direction to avoid weakening the nail. Once you have the desired shape, apply a thin layer of nail glue to the back of the tip and press it onto your natural nail. Hold in place for a few seconds to ensure it's secure. Now comes the fun part - decorating your stiletto nails. You can opt for a simple stiletto nail design using a single color of polish, or get creative with different designs and patterns. Don't be afraid to experiment and have fun with it!2. "Step-by-Step Stiletto Nail Design Tutorial"


2. "Step-by-Step Stiletto Nail Design Tutorial"


Gel polish is a popular choice for stiletto nails as it provides a long-lasting and glossy finish. To achieve a stiletto nail design with gel polish, follow the same steps as above, but instead of using regular nail polish, use gel polish. After applying the base coat and color of your choice, cure each layer under a UV or LED lamp. Once your design is complete, finish off with a top coat and cure once more for a high-shine finish that will last for weeks.3. "Stiletto Nail Design Tutorial with Gel Polish"

3. "Stiletto Nail Design Tutorial with Gel Polish"


If you prefer a more durable option, acrylic nails are a great choice for stiletto nail designs. Start by applying acrylic nails as you would for a regular nail extension - by mixing a small amount of acrylic liquid and powder and applying it to the tip of your natural nail. Once the acrylic has dried, file and shape the tips into a stiletto shape. You can then paint your stiletto nails with acrylic paint or use acrylic powders to create unique designs and patterns. Finish with a top coat for a glossy finish.4. "Stiletto Nail Design Tutorial with Acrylic"


4. "Stiletto Nail Design Tutorial with Acrylic"

Stiletto nails can seem like a style only suitable for longer nails, but that's not the case. With a few adjustments, you can still achieve a stunning stiletto nail design on shorter nails. Start by trimming the stiletto nail tips to a shorter length. This will make it easier to manage and prevent any discomfort. You can also opt for a shorter and less pointed shape for a more subtle stiletto look. As for the design, choose smaller and simpler patterns to complement the shorter nail length.5. "Stiletto Nail Design Tutorial for Short Nails"

5. "Stiletto Nail Design Tutorial for Short Nails"

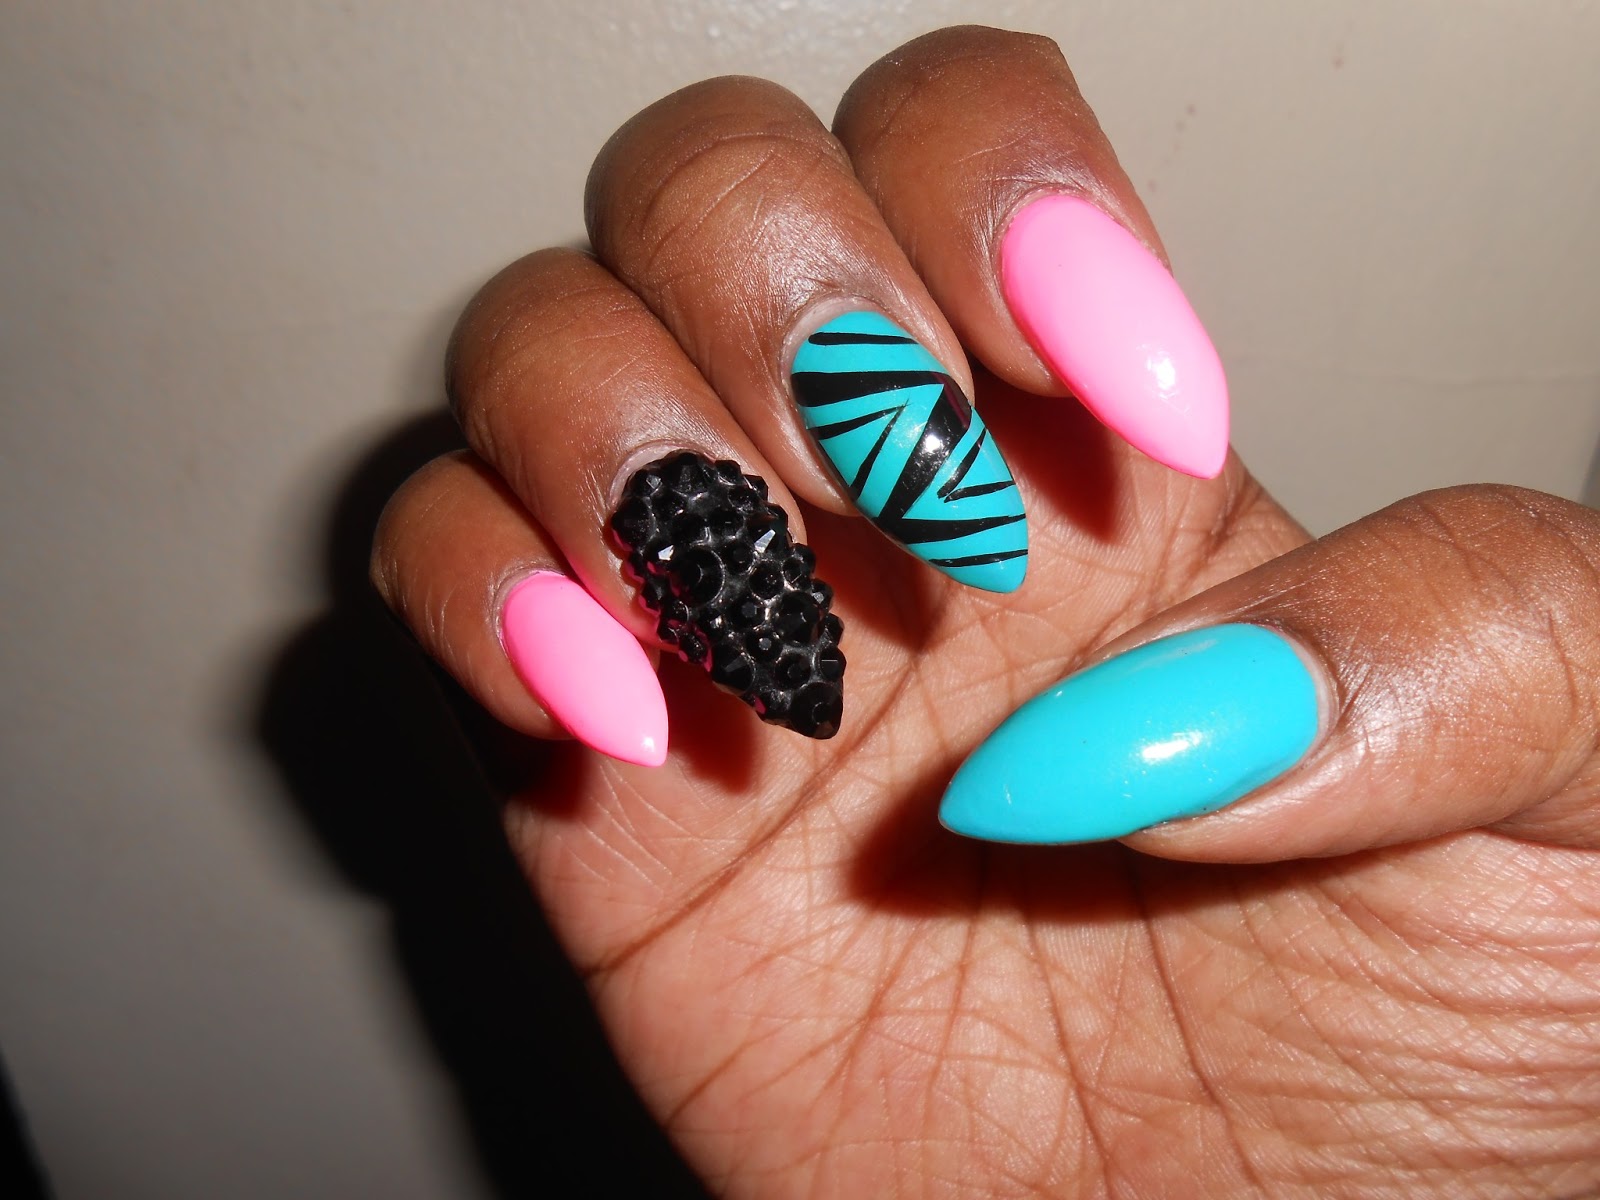
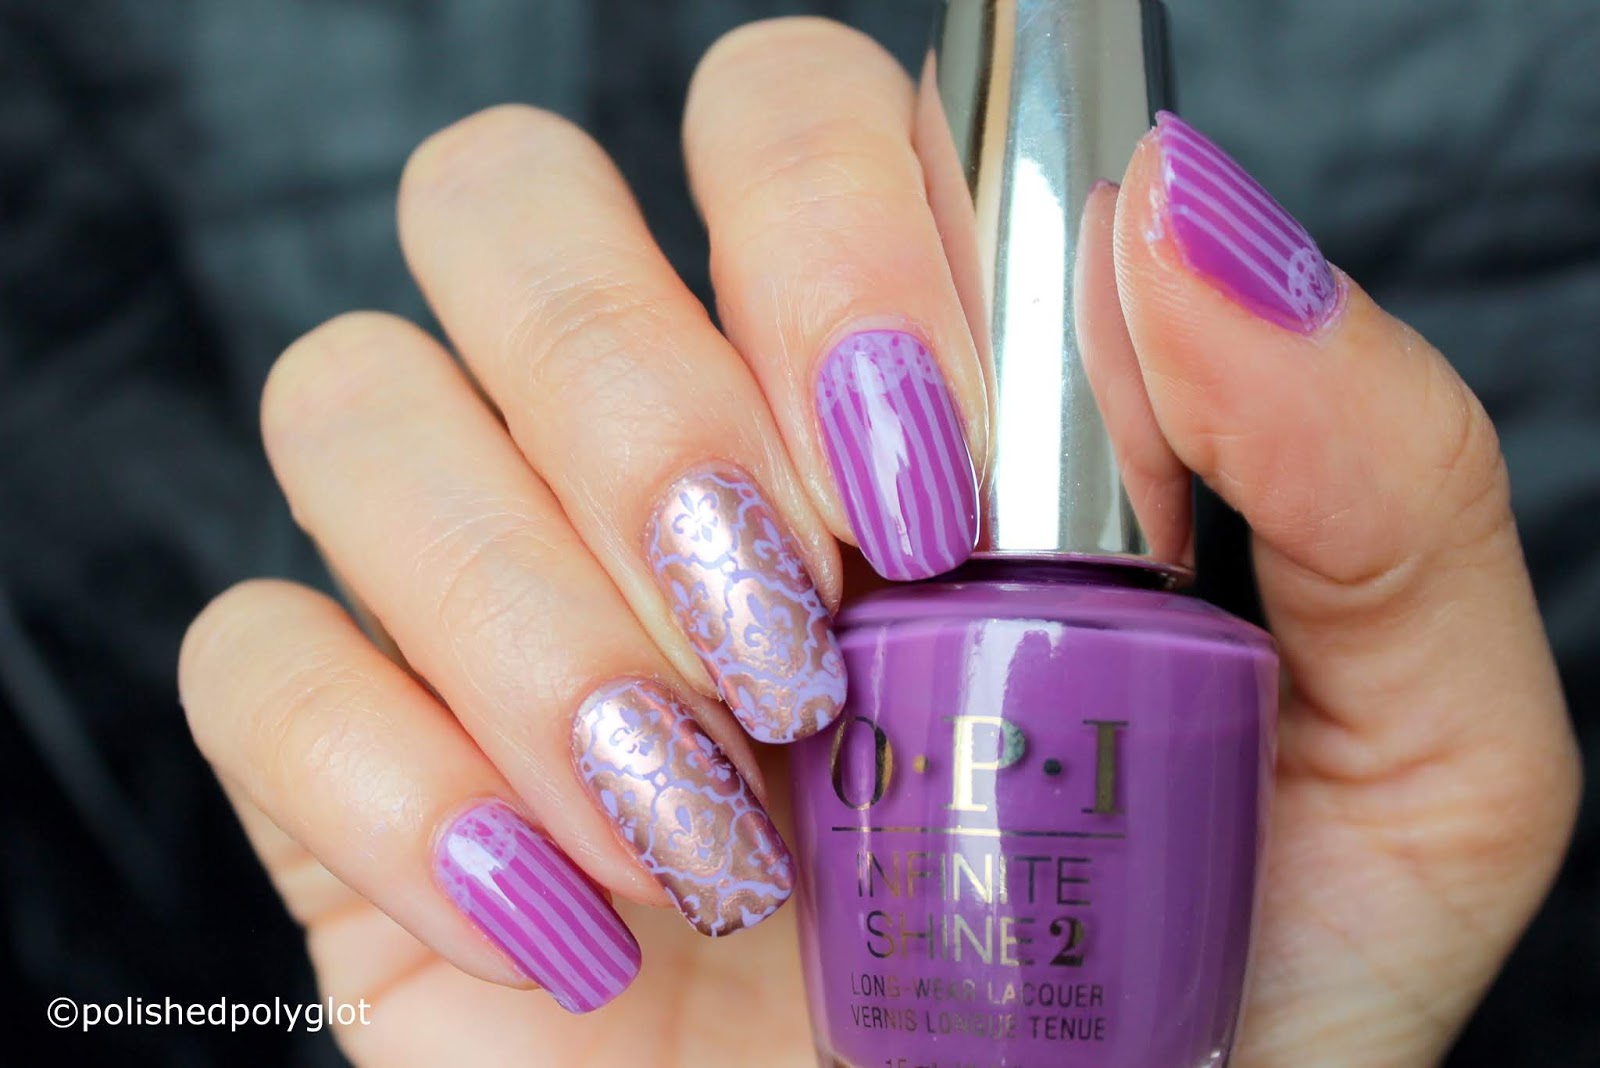
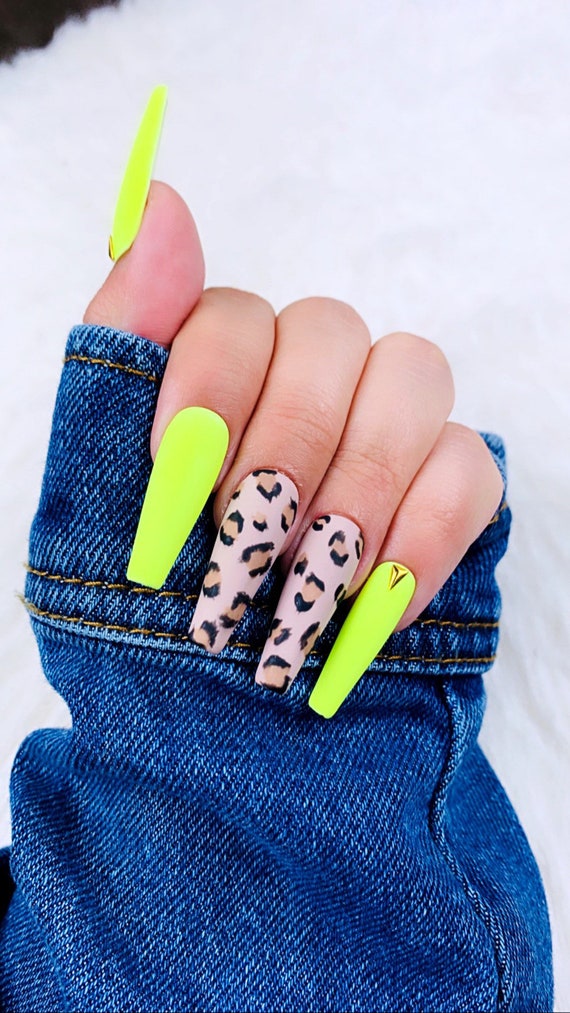
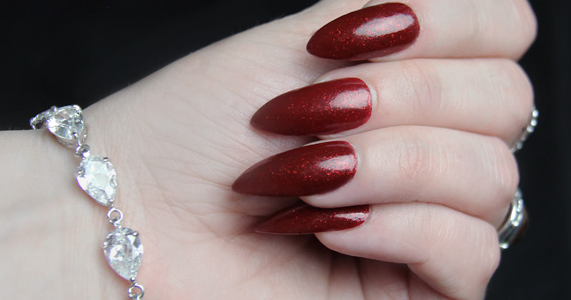
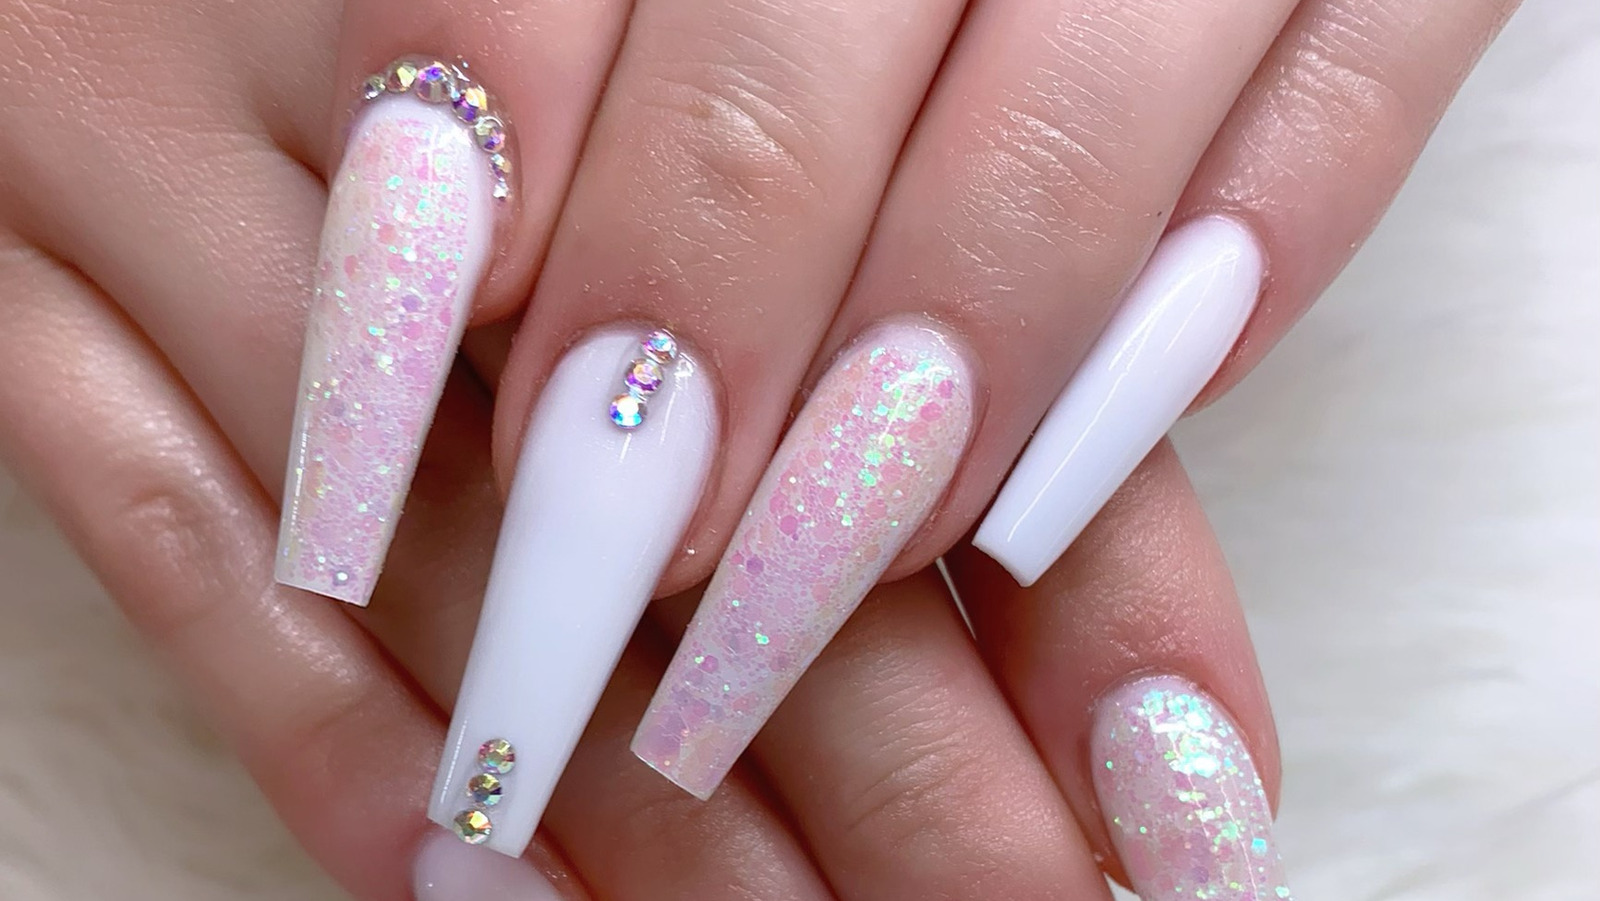
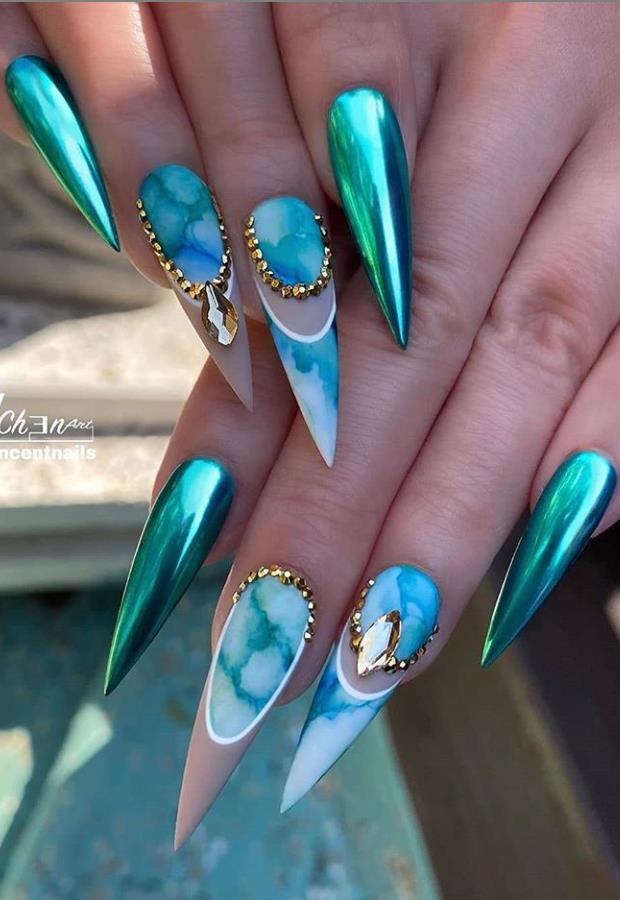
On the other hand, if you have longer nails, you can go all out with your stiletto nail design. Longer nails provide more surface area, meaning you can play around with different designs and patterns. For a dramatic look, try a gradient or ombre effect using multiple colors of polish. You can also add rhinestones or other decorations for a more glamorous look.6. "Stiletto Nail Design Tutorial for Long Nails"


6. "Stiletto Nail Design Tutorial for Long Nails"


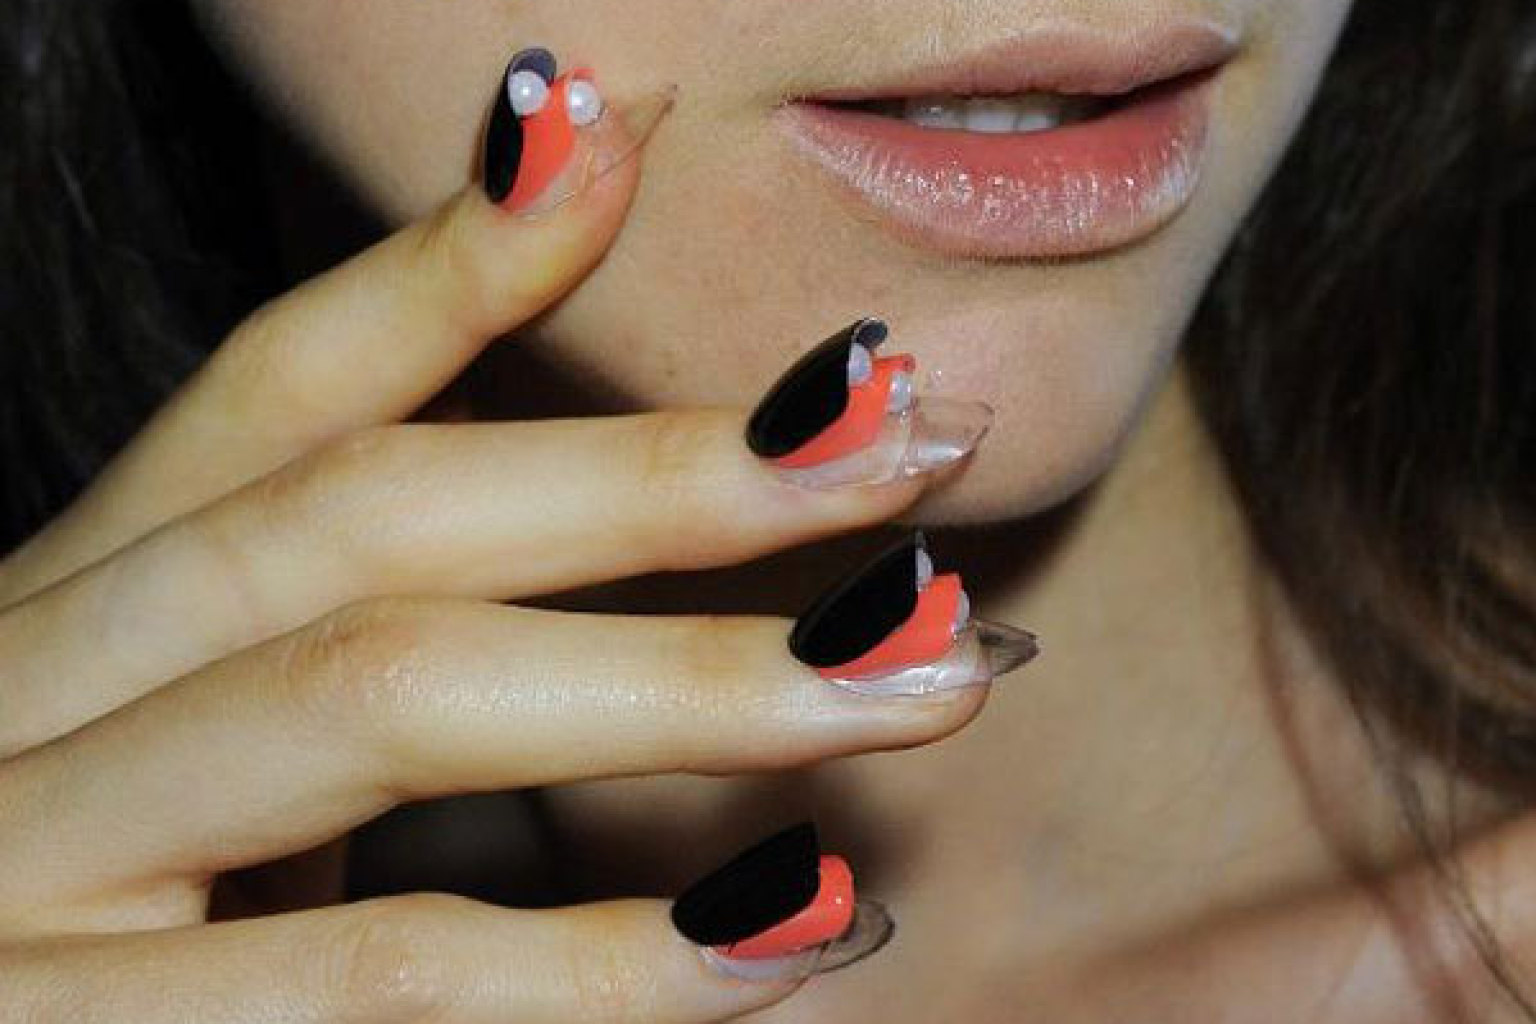
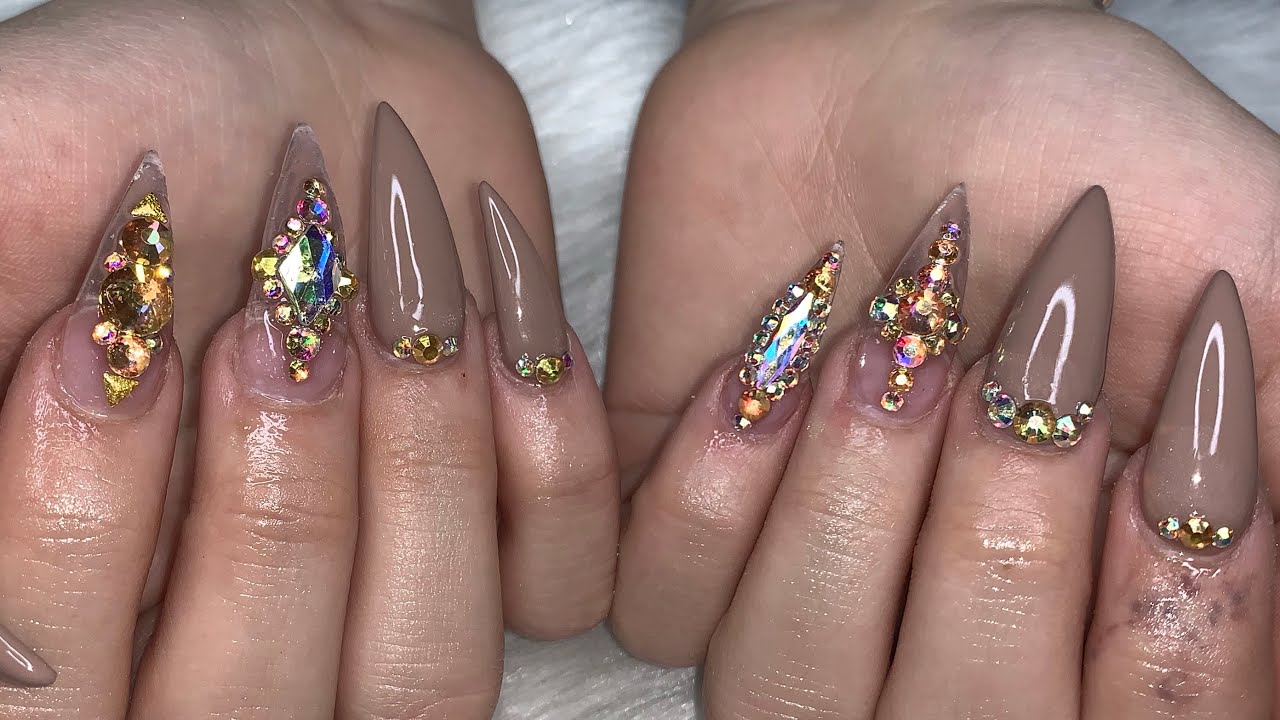
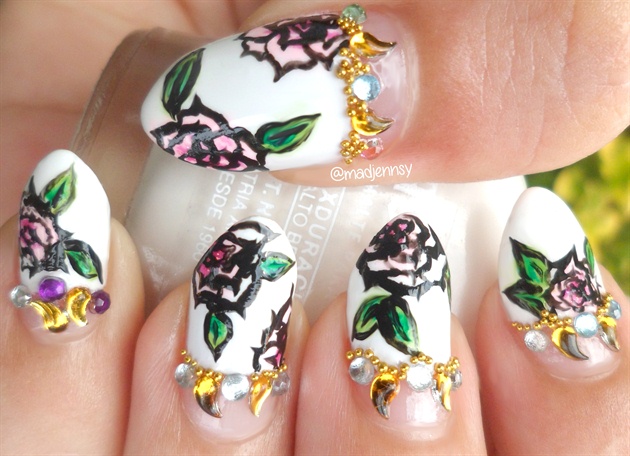
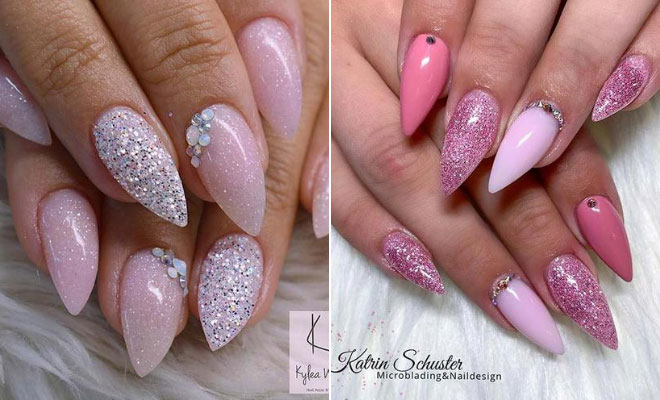
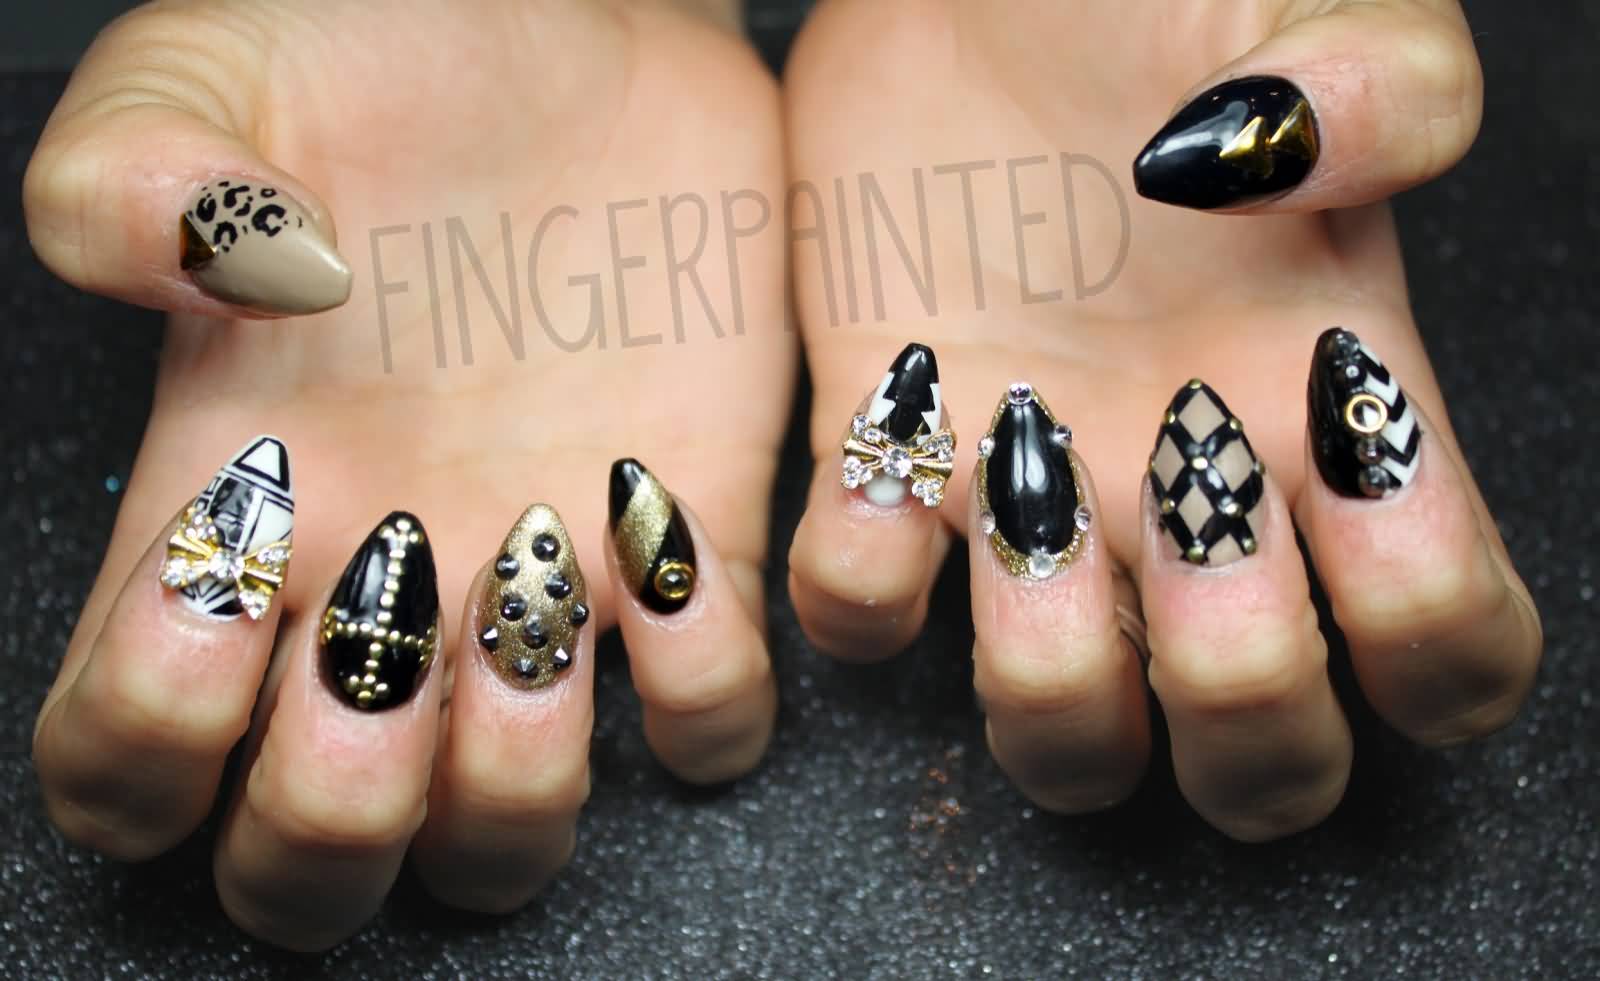
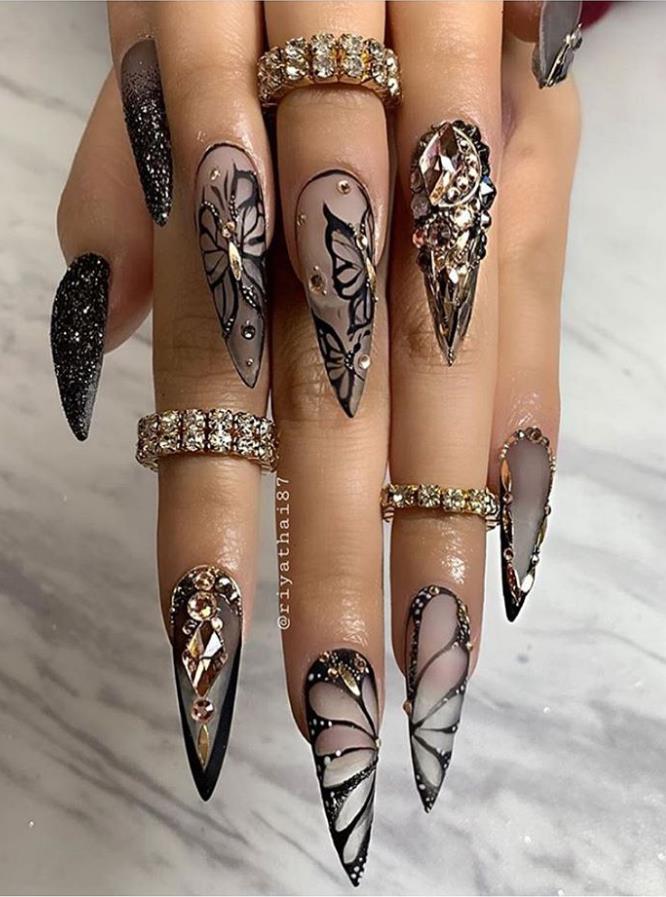
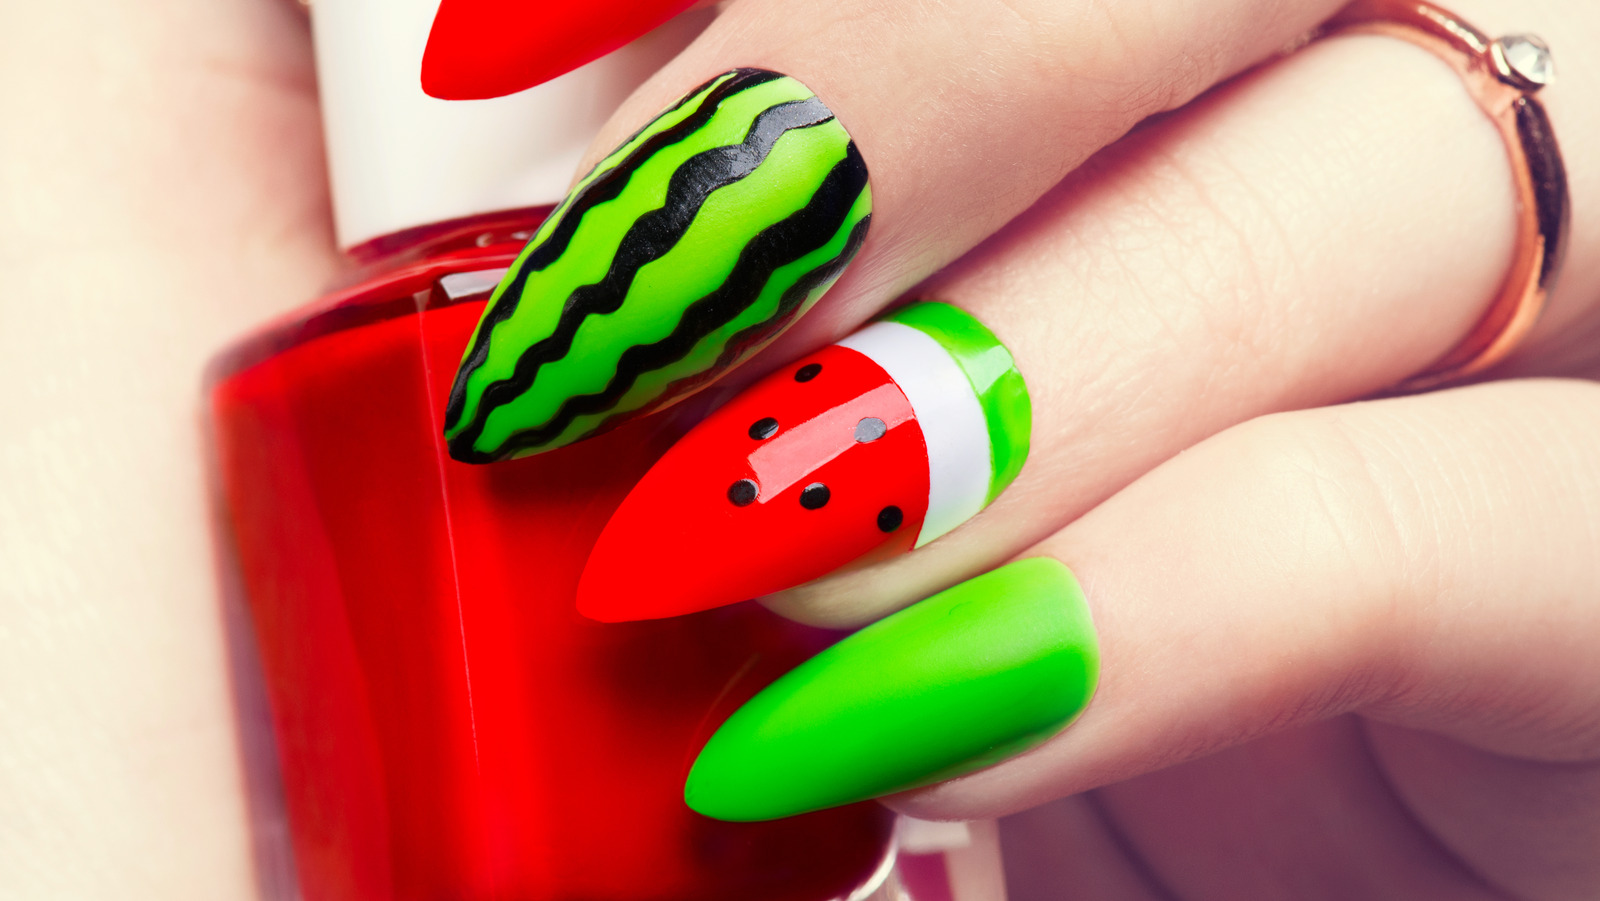
Rhinestones are a popular choice for adding a touch of sparkle and glam to stiletto nails. To achieve this look, start by painting your nails with a base color. Once dry, use a dotting tool or small brush to apply nail glue to the desired areas and carefully place the rhinestones on top. For a full blinged-out look, cover the entire nail with rhinestones, or opt for a simpler design by placing them on the tips or in a geometric pattern.7. "Stiletto Nail Design Tutorial with Rhinestones"

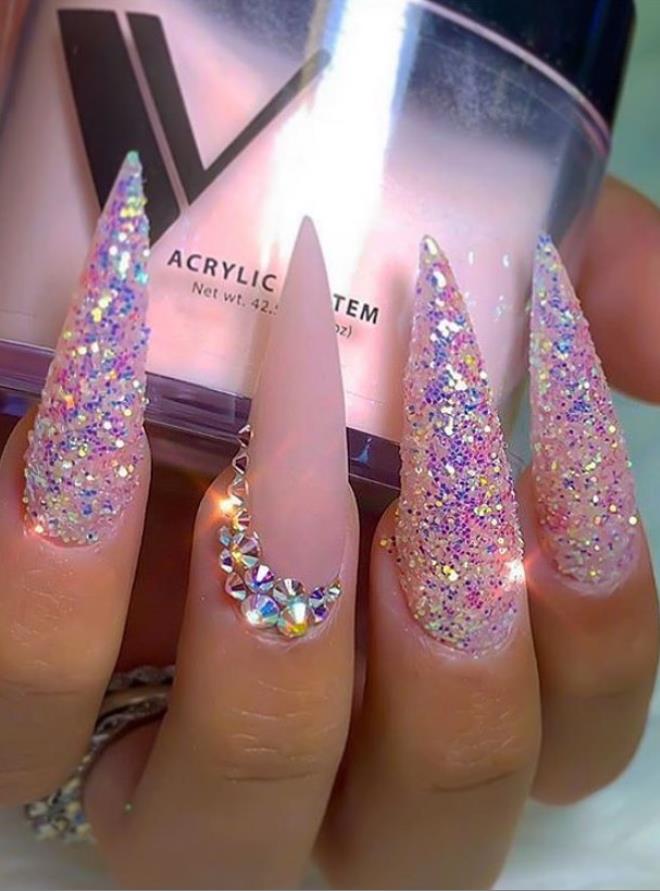

7. "Stiletto Nail Design Tutorial with Rhinestones"
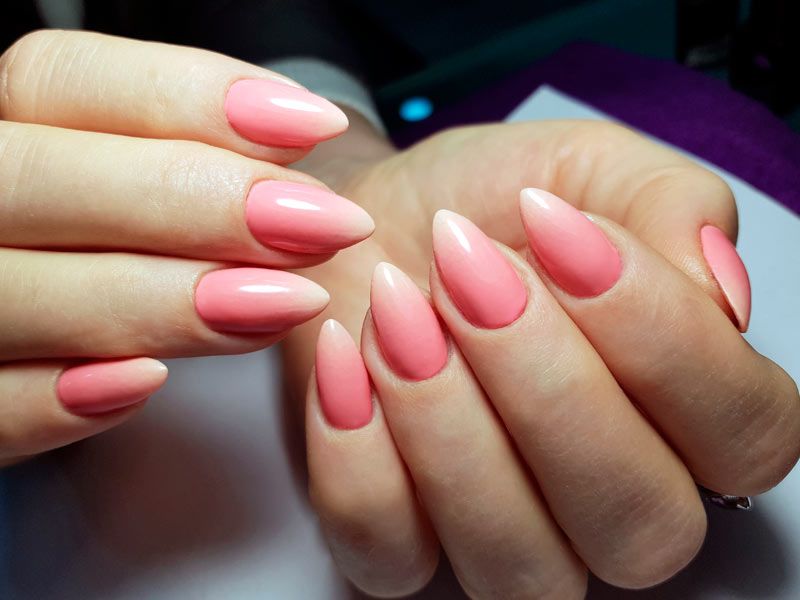
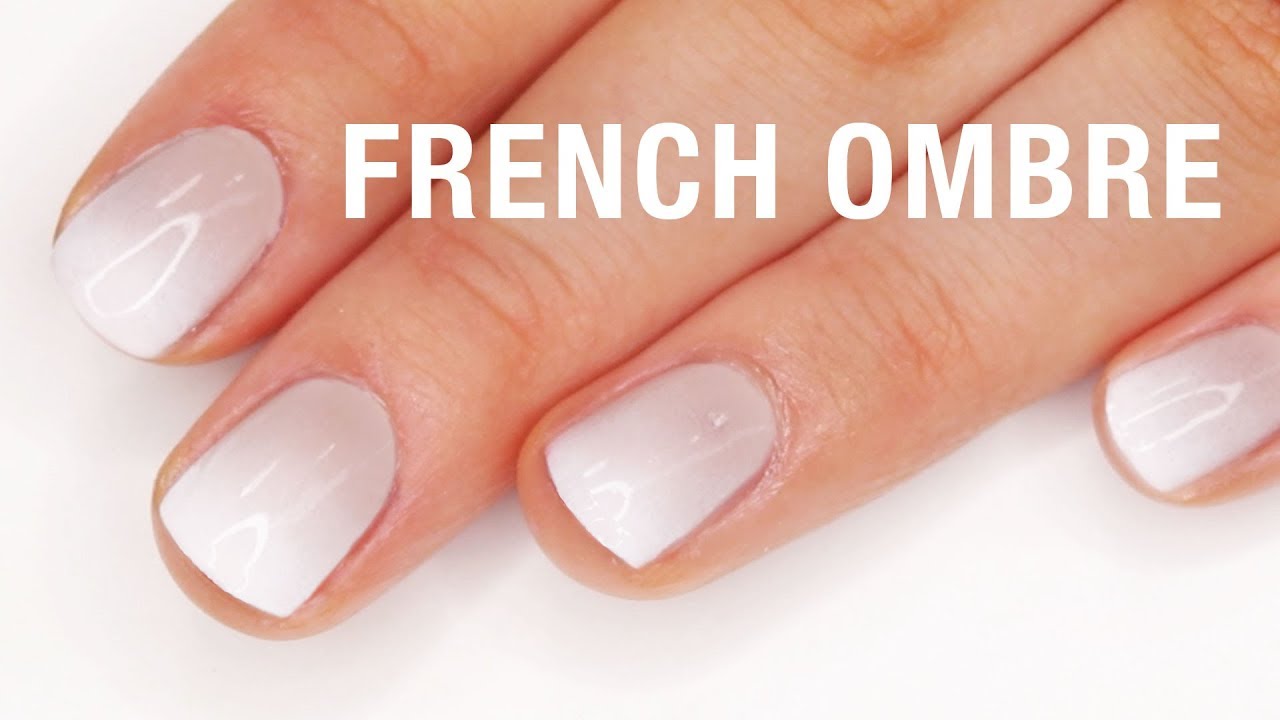
The ombre effect is a popular choice for stiletto nails as it creates a gradual and seamless transition of color. To achieve this look, you'll need two or more shades of polish in the same color family. Start by painting your nails with the lightest color and let it dry. Then, using a makeup sponge, dab the darker color onto the tips of your nails and blend upwards for a gradient effect. Finish with a top coat for a smooth finish.8. "Stiletto Nail Design Tutorial with Ombre Effect"


8. "Stiletto Nail Design Tutorial with Ombre Effect"


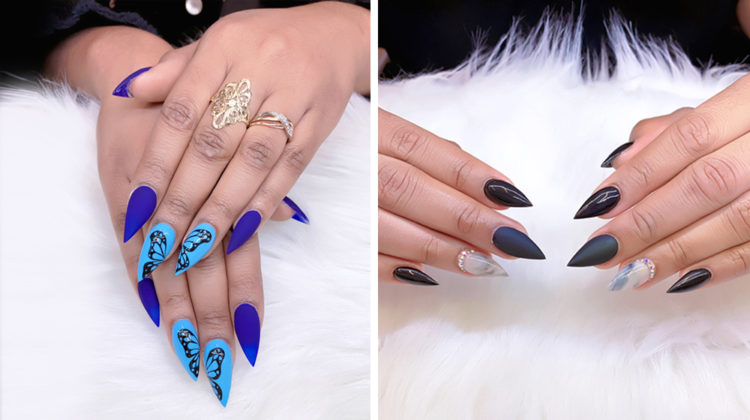
For a more understated and edgy look, try a matte finish on your stiletto nails. Start by painting your nails with your choice of color and let it dry. Then, apply a matte top coat for a non-glossy finish. You can also add designs or patterns using a matte top coat to create a unique and bold look.9. "Stiletto Nail Design Tutorial with Matte Finish"
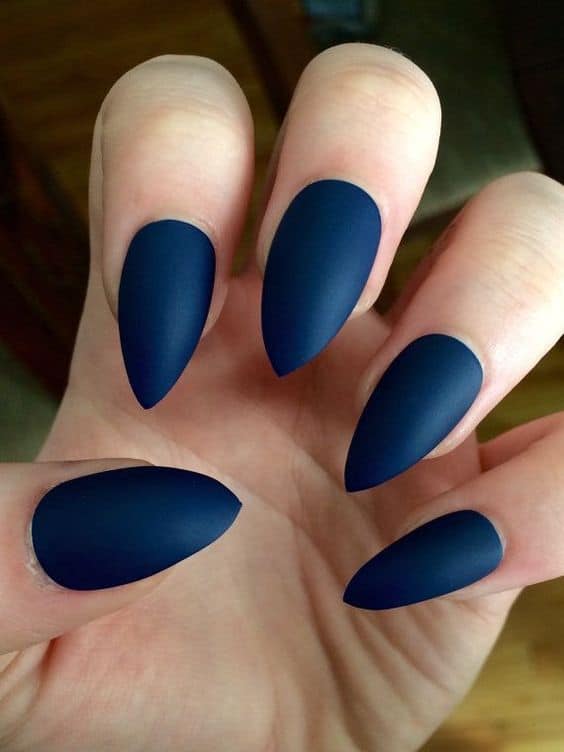

9. "Stiletto Nail Design Tutorial with Matte Finish"


If you have a special event or occasion coming up, why not add some stiletto nails to your outfit? For a glamorous and elegant look, try a stiletto nail design with gold or silver accents. You can also opt for a bold and eye-catching design using bright and bold colors. Remember to plan ahead and give yourself enough time to create your stiletto nails before the big event. You can also seek inspiration from social media or nail art tutorials for even more ideas. With this top 10 stiletto nail design tutorial, you can now create stunning and unique stiletto nails at home. Remember to have fun and experiment with different designs and colors to find your perfect stiletto look.10. "Stiletto Nail Design Tutorial for Special Occasions"
10. "Stiletto Nail Design Tutorial for Special Occasions"


Why Stiletto Nails are the Hottest Trend in Nail Design

The Rise of Stiletto Nails

Stiletto nails are the latest craze in the world of nail design. These sharp and pointed nails have been making waves in the beauty industry, with celebrities and influencers alike sporting this daring and edgy look. But what exactly are stiletto nails and why are they so popular?
What are Stiletto Nails?
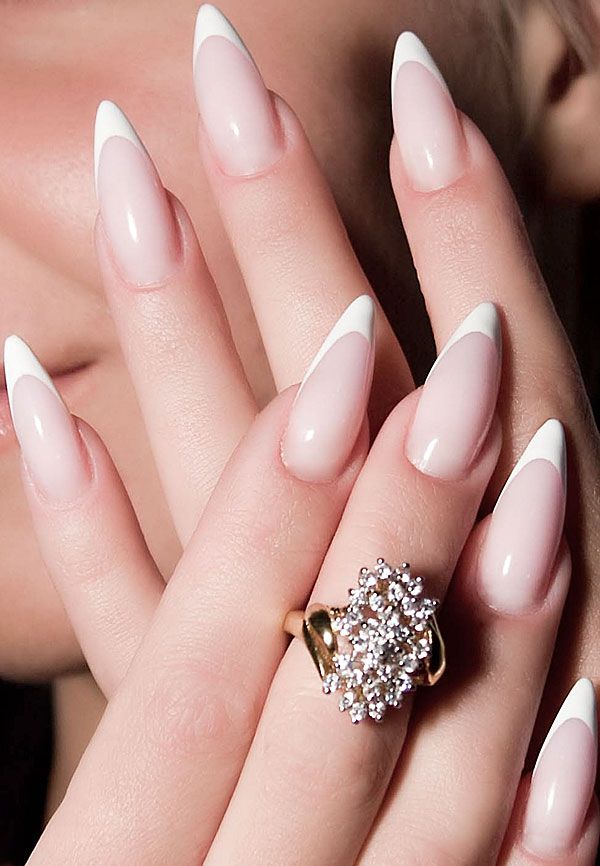
Stiletto nails are named after the stiletto heel, known for its slim and pointed shape. These nails are long and tapered, with a sharp point at the tip. They are typically longer than traditional square or round nails and can be customized with various designs and embellishments to suit individual preferences.
The Appeal of Stiletto Nails

Stiletto nails have gained popularity for several reasons. For one, they make a bold statement and demand attention. The unique shape adds a touch of drama and glamour to any look. Additionally, stiletto nails provide a larger canvas for creative nail designs, allowing for intricate and eye-catching patterns.
Another reason for their appeal is the illusion of elongated fingers. The pointed shape of stiletto nails can make fingers appear longer and more slender, giving off a sleek and elegant vibe.
How to Achieve the Perfect Stiletto Nails

While stiletto nails may seem intimidating to achieve, with a little practice and the right tools, anyone can rock this trend. Start by shaping the nails into a pointed tip, then file away any rough edges. Next, apply a base coat and choose a bold color or design to paint on. To make the nails appear even longer, add some nail extensions before painting.
When it comes to maintenance, stiletto nails require some extra care. Due to their length and shape, they are more prone to breakage and may need to be touched up more frequently. However, the end result is worth the effort.
In Conclusion
Stiletto nails are a fun and daring trend that allows for endless creativity and adds an instant touch of glamour to any look. So why not give them a try and see for yourself why they are the hottest trend in nail design today?


