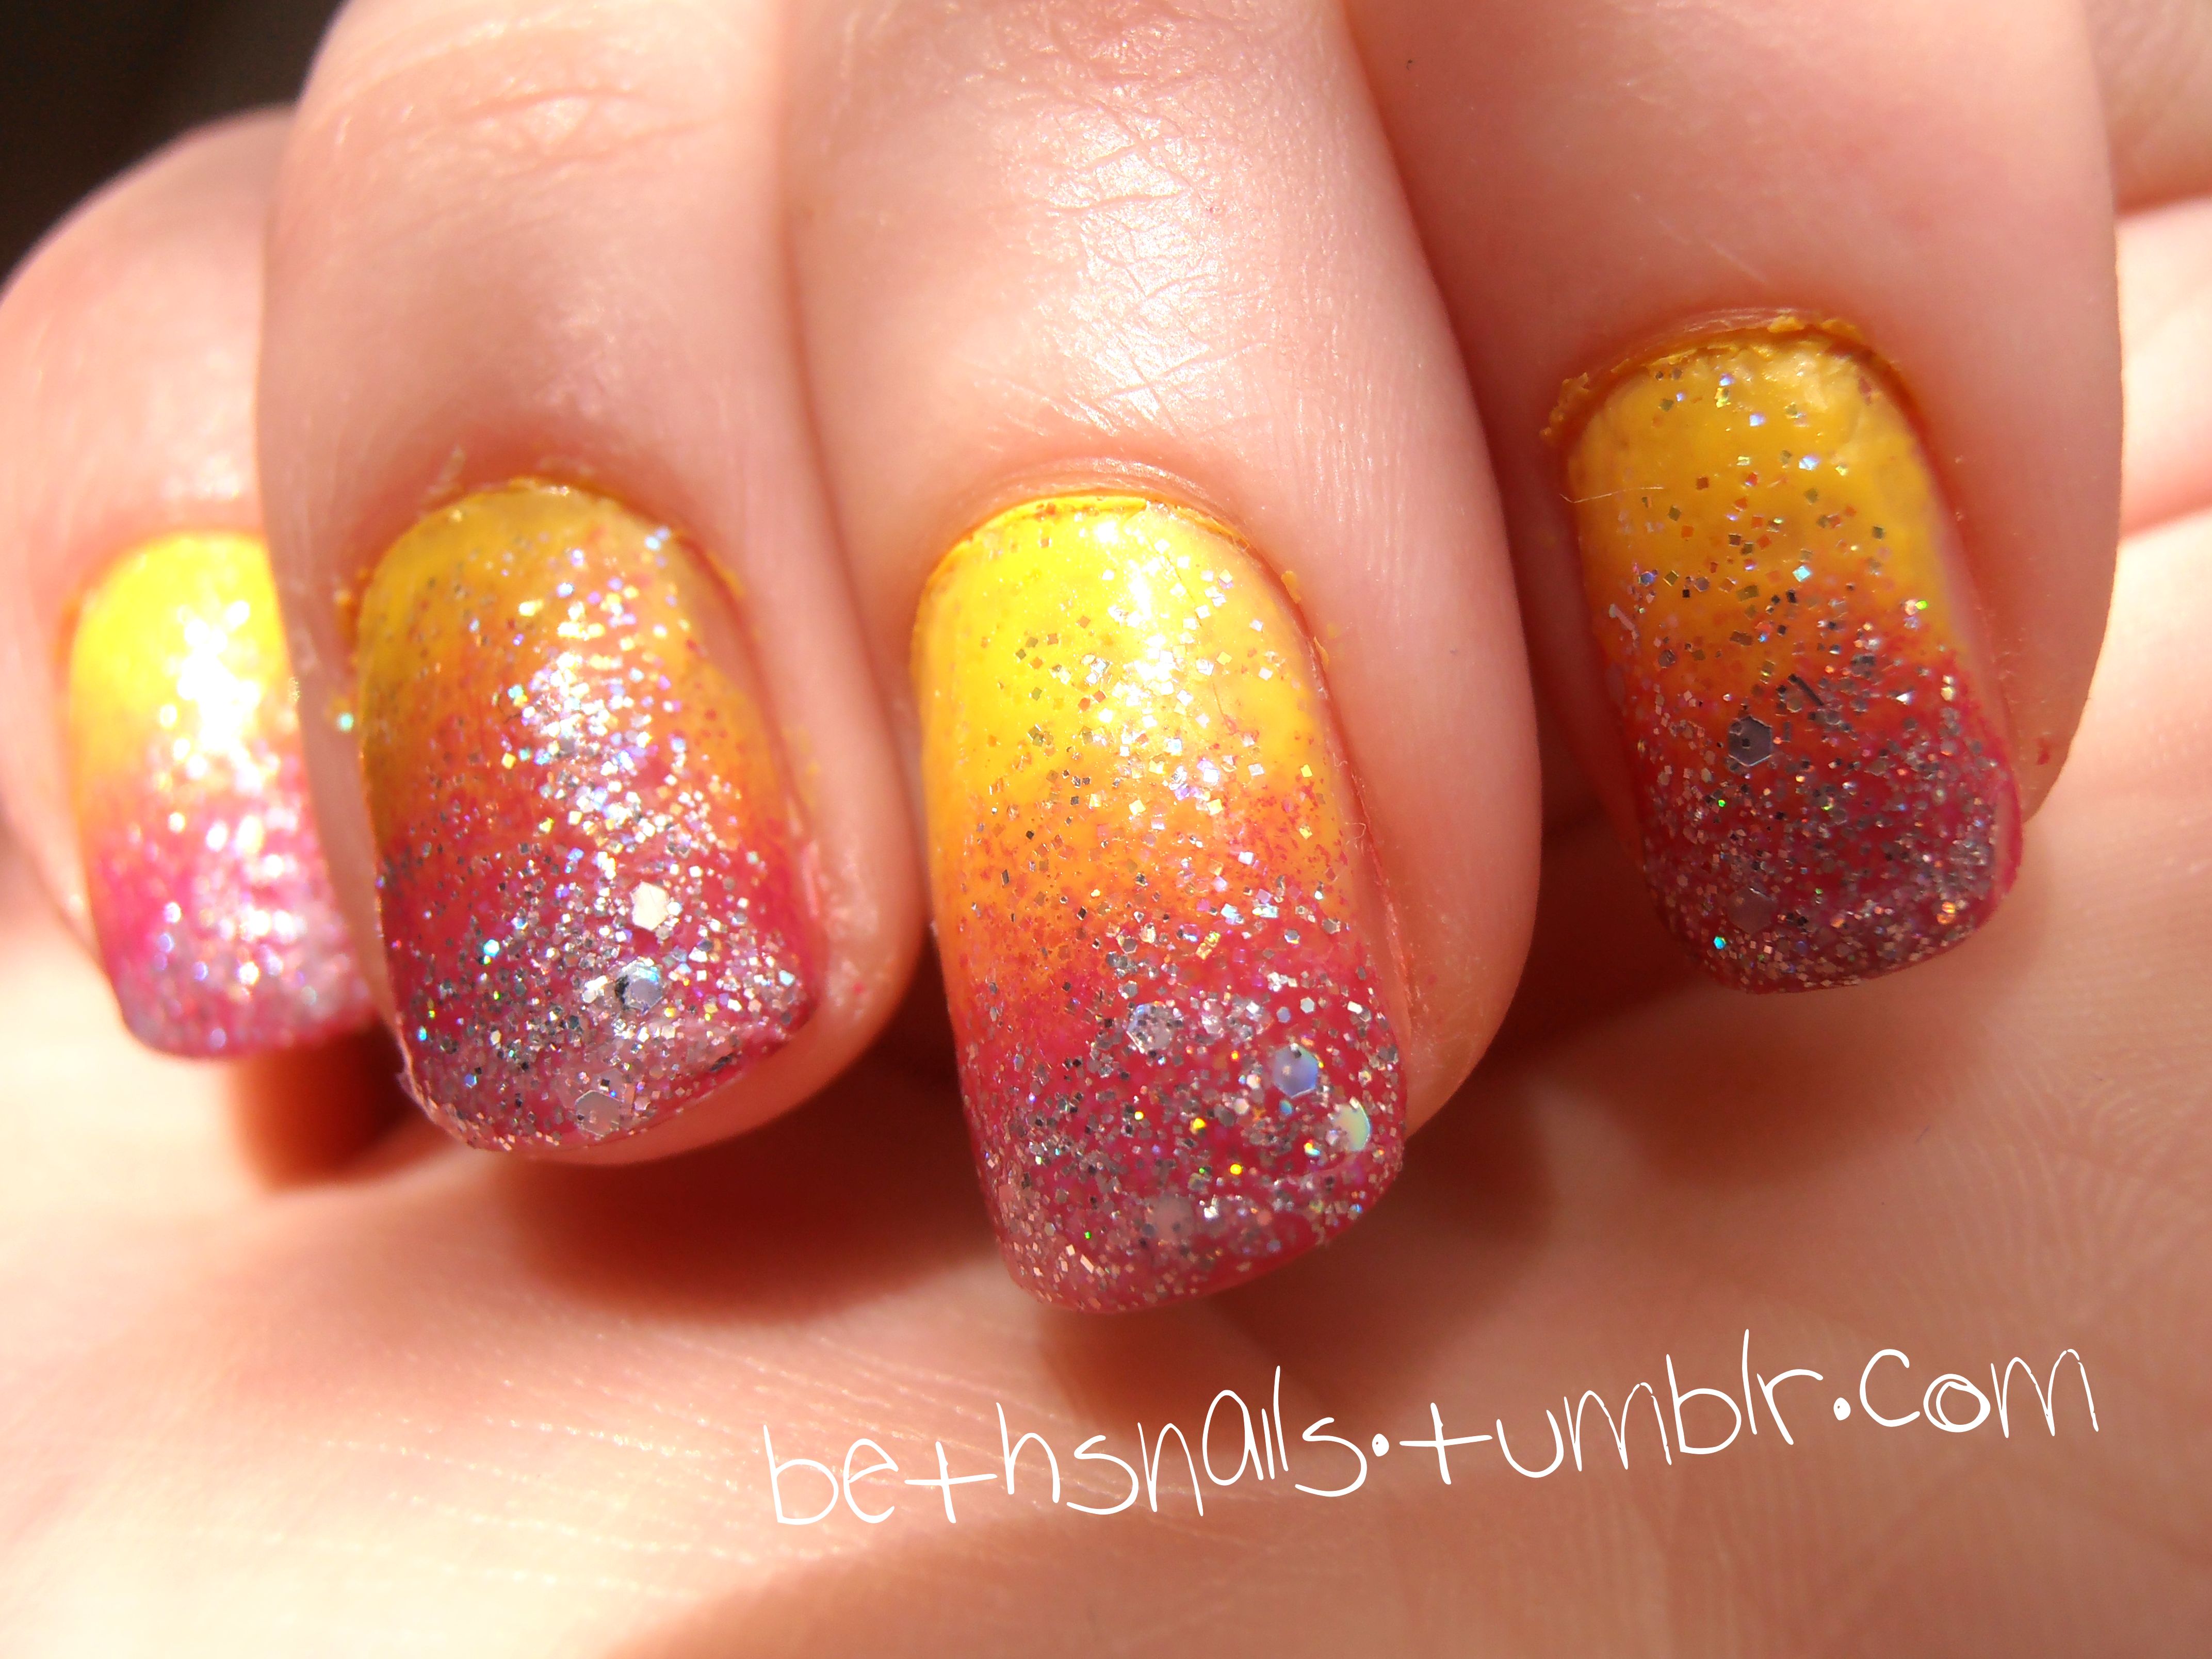
Sunrise gradient nail art is a popular and stunning design that mimics the beautiful colors of a sunrise. This design involves blending different shades of yellow, orange, and pink to create a seamless gradient effect on the nails. It's a simple yet eye-catching design that is perfect for any occasion. The key to achieving the perfect sunrise gradient is to start with a light base color and gradually add darker shades on top. You can use a makeup sponge or a nail art sponge to create the gradient effect. Make sure to blend the colors well and apply a top coat to seal the design.1. "Sunrise Gradient Nail Art Design"


1. "Sunrise Gradient Nail Art Design"


Sunrise ombre nail art is a variation of the gradient design, but instead of blending the colors vertically, they are blended horizontally. This creates a beautiful ombre effect on the nails, resembling the colors of a sunrise. It's a fun and unique way to incorporate the warm and vibrant colors of a sunrise into your nail design. To achieve this design, start by painting your nails with a light base color. Then, using a nail art brush or a makeup sponge, carefully blend the darker shades horizontally on the tips of your nails. Finish off with a top coat to seal the design and give it a glossy finish.2. "Sunrise Ombre Nail Art Design"


2. "Sunrise Ombre Nail Art Design"


If you want to take your sunrise nail art to the next level, try incorporating a skyline design into it. This design features a beautiful silhouette of a city skyline against the colorful backdrop of a sunrise. It's a creative and unique way to showcase your love for both nature and urban life. To create this design, start by painting your nails with a light base color. Then, using a thin nail art brush, carefully draw the outline of a city skyline on your nails. Next, use different shades of blue, purple, and pink to create the sunrise in the background. Finish off with a top coat to seal the design.3. "Sunrise Skyline Nail Art Design"

3. "Sunrise Skyline Nail Art Design"


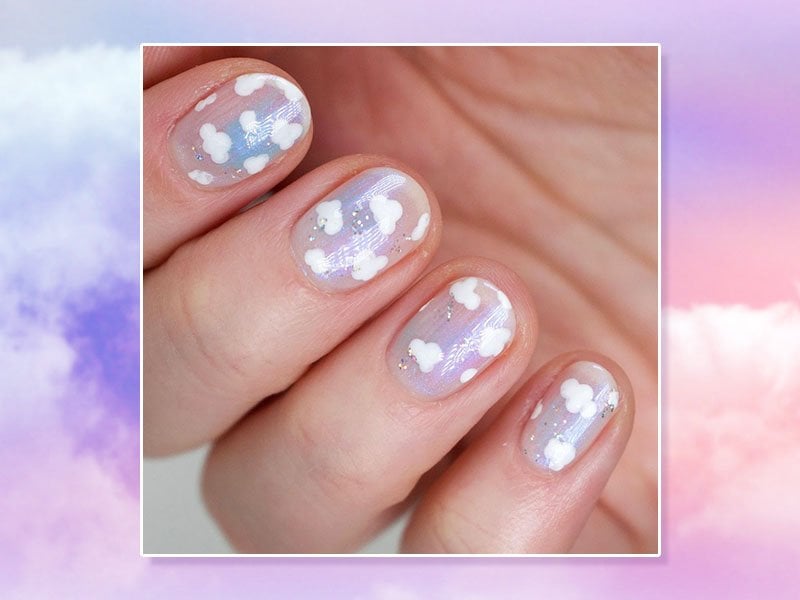
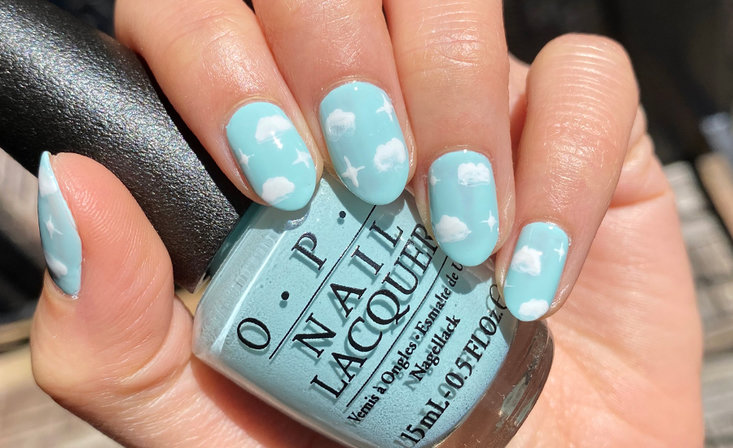
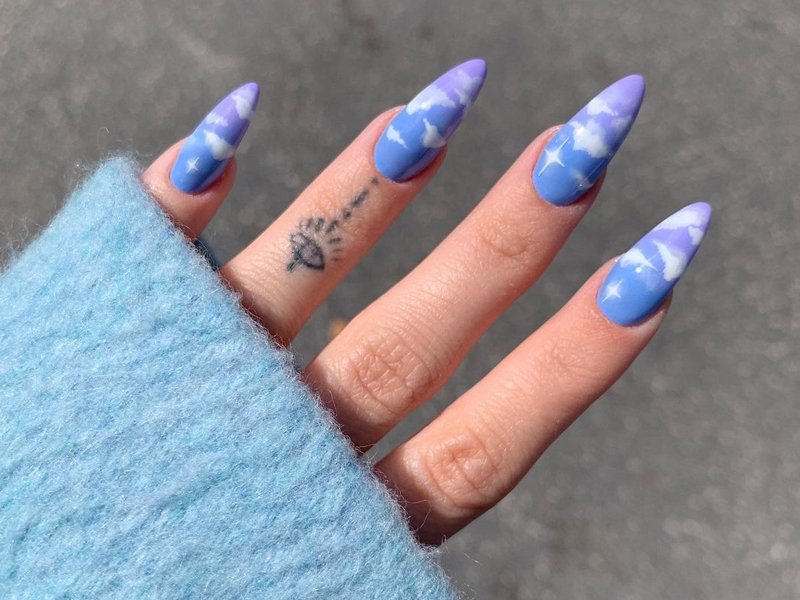
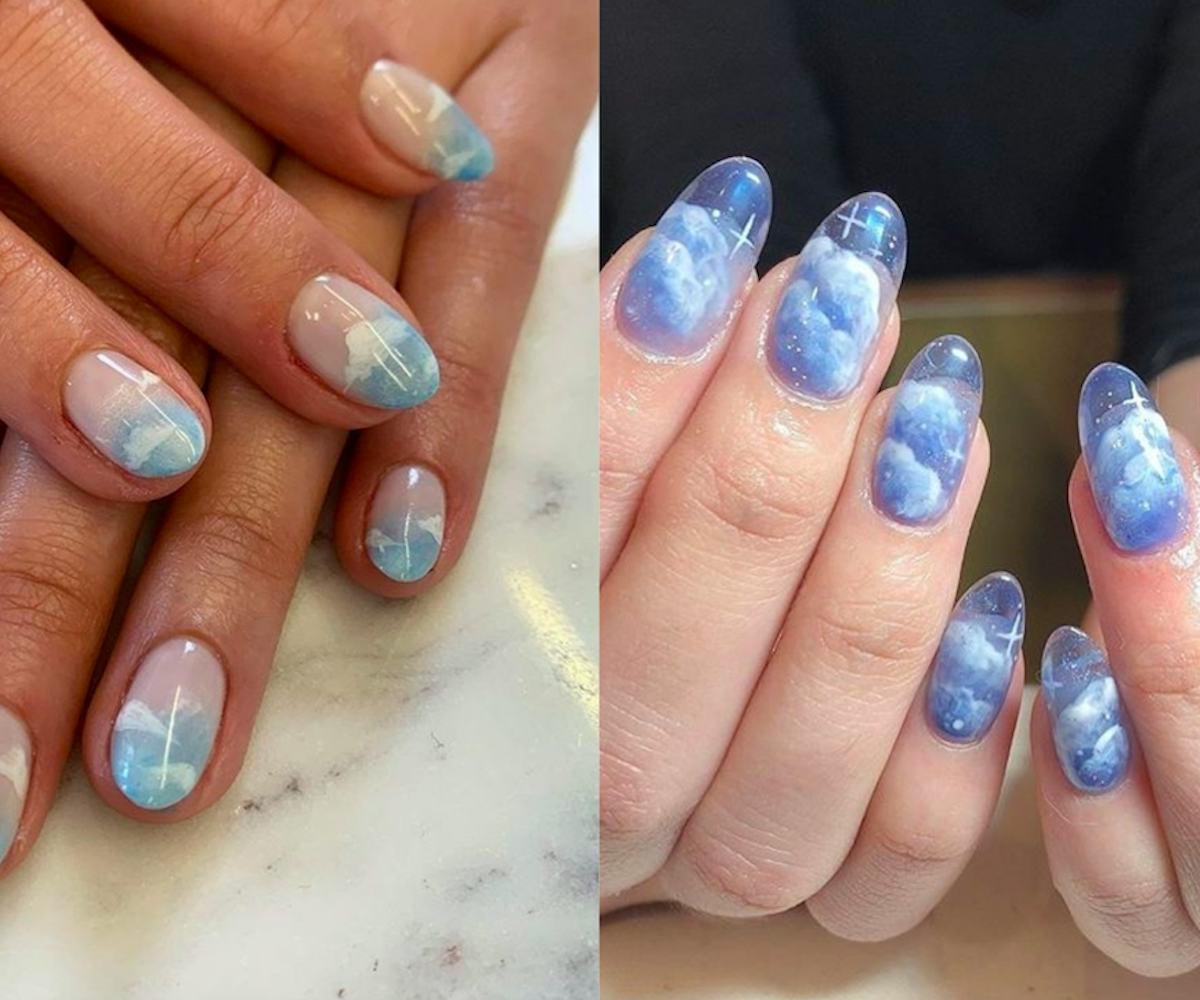
The sunrise cloud nail art design is a dreamy and whimsical design that features fluffy clouds against a colorful sunrise background. It's a perfect design for those who love a soft and delicate look on their nails. To create this design, start by painting your nails with a light blue base color. Then, using a dotting tool or a toothpick, create small white dots on your nails to represent the clouds. Next, use different shades of yellow, pink, and orange to create the sunrise in the background. Finish off with a top coat to seal the design.4. "Sunrise Cloud Nail Art Design"
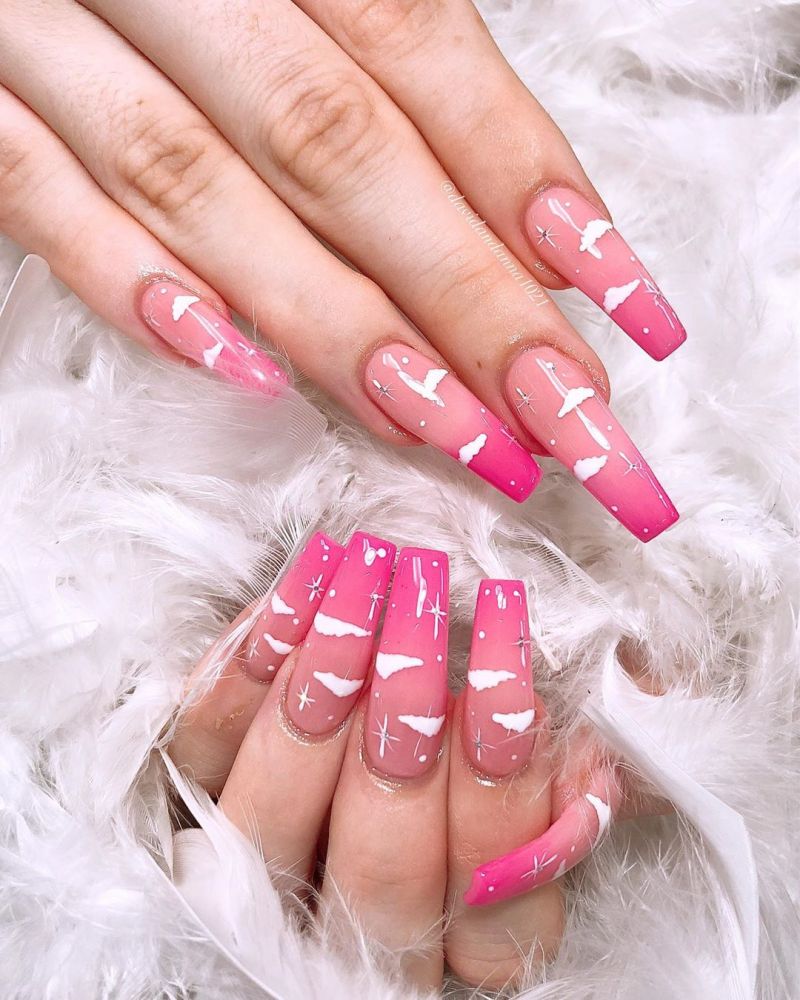
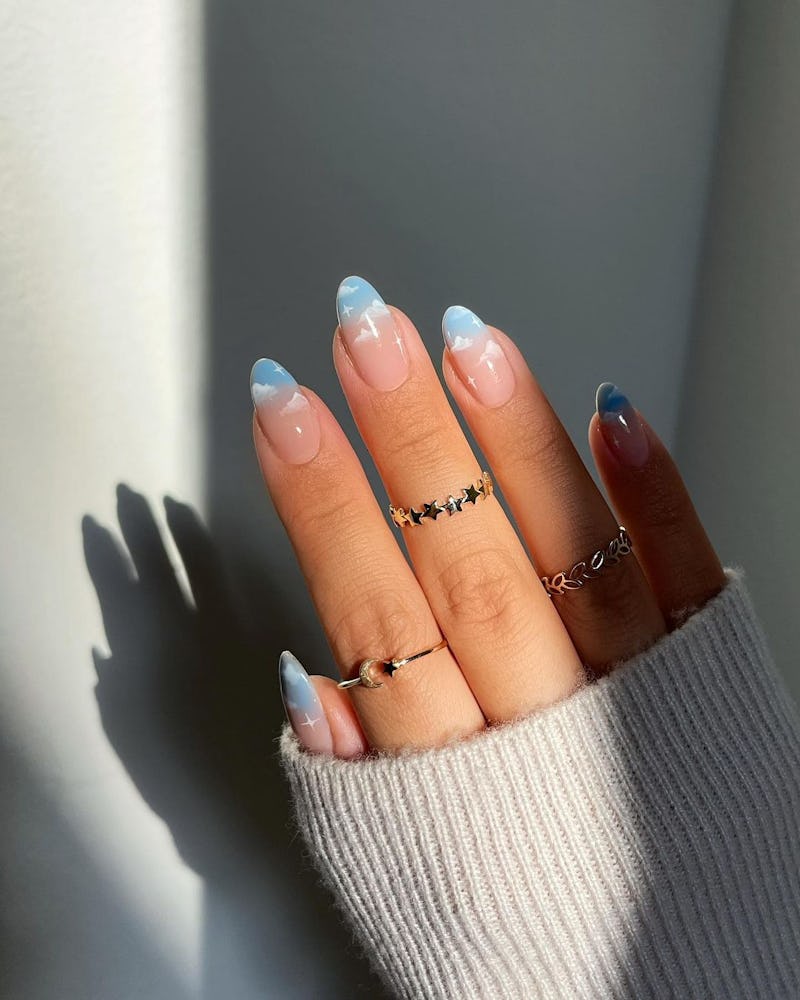

4. "Sunrise Cloud Nail Art Design"


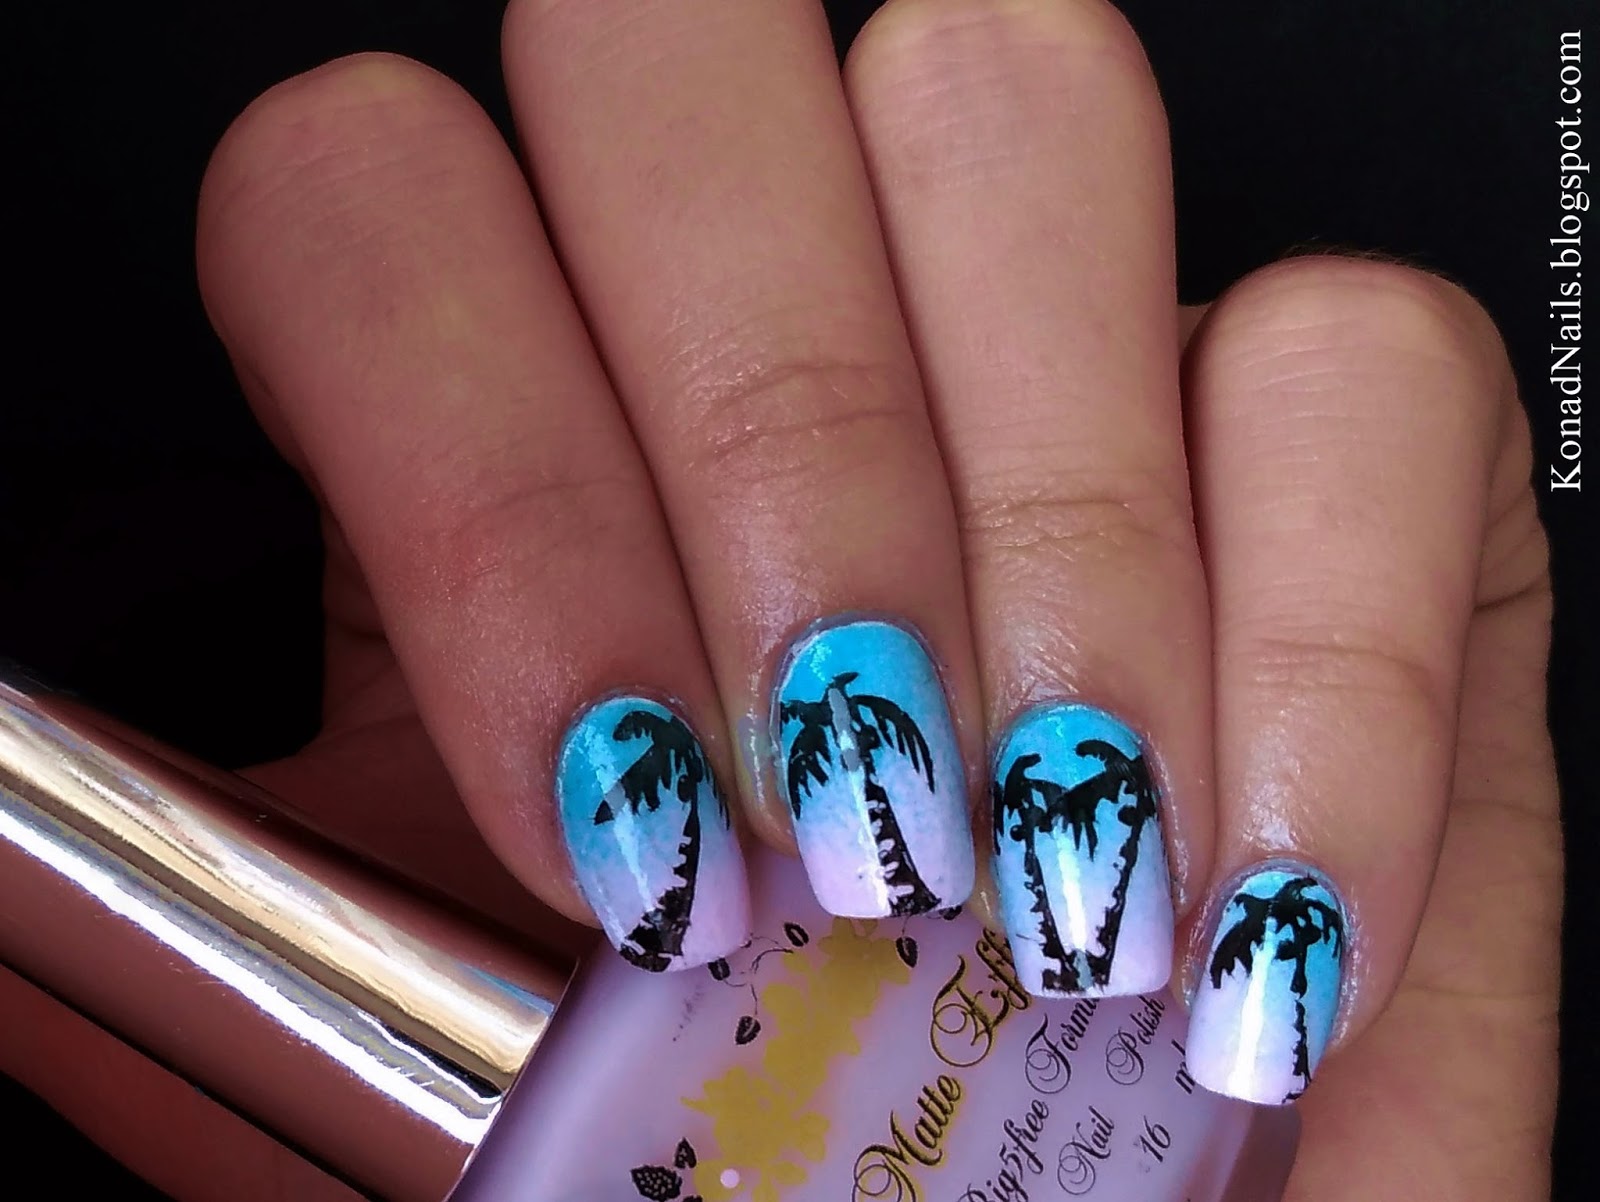
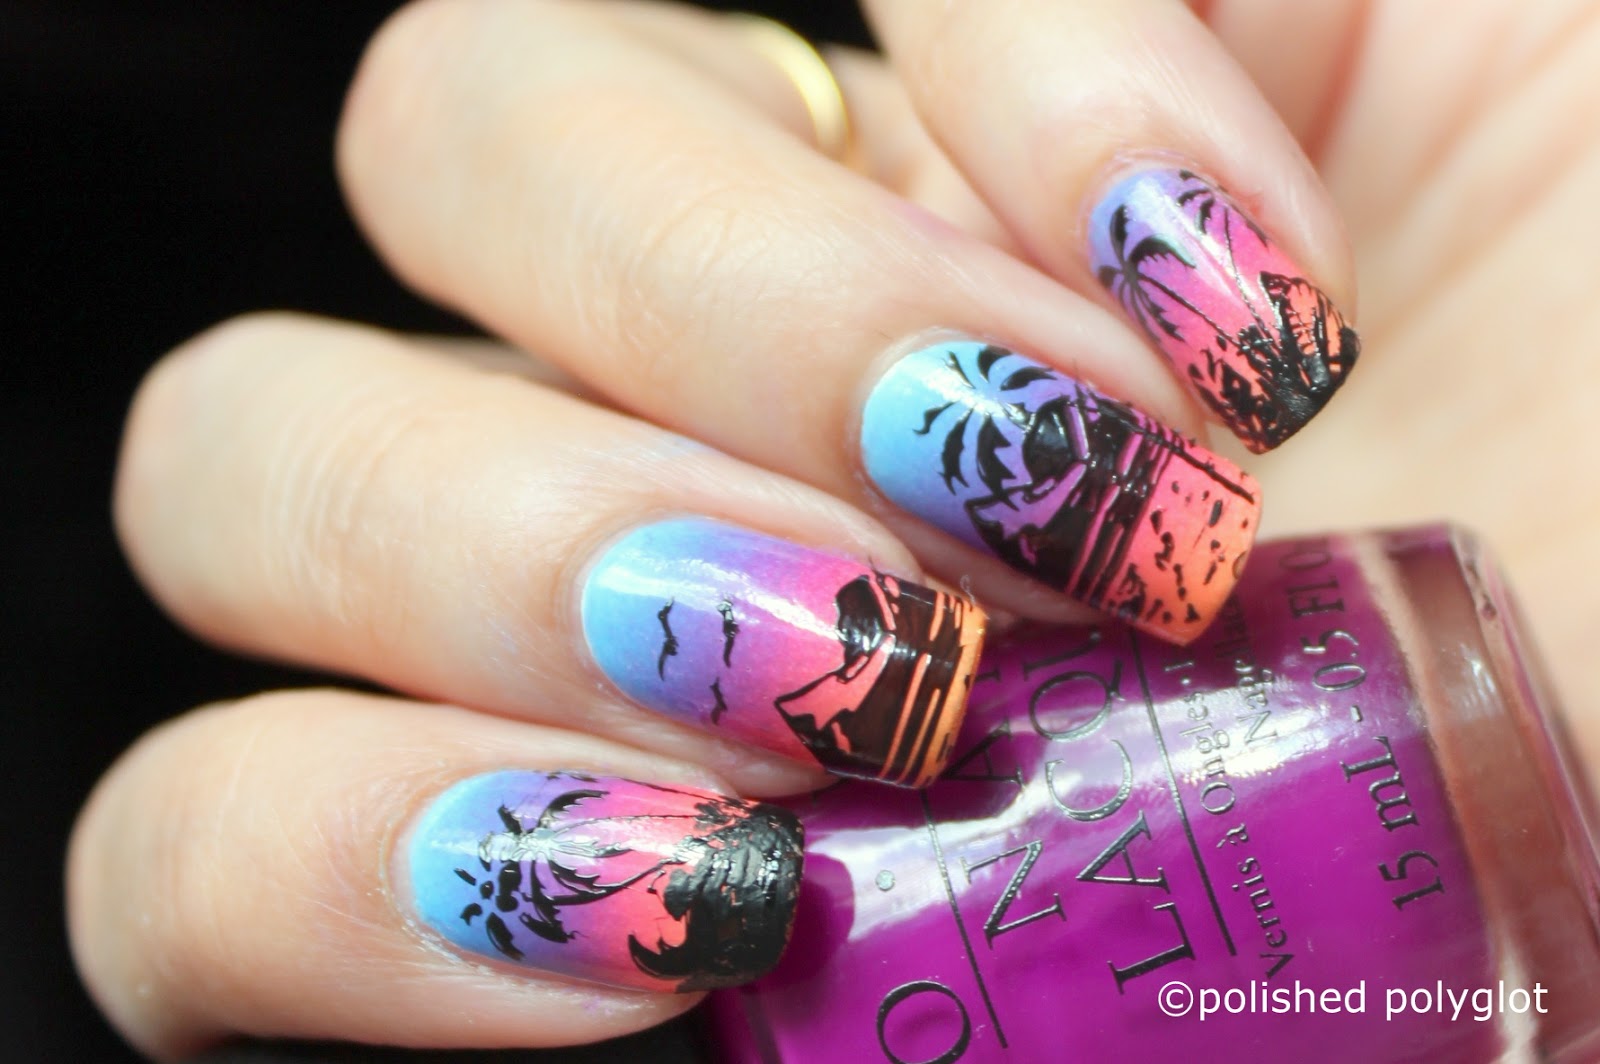
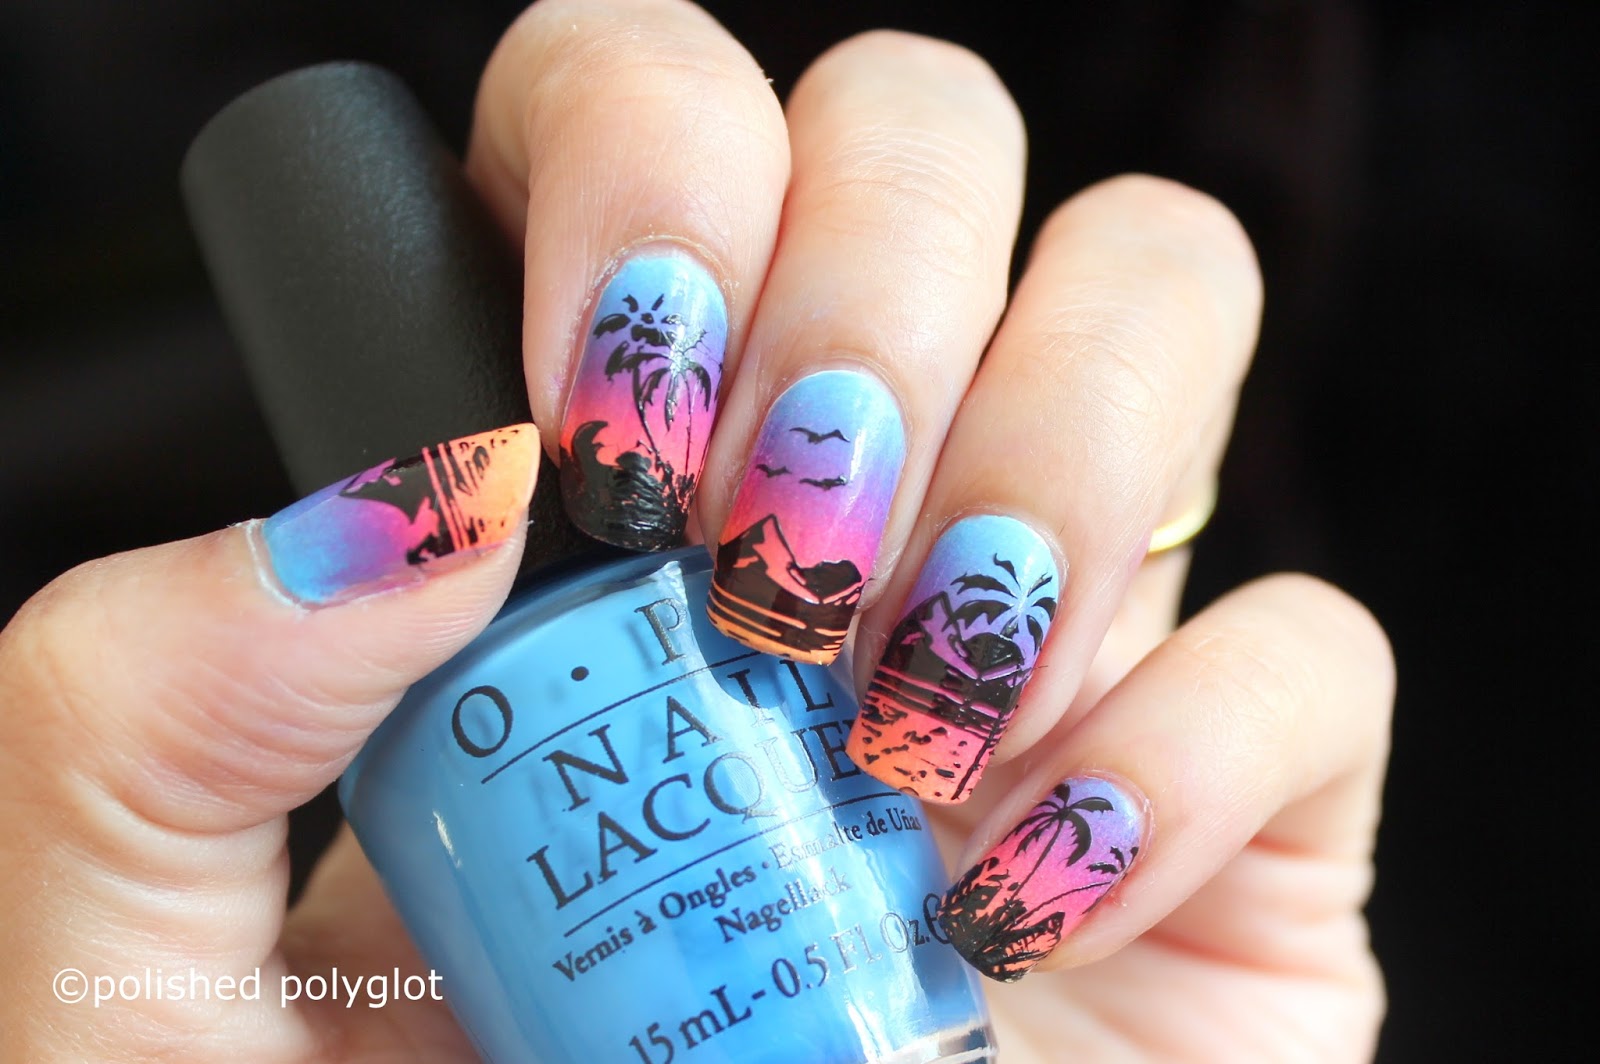
Nothing screams summer like a beautiful sunrise at the beach. The sunrise beach nail art design captures the serene and peaceful vibes of a sunrise by the ocean. It's a perfect design for those who love a beachy and tropical look on their nails. To achieve this design, start by painting your nails with a light blue base color. Then, using a nail art brush or a makeup sponge, carefully blend different shades of yellow, orange, and pink on the tips of your nails to create the sunrise. Next, use a nail art brush to draw a palm tree silhouette on one or two nails. Finish off with a top coat to seal the design.5. "Sunrise Beach Nail Art Design"


5. "Sunrise Beach Nail Art Design"


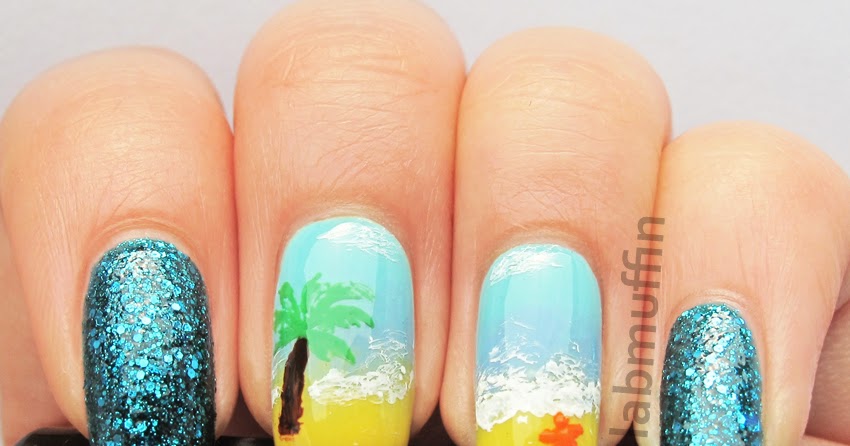


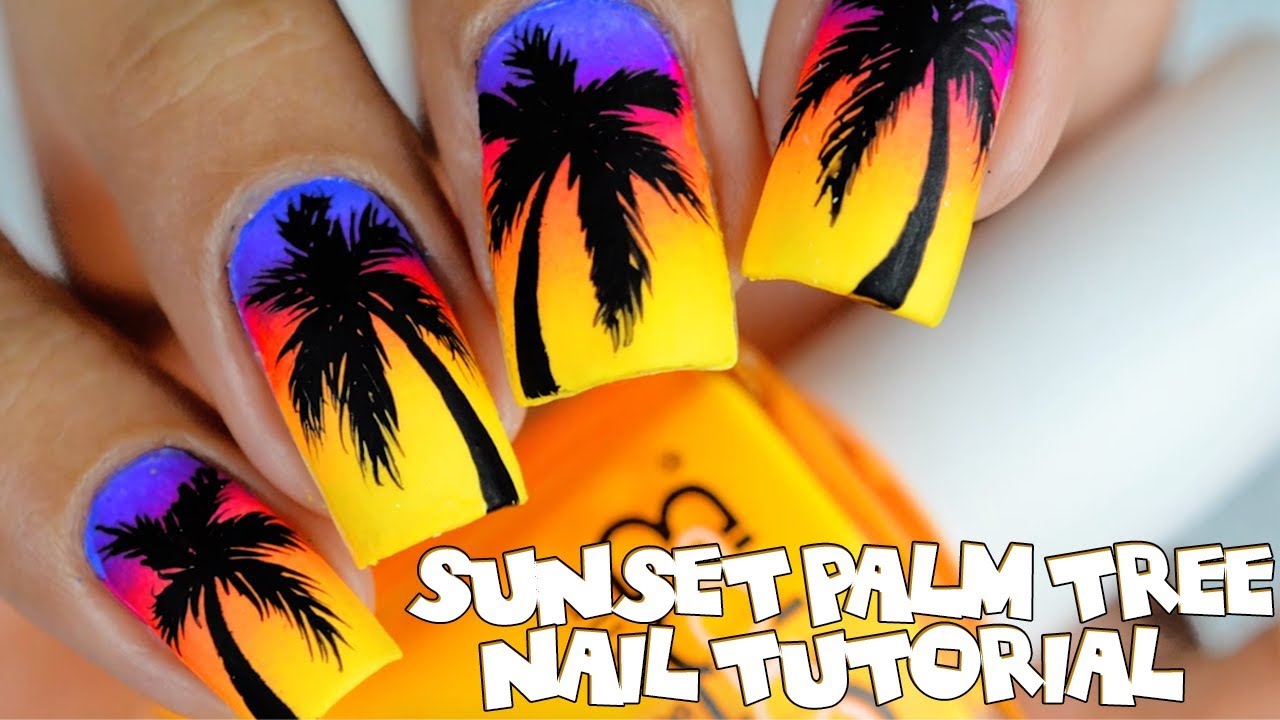
The sunrise palm tree nail art design is for those who want to add a touch of tropical paradise to their nails. This design features a beautiful palm tree silhouette against the vibrant colors of a sunrise. It's a perfect design for a beach vacation or a summer day out. To create this design, start by painting your nails with a light base color. Then, using a nail art brush, carefully draw a palm tree on one or two nails. Next, use different shades of yellow, orange, and pink to create the sunrise in the background. Finish off with a top coat to seal the design.6. "Sunrise Palm Tree Nail Art Design"


6. "Sunrise Palm Tree Nail Art Design"


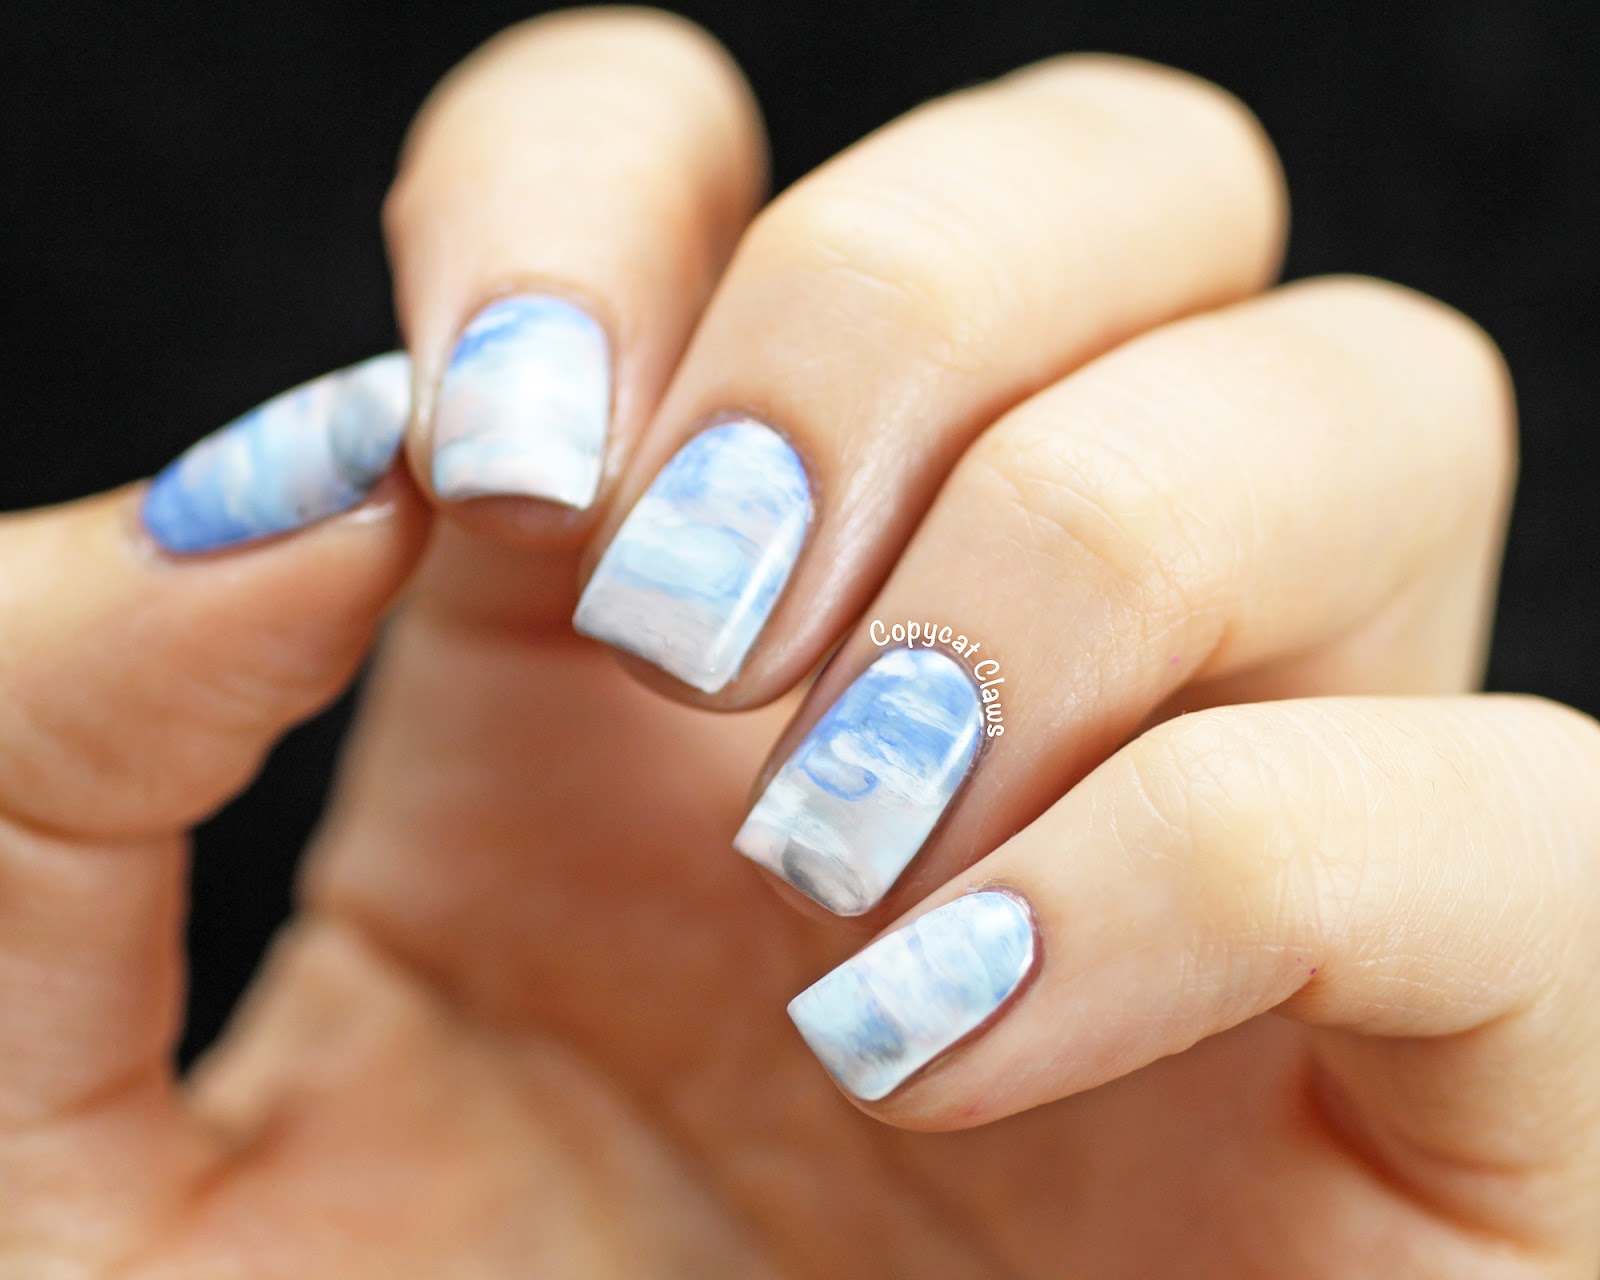
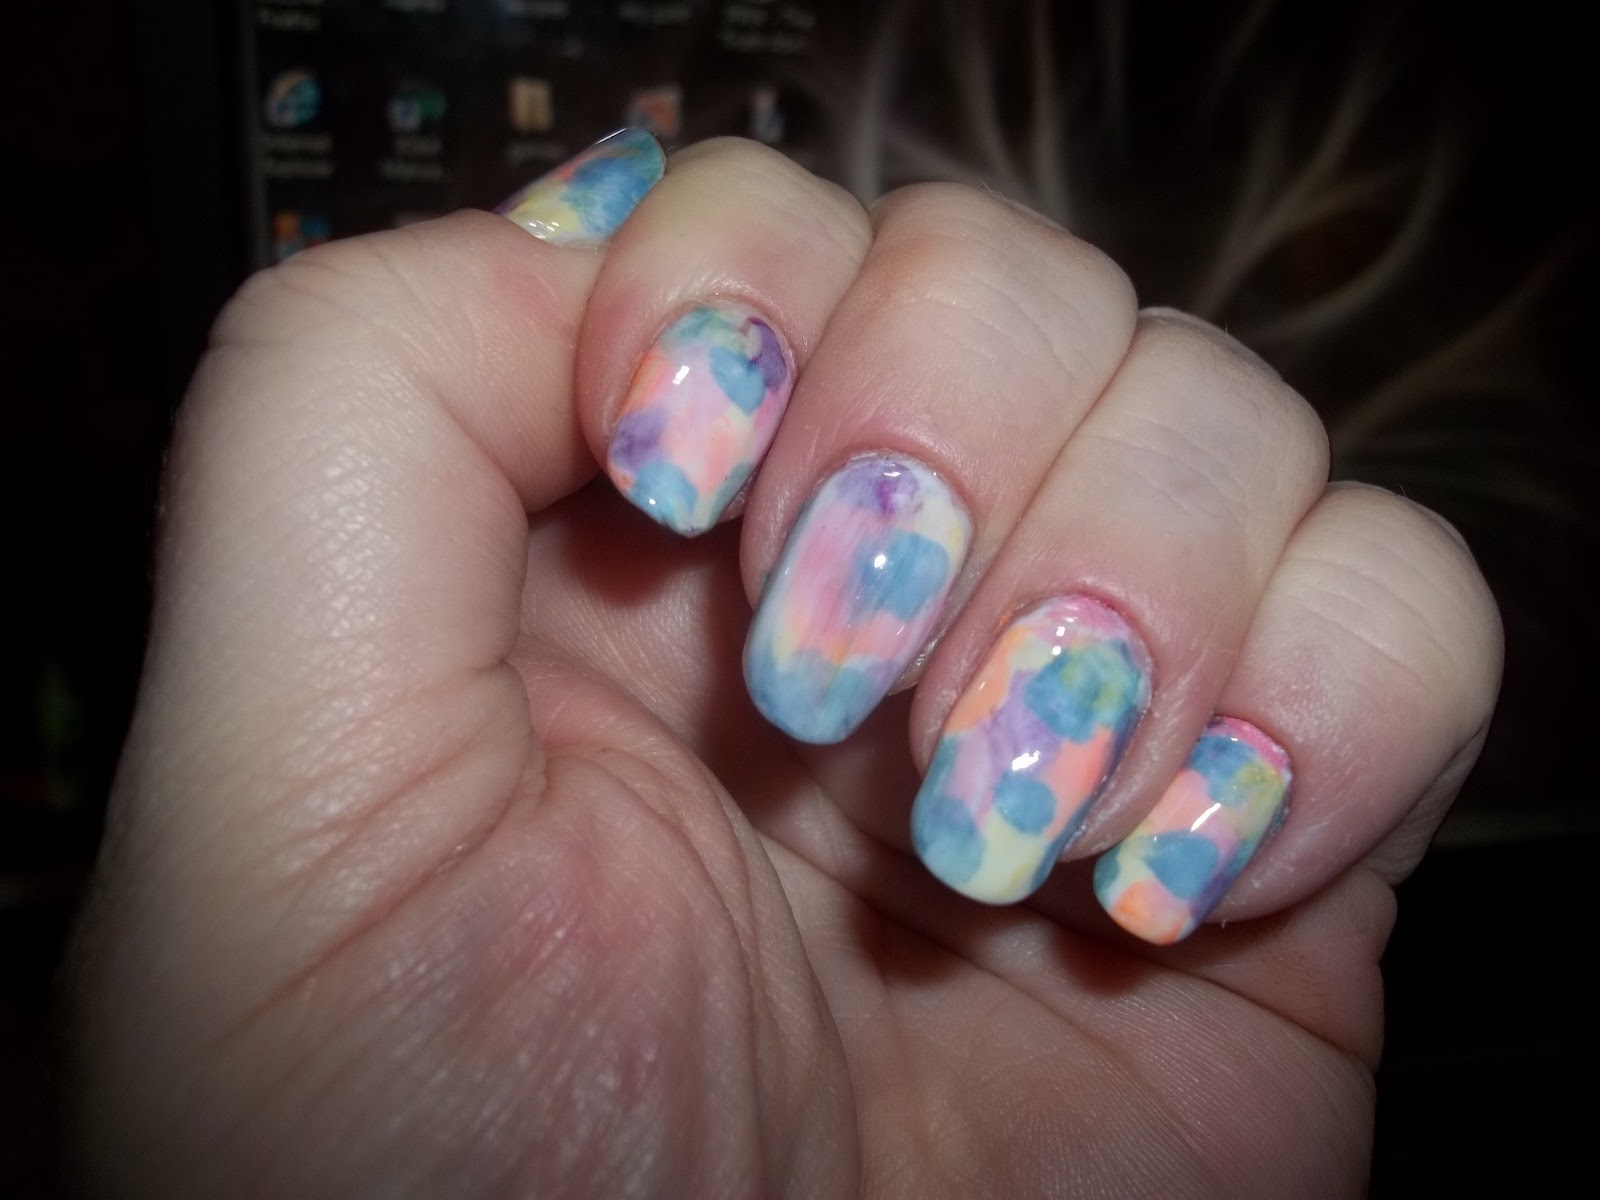
The sunrise watercolor nail art design is a beautiful and artistic take on the traditional sunrise design. It involves creating watercolor-like patterns on the nails to represent the colorful sky of a sunrise. It's a perfect design for those who love a soft and dreamy look on their nails. To achieve this design, start by painting your nails with a light base color. Then, using a nail art brush or a makeup sponge, carefully blend different shades of yellow, orange, and pink to create the sunrise. Next, use a thin nail art brush to create watercolor-like patterns on top. Finish off with a top coat to seal the design.7. "Sunrise Watercolor Nail Art Design"


7. "Sunrise Watercolor Nail Art Design"


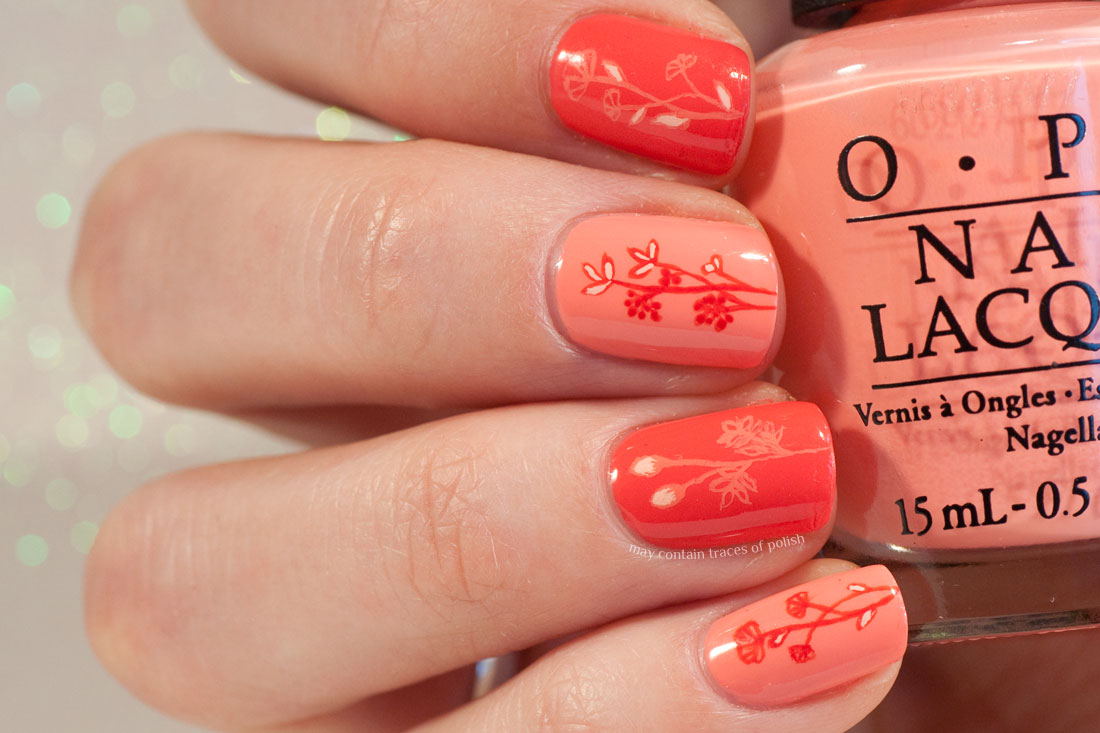
The sunrise floral nail art design is a beautiful and feminine design that features delicate flowers against the vibrant colors of a sunrise. It's a perfect design for those who love a romantic and elegant look on their nails. To create this design, start by painting your nails with a light base color. Then, using a nail art brush, carefully draw small flowers on your nails using different shades of yellow, orange, and pink. Next, use a thin nail art brush to create the stems and leaves of the flowers. Finish off with a top coat to seal the design.8. "Sunrise Floral Nail Art Design"

8. "Sunrise Floral Nail Art Design"


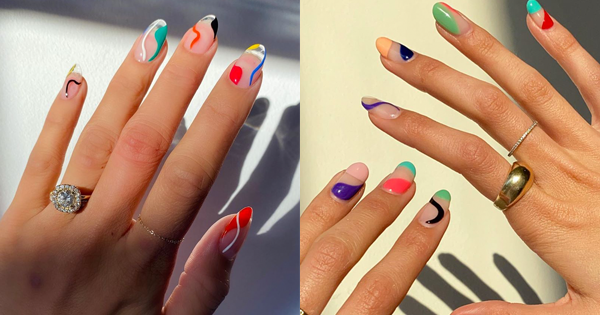
The sunrise geometric nail art design is a modern and chic take on the traditional sunrise design. It involves creating geometric patterns on the nails using the vibrant colors of a sunrise. It's a perfect design for those who love a bold and edgy look on their nails. To achieve this design, start by painting your nails with a light base color. Then, using a nail art brush or a striping tape, create geometric patterns on your nails using different shades of yellow, orange, and pink. Make sure to leave some space for the base color to show through. Finish off with a top coat to seal the design.9. "Sunrise Geometric Nail Art Design"


9. "Sunrise Geometric Nail Art Design"


The sunrise abstract nail art design is for those who want a unique and creative design on their nails. This design features abstract shapes and lines in the colors of a sunrise, creating a fun and playful look. It's a perfect design for those who love to experiment with their nail art. To create this design, start by painting your nails with a light base color. Then, using a nail art brush or a dotting tool, create abstract shapes and lines on your nails using different shades of yellow, orange, and pink. Finish off with a top coat to seal the design.10. "Sunrise Abstract Nail Art Design"

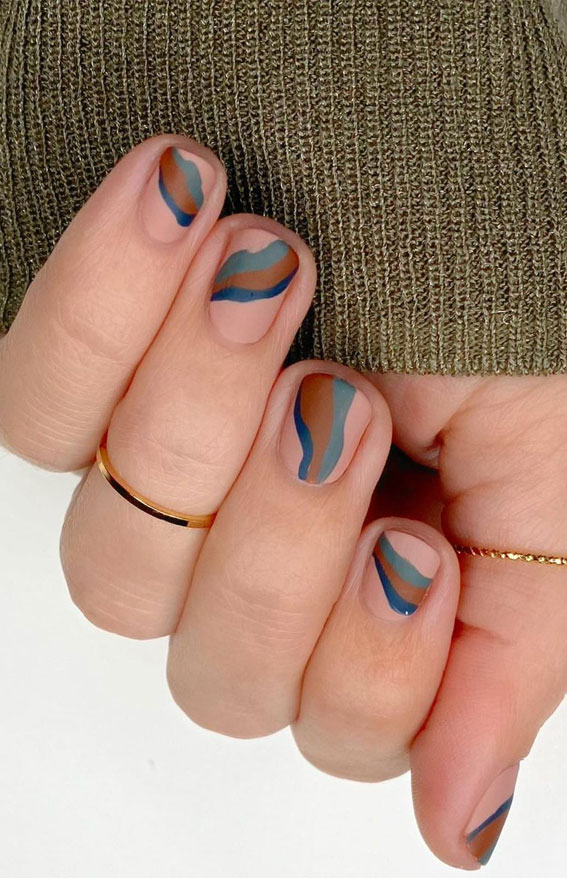
10. "Sunrise Abstract Nail Art Design"
:max_bytes(150000):strip_icc()/ScreenShot2021-02-09at3.24.58PM-184972eb3a0c4ef5a75c05cb59d4c79c.png)


Elevate Your Nails with a Stunning Sunrise Nail Art Design

Experience the Beauty of the Sun on Your Fingertips
 Sunrise is a time of day that symbolizes new beginnings and the promise of a new day. It's a magical moment when the sky transforms into a canvas of vibrant colors, creating a breathtaking scene that never fails to capture our hearts. So why not capture that beauty on your nails with a stunning sunrise nail art design?
Sunrise nail art design
is becoming increasingly popular, and for a good reason. It adds a touch of whimsy and elegance to your fingertips, making your hands stand out and giving you a sense of confidence and joy. Plus, with the endless color combinations and designs, you can customize your sunrise nails to match your personal style and mood.
Sunrise is a time of day that symbolizes new beginnings and the promise of a new day. It's a magical moment when the sky transforms into a canvas of vibrant colors, creating a breathtaking scene that never fails to capture our hearts. So why not capture that beauty on your nails with a stunning sunrise nail art design?
Sunrise nail art design
is becoming increasingly popular, and for a good reason. It adds a touch of whimsy and elegance to your fingertips, making your hands stand out and giving you a sense of confidence and joy. Plus, with the endless color combinations and designs, you can customize your sunrise nails to match your personal style and mood.
How to Achieve the Perfect Sunrise Nail Art Design
 To create a
sunrise nail art design
, you'll need a few essential tools: a base coat, top coat, nail polish in various colors, a thin brush, and a sponge. Start by applying a base coat to protect your nails and ensure that your design lasts longer. Then, using the sponge, dab on different colors in a gradient pattern, starting from the base of your nail and gradually fading towards the tip. This technique mimics the gradual change of colors in a sunrise.
Next, use a thin brush to create the sun and its rays. You can use a bright yellow or orange polish for the sun and white or gold for the rays. Don't worry about being too precise; the imperfections add to the charm of the design.
To create a
sunrise nail art design
, you'll need a few essential tools: a base coat, top coat, nail polish in various colors, a thin brush, and a sponge. Start by applying a base coat to protect your nails and ensure that your design lasts longer. Then, using the sponge, dab on different colors in a gradient pattern, starting from the base of your nail and gradually fading towards the tip. This technique mimics the gradual change of colors in a sunrise.
Next, use a thin brush to create the sun and its rays. You can use a bright yellow or orange polish for the sun and white or gold for the rays. Don't worry about being too precise; the imperfections add to the charm of the design.
Customize Your Sunrise Nail Art Design
 The beauty of a
sunrise nail art design
is that you can customize it to your liking. You can add elements like birds, clouds, or trees to make your design more unique and personal. You can also experiment with different color combinations, such as pastel colors for a softer look or bold and bright shades for a more eye-catching design.
With a little practice and creativity, you can achieve a stunning sunrise nail art design that will make your hands the talk of the town. So why settle for plain nails when you can elevate them with the beauty of a sunrise?
The beauty of a
sunrise nail art design
is that you can customize it to your liking. You can add elements like birds, clouds, or trees to make your design more unique and personal. You can also experiment with different color combinations, such as pastel colors for a softer look or bold and bright shades for a more eye-catching design.
With a little practice and creativity, you can achieve a stunning sunrise nail art design that will make your hands the talk of the town. So why settle for plain nails when you can elevate them with the beauty of a sunrise?
In Conclusion
 Sunrise nail art designs are a beautiful and unique way to express yourself through your nails. The combination of vibrant colors and customizable designs makes it a popular choice for many people. So if you want to add a touch of whimsy and elegance to your nails, don't hesitate to try out a stunning sunrise nail art design. Trust us; you won't regret it!


