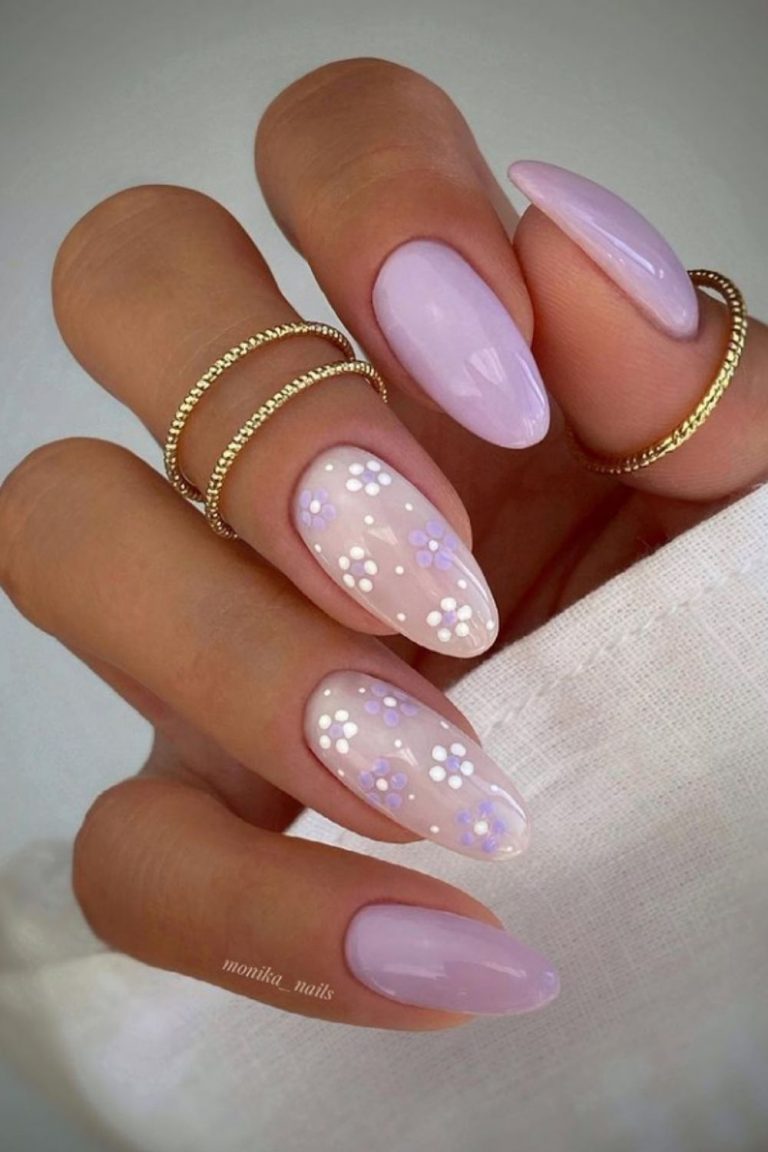
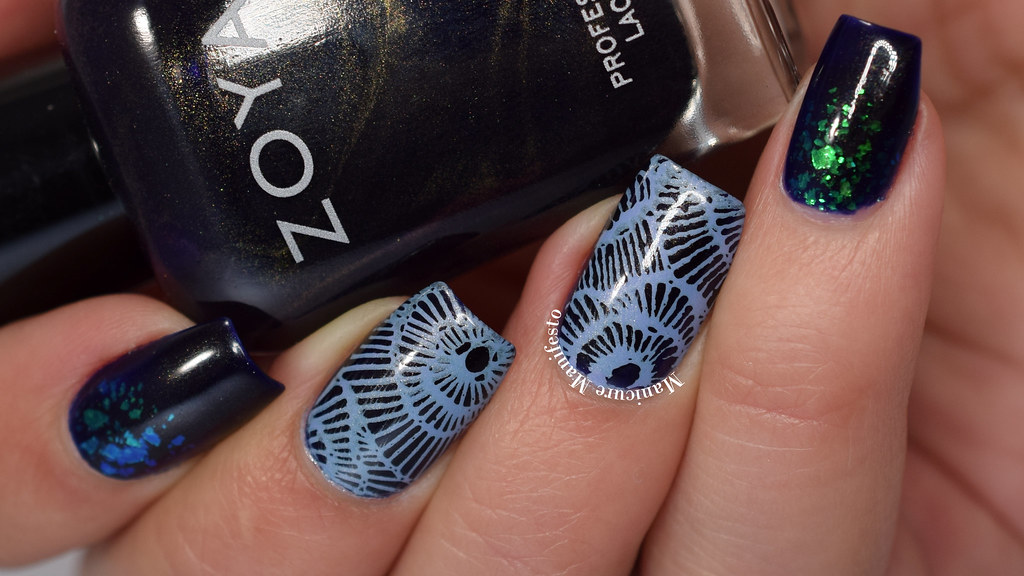
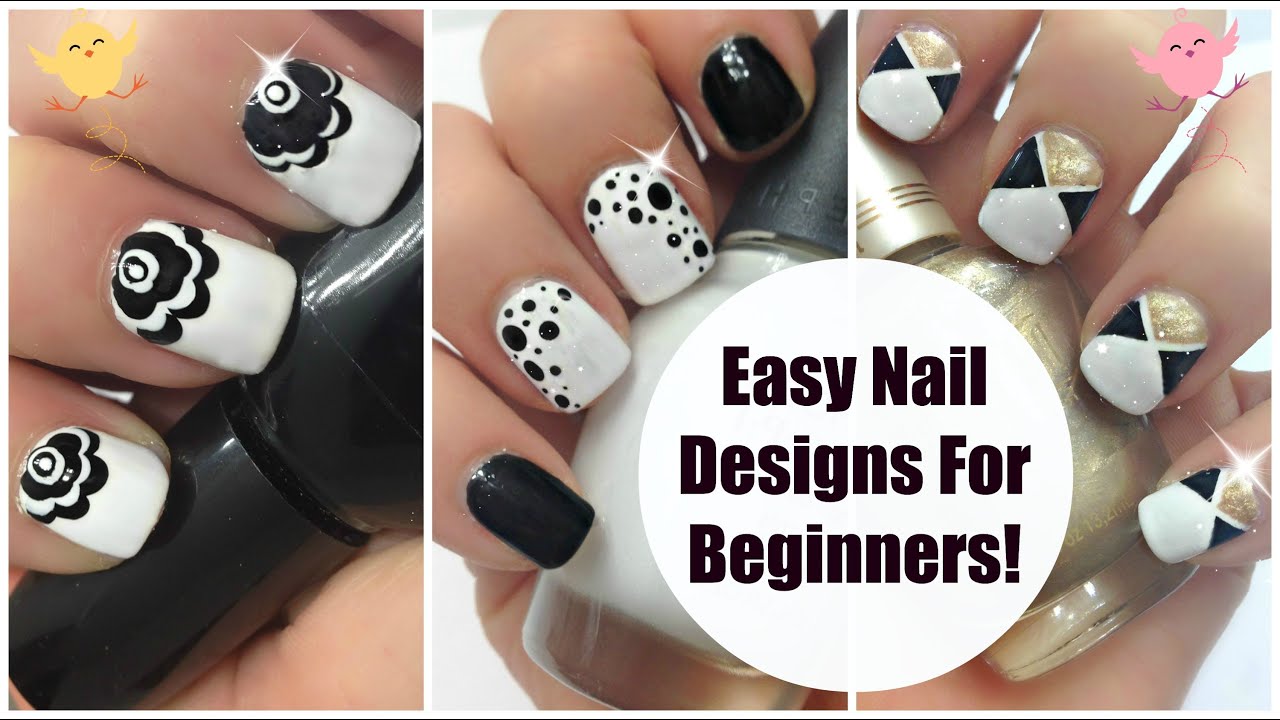
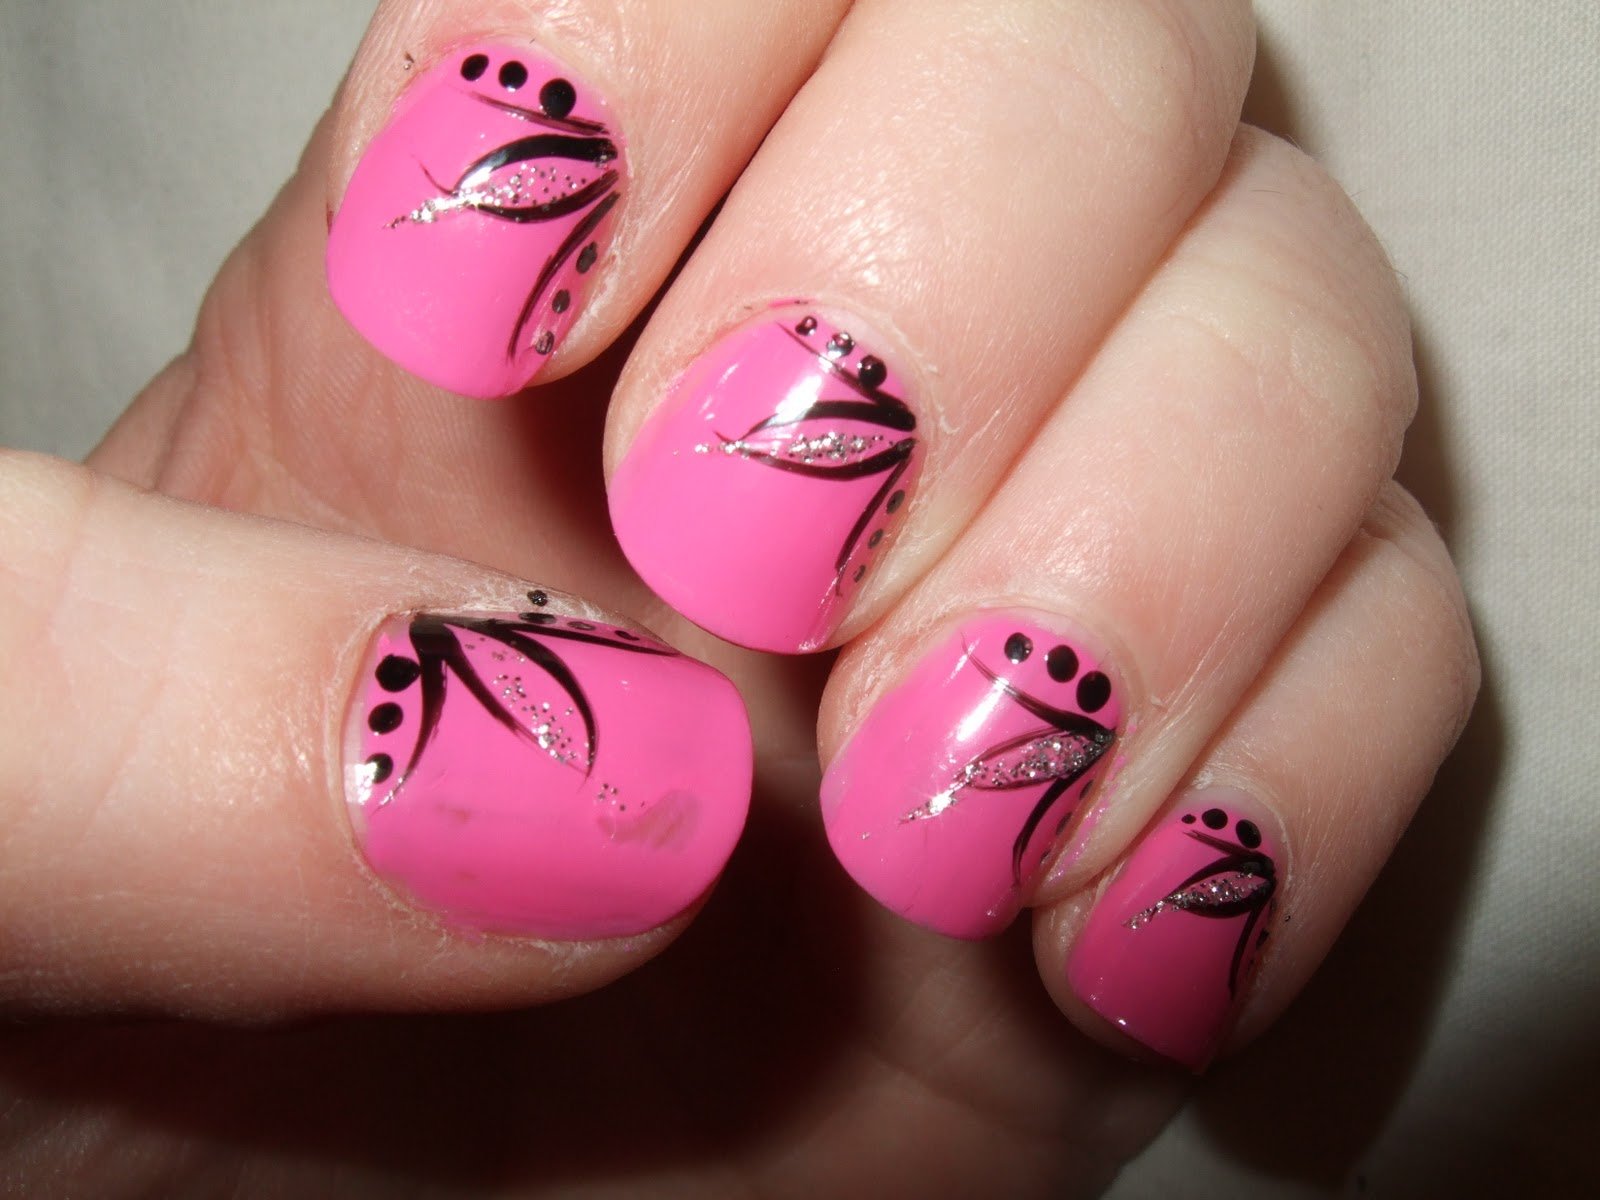
If you're new to the world of nail art, starting with simple designs is the way to go. One of the easiest and most popular designs for beginners is the simple floral nail art. This design is perfect for adding a touch of femininity and elegance to your nails. To achieve this look, you will need a base color of your choice, a thin nail art brush, and a few shades of nail polish for the flowers. Start by painting your nails with the base color and let it dry completely. Then, using the nail art brush, create small flower shapes on the nails with different colors. You can add a dot in the center of each flower for a more realistic look. Finish off with a top coat to seal in the design.1. Simple Floral Nail Art for Beginners

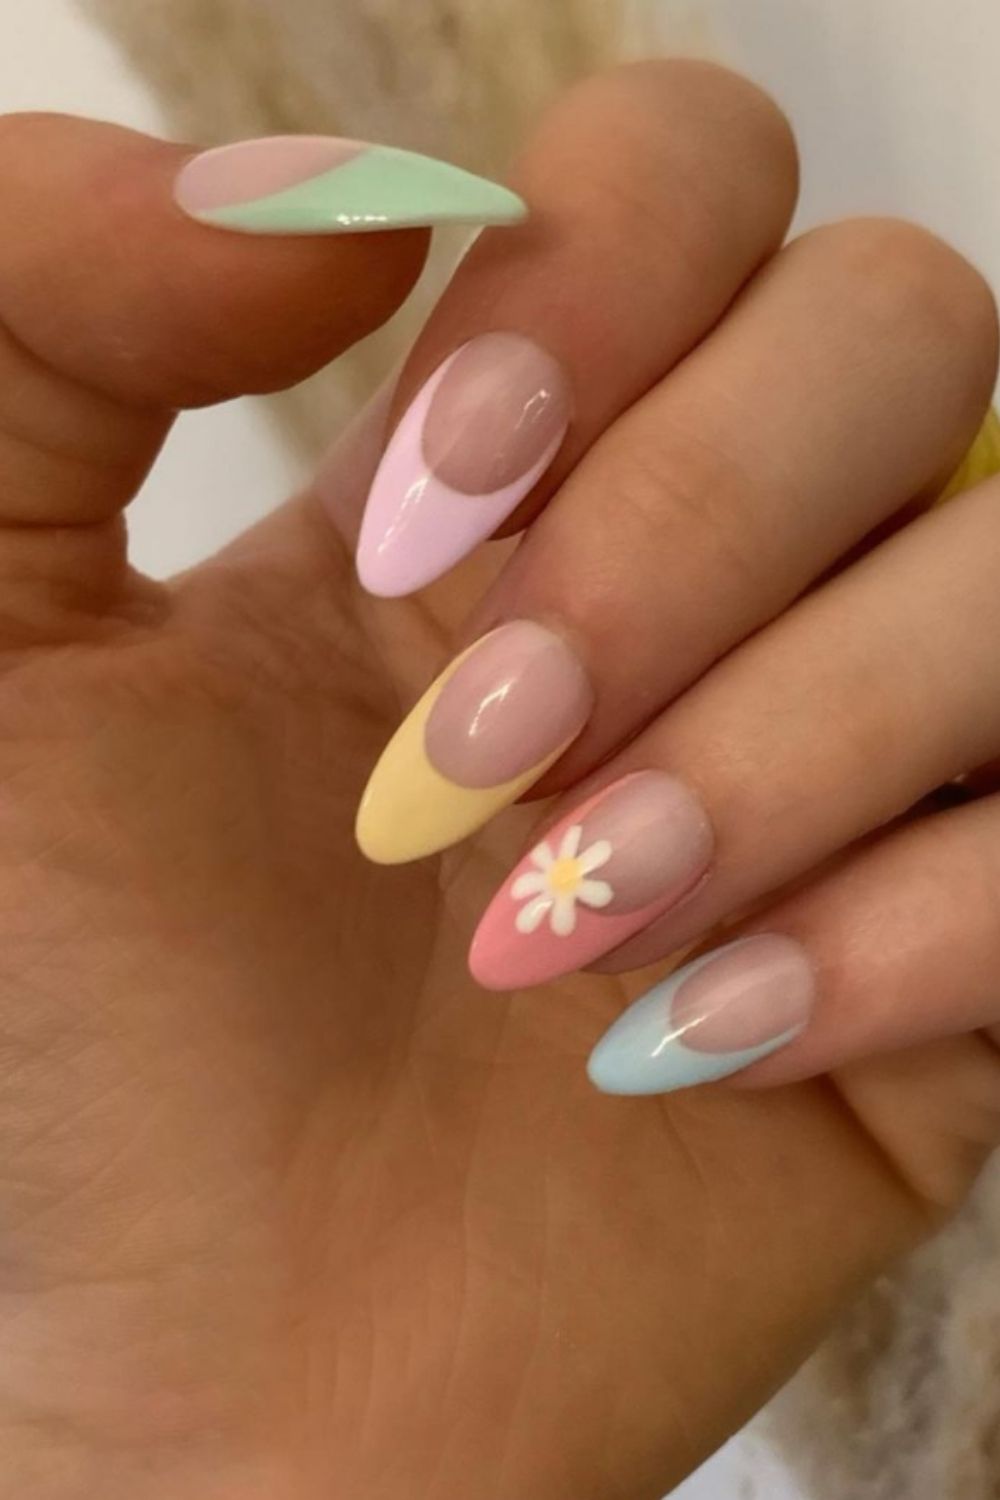

1. Simple Floral Nail Art for Beginners


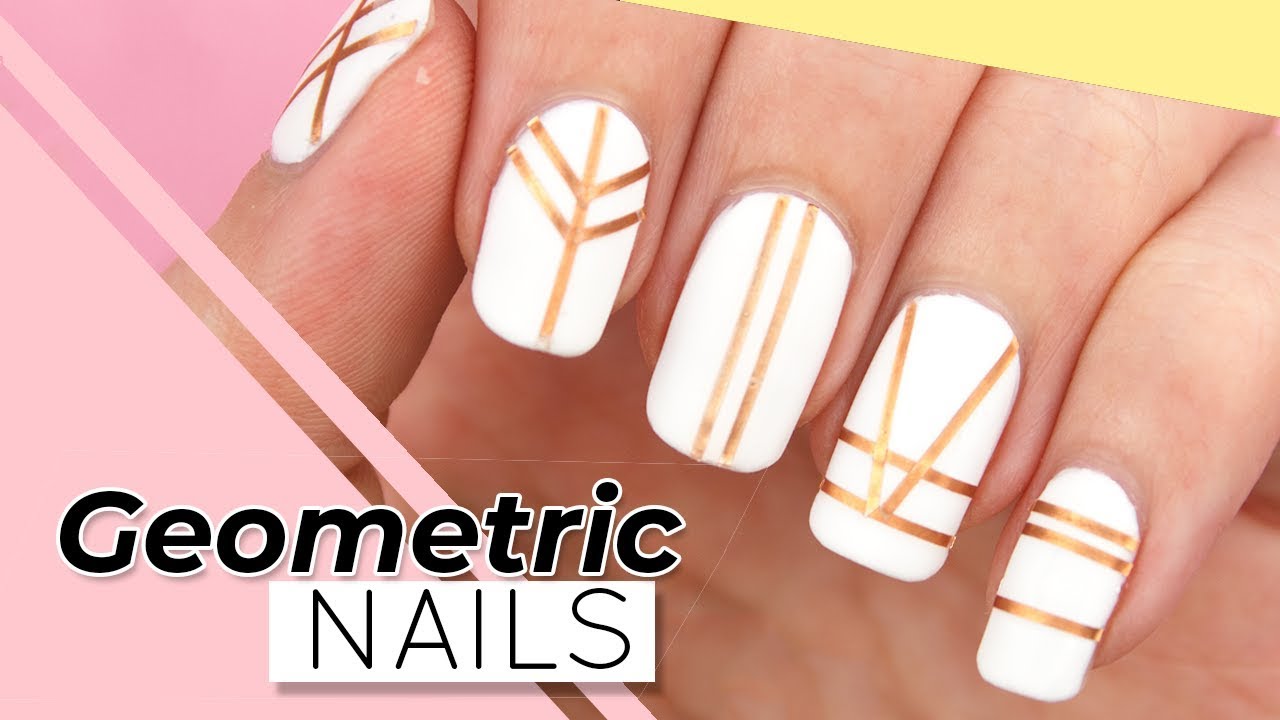
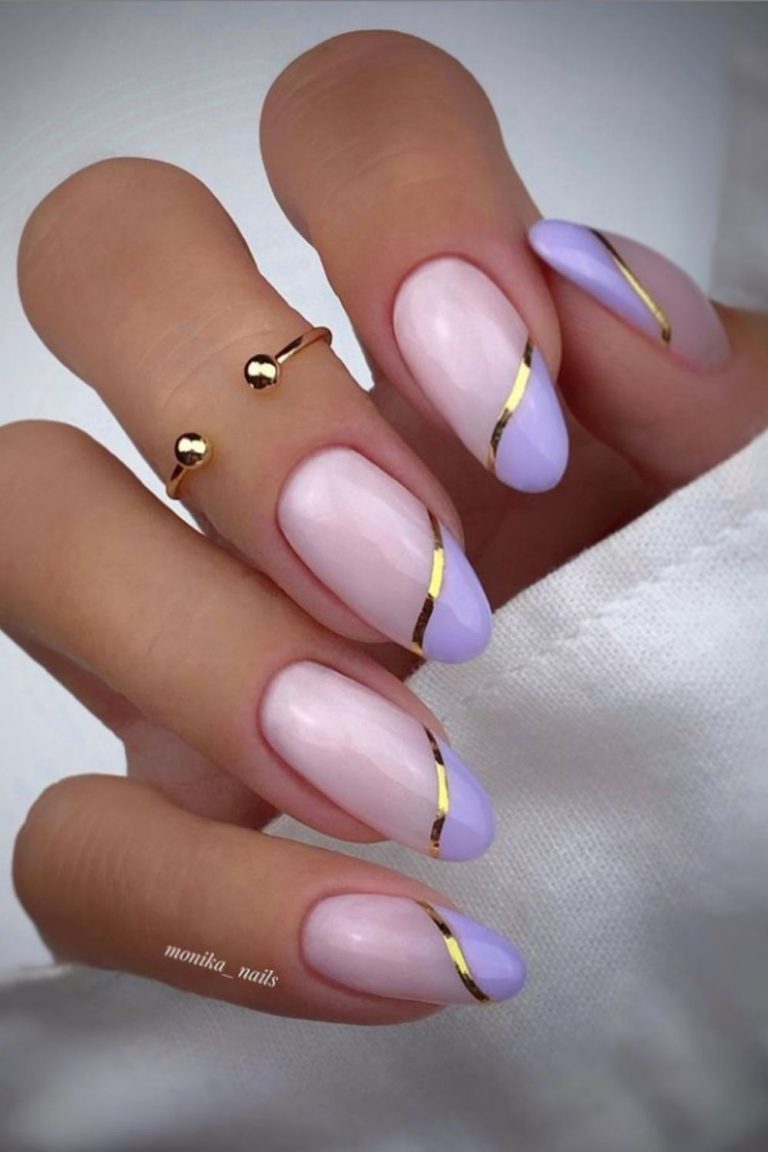
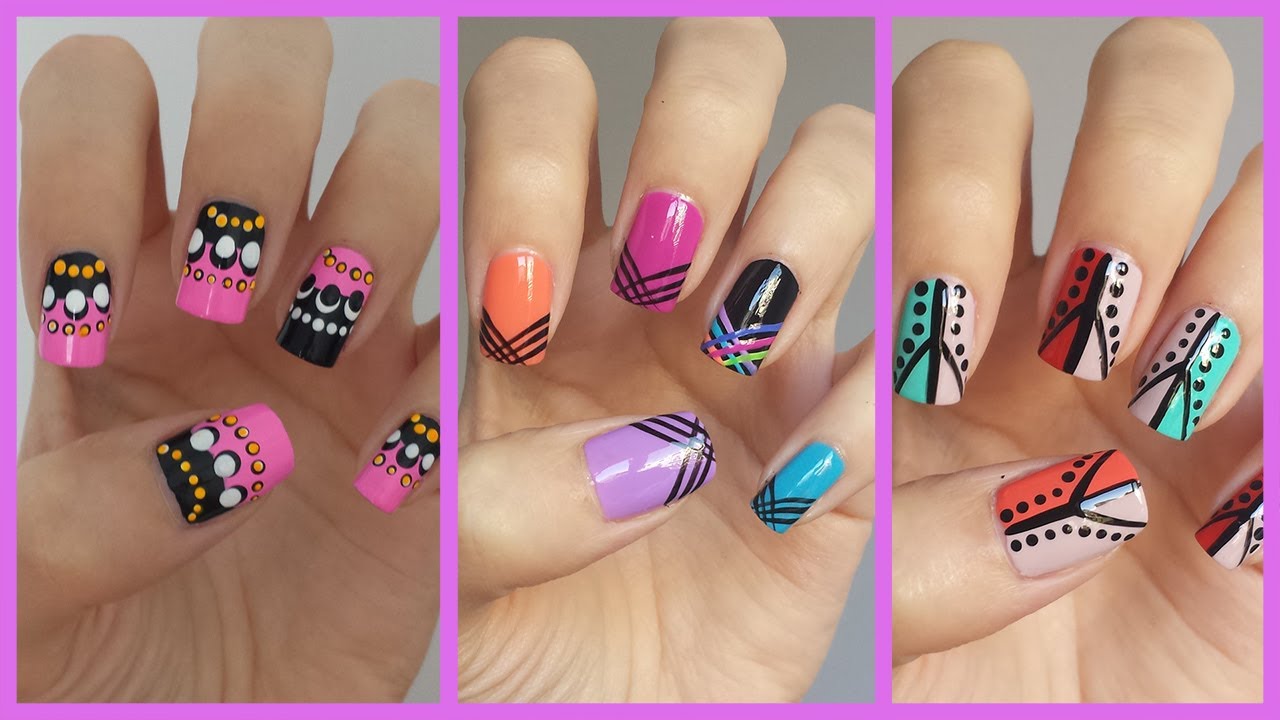
Geometric nail designs are all the rage these days, and the best part is that they are super easy to create. These designs are perfect for beginners as they only require basic shapes and lines to create a stunning look. To create a simple geometric nail design, start by painting your nails with a base color. Then, using a thin nail art brush or tape, create geometric shapes such as triangles, squares, or lines on the nails. You can use different colors for each shape or stick to a monochromatic look. Finish off with a top coat to seal in the design.2. Easy Geometric Nail Designs for Beginners


2. Easy Geometric Nail Designs for Beginners


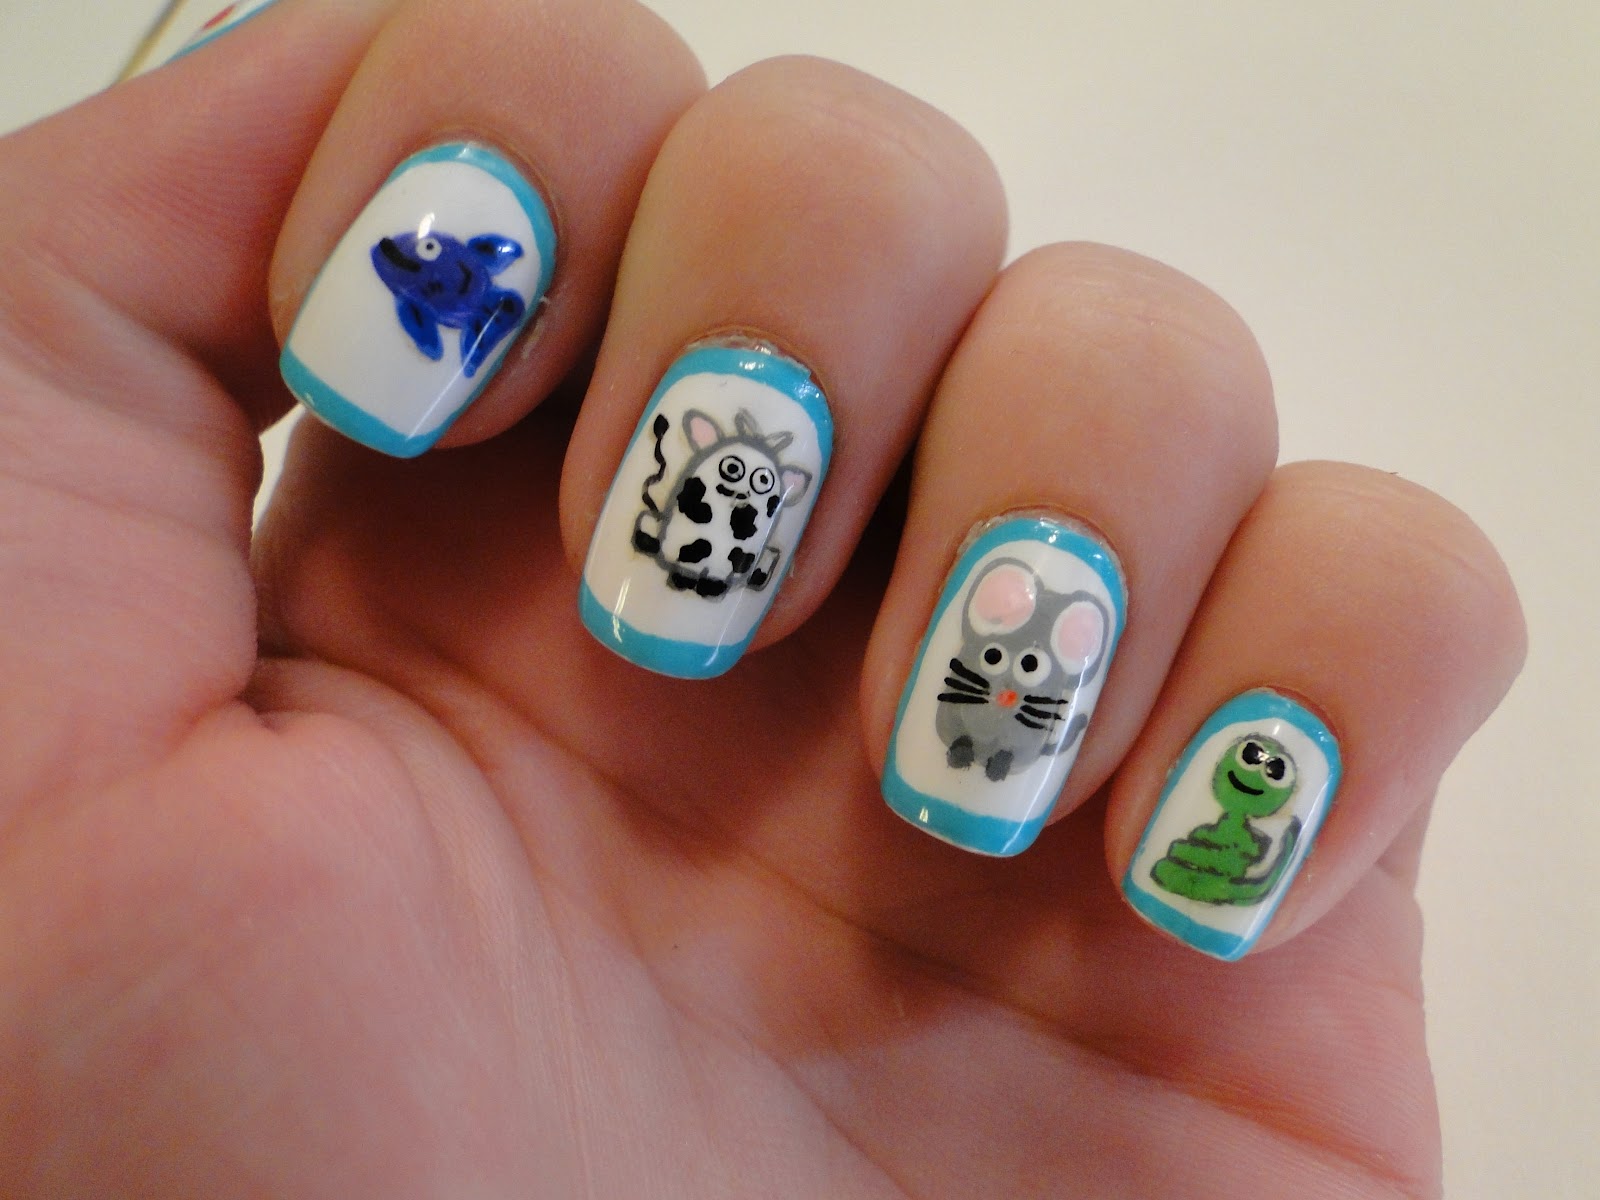
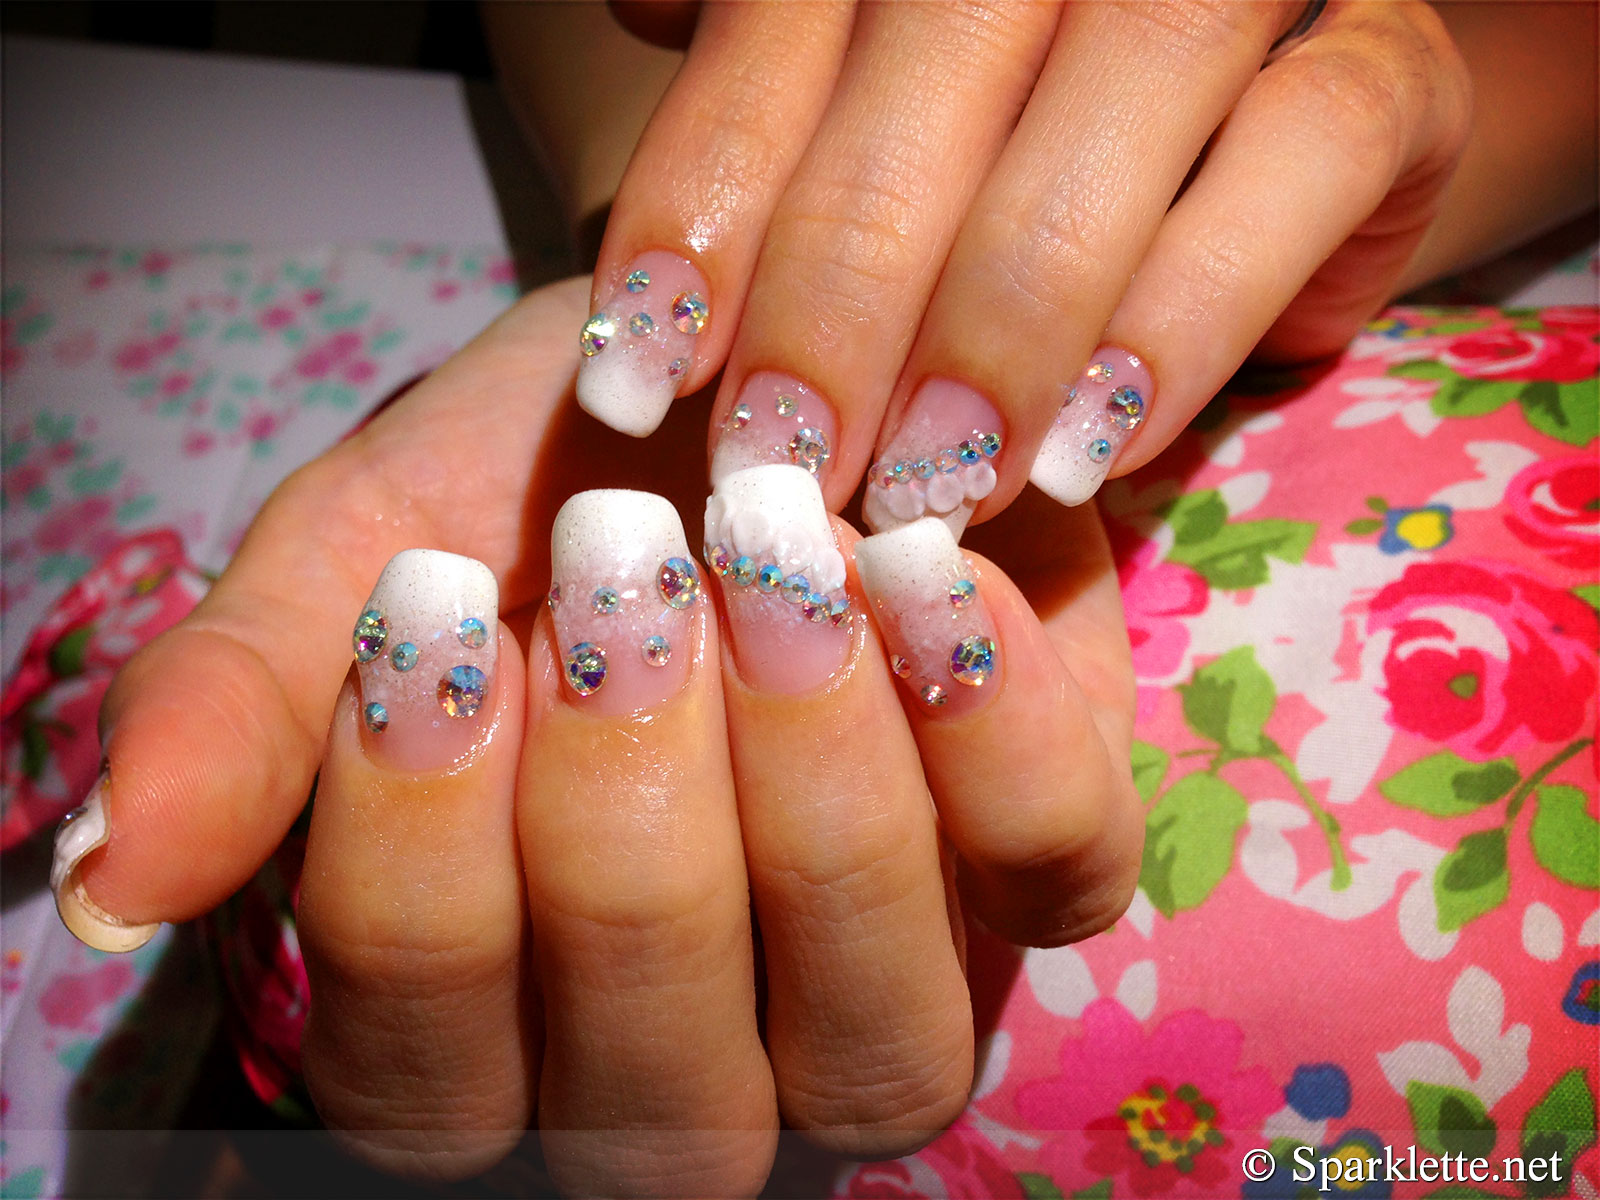
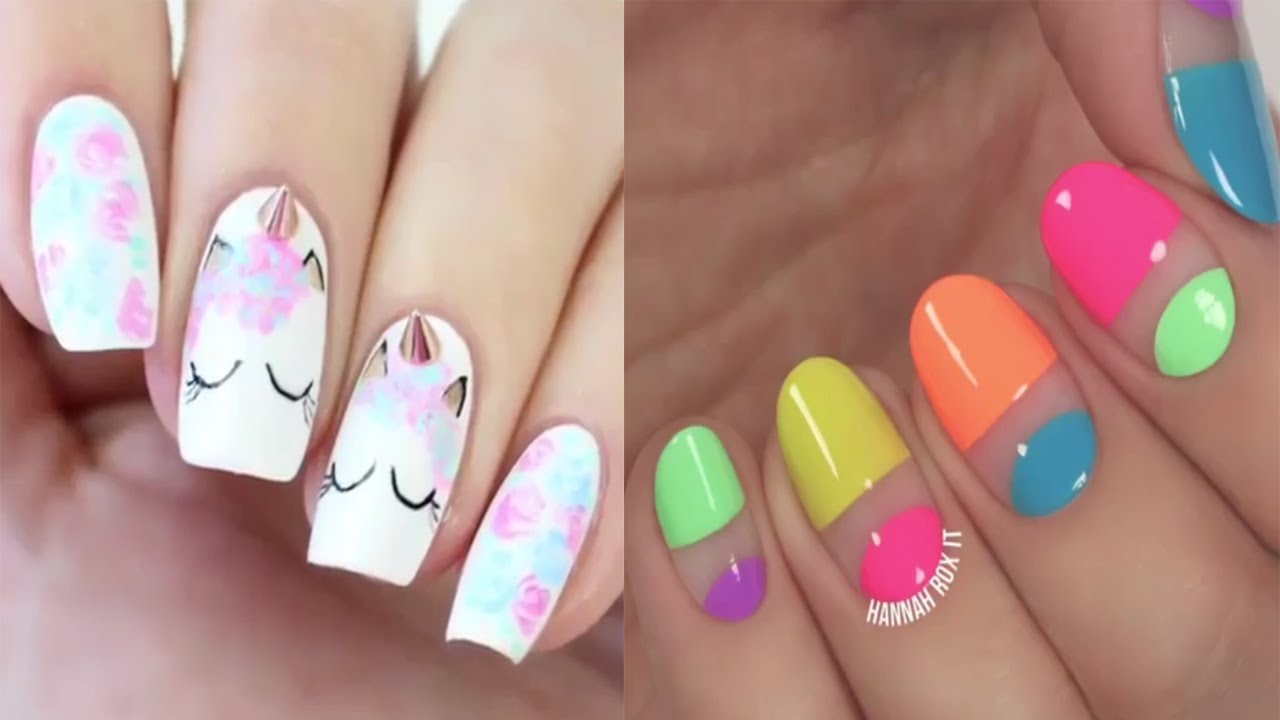
Who doesn't love cute animals? Adding them to your nails is a fun and easy way to show off your personality. You can choose from a range of animals such as cats, dogs, pandas, or even unicorns. To create this design, you will need a base color, a nail art brush, and a few shades of nail polish for the animals. Start by painting your nails with the base color and let it dry completely. Then, using the nail art brush, create the outline of the animal on the nails. Once the outline is done, fill in the animal with the desired color. You can also add small details like eyes or a nose with a toothpick or a dotting tool. Finish off with a top coat to seal in the design.3. Cute Animal Nail Art for Beginners


3. Cute Animal Nail Art for Beginners


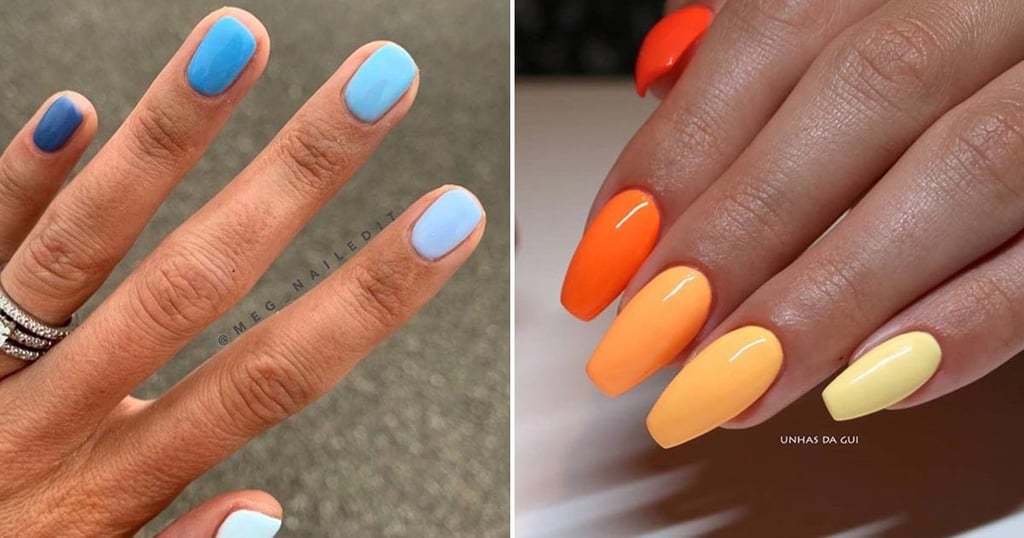
If you're looking for a simple yet eye-catching design, gradient nail art is the way to go. This design involves blending two or more colors together to create a smooth gradient effect on the nails. To achieve this look, you will need a makeup sponge, two or more shades of nail polish, and a top coat. Start by painting your nails with the lighter color and let it dry completely. Then, on a makeup sponge, apply the two colors in a gradient pattern. Gently press the sponge onto your nails, moving it back and forth to blend the colors. Finish off with a top coat to seal in the design.4. Gradient Nail Art for Beginners

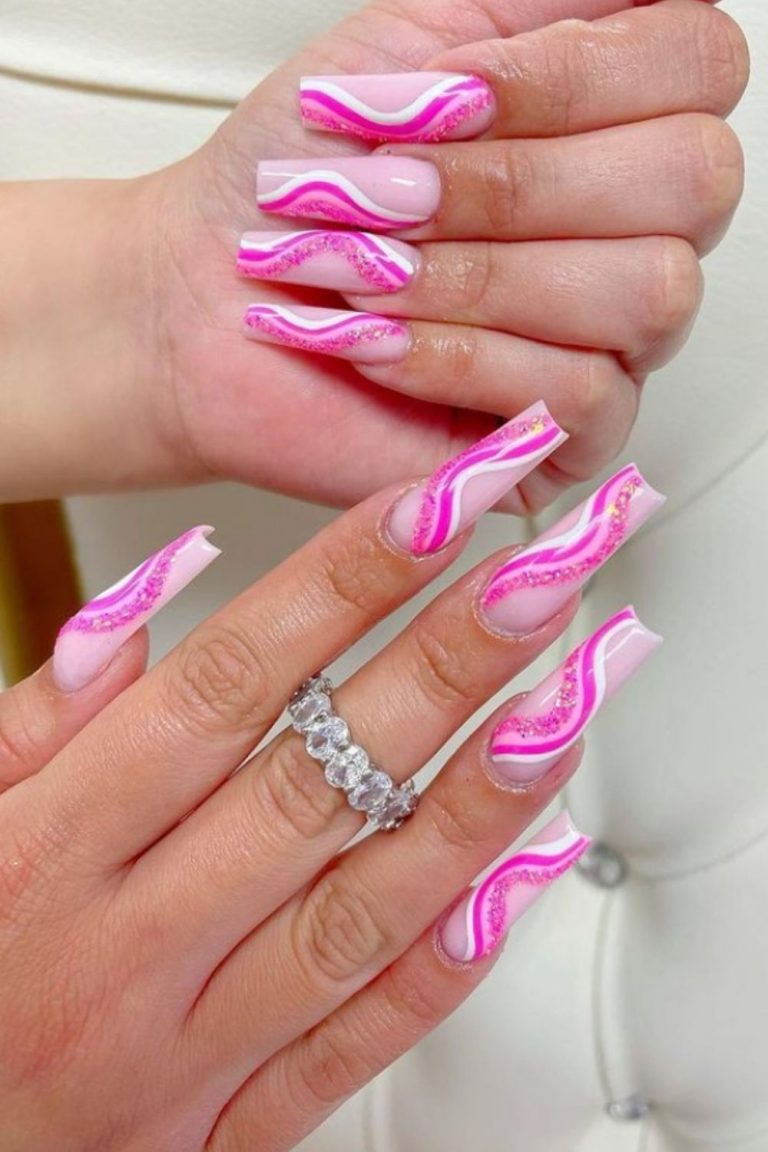

4. Gradient Nail Art for Beginners
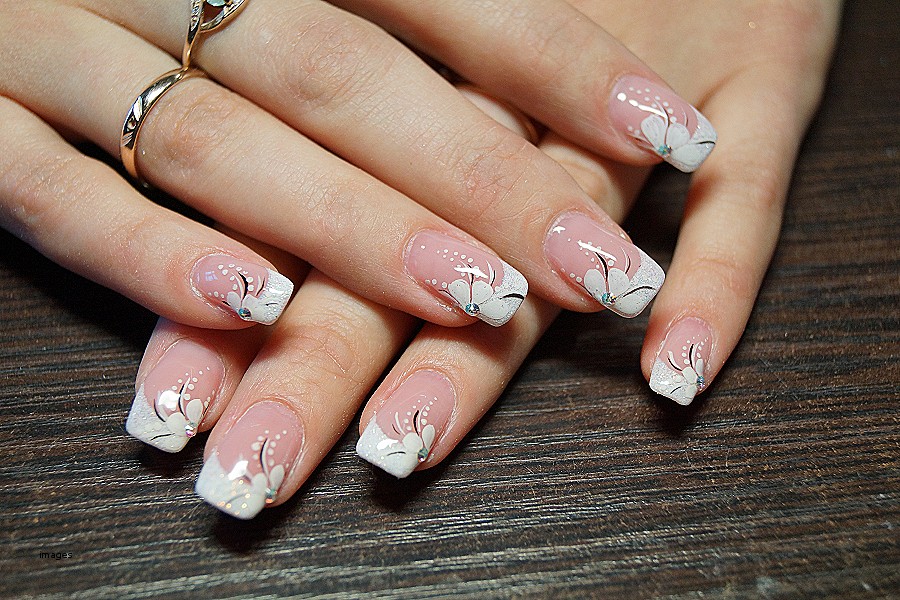

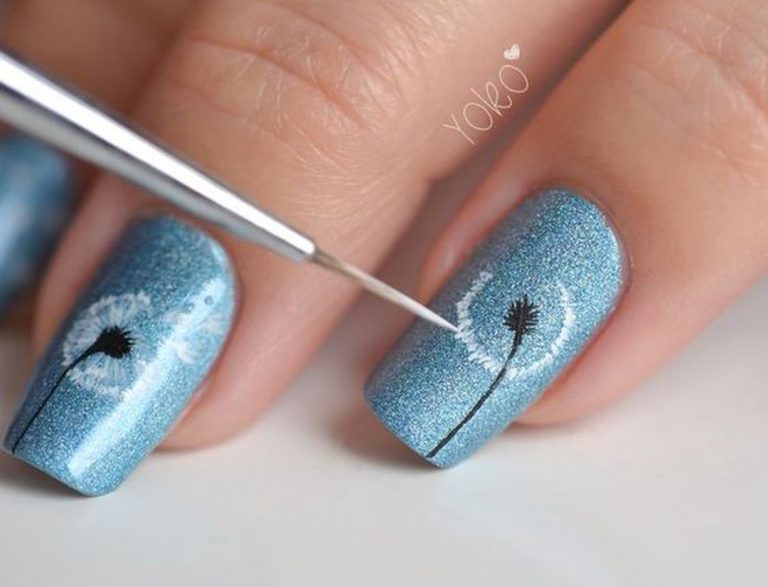
Less is more, and that applies to nail art as well. If you prefer a more subtle and understated look, minimalist nail designs are perfect for you. These designs involve simple lines, dots, or shapes on a neutral base color. To create a minimalist nail design, start by painting your nails with a neutral color. Then, using a thin nail art brush or a dotting tool, create simple designs such as stripes, dots, or triangles on the nails. You can also add small details like a heart or a star for a more personalized touch. Finish off with a top coat to seal in the design.5. Minimalist Nail Designs for Beginners
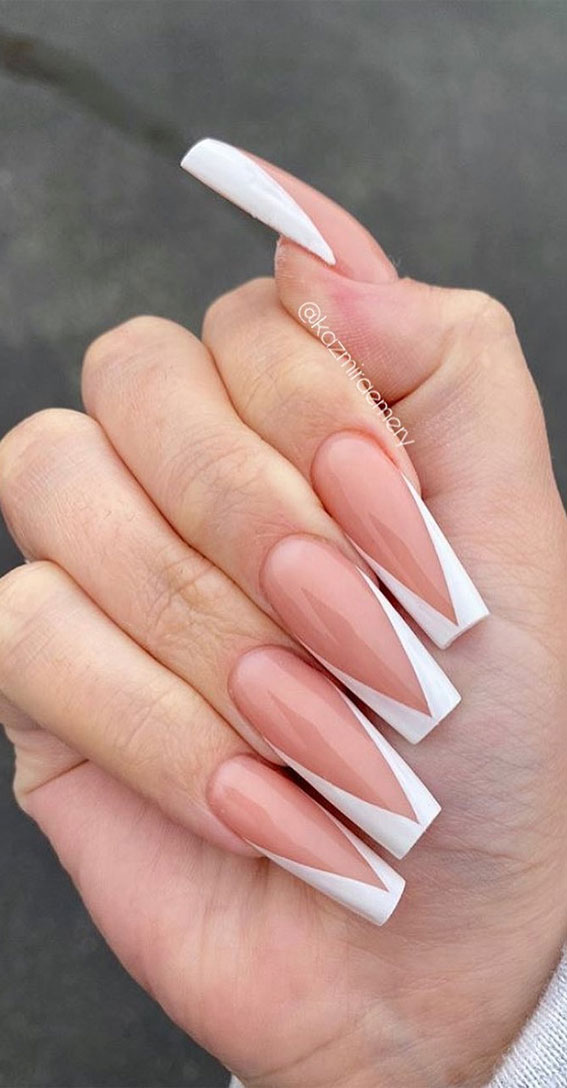
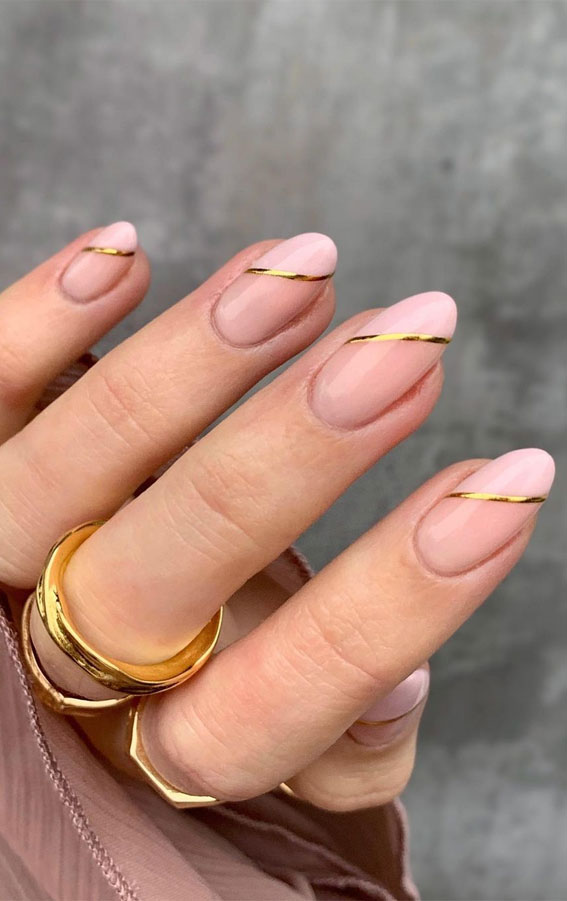
5. Minimalist Nail Designs for Beginners


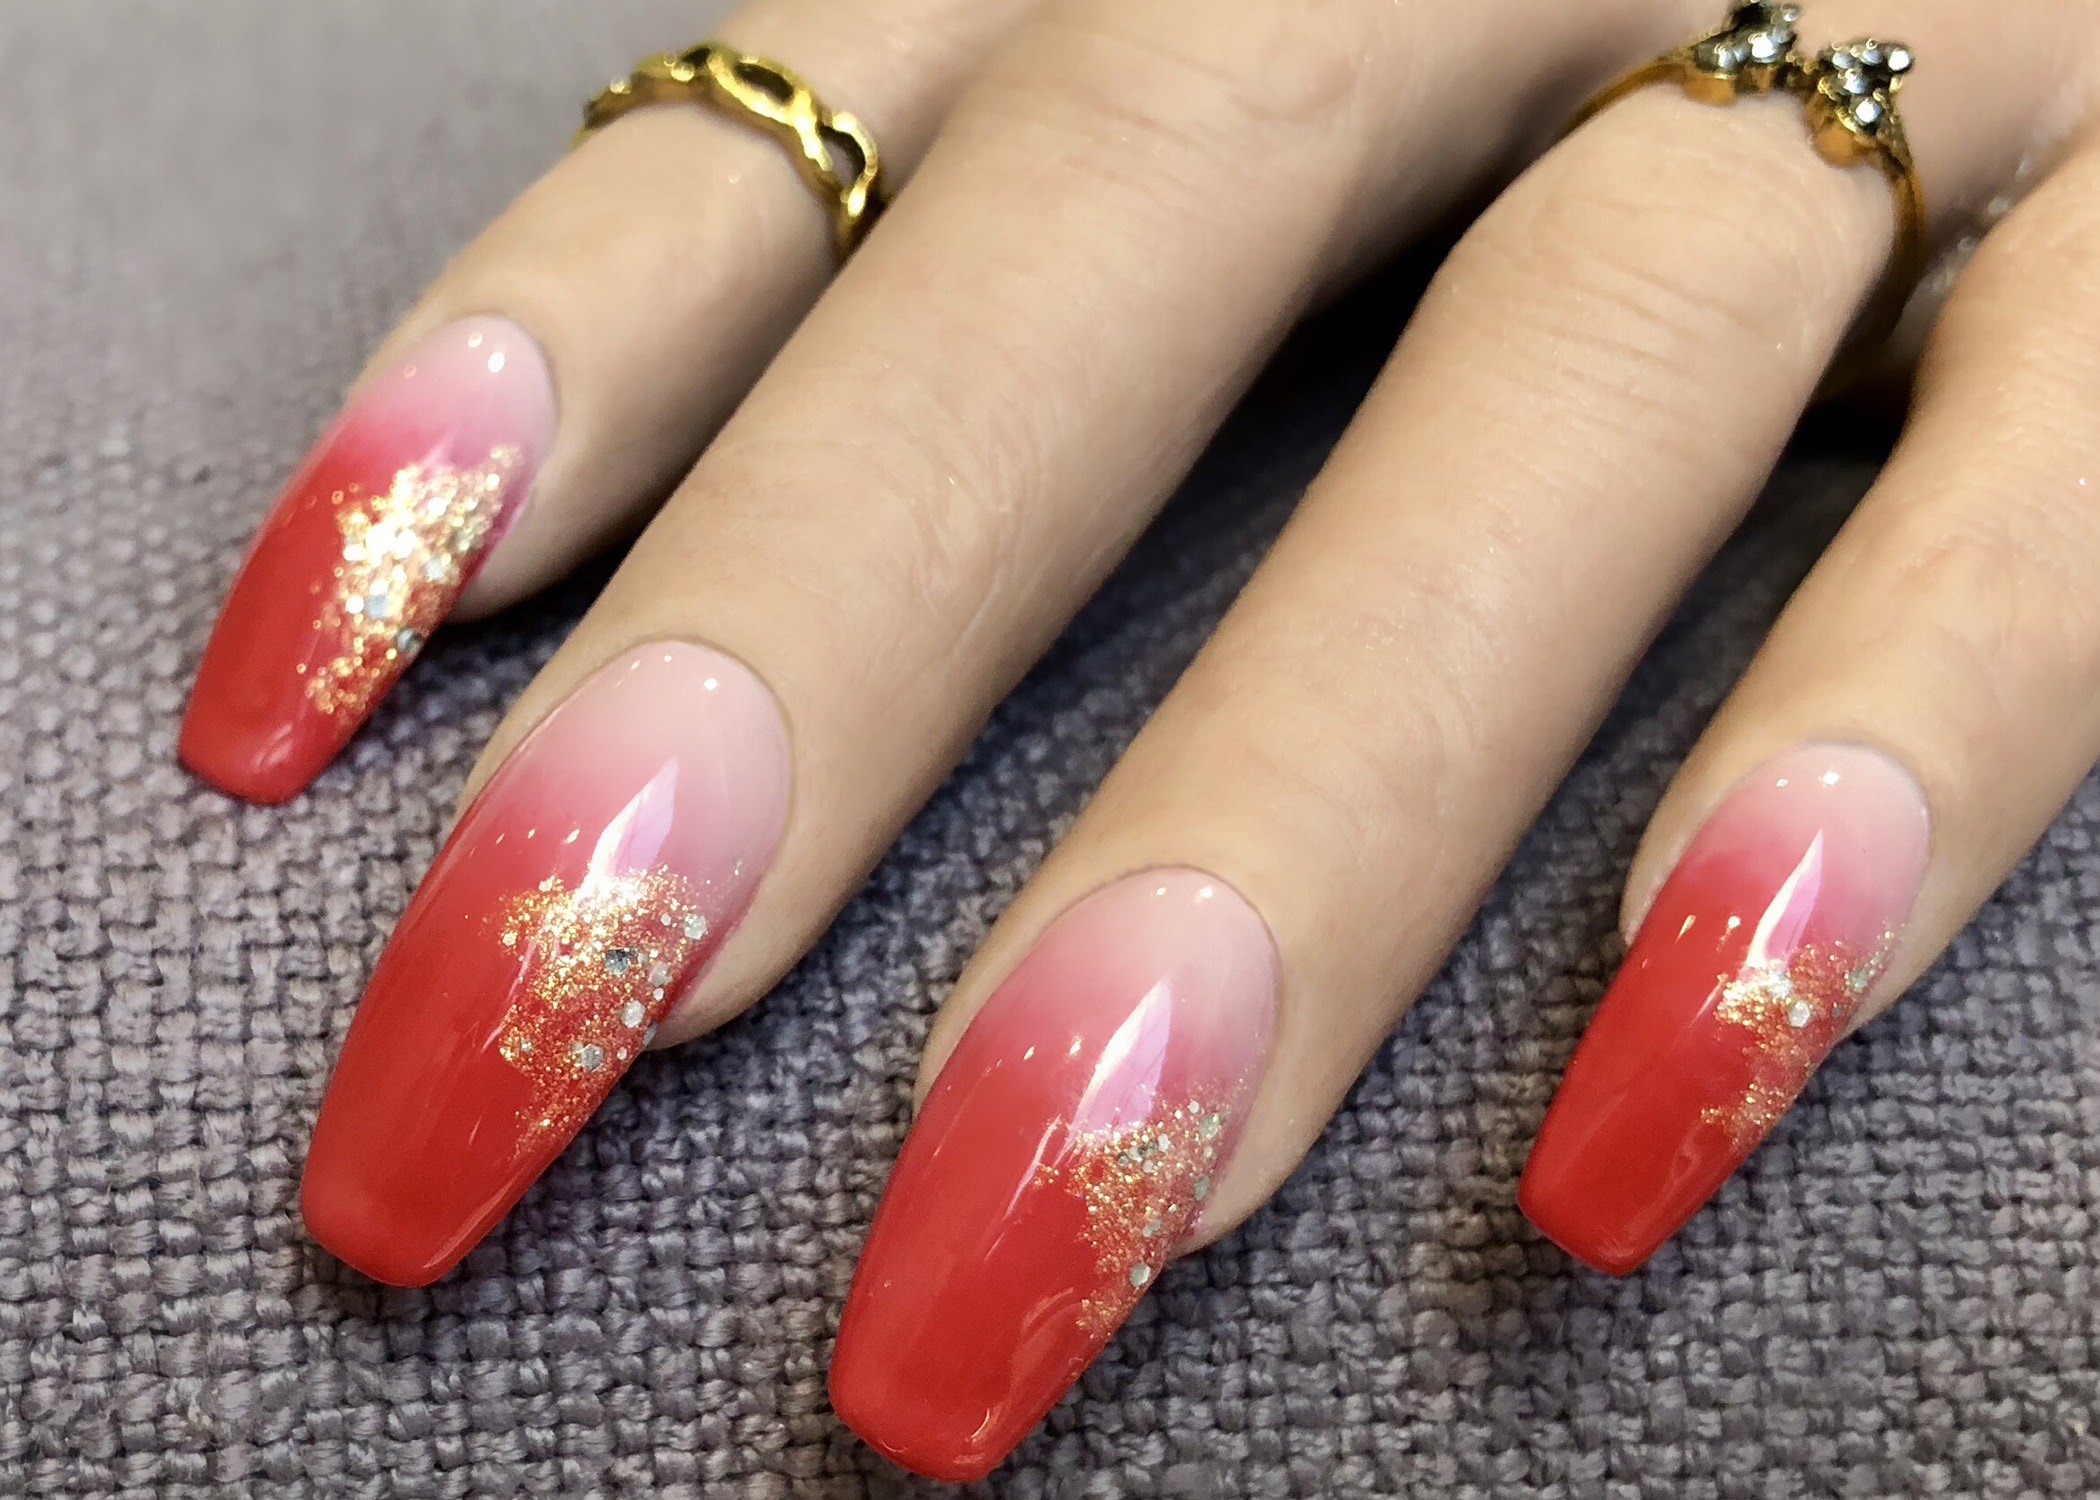
Ombre nails have been a popular trend for a while now, and the best part is that they are super easy to create. This design involves blending two or more colors together to create a gradient effect from light to dark. To achieve this look, you will need a makeup sponge, two or more shades of nail polish, and a top coat. Start by painting your nails with the lightest color and let it dry completely. Then, on a makeup sponge, apply the two colors in a gradient pattern. Gently press the sponge onto your nails, moving it back and forth to blend the colors. Finish off with a top coat to seal in the design.6. Ombre Nail Art for Beginners


6. Ombre Nail Art for Beginners


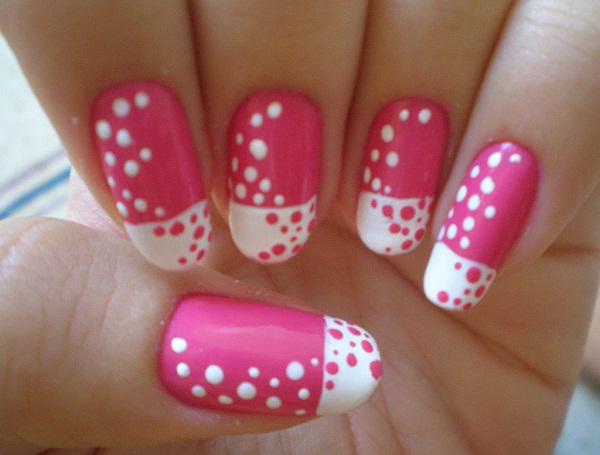
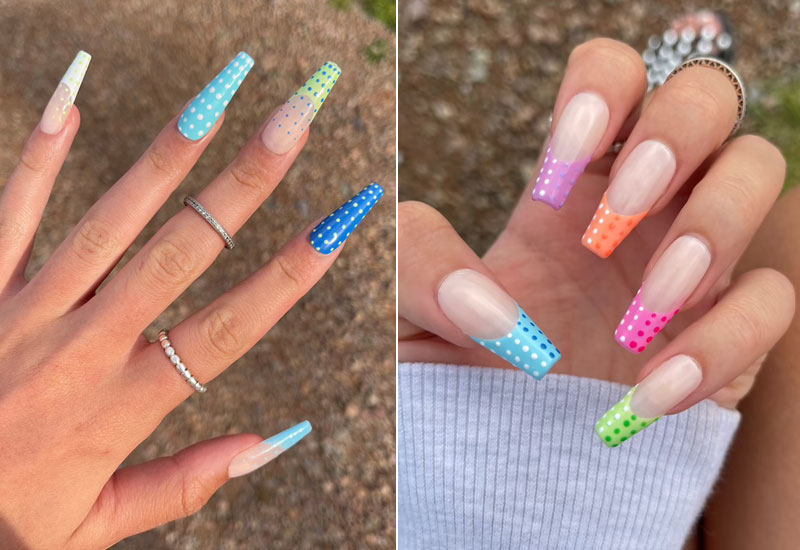
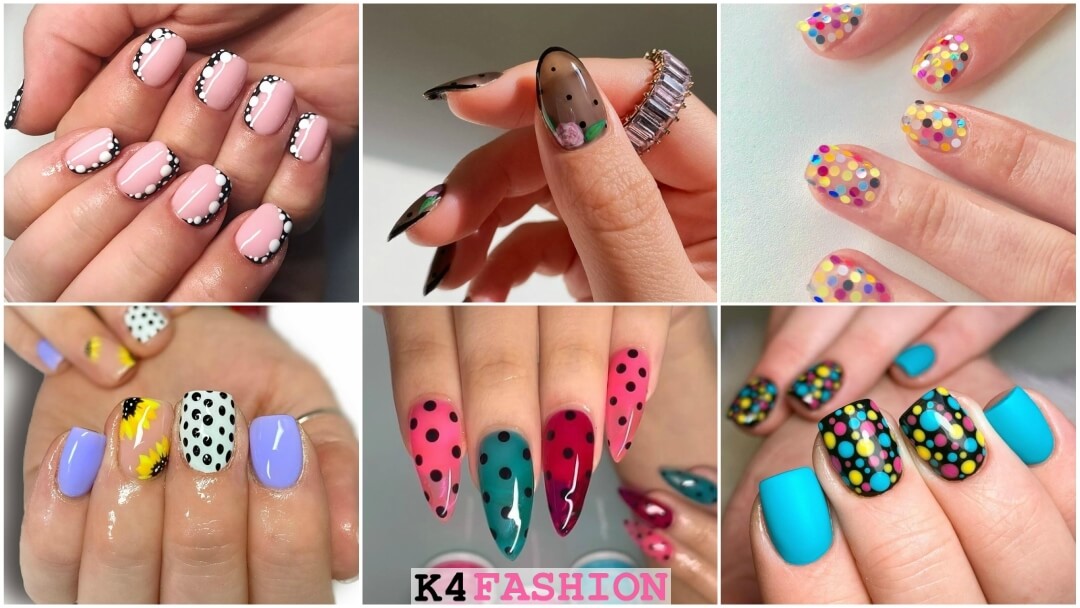
Polka dot nails are a classic design that never goes out of style. They are also one of the easiest designs to create, making them perfect for beginners. To create this look, start by painting your nails with a base color of your choice. Then, using the dotting tool, create small dots on the nails with a contrasting color. You can also create different sizes of dots or a pattern with the dots, depending on your preference. Finish off with a top coat to seal in the design.7. Polka Dot Nail Designs for Beginners
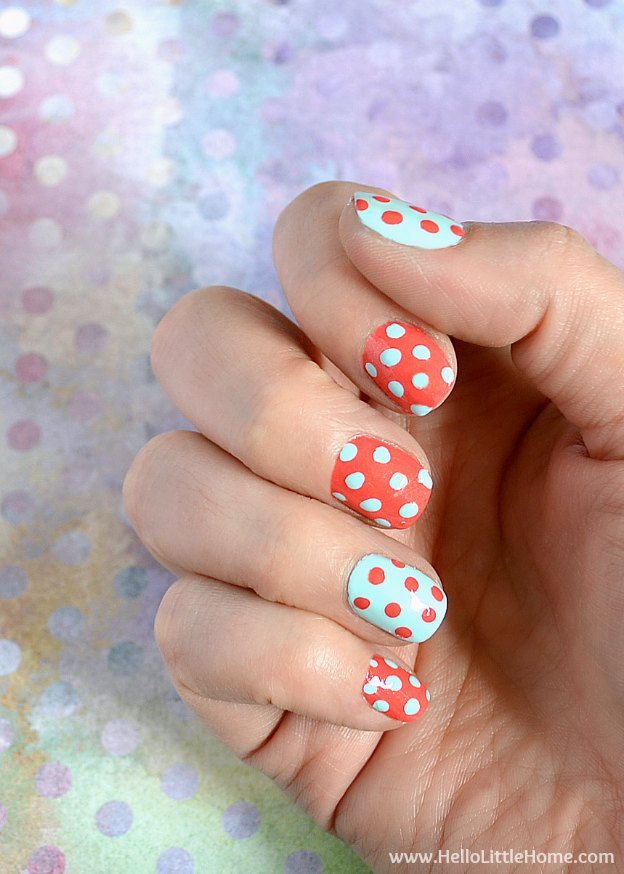


7. Polka Dot Nail Designs for Beginners


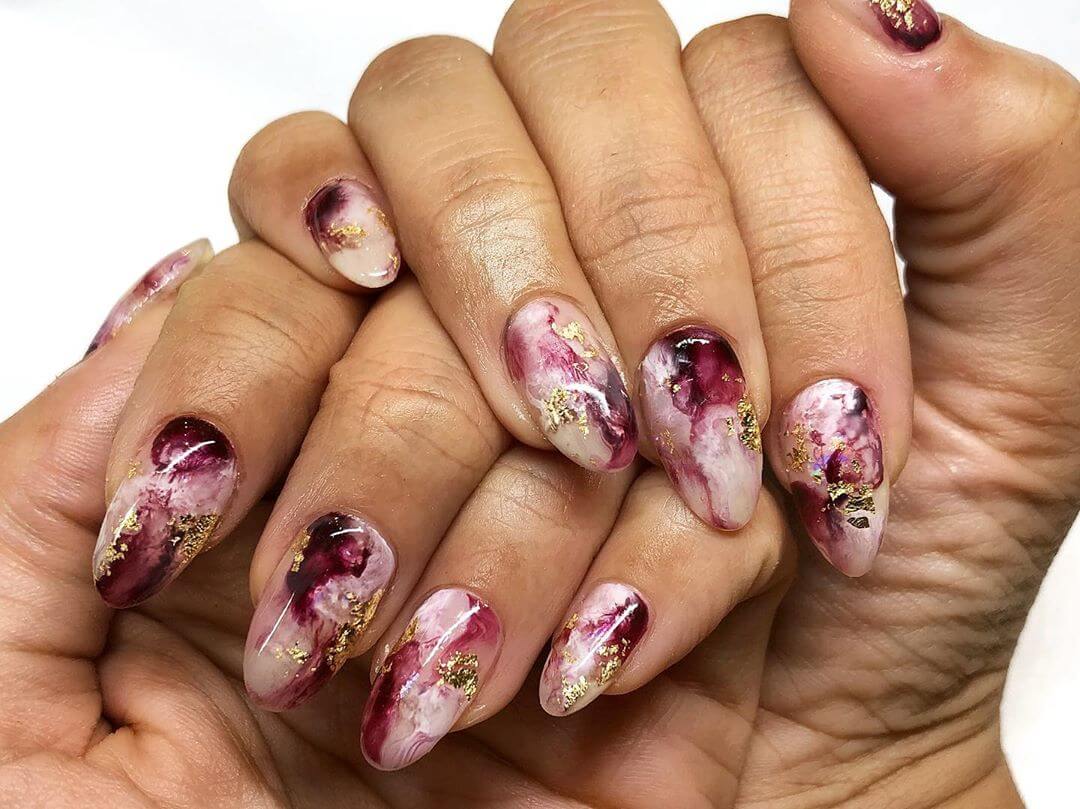
Marble nail art is a trendy design that looks like it takes a lot of skill, but it is actually quite simple to create. This design involves creating a marbled effect on the nails using different shades of nail polish. To achieve this look, you will need a cup of water, two or more shades of nail polish, and a toothpick. Start by filling the cup with room temperature water and dropping a few drops of the nail polish into the water. Use the toothpick to create a marble effect in the water. Then, dip your nails into the water, and the marble design will transfer onto your nails. Finish off with a top coat to seal in the design.8. Marble Nail Art for Beginners


8. Marble Nail Art for Beginners

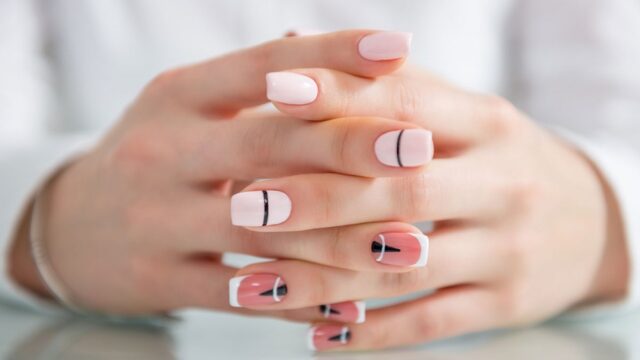
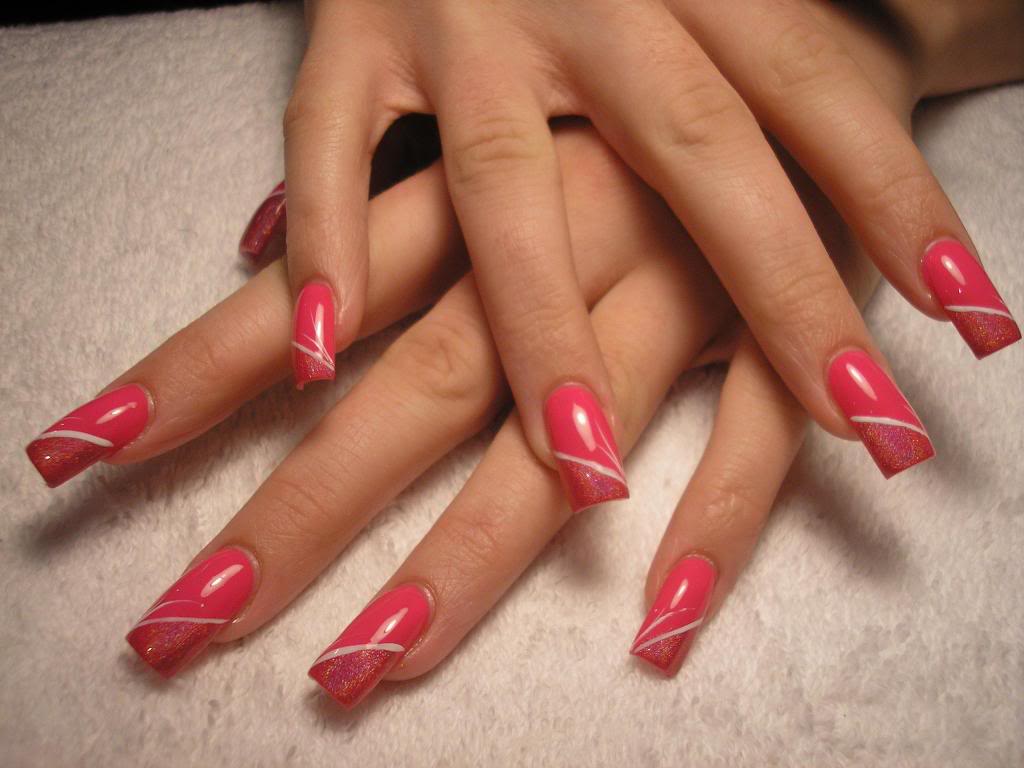
Striped nail designs are another classic and easy design that anyone can create. This design involves creating simple stripes on the nails using different colors or textures. To create this look, start by painting your nails with a base color and let it dry completely. Then, using a thin nail art brush or tape, create stripes on the nails with a contrasting color. You can create vertical, horizontal, or diagonal stripes, depending on your preference. Finish off with a top coat to seal in the design.9. Striped Nail Designs for Beginners


9. Striped Nail Designs for Beginners


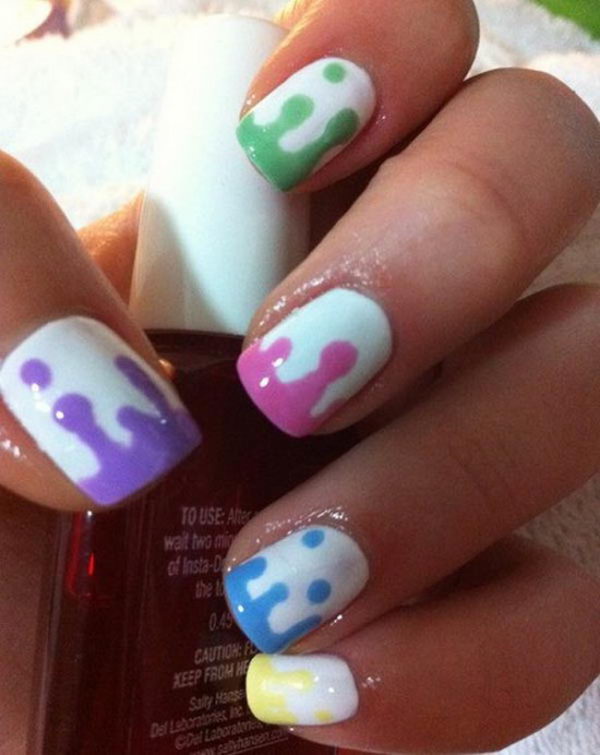
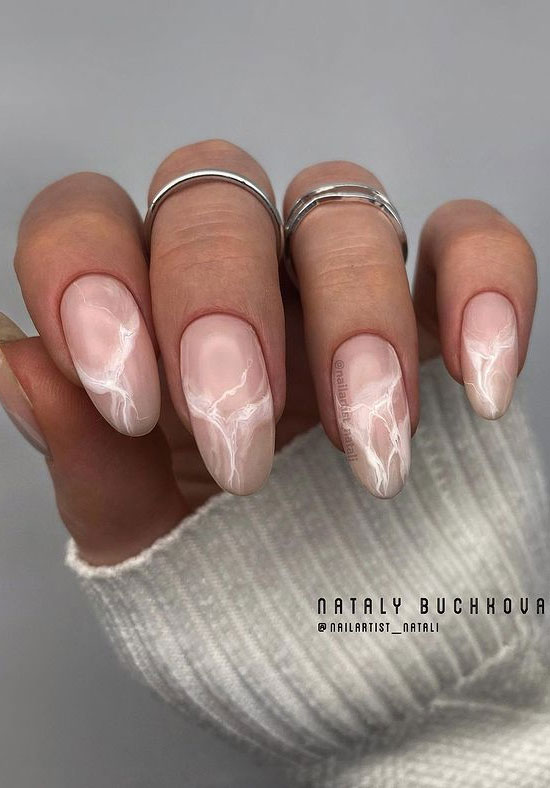
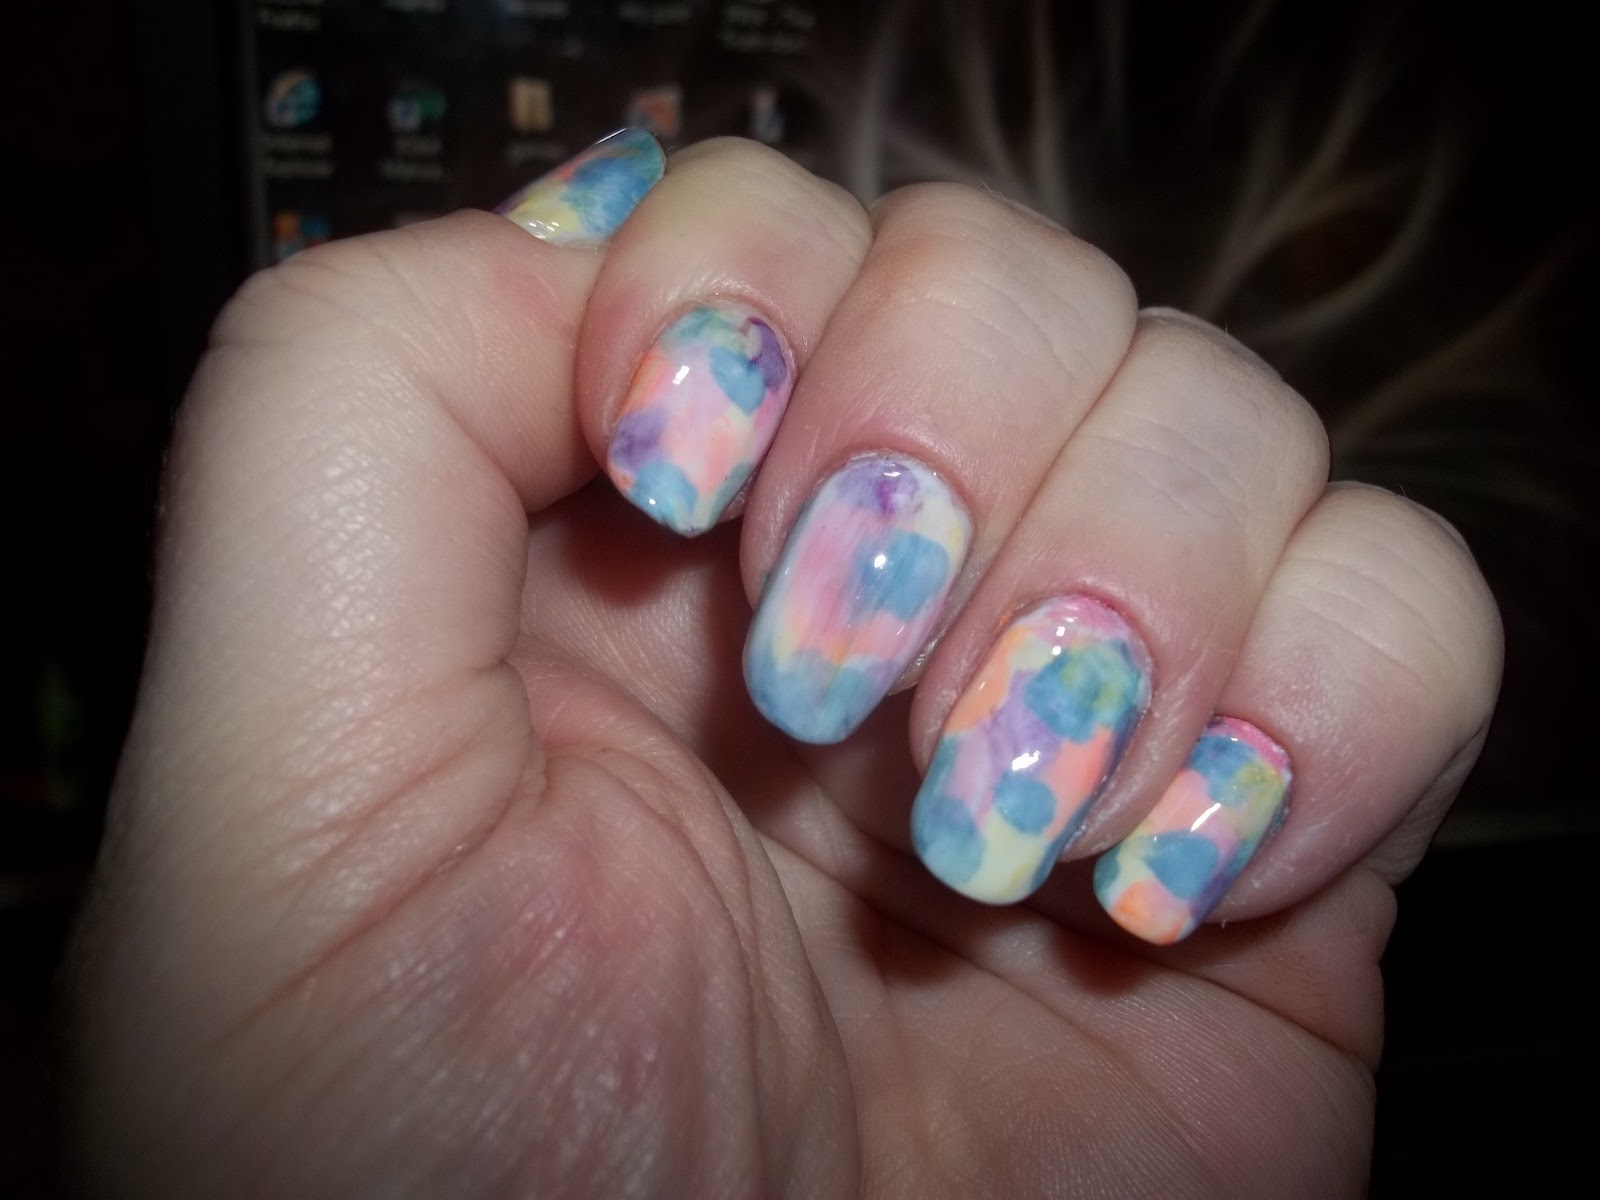
Watercolor nail art is a unique and beautiful design that is perfect for beginners. This design involves creating a watercolor effect on the nails using different shades of nail polish. To achieve this look, you will need a makeup sponge, two or more shades of nail polish, and a top coat. Start by painting your nails with a light base color and let it dry completely. Then, on a makeup sponge, apply the two colors in a random pattern. Gently press the sponge onto your nails, moving it back and forth to create a watercolor effect. Finish off with a top coat to seal in the design.10. Watercolor Nail Art for Beginners


10. Watercolor Nail Art for Beginners


Mastering the Basics: The Best Nail Art Design for Beginners
Introduction
 When it comes to nail art, beginners often feel overwhelmed with the endless possibilities and intricate designs. But don't let that discourage you from exploring and experimenting with different designs. Nail art is a fun and creative way to express yourself and add a touch of flair to your everyday look. To help you get started, we have compiled the best nail art design for beginners, focusing on the main keyword - nail art design.
Start with Simple Designs
 As a beginner, it is essential to start with simple designs that are easy to recreate. This will help you build your skills and confidence before moving on to more complex designs. Some easy designs to start with include polka dots, stripes, and geometric shapes. These designs require minimal tools and can be done using a toothpick or a small brush.
Practice these designs a few times until you feel comfortable before moving on to more intricate ones.
As a beginner, it is essential to start with simple designs that are easy to recreate. This will help you build your skills and confidence before moving on to more complex designs. Some easy designs to start with include polka dots, stripes, and geometric shapes. These designs require minimal tools and can be done using a toothpick or a small brush.
Practice these designs a few times until you feel comfortable before moving on to more intricate ones.
Invest in the Right Tools
 Having the right tools can make a significant difference in achieving a flawless nail art design. As a beginner, it can be tempting to use household items like bobby pins or Q-tips, but investing in proper nail art tools will give you more control and precision. A basic nail art kit should include dotting tools, striping tape, and nail art brushes of different sizes.
Remember to clean your tools after each use to maintain their quality and longevity.
Having the right tools can make a significant difference in achieving a flawless nail art design. As a beginner, it can be tempting to use household items like bobby pins or Q-tips, but investing in proper nail art tools will give you more control and precision. A basic nail art kit should include dotting tools, striping tape, and nail art brushes of different sizes.
Remember to clean your tools after each use to maintain their quality and longevity.
Use Tutorials and Templates
 Thanks to the internet, there is an abundance of nail art tutorials and templates available for beginners. These resources provide step-by-step instructions and visuals that make it easier to recreate a design. You can also find printable templates that you can place on your nails and paint over to achieve a perfect design.
Using these resources can help you develop your skills and inspire you to create your own unique designs.
Thanks to the internet, there is an abundance of nail art tutorials and templates available for beginners. These resources provide step-by-step instructions and visuals that make it easier to recreate a design. You can also find printable templates that you can place on your nails and paint over to achieve a perfect design.
Using these resources can help you develop your skills and inspire you to create your own unique designs.
Experiment with Colors and Textures
 One of the most exciting parts of nail art is playing with colors and textures. As a beginner, it is essential to have a variety of nail polish colors and finishes to experiment with. Start with a basic color scheme, such as pastels or neutrals, and gradually incorporate bolder shades and different textures like glitter or matte.
Remember to always let your base color dry completely before adding layers or designs on top.
One of the most exciting parts of nail art is playing with colors and textures. As a beginner, it is essential to have a variety of nail polish colors and finishes to experiment with. Start with a basic color scheme, such as pastels or neutrals, and gradually incorporate bolder shades and different textures like glitter or matte.
Remember to always let your base color dry completely before adding layers or designs on top.
Conclusion
 Nail art may seem daunting at first, but with the right tools, practice, and resources, you can master the basics and create stunning designs. Remember to start with simple designs, invest in the right tools, use tutorials and templates, and have fun experimenting with colors and textures.
With dedication and patience, you will soon be able to create intricate and eye-catching nail art designs like a pro.
Nail art may seem daunting at first, but with the right tools, practice, and resources, you can master the basics and create stunning designs. Remember to start with simple designs, invest in the right tools, use tutorials and templates, and have fun experimenting with colors and textures.
With dedication and patience, you will soon be able to create intricate and eye-catching nail art designs like a pro.


