If you're looking to add a funky and colorful twist to your nail game, then tie dye nail art is the way to go. This tutorial will guide you through the steps to create your own unique tie dye nail designs that will surely make a statement. Tie dye nail art is a fun and creative way to express your personality and add some color to your look. It's perfect for music festivals, beach vacations, or just to brighten up your everyday style. So let's get started on creating some fabulous tie dye nails!1. Tie Dye Nail Art Tutorial


1. Tie Dye Nail Art Tutorial


If you're new to nail art or just looking for a quick and easy design, there are plenty of easy tie dye nail designs that you can try. One simple technique is to use a toothpick to create swirls of color on your nails. Simply dip the toothpick into your chosen nail polish colors and gently drag it across your nail. You can also use a sponge to dab on different colors for a more abstract tie dye effect. Another easy way to achieve a tie dye look is by using a water marble technique. Fill a cup with room temperature water and drop in a few drops of different colored nail polish. Then use a toothpick to swirl the colors together before dipping your nail into the water. This will create a unique tie dye pattern on your nails.2. Easy Tie Dye Nail Designs


2. Easy Tie Dye Nail Designs


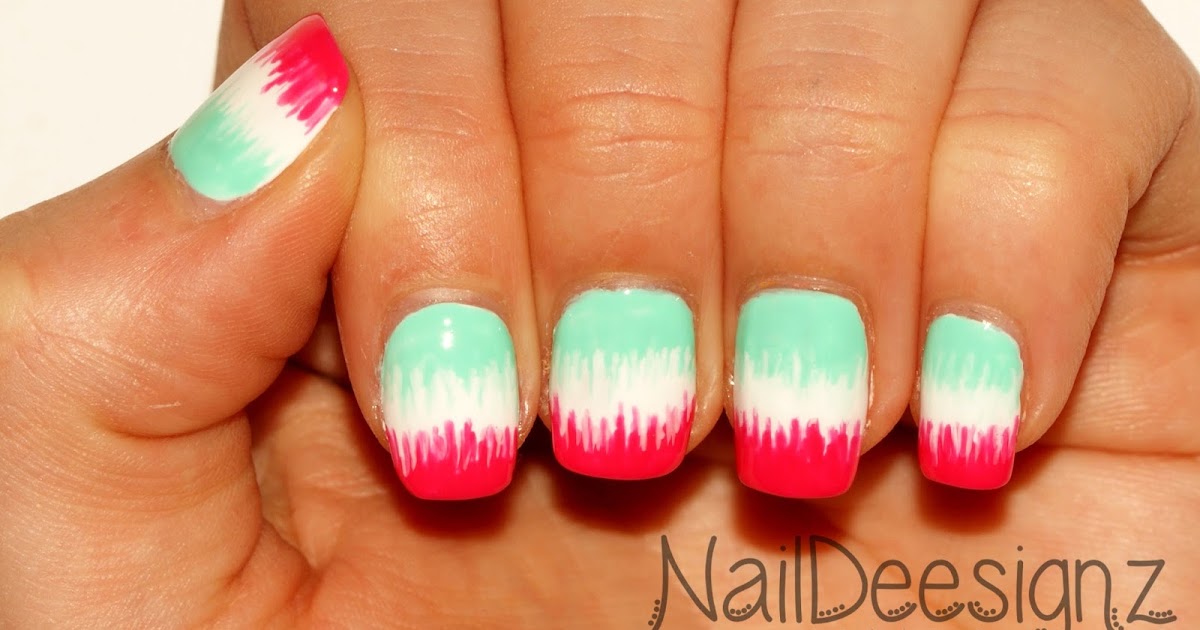
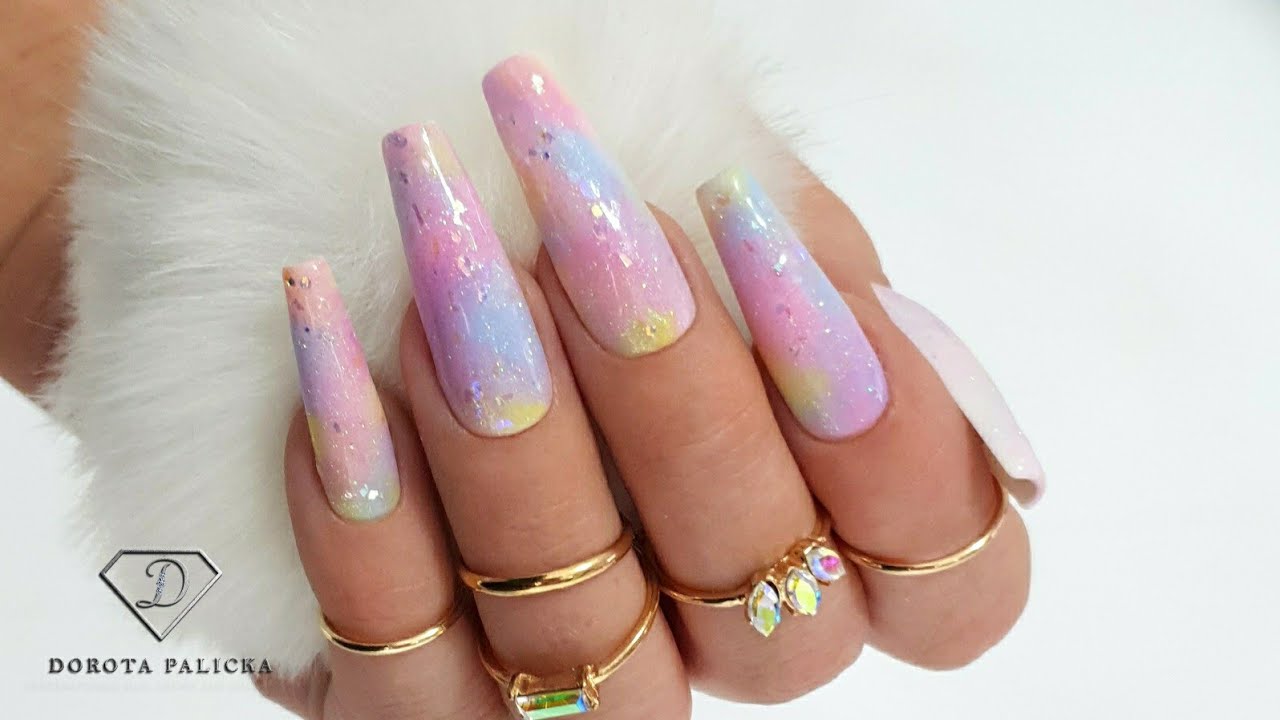
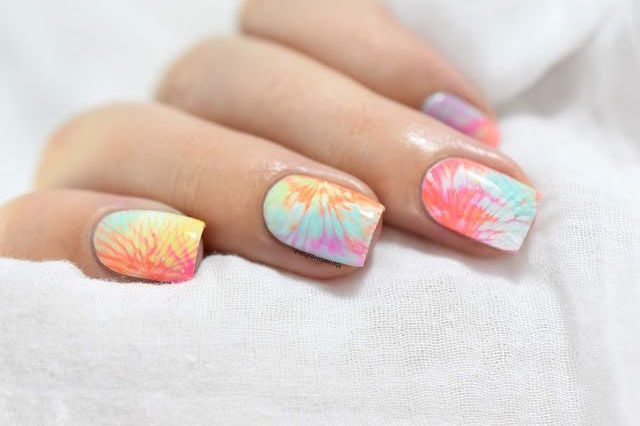
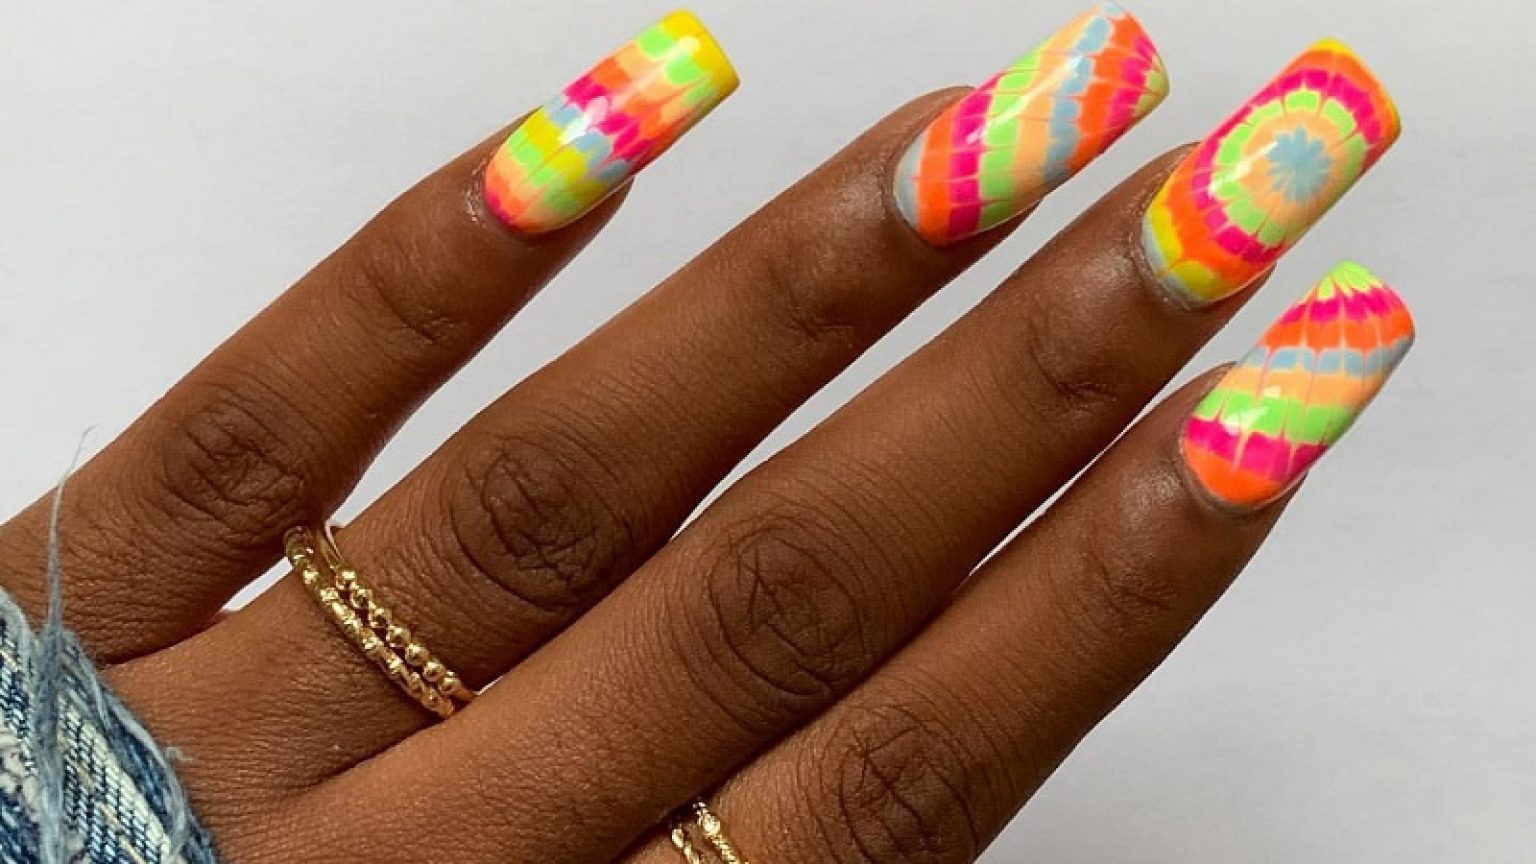
The possibilities for tie dye nail art ideas are endless. You can experiment with different colors, patterns, and techniques to create a design that is truly one-of-a-kind. You can also incorporate other nail art elements, such as glitter or rhinestones, to add even more dimension to your tie dye nails. If you're feeling adventurous, you can try a tie dye ombre effect by using different shades of the same color on each nail. You can also create a tie dye french tip by using a thin brush to paint on different colored lines at the tips of your nails. The key is to have fun and let your creativity flow!3. Tie Dye Nail Art Ideas

3. Tie Dye Nail Art Ideas
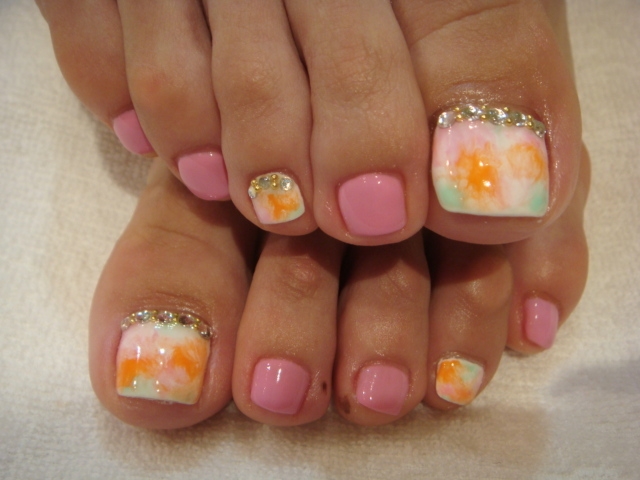


Why spend money at a nail salon when you can create your own DIY tie dye nails at home? Not only is it more affordable, but it also allows you to customize your design to your liking. All you need is a few basic nail polish colors, some toothpicks or sponges, and a little bit of patience. It's important to note that DIY tie dye nails may take a bit of practice to perfect, but don't get discouraged if your first attempt doesn't turn out exactly how you want it. Keep experimenting and trying new techniques until you find the perfect tie dye design that suits your style.4. DIY Tie Dye Nails

4. DIY Tie Dye Nails

If you're a visual learner, a tie dye nail art step by step guide can be very helpful in achieving the perfect design. There are many tutorials available online that provide detailed instructions and photos to guide you through each step of the process. One important step to remember is to always start with a base coat of clear polish to protect your nails and help the colors adhere better. Then, follow the steps for your chosen technique, whether it's using a toothpick, sponge, or water marble method. Finish off with a top coat to seal in your design and add shine.5. Tie Dye Nail Art Step by Step


5. Tie Dye Nail Art Step by Step

For those who are new to nail art, trying tie dye nail art for beginners can seem a bit daunting. But don't worry, there are plenty of simple and easy designs that beginners can try to get the hang of it. The key is to start with basic techniques and then gradually add more colors and complexity as you become more comfortable. Some tie dye nail art for beginners ideas include using a single color and adding small dots or lines with a toothpick, or using a sponge to create a gradient effect with two colors. As you gain more experience, you can then move on to more intricate patterns and designs.6. Tie Dye Nail Art for Beginners


6. Tie Dye Nail Art for Beginners
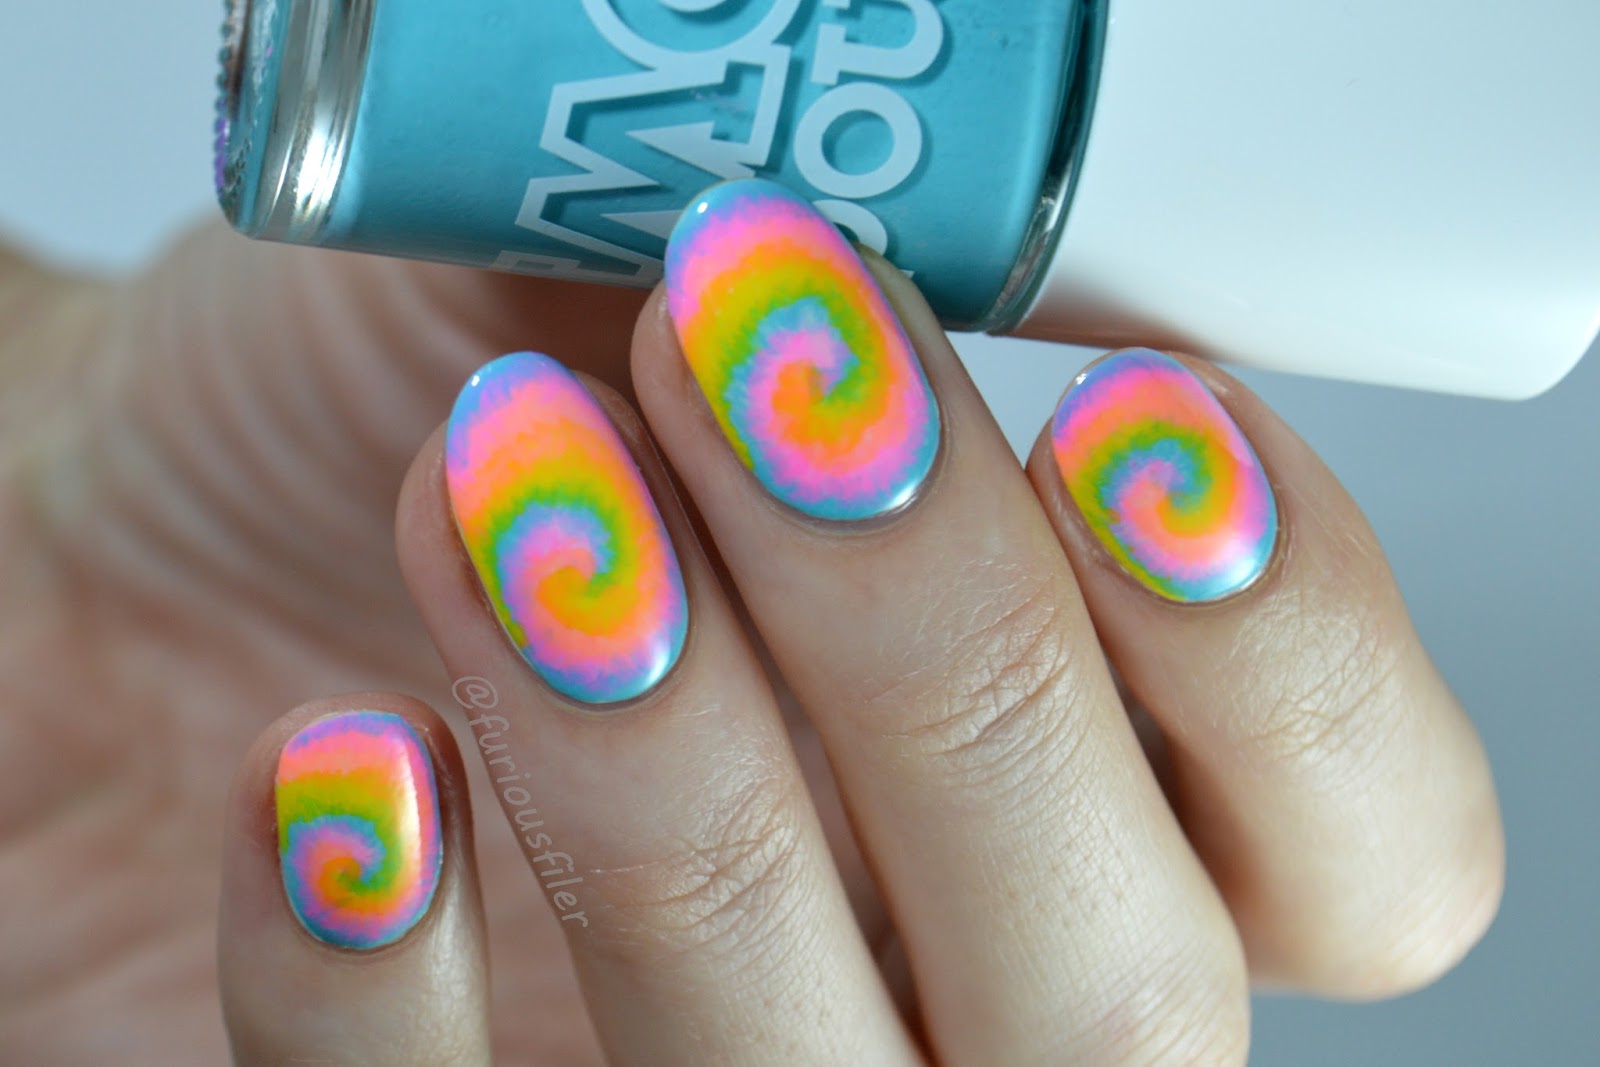
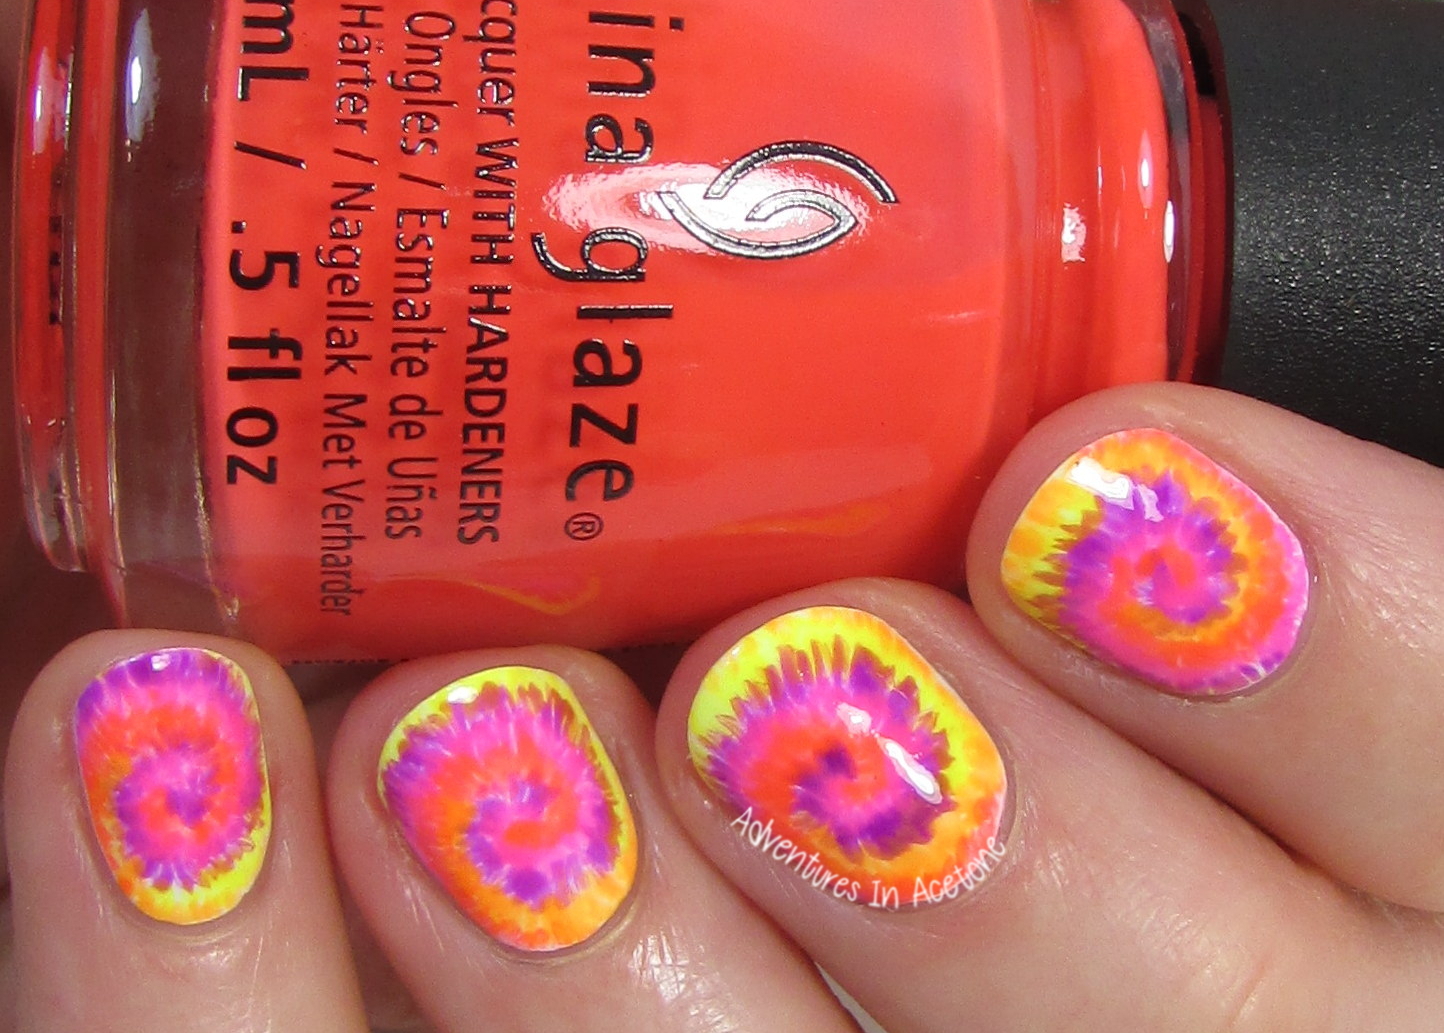
Using water to create tie dye nail art is a popular and easy technique that yields beautiful results. The key is to use room temperature water and avoid using cold or hot water, as it can affect the consistency of the nail polish. Simply drop a few drops of different colored nail polish into a cup of water and use a toothpick to swirl the colors together. Then, dip your nail into the water and hold it there for a few seconds before pulling it out. You can also use tape or liquid latex to protect the skin around your nails from getting messy.7. Tie Dye Nail Art with Water


7. Tie Dye Nail Art with Water


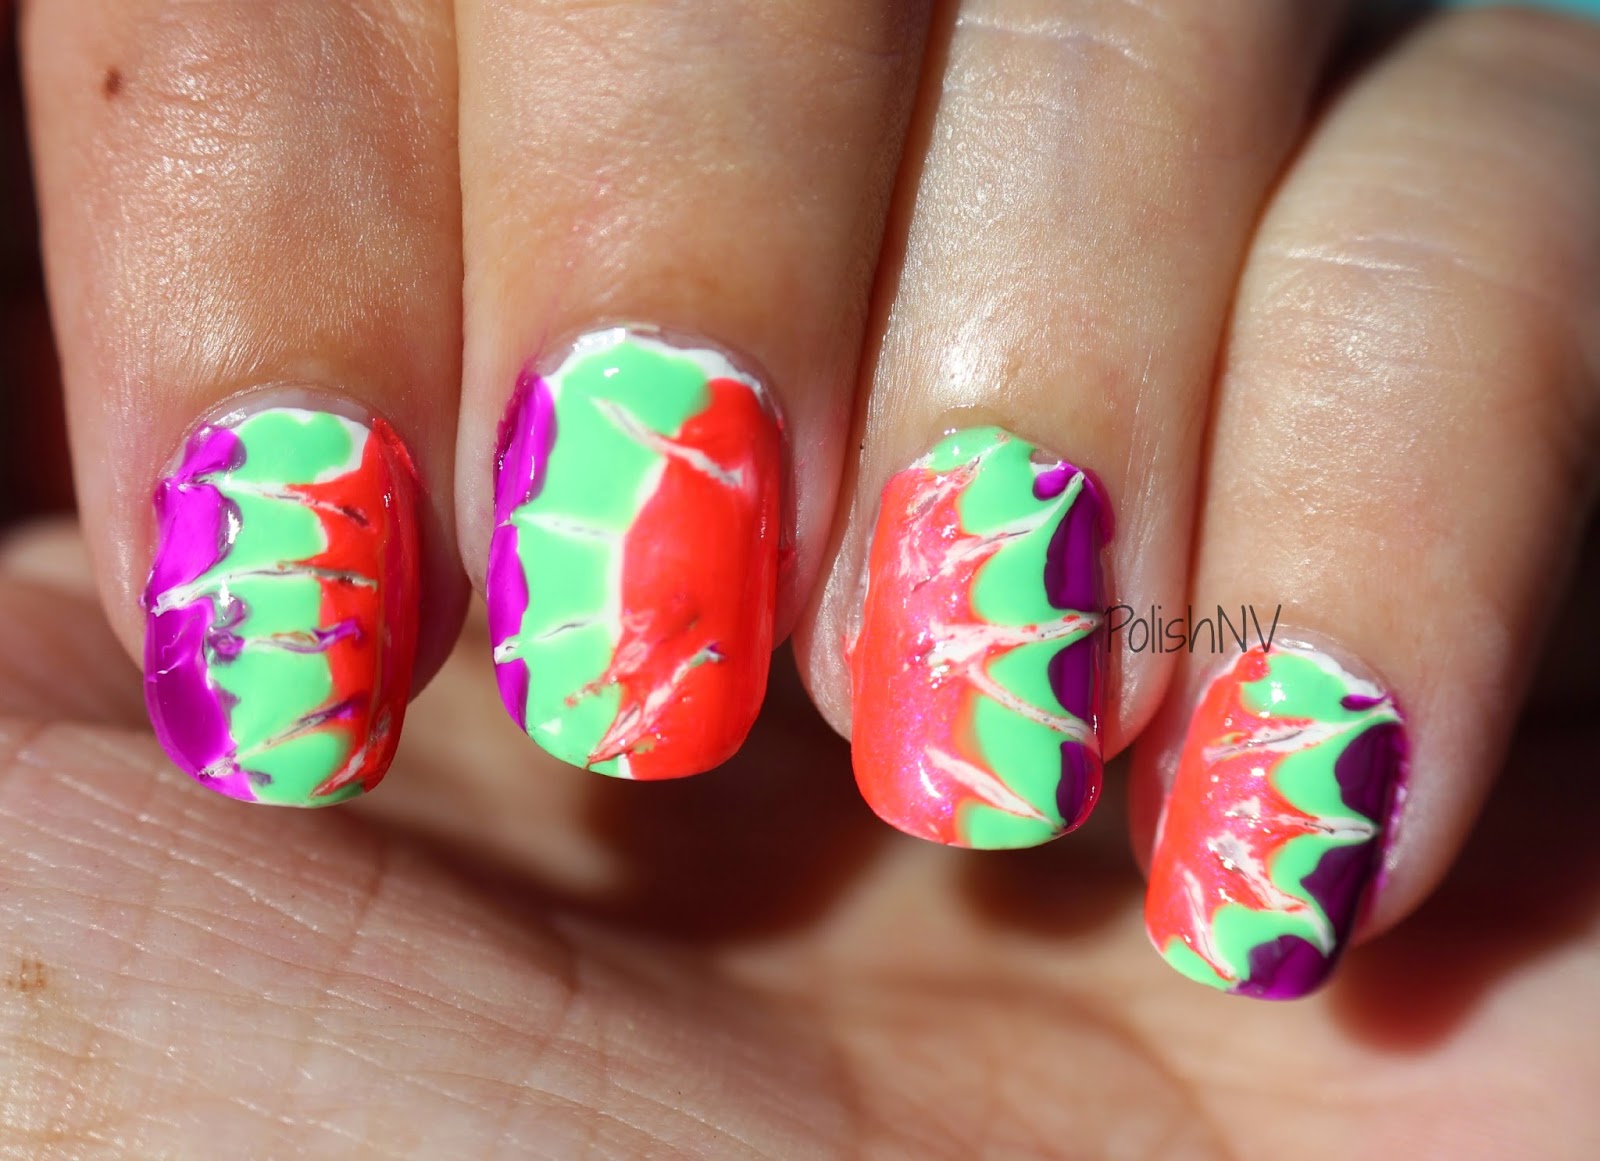
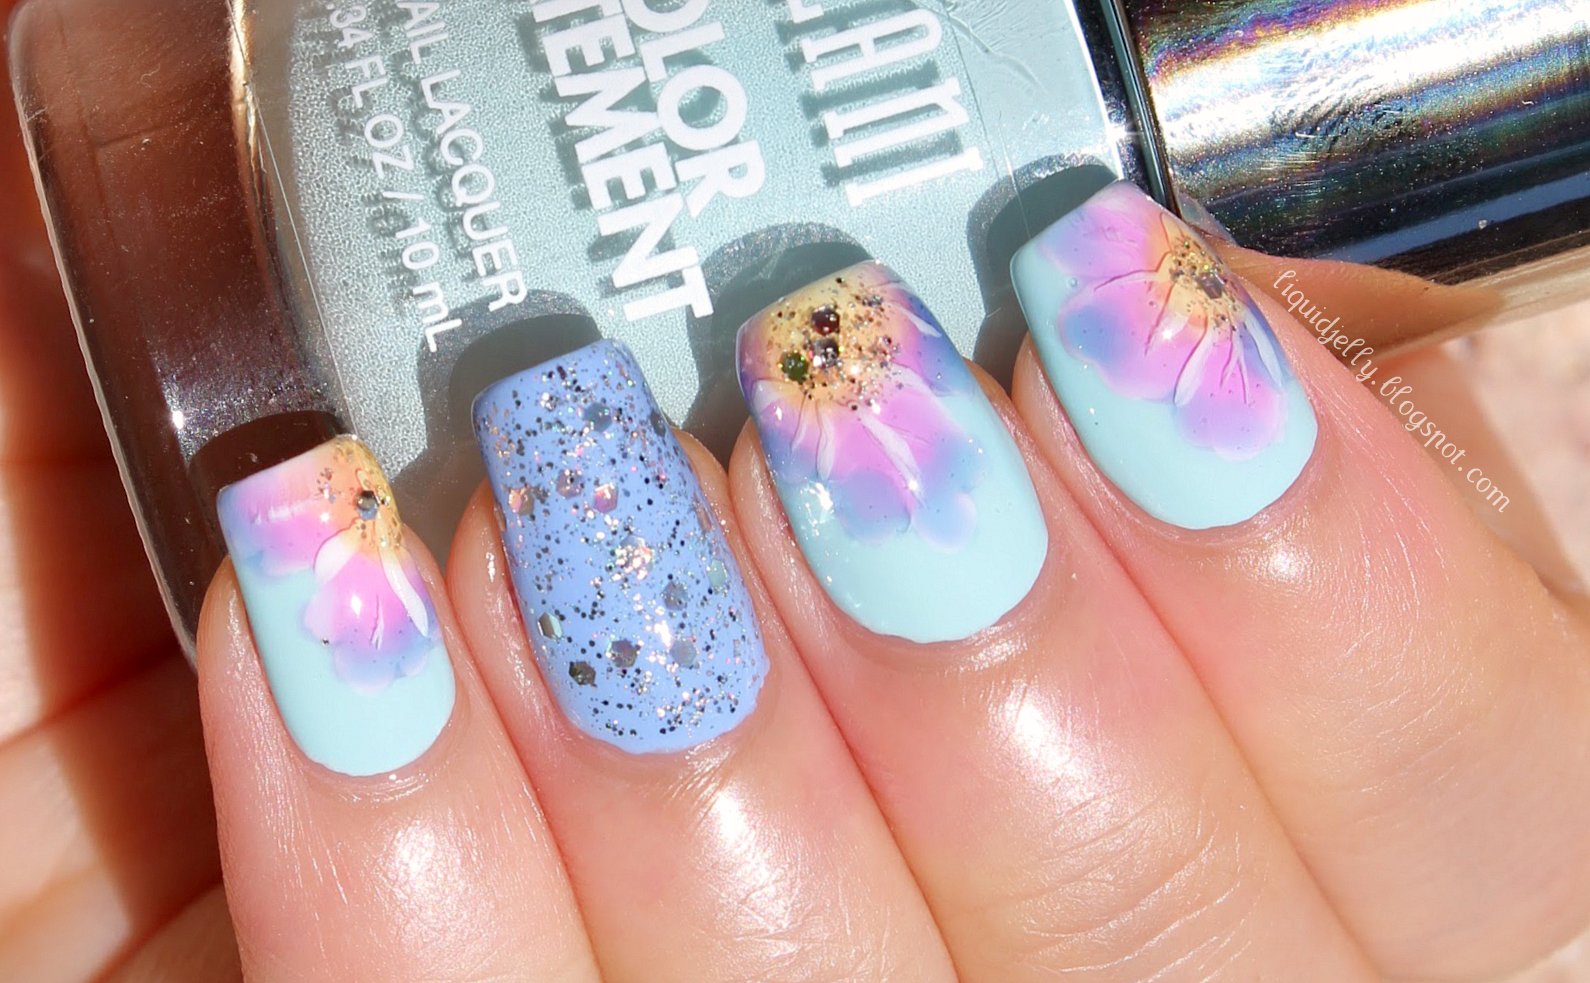
If you want to achieve a more abstract and blended tie dye effect, using a sponge can be a great technique to try. Start by painting your nails with a base color, then use a makeup sponge to dab on different colors onto your nails. You can also use a sponge to create a tie dye ombre effect by painting one color at the top of your nail and another color at the bottom, then using the sponge to blend the two colors together in the middle. This technique may require a bit of practice, but the end result is worth it.8. Tie Dye Nail Art with Sponge


8. Tie Dye Nail Art with Sponge
A toothpick is a versatile tool when it comes to creating tie dye nail art. You can use it to create swirls, lines, and other designs on your nails. You can also use it to create small dots of different colors for a fun and playful tie dye look. For a more intricate design, you can use a toothpick to create a tie dye flower by dragging the polish from the center of your nail outwards, creating petal-like shapes. Experiment with different techniques and see what works best for you.9. Tie Dye Nail Art with Toothpick

9. Tie Dye Nail Art with Toothpick


An unexpected but fun tool to use in creating tie dye nail art is a straw. Cut the straw into smaller pieces and use it as a stamp to create circular tie dye patterns on your nails. You can also use it to blow the polish around on your nails for a more abstract effect. Using a straw can create a more messy and unpredictable design, but that's part of the fun of tie dye nails. You can also experiment with using different sizes and lengths of straws for a variety of patterns and designs. In conclusion, tie dye nail art is a fun and creative way to add some personality and color to your nails. With these top 10 tie dye nail art designs, you'll be sure to stand out and make a statement with your nails. So grab your nail polish and get ready to unleash your inner tie dye artist!10. Tie Dye Nail Art with Straws


10. Tie Dye Nail Art with Straws
The Trendy and Vibrant Tie Dye Nail Art Design
Unleash Your Creativity with Tie Dye Nails
 When it comes to nail art, there are endless possibilities to express your personal style and creativity. One of the latest and most popular trends in the nail art world is the tie dye nail design. This vibrant and eye-catching design is inspired by the tie dye technique used on fabrics, and it has taken the beauty world by storm.
Tie dye nail art involves creating colorful and abstract patterns on your nails, mimicking the look of tie-dyed garments. Each nail can have a different design, making it a fun and unique way to express yourself. This design is perfect for those who love bold and playful looks, and it's also a great way to add some color to your outfits.
When it comes to nail art, there are endless possibilities to express your personal style and creativity. One of the latest and most popular trends in the nail art world is the tie dye nail design. This vibrant and eye-catching design is inspired by the tie dye technique used on fabrics, and it has taken the beauty world by storm.
Tie dye nail art involves creating colorful and abstract patterns on your nails, mimicking the look of tie-dyed garments. Each nail can have a different design, making it a fun and unique way to express yourself. This design is perfect for those who love bold and playful looks, and it's also a great way to add some color to your outfits.
How to Achieve the Perfect Tie Dye Nails
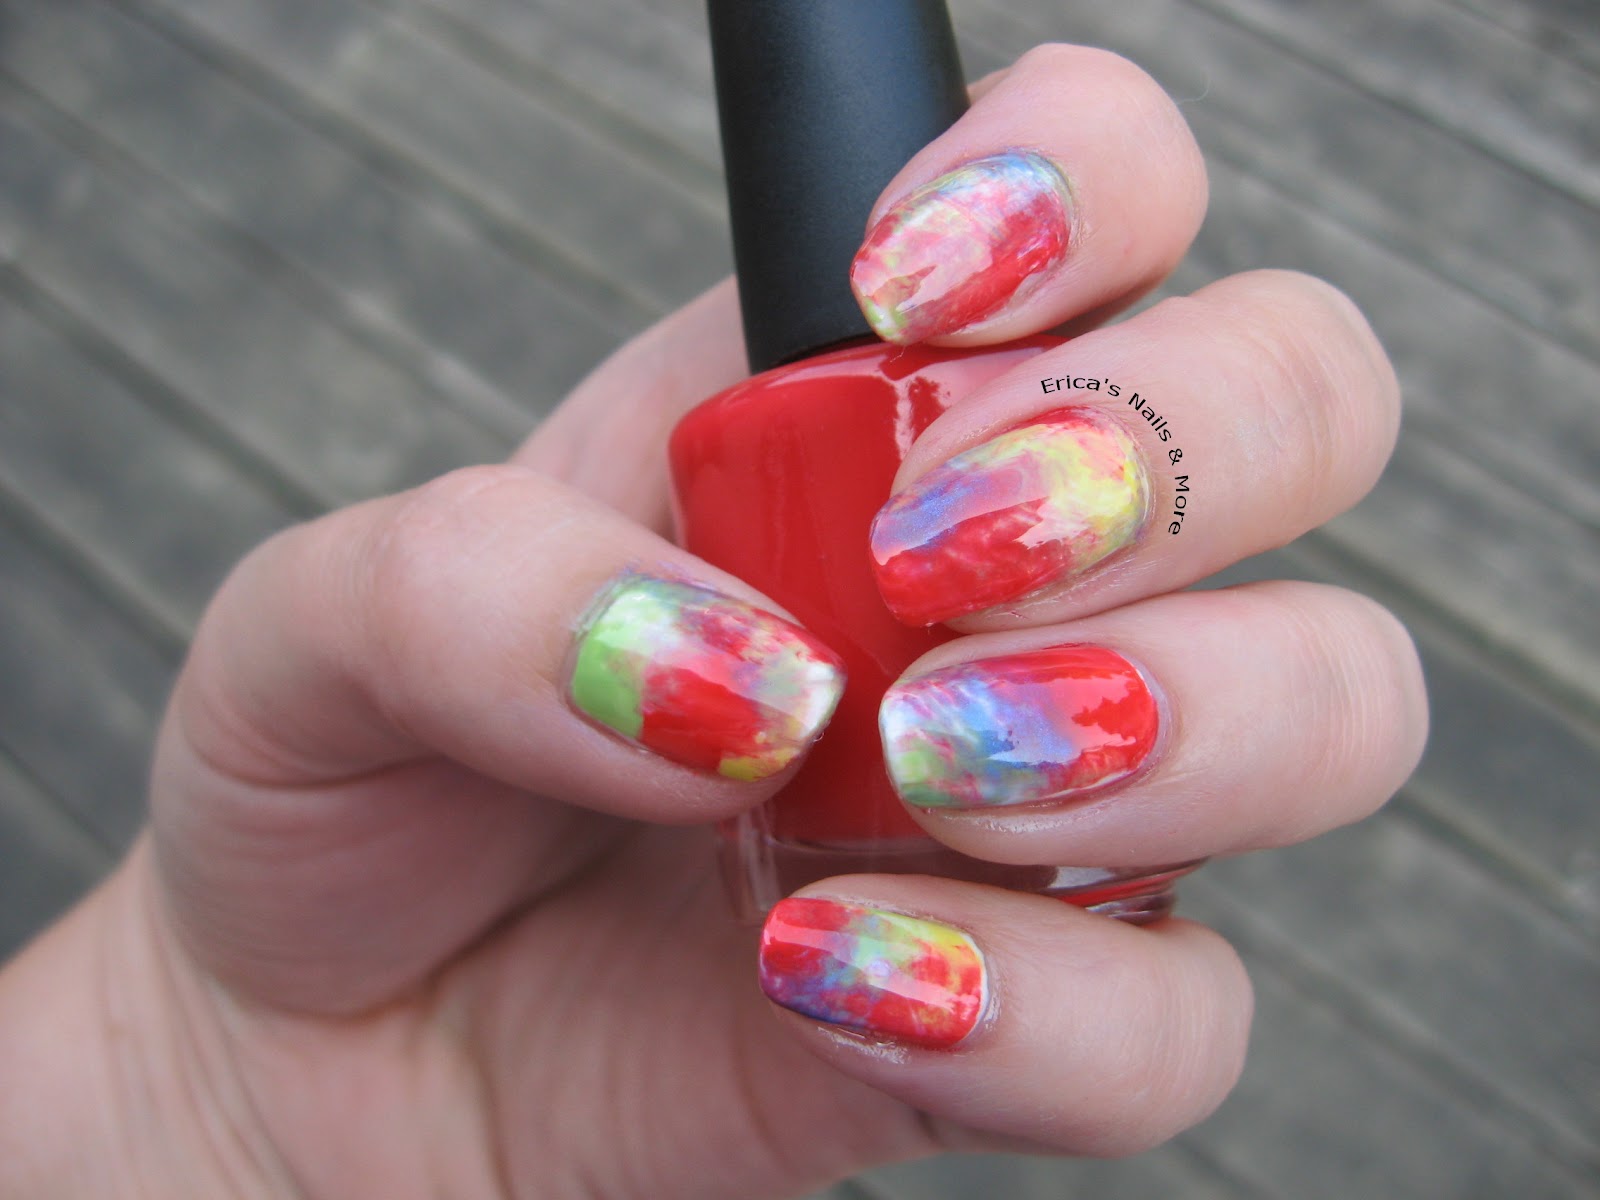
 To achieve the perfect tie dye nails, you will need a few essential tools: nail polish in various colors, a thin brush or toothpick, and a base and top coat. Start by applying a base coat to protect your nails and help the polish last longer. Then, choose 3-4 colors that you want to use for your design.
Popular colors for tie dye nails include bright pinks, blues, and purples.
Next, take your thin brush or toothpick and create random splotches of color on each nail.
Remember to leave some blank spaces on your nail to mimic the traditional tie dye look.
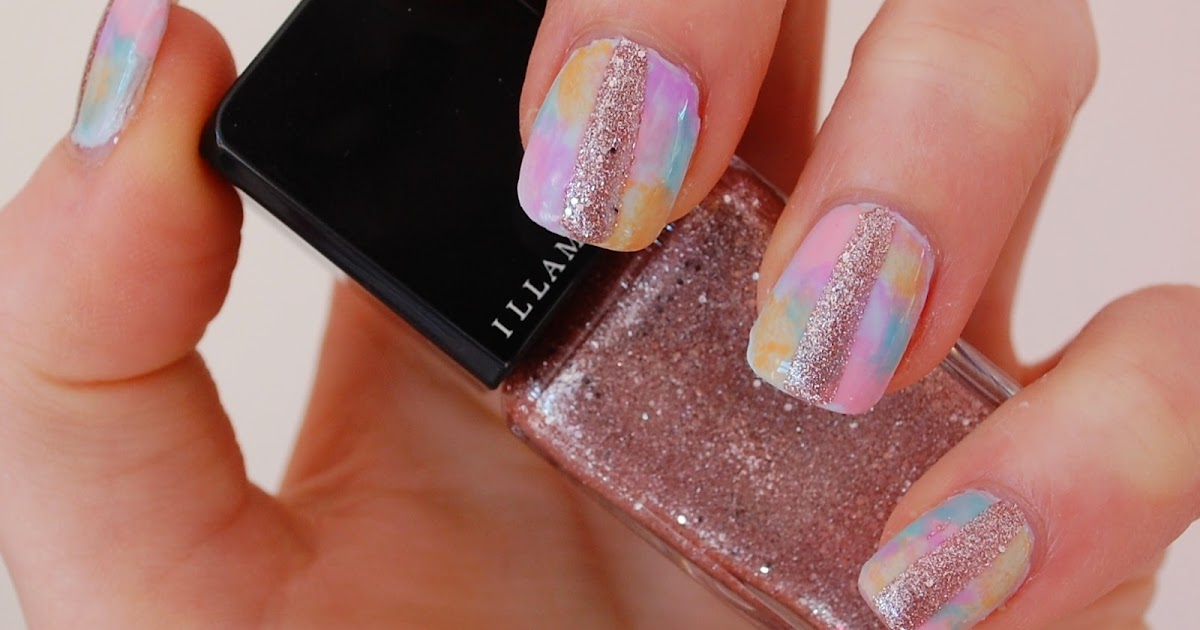
You can also use a sponge to blend the colors together for a more seamless and tie-dye effect. Don't be afraid to experiment with different patterns and color combinations to create a unique and personalized look.
Once you are satisfied with your design, let your nails dry completely before applying a top coat to seal in the colors and add shine. Your tie dye nails are now complete and ready to show off to the world!
To achieve the perfect tie dye nails, you will need a few essential tools: nail polish in various colors, a thin brush or toothpick, and a base and top coat. Start by applying a base coat to protect your nails and help the polish last longer. Then, choose 3-4 colors that you want to use for your design.
Popular colors for tie dye nails include bright pinks, blues, and purples.
Next, take your thin brush or toothpick and create random splotches of color on each nail.
Remember to leave some blank spaces on your nail to mimic the traditional tie dye look.
You can also use a sponge to blend the colors together for a more seamless and tie-dye effect. Don't be afraid to experiment with different patterns and color combinations to create a unique and personalized look.
Once you are satisfied with your design, let your nails dry completely before applying a top coat to seal in the colors and add shine. Your tie dye nails are now complete and ready to show off to the world!
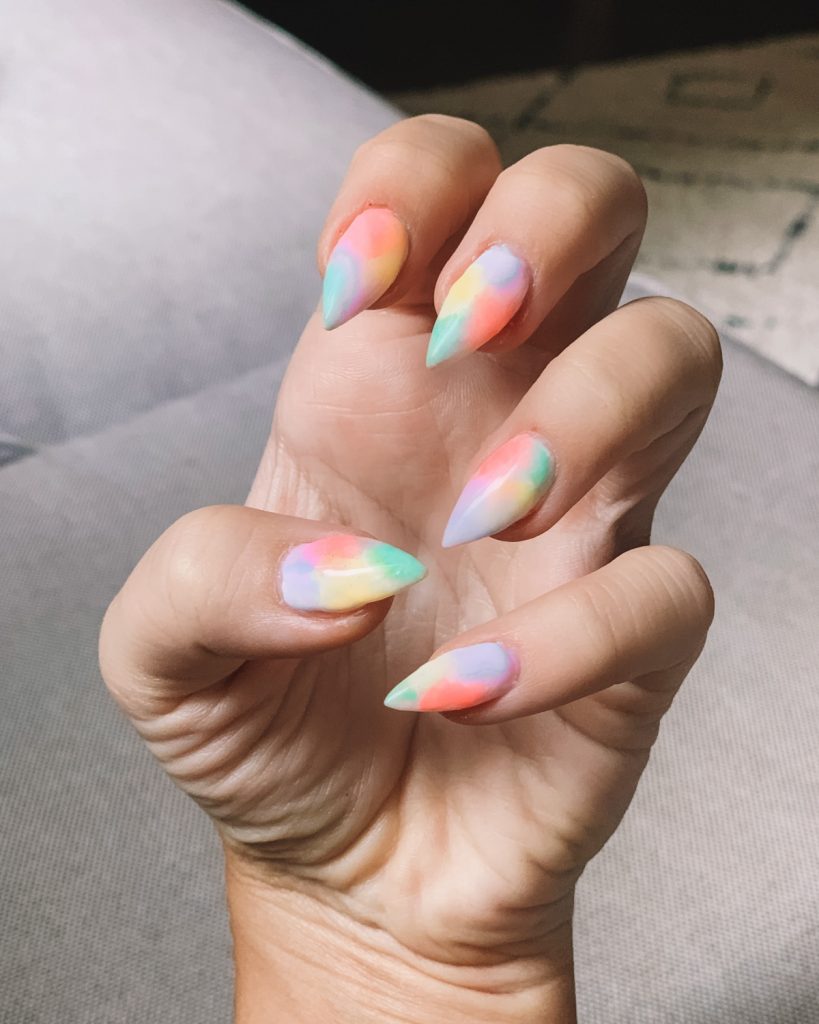
The Versatility of Tie Dye Nail Art
 One of the best things about tie dye nail art is its versatility. You can use any color combination and pattern to match your mood or outfit. You can also incorporate other nail art techniques, such as glitter or ombre, to elevate your tie dye design.
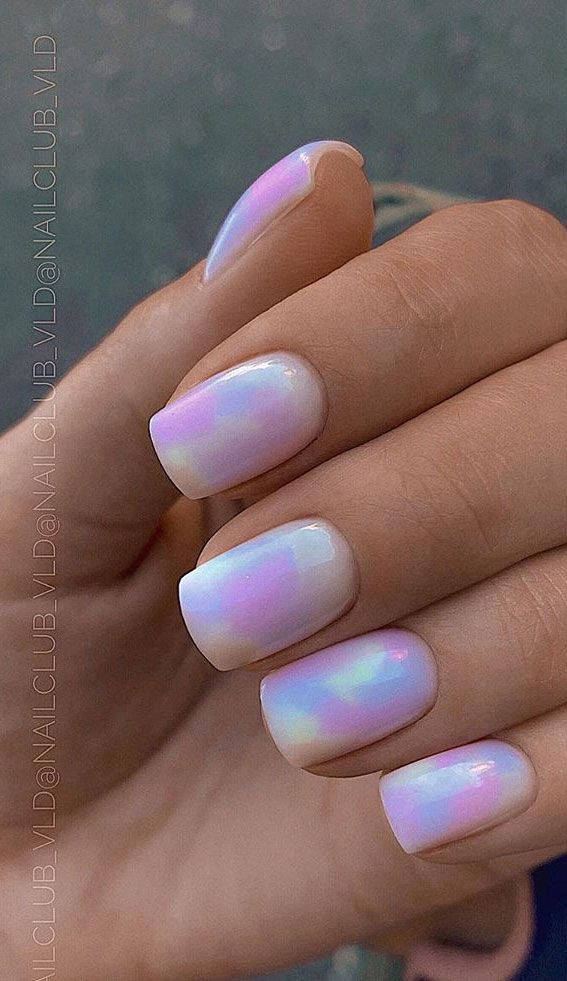
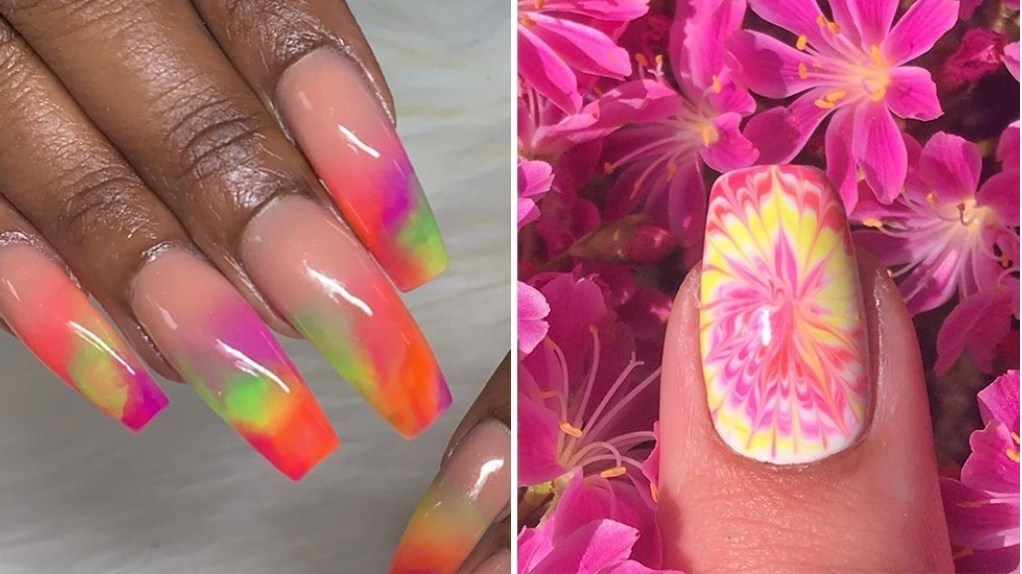
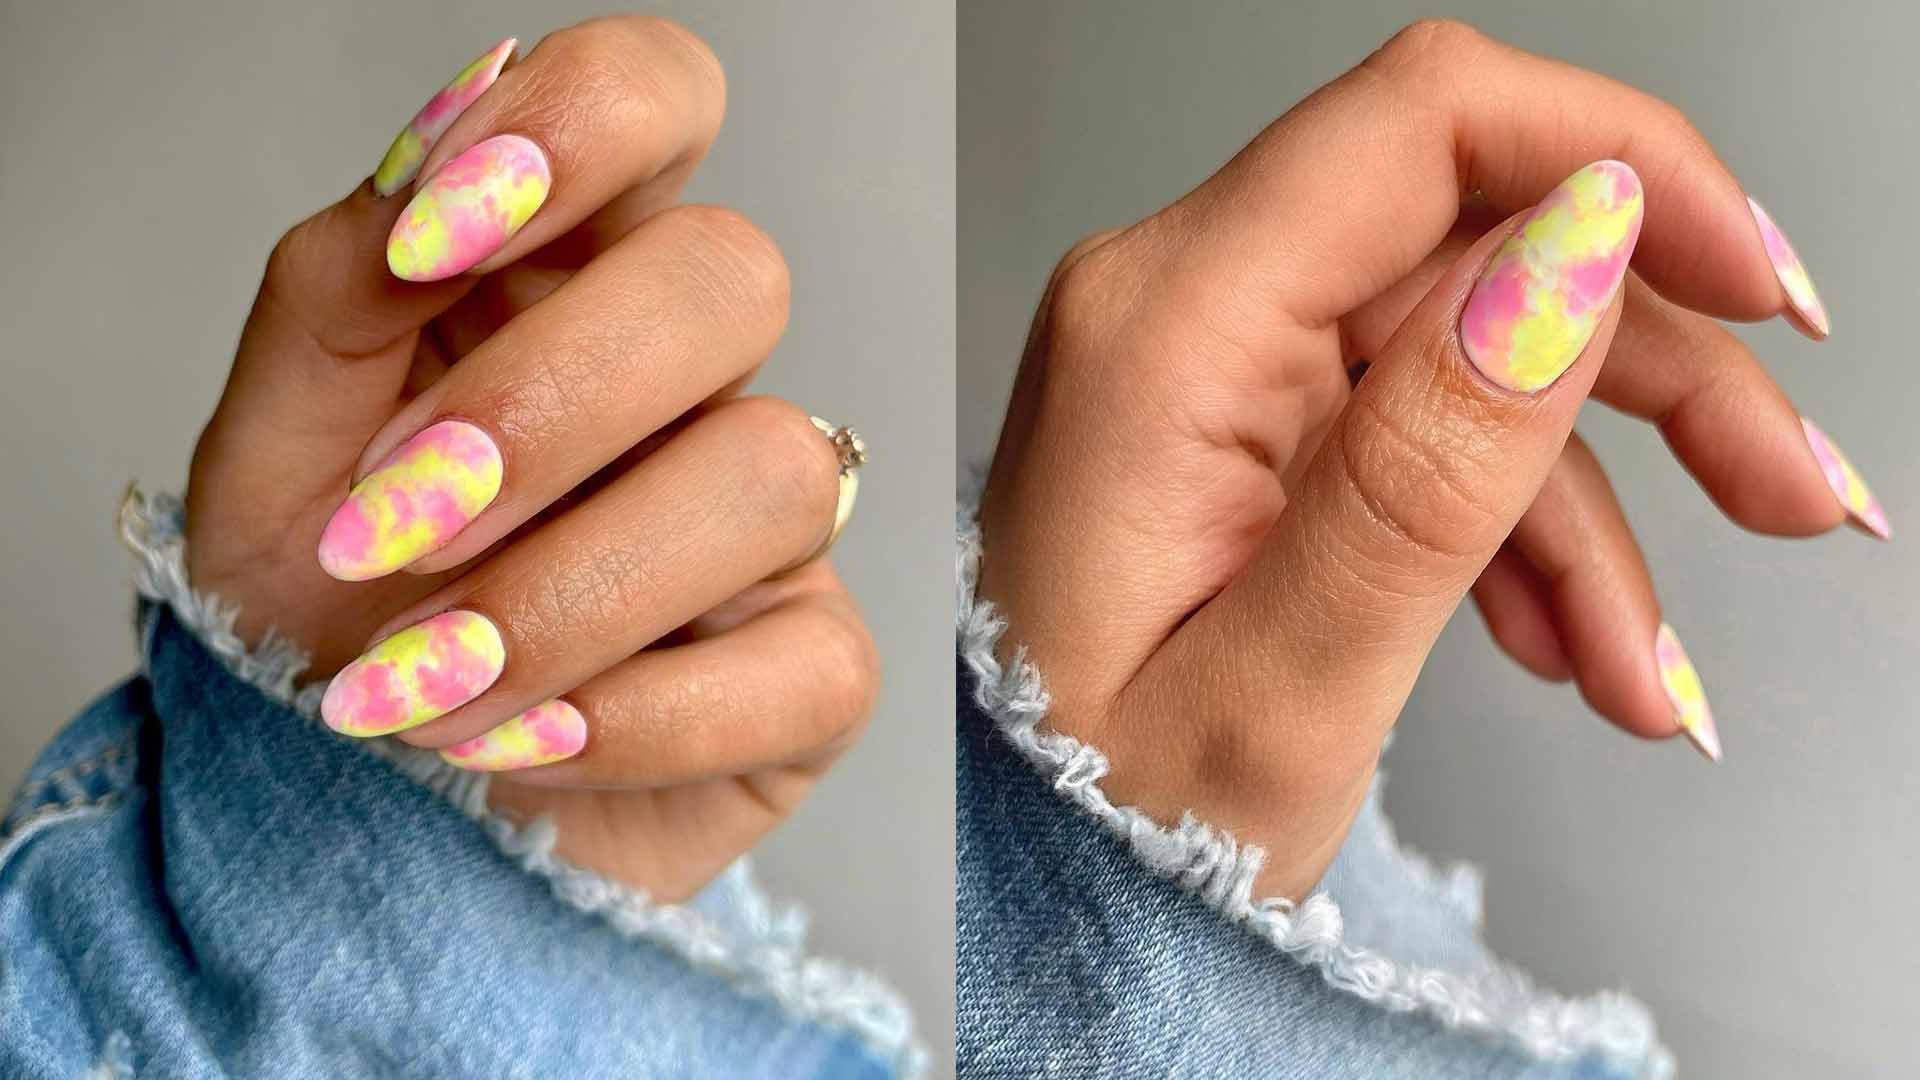
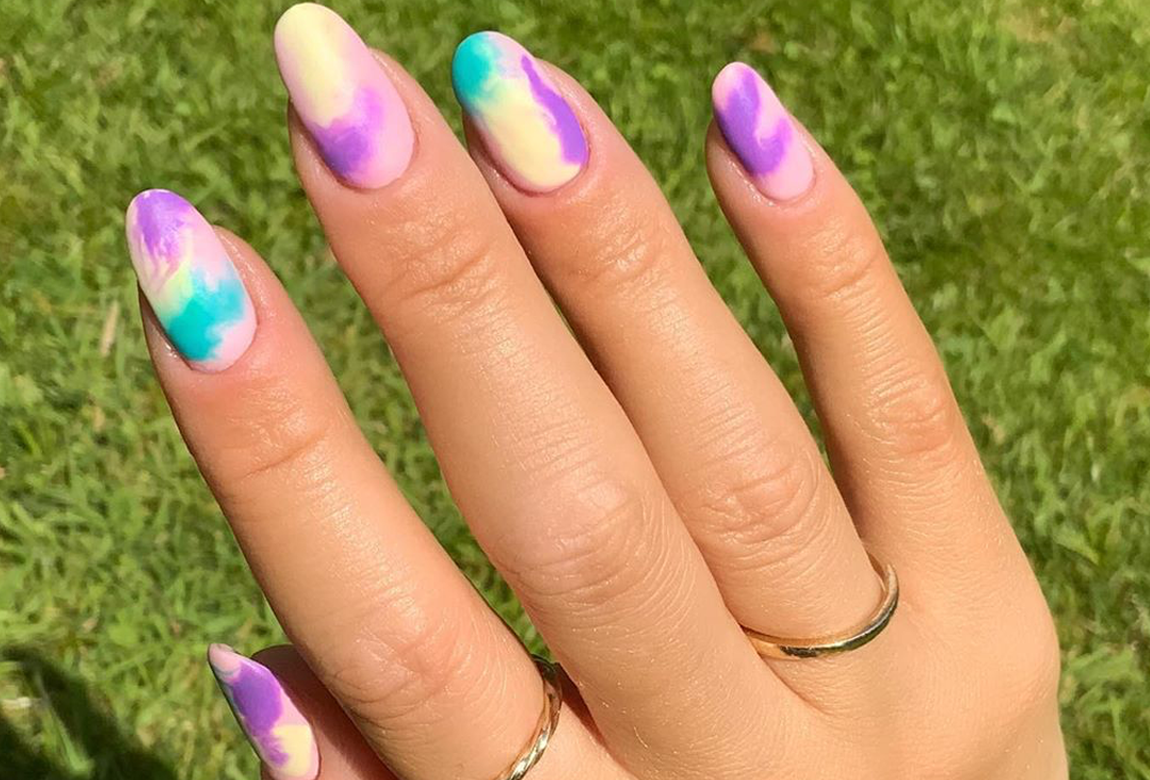
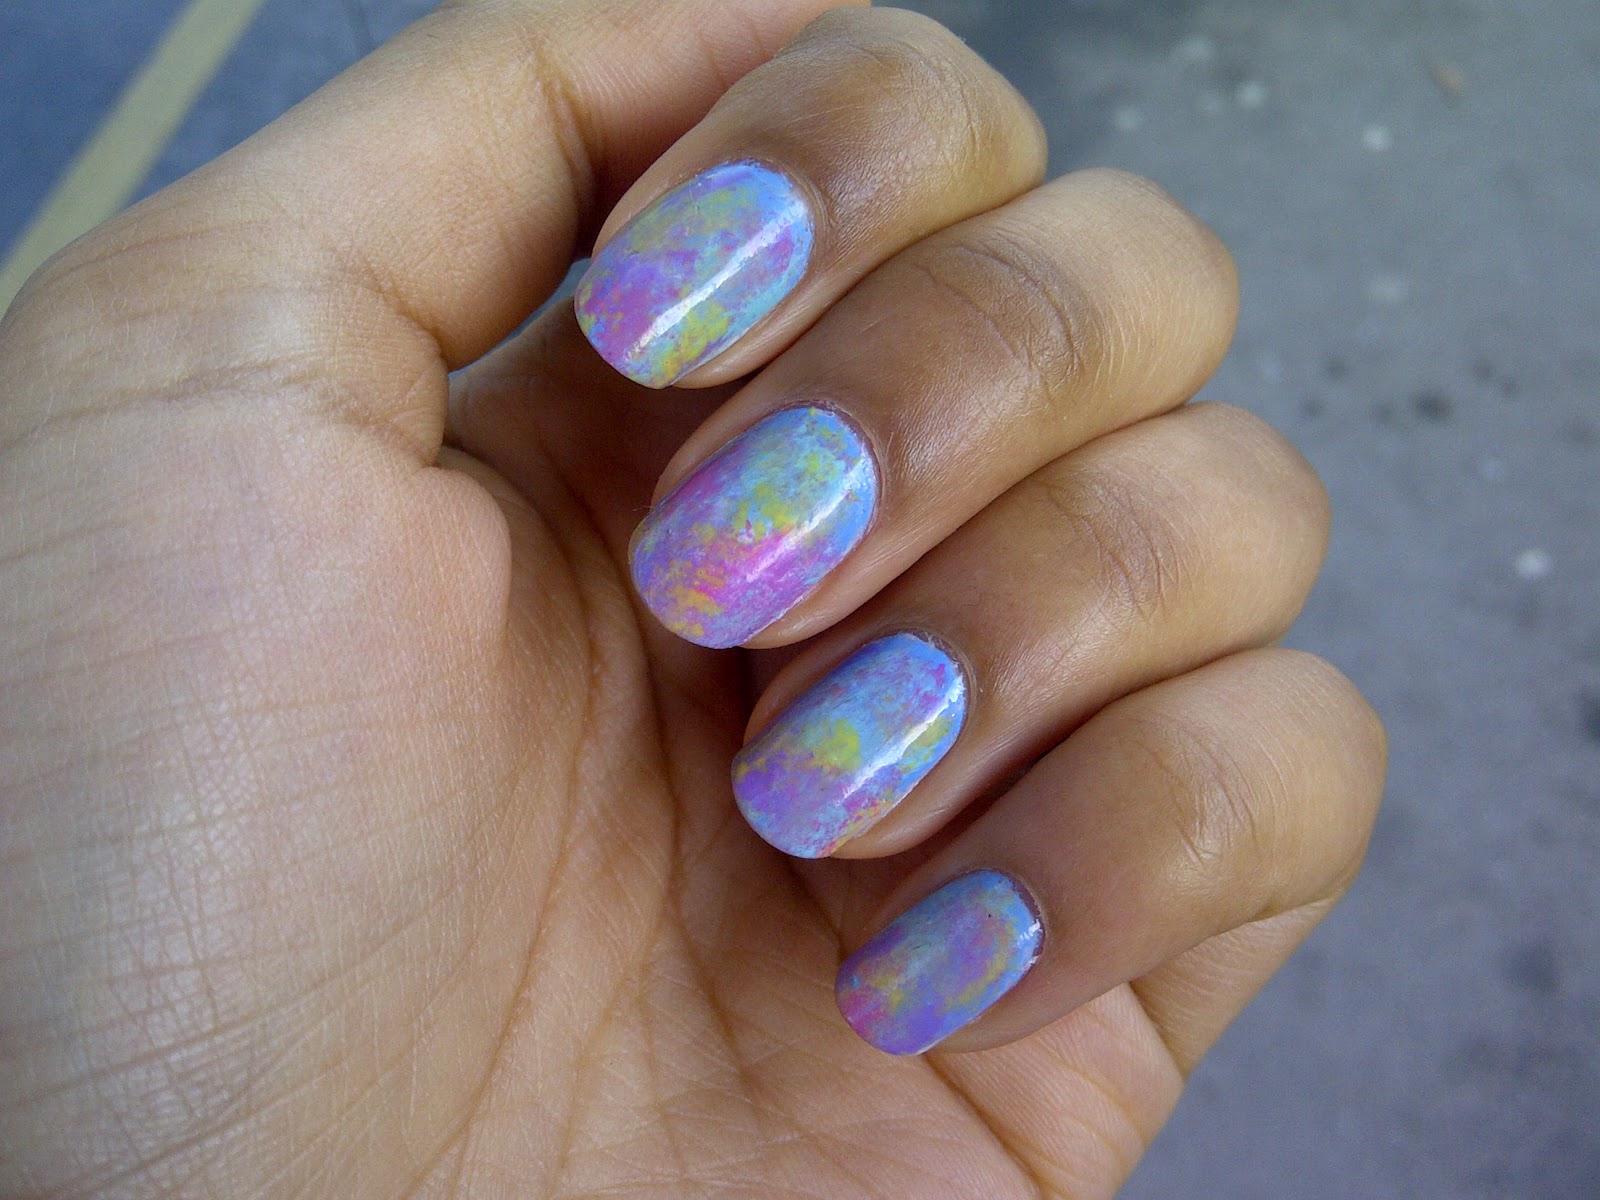
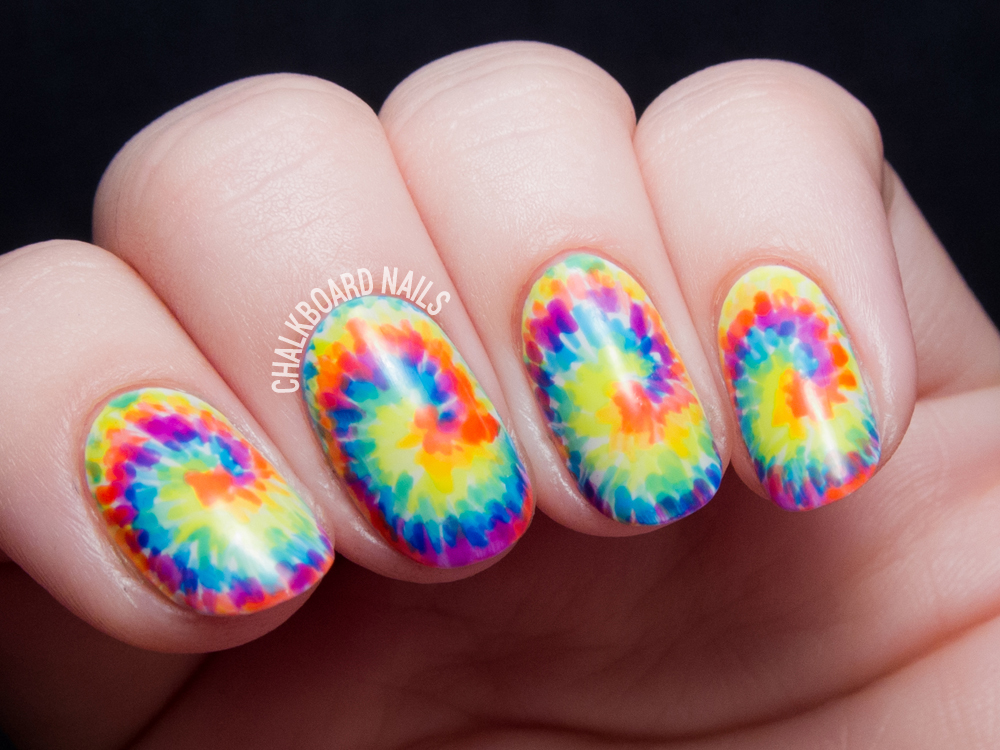
For a more subtle look, you can try a pastel tie dye design, or for a bold statement, go for neon colors.
The possibilities are endless, making tie dye nails a fun and creative way to express your personality.
In conclusion, tie dye nail art is a must-try trend for anyone looking to add some color and fun to their nail game. With its versatile and vibrant designs, it's no wonder that tie dye nails have become a favorite among nail art enthusiasts. So unleash your creativity and give this trendy and playful nail design a try!
One of the best things about tie dye nail art is its versatility. You can use any color combination and pattern to match your mood or outfit. You can also incorporate other nail art techniques, such as glitter or ombre, to elevate your tie dye design.
For a more subtle look, you can try a pastel tie dye design, or for a bold statement, go for neon colors.
The possibilities are endless, making tie dye nails a fun and creative way to express your personality.
In conclusion, tie dye nail art is a must-try trend for anyone looking to add some color and fun to their nail game. With its versatile and vibrant designs, it's no wonder that tie dye nails have become a favorite among nail art enthusiasts. So unleash your creativity and give this trendy and playful nail design a try!


