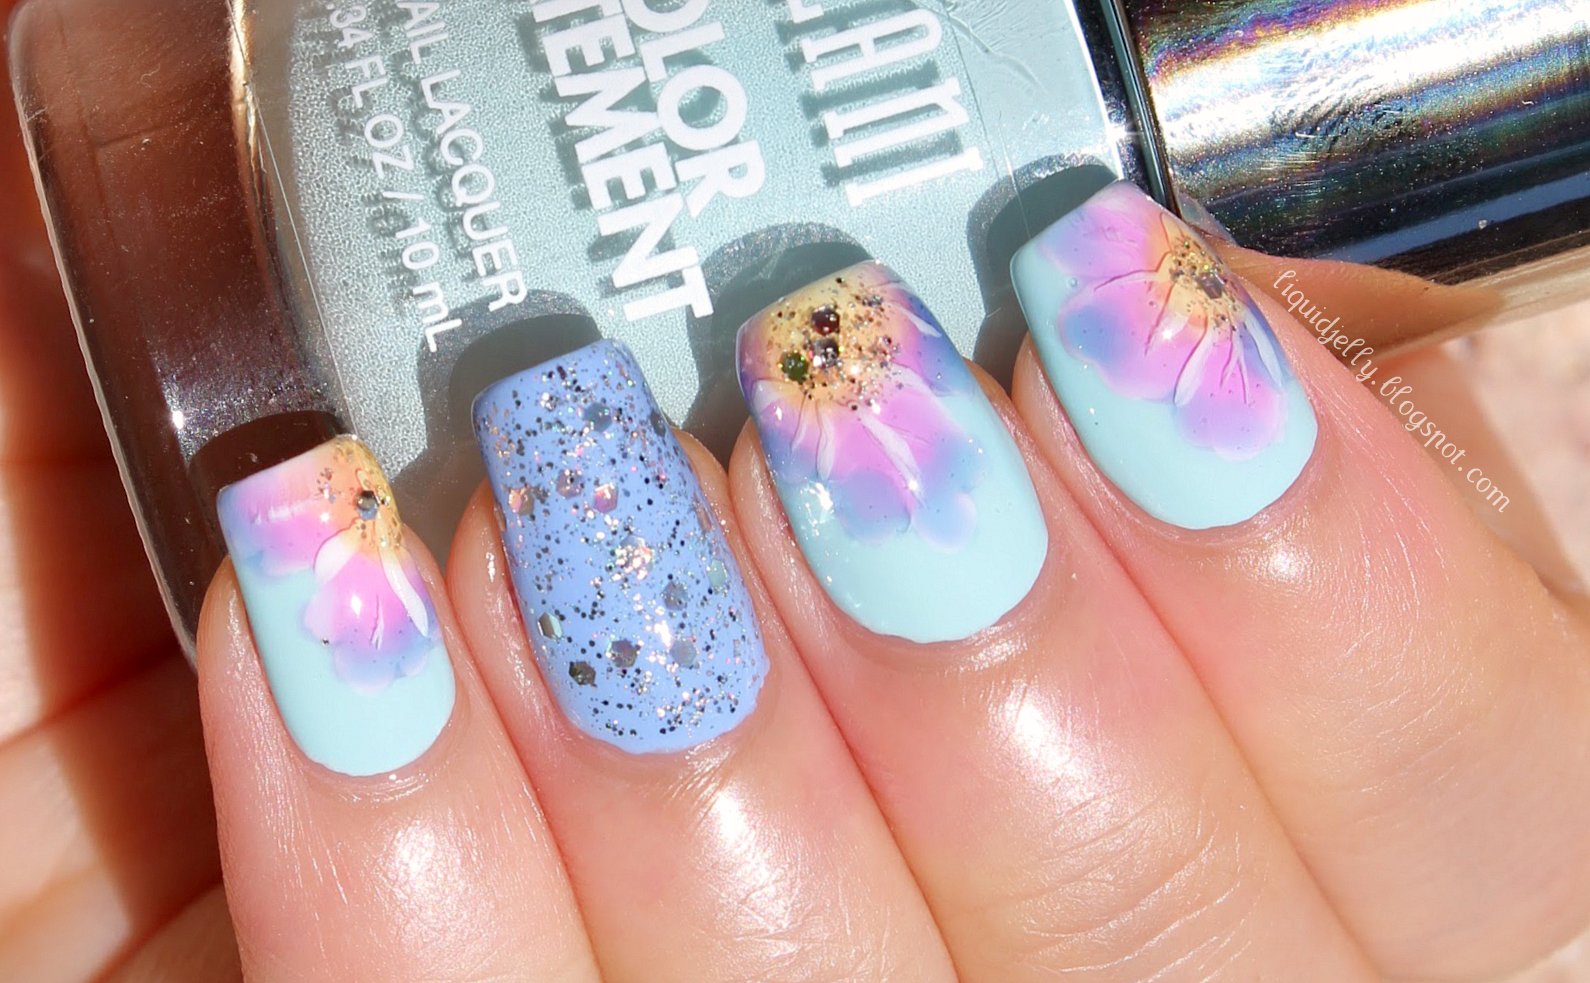
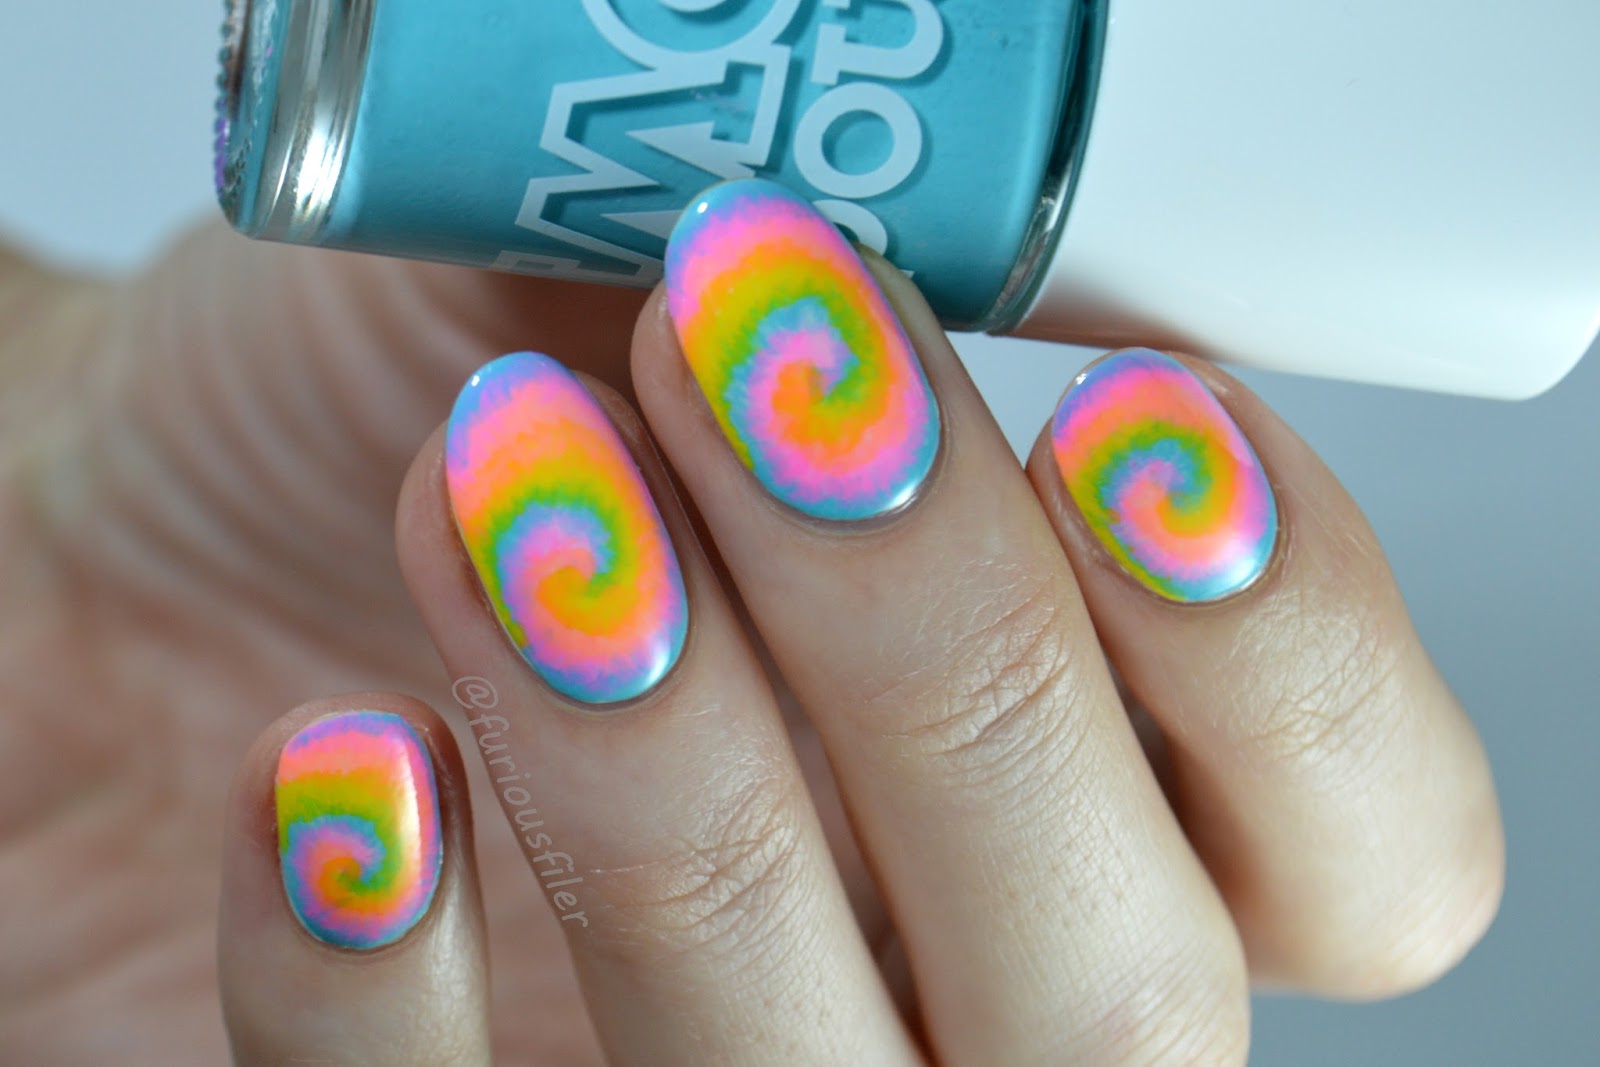
Looking to add a fun and vibrant touch to your nails? Look no further than tie dye nail polish designs! This unique and playful trend is perfect for those who love experimenting with their manicures. And the best part? You can easily create these designs at home with just a few simple steps. Let's dive into a tie dye nail art tutorial to help you achieve the perfect look. To start off, you will need a white or light-colored base nail polish, tie dye nail polish, and a top coat. You can also add in other colors of your choice to create a more personalized look. Once you have your supplies ready, let's get started! Begin by applying your base coat and letting it dry completely. This will help the colors of your tie dye design stand out and last longer. Next, take your tie dye nail polish and start applying it in a random pattern on your nails. You can use as many colors as you'd like, just make sure to leave some white space in between for a more tie-dye effect. Once you have applied the tie dye nail polish, take a toothpick and gently swirl the colors together to create a more blended and natural look. You can also use a small makeup sponge to dab on some extra color for a bolder effect. Let your nails dry completely before adding a top coat to seal in the design. This will also help prevent any chipping or smudging. And voila! You now have a gorgeous tie dye nail design that is sure to turn heads.1. Tie Dye Nail Art Tutorial


1. Tie Dye Nail Art Tutorial


If you're on a budget or prefer to create your own custom colors, then why not try making your own DIY tie dye nail polish? Not only is it cost-effective, but it also allows you to have complete control over the colors and design of your manicure. To make your own DIY tie dye nail polish, you will need a clear nail polish, acrylic paint, and a toothpick. You can use any colors of acrylic paint you'd like, but for a true tie dye effect, it's best to stick with bright and bold shades. Start by pouring a small amount of clear nail polish into a small container. Then, add a few drops of your chosen acrylic paint colors into the polish and mix it well using a toothpick. You can mix and match colors to create your desired shade. Next, apply a base coat and let it dry before starting your tie dye design. Using the toothpick, create random patterns with the polish on your nails. You can also use a makeup sponge to dab on some extra color for a more intense effect. Finish off with a top coat to seal in the design and add some shine. And there you have it, your very own DIY tie dye nail polish that is unique and personalized to your liking.2. DIY Tie Dye Nail Polish


2. DIY Tie Dye Nail Polish


If you're new to the world of nail art and want to try out tie dye nails, don't worry, we've got you covered. These tie dye nail polish designs for beginners are easy to recreate and require minimal tools and skills. For a simple yet eye-catching design, start by applying a base coat and letting it dry. Then, take a few different shades of tie dye nail polish and apply them in a random pattern on your nails. Use a toothpick or a small brush to create swirls and blend the colors together. You can also add in some white polish to create a more contrasted look. If you're feeling a bit more adventurous, try out the splatter technique. Apply a white base coat and let it dry. Then, using a straw, blow through one end to create splatters of tie dye nail polish on your nails. This may get a bit messy, so make sure to cover your work area with paper or plastic. With these beginner-friendly designs, you'll be a pro at creating tie dye nails in no time!3. Tie Dye Nail Polish Designs for Beginners


3. Tie Dye Nail Polish Designs for Beginners


Creating a tie dye nail design may seem daunting, but it's actually quite simple once you know the technique. Follow these steps to achieve the perfect tie dye look on your nails. Start by applying a white base coat and letting it dry completely. Then, take your tie dye nail polish and apply it in a random pattern on your nails. You can use as many colors as you'd like, just make sure to leave some white space in between for a more tie-dye effect. Next, take a toothpick or a small brush and gently swirl the colors together to create a blended and natural look. You can also use a makeup sponge to dab on some extra color for a more intense effect. Once you're happy with the design, let your nails dry completely before adding a top coat to seal it in. And that's it! You now have a gorgeous tie dye nail design that is sure to make a statement.4. How to Create a Tie Dye Nail Design


4. How to Create a Tie Dye Nail Design


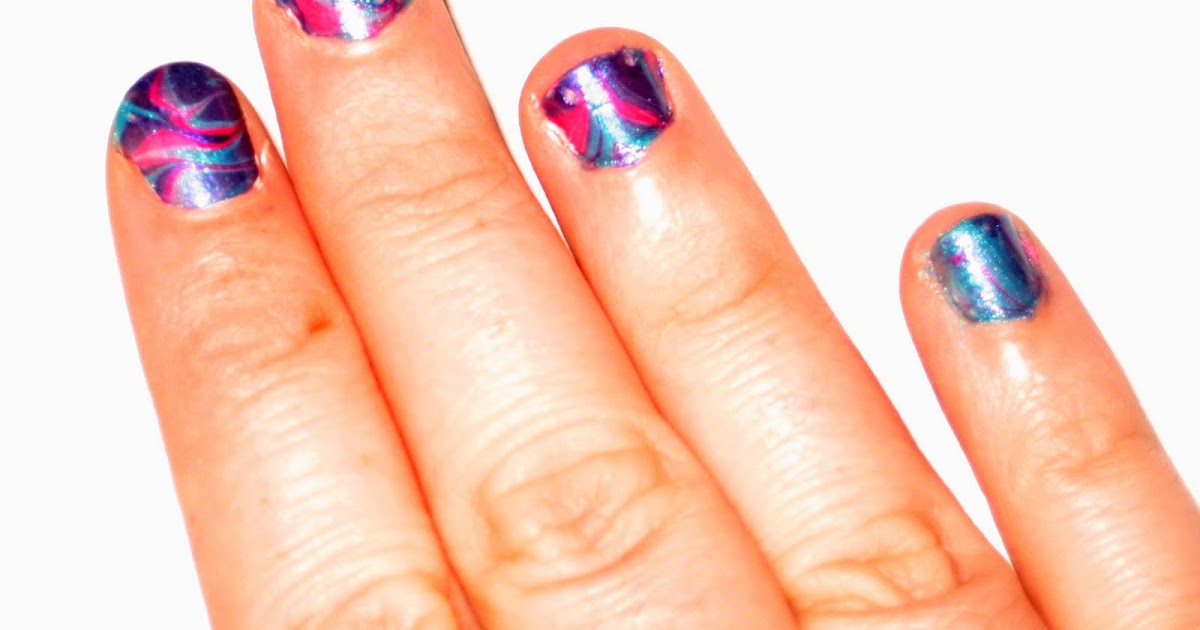
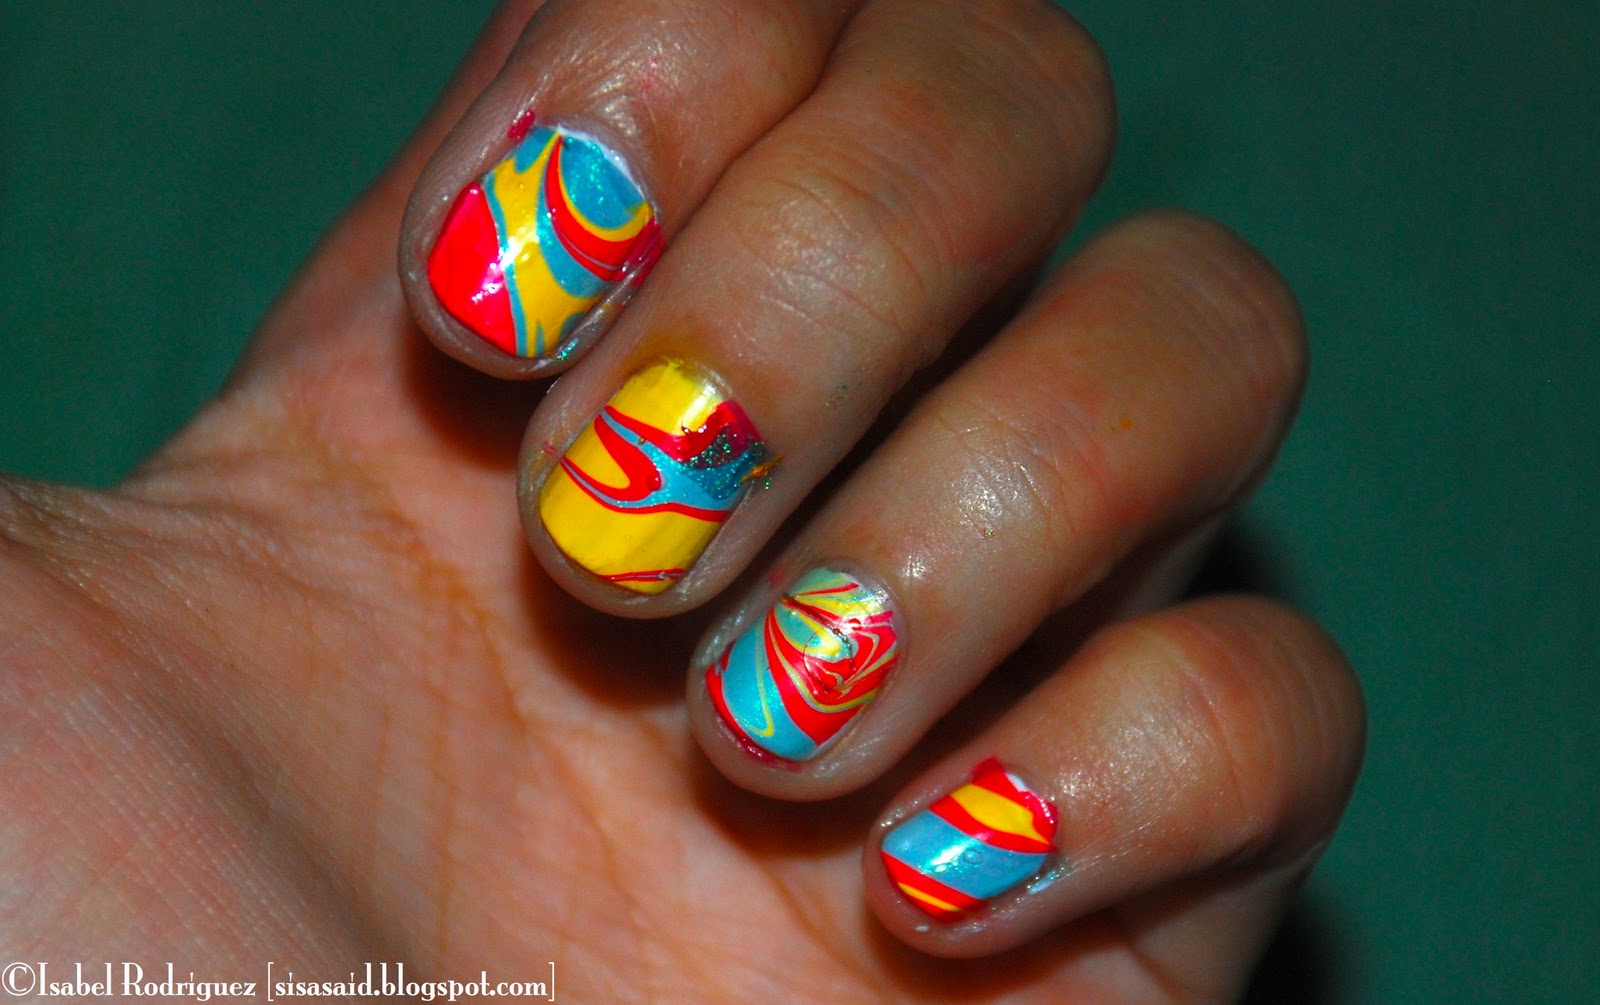
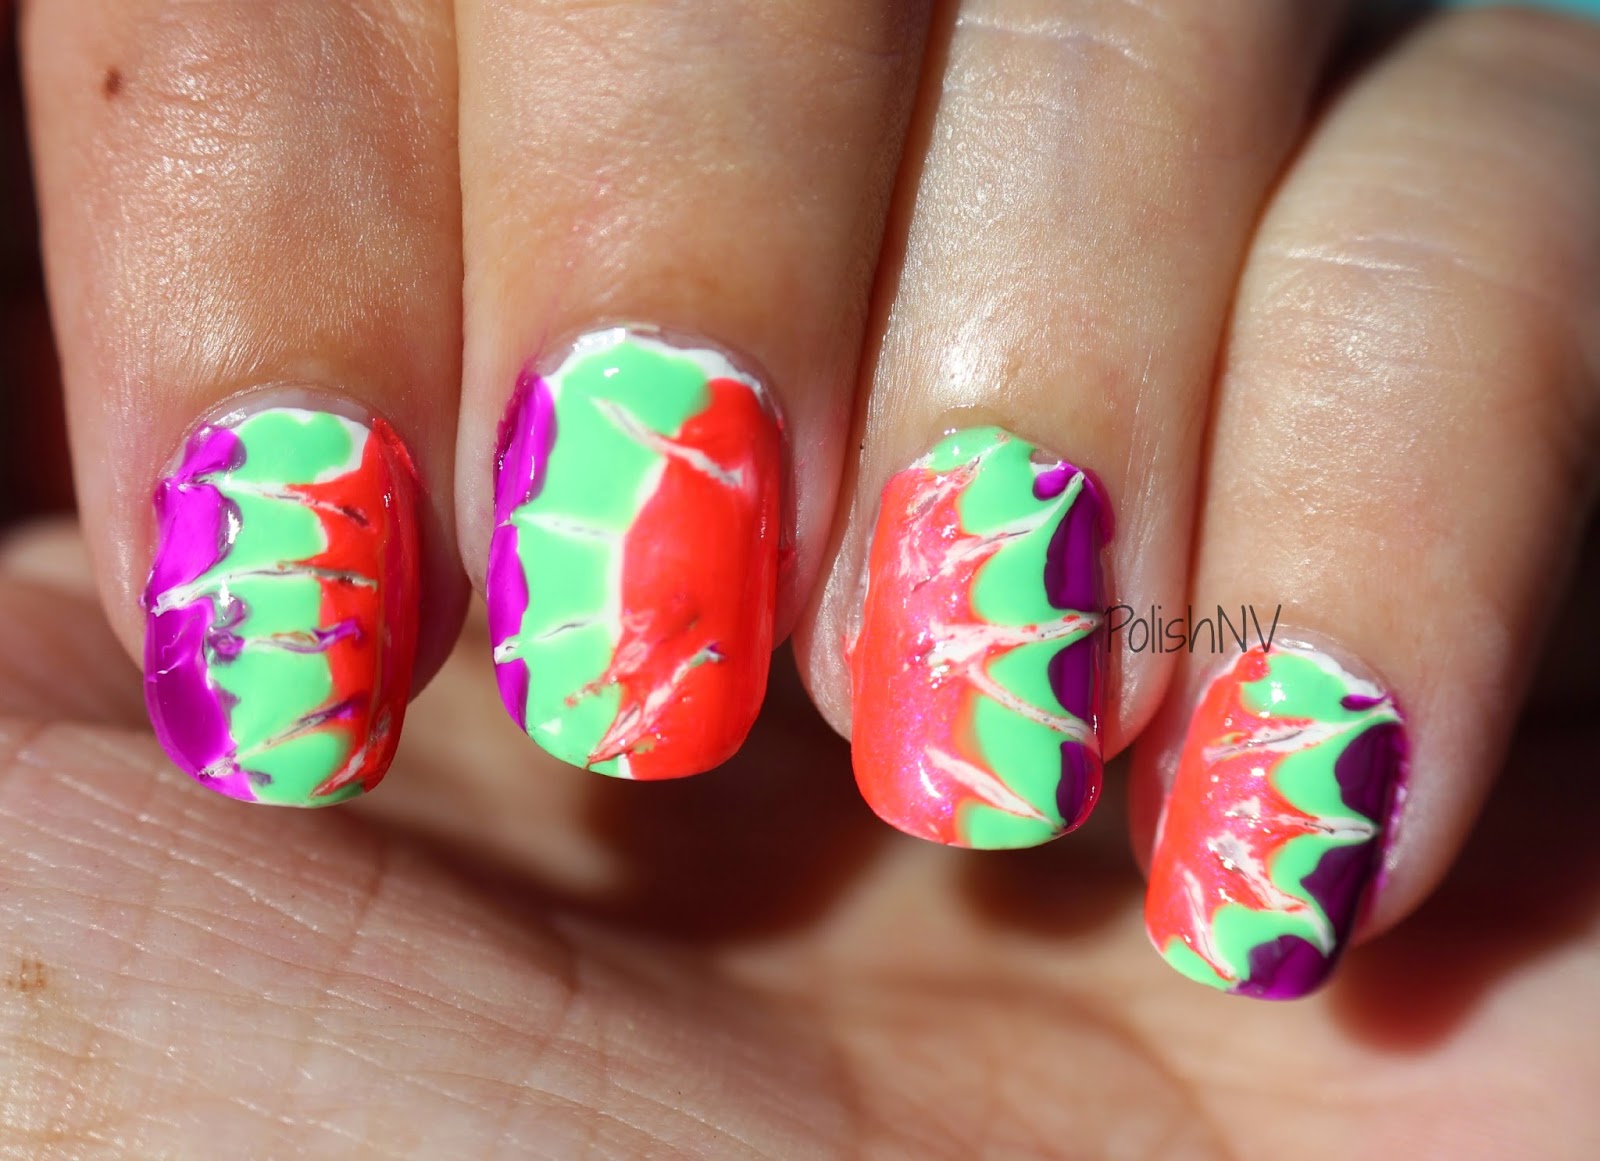
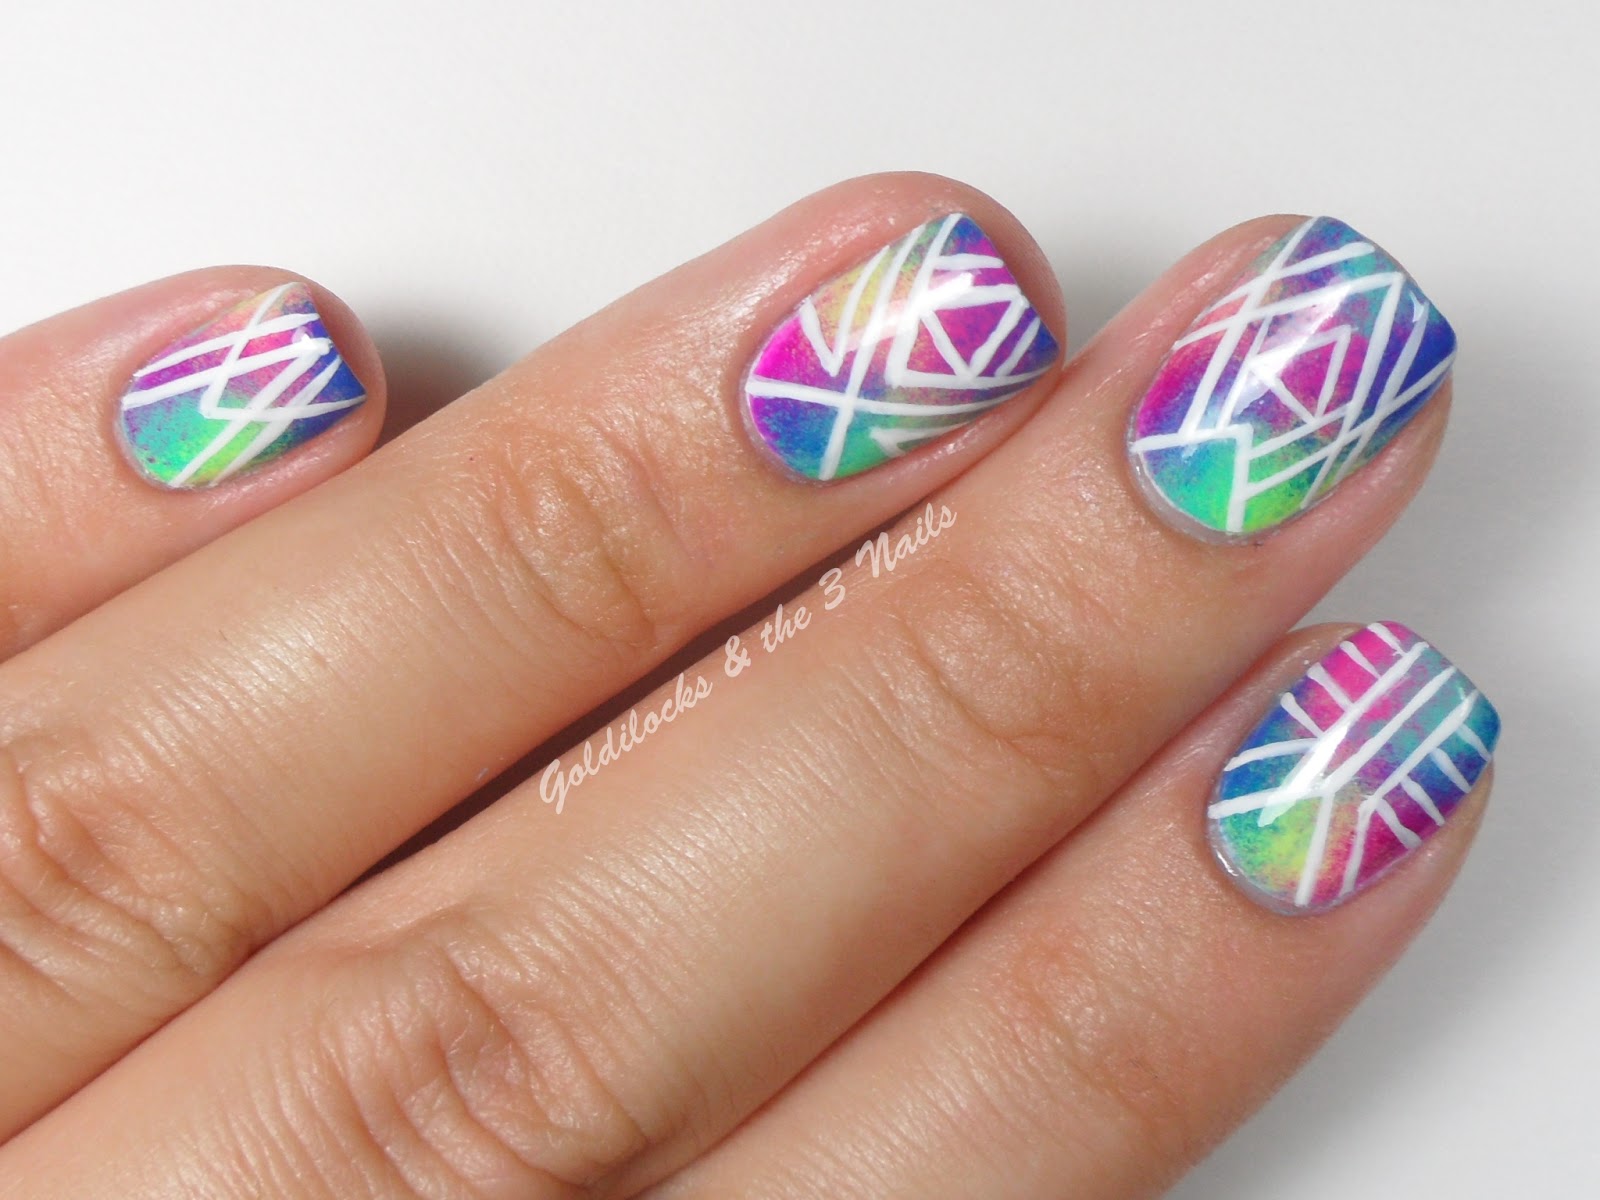
There are several techniques you can use to create tie dye nail polish designs, each with its own unique effect. Let's take a look at some popular tie dye nail polish techniques you can try out. The first technique is the classic swirl. This involves using a toothpick or a small brush to create swirls and blend the colors together for a more natural and fluid look. The second technique is the splatter method, which involves using a straw to blow tie dye nail polish onto your nails for a more abstract and fun effect. The third technique is the water marble method, where you drop tie dye nail polish onto a bowl of water and create a design by swirling the colors together. You can then dip your nails into the water to transfer the design onto them. Experiment with these techniques to find the one that suits your style best.5. Tie Dye Nail Polish Techniques

5. Tie Dye Nail Polish Techniques


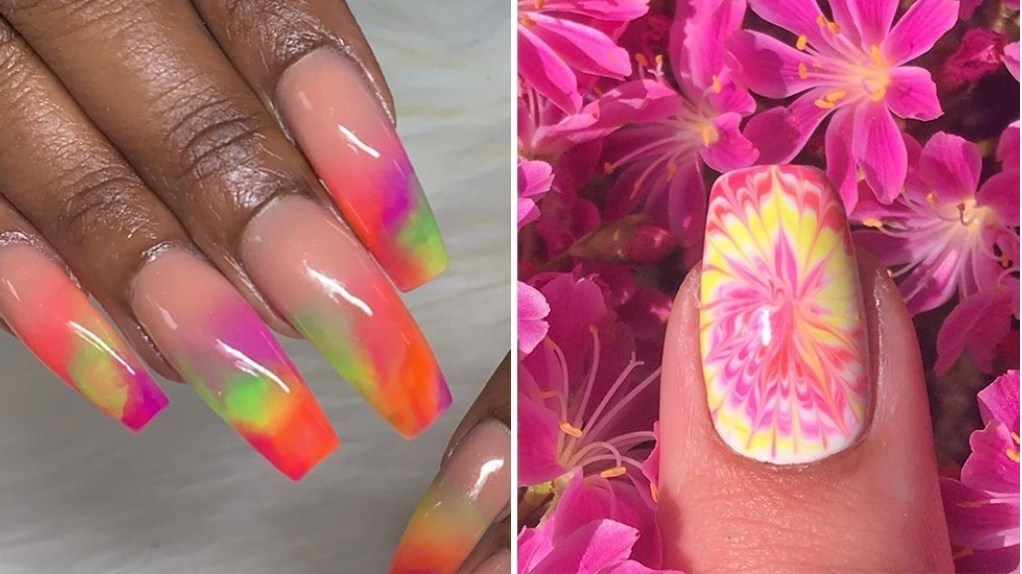
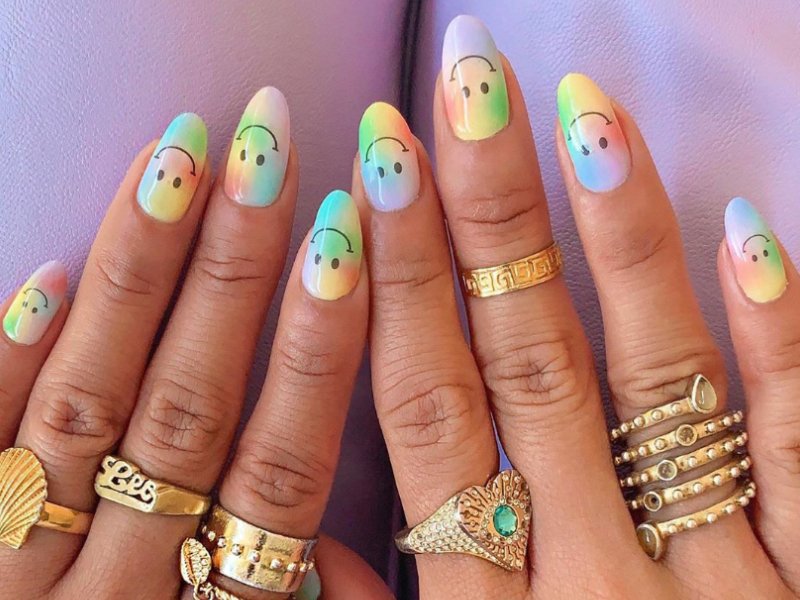
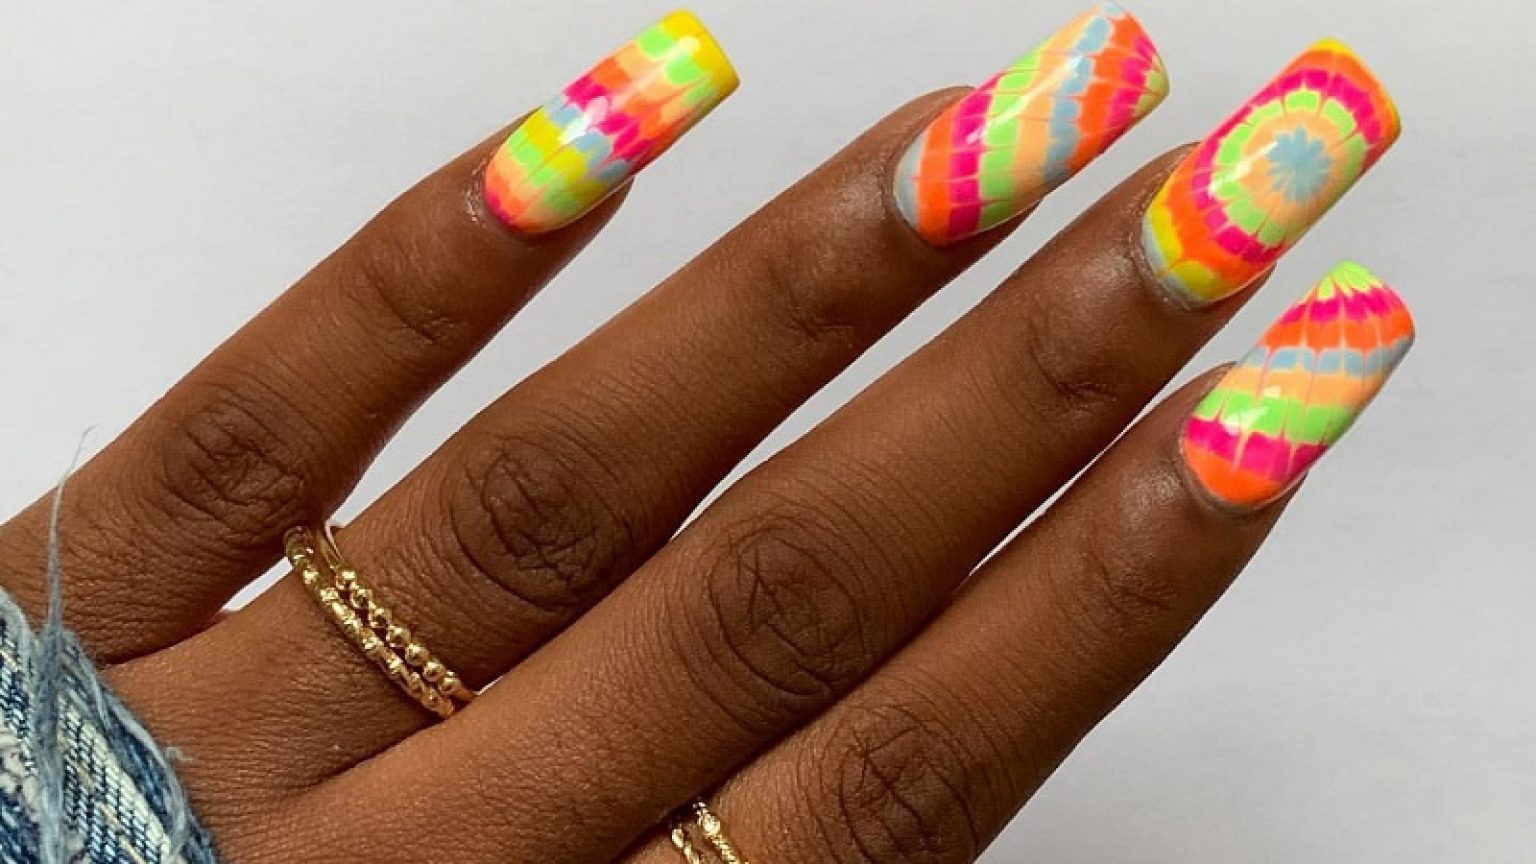
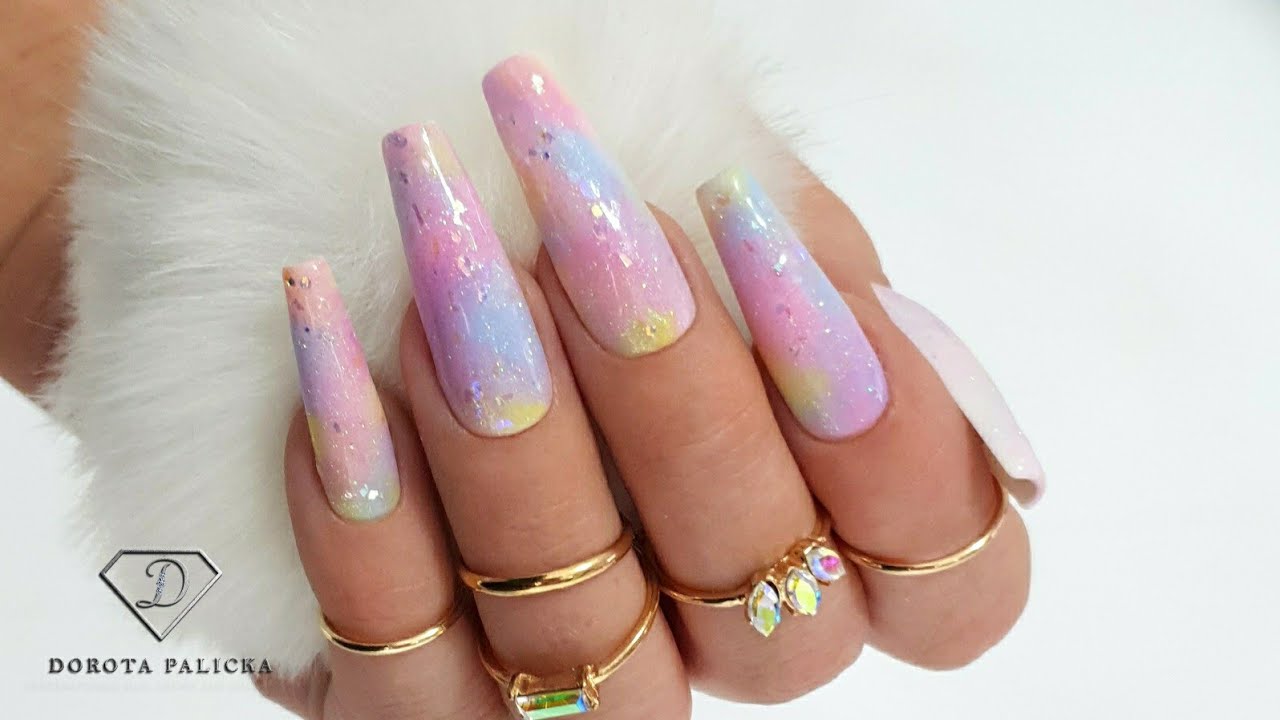
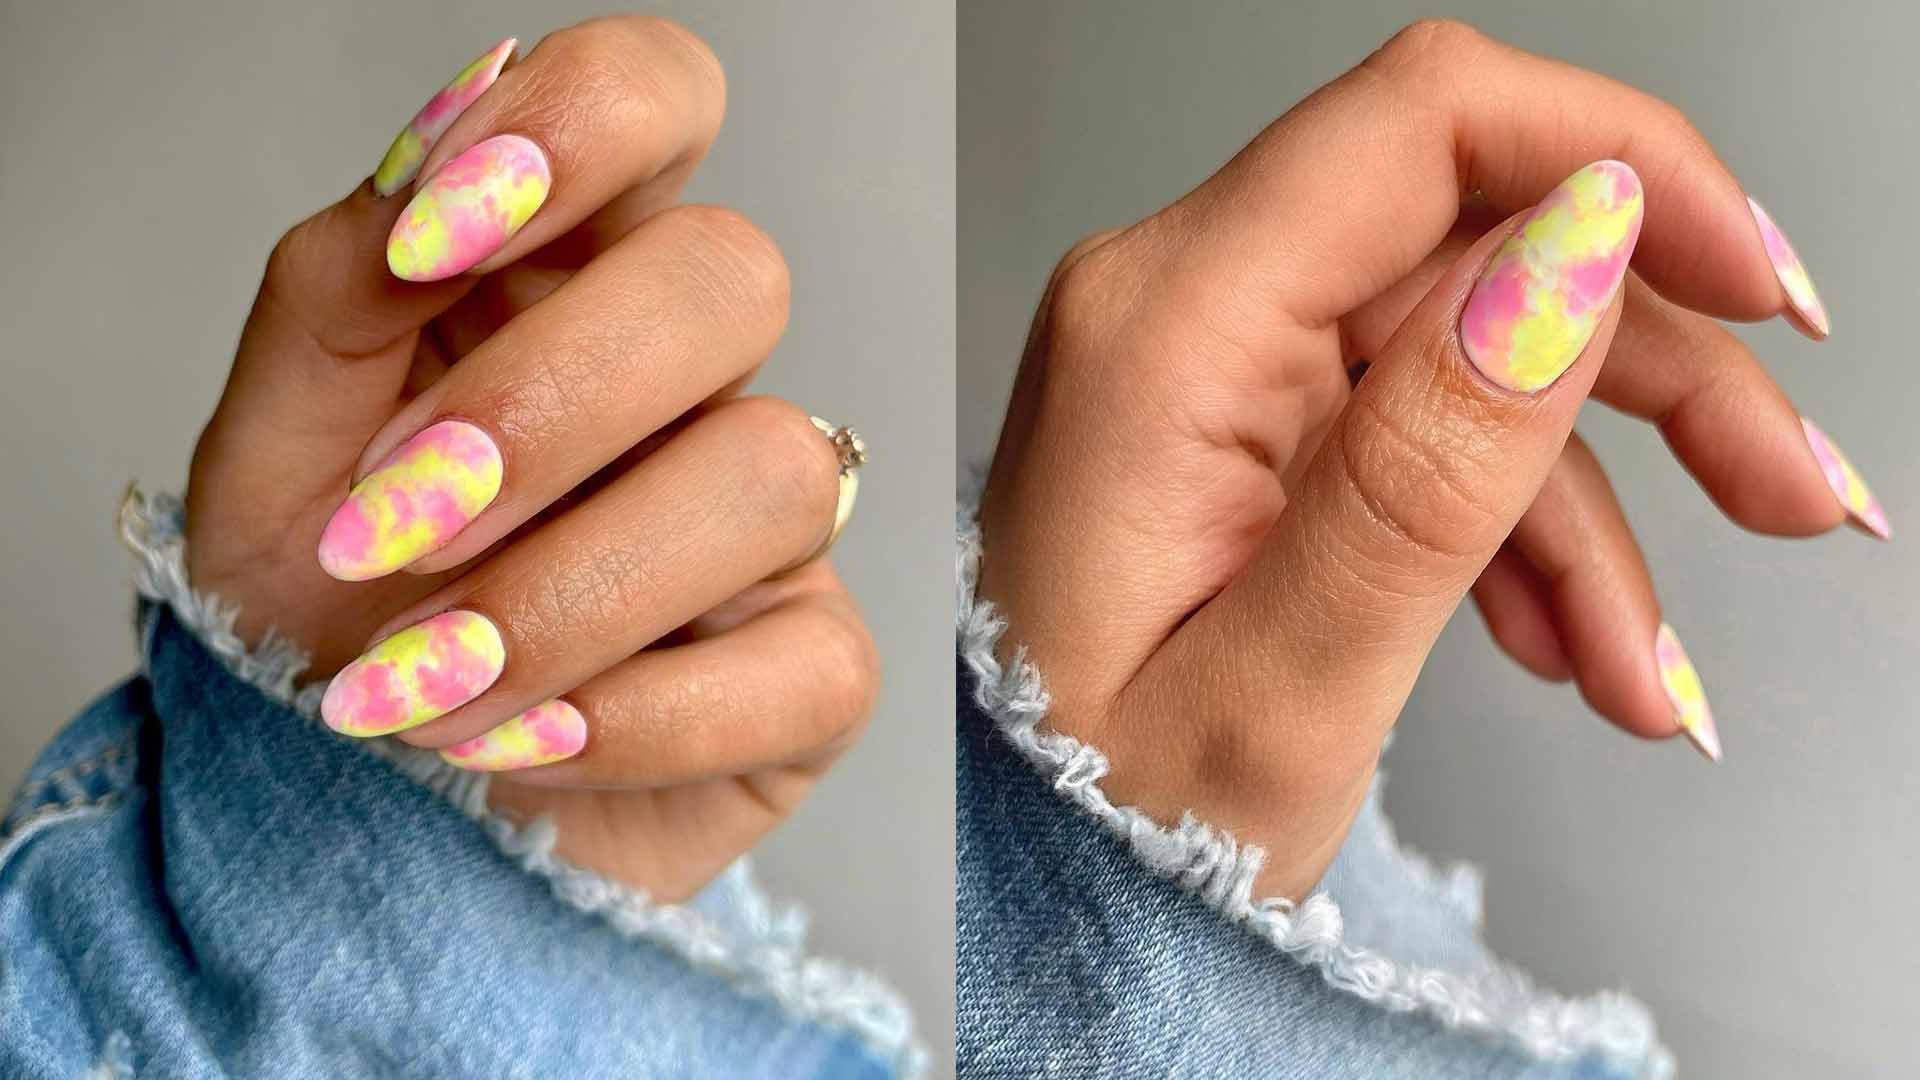
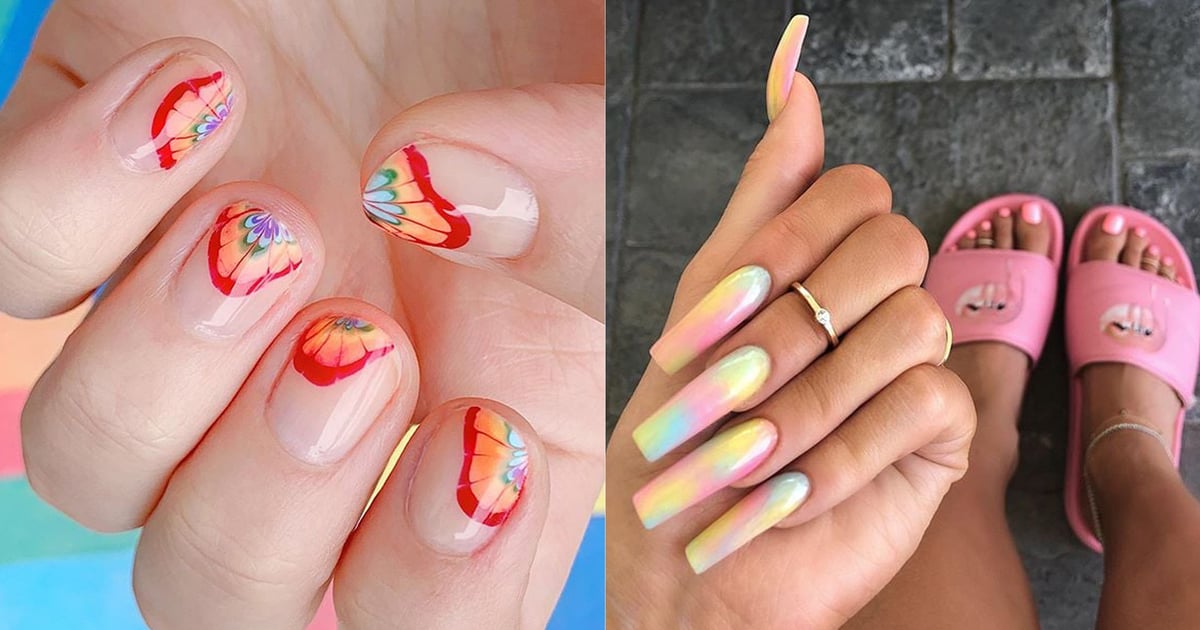
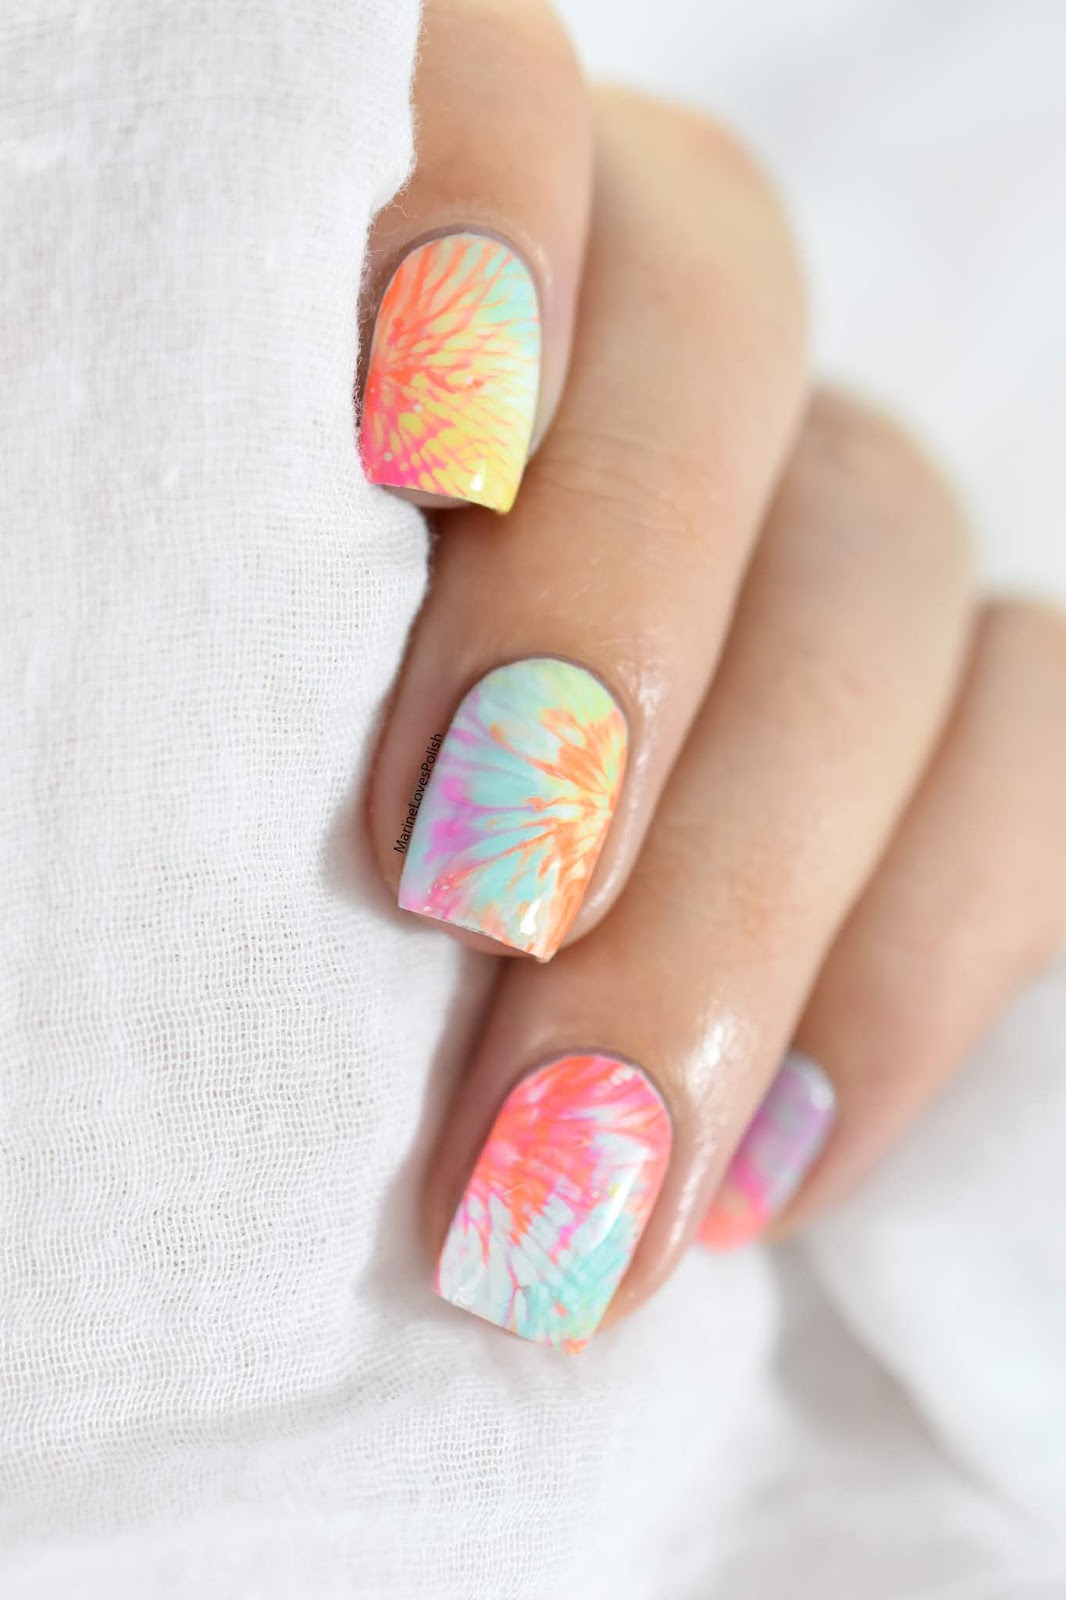
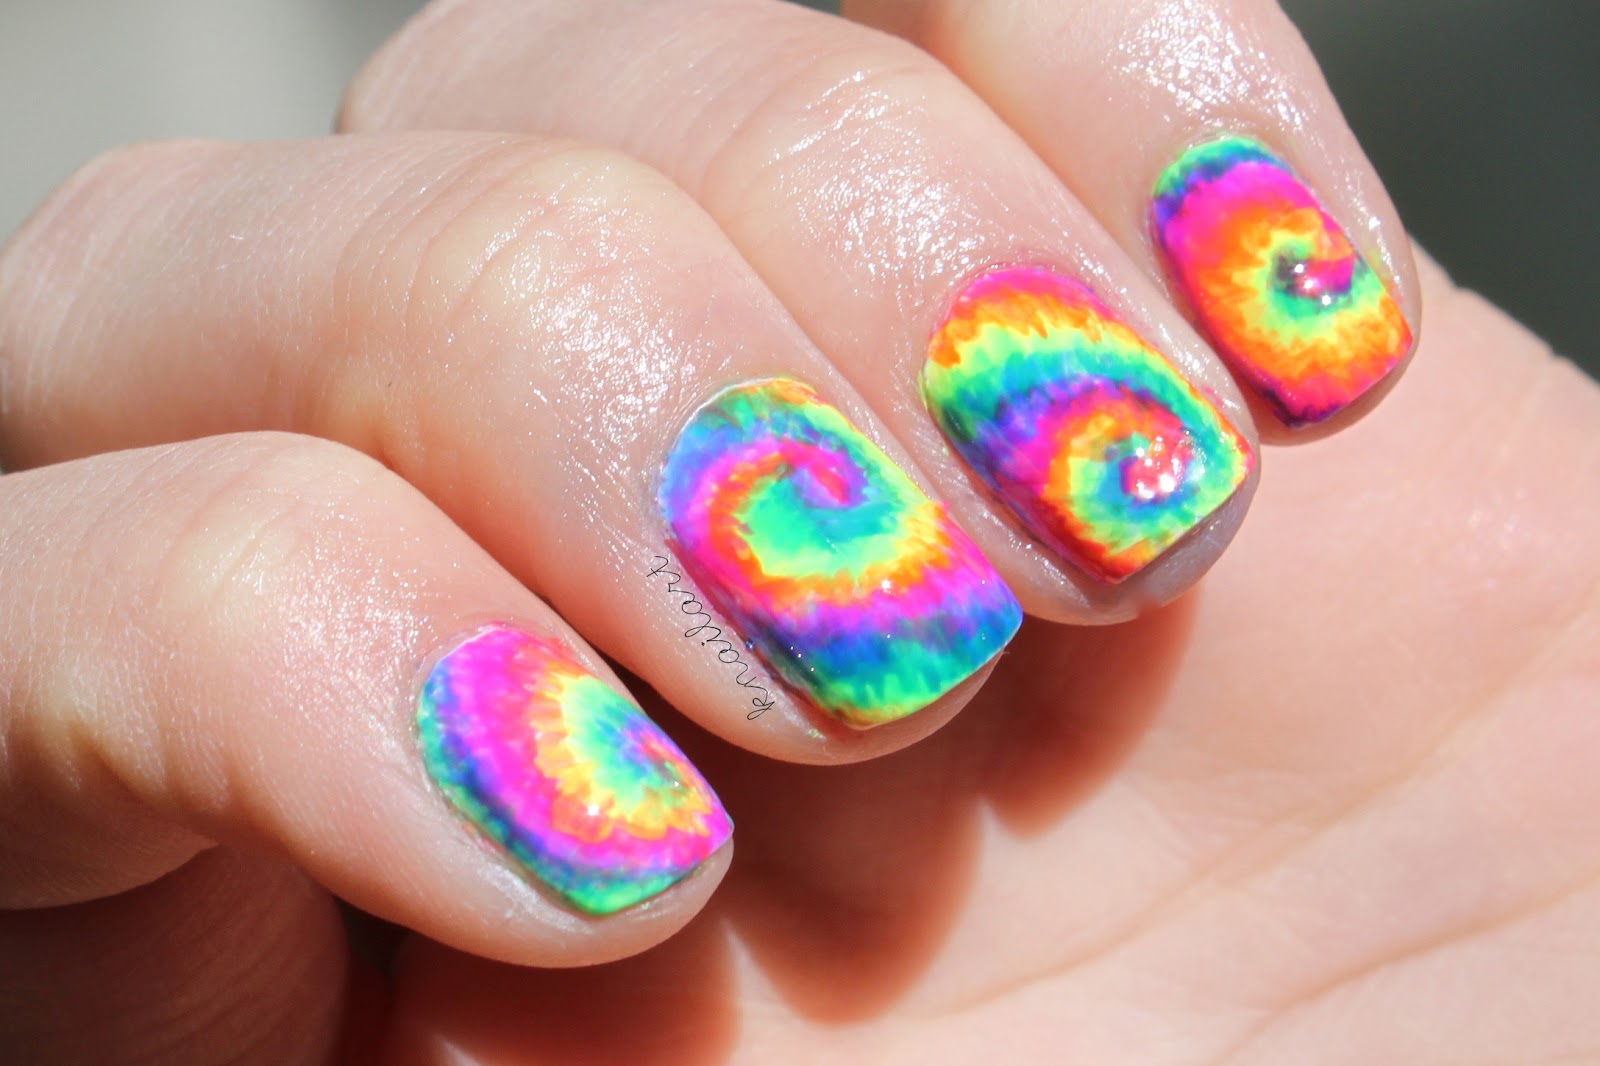
Looking for some inspiration for your next tie dye nail design? We've got you covered with these tie dye nail polish ideas that are sure to spark your creativity. For a subtle and chic look, try a pastel tie dye design using soft shades of pink, blue, and purple. This is perfect for those who prefer a more understated look. For a bold and vibrant look, go for a neon tie dye design using bright shades of yellow, orange, and green. This is perfect for summer and will definitely make a statement. If you're feeling extra creative, try out a rainbow tie dye design using all the colors of the rainbow. This will definitely turn heads and make your nails pop. With so many tie dye nail polish ideas to choose from, the possibilities are endless!6. Tie Dye Nail Polish Ideas


6. Tie Dye Nail Polish Ideas
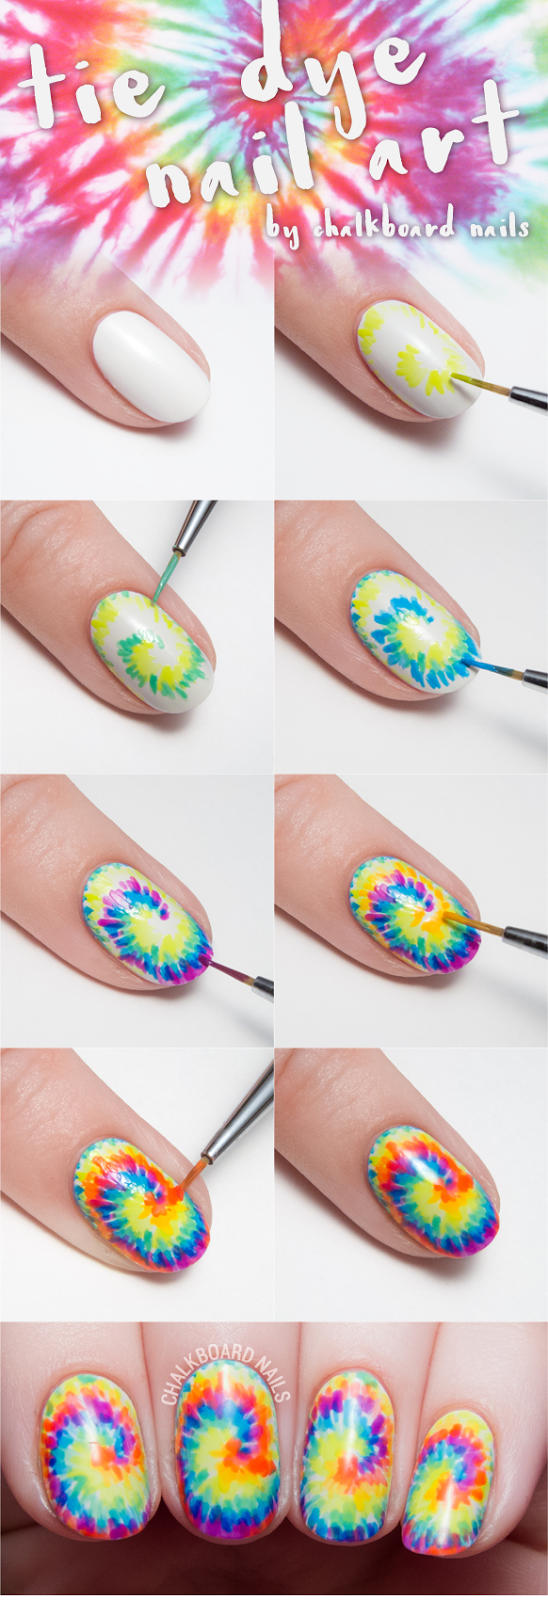
Want to try out a tie dye nail design but need a step-by-step guide? Look no further, as we break down the process for you in easy-to-follow steps. Step 1: Apply a base coat and let it dry completely. Step 2: Apply tie dye nail polish in a random pattern on your nails. Step 3: Use a toothpick or a small brush to swirl the colors together for a blended look. Step 4: Optional - use a makeup sponge to dab on extra colors for a bolder effect. Step 5: Let your nails dry completely before adding a top coat to seal in the design. With these simple steps, you can easily create a beautiful tie dye nail design at home.7. Tie Dye Nail Polish Designs Step by Step

7. Tie Dye Nail Polish Designs Step by Step
As mentioned earlier, the water marble technique is a popular way to create tie dye nail designs. Let's take a closer look at how you can create these designs using water. Step 1: Fill a bowl with room temperature water. Step 2: Drop a few drops of tie dye nail polish onto the water's surface. Step 3: Use a toothpick to swirl the colors together and create a design. Step 4: Slowly dip your nails into the water and hold them in for a few seconds. Step 5: Once you remove your nails, use a cotton swab to clean up any excess polish on your skin. Finish off with a top coat to seal in the design and you're done!8. Tie Dye Nail Polish Designs with Water


8. Tie Dye Nail Polish Designs with Water
Another technique you can use to create tie dye nail designs is with a sponge. This method is perfect for creating a more textured and blended look. Step 1: Apply a base coat and let it dry completely. Step 2: Apply tie dye nail polish in a random pattern on a makeup sponge. Step 3: Dab the sponge onto your nails, layering the colors for a more intense effect. Step 4: Use a toothpick or a small brush to swirl the colors together for a more blended look. Step 5: Let your nails dry completely before adding a top coat to seal in the design. With this technique, you can achieve a unique and eye-catching tie dye nail design.9. Tie Dye Nail Polish Designs with Sponge

9. Tie Dye Nail Polish Designs with Sponge
Last but not least, the trusty toothpick can also be used to create tie dye nail designs. This method allows for more control and precision, making it perfect for intricate designs. Start off by applying a base coat and letting it dry completely. Then, use a toothpick to create swirls and blend the tie dye nail polish colors together. You can also use the toothpick to create smaller designs and patterns on your nails. Once you're happy with the design, let your nails dry completely before adding a top coat. And there you have it, a stunning tie dye nail design created with just a toothpick. In conclusion, tie dye nail polish designs are a fun and unique way to add some personality to your manicure. With these techniques and ideas, you can easily create your own tie dye nails at home. So go ahead, get creative and have fun with this colorful trend!10. Tie Dye Nail Polish Designs with Toothpick
10. Tie Dye Nail Polish Designs with Toothpick

Tie Dye Nail Polish Design: Adding a Splash of Color to Your Nails
Creating a Unique and Vibrant Look for Your Nails
 When it comes to expressing your personal style, your nails are the perfect canvas. And what better way to add personality and flair to your nails than with a tie dye nail polish design? This fun and playful trend has taken the beauty world by storm, and for good reason. Not only is it a great way to experiment with different colors and patterns, but it also adds a unique touch to any outfit. So, if you're looking to spice up your nail game, keep reading to learn more about this creative and eye-catching design.
One of the main reasons why tie dye nail polish designs have become so popular is because of their versatility. With endless color combinations and patterns, you can truly make this design your own. Whether you prefer a bold and bright look or a more subtle and pastel approach, there are endless possibilities when it comes to tie dye nails. Plus, you can customize the design to match any occasion, from a casual day out to a special event.
To achieve the perfect tie dye nail polish design, you'll need to start with a clean and prepped nail. Begin by shaping and buffing your nails to your desired length and shape. Next, apply a base coat to protect your natural nails and provide a smooth base for the polish. Once the base coat is dry, it's time to get creative.
Tie dye nail polish designs typically involve layering different colors on top of each other to create a marbled effect.
You can use a variety of tools such as a small brush, toothpick, or even a plastic bag to create different patterns and swirls. Start by applying a base color of your choice and let it dry completely. Then, using a second color, create small dots or lines on top of the base color. Use a toothpick or brush to swirl the two colors together, creating a tie dye effect. Repeat this process with as many colors as you desire.
Once you're happy with the design, wait for the polish to dry completely before applying a top coat to seal in the colors and add shine. And just like that, you have a beautiful and unique tie dye nail polish design that will surely turn heads and make a statement.
In conclusion, tie dye nail polish designs are a fun and creative way to add a pop of color to your nails. With endless color and pattern options, you can truly make this design your own and express your personal style. So, why not give it a try and see how this trend can elevate your nail game?
When it comes to expressing your personal style, your nails are the perfect canvas. And what better way to add personality and flair to your nails than with a tie dye nail polish design? This fun and playful trend has taken the beauty world by storm, and for good reason. Not only is it a great way to experiment with different colors and patterns, but it also adds a unique touch to any outfit. So, if you're looking to spice up your nail game, keep reading to learn more about this creative and eye-catching design.
One of the main reasons why tie dye nail polish designs have become so popular is because of their versatility. With endless color combinations and patterns, you can truly make this design your own. Whether you prefer a bold and bright look or a more subtle and pastel approach, there are endless possibilities when it comes to tie dye nails. Plus, you can customize the design to match any occasion, from a casual day out to a special event.
To achieve the perfect tie dye nail polish design, you'll need to start with a clean and prepped nail. Begin by shaping and buffing your nails to your desired length and shape. Next, apply a base coat to protect your natural nails and provide a smooth base for the polish. Once the base coat is dry, it's time to get creative.
Tie dye nail polish designs typically involve layering different colors on top of each other to create a marbled effect.
You can use a variety of tools such as a small brush, toothpick, or even a plastic bag to create different patterns and swirls. Start by applying a base color of your choice and let it dry completely. Then, using a second color, create small dots or lines on top of the base color. Use a toothpick or brush to swirl the two colors together, creating a tie dye effect. Repeat this process with as many colors as you desire.
Once you're happy with the design, wait for the polish to dry completely before applying a top coat to seal in the colors and add shine. And just like that, you have a beautiful and unique tie dye nail polish design that will surely turn heads and make a statement.
In conclusion, tie dye nail polish designs are a fun and creative way to add a pop of color to your nails. With endless color and pattern options, you can truly make this design your own and express your personal style. So, why not give it a try and see how this trend can elevate your nail game?


