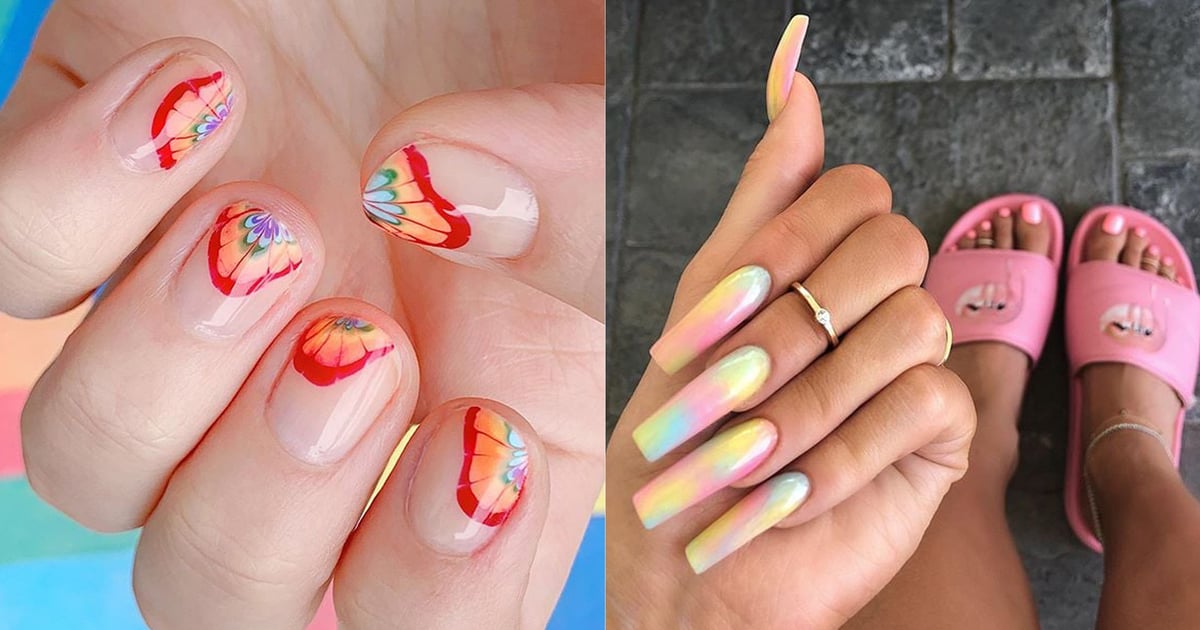
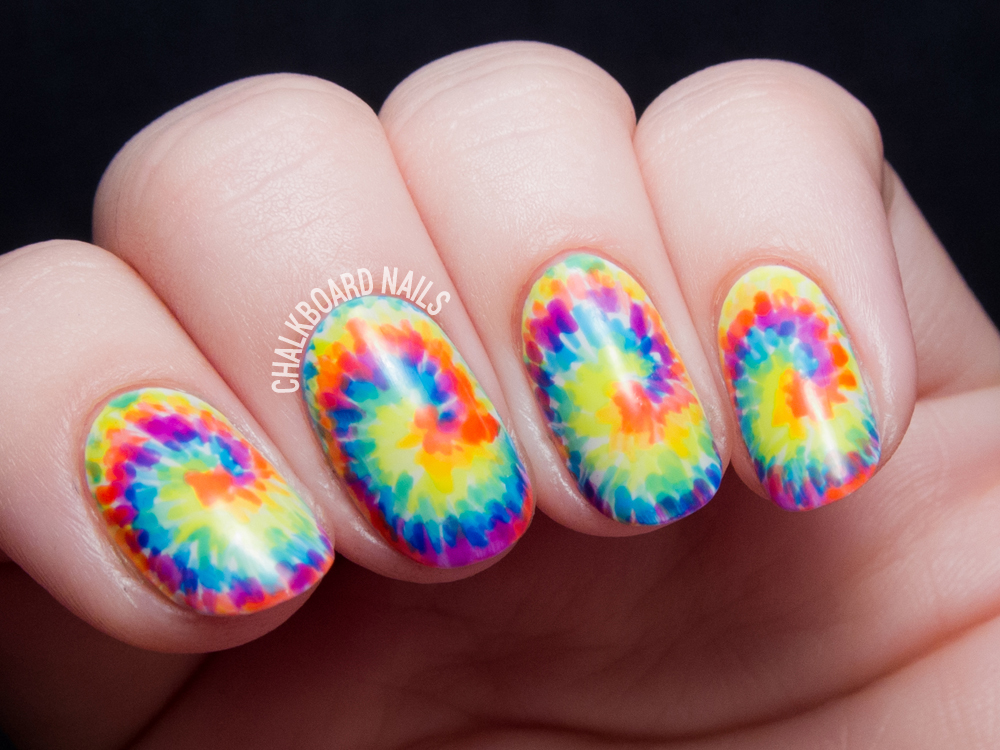
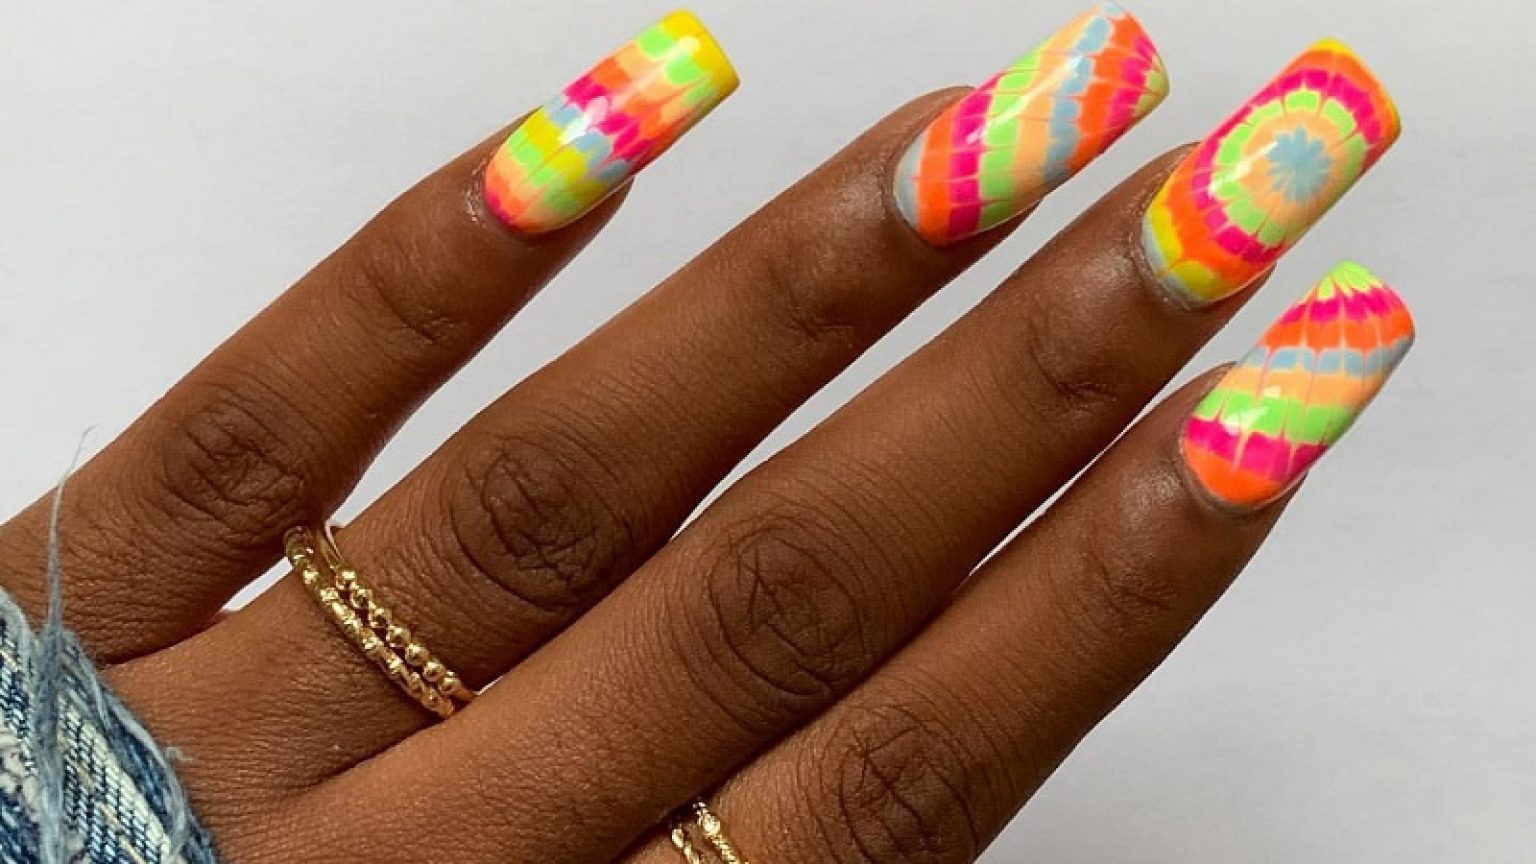
Looking to add a fun and colorful twist to your nail game? Look no further than tie-dye nail art! This trend is all the rage right now, and for good reason. It's a simple yet eye-catching design that is perfect for any occasion. Whether you're a nail art pro or a beginner, here's a step-by-step tutorial for creating your very own tie-dye nails.1. Tie-Dye Nail Art Tutorial


1. Tie-Dye Nail Art Tutorial


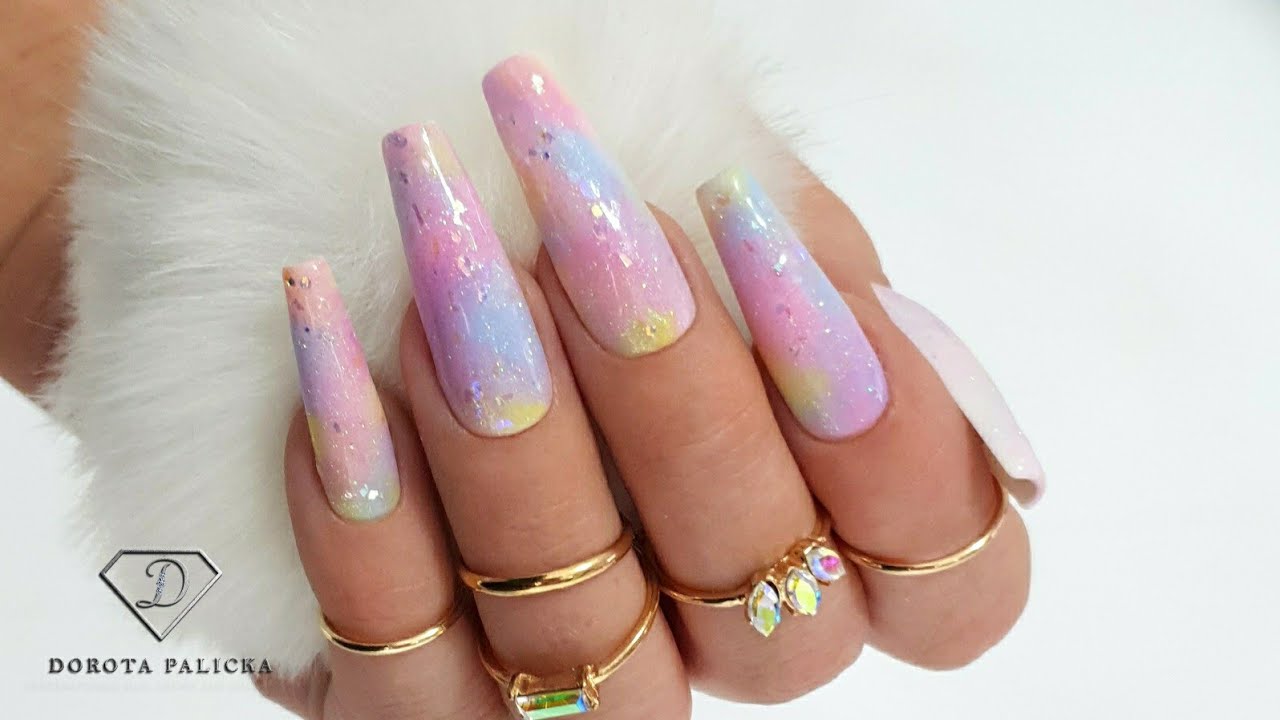


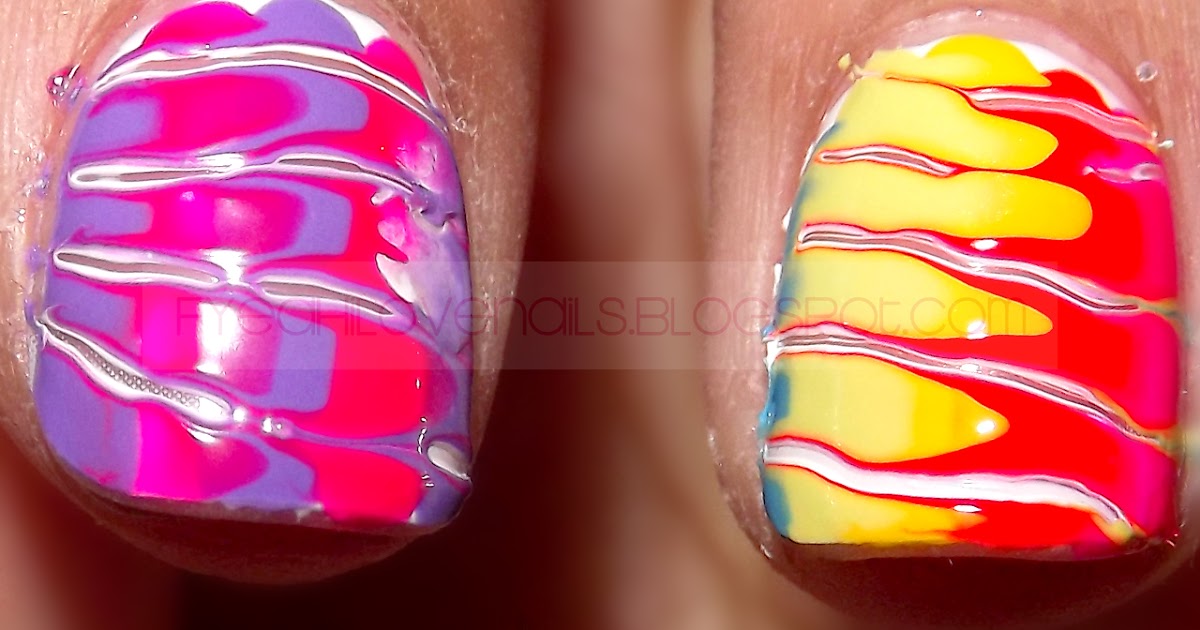
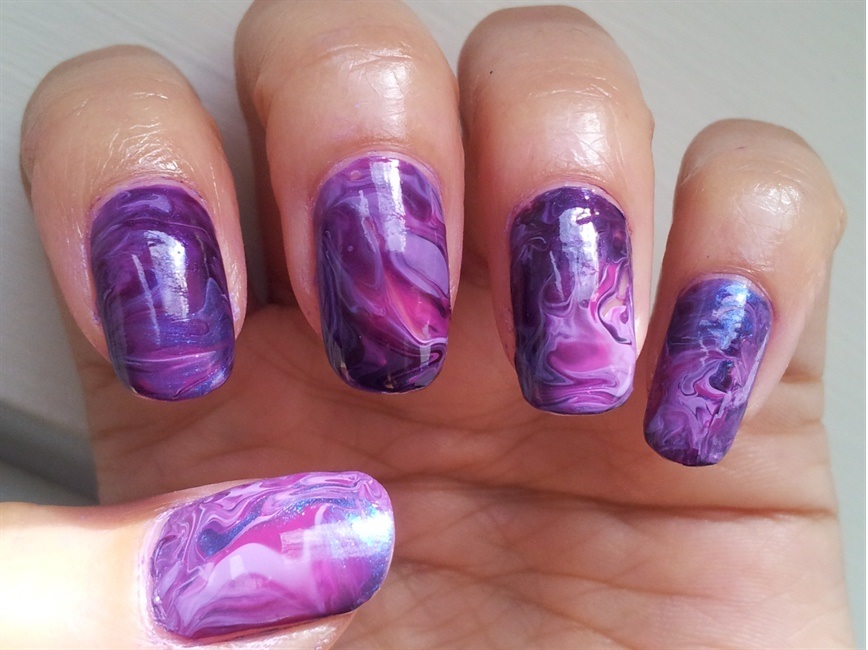
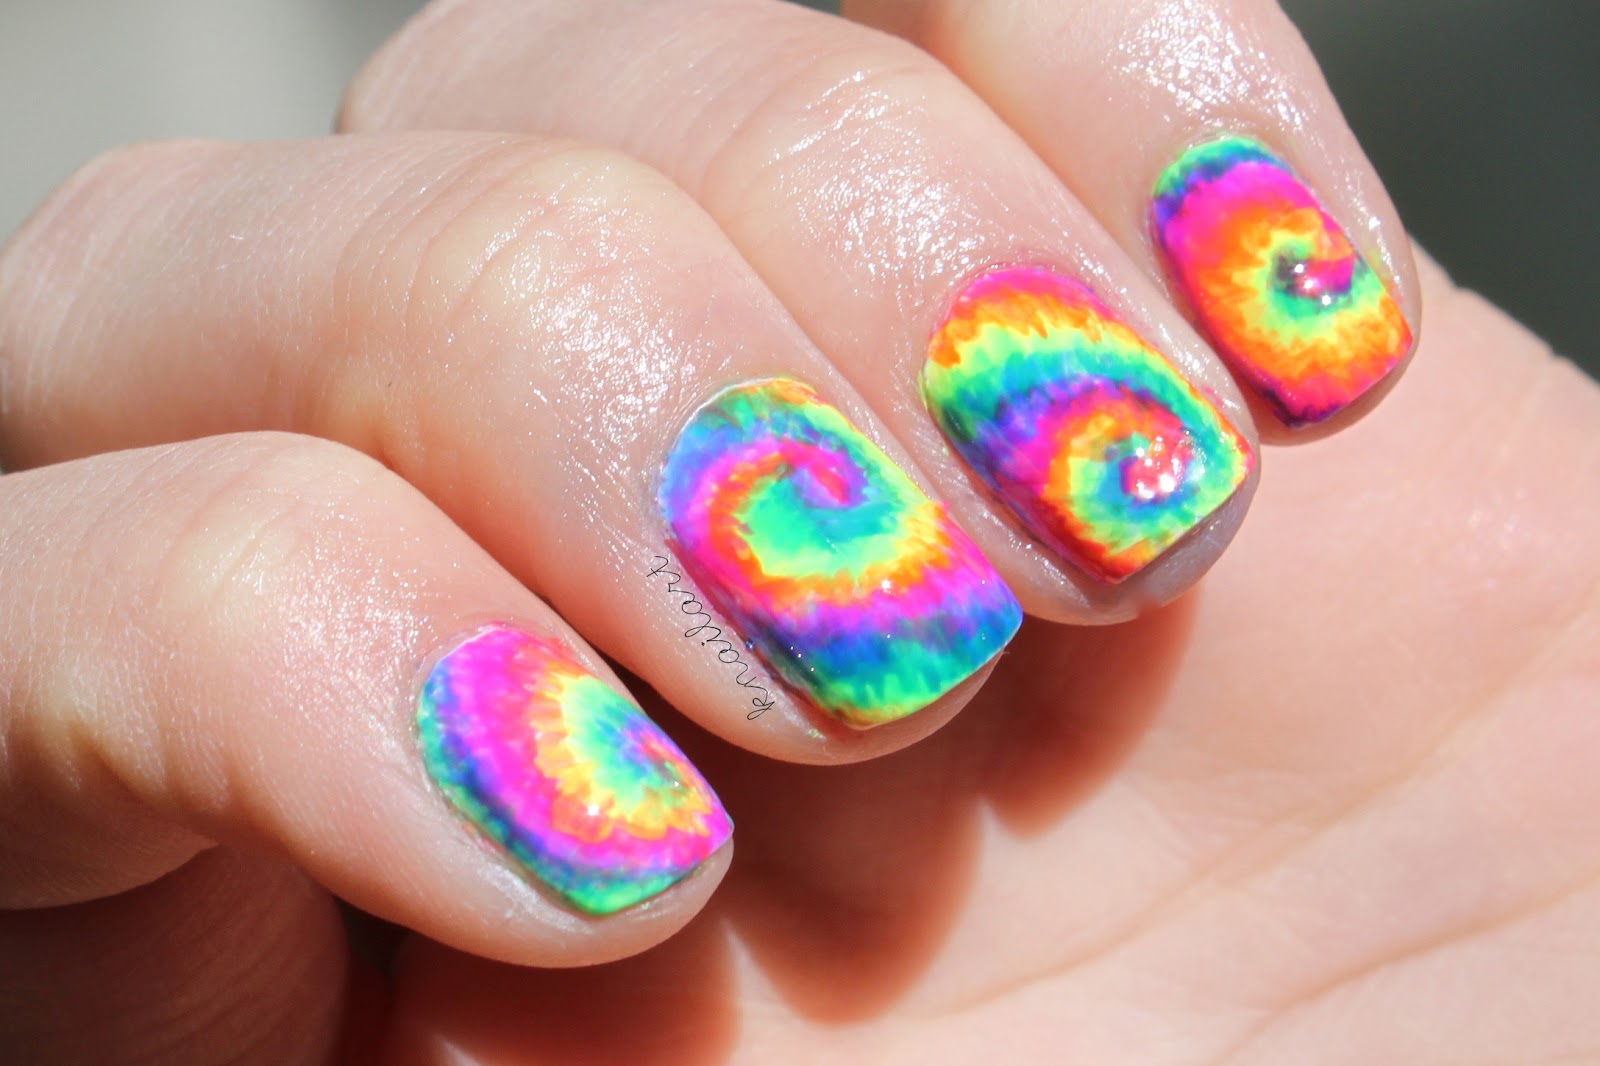
If you're new to nail art or just want to keep things simple, this tie-dye nail design is perfect for you. All you need is a few different nail polishes, a toothpick, and some clear tape. First, paint your nails with a base color of your choice. White is a great option for a tie-dye look because it allows the other colors to really pop. Next, take a piece of clear tape and place it on your nail in a diagonal or criss-cross pattern. Make sure to press down firmly to create a tight seal. Now comes the fun part - adding the tie-dye effect! Dip the toothpick into your chosen nail polish colors and carefully create swirls and lines on your nail, making sure to cover all exposed areas. Once you're happy with the design, carefully peel off the tape and let your nails dry. Finish off with a clear topcoat for a glossy finish.2. Simple Tie-Dye Nails


2. Simple Tie-Dye Nails


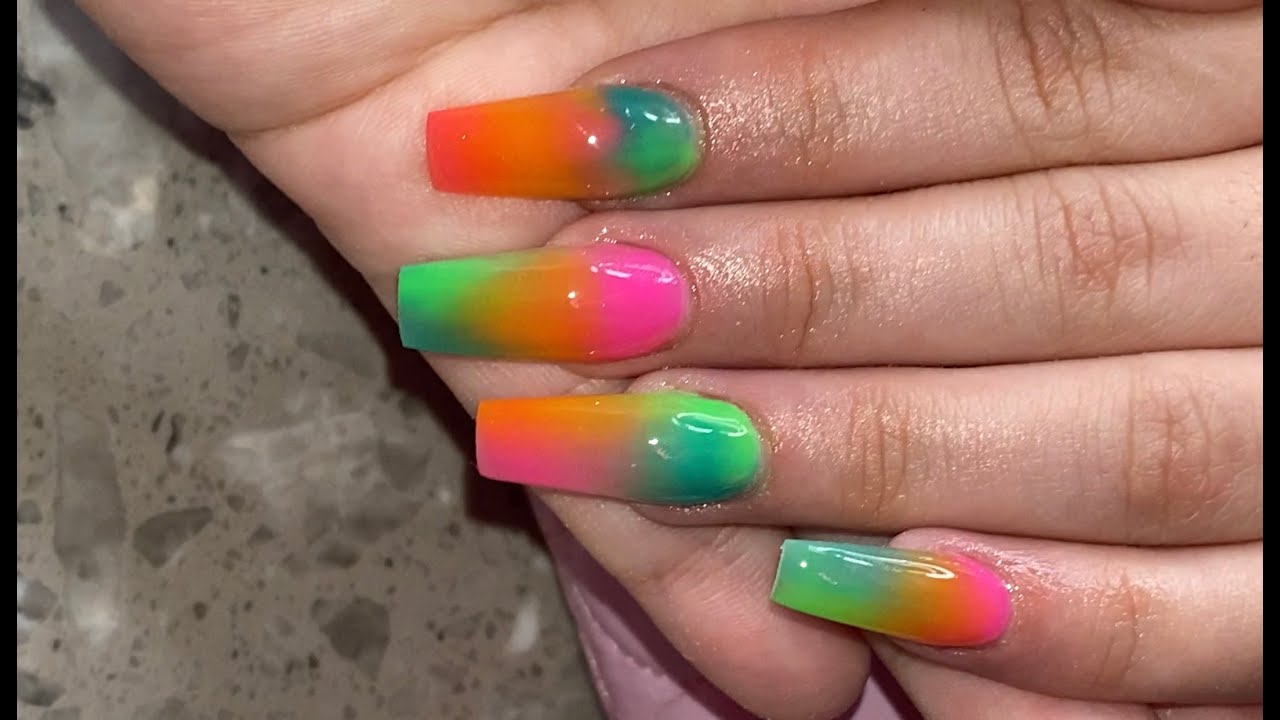
Short on time but still want to rock some tie-dye nails? No problem! This easy design only requires two nail polish colors and some plastic wrap. Start by painting your nails with a light base color and let it dry completely. Then, take a small piece of plastic wrap and scrunch it up. Dip it into a darker nail polish color and dab it onto your nail, creating a marbled effect. Repeat this process with different parts of the plastic wrap until you're happy with the design. Let it dry and seal it with a topcoat.3. Easy Tie-Dye Nail Designs


3. Easy Tie-Dye Nail Designs
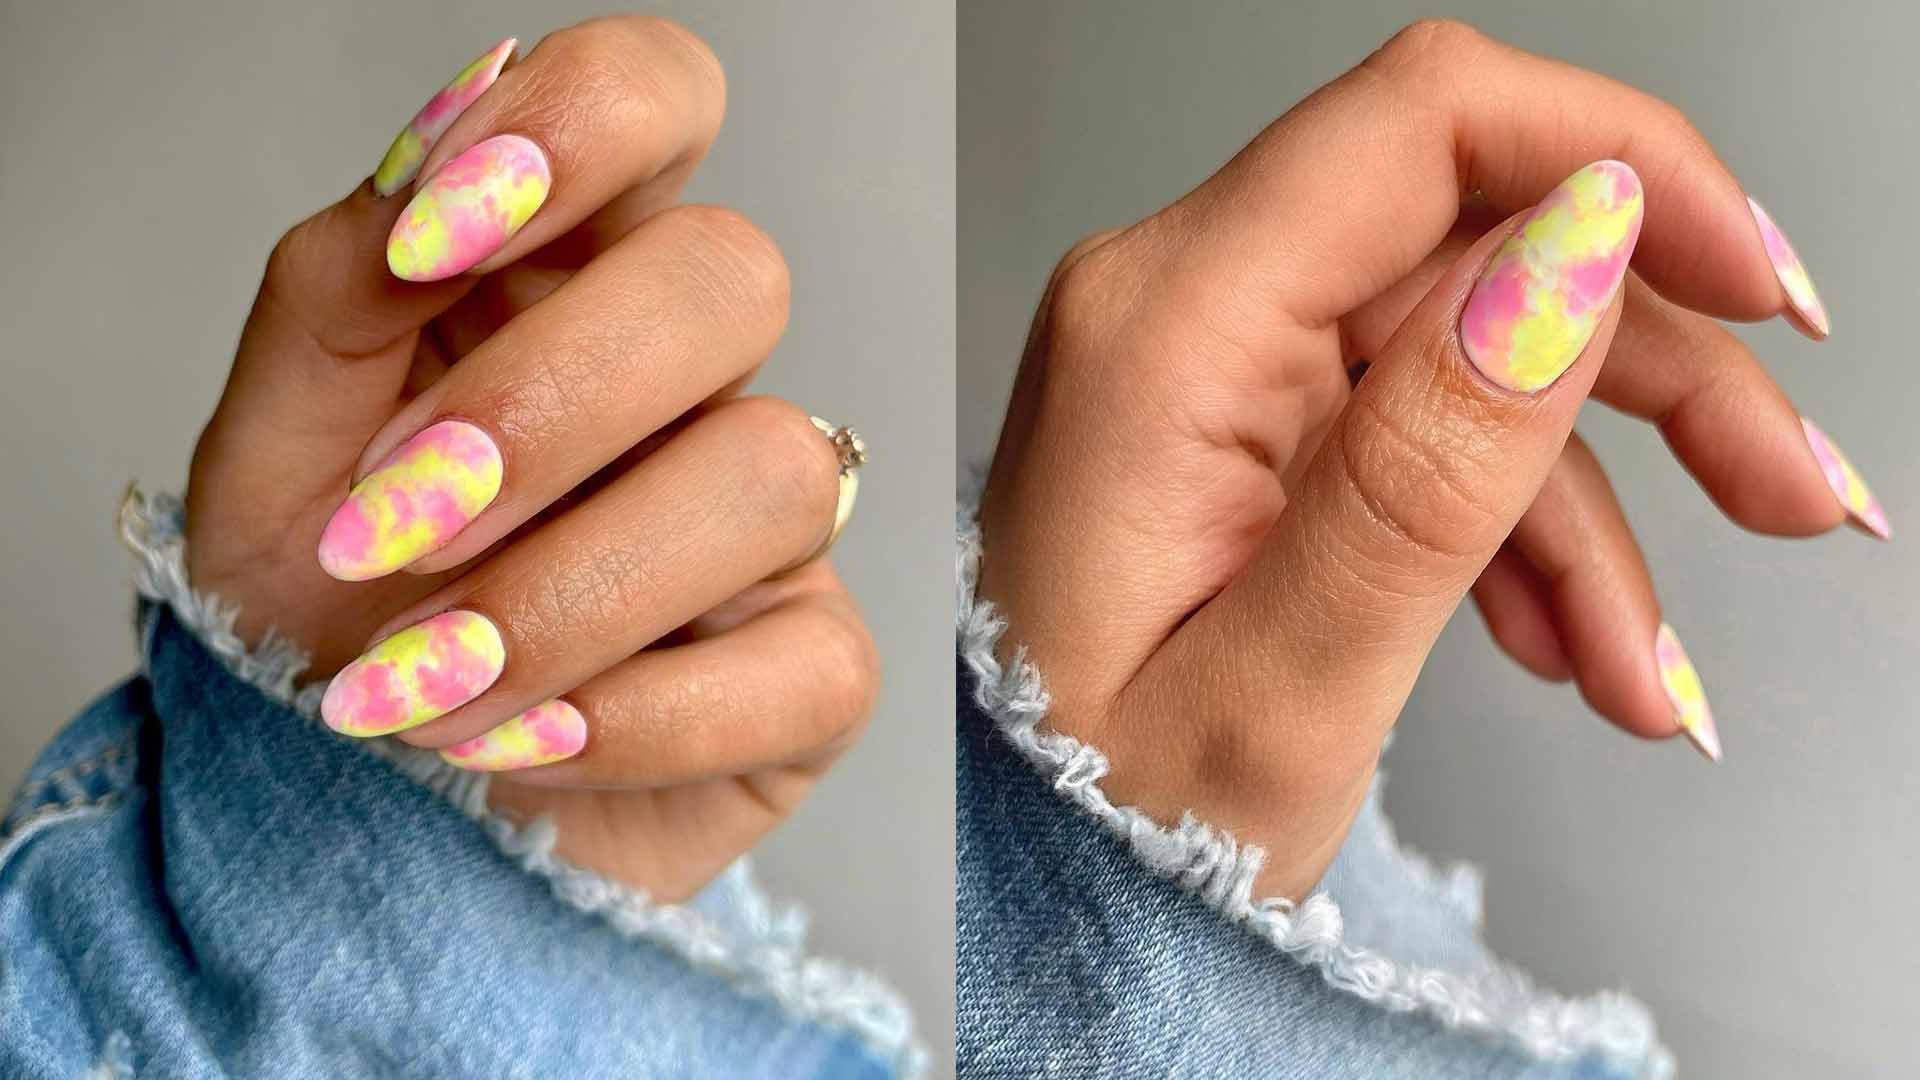
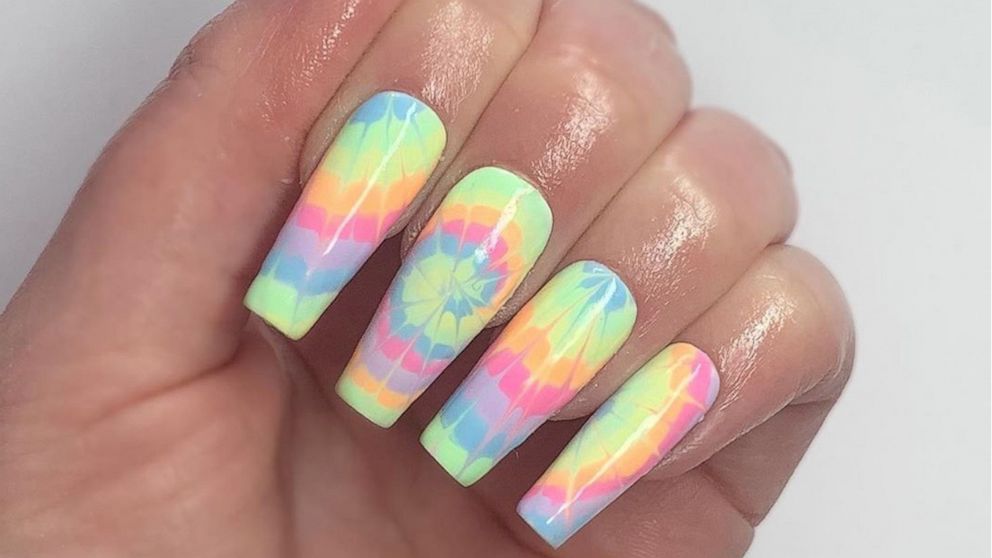
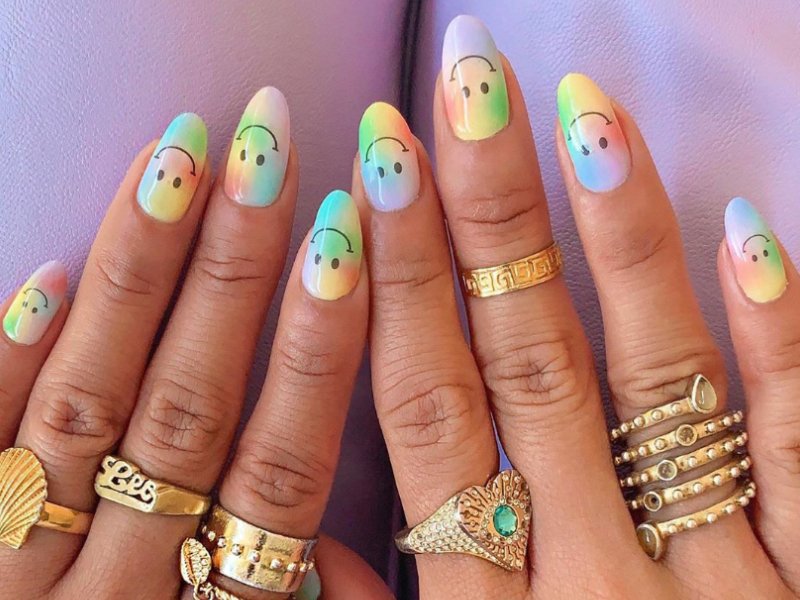
If you're new to nail art, don't be intimidated by tie-dye nails! This design is easy enough for beginners and can be achieved with just a few basic tools. Start by painting your nails with a pastel base color. Then, take a sharpie and draw small dots all over your nail. Next, dip a toothpick into rubbing alcohol and gently dab it onto the dots. This will create a tie-dye effect as the alcohol spreads the ink. Repeat this process until you're happy with the design, and finish off with a topcoat.4. Tie-Dye Nail Art for Beginners


4. Tie-Dye Nail Art for Beginners
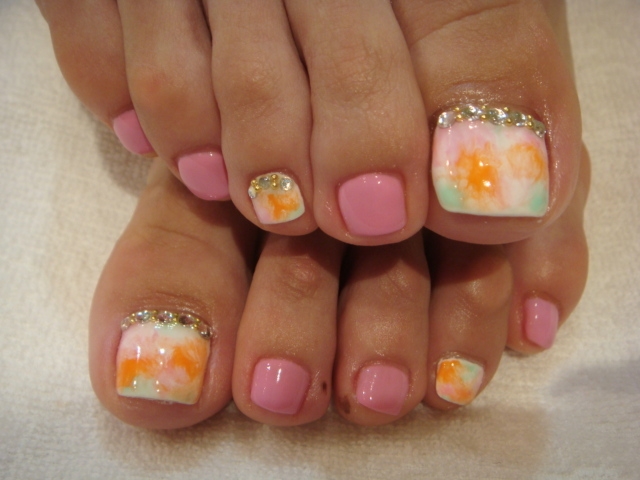
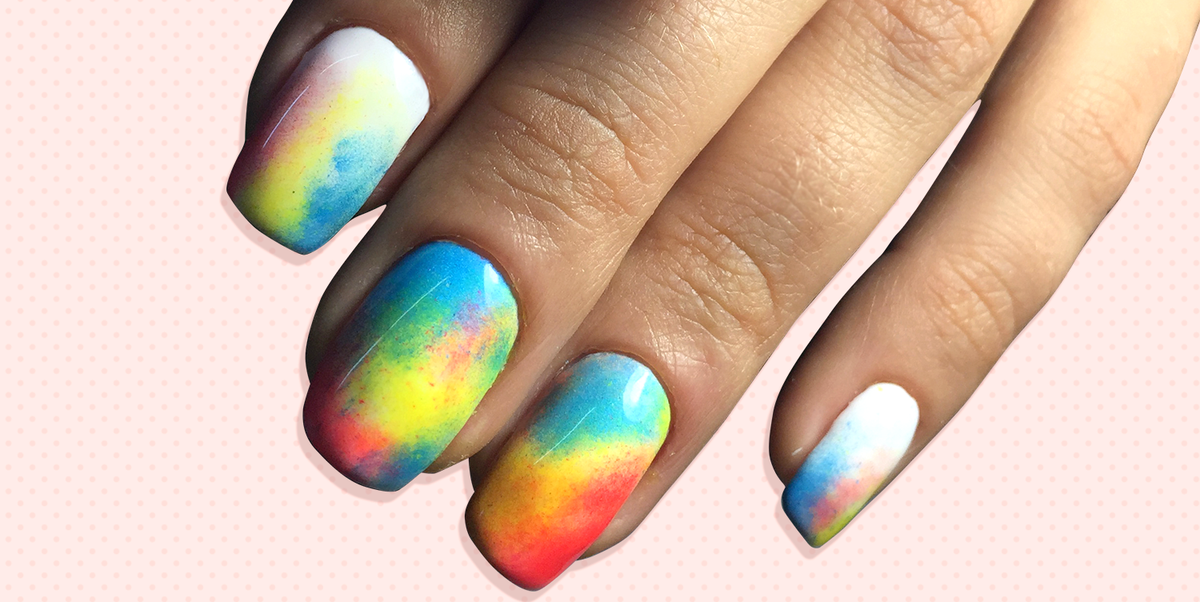
Short nails? No problem! You can still rock a fun and colorful tie-dye design on your nails. One easy way to do this is by using a sponge. Start by painting your nails with a light base color and let it dry. Then, take a small piece of sponge and paint it with your chosen nail polish colors. Dab the sponge onto your nails, creating a tie-dye effect. You can also use a toothpick to add more detailed designs. Finish off with a topcoat and enjoy your cute tie-dye nails.5. Simple Tie-Dye Nail Designs for Short Nails

5. Simple Tie-Dye Nail Designs for Short Nails


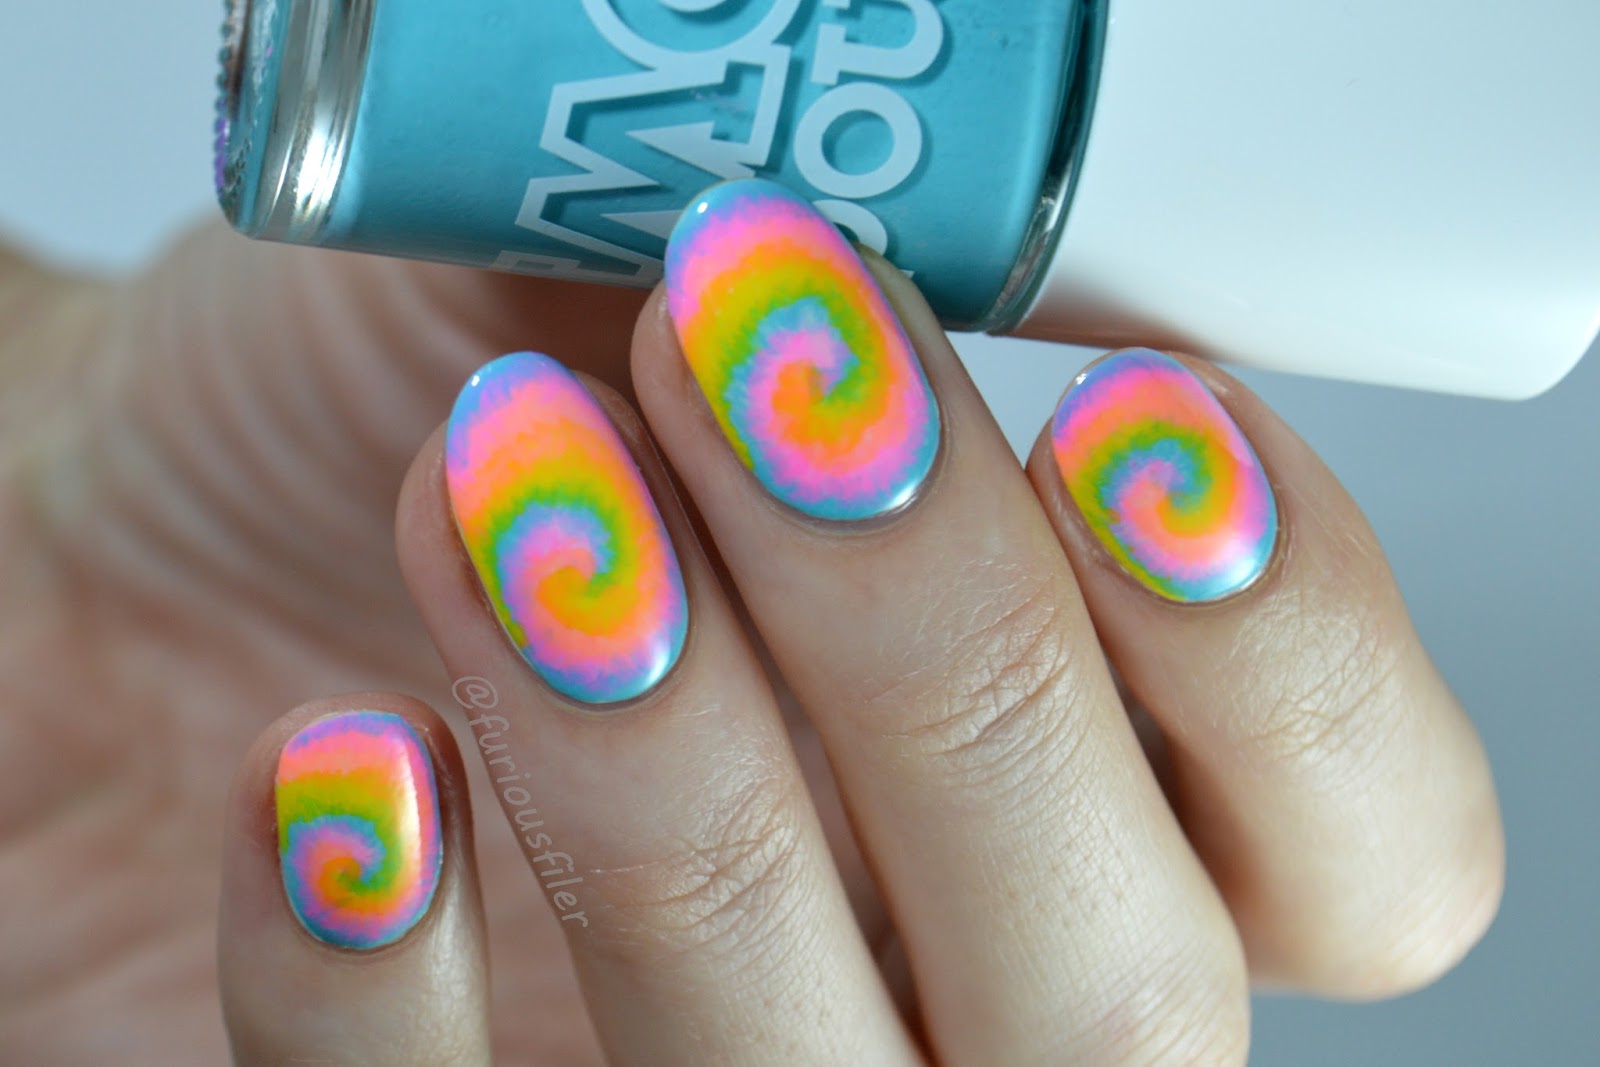
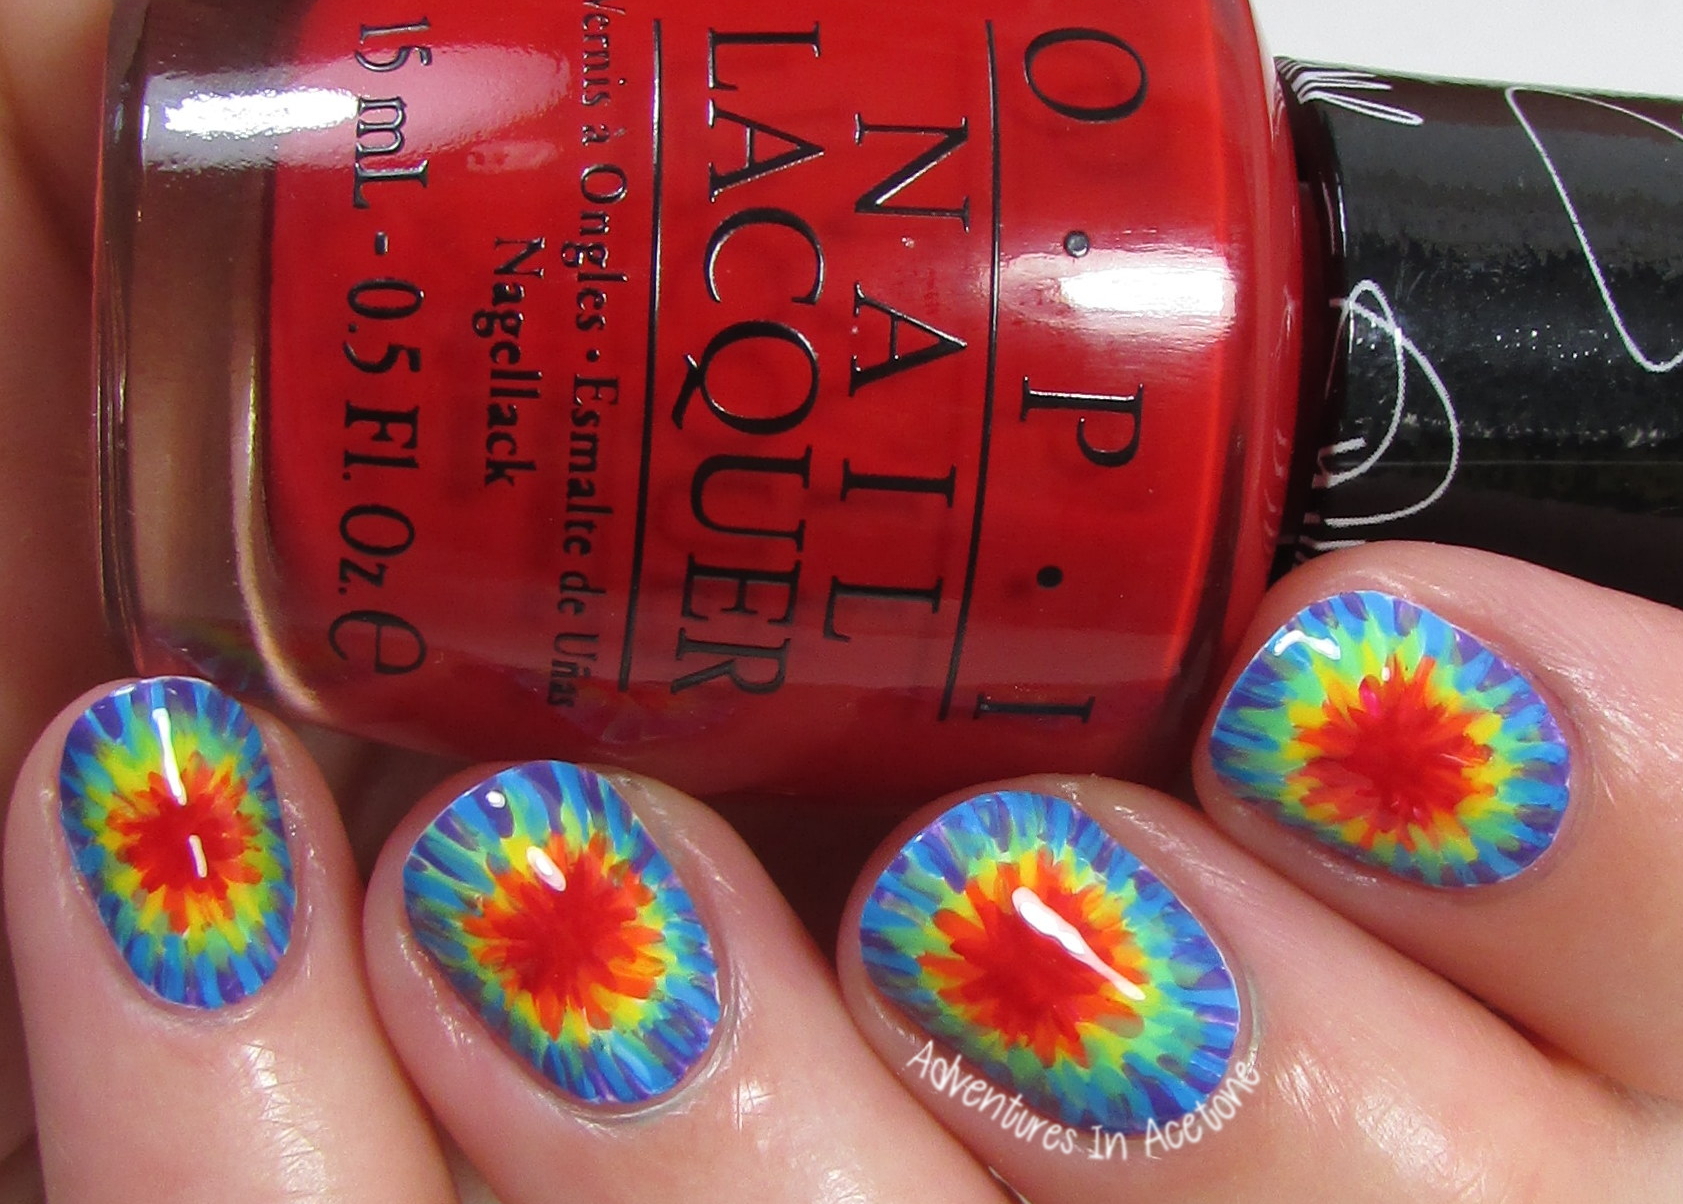
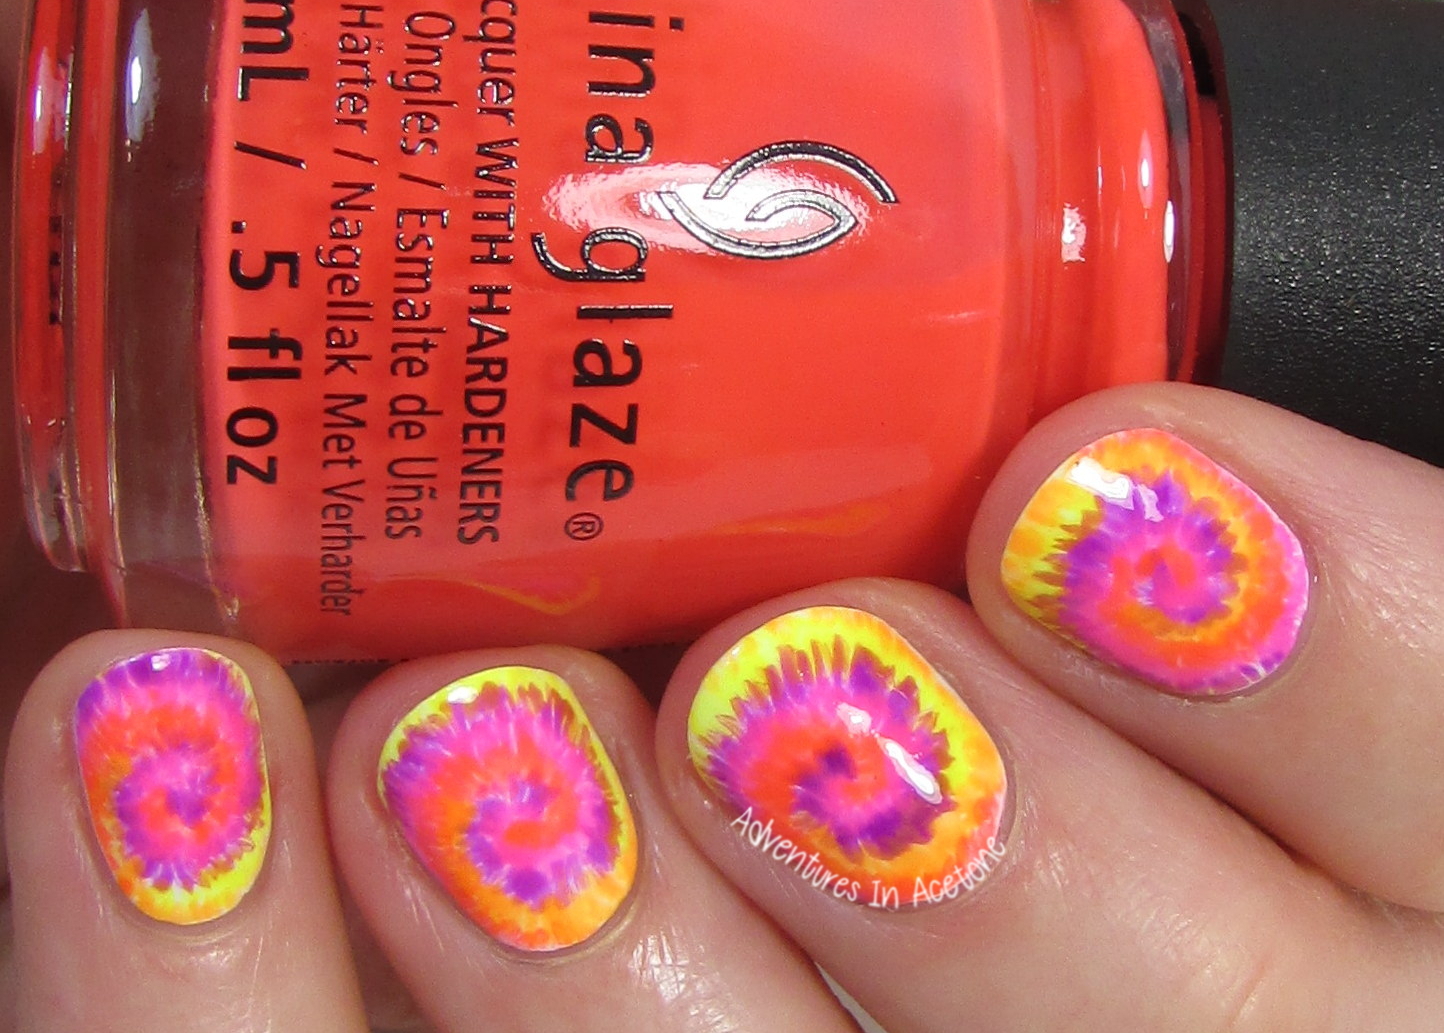
Don't have any fancy nail art tools? No problem! You can achieve a tie-dye look with just a simple toothpick. Start by painting your nails with a base color and let it dry completely. Then, take a toothpick and dip it into a few different nail polish colors. Carefully create swirls and lines on your nails, blending the colors together to create a tie-dye effect. Finish off with a topcoat and let your nails dry.6. Tie-Dye Nail Designs with Toothpick


6. Tie-Dye Nail Designs with Toothpick


If you want a more subtle tie-dye look, using a sponge is the way to go. This technique creates a softer and more blended effect. Start by painting your nails with a light base color and let it dry. Then, take a small piece of sponge and paint it with your chosen nail polish colors. Dab the sponge onto your nails, focusing on the tips to create an ombre tie-dye effect. Finish off with a topcoat and admire your cute and colorful nails.7. Tie-Dye Nail Designs with Sponge

7. Tie-Dye Nail Designs with Sponge

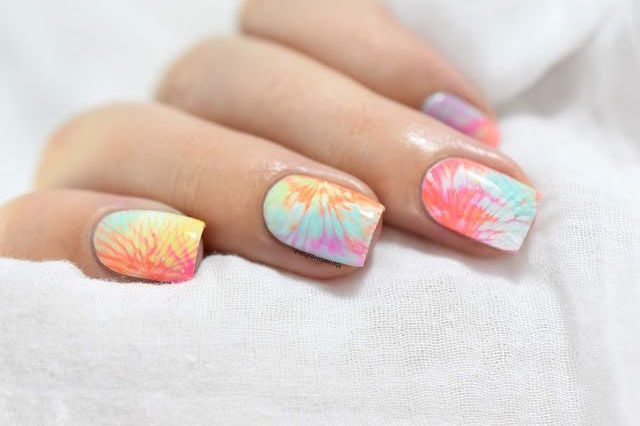
Believe it or not, you can create a tie-dye effect on your nails using just water! This method is perfect for those who want a more organic and abstract look. Start by painting your nails with a base color and let it dry. Then, take a small container of water and drop a few drops of different nail polish colors on the surface. Use a toothpick to swirl and create a tie-dye effect on the water's surface. Then, dip your nail into the water, making sure to cover the entire nail. Carefully remove your finger from the water and let it dry before adding a topcoat.8. Tie-Dye Nail Designs with Water
8. Tie-Dye Nail Designs with Water
Another way to achieve a tie-dye effect on your nails is by using a sharpie. This method allows for more control and precision in your design. Start by painting your nails with a light base color and let it dry. Then, take a sharpie and draw small dots all over your nail. Next, take a cotton swab and dab it onto the dots, creating a tie-dye effect as the sharpie ink spreads. You can also use a toothpick to create swirls and more intricate designs. Finish off with a topcoat and let your nails dry.9. Tie-Dye Nail Designs with Sharpie

9. Tie-Dye Nail Designs with Sharpie
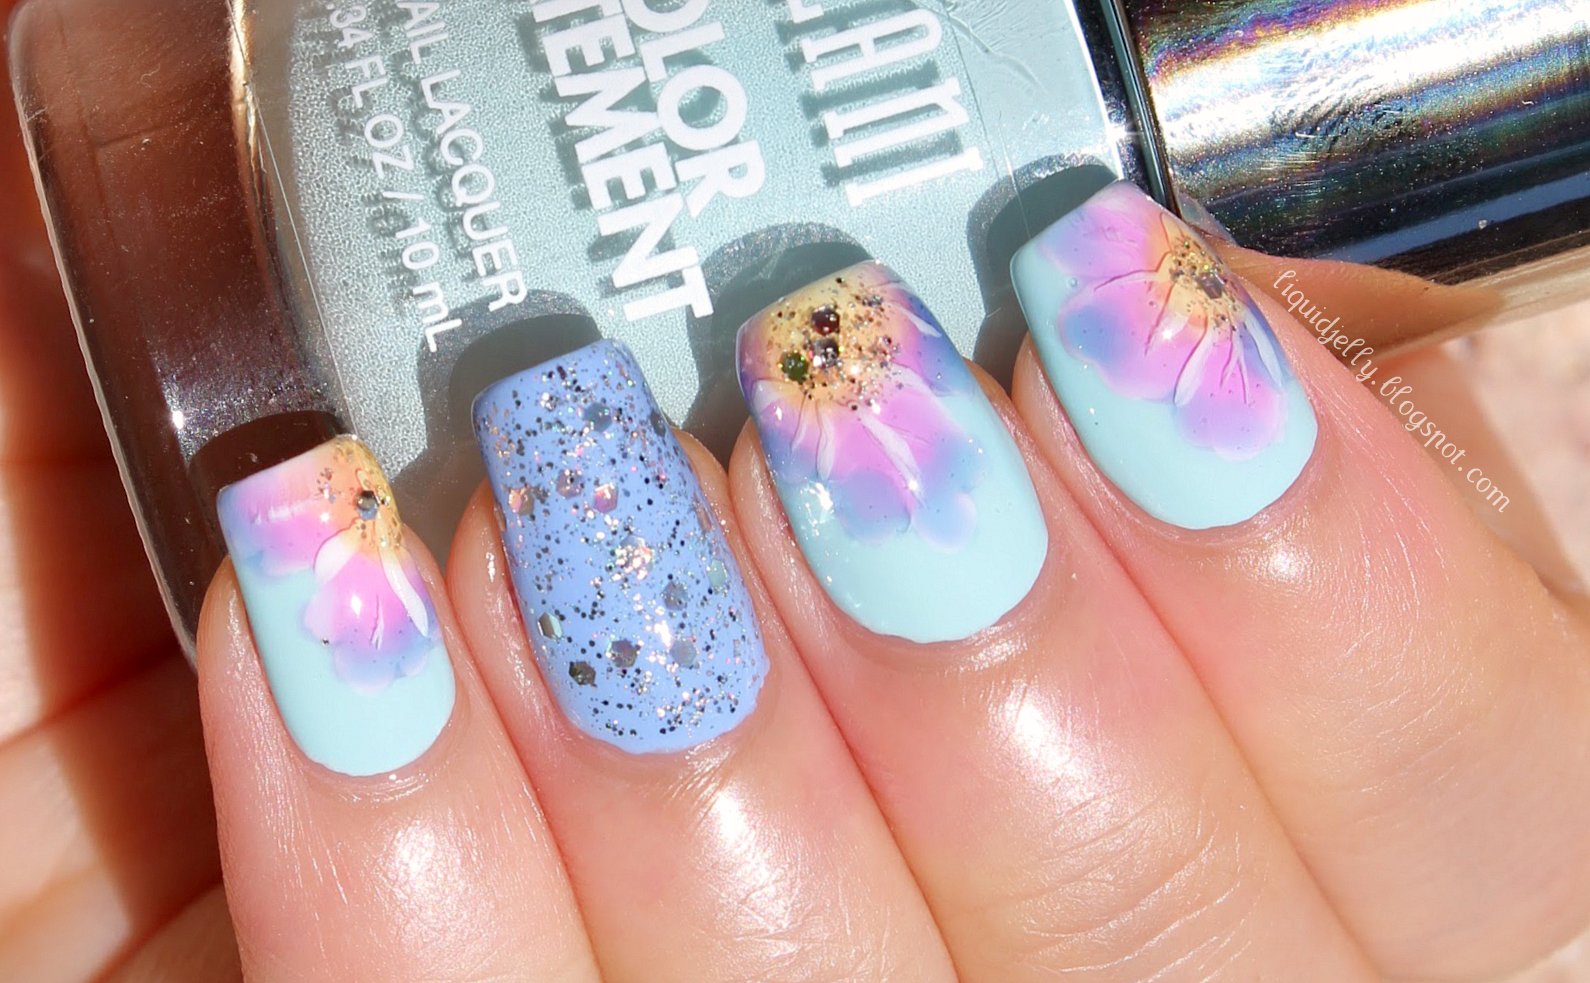
If you have acrylic paint on hand, you can easily create a fun and colorful tie-dye design on your nails. Start by painting your nails with a base color and let it dry. Then, take a small paintbrush and dip it into different acrylic paint colors. Carefully create swirls and lines on your nails, blending the colors together to create a tie-dye effect. You can also use a toothpick to add more detailed designs. Finish off with a topcoat and let your nails dry before showing off your unique tie-dye nails. With these 10 tie-dye nail designs, you'll be sure to make a statement with your colorful and fun nails. Get creative and have fun experimenting with different techniques and color combinations. And remember, practice makes perfect! Happy tie-dyeing!10. Tie-Dye Nail Designs with Acrylic Paint

10. Tie-Dye Nail Designs with Acrylic Paint


Tie-Dye Simple Nail Design: A Fun and Trendy Addition to Your House Design
Adding a Pop of Color to Your Home
 When it comes to house design, it's all about adding your own personal touch and making your space unique. And what better way to do that than with a fun and trendy tie-dye nail design? This eye-catching technique has been making a comeback in the fashion world, and now it's making its way into home design.
A Simple and Budget-Friendly Option
 One of the great things about tie-dye nail design is that it is a simple and budget-friendly way to add a pop of color to your home. Instead of spending a fortune on expensive home decor, you can use this DIY technique to give your space a fresh and unique look. All you need is some nail polish, a few basic household items, and some creativity.
Unleashing Your Creativity
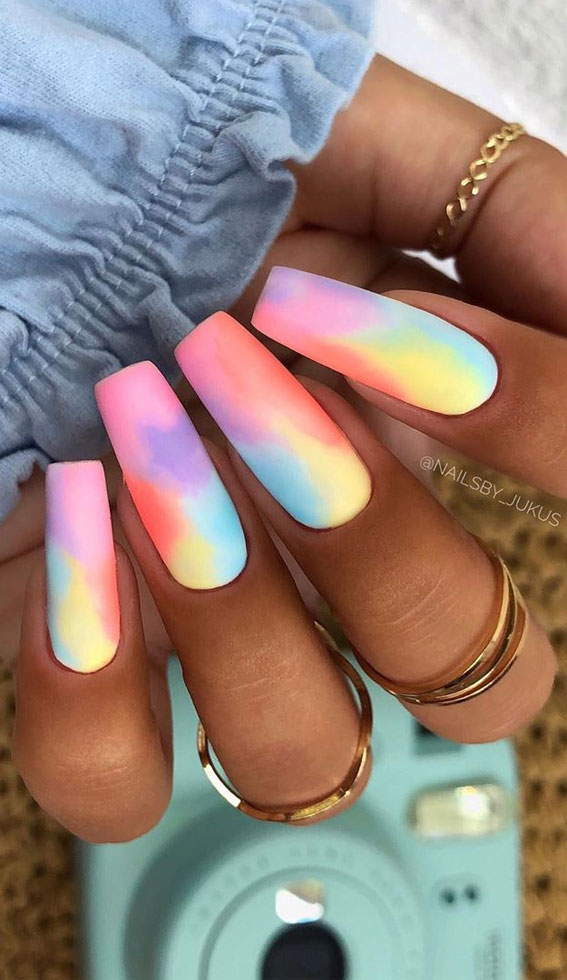
 Tie-dye nail design allows you to unleash your creativity and experiment with different colors and patterns. You can create a subtle and elegant look with pastel shades, or go bold with bright and vibrant colors. The possibilities are endless and you can customize the design to match your personal style and home decor.
Bringing a Boho Vibe to Your Space
 If you're looking to add a bohemian touch to your home, tie-dye nail design is the perfect choice. This technique is inspired by the hippie culture of the 1960s and 70s and can instantly bring a boho vibe to any room. You can use it on your walls, furniture, or even as a unique floor design. It's a great way to add some personality and character to your space.
Low Maintenance and Long-Lasting
 Not only is tie-dye nail design easy and budget-friendly, but it's also low maintenance and long-lasting. Once you've completed the design, you won't have to worry about constantly touching it up or reapplying it. It's a great option for those who want to add a touch of color to their home without the hassle of constant upkeep.
Final Thoughts
 Tie-dye nail design is a fun, trendy, and budget-friendly option for adding a pop of color to your home. With endless possibilities for customization, it allows you to unleash your creativity and make your space truly unique. So why not give this DIY technique a try and see how it can transform your house design?


