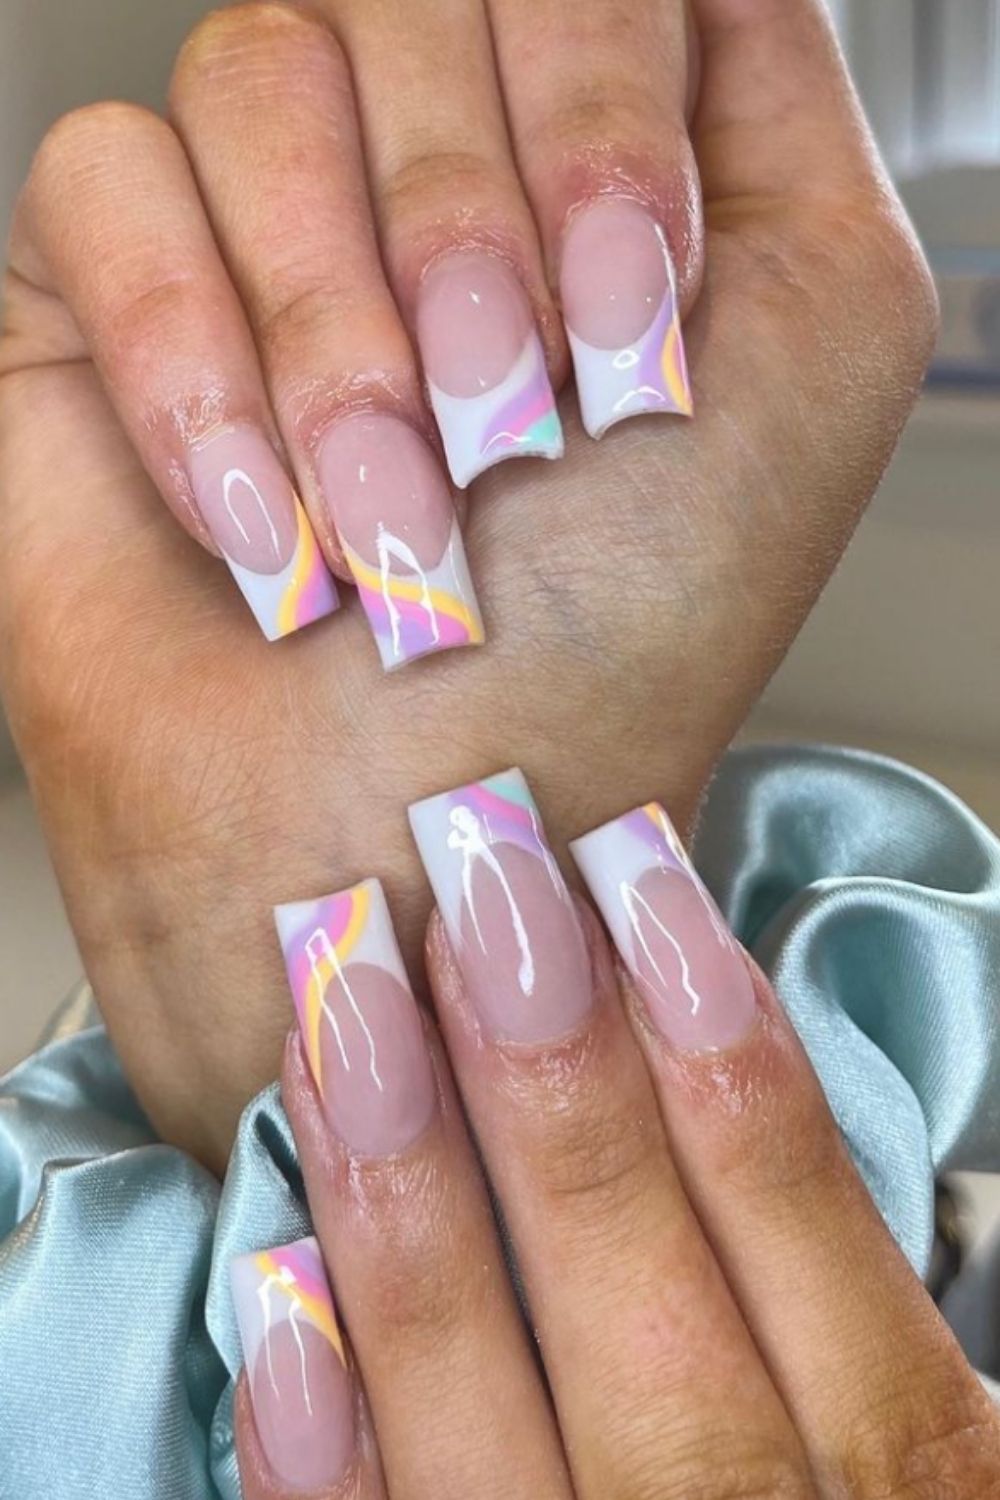
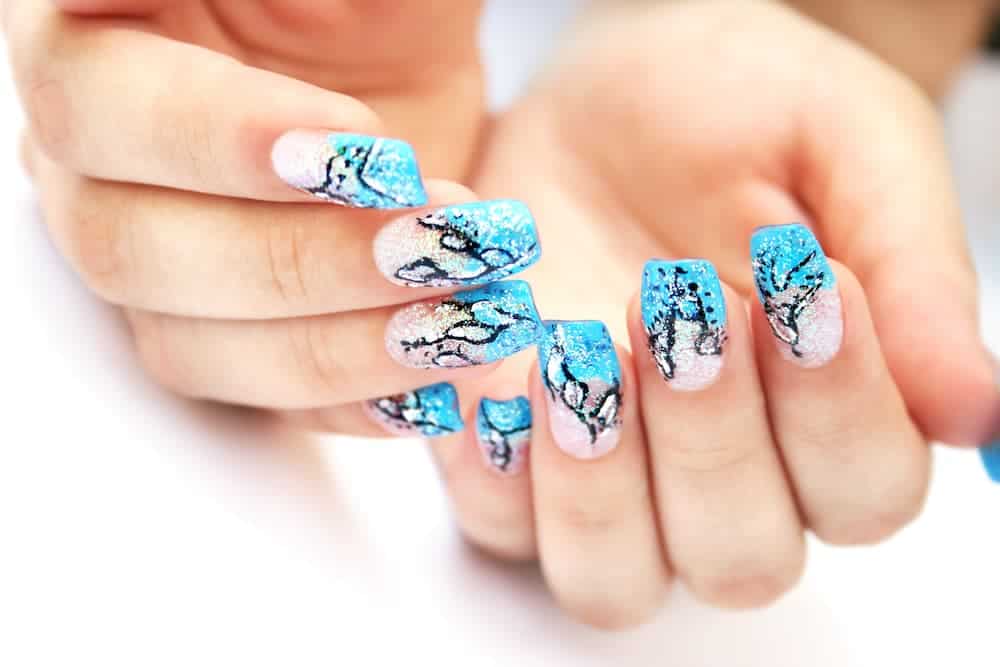
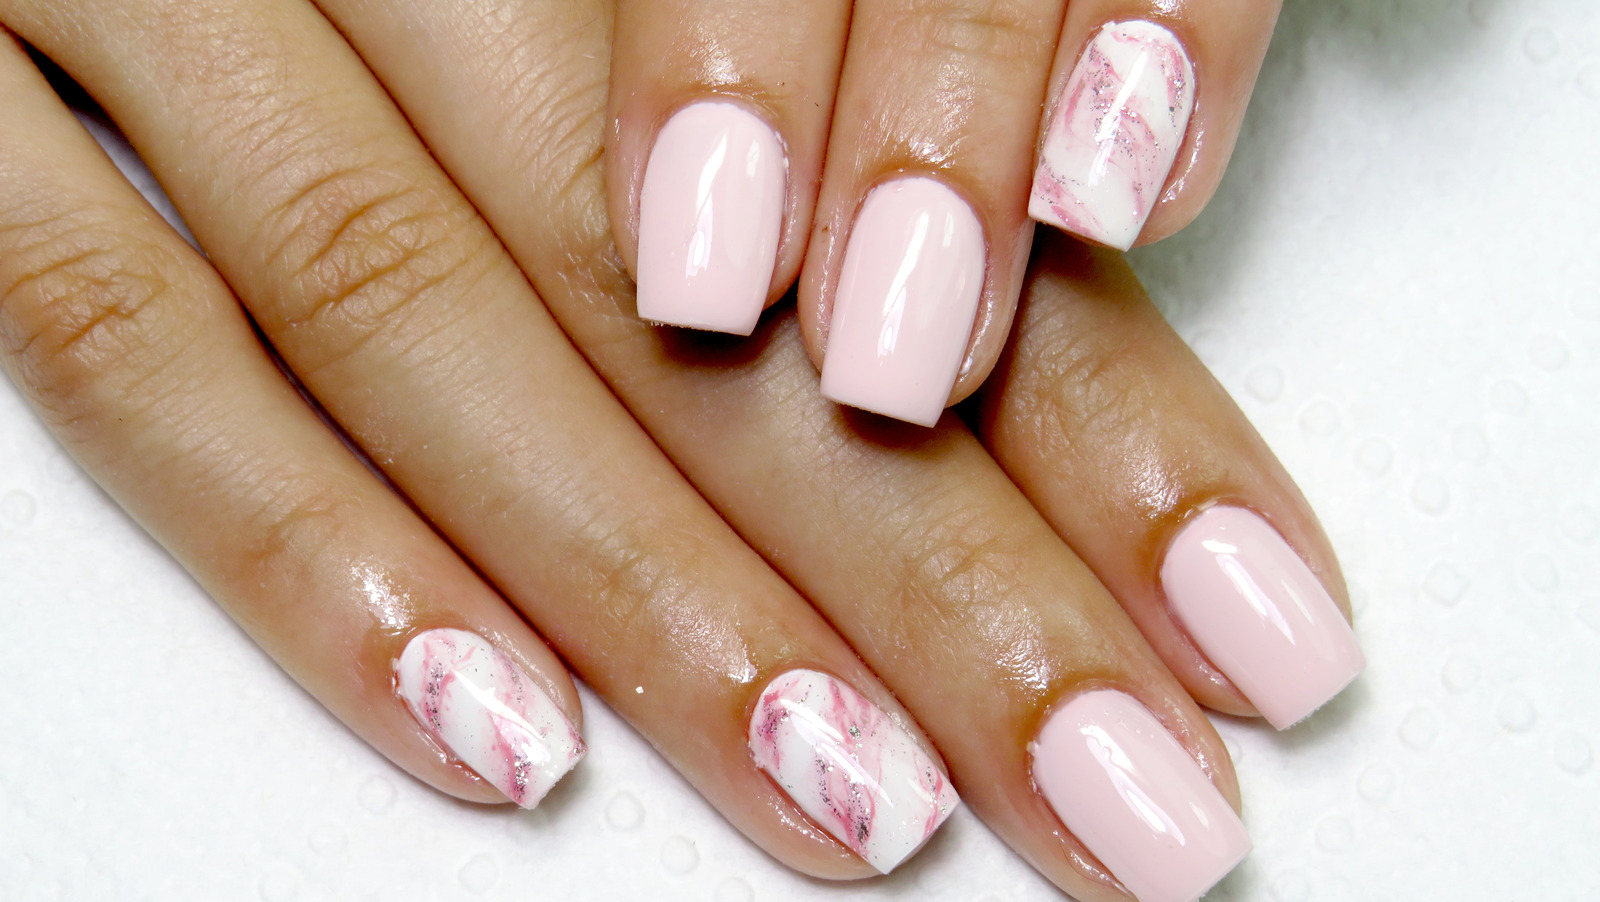
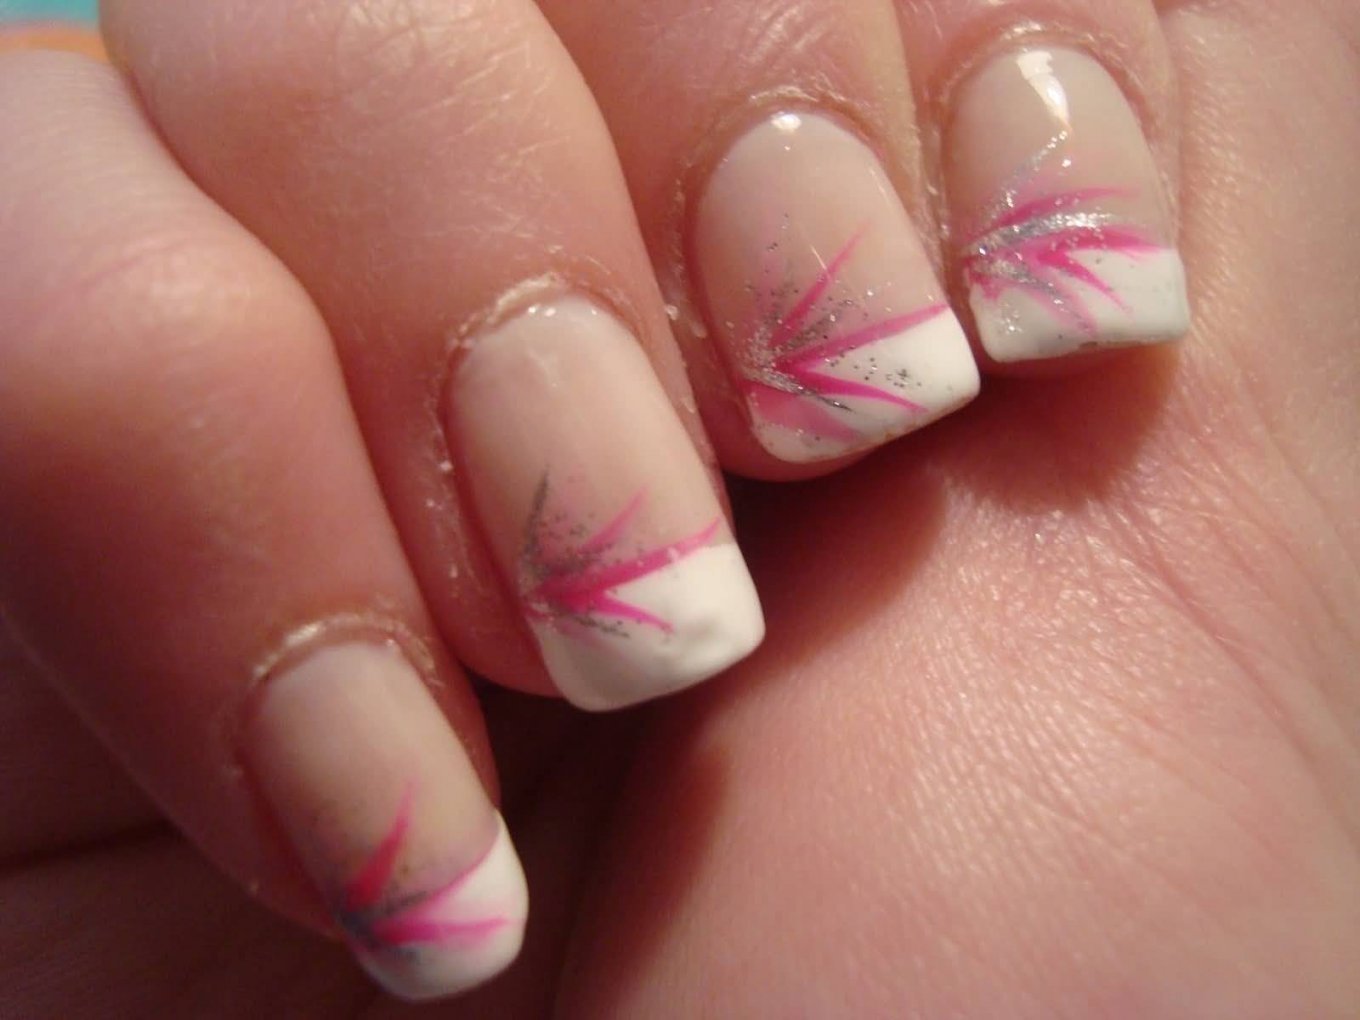
The classic French tip nail design gets a sparkling upgrade with the addition of glitter. Start by applying a clear base coat to your nails, such as OPI's Natural Nail Base Coat, to protect your natural nails and help the polish adhere better. Next, use a white nail polish to create the traditional French tip. For a twist on this look, try using a light pink or nude color instead of white. Once your base color is dry, it's time to add the glitter. Dip a small brush into a clear glitter nail polish and carefully brush it onto the tips of your nails. You can also use a fine glitter and apply it with a small makeup brush for more precise placement. Finish with a top coat to seal in the glitter and give your nails a shiny finish.1. Glitter French Tip Nail Design

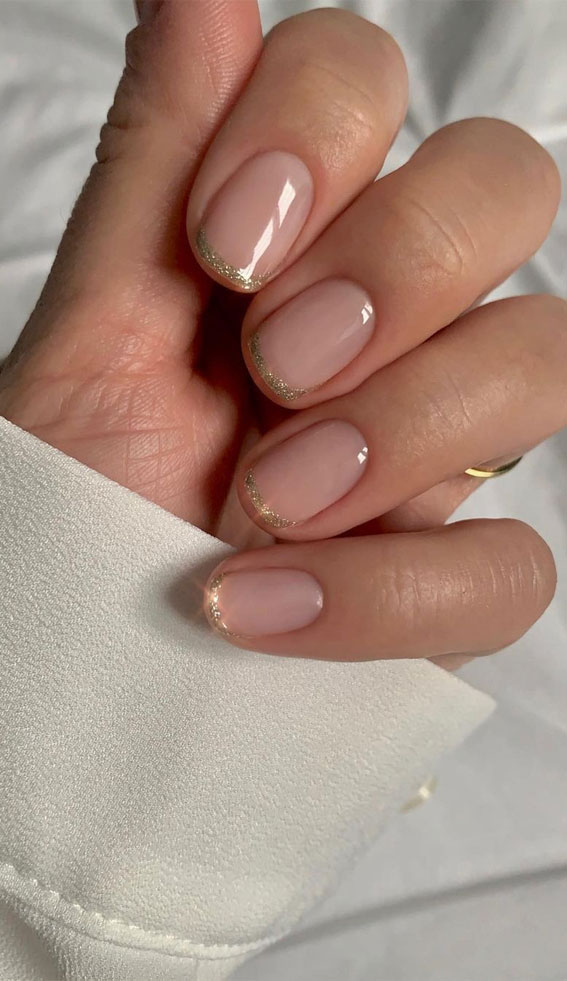

1. Glitter French Tip Nail Design


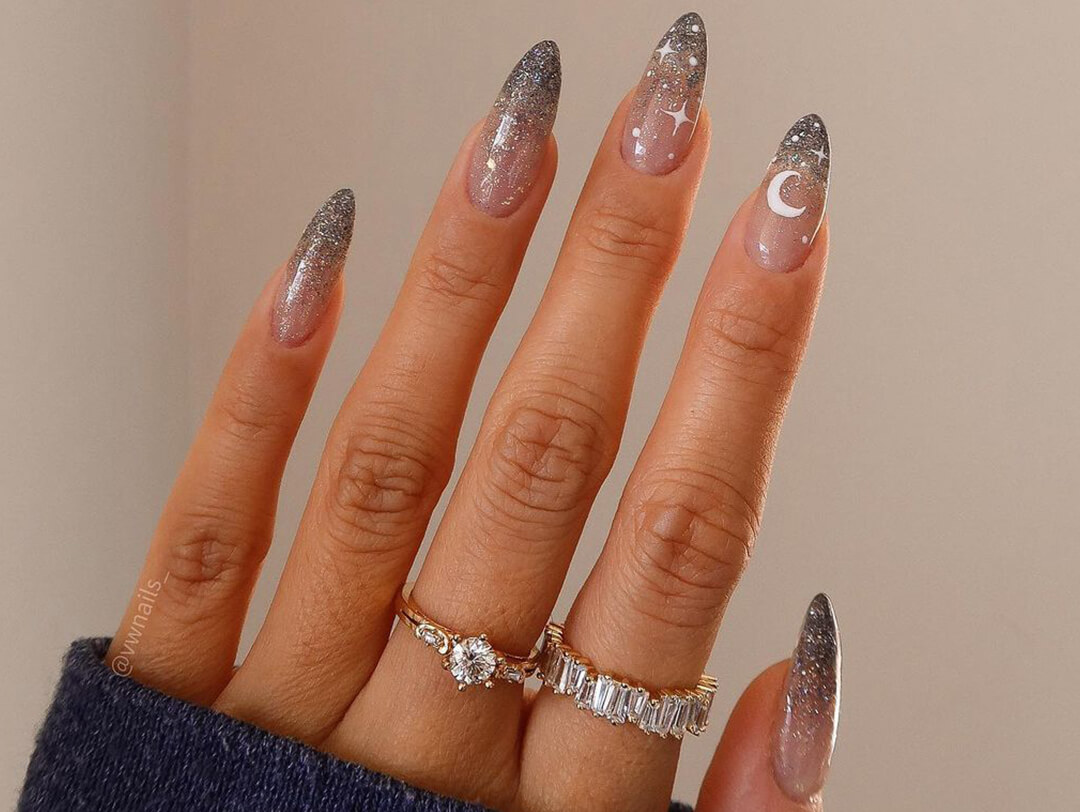


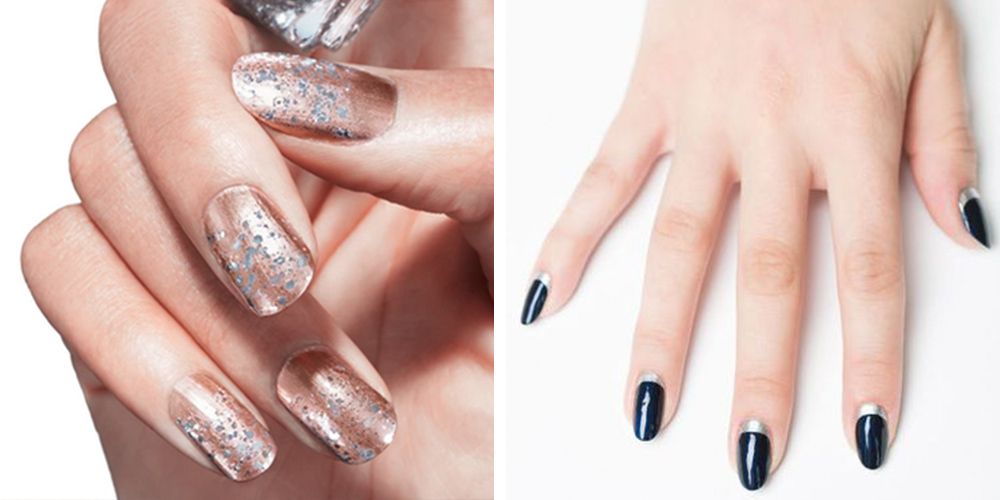
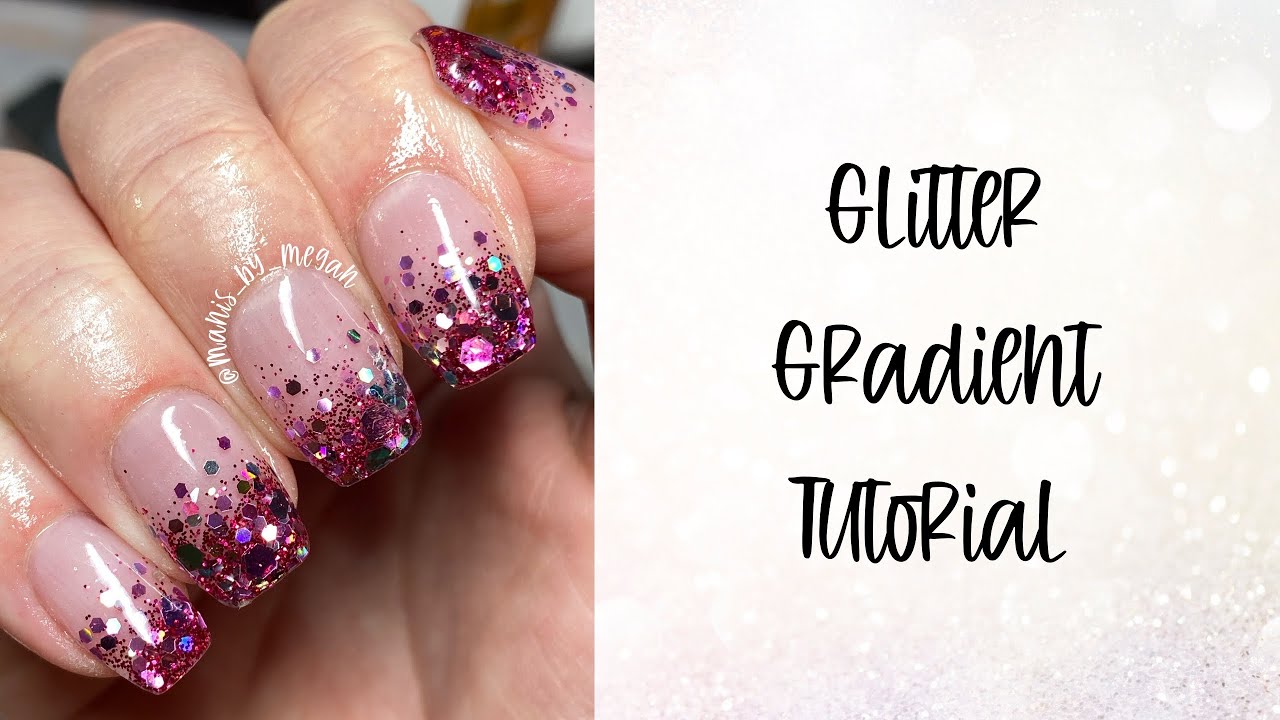
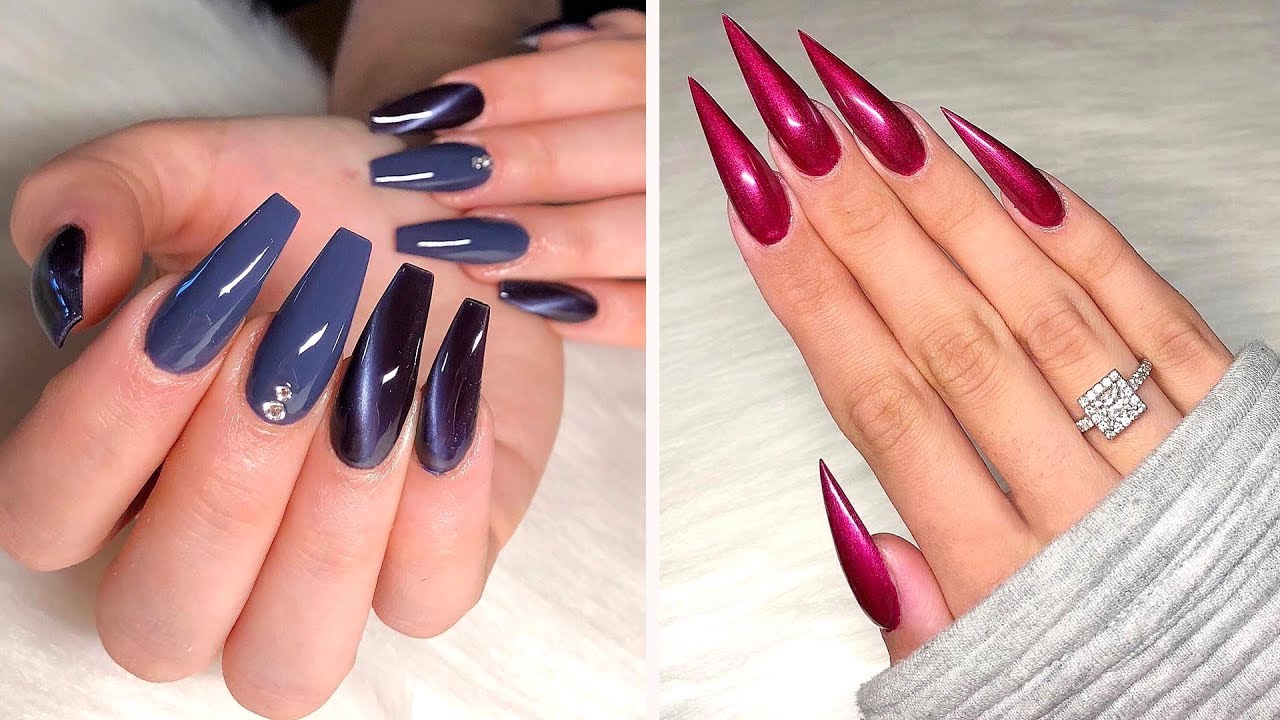
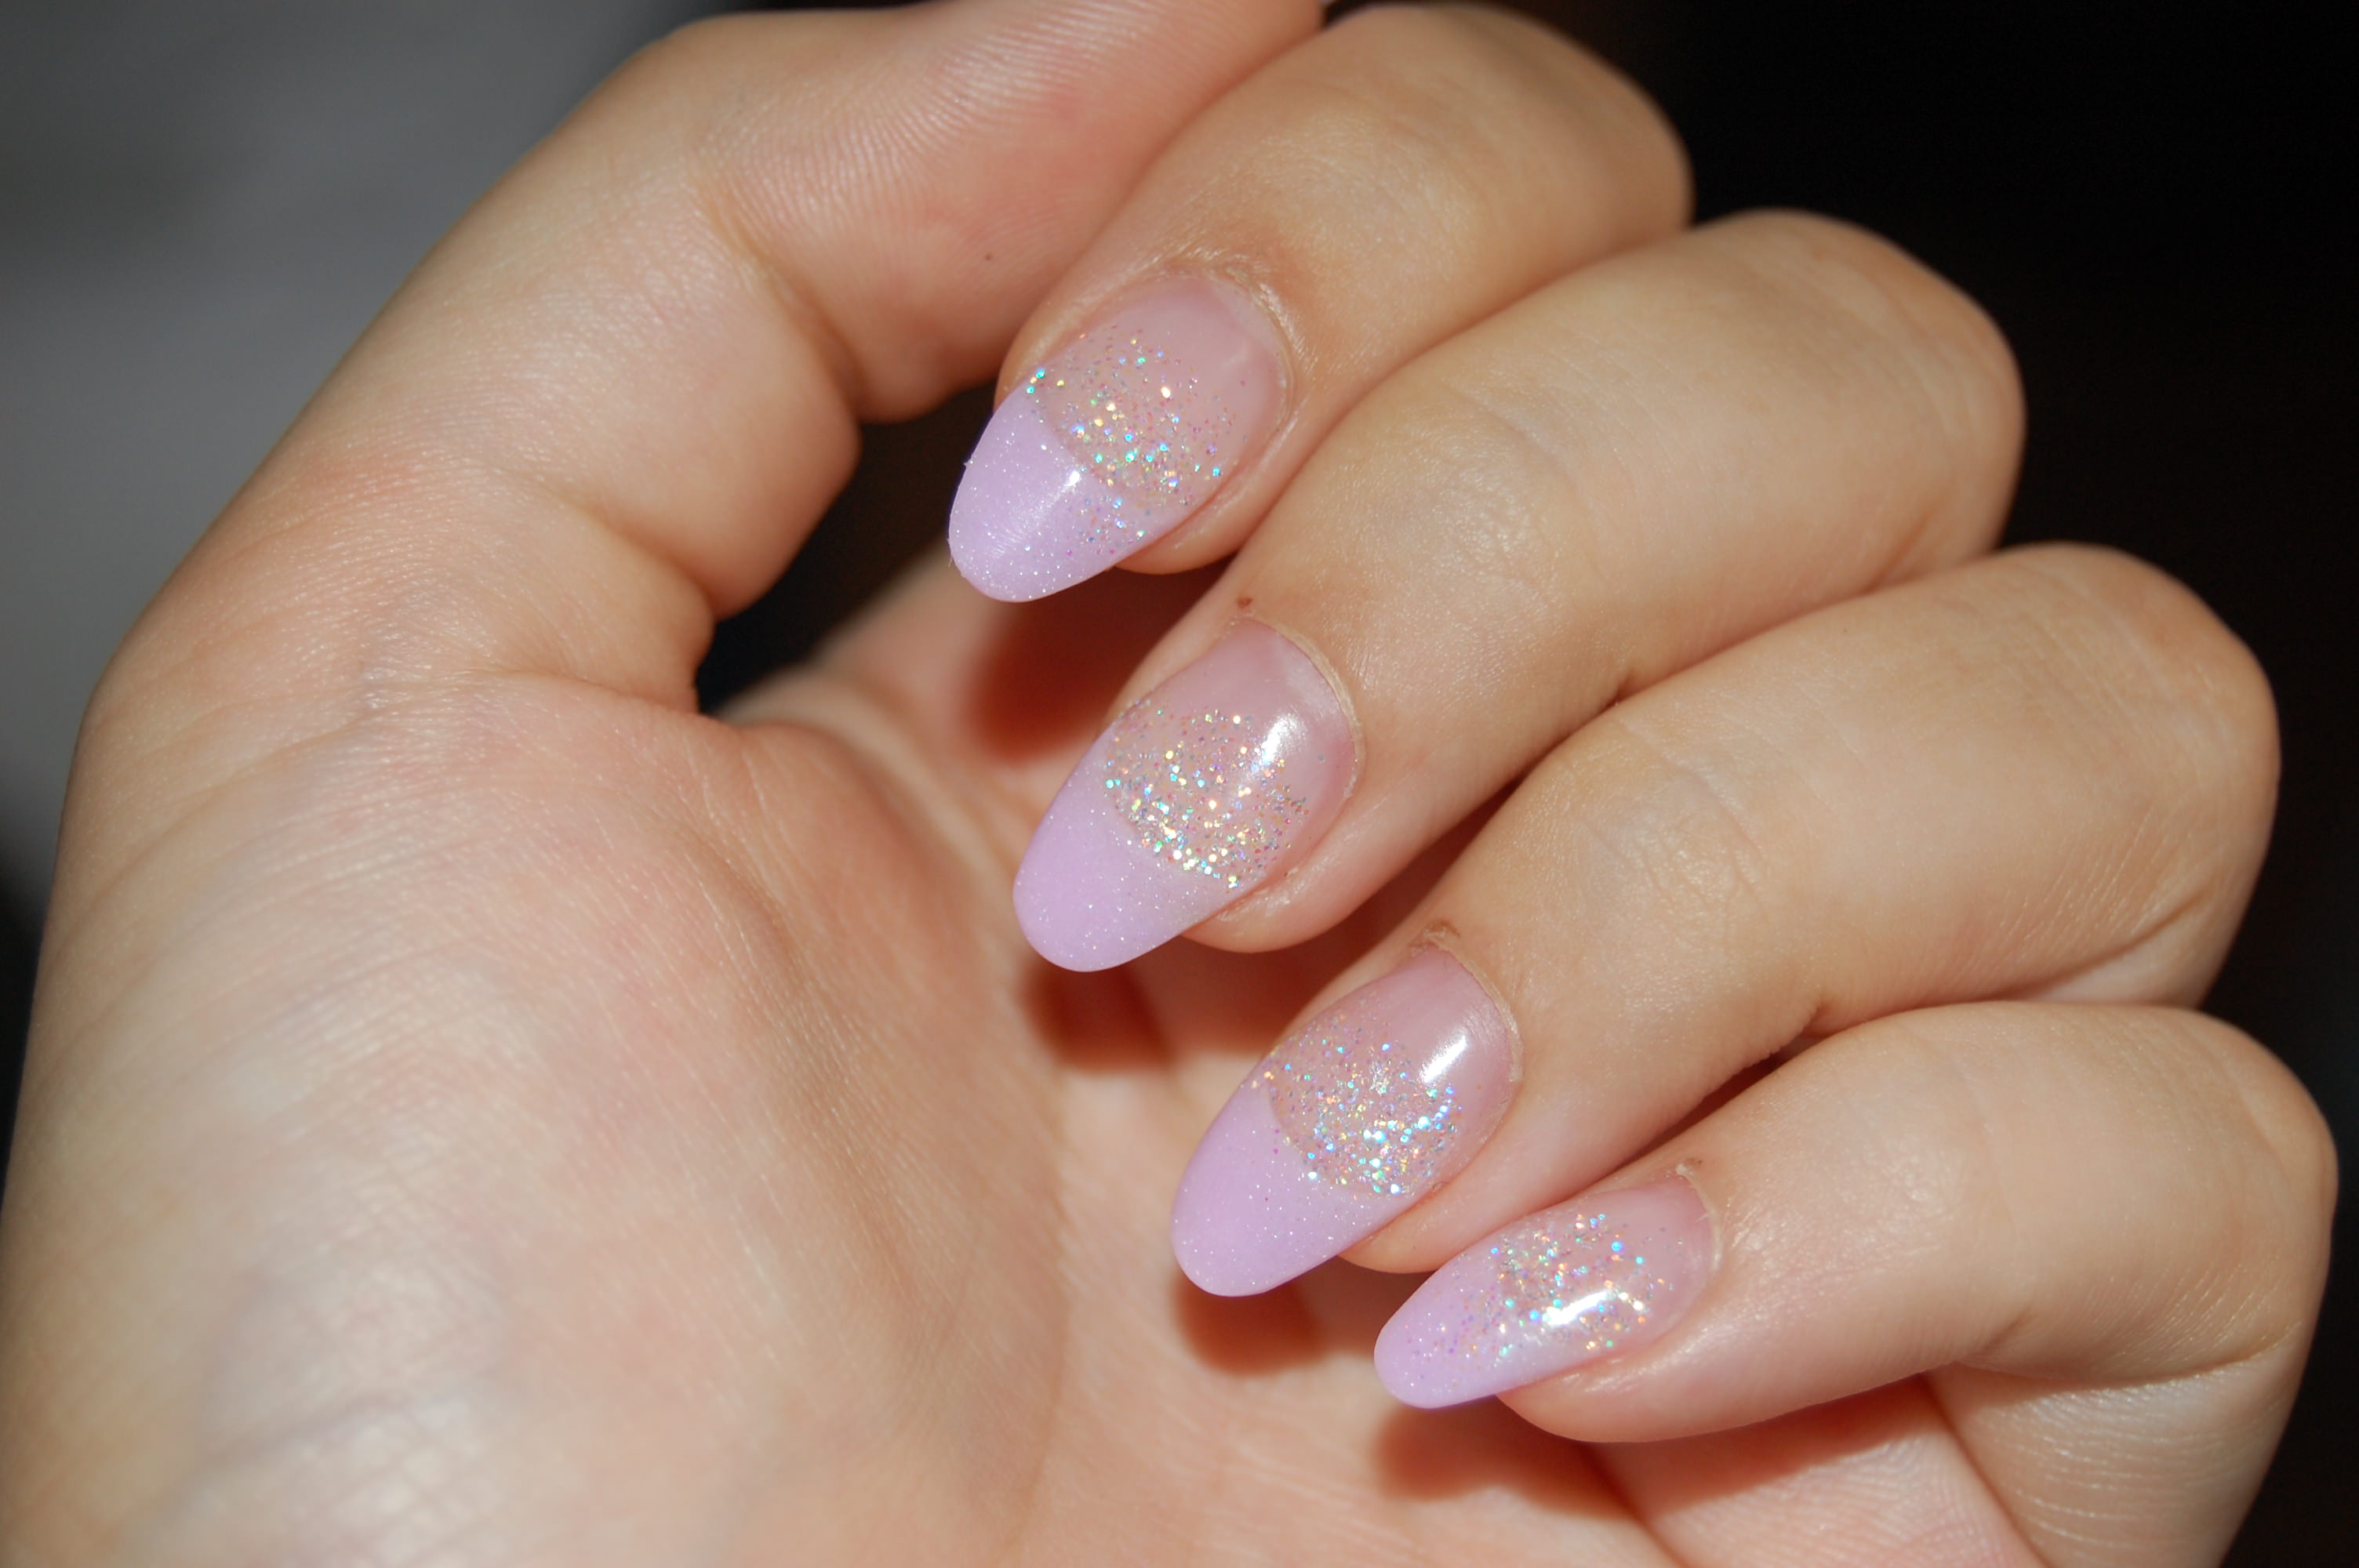
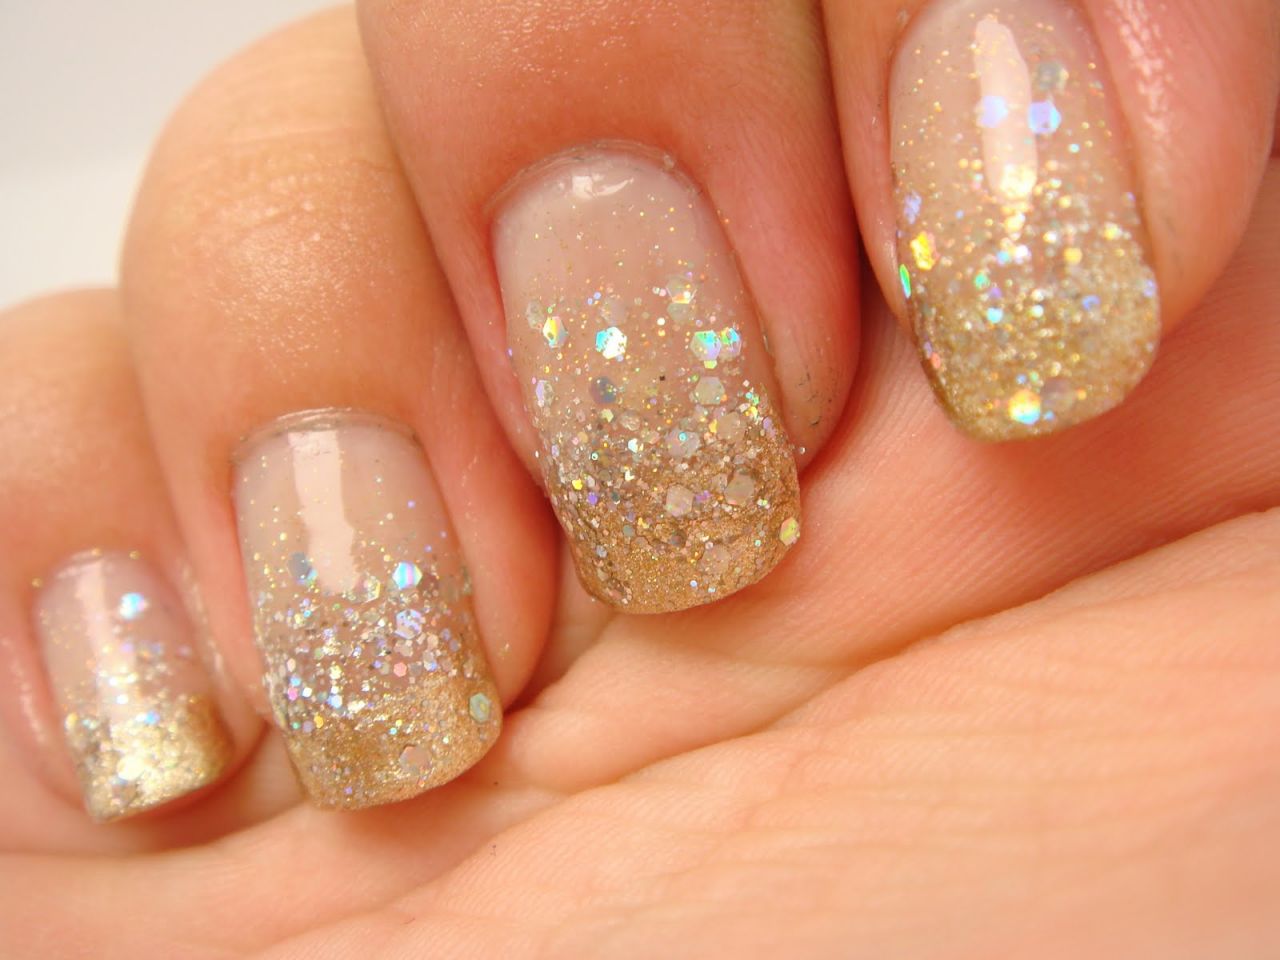
Ombre nails have been a popular trend for a while now, and adding glitter to the tips takes this look to the next level. Start by painting your nails with a dark color, such as black or navy blue. Then, using a makeup sponge, dab a lighter color, such as silver or gold, onto the tips of your nails. This will create a gradient effect. Next, use a fine glitter and apply it to the tips of your nails, concentrating on the area where the two colors meet. Finish with a top coat to blend everything together and give your nails a smooth finish.2. Glitter Ombre Nail Tips


2. Glitter Ombre Nail Tips
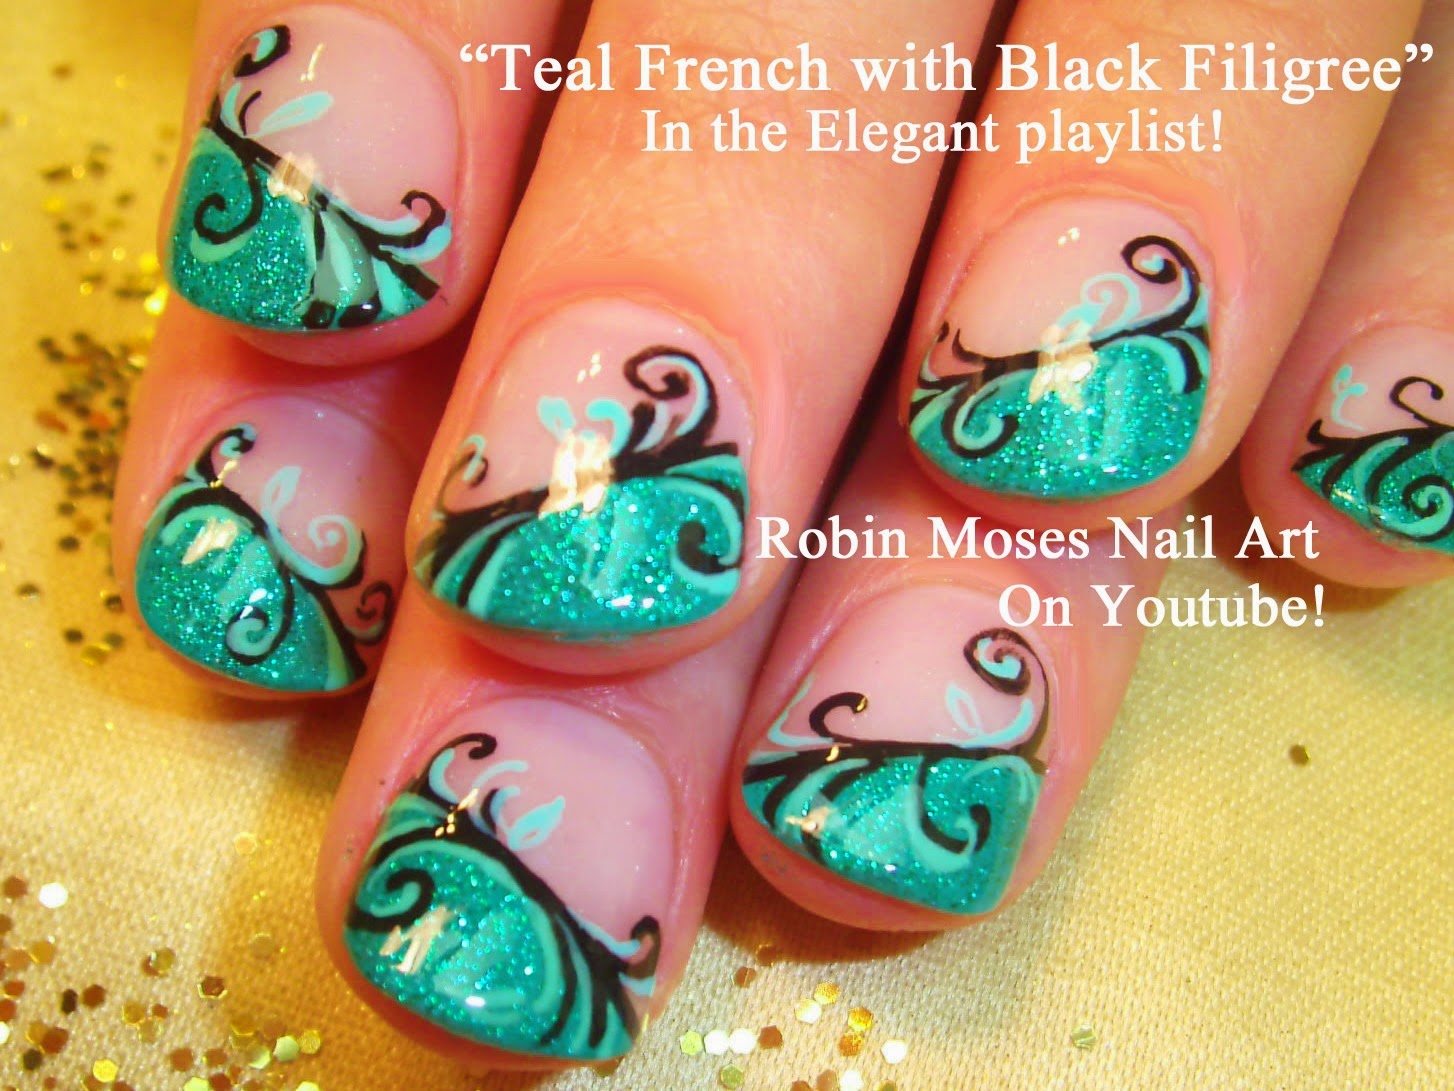


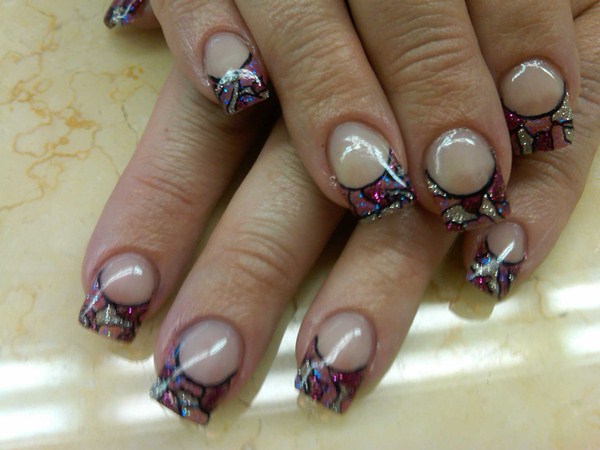
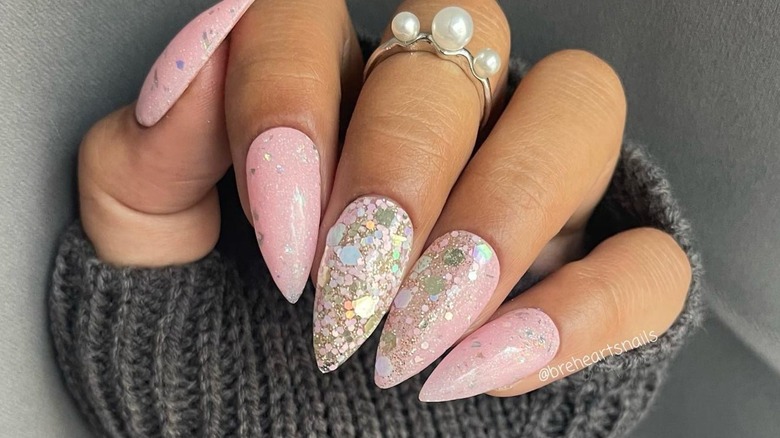
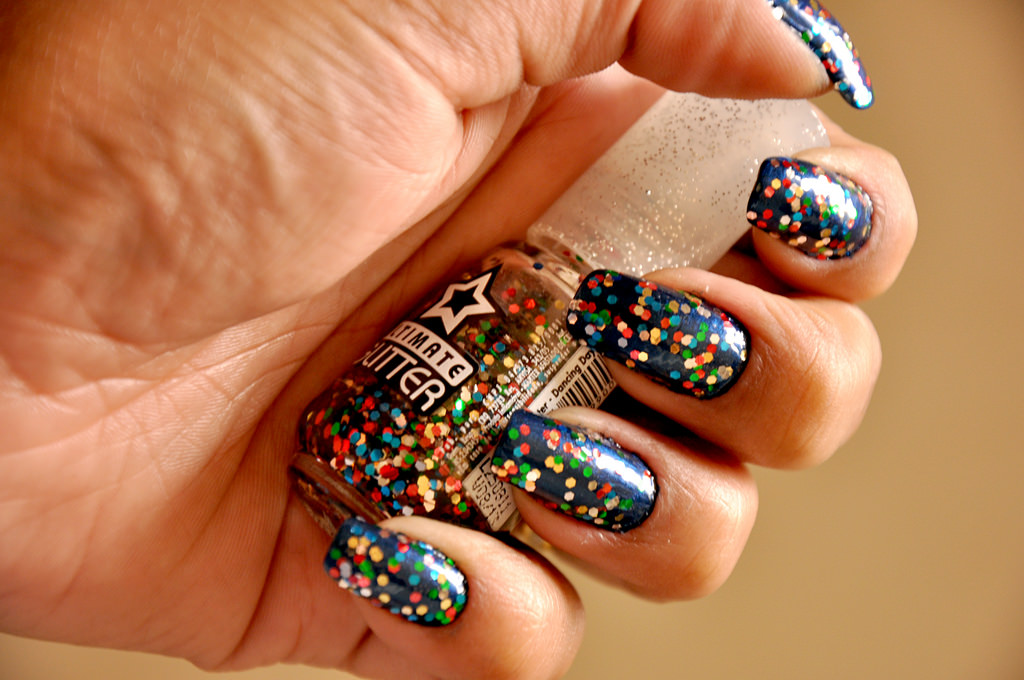
If you're feeling creative, try out this nail art tutorial for a fun and unique glitter tip design. Start by painting your nails with a base color of your choice. Once dry, use a clear nail polish and a toothpick to create small dots or lines at the tips of your nails. Next, sprinkle chunky glitter onto the wet polish, making sure to cover all of the dots or lines. Gently press the glitter into the polish with your finger or a clean makeup brush. Finish with a top coat to seal in the glitter and give your nails a smooth finish.3. Glitter Tip Nail Art Tutorial

3. Glitter Tip Nail Art Tutorial


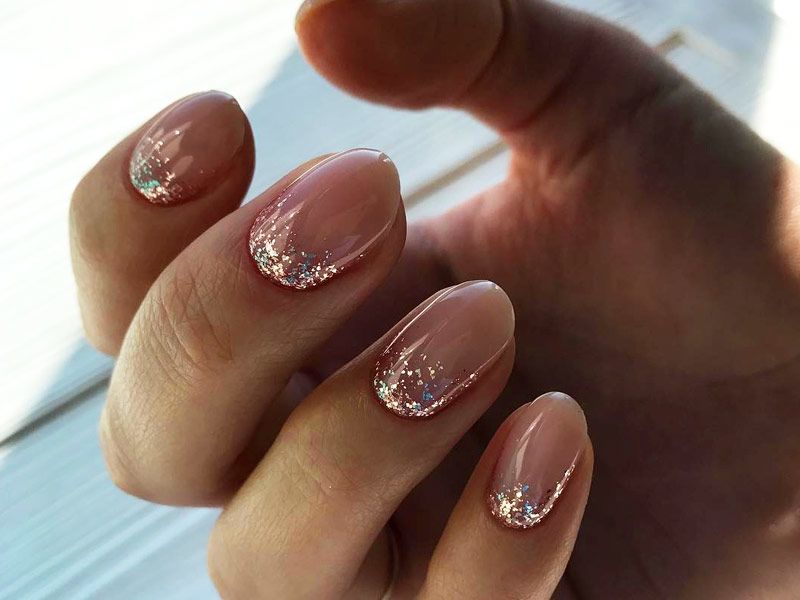
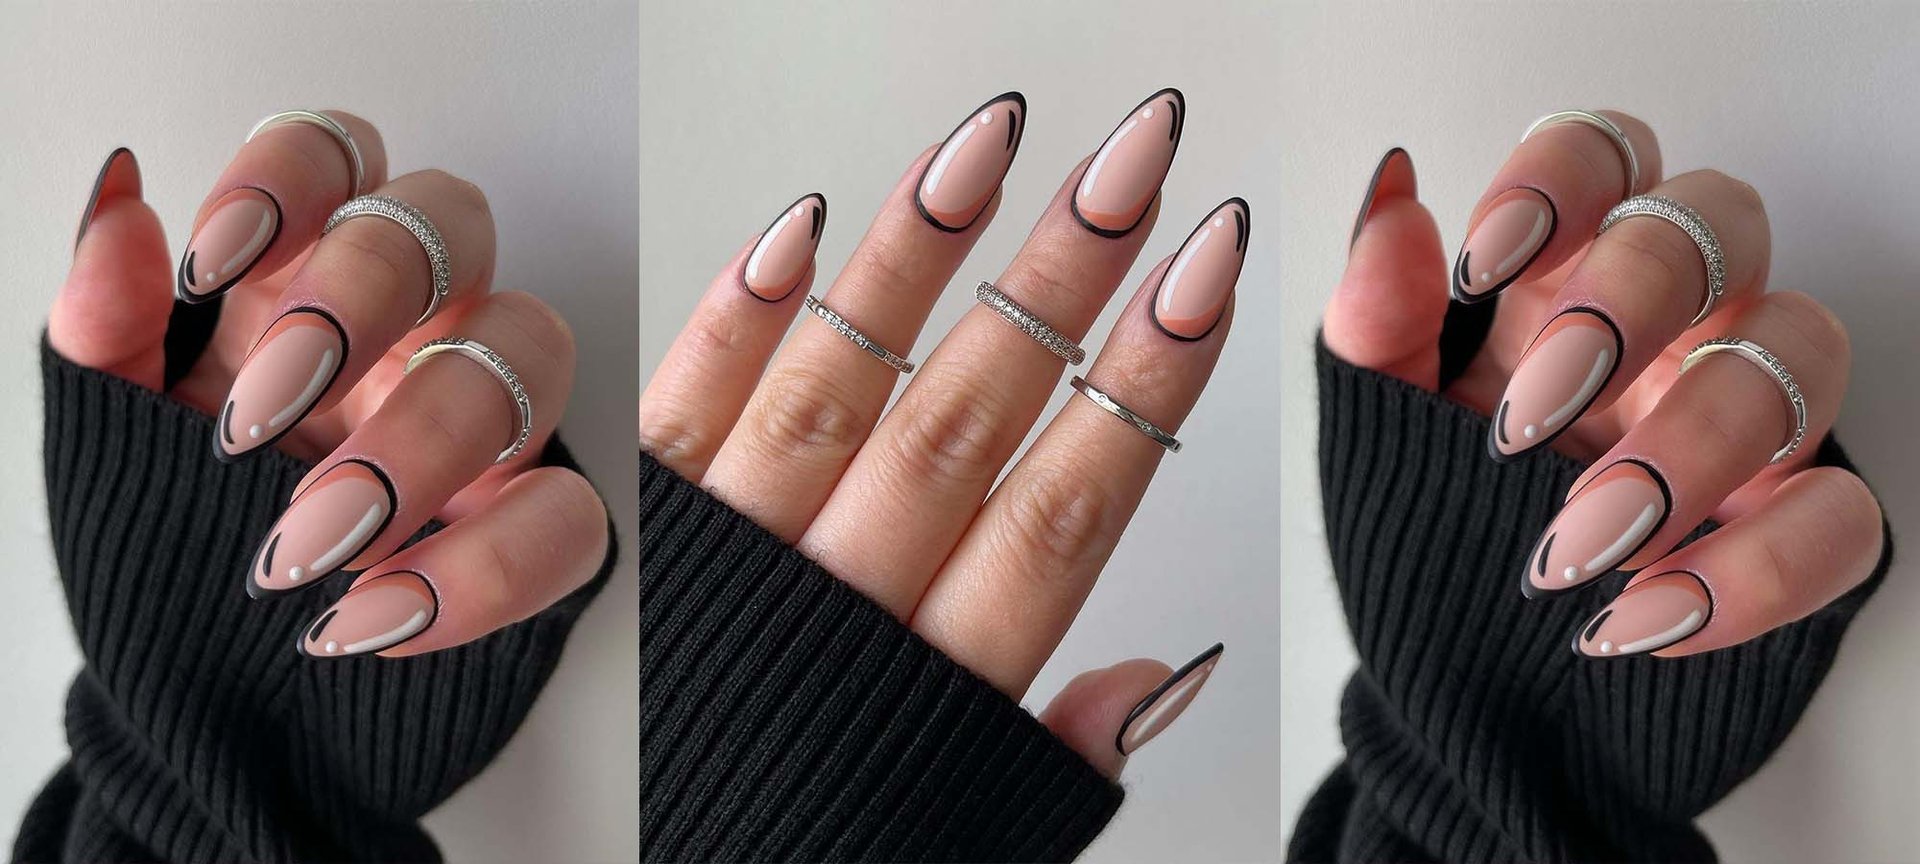
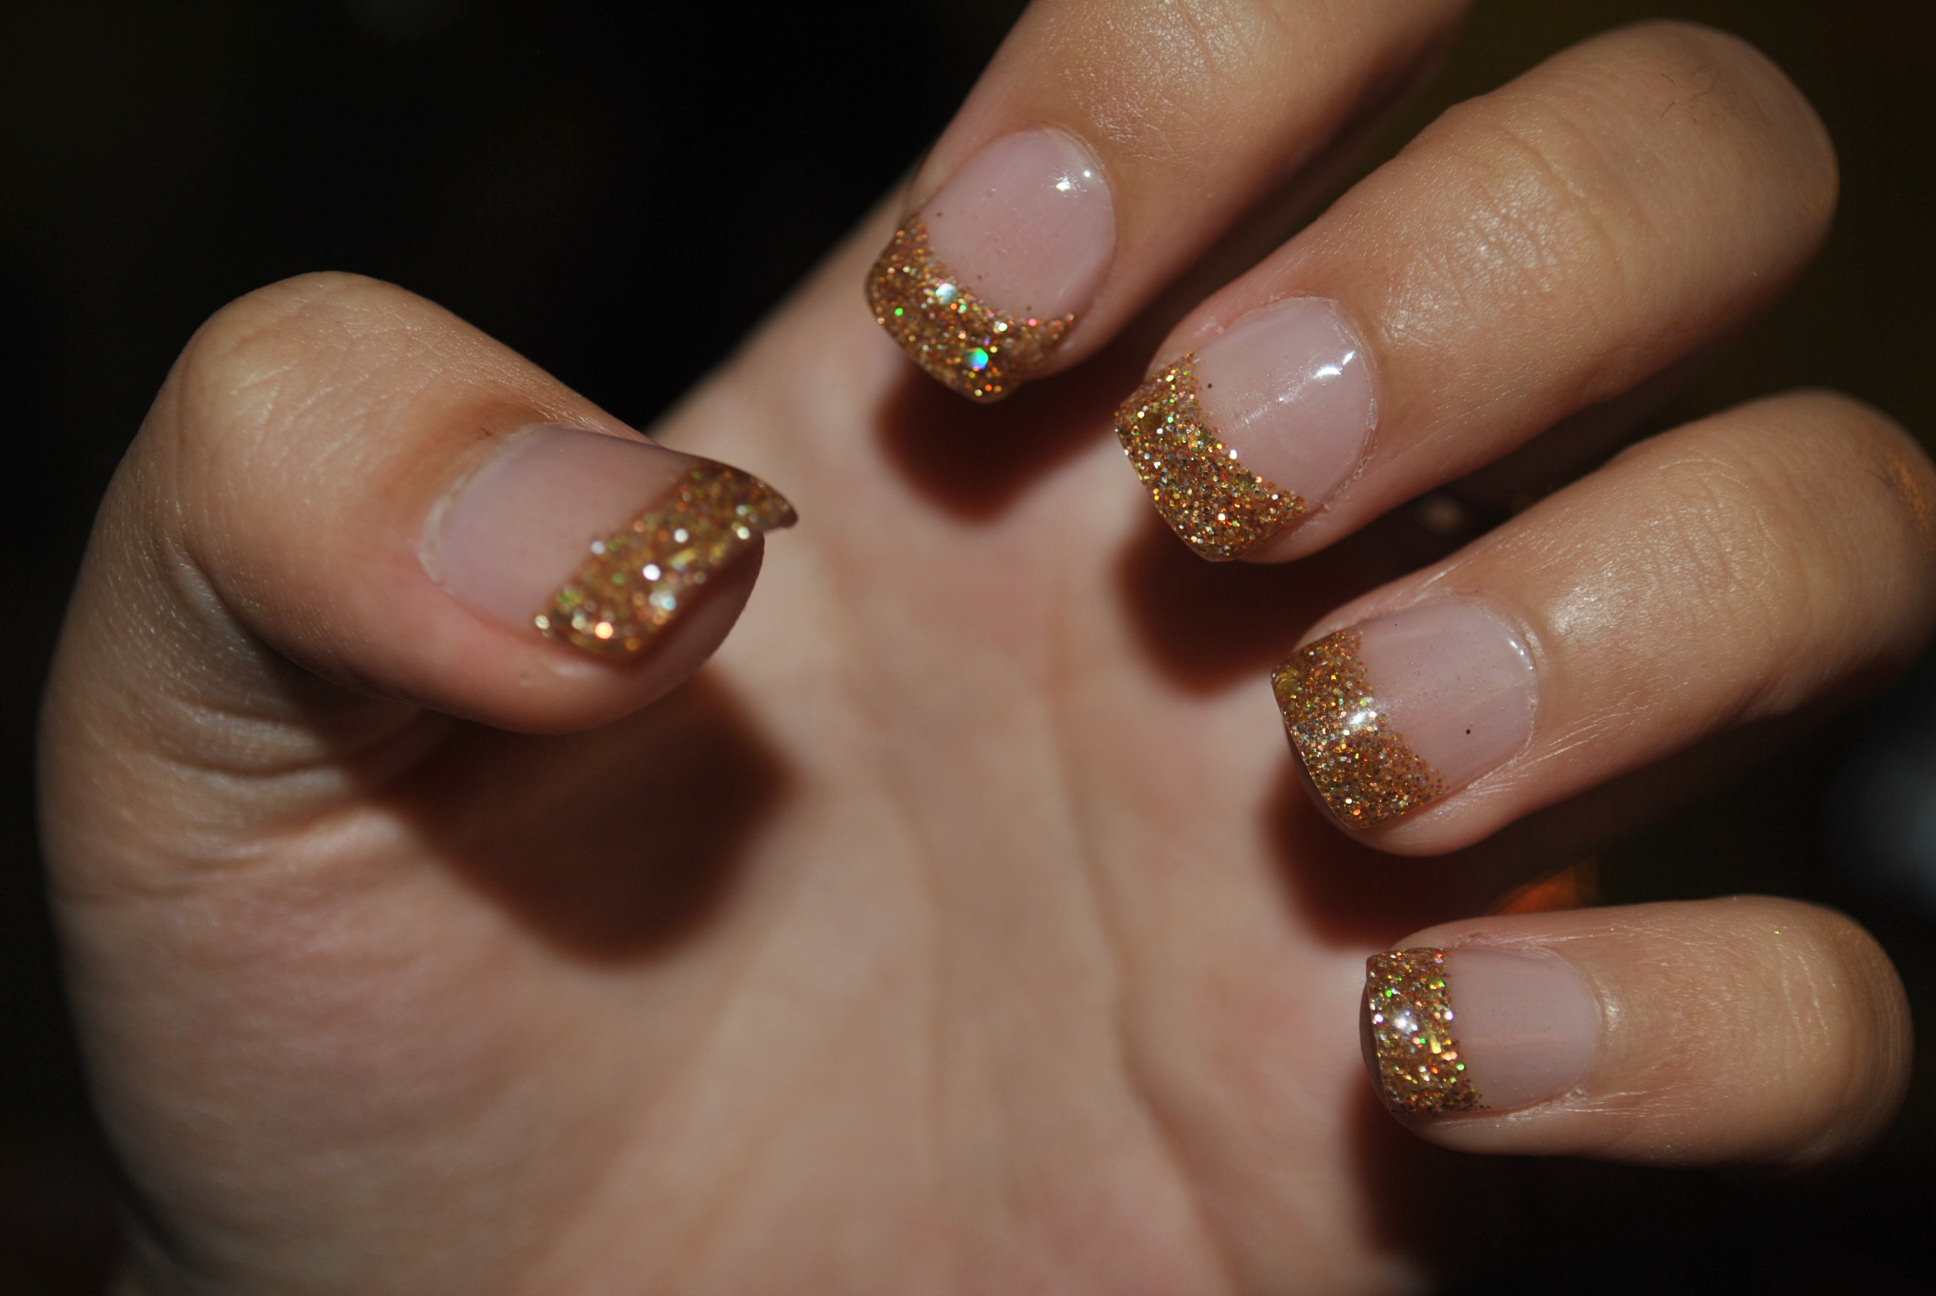
Acrylic nails provide a great canvas for glitter tip designs. Start by applying a clear acrylic overlay to your natural nails or nail extensions. Once the overlay is dry, use a nail file to shape your nails to your desired length and shape. Next, apply your chosen base color and let it dry completely. Then, using a clear glitter gel polish, paint the tips of your nails. You can also add some small rhinestones or loose glitter for extra sparkle. Finish with a top coat to seal everything in and give your nails a glossy finish.4. Glitter Tip Acrylic Nails


4. Glitter Tip Acrylic Nails


Gel nails are known for their long-lasting and durable finish, making them perfect for a glitter tip design that will last for weeks. Start by applying a clear gel base coat to your natural nails or nail extensions and cure it under a UV or LED lamp. Next, apply your chosen base color and cure it under the lamp. Then, using a clear glitter gel polish, paint the tips of your nails and cure them under the lamp. Finish with a top coat and cure it under the lamp for a final glossy finish.5. Glitter Tip Gel Nails


5. Glitter Tip Gel Nails


Dip powder nails are a trendy and long-lasting alternative to traditional acrylic or gel nails. Start by applying a clear dip powder base coat to your natural nails or nail extensions. Next, dip your nails into a clear glitter dip powder, making sure to cover the tips of your nails. Use a dip powder activator to seal in the powder and give your nails a smooth finish. Repeat this process with your chosen base color and finish with a dip powder sealer to give your nails a shiny finish.6. Glitter Tip Dip Powder Nails


6. Glitter Tip Dip Powder Nails


Short nails can still rock a glitter tip design. Start by trimming your nails to your desired length and shaping them with a nail file. Next, apply a clear base coat and let it dry. Then, paint the tips of your nails with a clear glitter nail polish or use a fine glitter and a small makeup brush to create a glitter gradient effect. Finish with a top coat to seal everything in and give your nails a shiny finish.7. Glitter Tip Nail Designs for Short Nails


7. Glitter Tip Nail Designs for Short Nails


Long nails provide more surface area to play with when it comes to glitter tip designs. Start by trimming your nails to your desired length and shaping them with a nail file. Next, apply your chosen base color and let it dry completely. Then, using a clear glitter nail polish or a chunky glitter and a small makeup brush, paint the tips of your nails. You can also add some small rhinestones or loose glitter for extra sparkle. Finish with a top coat to seal everything in and give your nails a glossy finish.8. Glitter Tip Nail Designs for Long Nails


8. Glitter Tip Nail Designs for Long Nails

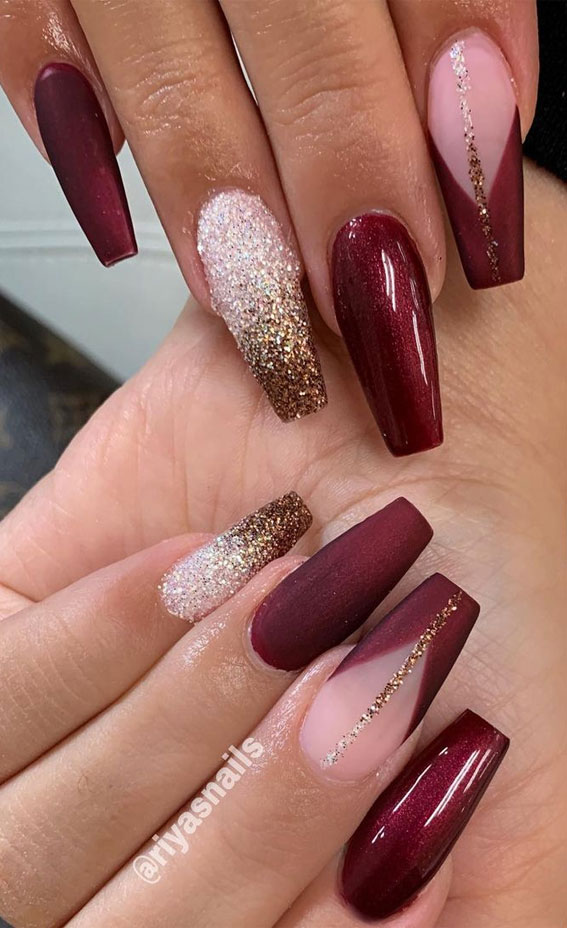
Coffin nails, also known as ballerina nails, provide a dramatic and bold look that is perfect for a glitter tip design. Start by trimming your nails to your desired length and shaping them into a coffin shape with a nail file. Next, apply a clear base coat and let it dry. Then, paint the tips of your nails with a clear glitter nail polish or use a fine glitter and a small makeup brush to create a glitter gradient effect. Finish with a top coat to seal everything in and give your nails a shiny finish.9. Glitter Tip Nail Designs for Coffin Nails


9. Glitter Tip Nail Designs for Coffin Nails


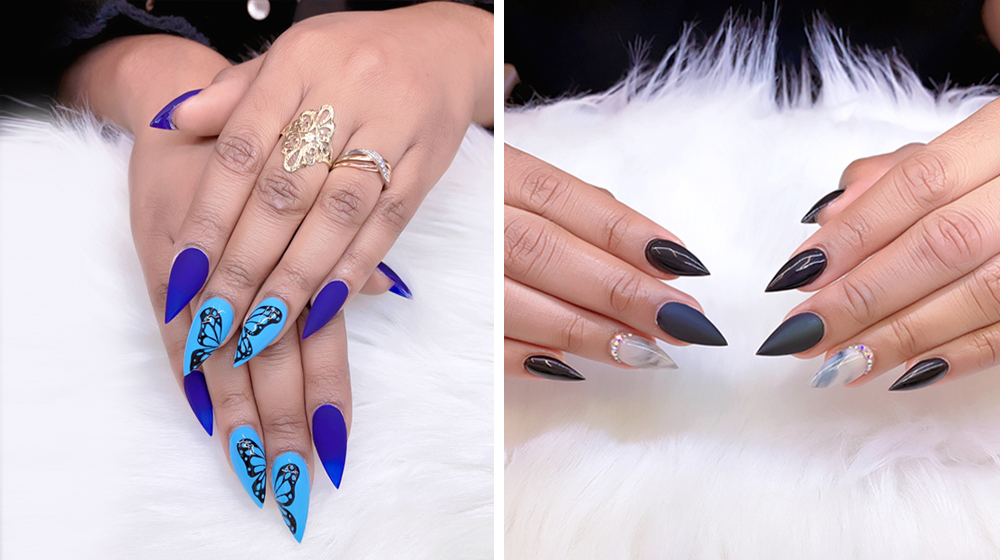
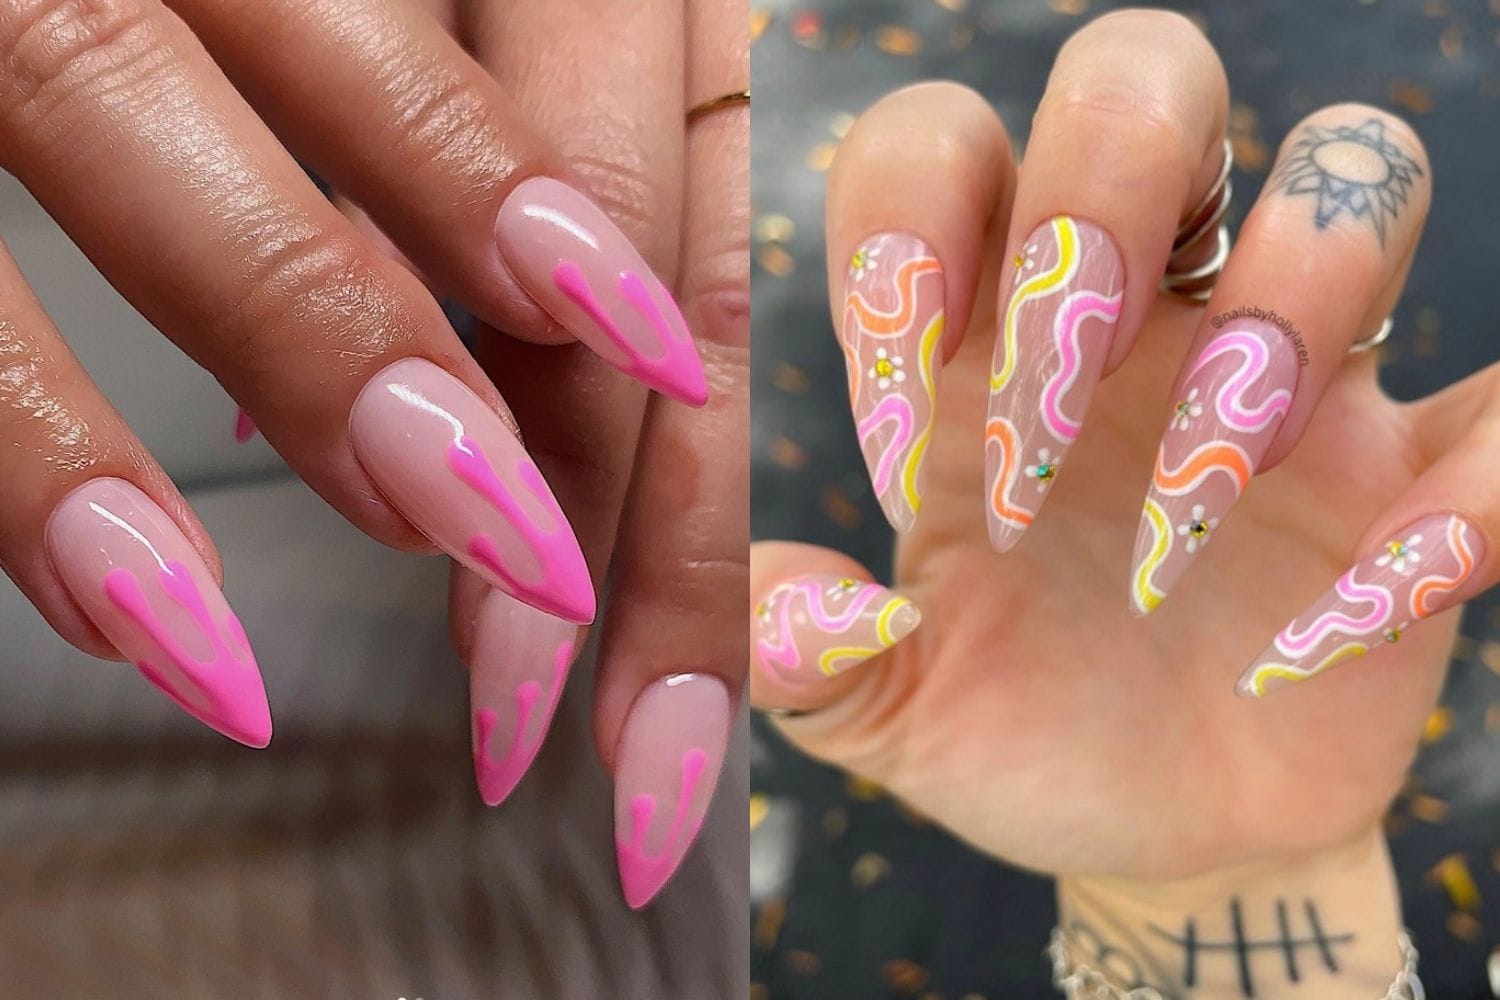
Stiletto nails provide a bold and edgy look that is perfect for a glitter tip design. Start by trimming your nails to your desired length and shaping them into a stiletto shape with a nail file. Next, apply a clear base coat and let it dry. Then, paint the tips of your nails with a clear glitter nail polish or use a fine glitter and a small makeup brush to create a glitter gradient effect. Finish with a top coat to seal everything in and give your nails a shiny finish. With these top 10 tips for glitter tip nail designs, your nails will be sparkling and shining in no time. Remember to always use a base coat and top coat to protect your nails and seal in the glitter. Have fun and get creative with your designs, and don't be afraid to try out different colors and techniques. Happy glittering!10. Glitter Tip Nail Designs for Stiletto Nails


10. Glitter Tip Nail Designs for Stiletto Nails


Incorporating Glitter into Your Tip Nail Design: Tips and Tricks
Adding Some Sparkle to Your Nail Art
 When it comes to nail design, there are endless possibilities to get creative and express your personal style. One way to take your tip nail design to the next level is by incorporating glitter. Glitter adds a touch of glamour and can make any nail design stand out. However, it can also be a little tricky to work with. In this article, we will share some tips and tricks on how to create a stunning tip nail design with glitter.
Prepping Your Nails
 Before you start adding glitter to your tip nail design, it is important to prep your nails properly. Begin by shaping your nails and pushing back your cuticles. This will ensure a clean and even canvas for your design. Next, apply a base coat to protect your nails and help the polish adhere better. This is especially important when working with glitter, as it can be difficult to remove if it gets stuck to your nails.
Choosing the Right Glitter
 When it comes to glitter, there are many different types and sizes to choose from. To achieve a more subtle and elegant look, opt for fine glitter. If you want a bolder and more dramatic look, go for chunky glitter.
Gold, silver, and rose gold glitter
are great options for a classic and sophisticated tip nail design.
For a more playful and colorful look, you can mix and match different shades of glitter
, or go for a holographic or iridescent glitter for a unique and eye-catching design.
When it comes to glitter, there are many different types and sizes to choose from. To achieve a more subtle and elegant look, opt for fine glitter. If you want a bolder and more dramatic look, go for chunky glitter.
Gold, silver, and rose gold glitter
are great options for a classic and sophisticated tip nail design.
For a more playful and colorful look, you can mix and match different shades of glitter
, or go for a holographic or iridescent glitter for a unique and eye-catching design.
Application Techniques
 There are a few different ways to apply glitter to your tip nail design. One option is to sprinkle the glitter onto your nails while the polish is still wet. This will create a scattered and random effect. Another technique is to dip your nail into a small bowl of glitter, gently pressing down to ensure it sticks to the polish. You can also use a small brush to apply the glitter onto specific areas of your nails for a more precise design.
Sealing the Glitter
 To ensure that your glitter stays in place and doesn't rub off, it is important to seal it with a top coat. Apply a generous layer of top coat over your entire nail, making sure to cover the glitter. This will also give your nails a smooth and glossy finish.
Cleaning Up
 Working with glitter can be messy, but there are a few tricks to make the cleanup process easier. Before applying the glitter, lay down a piece of paper or a towel to catch any excess glitter. You can also use a lint roller to pick up any loose glitter from your skin and workspace.
Final Thoughts
 Incorporating glitter into your tip nail design can add a touch of sparkle and make your nails stand out. Remember to prep your nails properly, choose the right glitter, and use the right application techniques for a flawless and long-lasting design. With these tips and tricks, you can create a stunning and glamorous tip nail design that will surely turn heads.


