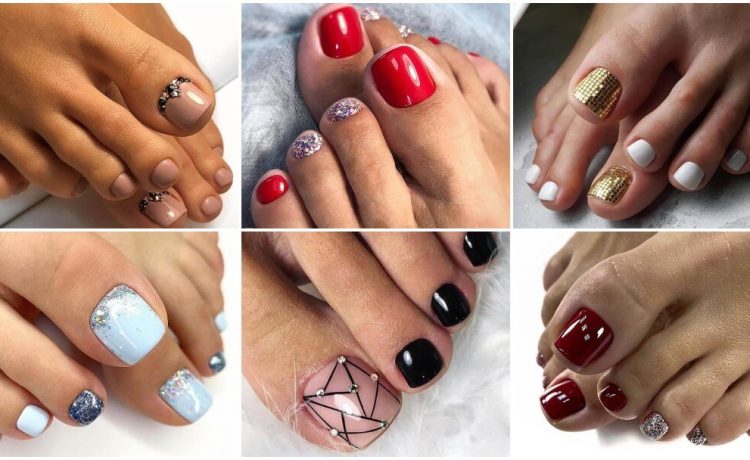
If you're new to the world of nail art, starting with toe nail designs can be a great way to dip your toes in (pun intended). With a little practice, you'll be able to create stunning designs that will make your toes stand out. Here are some easy toe nail art designs for beginners that you can try out: Featured keywords: easy toe nail art, beginners, stunning designs If you're looking for a simple yet cute design, try painting your nails with a pastel color and adding a single glitter accent nail. This design is perfect for any occasion and can be achieved with minimal effort. Another easy design is creating a polka dot pattern on your toes. All you need is a toothpick or a dotting tool to create the dots. You can use different colors to make the design more fun and playful. For a more elegant look, you can try a French manicure on your toes. Simply paint your nails with a nude color and add a white tip. This classic design is perfect for weddings or any formal event.1. Easy Toe Nail Art Designs for Beginners


1. Easy Toe Nail Art Designs for Beginners


If you're a visual learner, following a step by step tutorial can be a great way to learn new toe nail art designs. Here is a simple tutorial for a floral design that you can try out: Featured keywords: step by step tutorial, visual learner, floral design Step 1: Start by painting your nails with a light pink base color. Step 2: Using a thin brush or a toothpick, create small white dots on your nails to represent the petals of a flower. The dots don't have to be perfect, as they will be covered with another color later on. Step 3: Take a darker shade of pink and paint over the white dots, leaving a small part of the dots visible to create dimension. Step 4: Using a green nail polish, create small lines or strokes at the bottom of the flower to represent leaves. Step 5: Add a top coat to seal in your design and give it a glossy finish.2. Step by Step Toe Nail Art Tutorial


2. Step by Step Toe Nail Art Tutorial


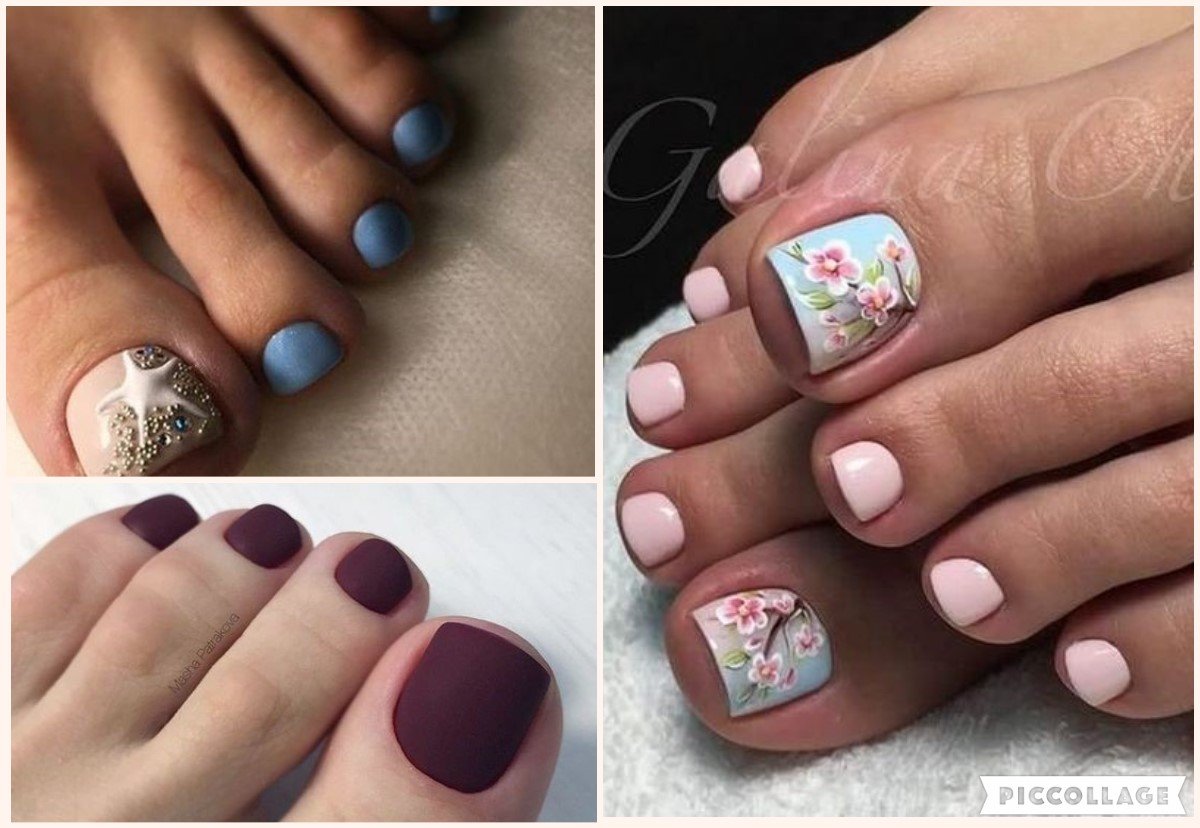
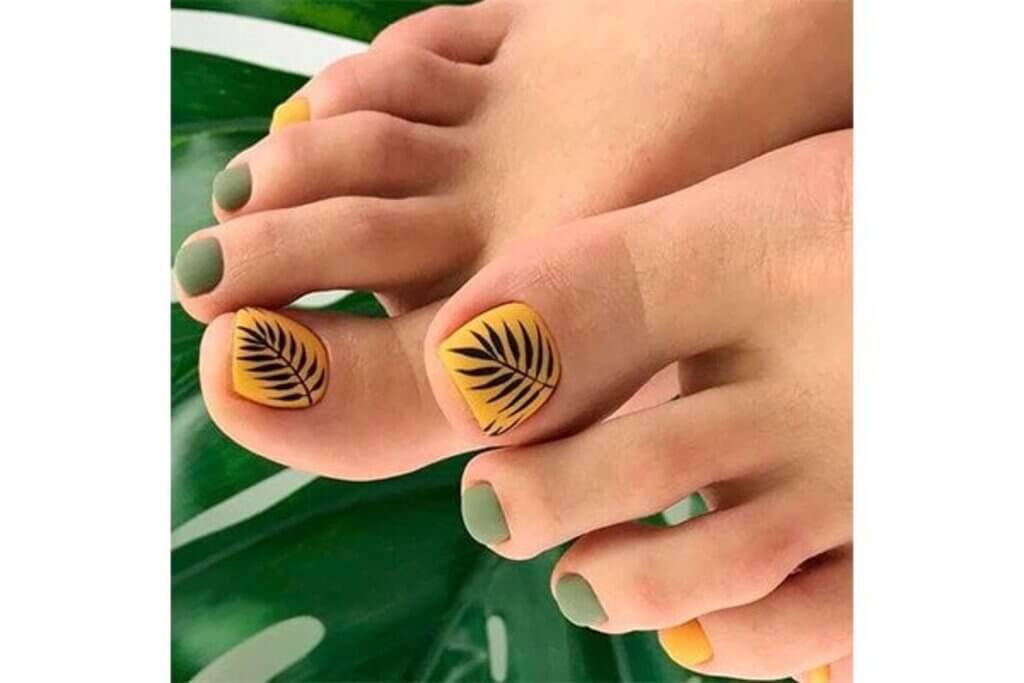
Summer is the perfect time to show off your cute toe nail art designs. Here are some ideas that will make your toes look summer-ready: Featured keywords: cute toe nail art, summer, ideas A popular trend for summer is creating a beach-inspired design on your toes. You can paint your nails with a light blue color and add small white dots to represent waves. For a fun twist, add a small starfish or seashell decal on one of your nails. Another cute idea is painting your nails with a bright yellow color and adding small flowers in different colors. This design is perfect for a day out in the sun and will make your toes look like a beautiful garden. For a more playful look, try a rainbow design on your toes. Paint each nail with a different color of the rainbow and add a cloud decal on one of your big toes. This design is perfect for a pool party or a day at the beach.3. Cute Toe Nail Art Ideas for Summer


3. Cute Toe Nail Art Ideas for Summer


Just because you have short nails doesn't mean you can't have fun with toe nail art. Here are some simple designs that will work well with shorter nails: Featured keywords: simple toe nail art, short nails, fun A classic design for short nails is a half-moon manicure. You can paint the bottom half of your nails with a nude color and the top half with a darker color. This design is simple yet elegant. You can also try a color block design by painting each nail with a different color. This will create a fun and vibrant look that is perfect for summer. If you want to add a touch of glam, try painting your nails with a metallic color and adding a small rhinestone at the base of your nails. This will add a touch of sparkle to your toes without being too overwhelming.4. Simple Toe Nail Art Designs for Short Nails


4. Simple Toe Nail Art Designs for Short Nails


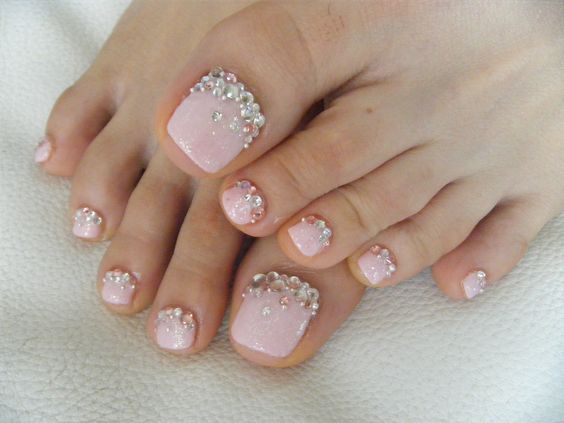
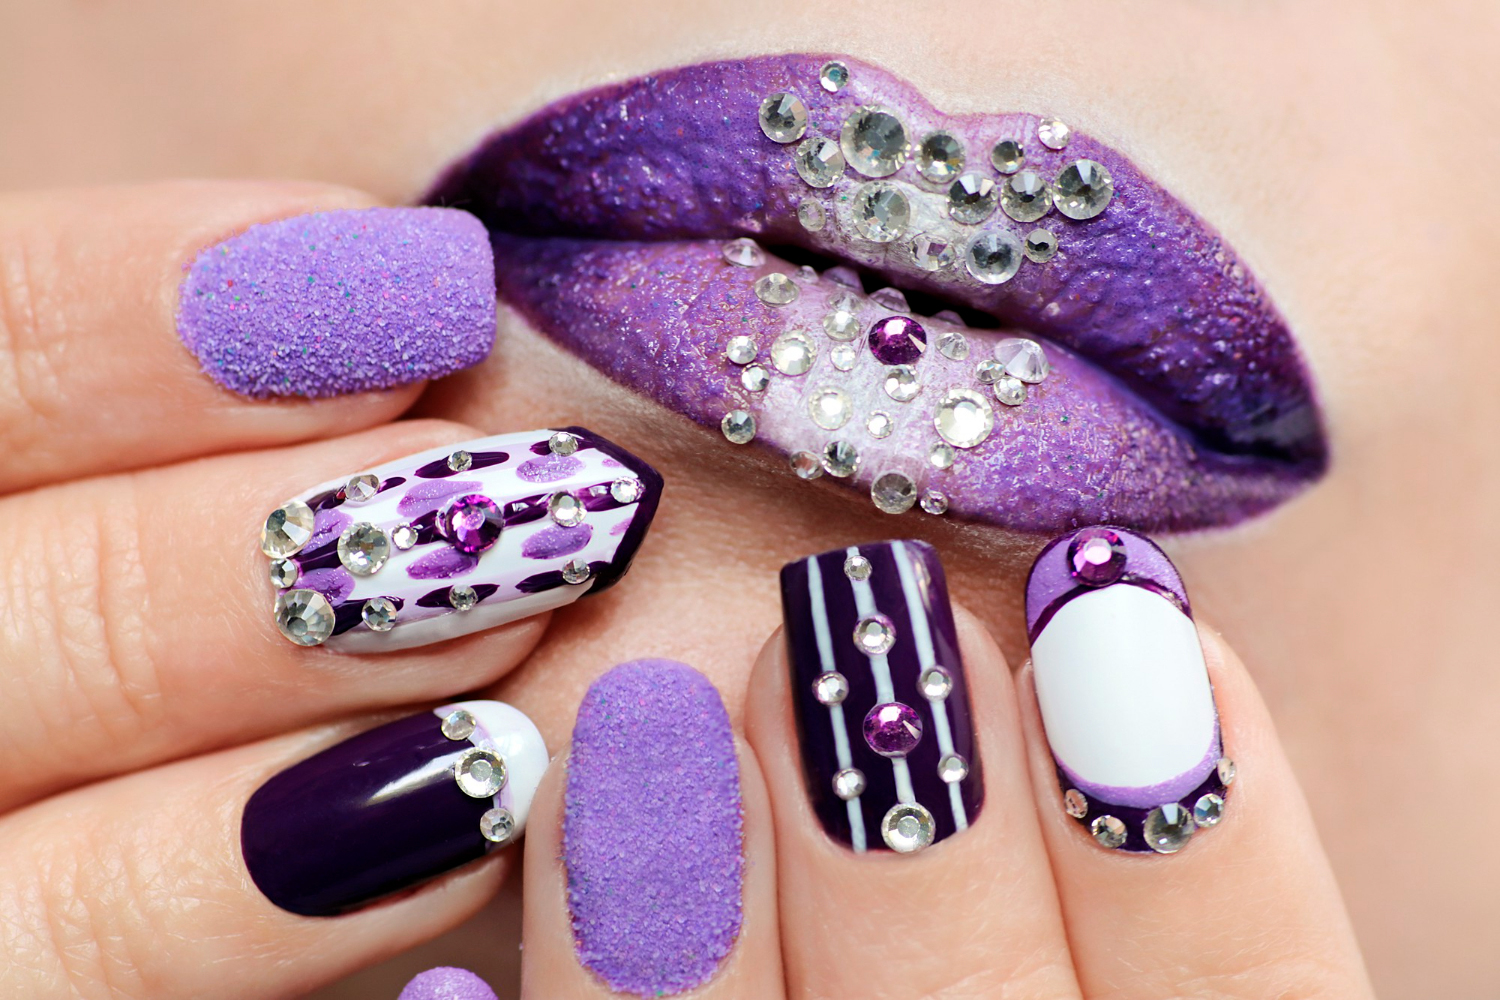
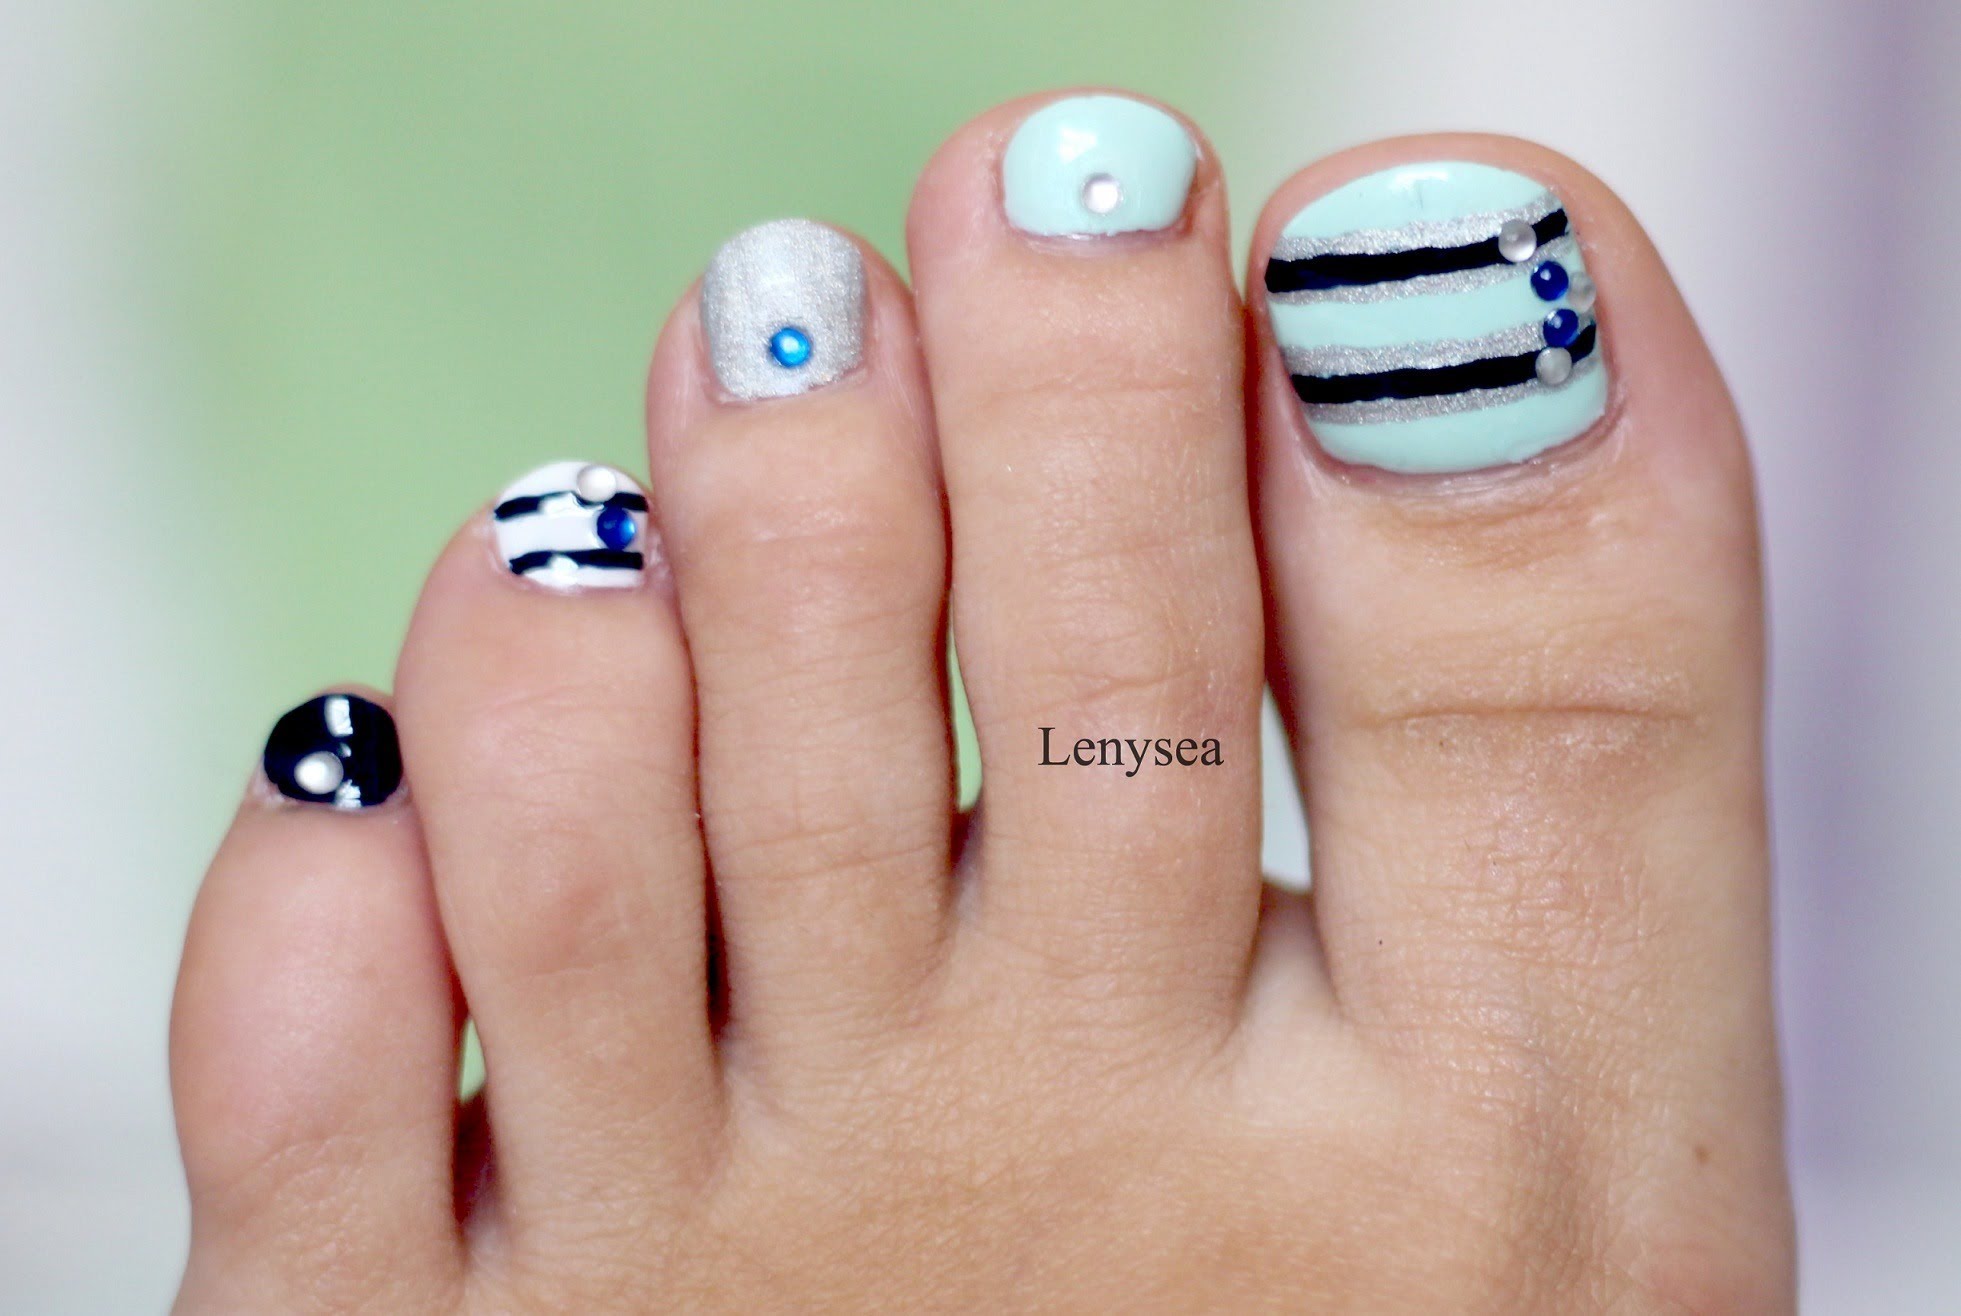
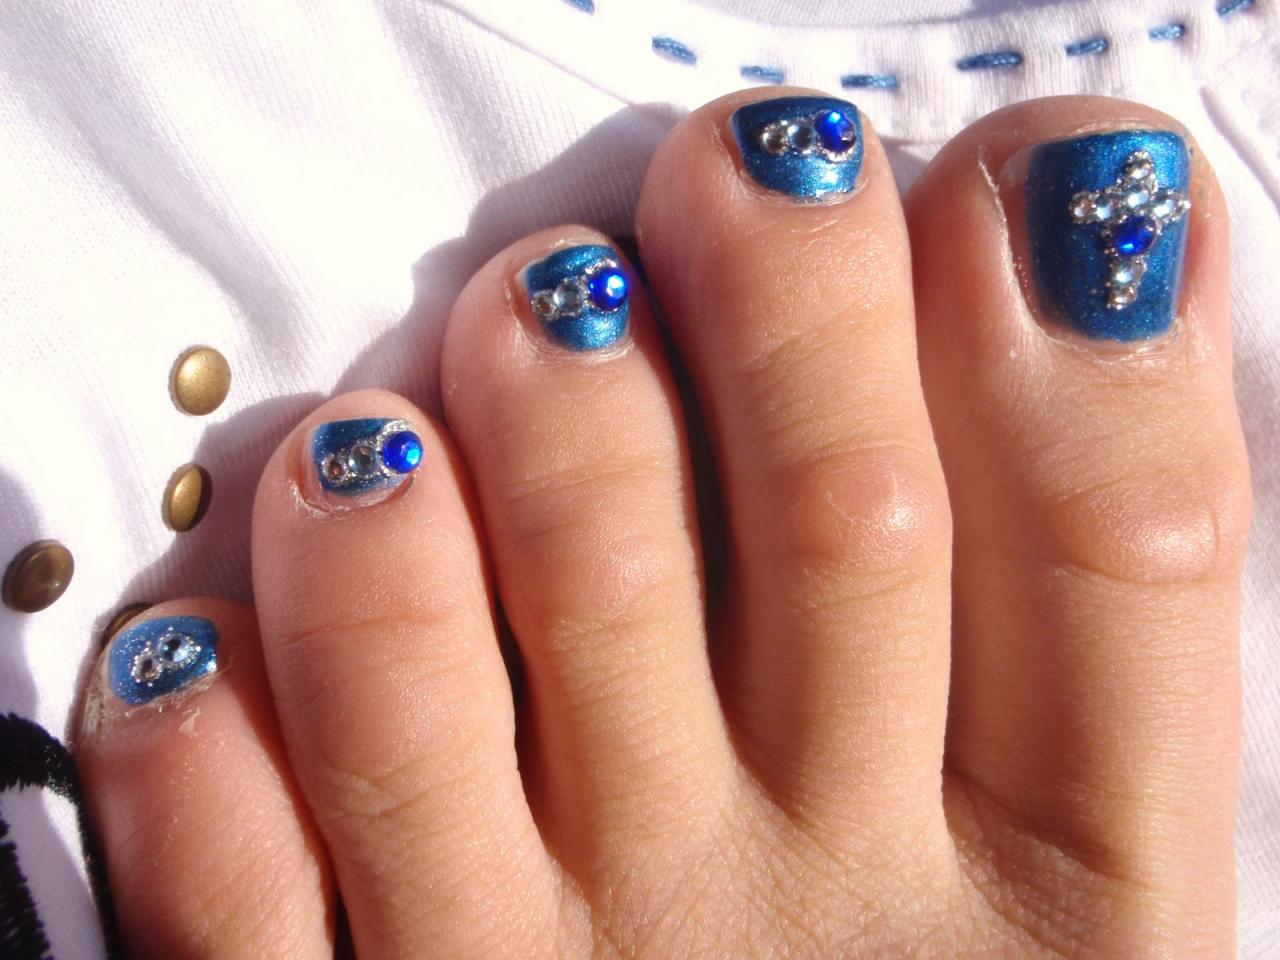
Rhinestones can add a touch of glamour to any toe nail art design. Here are some ways you can incorporate rhinestones into your design: Featured keywords: toe nail art, rhinestones, glamour For a simple yet stunning design, paint your nails with a light color and add a single rhinestone on each big toe. This will add a touch of elegance to your toes without being too flashy. You can also create a rhinestone gradient by placing the stones in a line at the base of your nails and gradually decreasing the number of stones as you move towards the tip of your nails. For a more extravagant look, try creating a 3D design using rhinestones. You can create a flower or a butterfly on your big toe using different colored rhinestones.5. Toe Nail Art Designs with Rhinestones


5. Toe Nail Art Designs with Rhinestones

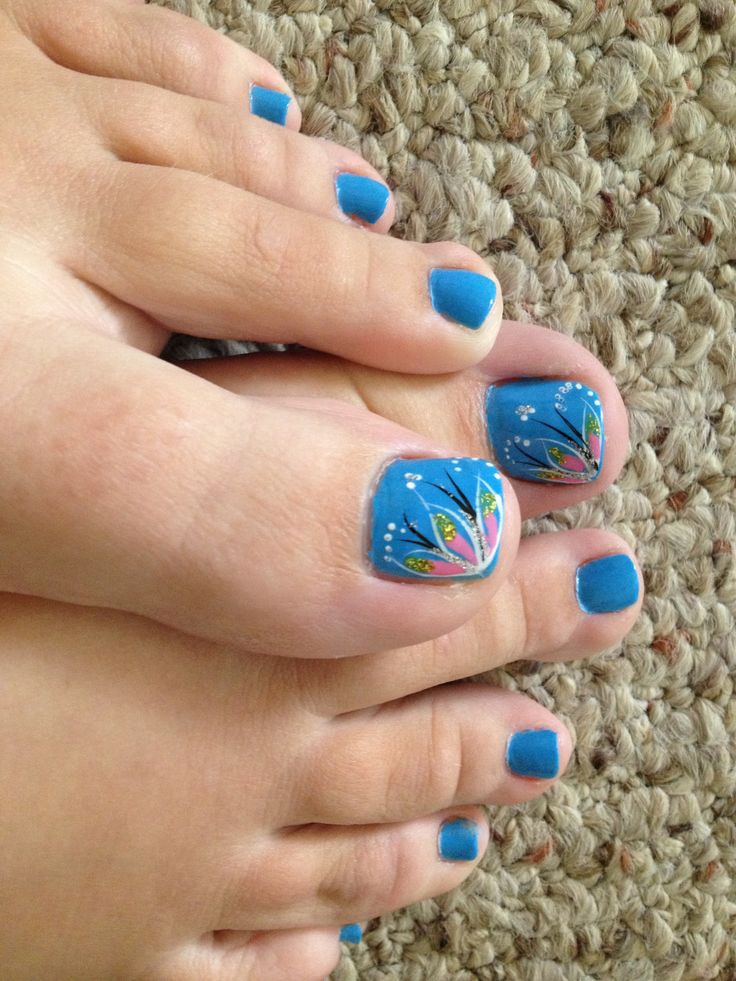
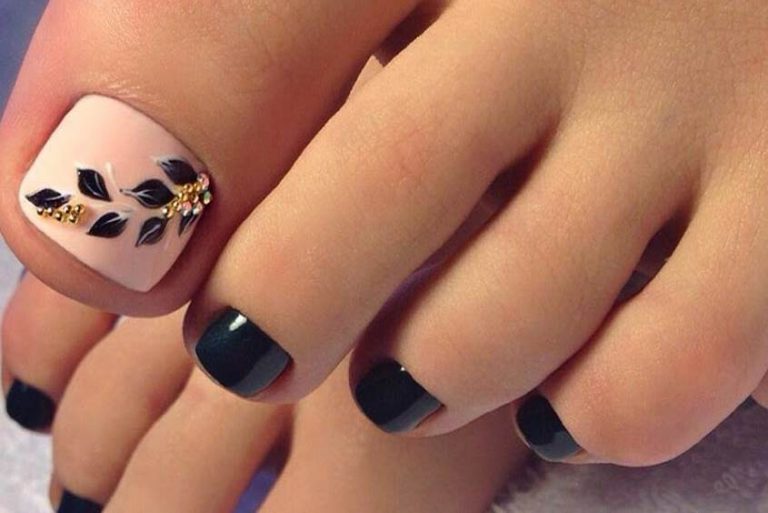
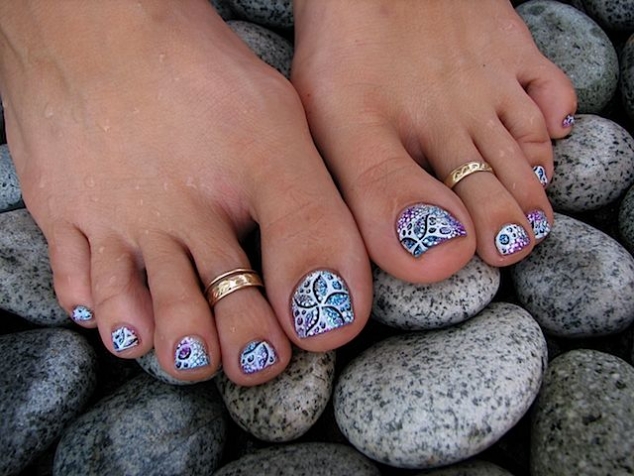
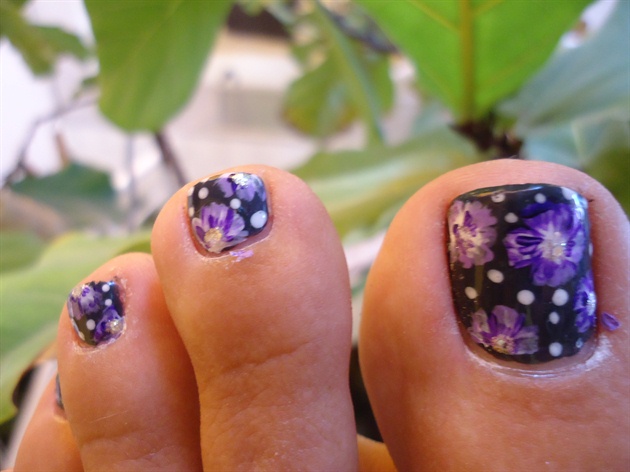
Floral designs are a popular choice for toe nail art, and for a good reason. They are fun, versatile, and can be created in various ways. Here is a step by step tutorial for a floral design that you can try out: Featured keywords: floral toe nail art, step by step tutorial, versatile Step 1: Start by painting your nails with a light color, such as white or pastel pink. Step 2: Using a thin brush or a toothpick, create small dots in the center of your nails to represent the flower's center. Step 3: Next, create small petals around the center using a different color. You can use multiple colors to make the design more colorful. Step 4: Add a top coat to seal in your design and give it a glossy finish.6. Floral Toe Nail Art Step by Step


6. Floral Toe Nail Art Step by Step


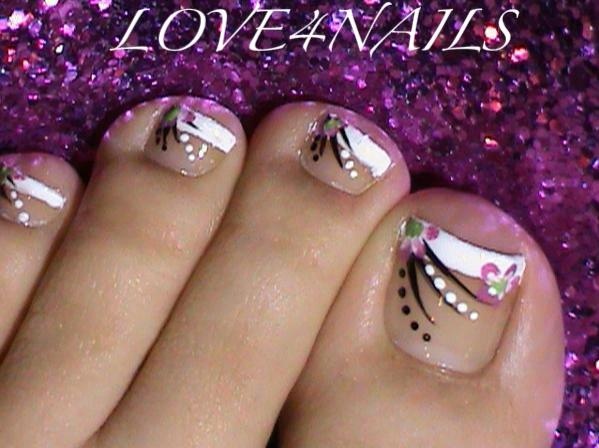
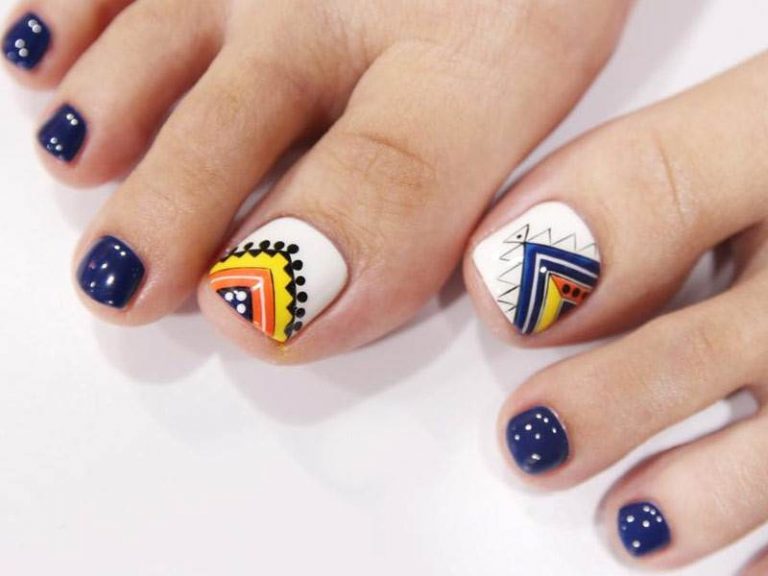
Stripes are a simple yet effective way to add some interest to your toe nail designs. Here are some ideas for incorporating stripes into your nail art: Featured keywords: toe nail art designs, stripes, interest A popular design is painting your nails with a neutral color and adding thin black stripes on top to create a chic and sophisticated look. You can also try a colorful striped design by painting your nails with different colors and adding thin white stripes on top. This will create a fun and playful look that is perfect for summer. For a more subtle look, try creating a diagonal striped design on your big toes. This will add a touch of interest without being too overwhelming.7. Toe Nail Art Designs with Stripes


7. Toe Nail Art Designs with Stripes


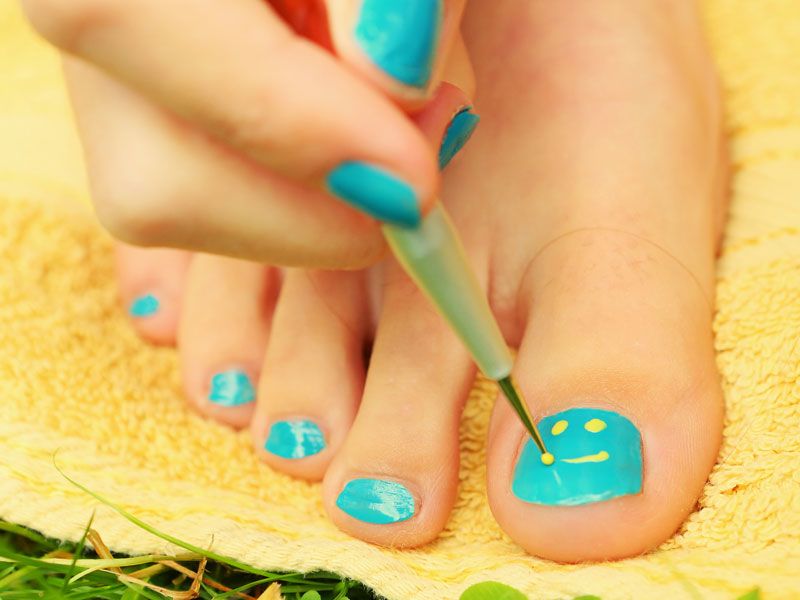
Glitter can instantly add a touch of glam to any toe nail art design. Here is a tutorial for a simple glitter design that you can try out: Featured keywords: glitter toe nail art, tutorial, glam Step 1: Start by painting your nails with a light color, such as nude or light pink. Step 2: Using a glitter nail polish, paint the tip of your nails, leaving a small gap at the base of your nails. Step 3: Using a toothpick, fill in the gap with glitter, creating a gradient effect. Step 4: Add a top coat to seal in your design and give it a glossy finish.8. Glitter Toe Nail Art Tutorial


8. Glitter Toe Nail Art Tutorial


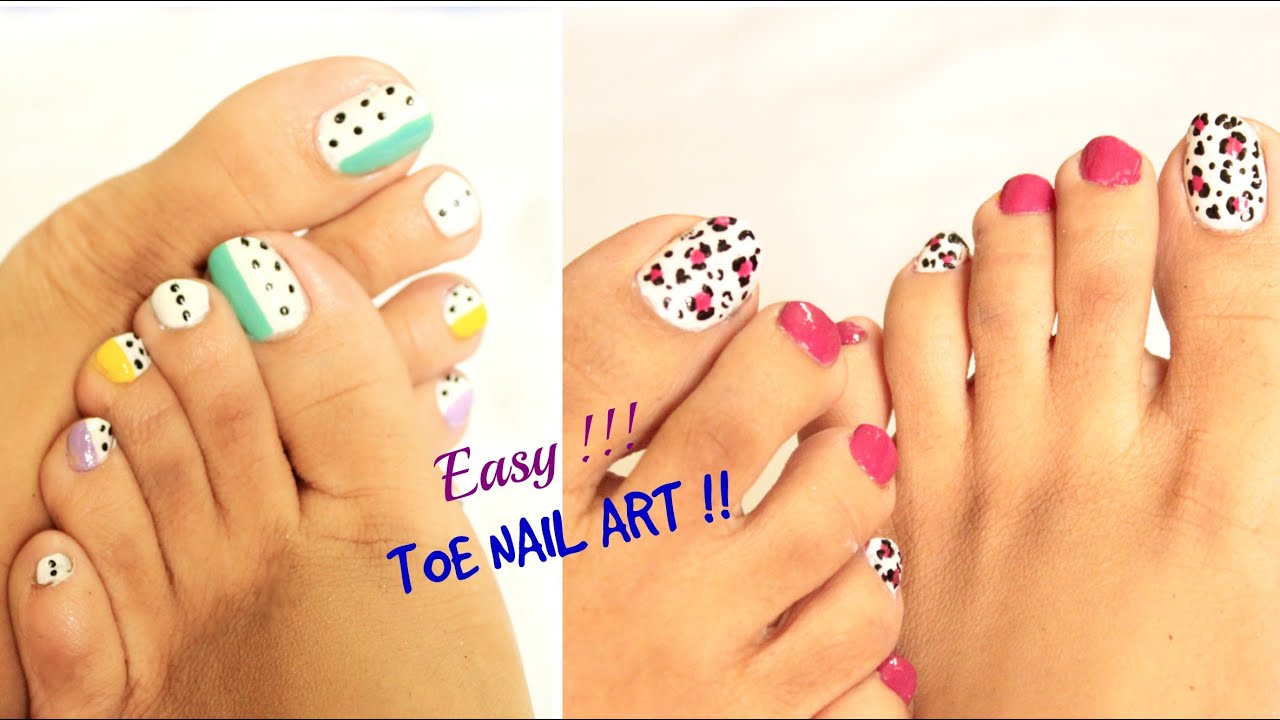
Dots are a simple yet versatile way to create unique toe nail art designs. Here are some ideas for incorporating dots into your nail art: Featured keywords: toe nail art designs, dots, versatile For a simple yet elegant look, create a polka dot pattern on your nails using a toothpick or a dotting tool. You can use different colors to make the design more interesting. You can also try a dotted gradient design by creating small dots on the tip of your nails and gradually increasing the size of the dots as you move towards the base of your nails. If you're feeling creative, try creating a geometric design using dots. You can create different shapes and patterns using dots of various sizes.9. Toe Nail Art Designs with Dots
9. Toe Nail Art Designs with Dots
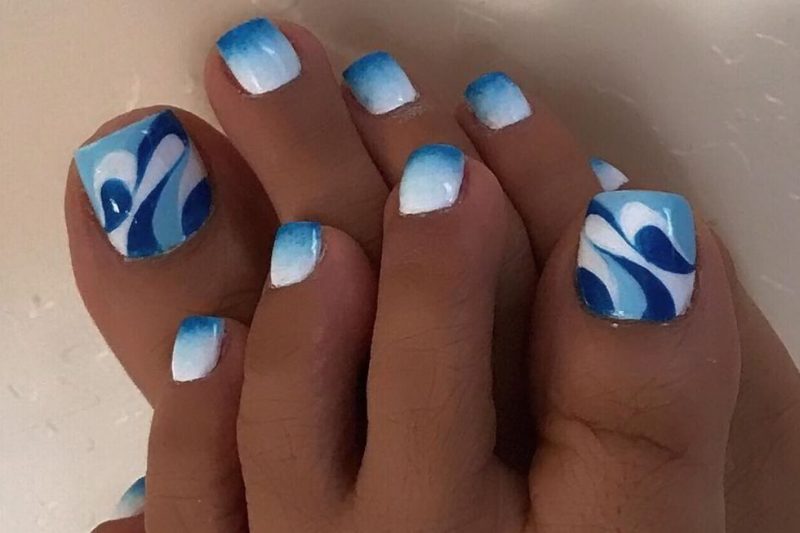
Ombre is a popular trend in nail art, and it can easily be achieved on your toes. Here is a step by step tutorial for an ombre design: Featured keywords: ombre toe nail art, step by step tutorial, popular trend Step 1: Start by painting your nails with a light color, such as white or pastel pink. Step 2: Take a darker shade of the same color and paint the tip of your nails. You can use a makeup sponge to blend the two colors together for a seamless transition. Step 3: Add a top coat to seal in your design and give it a glossy finish. With these top 10 toe nail art designs step by step, you'll be able to create stunning designs on your toes in no time. Don't be afraid to experiment and have fun with different colors, patterns, and textures. Your toes deserve to look just as fabulous as your fingers!10. Ombre Toe Nail Art Step by Step


10. Ombre Toe Nail Art Step by Step
Creating Stunning Toe Nail Art Designs: A Step-by-Step Guide

Introduction
 When it comes to self-care and pampering, our feet often get overlooked. But with the rise of summer sandals and open-toed shoes, it's time to give our toes some love. And what better way to do that than with some stunning
toe nail art designs
? From simple and elegant to bold and intricate, there are endless possibilities when it comes to decorating your toes. In this article, we will guide you through the steps of creating your own
toe nail art designs
that will make your feet stand out and leave your friends in awe.
When it comes to self-care and pampering, our feet often get overlooked. But with the rise of summer sandals and open-toed shoes, it's time to give our toes some love. And what better way to do that than with some stunning
toe nail art designs
? From simple and elegant to bold and intricate, there are endless possibilities when it comes to decorating your toes. In this article, we will guide you through the steps of creating your own
toe nail art designs
that will make your feet stand out and leave your friends in awe.
Gather Your Supplies
 The key to successful
toe nail art
is having the right tools and materials. Make sure you have a clean, flat surface to work on and all your supplies within reach. You will need a nail polish remover, base coat, nail polish in your desired colors, a small brush or toothpick, and a top coat to seal in your design. You can also add some embellishments like rhinestones or glitter for an extra touch of glam.
The key to successful
toe nail art
is having the right tools and materials. Make sure you have a clean, flat surface to work on and all your supplies within reach. You will need a nail polish remover, base coat, nail polish in your desired colors, a small brush or toothpick, and a top coat to seal in your design. You can also add some embellishments like rhinestones or glitter for an extra touch of glam.
Prep Your Toenails
 Before starting, it's important to prep your toenails to ensure your
toe nail art
lasts longer. Start by removing any old nail polish and giving your nails a good clean. Then, trim and file your nails to your desired length and shape, making sure they are all even. Finally, apply a base coat to protect your nails and create a smooth surface for your design.
Before starting, it's important to prep your toenails to ensure your
toe nail art
lasts longer. Start by removing any old nail polish and giving your nails a good clean. Then, trim and file your nails to your desired length and shape, making sure they are all even. Finally, apply a base coat to protect your nails and create a smooth surface for your design.
Get Creative with Your Design
 Now comes the fun part – creating your
toe nail art design
! You can either follow a specific design or let your creativity run wild. Use different colors, patterns, and techniques to create your desired look. You can also use stencils or tape to create clean lines and shapes. Don't worry if you make a mistake, you can always clean it up with a small brush dipped in nail polish remover.
Now comes the fun part – creating your
toe nail art design
! You can either follow a specific design or let your creativity run wild. Use different colors, patterns, and techniques to create your desired look. You can also use stencils or tape to create clean lines and shapes. Don't worry if you make a mistake, you can always clean it up with a small brush dipped in nail polish remover.
Seal and Protect Your Design
 Once you are happy with your
toe nail art
, it's time to seal and protect it with a top coat. This will not only make your design last longer but also give it a nice glossy finish. Make sure to let your nails dry completely before putting on shoes or socks.
Once you are happy with your
toe nail art
, it's time to seal and protect it with a top coat. This will not only make your design last longer but also give it a nice glossy finish. Make sure to let your nails dry completely before putting on shoes or socks.
Final Thoughts
 Creating
toe nail art designs
may seem intimidating at first, but with some practice and patience, you'll be a pro in no time. Don't be afraid to experiment and have fun with your designs. And remember, the most important thing is to take care of your feet and give them the attention they deserve. So why not treat yourself to a
toe nail art
session and show off your beautiful and unique designs this summer!
Creating
toe nail art designs
may seem intimidating at first, but with some practice and patience, you'll be a pro in no time. Don't be afraid to experiment and have fun with your designs. And remember, the most important thing is to take care of your feet and give them the attention they deserve. So why not treat yourself to a
toe nail art
session and show off your beautiful and unique designs this summer!


