If you're new to the world of nail art, creating intricate designs on your toes may seem daunting. However, with a few simple steps, you can easily achieve a beautiful and stylish toe nail design. Here's a step-by-step guide on how to create a simple toe nail design that will make your feet stand out. Step 1: Gather your supplies. To create a simple toe nail design, you will need a base coat, your choice of nail polish colors, a top coat, and some nail art tools like a dotting tool or a small brush. Step 2: Prep your nails. Before starting, make sure your nails are clean and free of any old polish. Trim and file your nails to your desired length and shape. Then, apply a base coat to protect your nails and help the polish adhere better. Step 3: Choose your colors. For a simple design, it's best to stick to two or three colors. You can use complementary colors or shades from the same color family for a cohesive look. Step 4: Apply the base color. Start by applying a coat of your base color on all your toenails. Let it dry completely before moving on to the next step. Step 5: Create the design. Using your chosen nail art tools, create your design on each nail. This can be as simple as adding dots or stripes, or you can get more creative with shapes and patterns. Step 6: Add the accent color. Once your design is complete and dry, add a pop of color with your accent shade. You can use a different color on each nail or keep it consistent throughout. Step 7: Seal the design. Once all the polish is dry, apply a top coat to seal and protect your design. This will also give your nails a glossy finish. Step 8: Clean up. Use a cotton swab dipped in nail polish remover to clean up any excess polish around your nails. And there you have it! A simple and beautiful toe nail design that you can easily recreate at home. With practice, you can experiment with different colors and designs to create your own unique toe nail art.1. How to Create a Simple Toe Nail Design: Step-by-Step Instructions


1. How to Create a Simple Toe Nail Design: Step-by-Step Instructions
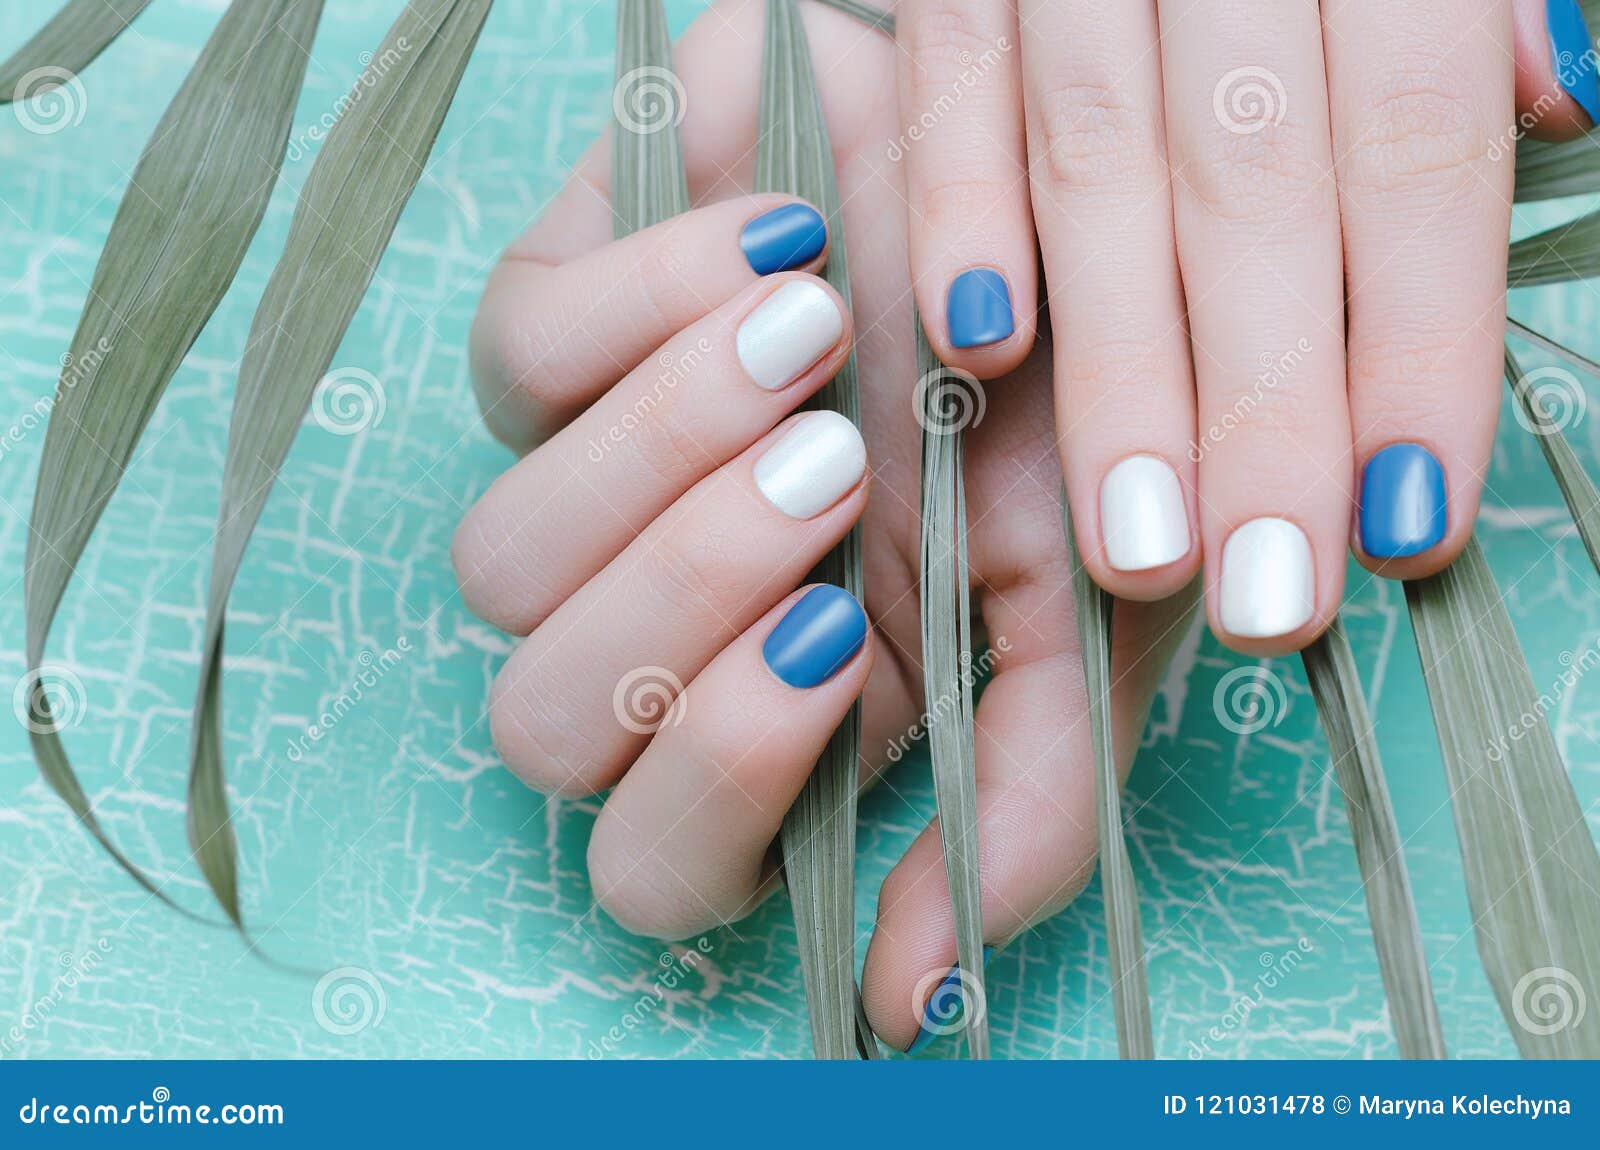


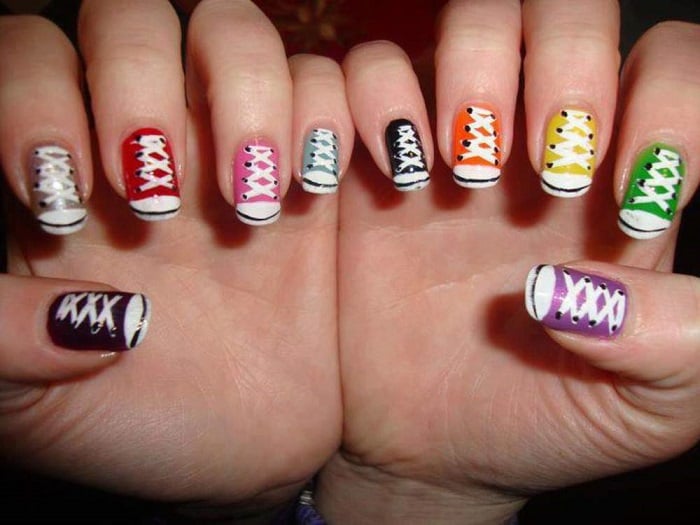
Nail art has become a popular trend in the beauty world, and it's no longer just limited to fingernails. To keep up with the latest fashion, many people are now incorporating nail art into their pedicures as well. If you're new to nail art, don't worry, we've got you covered. Here are 10 easy nail art designs for beginners that will give your toes a stylish makeover. 1. Polka Dots Polka dots are a classic and easy nail art design that you can do on your toes. You can use a dotting tool or a toothpick to create perfect dots on a contrasting or complementary base color. 2. Stripes Stripes are another simple design that can instantly add a touch of sophistication to your toes. You can use striping tape or a thin brush to create straight lines in different directions. 3. Floral For a feminine and chic look, try a floral design on your toes. You can use a small brush or even a toothpick to create flower petals in different colors. 4. Gradient A gradient design is perfect for beginners as it doesn't require any special tools. You can use a makeup sponge to blend two or more colors together for a beautiful ombre effect on your toes. 5. Animal Print Animal prints are a fun and trendy design that can be easily done on your toes. You can use a nail art pen or a thin brush to create the spots or stripes of your favorite animal. 6. Glitter Accents You can never go wrong with a touch of glitter on your toes. Whether it's a full glitter nail or just an accent nail, it will add some sparkle to your pedicure. 7. Geometric Shapes If you want to try something more bold and modern, go for a geometric design on your toes. You can use tape or a thin brush to create various shapes and patterns. 8. French Tip A French pedicure is a timeless and elegant design that is perfect for both casual and formal occasions. You can use tape or a nail art pen to create the classic white tip on your toes. 9. Water Marble A water marble design may seem intimidating, but it's actually quite easy to achieve. You can use a cup of water and your choice of nail polish colors to create a unique and swirly design on your toes. 10. Abstract For a fun and creative design, try an abstract pattern on your toes. You can use different colors and shapes to create a one-of-a-kind design on each nail. With these easy nail art designs, you can have stylish and eye-catching toes without spending a fortune at the salon. So, grab your nail polishes and get ready to unleash your inner artist.2. 10 Easy Nail Art Designs for Beginners: The Ultimate Guide


2. 10 Easy Nail Art Designs for Beginners: The Ultimate Guide


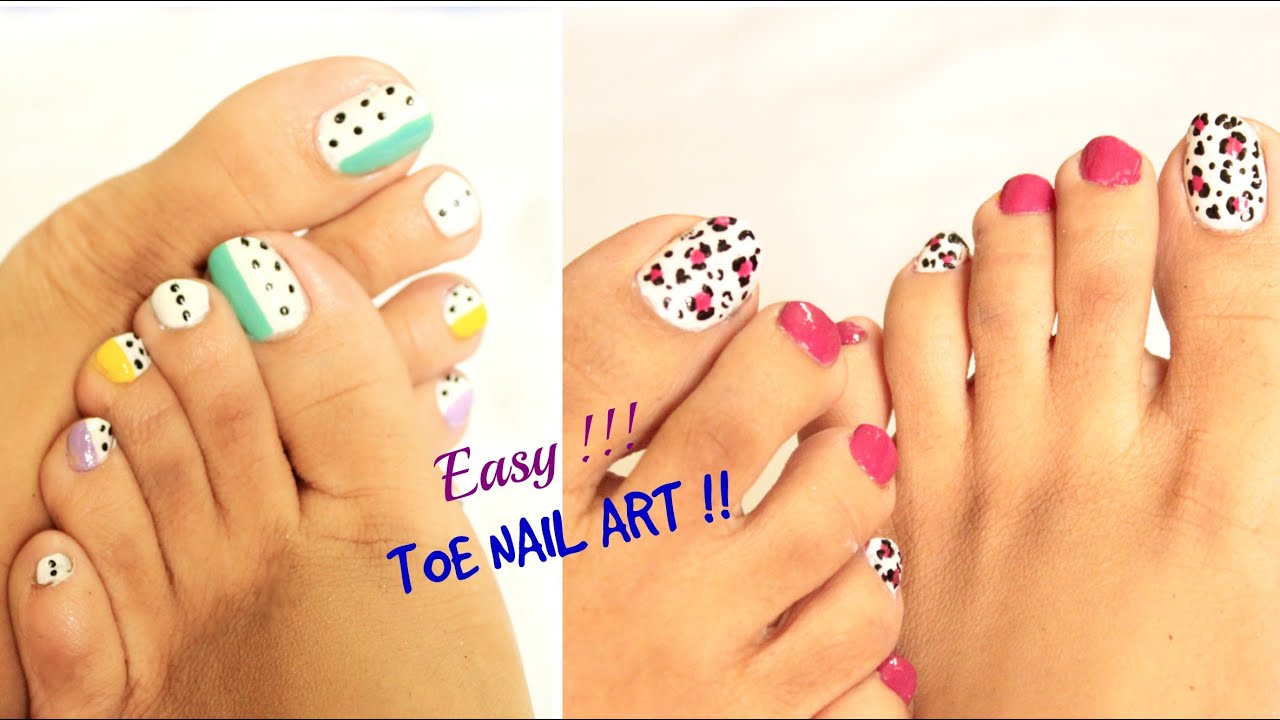
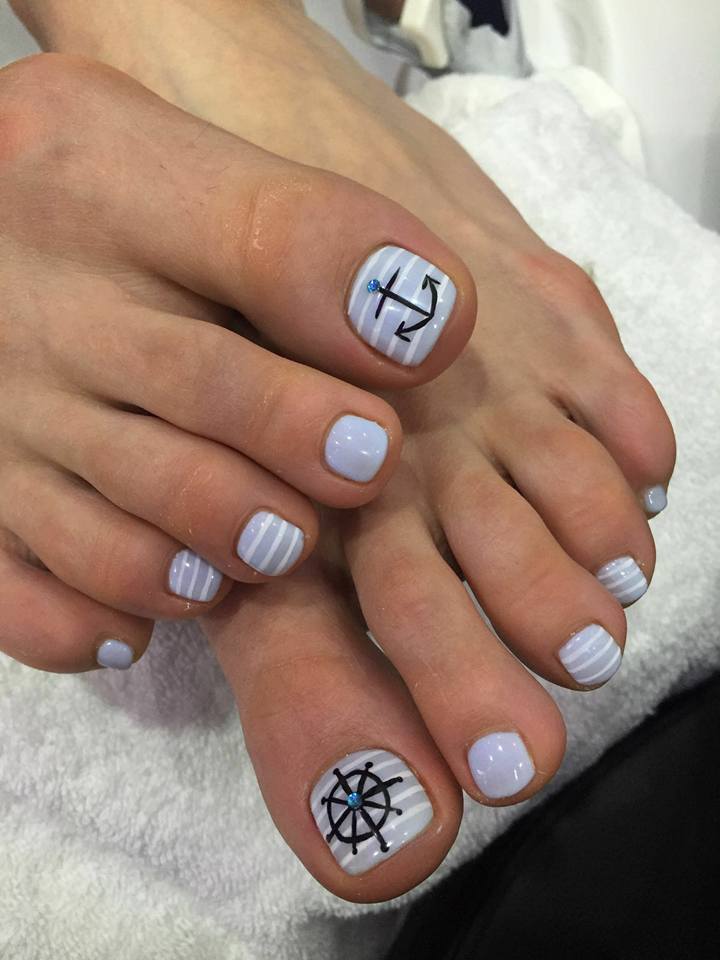
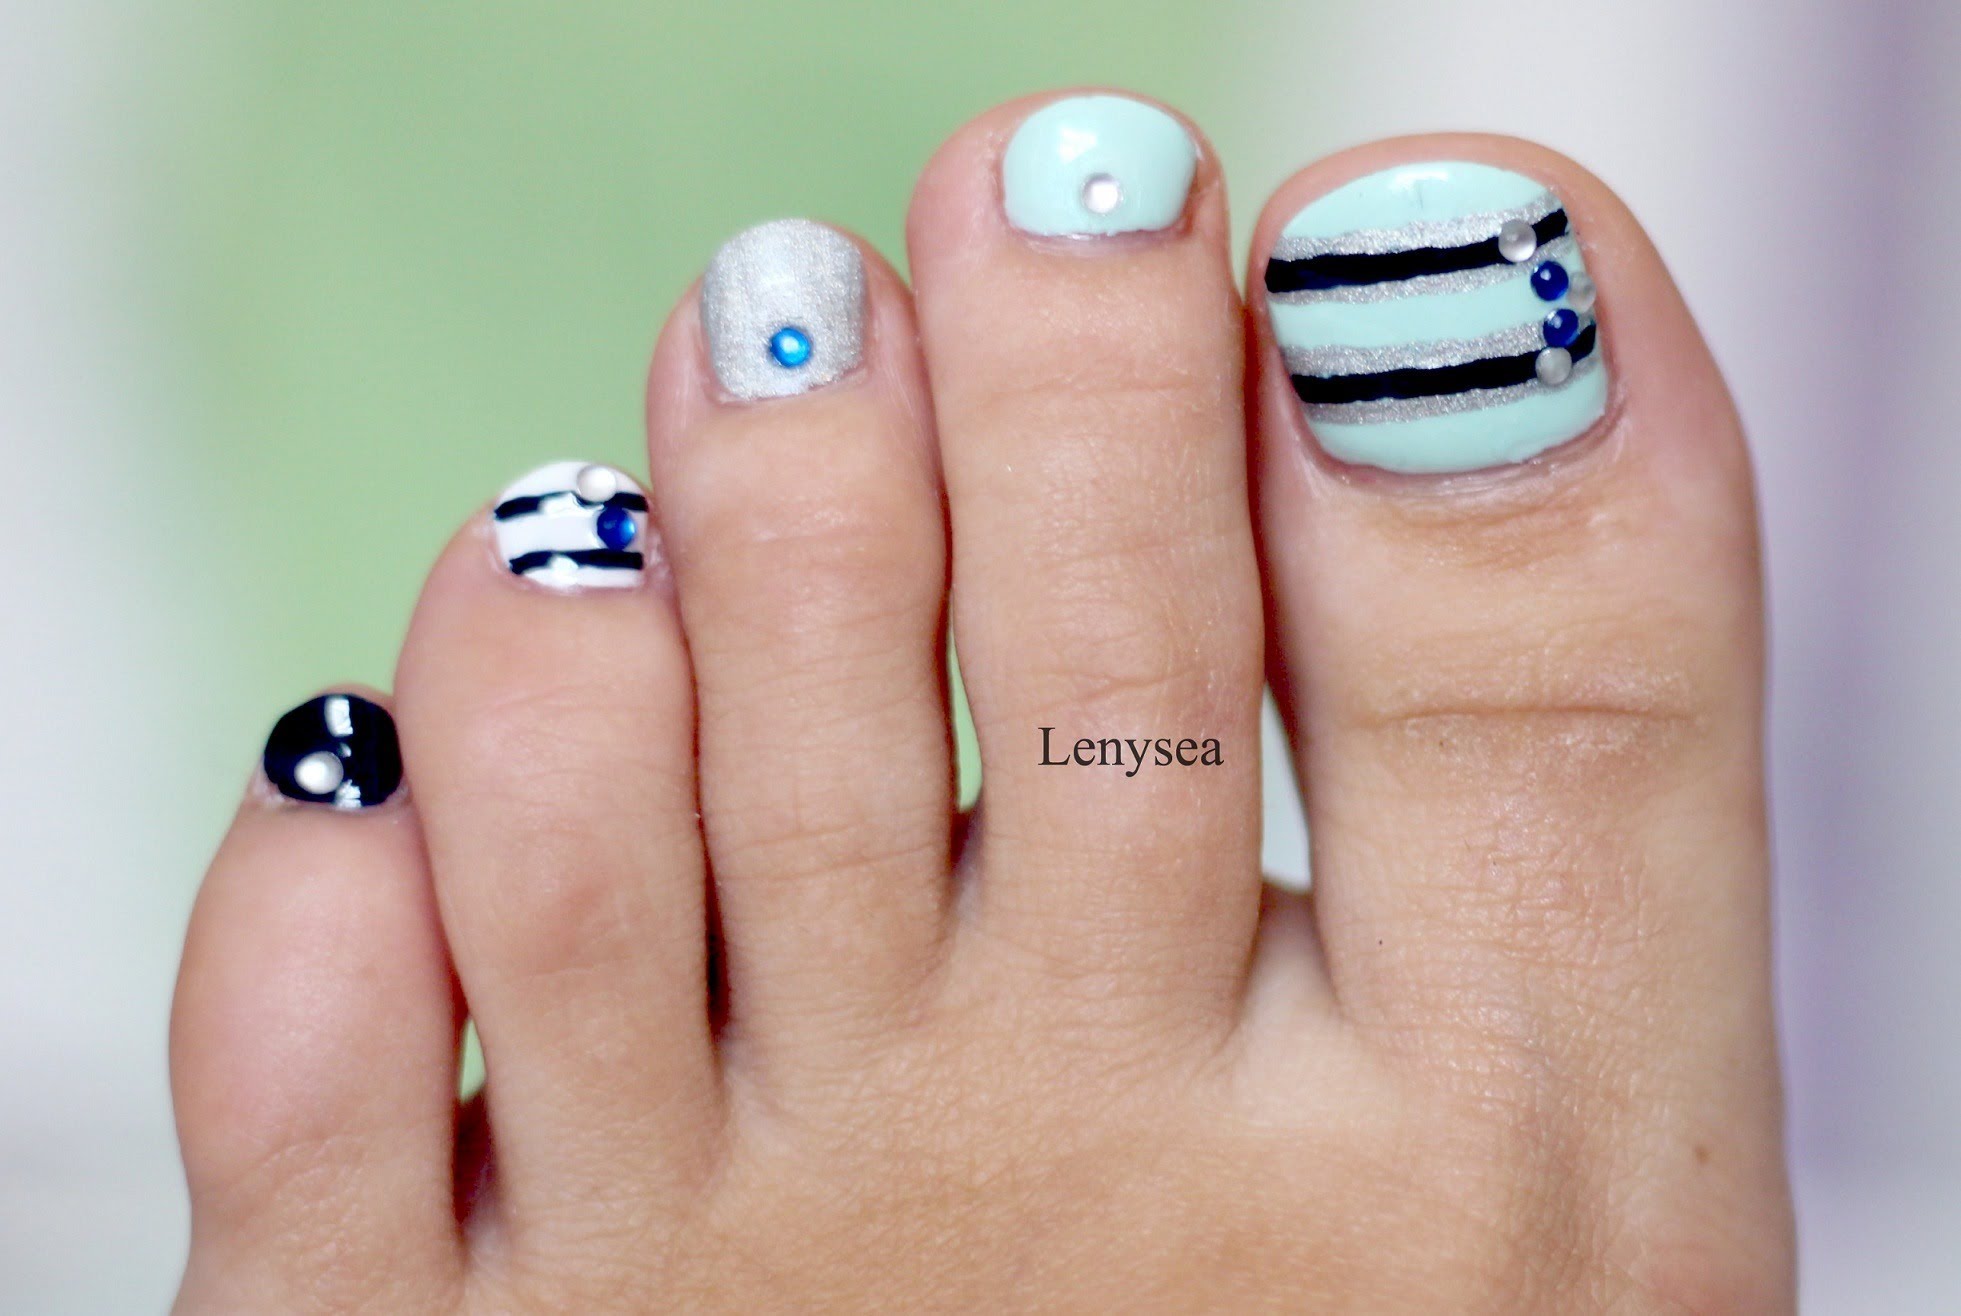
Ready to take your toe nail game to the next level? We've compiled 20 different designs that are perfect for beginners. Each design comes with step-by-step instructions so you can easily recreate them at home. Let's get started! 1. Daisies Add a touch of spring to your toes with this cute and easy daisy design. All you need is a white base color, a yellow dot in the center, and white petals made using a toothpick or a small brush. 2. Colorful Stripes For a fun and bold look, try this colorful striped design. Use striping tape to create straight lines in different colors on a white base. 3. Polka Dot Gradient Combine two classic designs with this polka dot gradient. Use a makeup sponge to create the gradient effect and add white dots on top using a dotting tool or toothpick. 4. Pastel Ombre A pastel ombre design is perfect for spring or summer. Use a makeup sponge to blend different pastel colors on a white base for a soft and dreamy look. 5. Tropical Leaves Get ready for your next beach vacation with this tropical leaf design. Use a small brush to create green leaves on a light blue base, and add a touch of white for dimension. 6. Color Block This modern and minimalistic design is perfect for those who prefer a more subtle look. Simply use striping tape to create different colored blocks on a white base. 7. Sunflowers Brighten up your toes with this cheerful sunflower design. Use a yellow base with brown dots in the center and white petals made with a toothpick or small brush. 8. Glitter Tips Add some sparkle to your toes with this glitter tip design. Use a glitter nail polish or loose glitter to create a glittery tip on a white base. 9. Tribal Print This bold and colorful design is perfect for those who love tribal patterns. Use a thin brush to create different shapes and patterns in various colors on a white base. 10. Lemon Slices This lemon slice design is perfect for summer. Use a yellow base with white and green dots to create the look of lemon slices on your toes. 11. Abstract Lines For a fun and creative design, try this abstract line pattern. Use different colored lines in various directions to create a unique design on each toe. 12. Cherry Blossoms Bring a touch of Japan to your toes with this cherry blossom design. Use a light pink base with white and dark pink dots to create the delicate flowers. 13. Gold Foil Add some elegance to your toes with this gold foil design. Use a gold foil nail polish or apply gold foil pieces on a white base for a luxurious look. 14. Marble Accent This marble accent design is perfect for those who want a subtle and sophisticated look. Use a white base with a marble accent nail in your choice of color. 15. Rainbow Stripes Go bold and bright with this rainbow stripe design. Use striping tape to create straight lines in different colors on a white base. 16. Negative Space This negative space design is simple yet eye-catching. Use striping tape to create a design on a nude or clear base for a modern look. 17. Stars and Stripes Get patriotic with this stars and stripes design. Use a blue base with white stars and red stripes to show off your love for your country. 18. Galaxy Nails Add some sparkle to your toes with this galaxy design. Use a black base with glitter and add white dots and swirls to create a starry look. 19. Leopard Print This leopard print design is perfect for those who love animal prints. Use a nail art pen or brush to create the signature spots in different colors on a nude or clear base. 20. Abstract Shapes For a unique and creative design, try this abstract shape pattern. Use different colors and shapes to create a one-of-a-kind design on each nail. With these step-by-step instructions, you can easily achieve these 20 toe nail designs for beginners. Have fun experimenting with different colors and patterns to find your favorite look.3. 20 Toe Nail Designs for Beginners: Step-by-Step Instructions

3. 20 Toe Nail Designs for Beginners: Step-by-Step Instructions


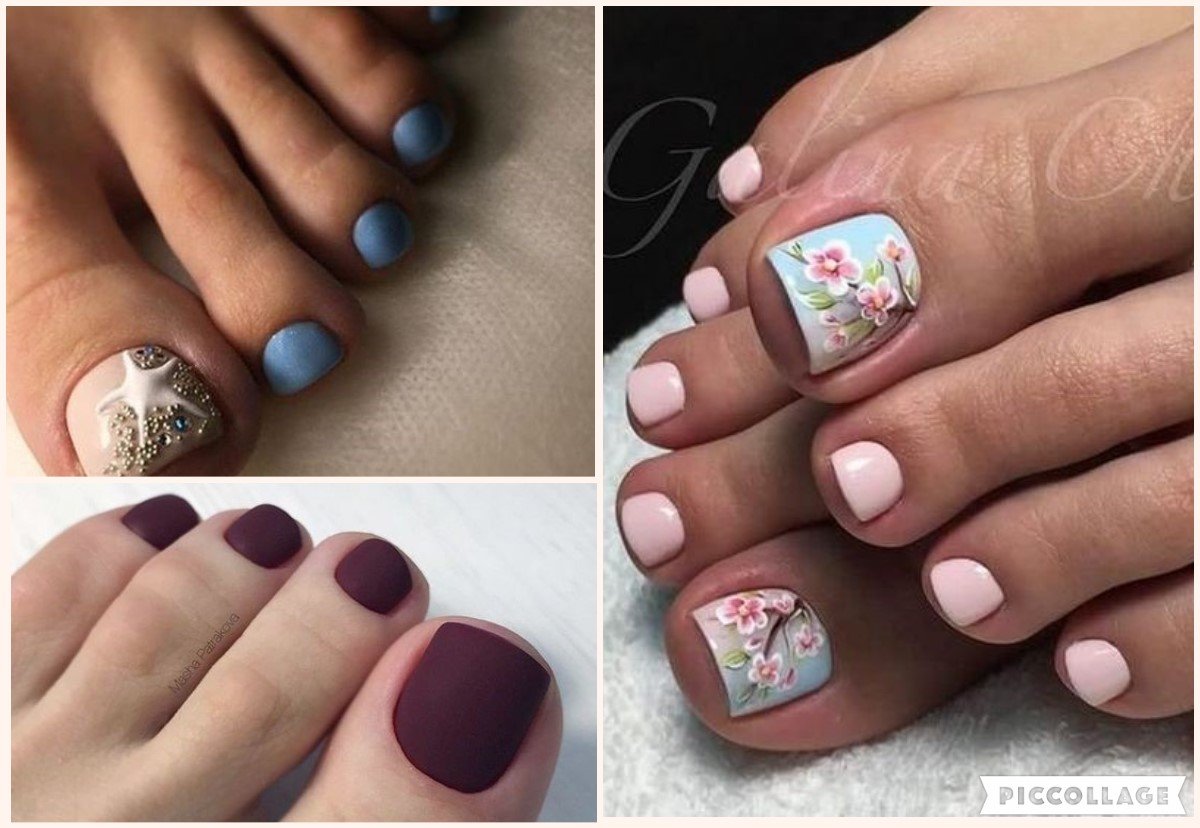
Want to add a touch of cuteness to your toes? We've rounded up 15 cute and easy toe nail designs that are perfect for beginners. From adorable animals to sweet pastels, there's something for everyone! 1. Panda Nails Who doesn't love pandas? These cute and easy panda nails are perfect for animal lovers. Use a white base with black and white dots and add small ears on the accent nail. 2. Candy Stripes Add some sweetness to your toes with this candy stripe design. Use striping tape to create colorful stripes on a white base. 3. Ice Cream Cones Get ready for summer with these adorable ice cream cone nails. Use a light pink base with white and brown dots to create the look of ice cream scoops and cones. 4. Pink Hearts For a simple yet cute design, try these pink heart nails. Use a light pink base with white hearts on each toe. 5. Watermelon Nails Nothing says summer like watermelon. Use a green base with red and black dots to create the look of watermelon slices on your toes. 6. Rainbow Hearts Add some love to your toes with these rainbow heart nails. Use a white base with colorful hearts on each toe. 7. Hello Kitty Bring a touch of nostalgia with these Hello Kitty nails. Use a light pink base with a white accent nail featuring Hello Kitty's face and bow. 8. Beach Nails Get ready for a day at the beach with these beach-themed nails. Use a blue base with a white accent nail featuring a palm tree and beach umbrella. 9. Minions Everyone's favorite little yellow creatures can now be on your toes. Use a yellow base with black and white accents to create the iconic Minion look. 10. Fruit Salad For a colorful and fruity design, try these fruit salad nails. Use a white base with different colored dots to create the look of different fruits. 11. Ladybugs Add some luck to your toes with these cute ladybug nails. Use a red base with black dots and add small white dots on the accent nail to create the look of a ladybug. 12. Rainbow Dots For a fun and colorful design, try these rainbow dot nails. Use a white base with dots in all the colors of the rainbow on each toe. 13. Unicorns Unleash your inner magical creature with these unicorn nails. Use a light pink base with a white accent nail featuring a unicorn horn and colorful mane. 14. Donuts Add some sweetness to your toes with these donut nails. Use a light pink base with colorful dots to create the look of different donuts. 15. Teddy Bears For a cute and cuddly design, try these teddy bear nails. Use a light pink base with a white accent nail featuring a teddy bear face and ears. With these 15 cute and easy toe nail designs, you can have adorable and eye-catching toes in no time. Have fun experimenting with different colors and designs to find your favorite look.4. 15 Cute and Easy Toe Nail Designs for Beginners
4. 15 Cute and Easy Toe Nail Designs for Beginners


If you're new to the world of nail art, it's best to start with simple and easy designs. We've compiled 10 toe nail designs that are perfect for beginners. No special tools or skills required, just a little creativity and patience.5. 10 Simple and Easy Toe Nail Designs for Beginners


5. 10 Simple and Easy Toe Nail Designs for Beginners

How to Create Beautiful and Unique Toe Nail Designs: A Step-by-Step Guide
Introduction to Toe Nail Design
 When it comes to self-care and pampering, nail design is a popular choice among many women. It is not only a form of self-expression but also a way to boost confidence and add a touch of glamour to one's appearance. However, while we are all familiar with nail polish and manicures, toe nail design is often overlooked. But why should our fingernails have all the fun? With the right tools and techniques, you can create stunning and creative toe nail designs that will make your feet stand out. In this article, we will provide you with step-by-step instructions on how to achieve the perfect toe nail design right at home.
Gather Your Supplies
 Before you begin, it is essential to gather all the necessary supplies for your toe nail design. This includes a base coat, top coat, nail polish colors of your choice, nail art brushes, dotting tools, and any other nail accessories you may want to use. Having all your supplies ready will make the process more efficient and ensure a smooth application of your design.
Prep Your Nails
 Just like with any manicure, it is crucial to prep your nails before starting the design process. Begin by removing any old polish and shaping your nails to your desired length. Next, use a cuticle pusher to gently push back your cuticles and trim any hangnails. Finally, buff your nails to create a smooth surface for your design to adhere to.
Apply Your Base Coat
 The key to a long-lasting toe nail design is a good base coat. This will protect your natural nails and provide a smooth canvas for your design. Apply a thin layer of base coat to each nail and allow it to dry completely before moving on to the next step.
Get Creative with Your Design
 Now comes the fun part – creating your toe nail design! The possibilities are endless, from intricate patterns to simple and elegant designs. You can use different colors, textures, and techniques to achieve your desired look. If you are a beginner, start with simple designs and gradually work your way up to more complex ones.
Seal It with a Top Coat
 Once you have completed your design, it is essential to seal it with a top coat. This will not only add shine to your nails but also protect your design from chipping and peeling. Apply a thin layer of top coat and allow it to dry completely.
Clean Up and Enjoy Your Beautiful Toe Nail Design
 After your top coat has dried, clean up any excess polish around your nails using a q-tip dipped in nail polish remover. This will give your nails a polished and professional look. Now, you can proudly show off your unique and beautiful toe nail design.
In conclusion, toe nail design is a fun and creative way to add some pizzazz to your pedicure. With the right tools and techniques, you can achieve salon-quality designs right at home. So next time you are giving yourself a pedicure, don't forget to let your toes join in on the fun!
After your top coat has dried, clean up any excess polish around your nails using a q-tip dipped in nail polish remover. This will give your nails a polished and professional look. Now, you can proudly show off your unique and beautiful toe nail design.
In conclusion, toe nail design is a fun and creative way to add some pizzazz to your pedicure. With the right tools and techniques, you can achieve salon-quality designs right at home. So next time you are giving yourself a pedicure, don't forget to let your toes join in on the fun!


