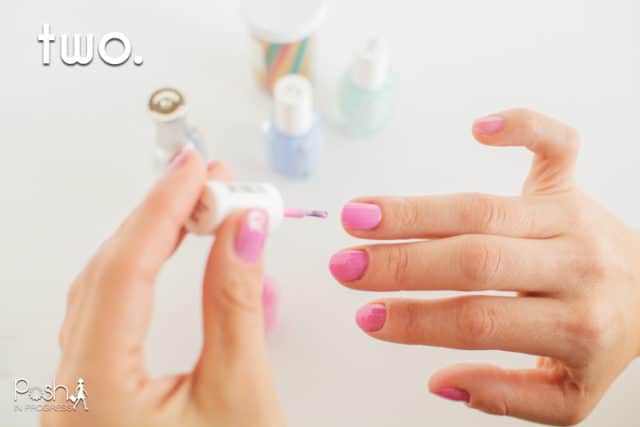
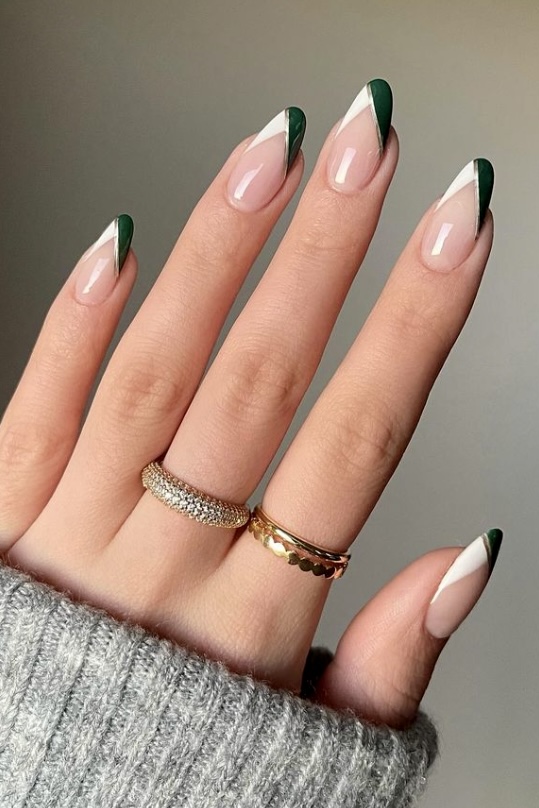
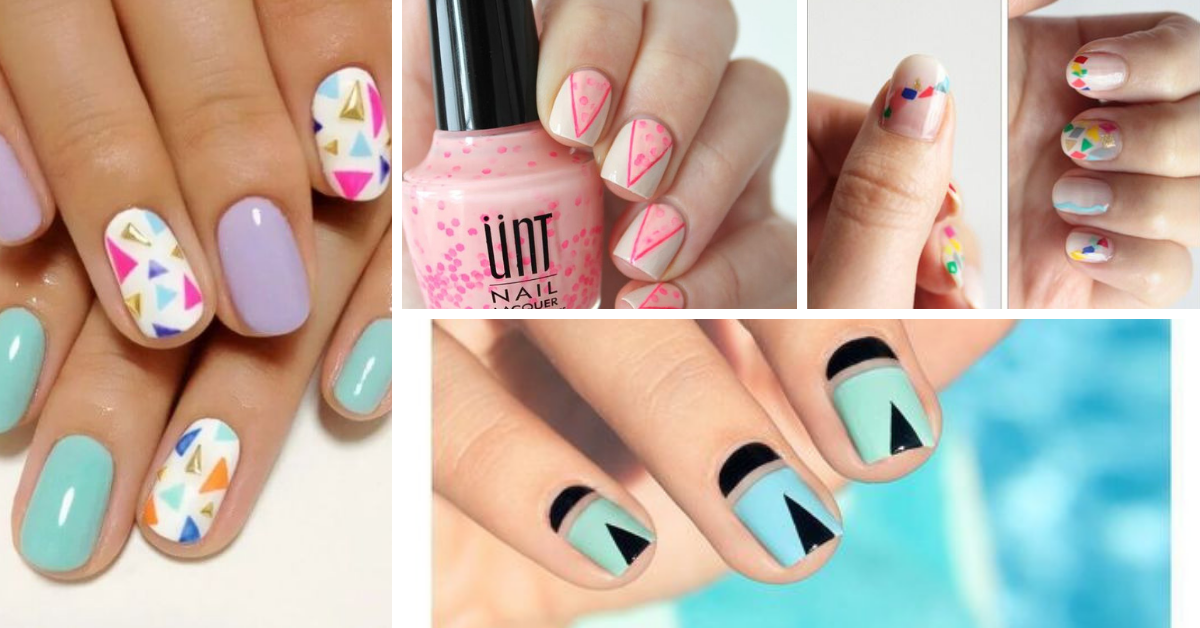
If you're new to nail art and looking for a simple yet stunning design to try, look no further than this easy triangle nail design tutorial. With just a few simple steps, you can achieve a trendy and eye-catching look that will have everyone asking for your nail secrets. To start, gather your supplies. You'll need a base color of your choice, three nail polishes in complementary colors, a nail art brush or toothpick, and a top coat. Once you have all your supplies, follow these easy steps to create your triangle nail design: Step 1: Apply your base color and let it dry completely. Step 2: Using your nail art brush or toothpick, draw a triangle near the base of your nail. You can make the triangle as big or as small as you want. Step 3: Fill in the triangle with one of your complementary colors. Step 4: Repeat steps 2 and 3 with your other two complementary colors, creating a colorblock effect within the triangle. Step 5: Let your design dry completely, then finish with a top coat to seal and protect your nails.1. Easy Triangle Nail Design Tutorial


1. Easy Triangle Nail Design Tutorial

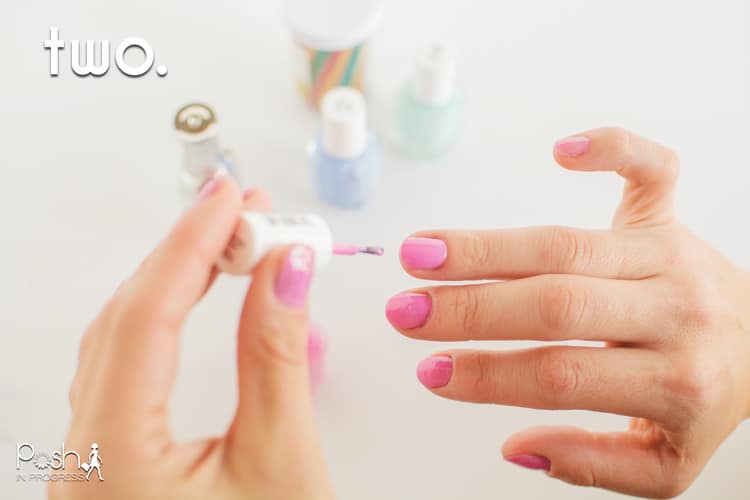

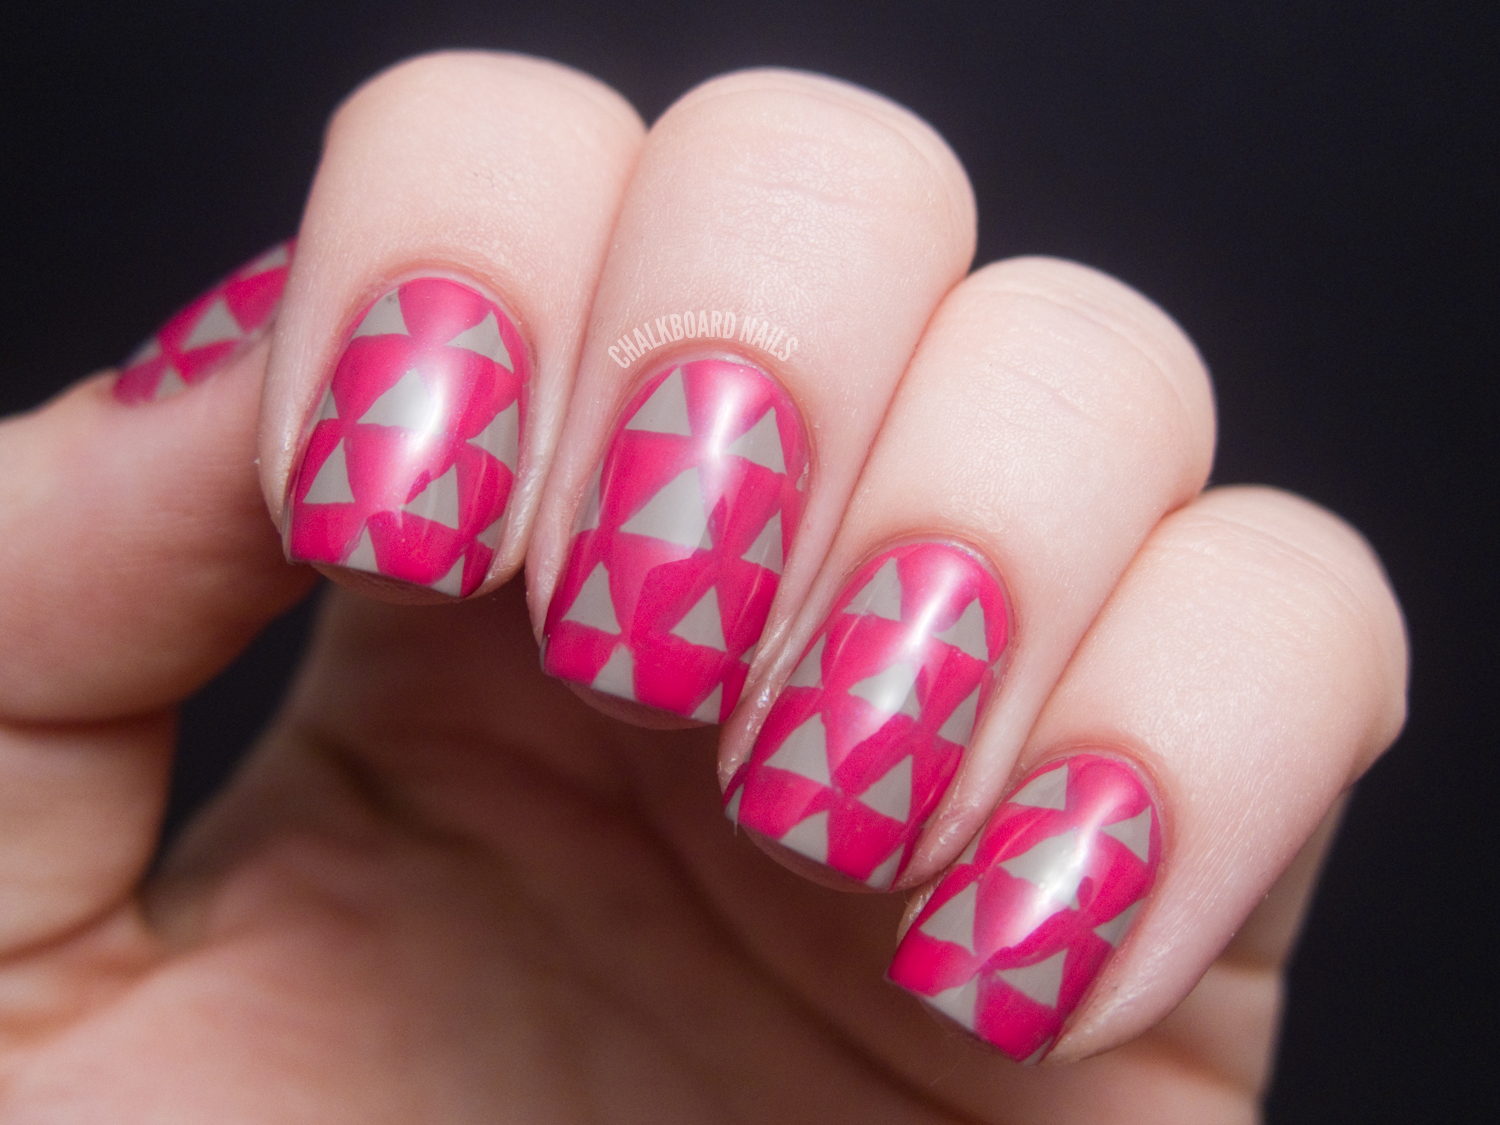
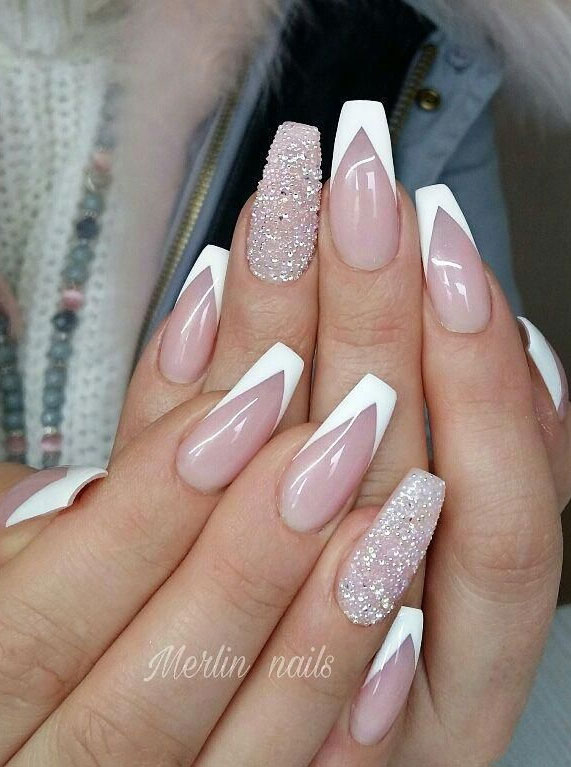
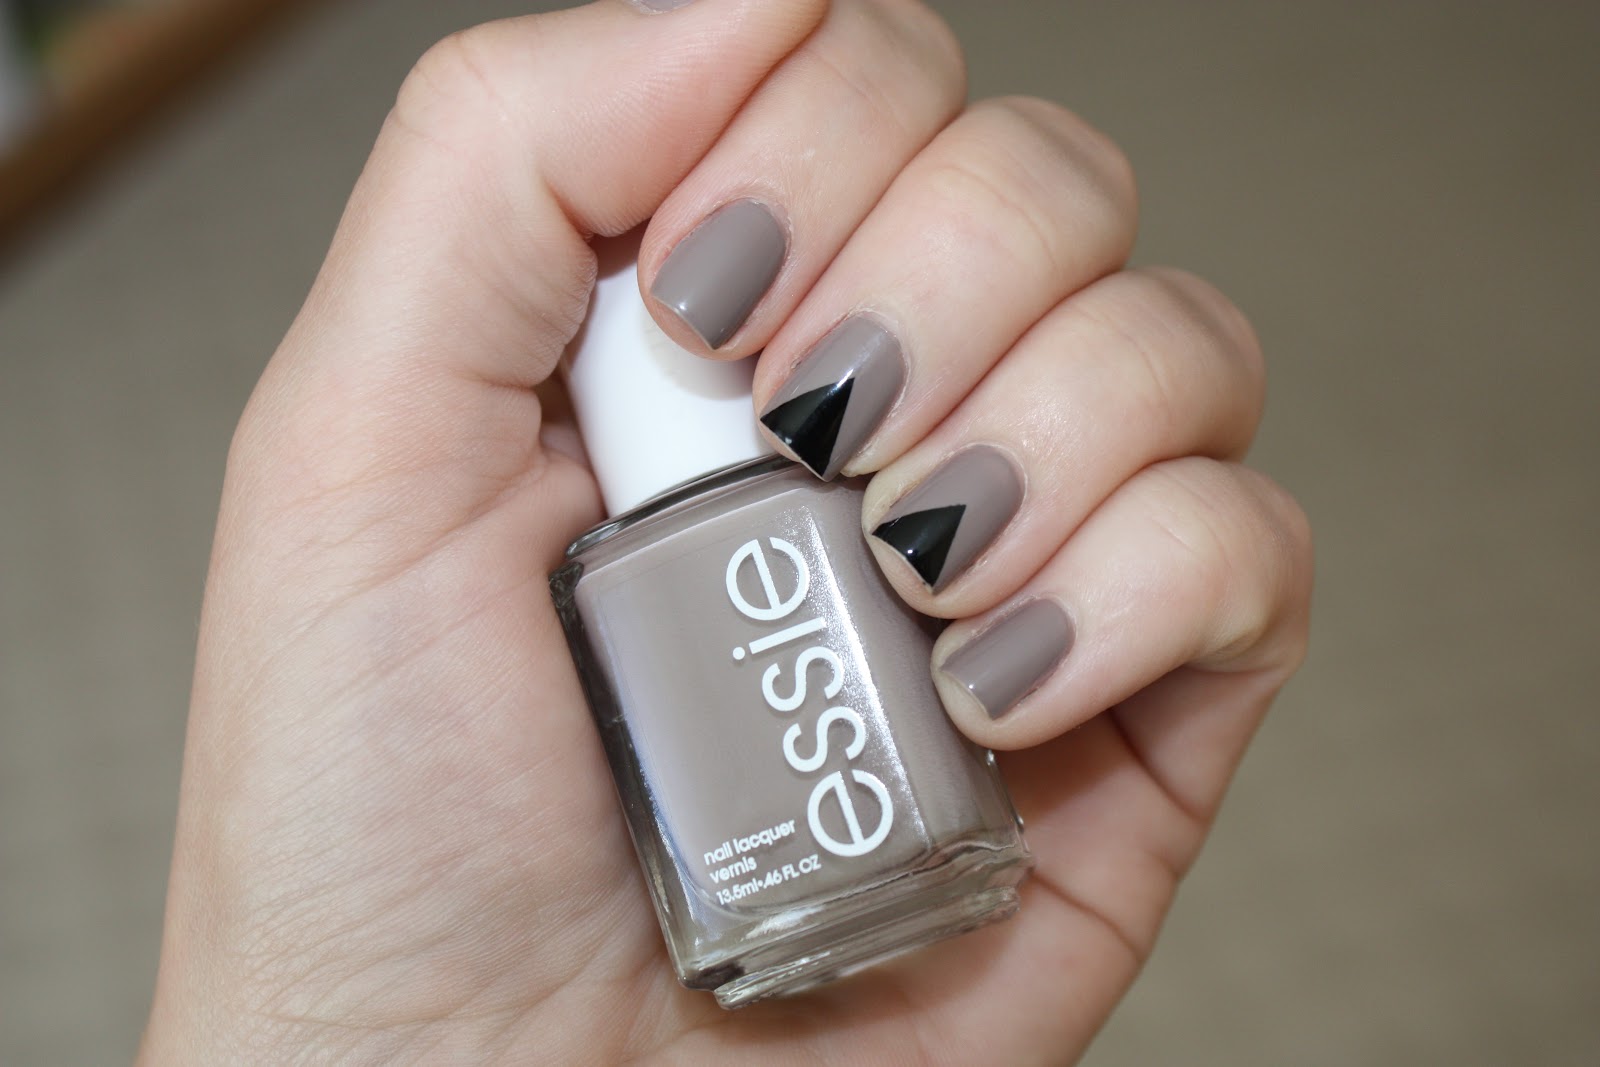
If you're looking for a more detailed and structured tutorial, this step-by-step triangle nail art tutorial is perfect for you. With clear instructions and photos, you'll be able to recreate this design with ease. For this design, you'll need a base color, a white nail polish, and a nail art striping tape. Here's how to achieve this chic and minimalist triangle nail art: Step 1: Apply your base color and let it dry completely. Step 2: Using the nail art striping tape, create a triangle shape on your nail. Make sure the edges of the tape are pressed down firmly to prevent any bleeding. Step 3: Fill in the triangle shape with your white nail polish. Step 4: Carefully remove the striping tape while the white polish is still wet. Step 5: Let your design dry completely, then finish with a top coat to seal and protect your nails.2. Step-by-Step Triangle Nail Art Tutorial


2. Step-by-Step Triangle Nail Art Tutorial


Save some money and get creative with this DIY triangle nail design tutorial. Use household items to create a unique and personalized design that will have everyone asking for your nail art secrets. For this design, you'll need a base color, a toothpick, and three nail polishes in different colors. Here's how to achieve this one-of-a-kind triangle nail design: Step 1: Apply your base color and let it dry completely. Step 2: Using your toothpick, create a triangle shape near the base of your nail. The size and shape of the triangle are up to you. Step 3: Fill in the triangle with one of your nail polish colors. Step 4: Repeat step 2 and 3 with your other two nail polish colors, creating a polka dot effect within the triangle. Step 5: Let your design dry completely, then finish with a top coat to seal and protect your nails.3. DIY Triangle Nail Design Tutorial


3. DIY Triangle Nail Design Tutorial


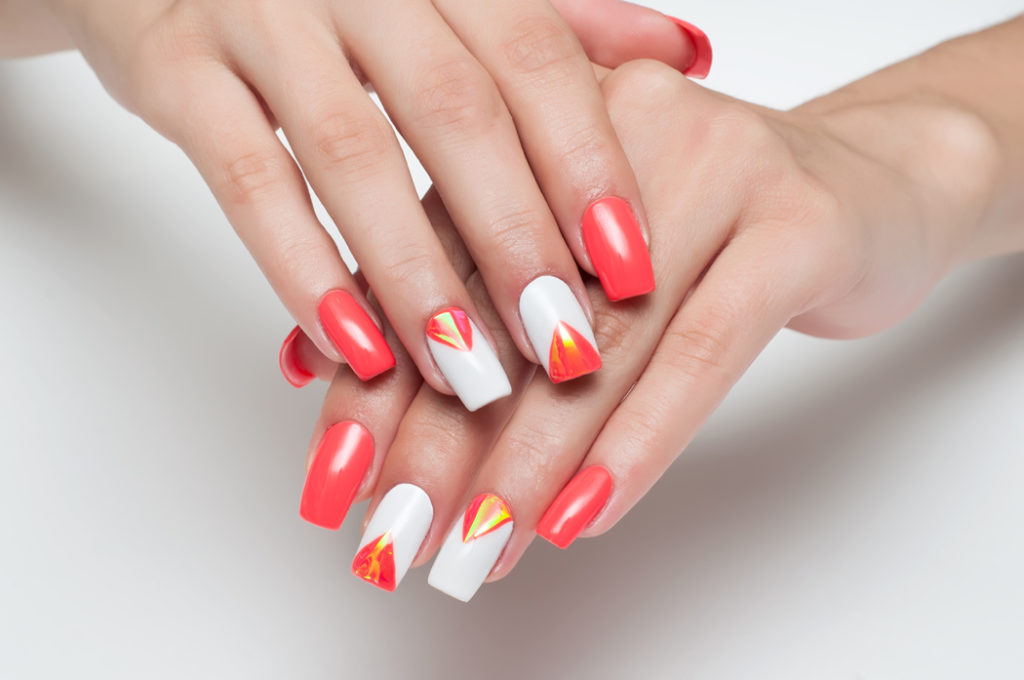
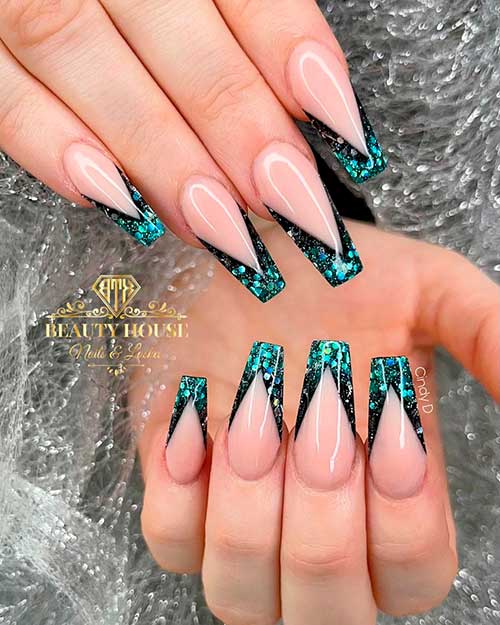
Take your triangle nail design to the next level with this geometric triangle nail tutorial. With sharp lines and bold colors, this design is perfect for those wanting a more edgy and modern look. To achieve this design, you'll need a base color, a nail art striping brush, and three nail polishes in different colors. Follow these steps to create your geometric triangle nails: Step 1: Apply your base color and let it dry completely. Step 2: Using the nail art striping brush, create a triangle shape on your nail. Make sure the lines are clean and sharp. Step 3: Fill in the triangle with one of your nail polish colors. Step 4: Repeat step 2 and 3 with your other two nail polish colors, creating a gradient effect within the triangle. Step 5: Let your design dry completely, then finish with a top coat to seal and protect your nails.4. Geometric Triangle Nail Tutorial


4. Geometric Triangle Nail Tutorial

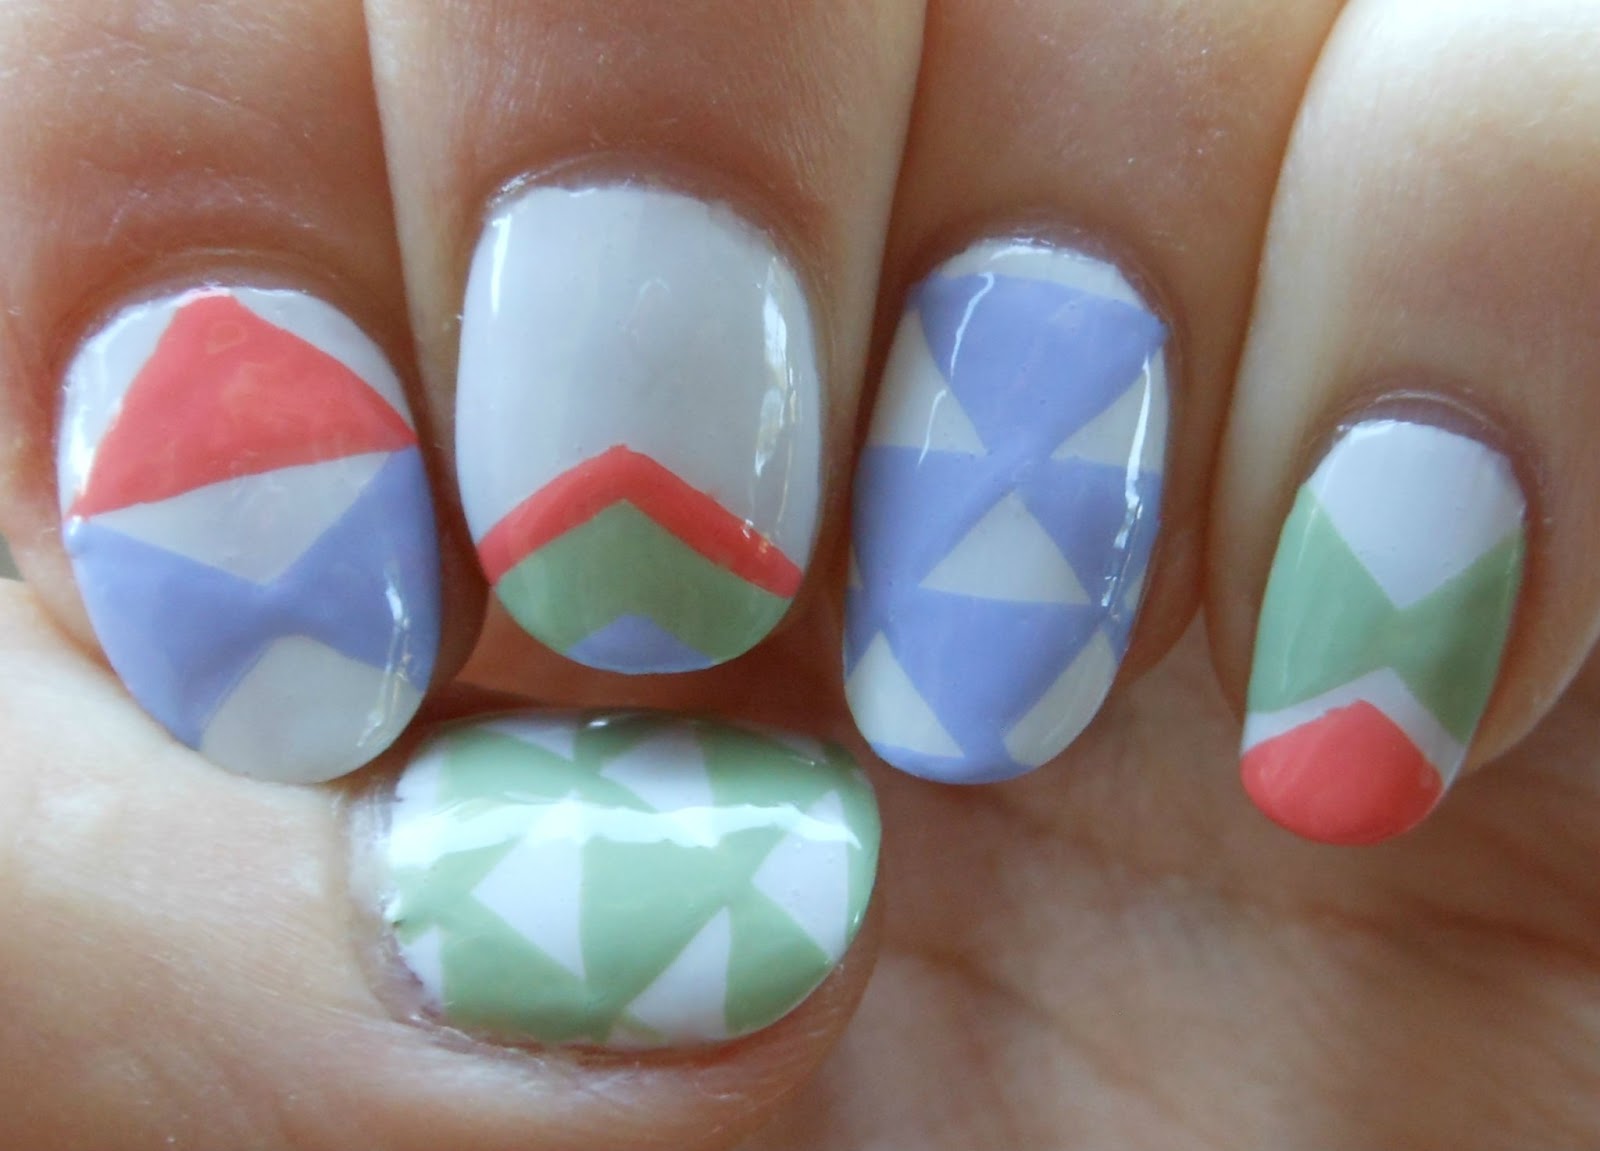
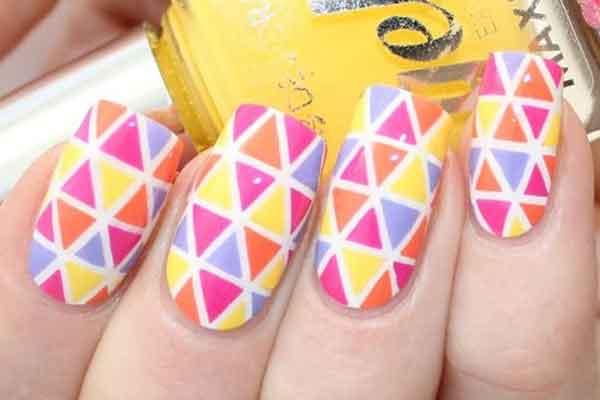
Spruce up your nails with this colorful triangle nail design tutorial. With a rainbow of colors and a mix of shapes, this design is sure to catch anyone's eye. To achieve this design, you'll need a base color, five nail polishes in different colors, and a nail art brush or toothpick. Follow these steps to create your colorful and playful triangle nail design: Step 1: Apply your base color and let it dry completely. Step 2: Using your nail art brush or toothpick, create a triangle shape near the base of your nail. Make sure to use a different color for each nail. Step 3: Fill in the triangle with one of your nail polish colors. Step 4: Repeat step 2 and 3 with your other four nail polish colors, creating a rainbow of triangles on your nails. Step 5: Let your design dry completely, then finish with a top coat to seal and protect your nails.5. Colorful Triangle Nail Design Tutorial


5. Colorful Triangle Nail Design Tutorial


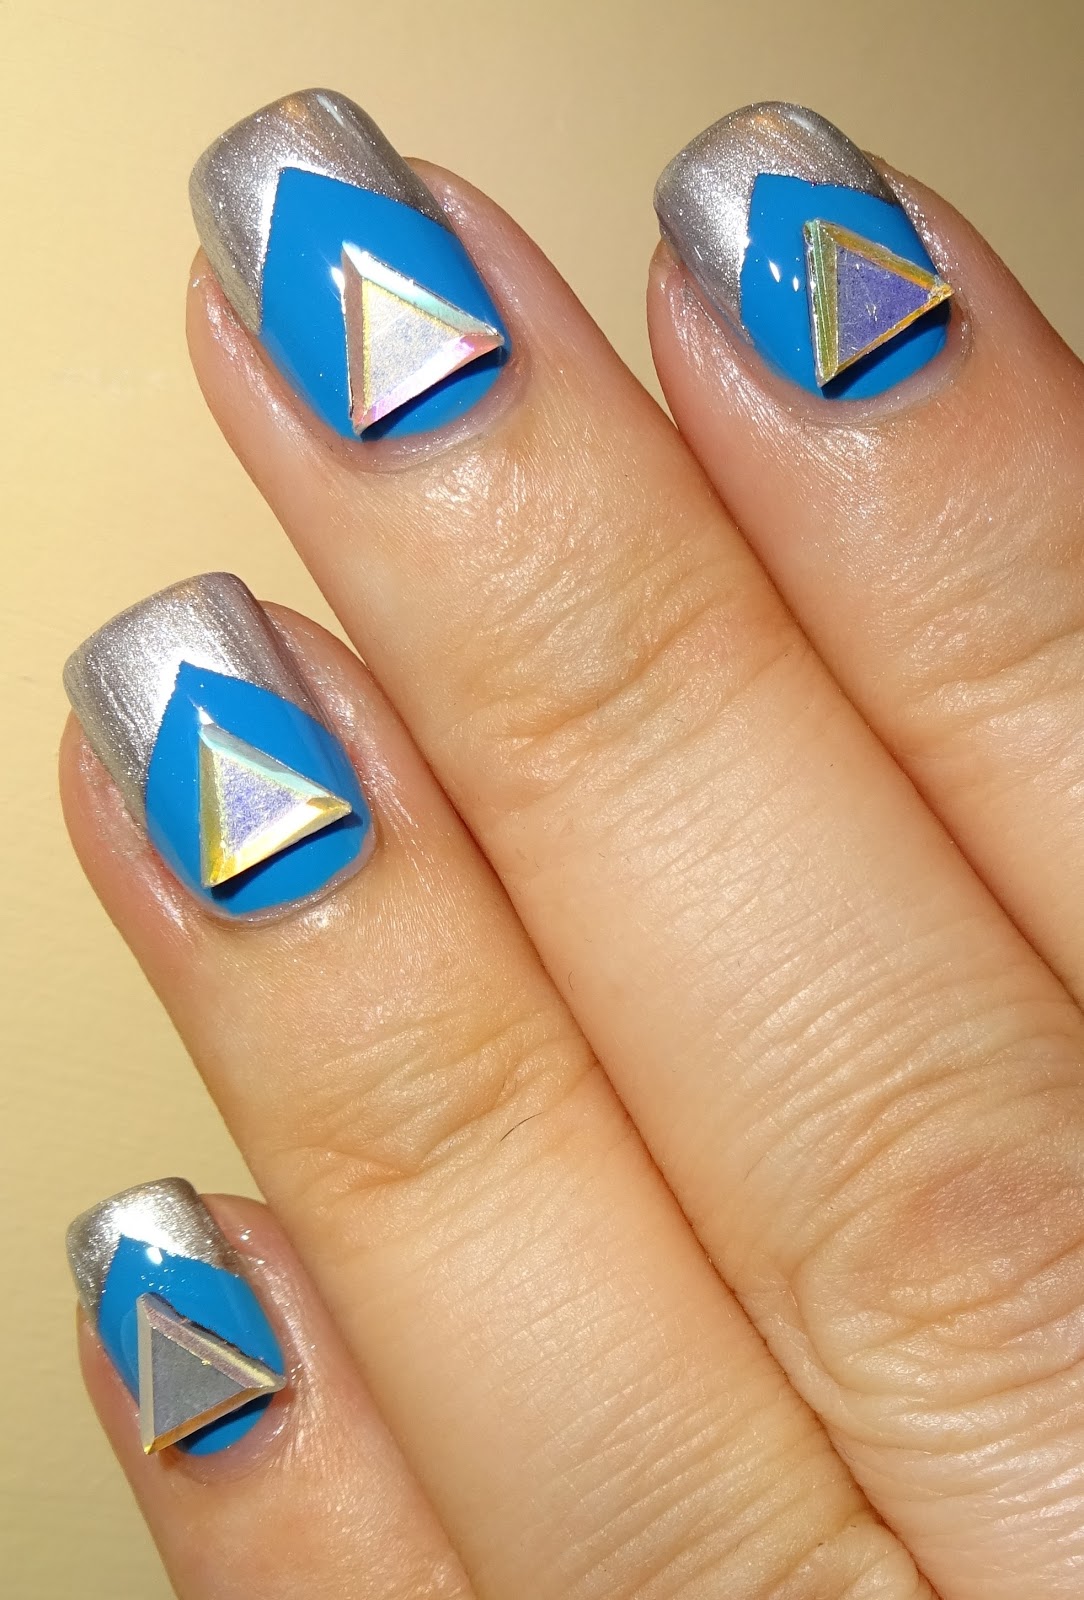
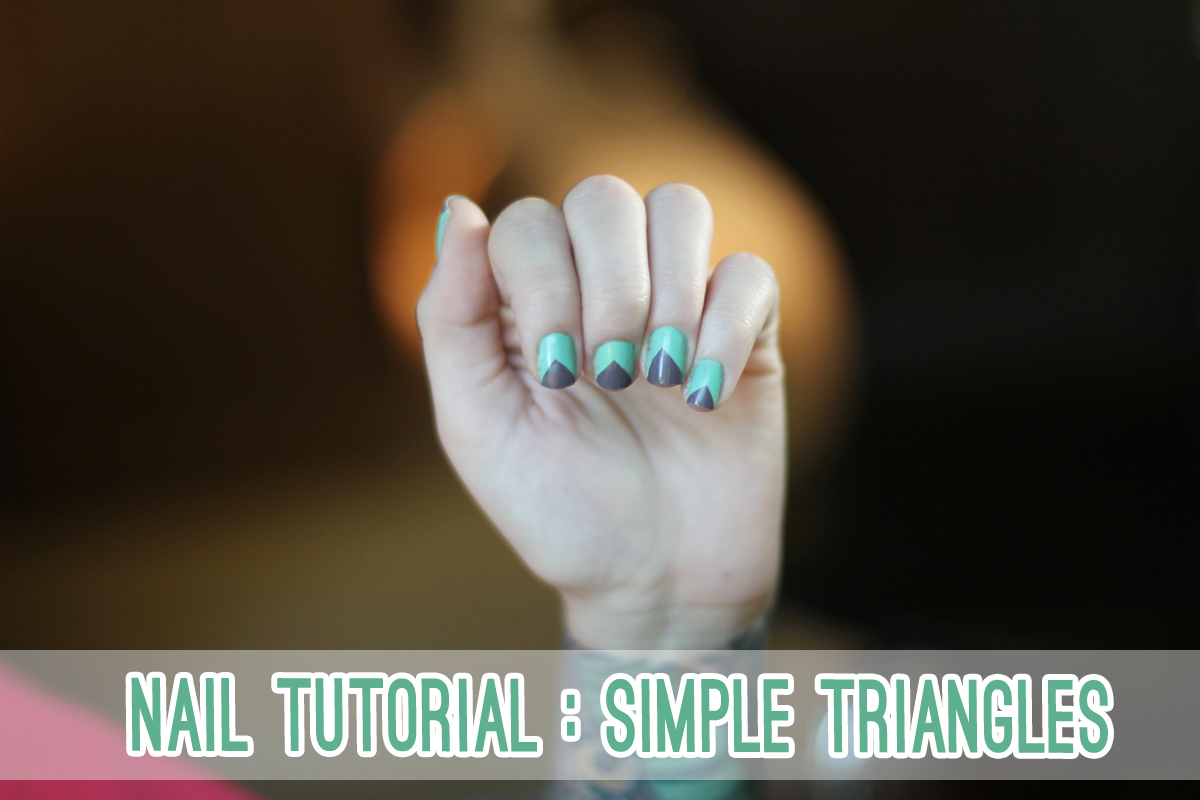
Add a modern twist to your triangle nail design with this negative space triangle nail tutorial. By leaving parts of your nail bare, you'll create a unique and edgy design that will stand out from the rest. To achieve this design, you'll need a base color, three nail polishes in different colors, and a nail art brush or toothpick. Here's how to create this trendy negative space triangle nail design: Step 1: Apply your base color and let it dry completely. Step 2: Using your nail art brush or toothpick, create a triangle shape near the base of your nail. Leave some space between the lines for the negative space effect. Step 3: Fill in the triangle with one of your nail polish colors. Step 4: Repeat step 2 and 3 with your other two nail polish colors, creating a colorblock effect within the triangle. Step 5: Let your design dry completely, then finish with a top coat to seal and protect your nails.6. Negative Space Triangle Nail Tutorial


6. Negative Space Triangle Nail Tutorial


Add a touch of sparkle to your nails with this glitter triangle nail design tutorial. Perfect for a special occasion or just to add some glam to your everyday look, this design is easy to achieve and will have you shining. For this design, you'll need a base color, a glitter nail polish, and a nail art brush or toothpick. Follow these steps to create your glittery triangle nails: Step 1: Apply your base color and let it dry completely. Step 2: Using your nail art brush or toothpick, create a triangle shape near the base of your nail. Step 3: Fill in the triangle with your glitter nail polish. Step 4: Let your design dry completely, then finish with a top coat to seal and protect your nails.7. Glitter Triangle Nail Design Tutorial

7. Glitter Triangle Nail Design Tutorial
Combine two trends in one with this ombre triangle nail tutorial. With a gradient of colors and a mix of shapes, this design is perfect for those wanting to make a statement with their nails. To achieve this design, you'll need a base color, three nail polishes in different shades of the same color, and a nail art brush or toothpick. Here's how to create this stunning ombre triangle nail design: Step 1: Apply your base color and let it dry completely. Step 2: Using your nail art brush or toothpick, create a triangle shape near the base of your nail. Make sure to use the lightest shade for the top of the triangle and the darkest shade for the bottom. Step 3: Fill in the triangle with your three ombre colors, creating a gradient effect within the triangle. Step 4: Let your design dry completely, then finish with a top coat to seal and protect your nails.8. Ombre Triangle Nail Tutorial

8. Ombre Triangle Nail Tutorial
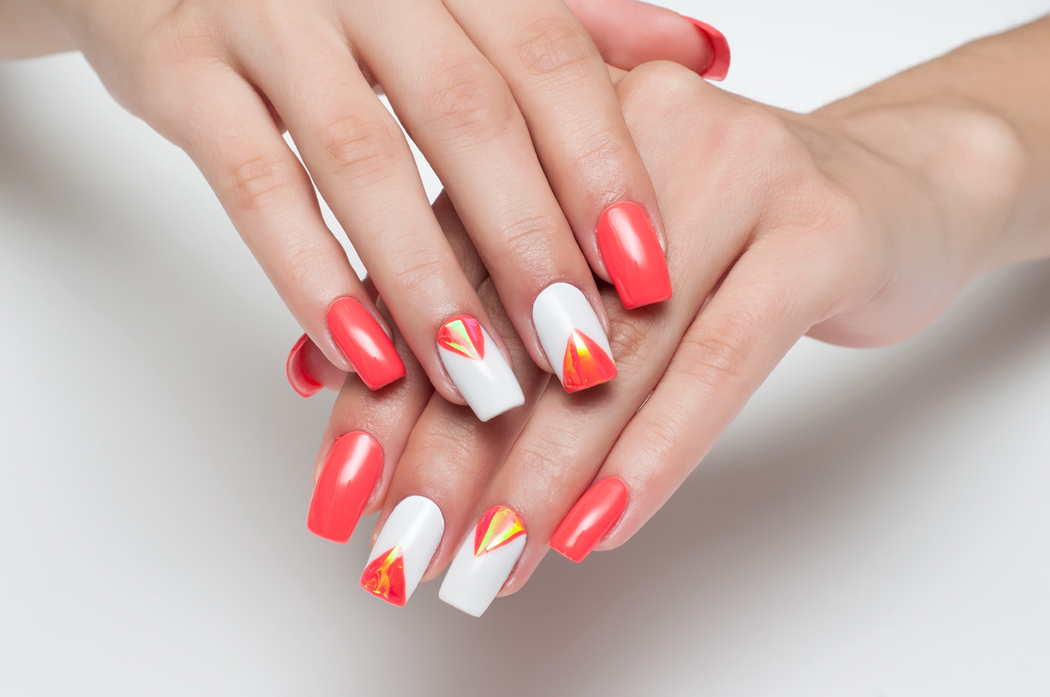
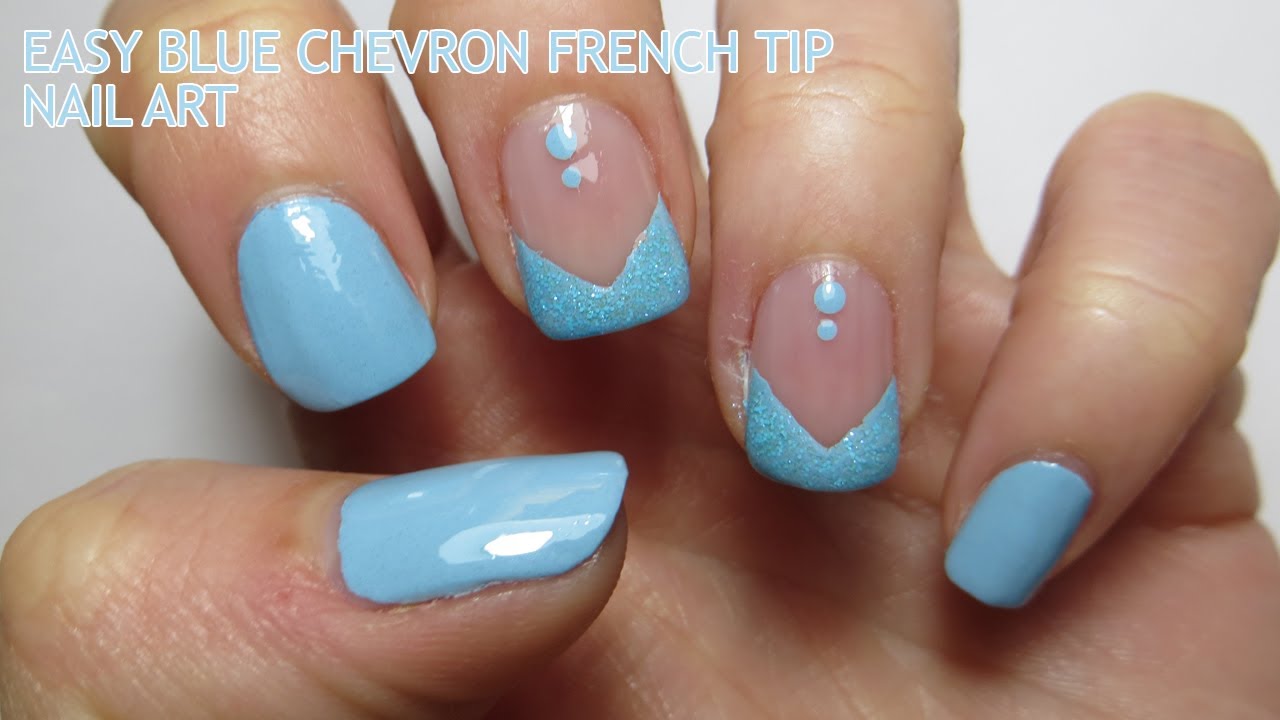
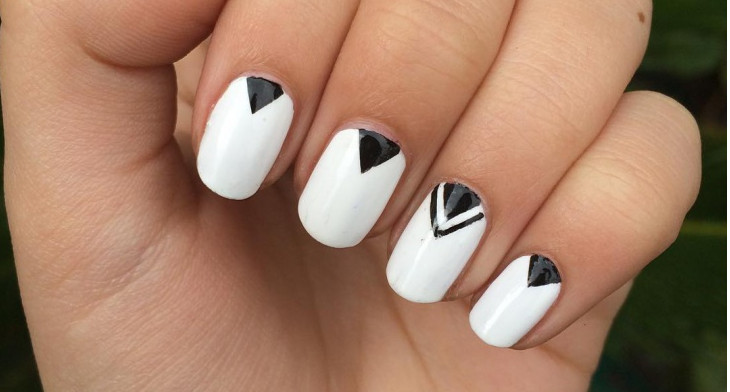
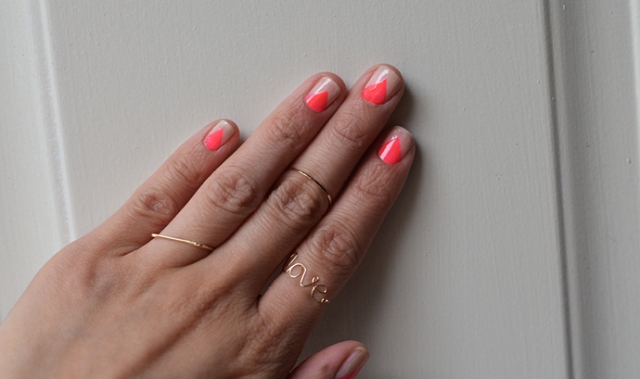
Put a twist on the classic French manicure with this French tip triangle nail design tutorial. With a pop of color and a geometric shape, this design is perfect for those wanting a more subtle yet unique look. To achieve this design, you'll need a base color, a white nail polish, and a nail art brush or toothpick. Follow these steps to create your modern French tip triangle nails: Step 1: Apply your base color and let it dry completely. Step 2: Using your nail art brush or toothpick, create a triangle shape near the tip of your nail. Step 3: Fill in the triangle with your white nail polish. Step 4: Let your design dry completely, then finish with a top coat to seal and protect your nails.9. French Tip Triangle Nail Design Tutorial
9. French Tip Triangle Nail Design Tutorial


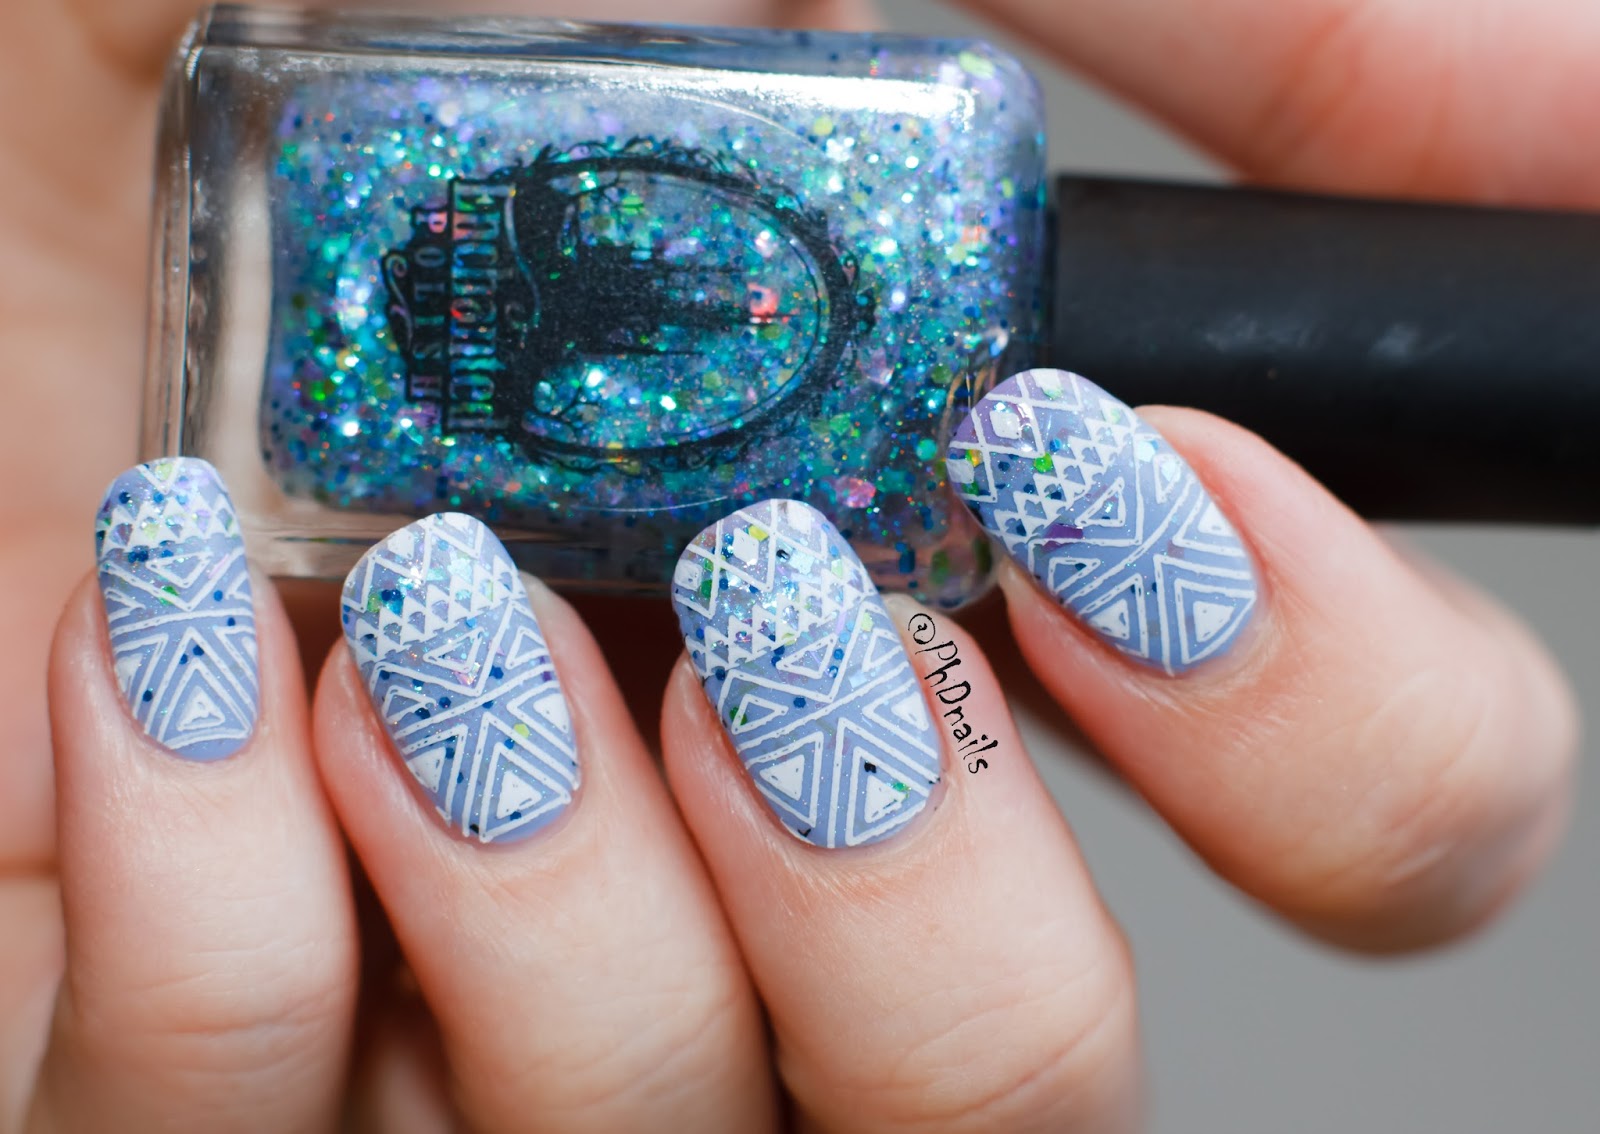
For a bold and unique look, try out this tribal triangle nail tutorial. With intricate patterns and a mix of colors, this design is perfect for those wanting to make a statement with their nails. To achieve this design, you'll need a base color, a black nail polish, and a nail art brush or toothpick. Here's how to create this tribal-inspired triangle nail design: Step 1: Apply your base color and let it dry completely. Step 2: Using your nail art brush or toothpick, create a triangle shape near the base of your nail. Step 3: Fill in the triangle with your black nail polish. Step 4: Using your nail art brush or toothpick, create tribal patterns within the triangle using your base color. Step 5: Let your design dry completely, then finish with a top coat to seal and protect your nails.10. Tribal Triangle Nail Tutorial
10. Tribal Triangle Nail Tutorial
Creating a Unique Triangle Nail Design: A Step-by-Step Tutorial

Introduction
 When it comes to nail designs, the possibilities are endless. From intricate patterns to bold colors, there is no limit to what you can create on your nails. One design that has been gaining popularity in recent years is the triangle nail design. This geometric and modern look adds a unique touch to any manicure, and the best part is, it's easy to do at home. In this tutorial, we will guide you through the steps to achieve a stunning triangle nail design that will have everyone asking, "How did you do that?"
Step 1: Gather Your Materials
 Before getting started, make sure you have all the necessary materials. You will need:
- Nail polish: Choose three colors that complement each other and will create a striking contrast.
- Top coat: This will seal your design and make it last longer.
- Base coat: Applying a base coat will protect your nails from staining and help the polish adhere better.
- Scotch tape: This will be used to create the triangle shape on your nails.
- Nail polish remover: Keep this nearby in case of any mistakes.
- Cotton swabs: These are helpful for cleaning up any excess polish.
- Nail file: Use this to shape and smooth your nails before starting the design.
Step 2: Prep Your Nails
 Start by filing your nails to your desired shape and length. Then, apply a base coat to protect your nails and allow it to dry completely. This will prevent any air bubbles from forming under the polish.
Step 3: Create the Triangle Shape
 Cut a piece of scotch tape into a triangle shape and stick it onto your nail, leaving the tip of the triangle exposed. Make sure the tape is firmly pressed down to avoid any polish bleeding underneath. Repeat this step on all of your nails.
Step 4: Apply the First Color
 Take your first chosen color and paint the exposed area of your nail. Make sure to cover the entire triangle shape and remove the tape immediately after. This will prevent the polish from drying and creating a messy edge. Allow the polish to dry completely before moving on to the next step.
Step 5: Repeat with the Other Colors
 Once the first color is dry, repeat the same process with your other two colors, making sure to cover the exposed area of the nail with the tape. This will create a layered effect and give your design more depth.
Step 6: Add a Top Coat
 Once all the colors are dry, carefully remove the tape from your nails. If there are any edges that need to be cleaned up, use a cotton swab dipped in nail polish remover. Finally, apply a top coat to seal the design and add a glossy finish.
Final Thoughts
 With these simple steps, you can achieve a unique and eye-catching triangle nail design. Play around with different color combinations and shapes to create your own personalized look. Remember to have fun and be creative with your designs. Now, go show off your stunning nails!


