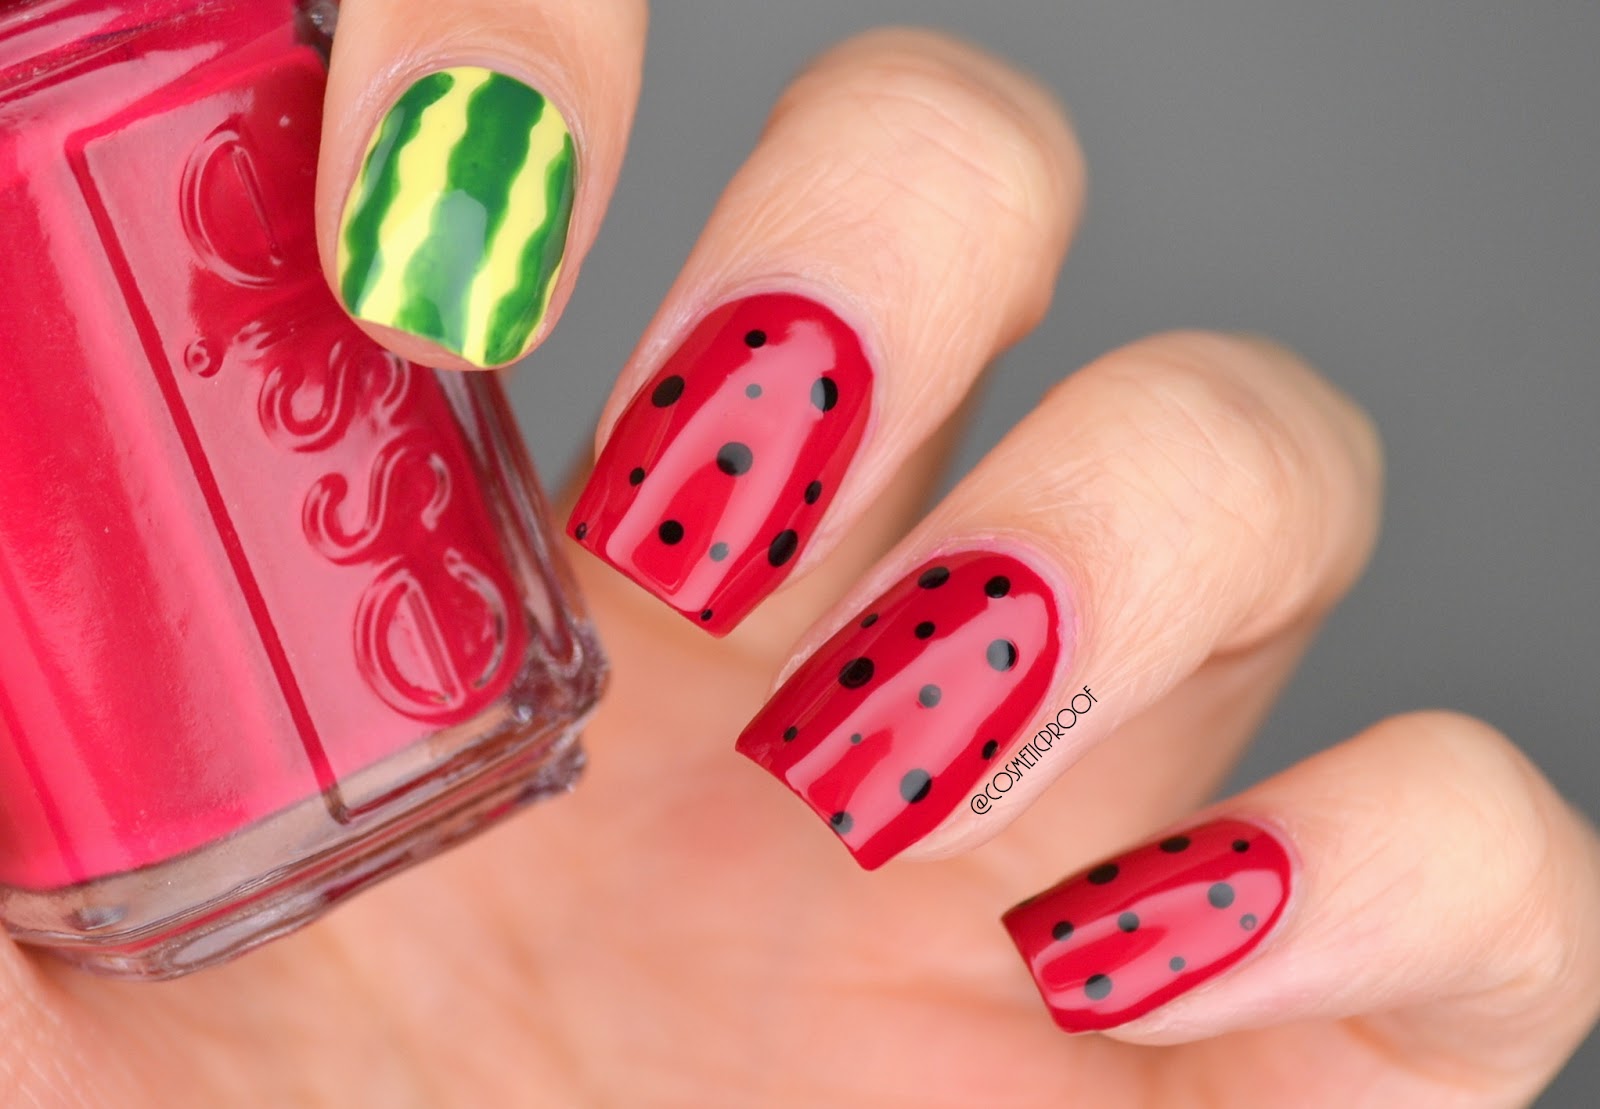
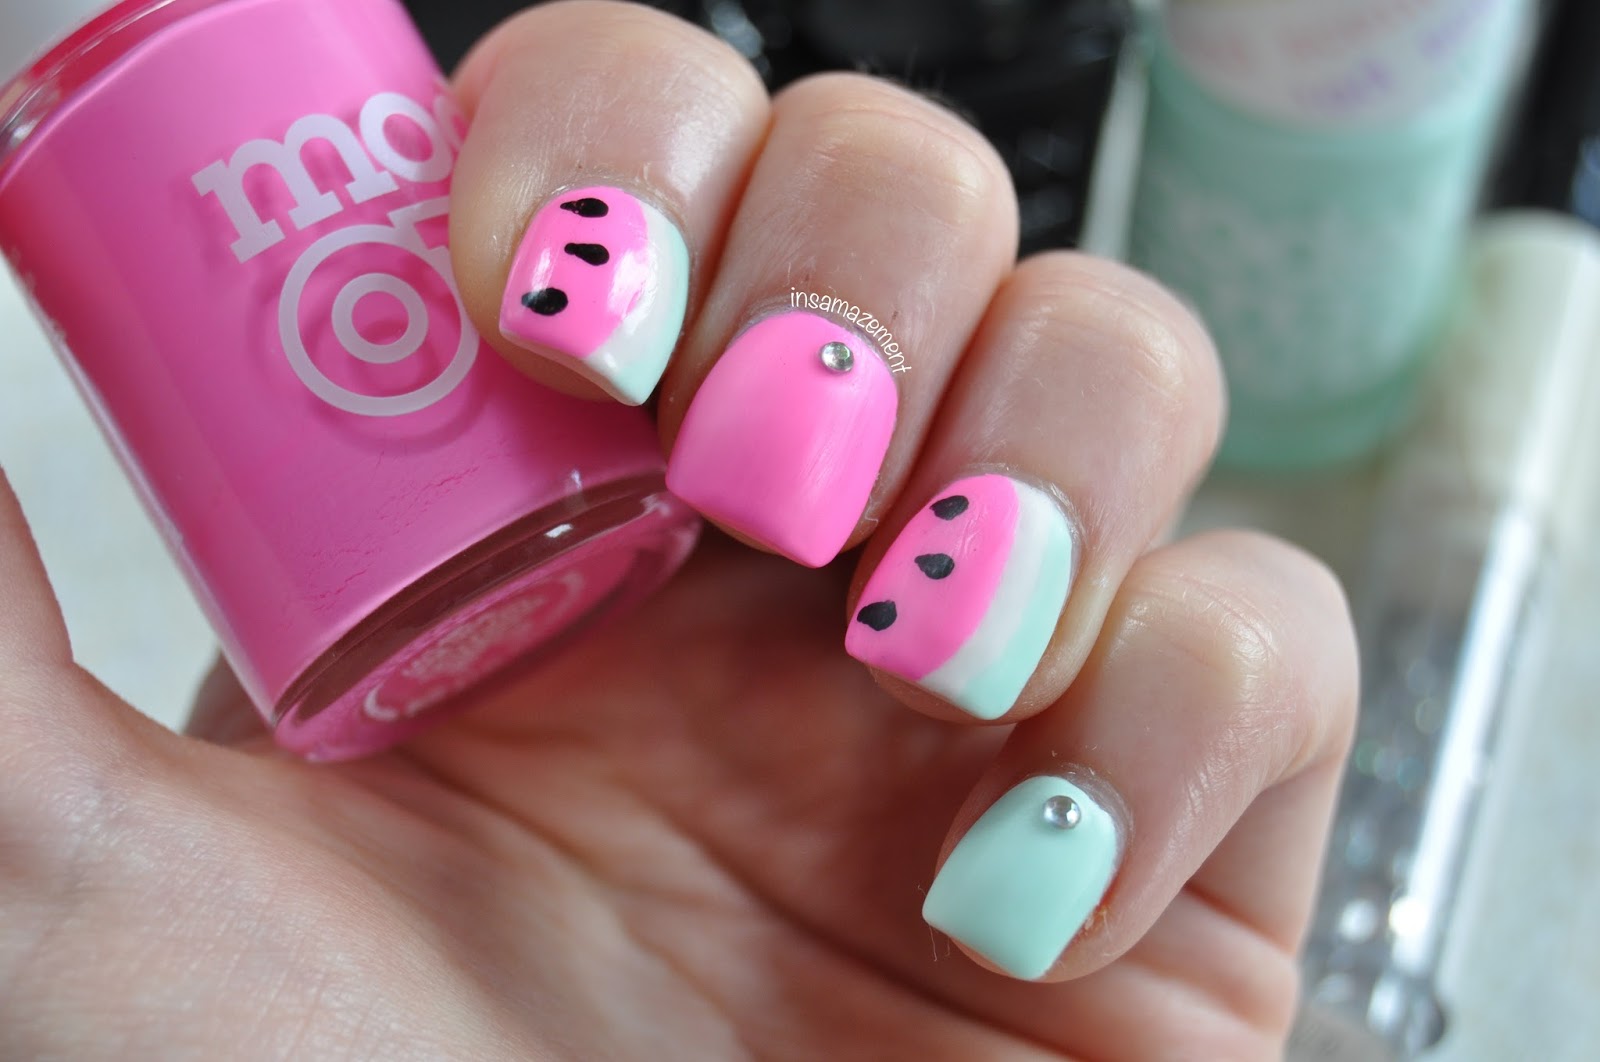
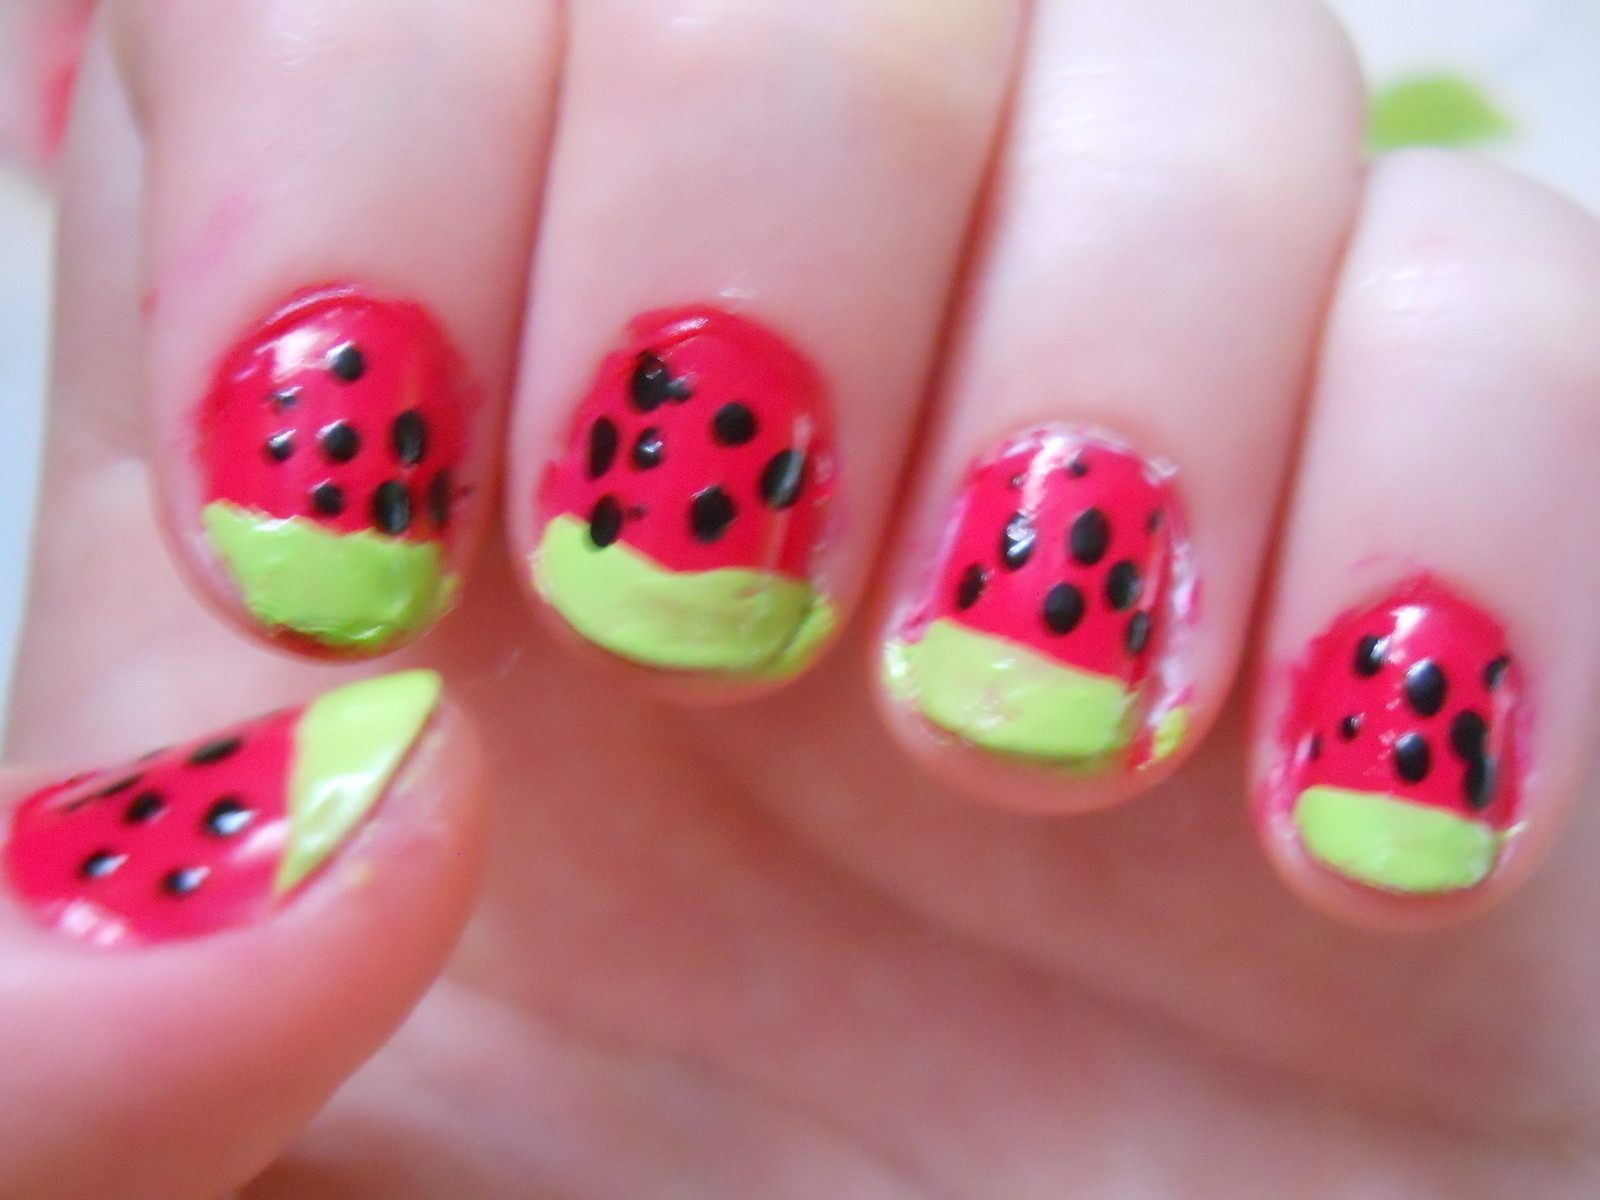
If you're looking for a fun and eye-catching nail design, look no further than watermelon nail art! This tutorial will guide you through the steps of creating an easy watermelon nail design that is perfect for any occasion. To start, you will need a few basic nail polish colors: pink, green, black, and white. You will also need a thin nail brush, a dotting tool, and a top coat. Begin by painting your nails with a pink base color. This will serve as the base for your watermelon design. Let the polish dry completely before moving on to the next step. Using a thin nail brush, create a green tip on each nail. This will represent the rind of the watermelon. Don't worry about making the lines perfect, as the imperfections will add to the charm of the design. Next, use a dotting tool to create black seeds on the top half of each nail. You can use a toothpick or the end of a bobby pin if you don't have a dotting tool. Simply dip the tool into the black polish and gently press it onto the nail in a random pattern. Once the black seeds are dry, use the dotting tool again to create white seeds on top of the black ones. This will give the design a more realistic look. Finish off your watermelon nail design with a top coat to seal in the colors and add shine. And that's it! You now have a fun and easy watermelon nail art design that is perfect for any summer day.1. Easy Watermelon Nail Art Tutorial


1. Easy Watermelon Nail Art Tutorial

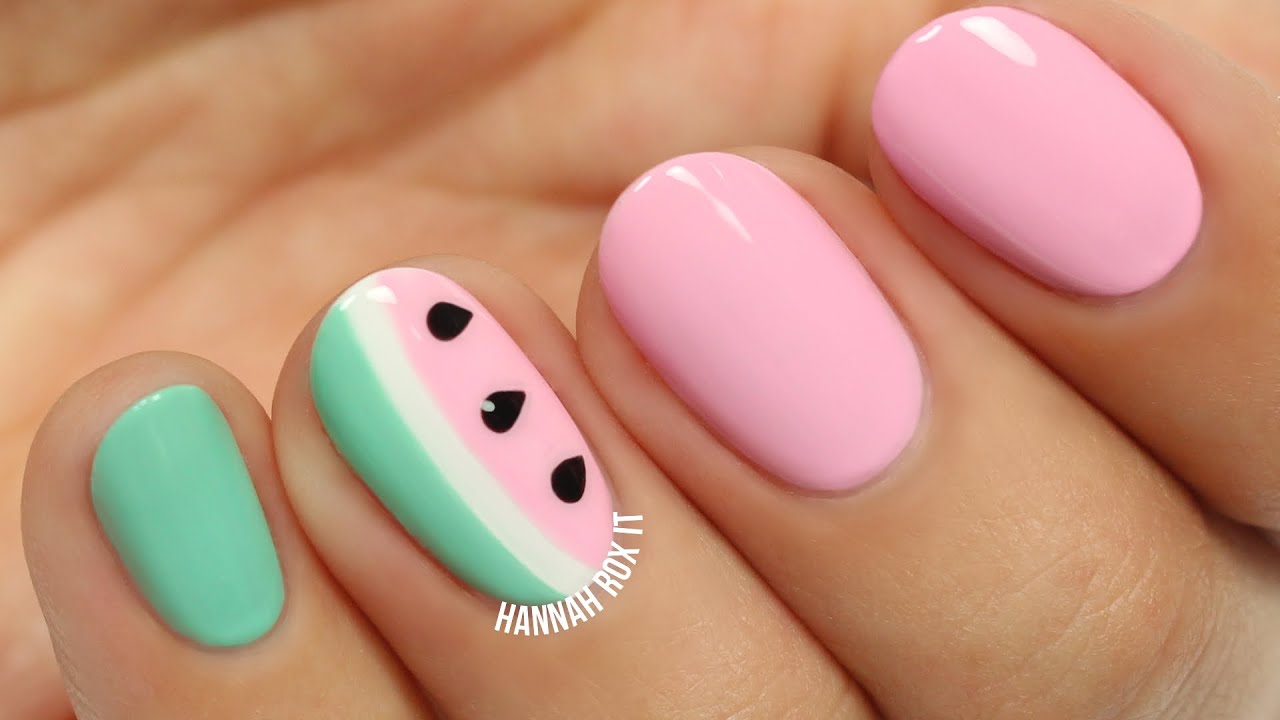
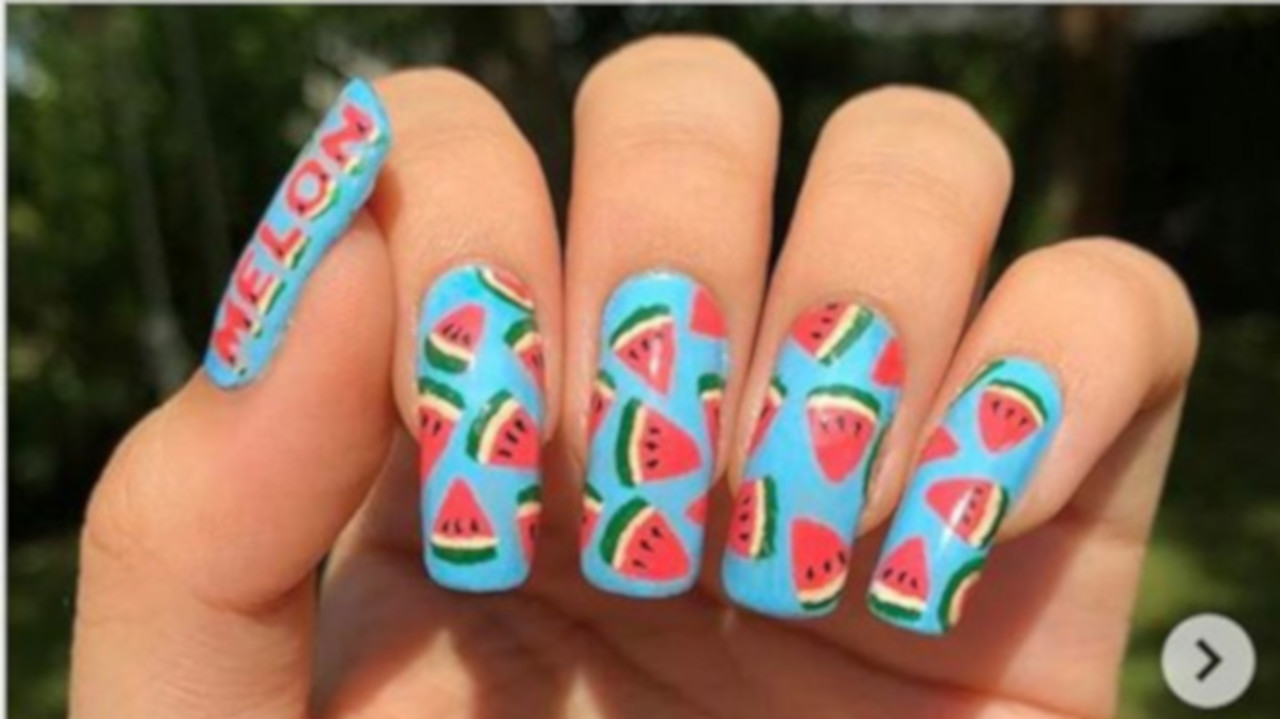
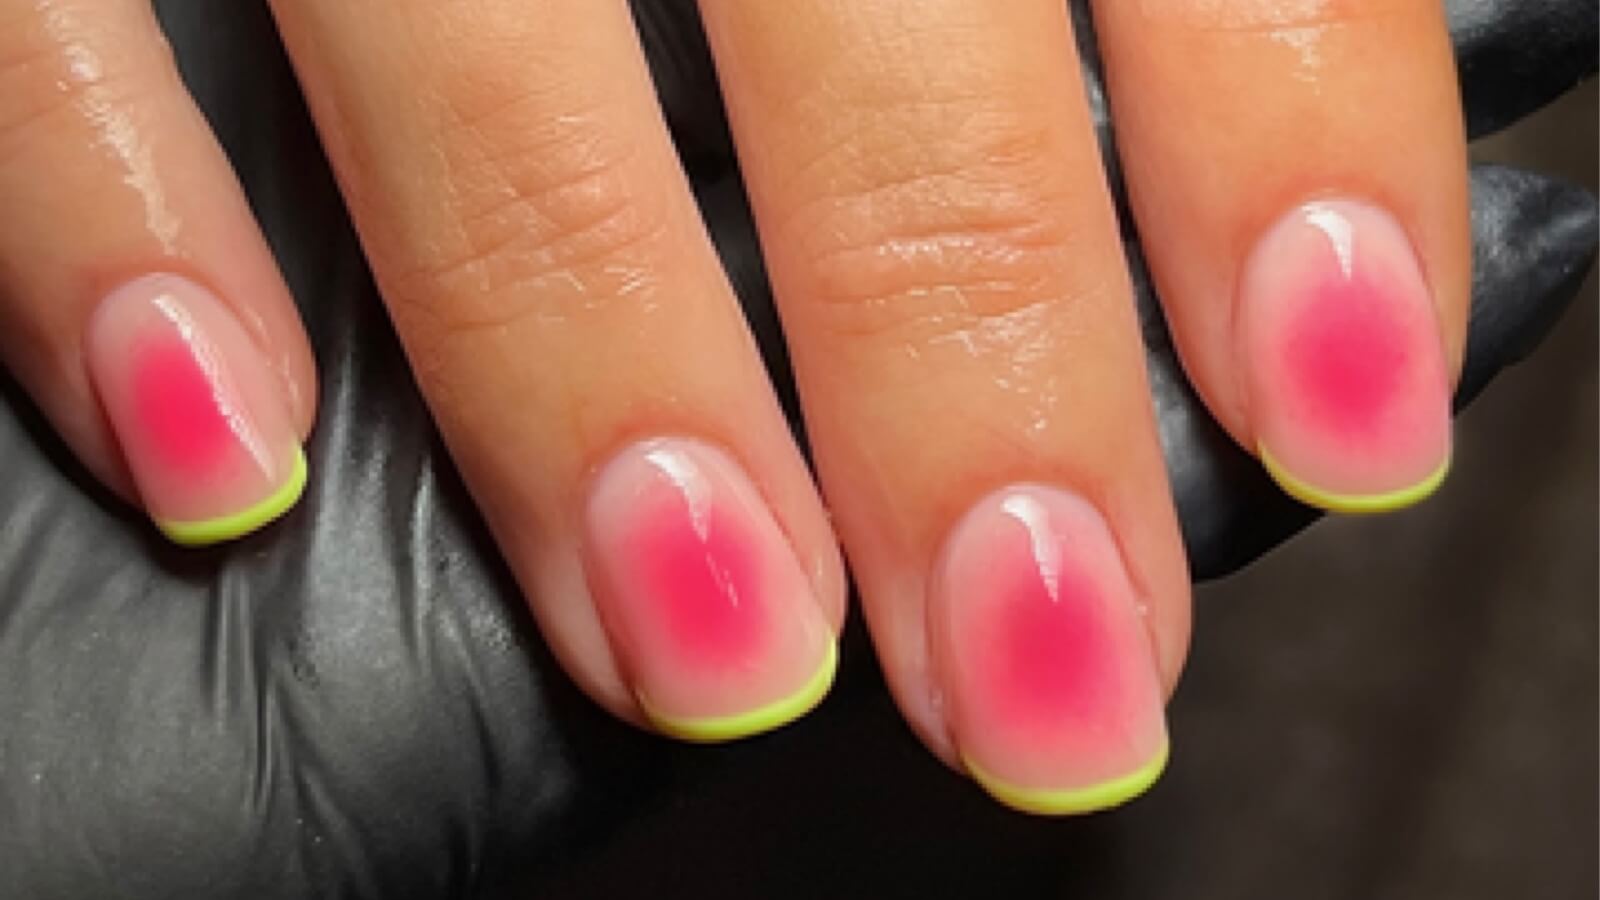
If you're someone who loves to do their own nails at home, this DIY watermelon nail design is for you! With just a few simple steps, you can create a cute and unique nail design that will make a statement. To start, gather your supplies: pink, green, black, and white nail polish, a thin nail brush, a dotting tool, and a top coat. Begin by painting your nails with a pink base color. This will serve as the base for your watermelon design. Let the polish dry completely before moving on to the next step. Next, use the thin nail brush to create a green tip on each nail. This will represent the rind of the watermelon. You can use a toothpick if you don't have a thin nail brush. Using the dotting tool, create black seeds on the top half of each nail. You can make the seeds as big or small as you'd like, just make sure they are evenly spaced out. Once the black seeds are dry, use the dotting tool to add white seeds on top of the black ones. This will give the design a more realistic look. Finish off your DIY watermelon nail design with a top coat to seal in the colors and add shine. And there you have it, a fun and easy DIY watermelon nail design that you can do at home.2. DIY Watermelon Nail Design


2. DIY Watermelon Nail Design


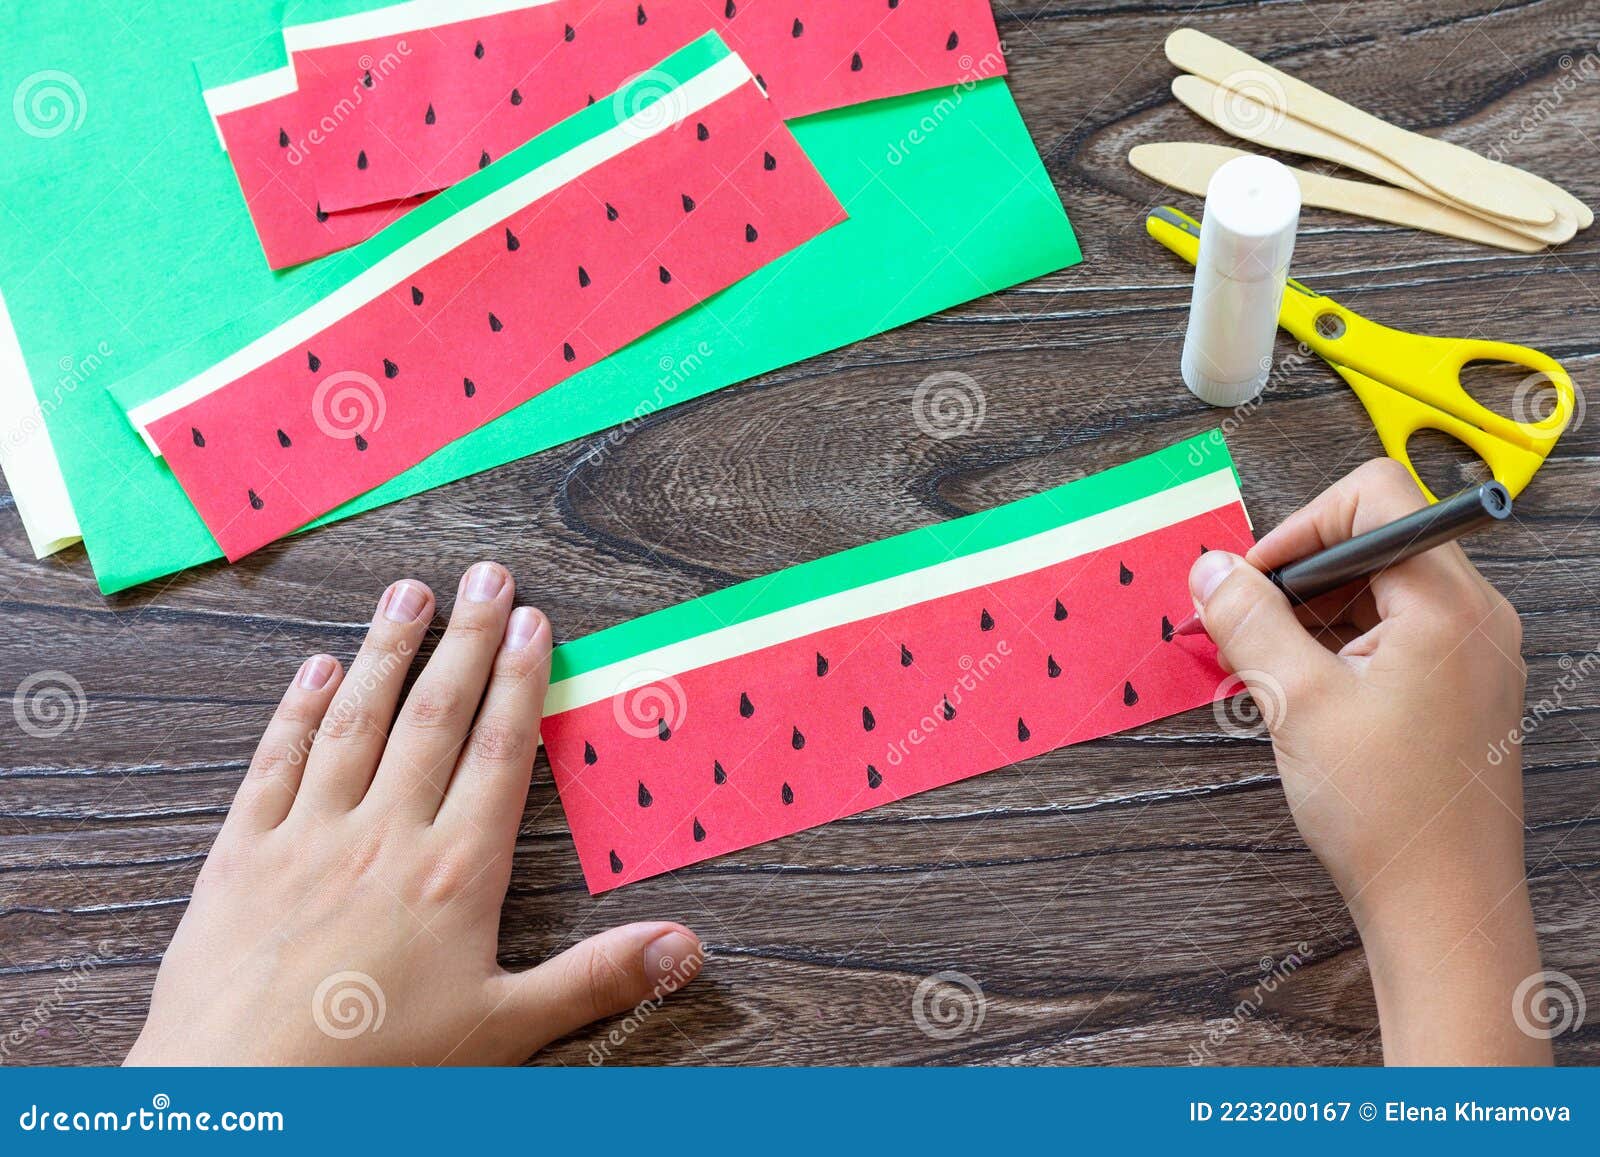
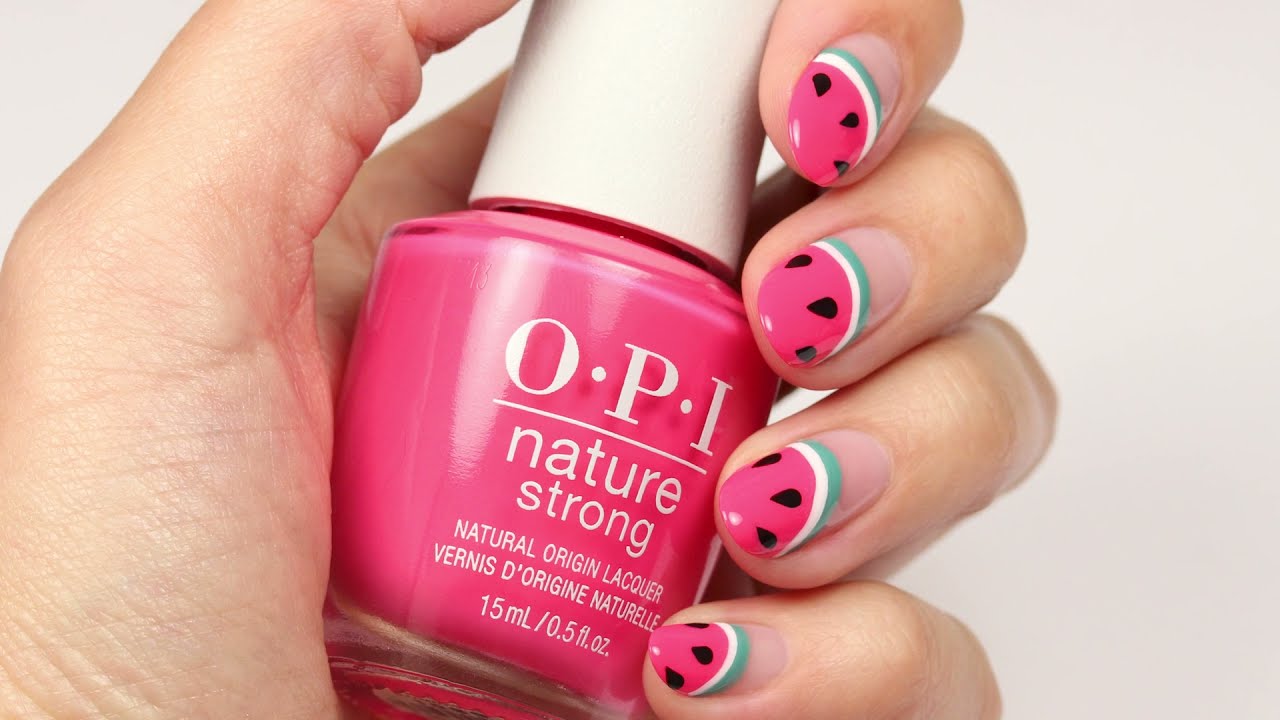
If you're new to nail art or just want a detailed breakdown of the steps, this step-by-step watermelon nail tutorial is perfect for you. Follow these instructions and you'll have a fun and unique watermelon nail design in no time. To start, gather your supplies: pink, green, black, and white nail polish, a thin nail brush, a dotting tool, and a top coat. Begin by painting your nails with a pink base color. Make sure to let the polish dry completely before moving on to the next step. Next, use the thin nail brush to create a green tip on each nail. This will represent the rind of the watermelon. You can use a toothpick if you don't have a thin nail brush. Using the dotting tool, create black seeds on the top half of each nail. Make sure to evenly space out the seeds and make them different sizes for a more realistic look. Once the black seeds are dry, use the dotting tool to add white seeds on top of the black ones. This will give the design more dimension and make it look more like a real watermelon. Finish off your watermelon nail design with a top coat to seal in the colors and add shine. And that's it, you now have a cute and colorful watermelon nail design!3. Step-by-Step Watermelon Nail Tutorial


3. Step-by-Step Watermelon Nail Tutorial


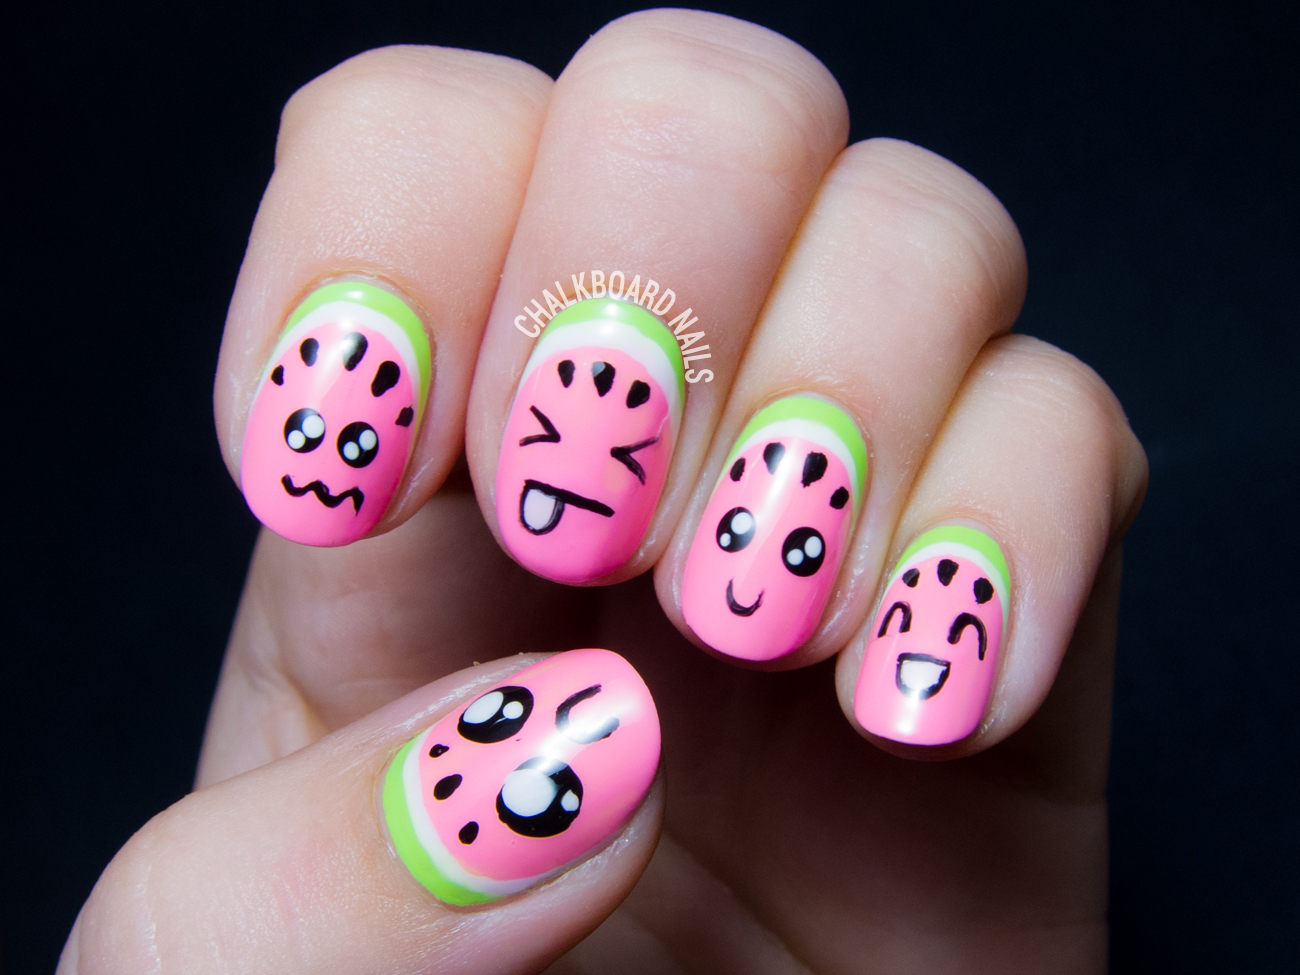
If you're new to nail art, don't let that stop you from trying out this cute watermelon nail design. With just a few simple steps, you can create a fun and unique design that is perfect for beginners. For this design, you will need pink, green, black, and white nail polish, a thin nail brush, a dotting tool, and a top coat. Start by painting your nails with a pink base color. Let the polish dry completely before moving on to the next step. Using the thin nail brush, create a green tip on each nail. This will represent the rind of the watermelon. Don't worry about making the lines perfect, as the imperfections will add to the charm of the design. Next, use the dotting tool to create black seeds on the top half of each nail. You can make them different sizes and shapes to make the design more interesting. Once the black seeds are dry, use the dotting tool to add white seeds on top of the black ones. This will give the design more dimension and make it look more like a real watermelon. Finish off your cute watermelon nail design with a top coat to seal in the colors and add shine. And there you have it, a simple and cute watermelon nail design that is perfect for beginners.4. Cute Watermelon Nail Design for Beginners


4. Cute Watermelon Nail Design for Beginners


Just because you have short nails doesn't mean you can't rock a fun and colorful nail design. This watermelon nail art tutorial is perfect for short nails and will make them stand out. For this design, you will need pink, green, black, and white nail polish, a thin nail brush, a dotting tool, and a top coat. Start by painting your nails with a pink base color. Let the polish dry completely before moving on to the next step. Next, use the thin nail brush to create a green tip on each nail. This will represent the rind of the watermelon. You can use a toothpick if you don't have a thin nail brush. Using the dotting tool, create black seeds on the top half of each nail. Make sure to evenly space out the seeds and make them different sizes for a more realistic look. Once the black seeds are dry, use the dotting tool to add white seeds on top of the black ones. This will give the design more dimension and make it look more like a real watermelon. Finish off your watermelon nail design with a top coat to seal in the colors and add shine. And there you have it, a cute and simple watermelon nail design for short nails.5. Watermelon Nail Art Tutorial for Short Nails


5. Watermelon Nail Art Tutorial for Short Nails

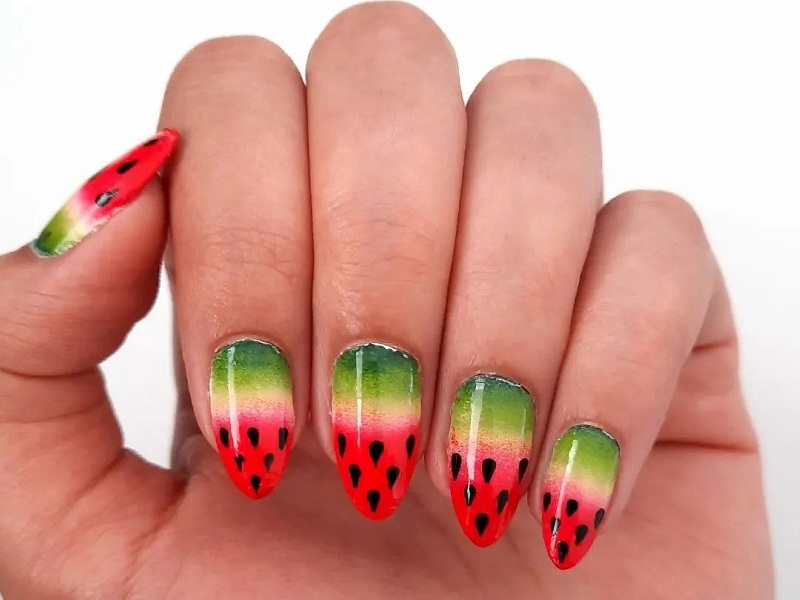
Nothing says summer like a bright and colorful watermelon nail design. This tutorial will guide you through the steps of creating a fun and vibrant watermelon nail design that is perfect for the summer season. For this design, you will need pink, green, black, and white nail polish, a thin nail brush, a dotting tool, and a top coat. Start by painting your nails with a pink base color. Let the polish dry completely before moving on to the next step. Next, use the thin nail brush to create a green tip on each nail. This will represent the rind of the watermelon. You can use a toothpick if you don't have a thin nail brush. Using the dotting tool, create black seeds on the top half of each nail. Make sure to evenly space out the seeds and make them different sizes for a more realistic look. Once the black seeds are dry, use the dotting tool to add white seeds on top of the black ones. This will give the design more dimension and make it look more like a real watermelon. Finish off your summer watermelon nail design with a top coat to seal in the colors and add shine. And there you have it, a fun and colorful watermelon nail design that is perfect for summer.6. Summer Watermelon Nail Design Tutorial

6. Summer Watermelon Nail Design Tutorial
If you don't have any fancy nail tools, don't worry! This watermelon nail design can be created using just a toothpick. Follow these steps to create a unique and textured watermelon design. For this design, you will need pink, green, black, and white nail polish, a toothpick, and a top coat. Start by painting your nails with a pink base color. Let the polish dry completely before moving on to the next step. Next, use the toothpick to create a green tip on each nail. This will represent the rind of the watermelon. Simply dip the toothpick into the green polish and lightly drag it across the tip of your nail. Using the toothpick again, create black seeds on the top half of each nail. You can make them different sizes and shapes to make the design more interesting. Once the black seeds are dry, use the toothpick to add white seeds on top of the black ones. This will give the design more dimension and make it look more like a real watermelon. Finish off your watermelon nail design with a top coat to seal in the colors and add shine. And there you have it, a unique and textured watermelon nail design created with just a toothpick.7. Watermelon Nail Design with Toothpick Tutorial

7. Watermelon Nail Design with Toothpick Tutorial


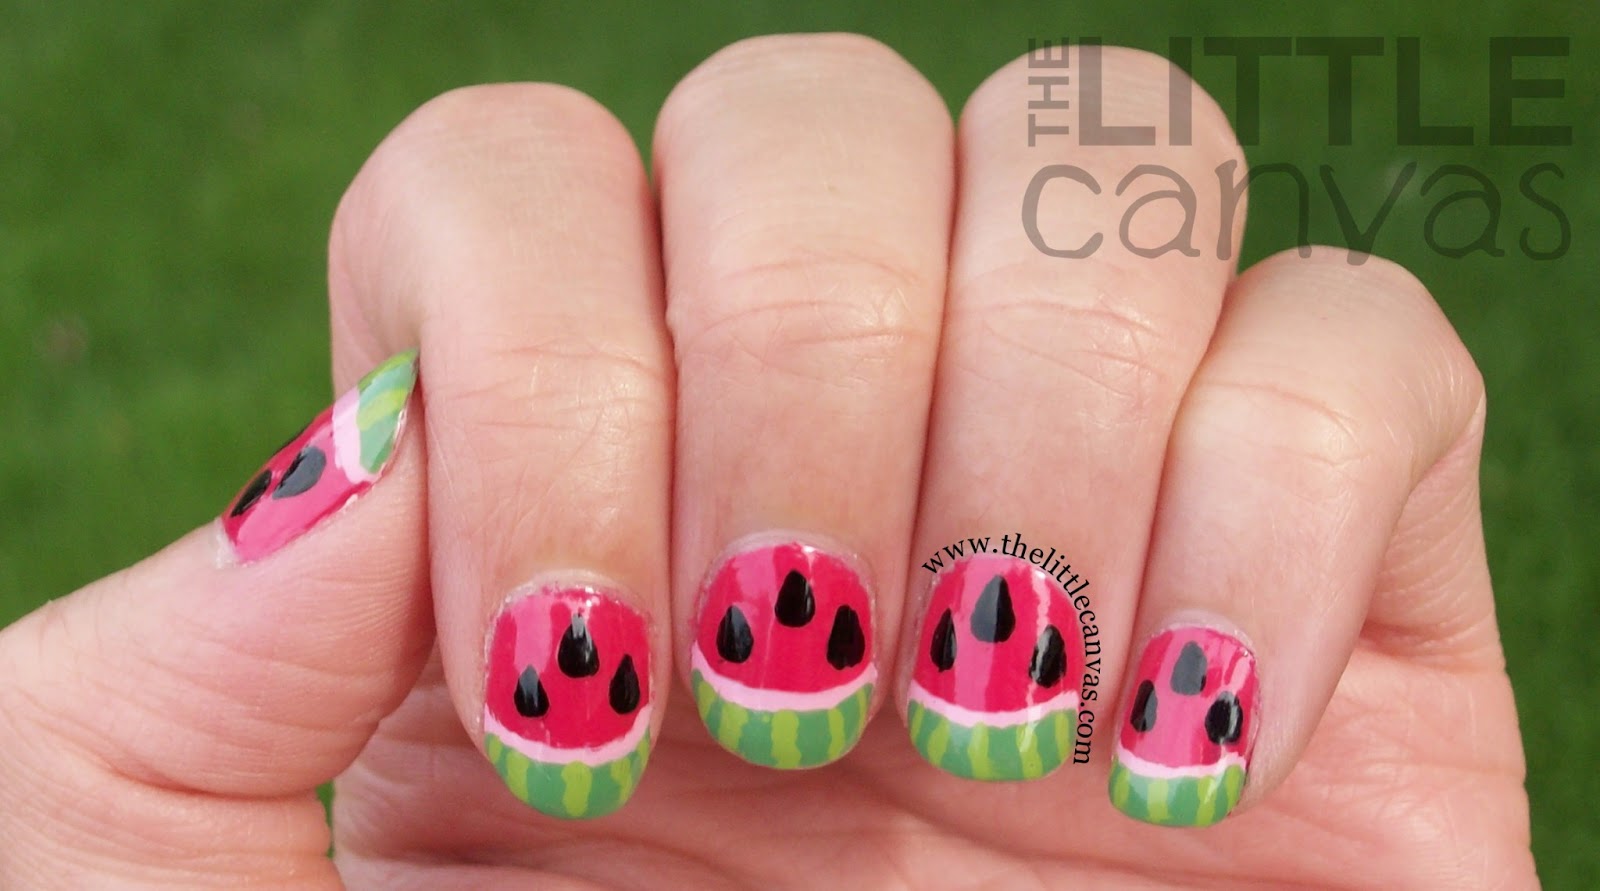
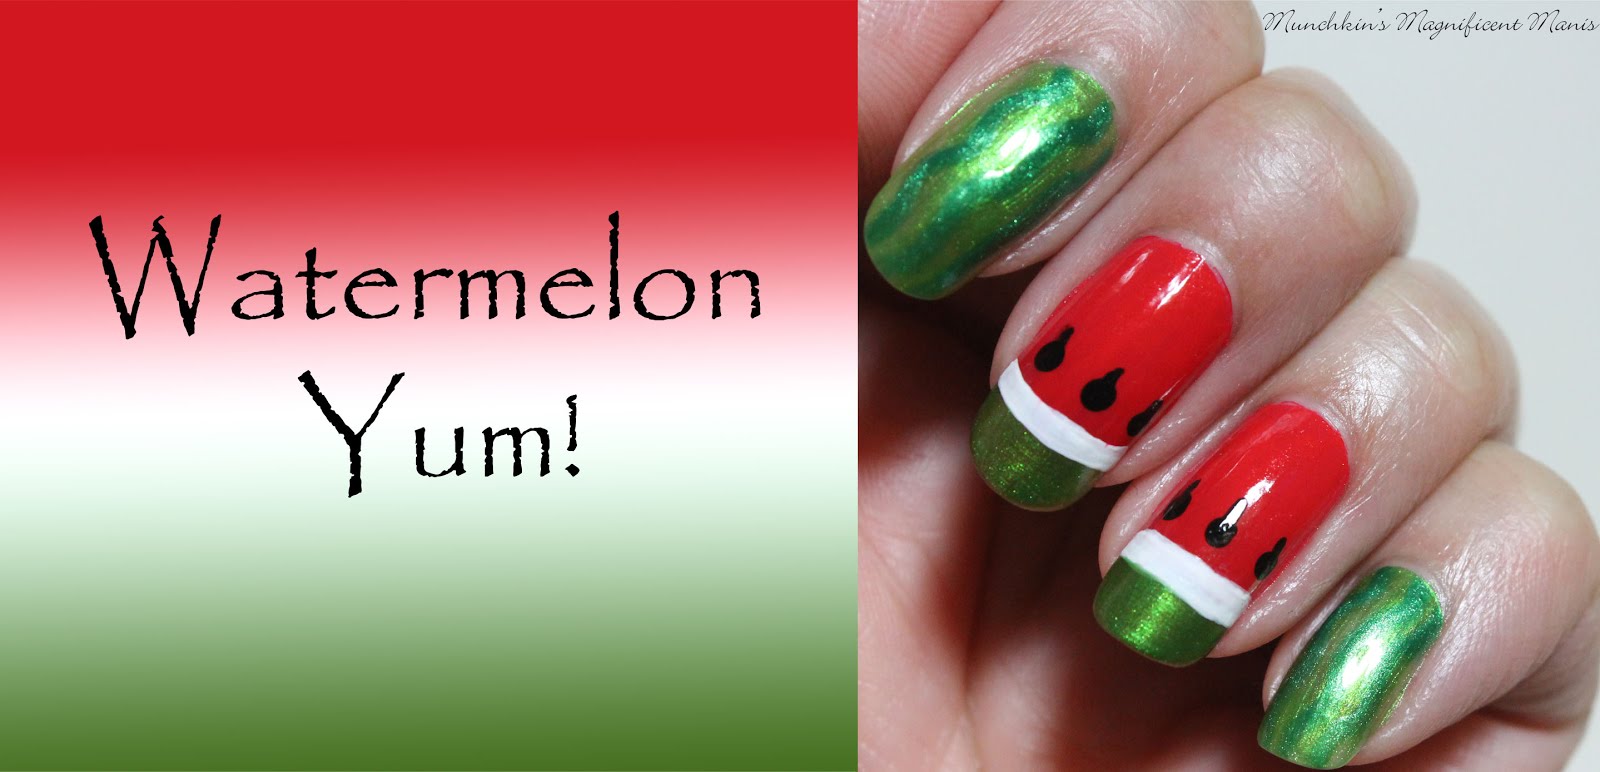
If you want to take your watermelon nail design to the next level, try this watermelon slice nail art tutorial. With just a few extra steps, you can create a fun and eye-catching design that will make a statement. To start, gather your supplies: pink, green, black, and white nail polish, a thin nail brush, a dotting tool, and a top coat. Start by painting your nails with a pink base color. Let the polish dry completely before moving on to the next step. Next, use the thin nail brush to create a green tip on each nail. This will represent the rind of the watermelon. You can use a toothpick if you don't have a thin nail brush. Using the dotting tool, create black seeds on the top half of each nail. Make sure to evenly space out the seeds and make them different sizes for a more realistic look. Once the black seeds are dry, use the dotting tool to add white seeds on top of the black ones. This will give the design more dimension and make it look more like a real watermelon. To create the watermelon slice, use the thin nail brush to create a green triangle on the bottom half of each nail. Make sure to leave some space between the green and the pink. Using the dotting tool, add some white seeds on the green triangle. This will give the slice more dimension and make it look more realistic. Finish off your watermelon slice nail art with a top coat to seal in the colors and add shine. And there you have it, a fun and unique watermelon slice nail design that will make a statement.8. Watermelon Slice Nail Art Tutorial

8. Watermelon Slice Nail Art Tutorial
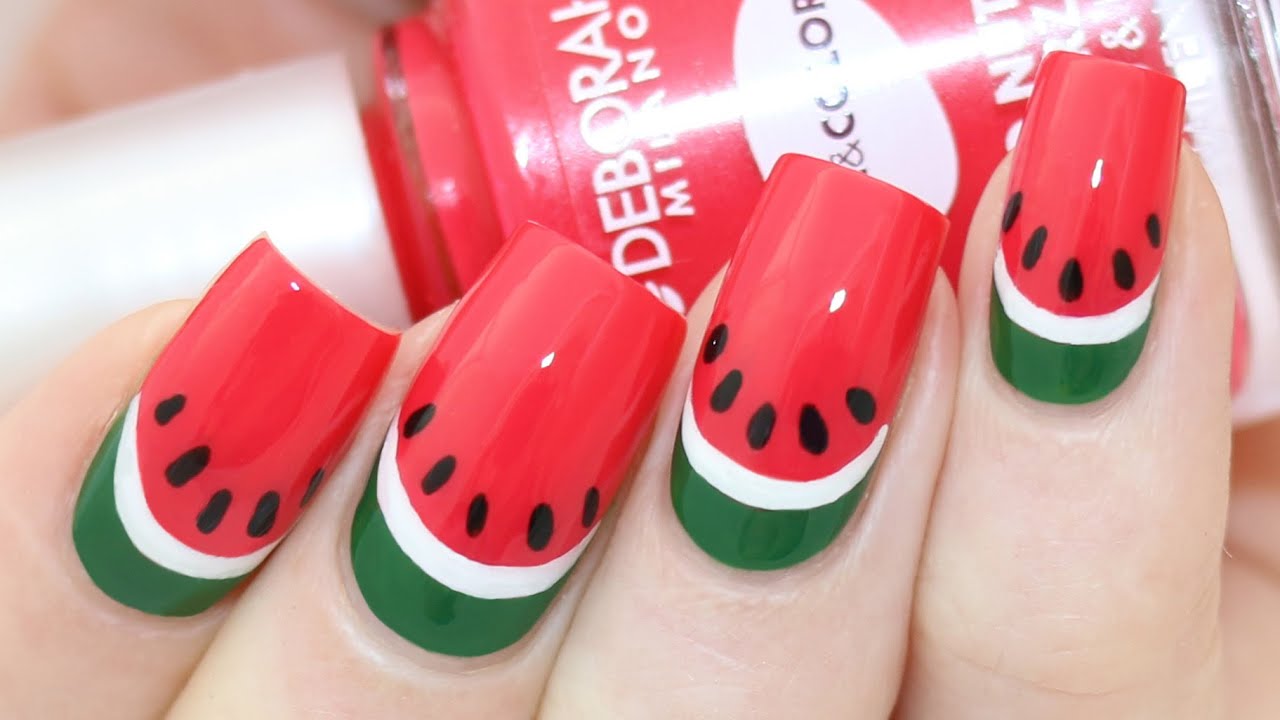
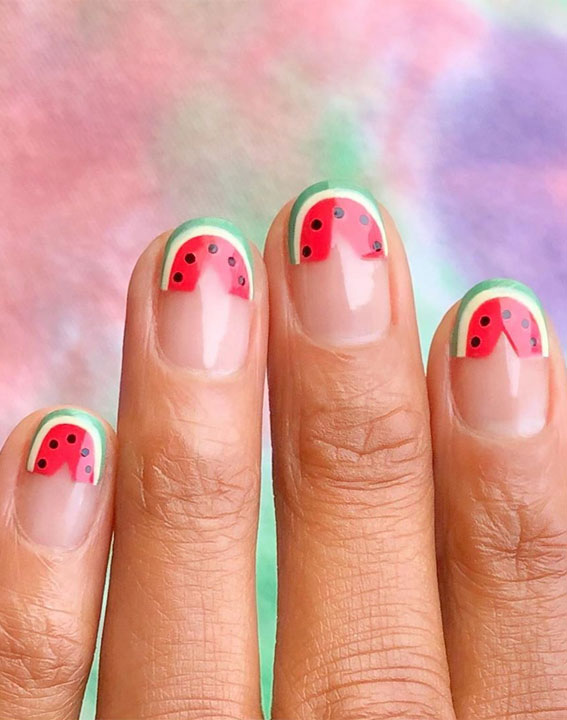
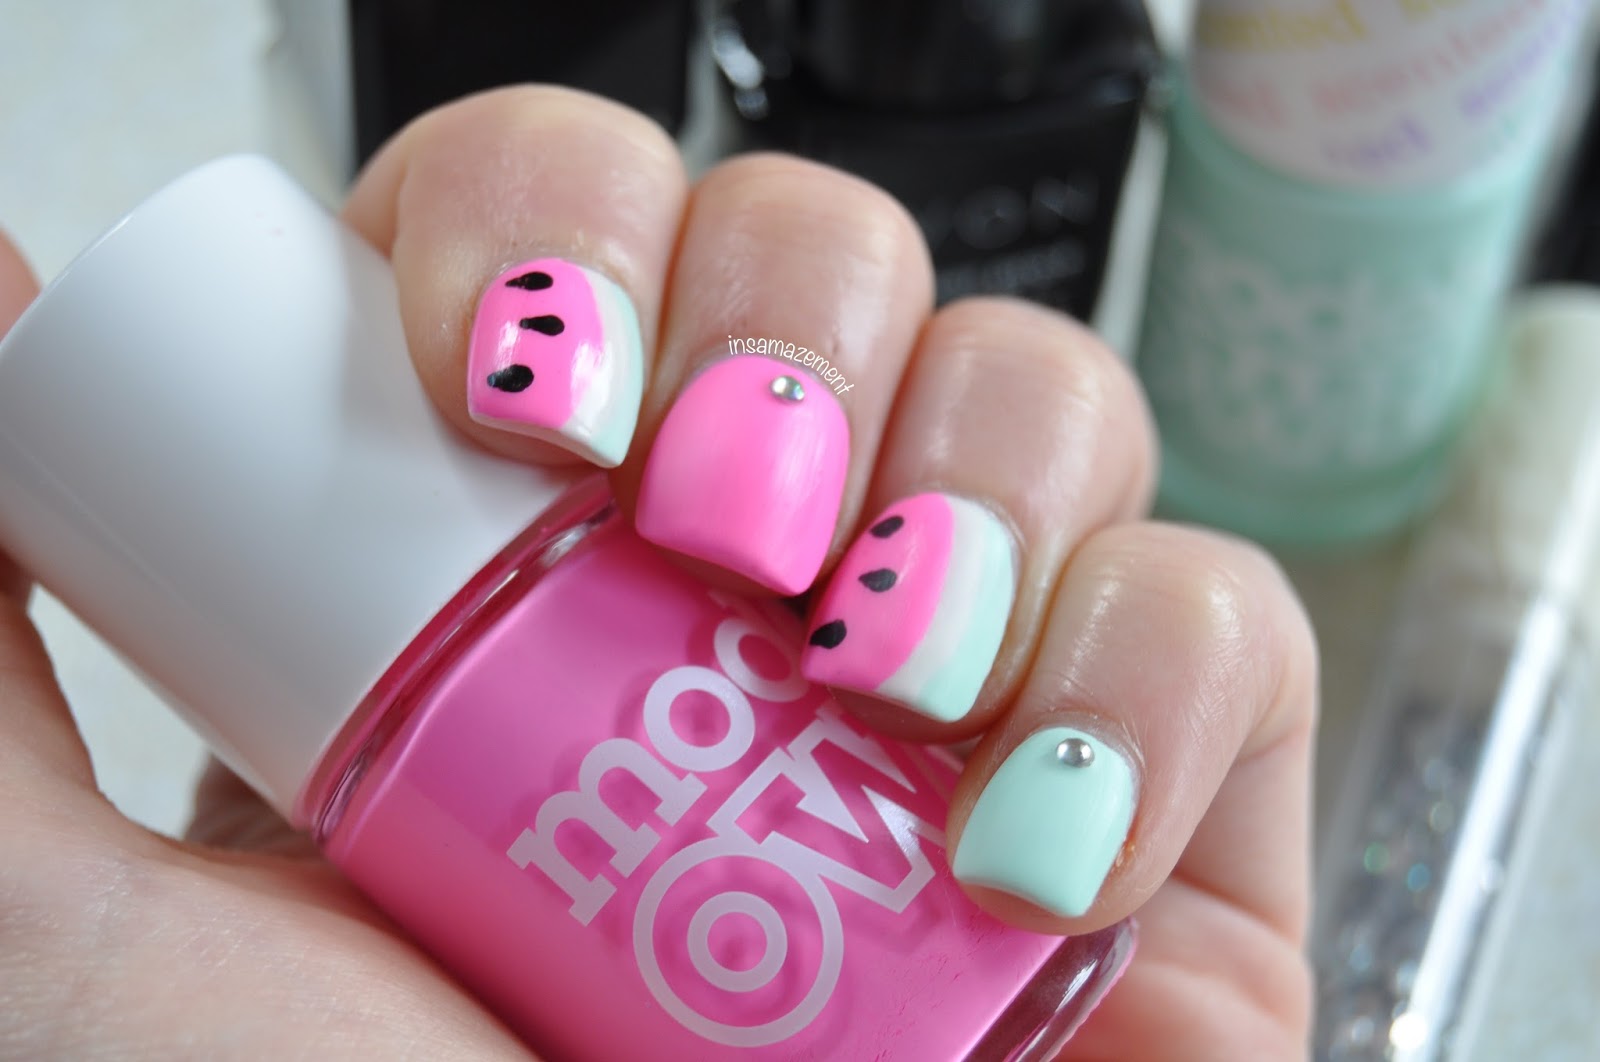
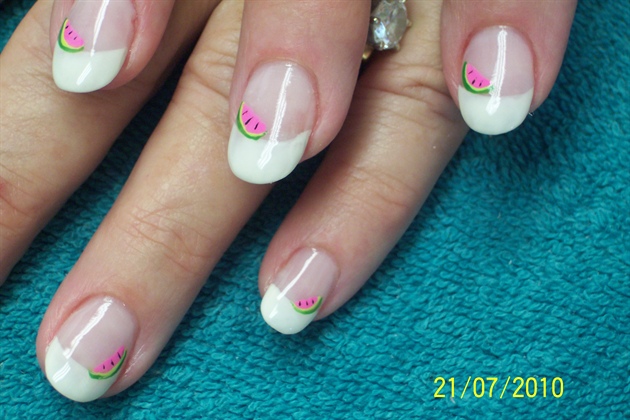
This watermelon French tip nail design is a fun twist on the classic French manicure. Follow these steps to create a cute and unique nail design that will stand out. You will need pink, green, black, and white nail polish, a thin nail brush, a dotting tool, and a top coat. Start by painting your nails with a pink base color. Let the polish dry completely before moving on to the next step. Next, use the thin nail brush to create a green tip on each nail. This will represent the rind of the watermelon. You can use a toothpick if you don't have a thin nail brush. Using the dotting tool, create black seeds on the top half of each nail. Make sure to evenly space out the seeds and make them different sizes for a more realistic look.9. Watermelon French Tip Nail Design Tutorial

9. Watermelon French Tip Nail Design Tutorial


Tutorial: Watermelon Nail Design

Introduction
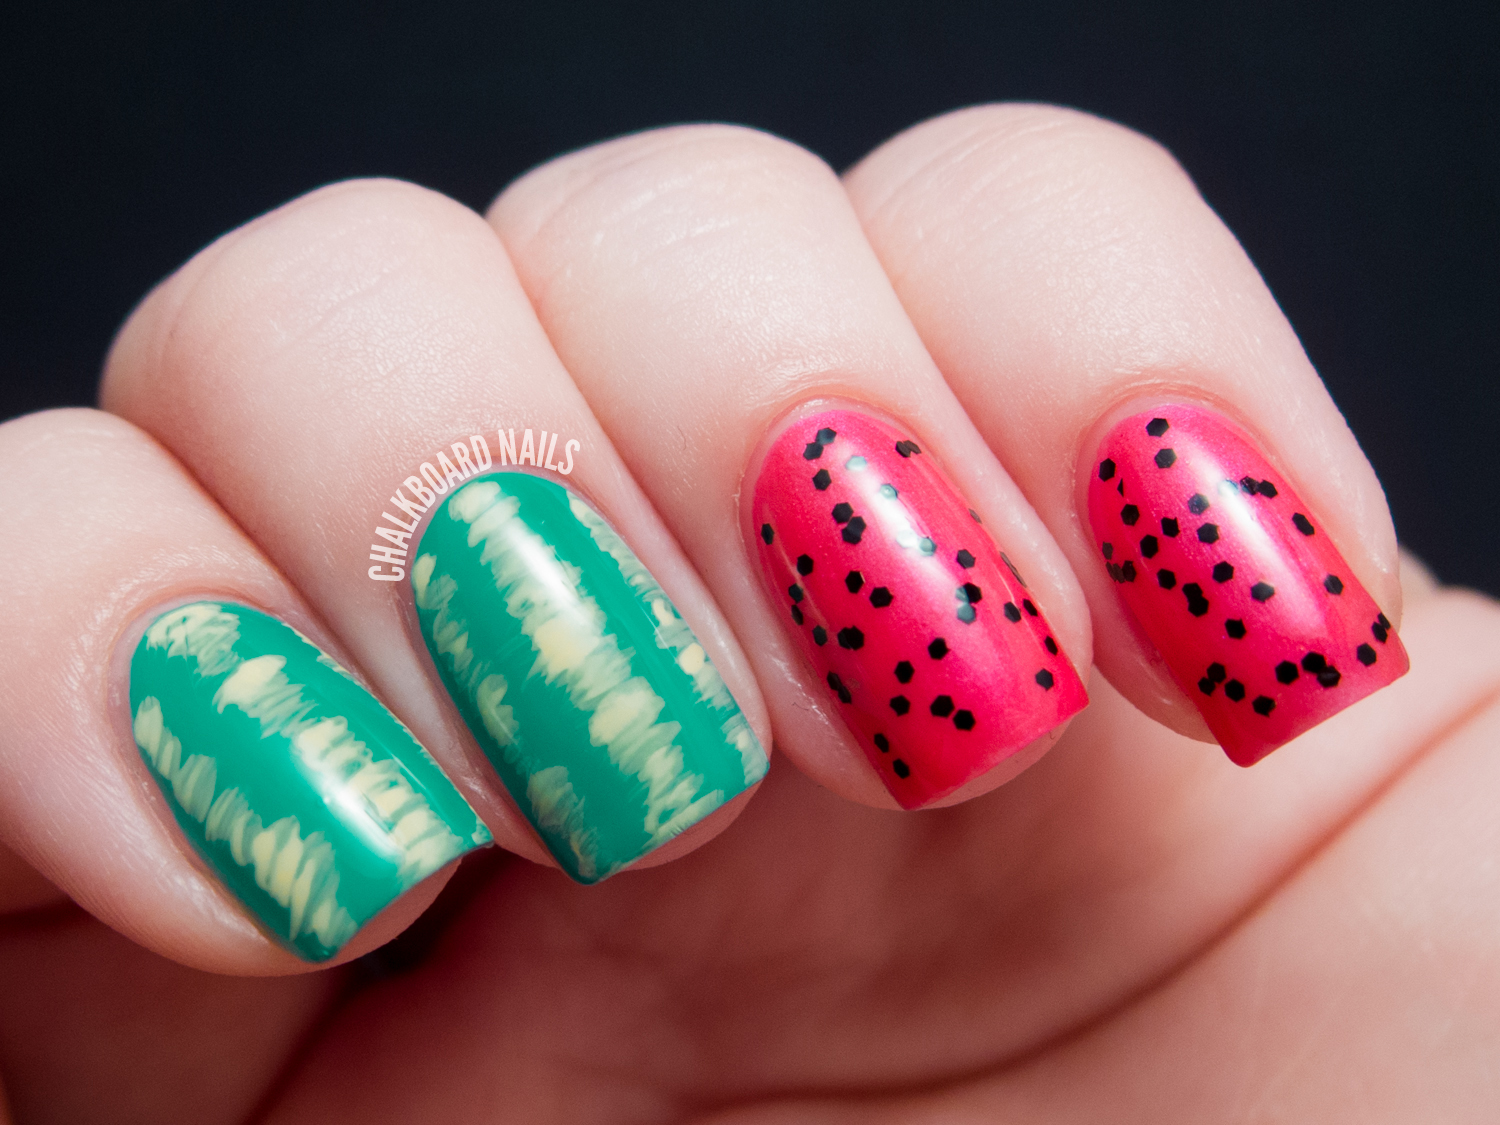
 Watermelon is a refreshing and delicious fruit that is enjoyed during the hot summer months. It's also a popular design inspiration for nail art. The vibrant colors and unique patterns of a watermelon make it the perfect theme for a fun and playful nail design. In this tutorial, we will guide you through the steps to create a watermelon nail design that is sure to make a statement. So, grab your nail polish and let's get started!
Materials Needed
 Before we dive into the tutorial, let's go over the materials you will need to create this watermelon nail design:
- Base coat
- White nail polish
- Pink nail polish
- Green nail polish
- Black nail polish
- Dotting tool or toothpick
- Nail art brush
- Top coat
- Paper towel or cotton pads
- Nail polish remover
Before we dive into the tutorial, let's go over the materials you will need to create this watermelon nail design:
- Base coat
- White nail polish
- Pink nail polish
- Green nail polish
- Black nail polish
- Dotting tool or toothpick
- Nail art brush
- Top coat
- Paper towel or cotton pads
- Nail polish remover
Step 1: Prep your nails
 Before starting any nail design, it's important to prep your nails. Begin by removing any old polish and shaping your nails to your desired length. Then, apply a base coat to protect your nails and ensure your design lasts longer.
Step 2: Paint your nails white
 For this design, we want the watermelon colors to stand out, so the base color will be white. Apply 2 coats of white nail polish and let it dry completely.
Step 3: Create the watermelon rind
 Using a green nail polish, create a half circle shape at the tip of your nail. You can use a dotting tool or toothpick to make the shape if you don't have a nail art brush. This will be the rind of the watermelon.
Step 4: Add the pink flesh
 Next, using a pink nail polish, create a smaller half circle shape inside the green one. This will be the flesh of the watermelon. Make sure to leave a thin green border around the pink for a more realistic look.
Step 5: Create the seeds
 Using a black nail polish and a dotting tool or toothpick, create small seeds on the pink part of your nail. You can also use a thin nail art brush to create the seeds. Be creative and vary the sizes and placement of the seeds for a more natural look.
Step 6: Clean up any mistakes
 If you made any mistakes or have excess polish around your nail, use a small brush dipped in nail polish remover to clean it up. You can also use a cotton pad or paper towel to remove any excess polish.
Step 7: Apply top coat
 Once your design is completely dry, apply a top coat to seal in your design and add shine. This will also help your design last longer.
Congratulations, you have now created a fun and vibrant watermelon nail design! Remember to experiment with different colors and patterns to make it your own. Enjoy showing off your watermelon nails this summer!
Featured Keywords:
watermelon nail design, tutorial, nail art, summer, vibrant colors, unique patterns, base coat, top coat, prep nails, rind, flesh, seeds, polish, design, statement.
Main Keywords:
nail design, tutorial, watermelon, summer, vibrant colors, unique patterns, nail polish, design inspiration, fun, playful, steps, statement, base coat, top coat, prep nails, rind, flesh, seeds.
Once your design is completely dry, apply a top coat to seal in your design and add shine. This will also help your design last longer.
Congratulations, you have now created a fun and vibrant watermelon nail design! Remember to experiment with different colors and patterns to make it your own. Enjoy showing off your watermelon nails this summer!
Featured Keywords:
watermelon nail design, tutorial, nail art, summer, vibrant colors, unique patterns, base coat, top coat, prep nails, rind, flesh, seeds, polish, design, statement.
Main Keywords:
nail design, tutorial, watermelon, summer, vibrant colors, unique patterns, nail polish, design inspiration, fun, playful, steps, statement, base coat, top coat, prep nails, rind, flesh, seeds.


