Whether you're a nail art enthusiast or just looking for a new way to spice up your manicure, UV gel acrylic nail designs are a must-try. These designs combine the durability and shine of UV gel with the versatility and creativity of acrylic nails. The result? Stunning and long-lasting nail art that will have heads turning. So, if you're ready to take your nail game to the next level, here are some UV gel acrylic nail design ideas to inspire your next manicure:1. UV Gel Acrylic Nail Design Ideas


1. UV Gel Acrylic Nail Design Ideas


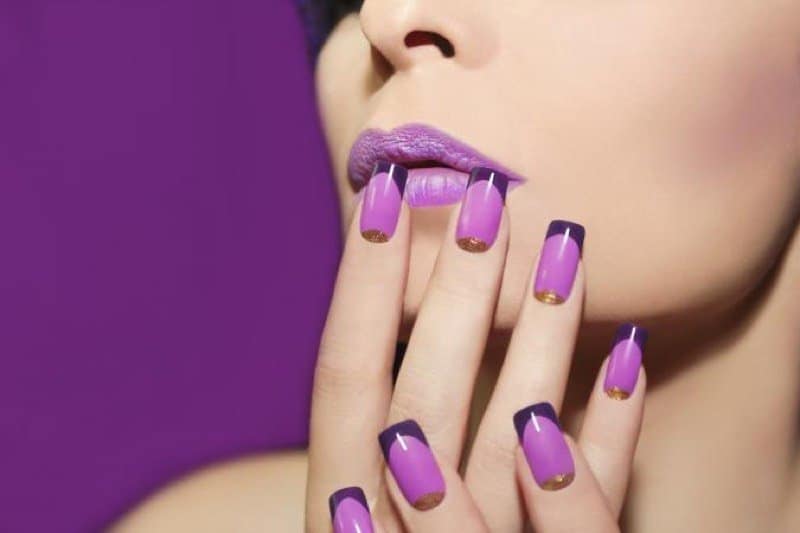


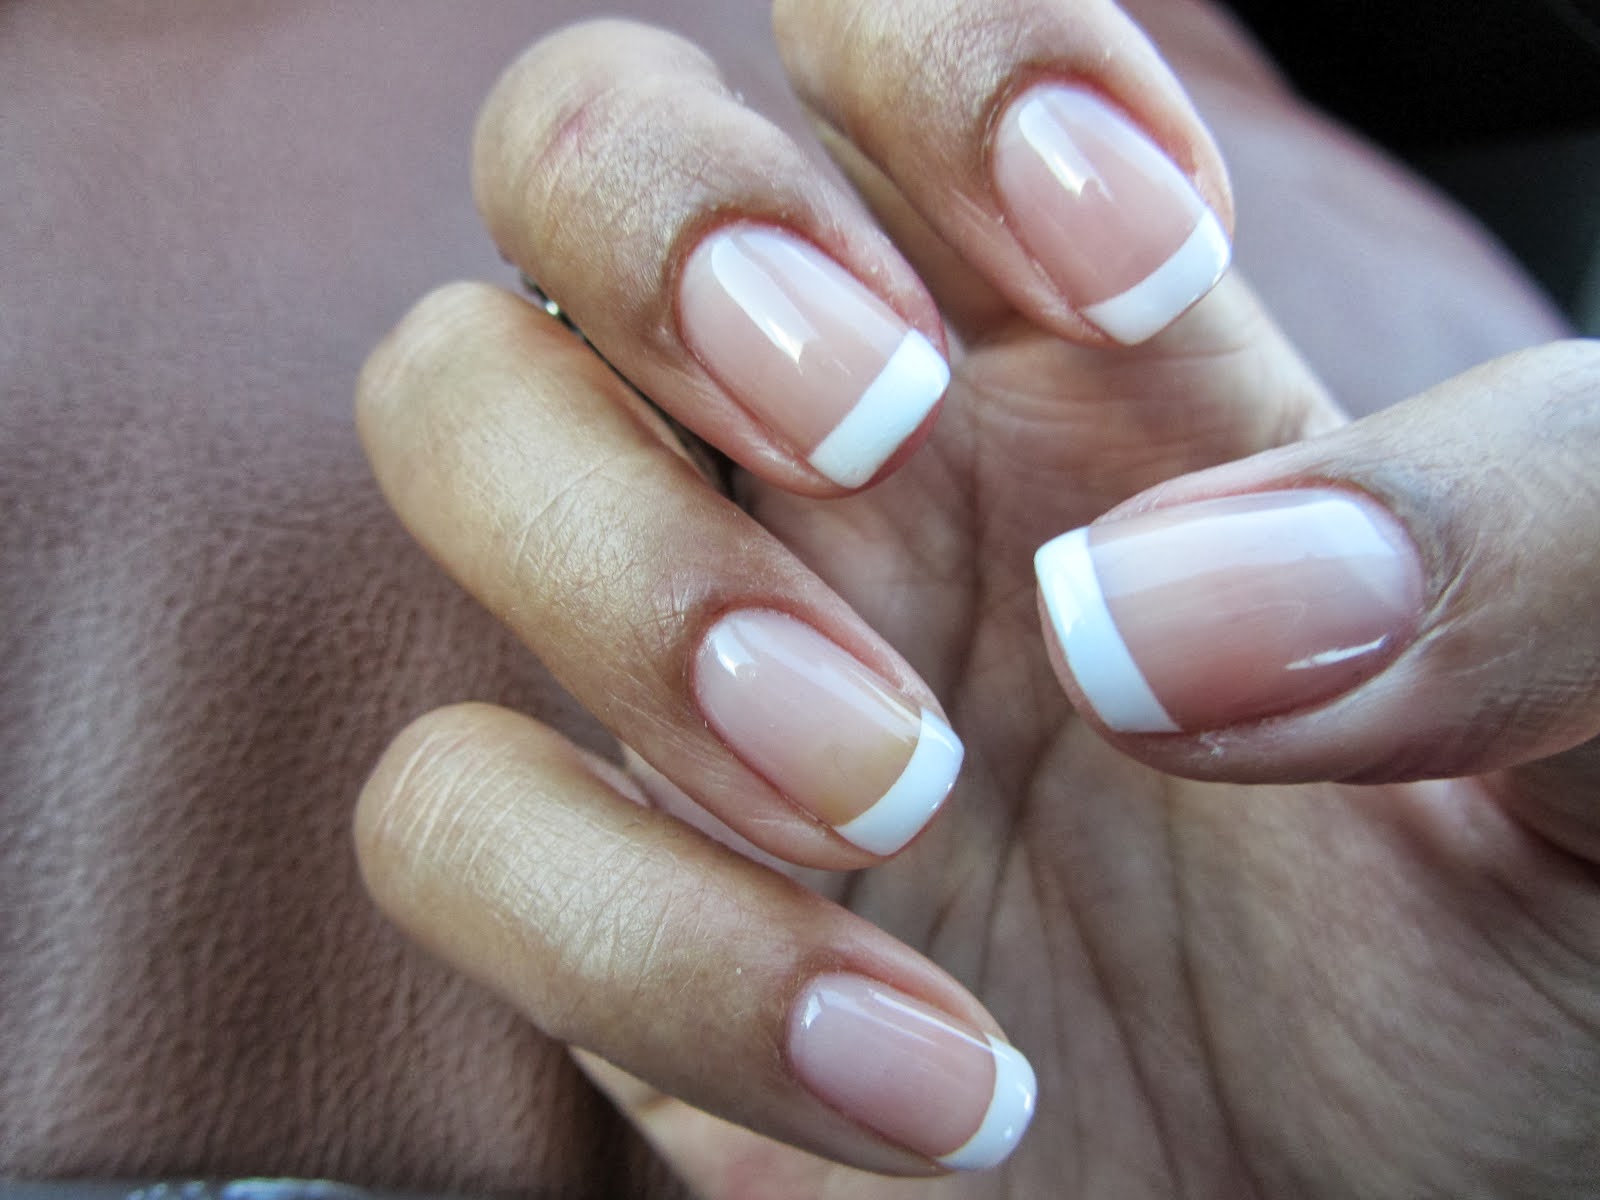
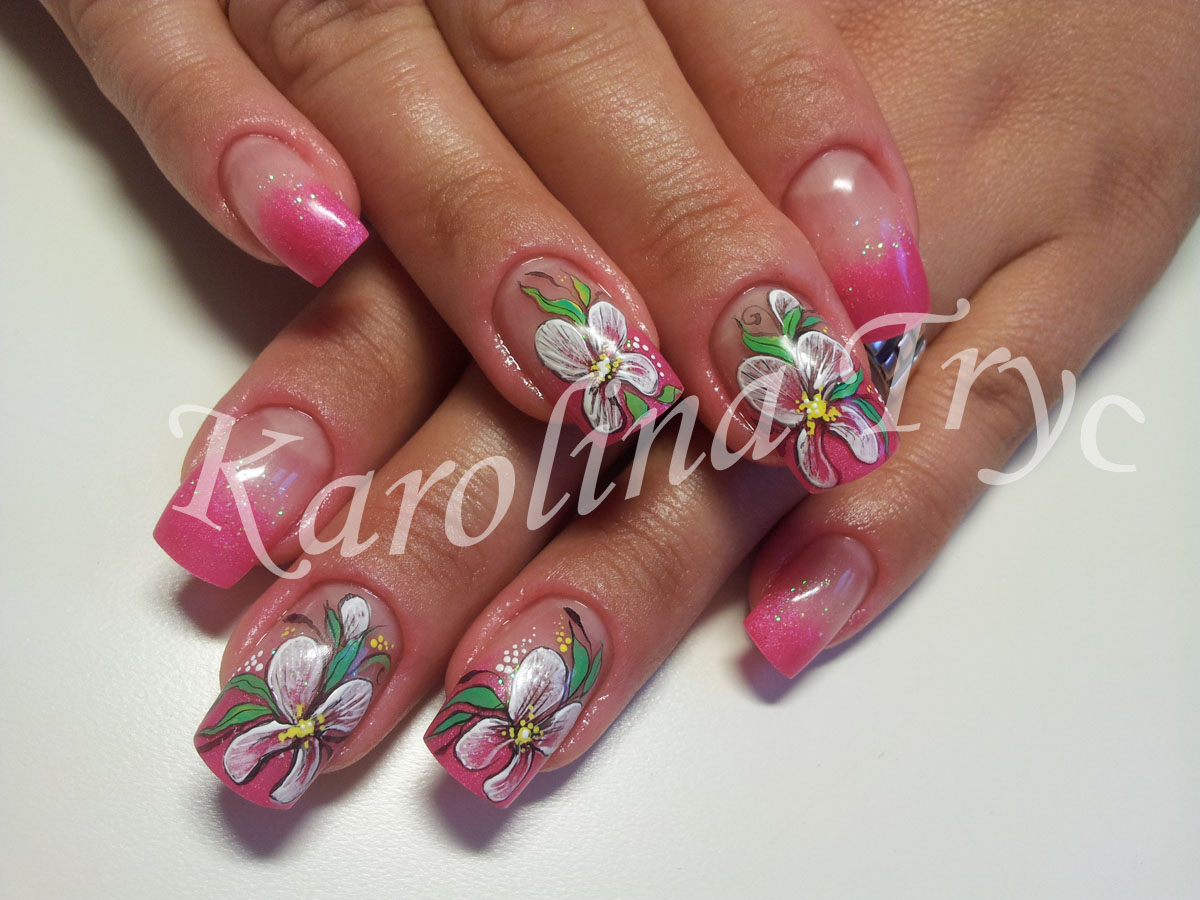
With so many options and variations, it can be overwhelming to choose the best UV gel acrylic nail design for you. To make things easier, we've narrowed down some of our top picks: Marble Nails: Create a marble effect on your nails by mixing different shades of gel polish and swirling them together. This design adds a touch of elegance and sophistication to your nails. Gradient Nails: Blend two or more colors seamlessly for a gradient effect. This design is perfect for those who love a pop of color without being too flashy. French Tip Nails: Give the classic French manicure a modern twist with UV gel acrylics. Use different colors or add glitter for a unique and eye-catching look.2. Best UV Gel Acrylic Nail Designs

2. Best UV Gel Acrylic Nail Designs


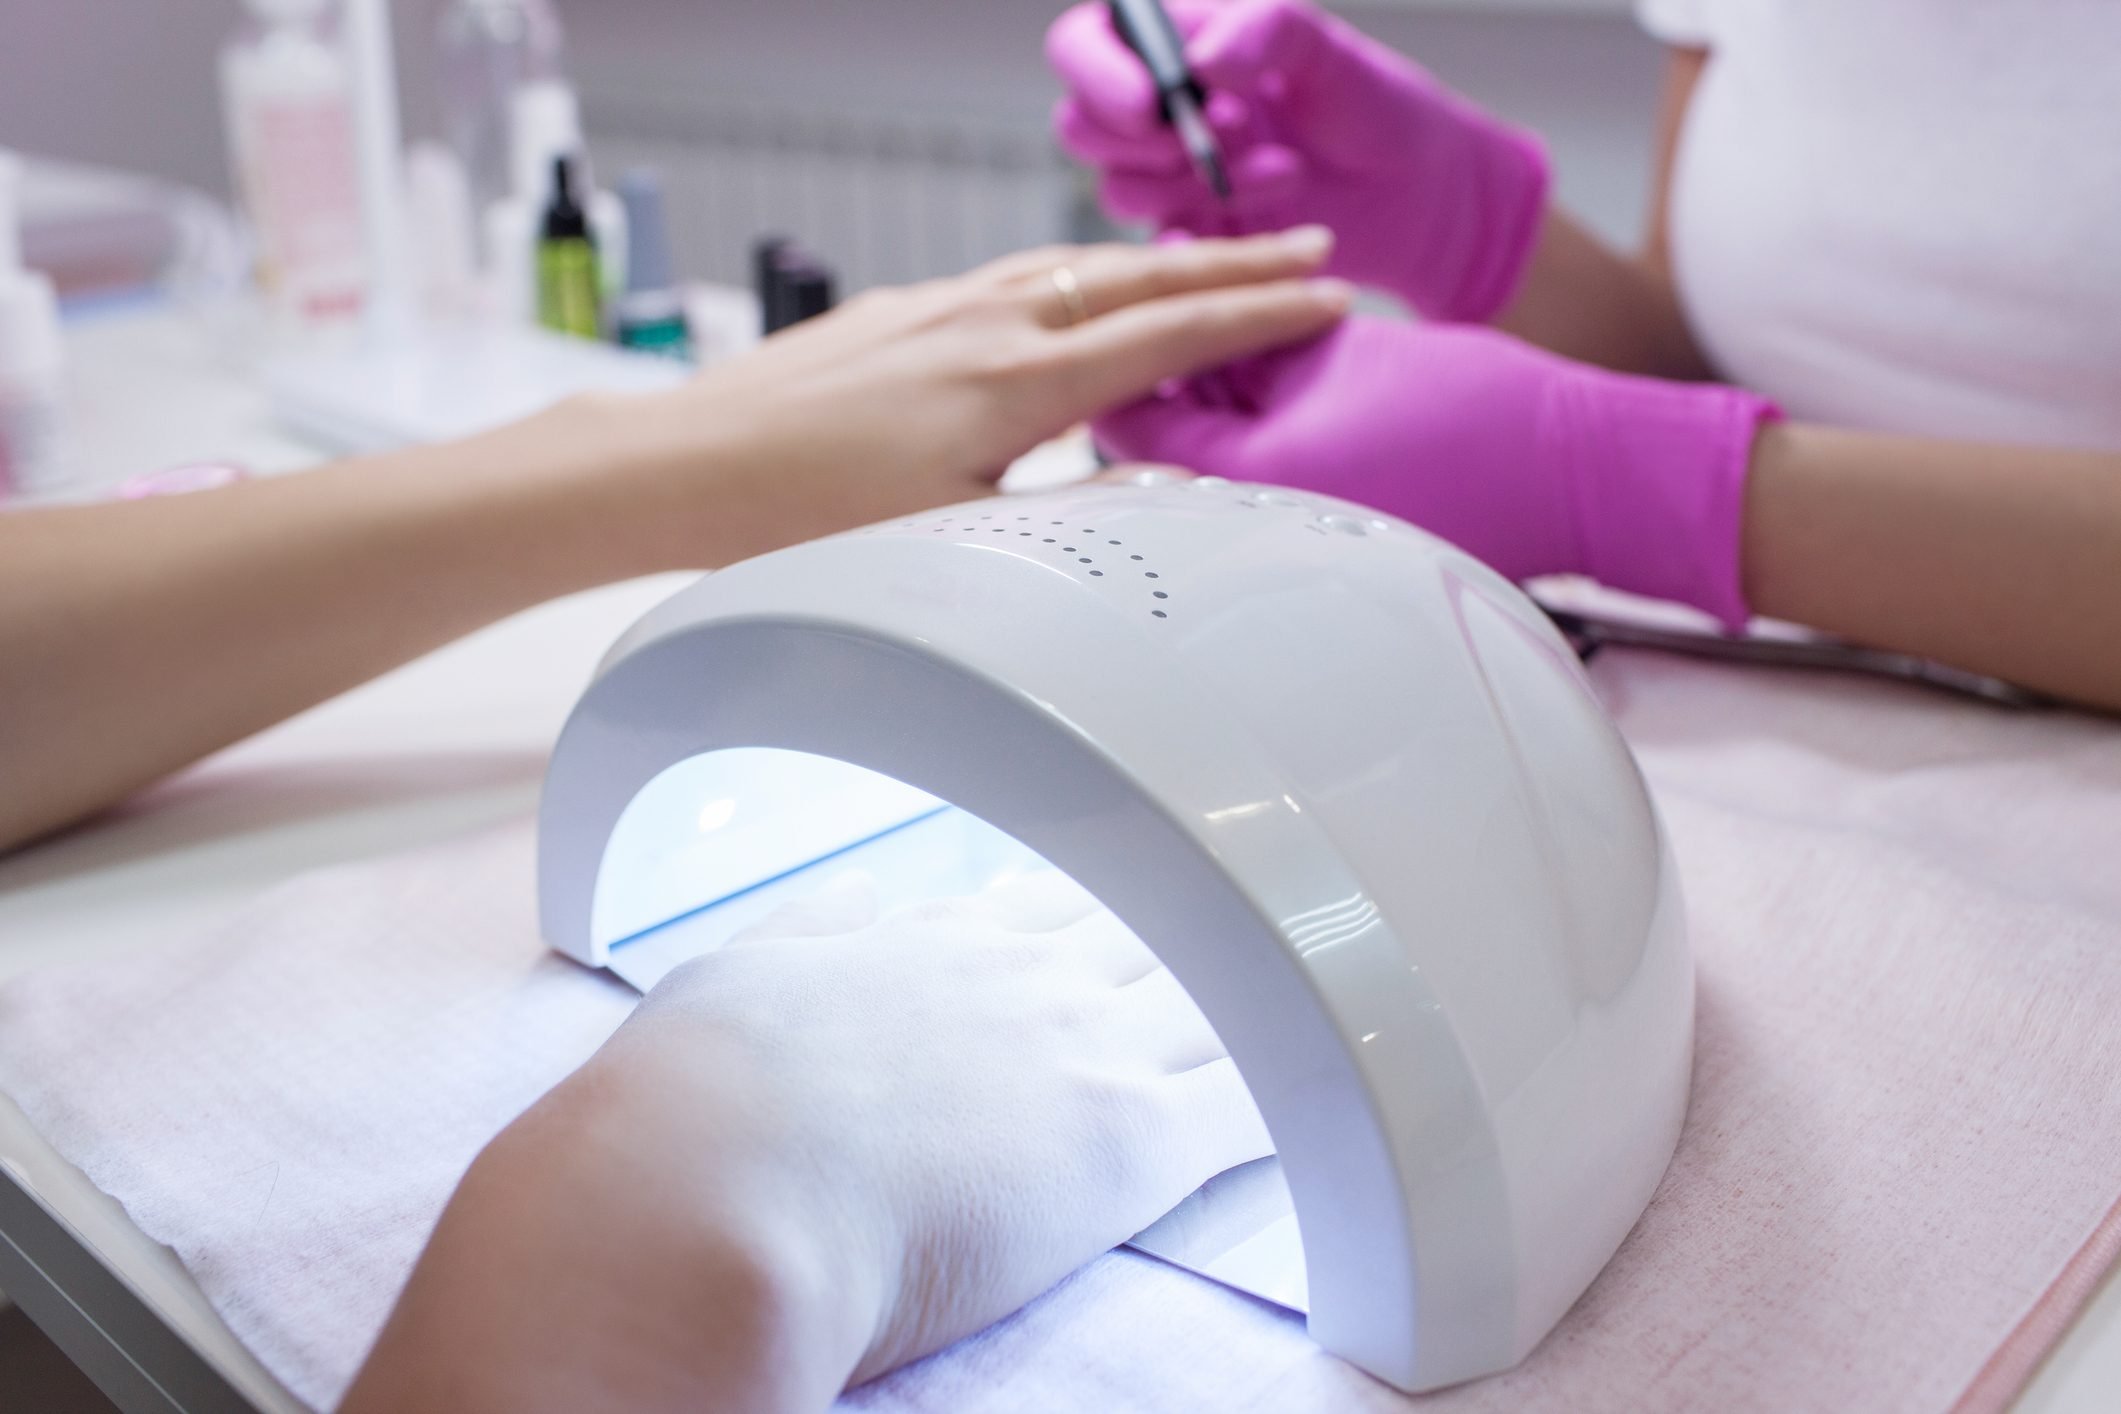
If you're new to UV gel acrylic nail designs, don't worry! There are plenty of tutorials available online to guide you through the process. Here are the basic steps to achieve the perfect UV gel acrylic nails: Step 1: Prep your natural nails by filing them and pushing back your cuticles. This will create a smooth surface for the UV gel acrylics to adhere to. Step 2: Apply a base coat and cure it under a UV lamp for the recommended time. Step 3: Apply the first layer of UV gel and cure it under the lamp. Repeat this step until you achieve the desired thickness. Step 4: File and shape your nails to your liking, and then apply a top coat and cure it under the lamp.3. UV Gel Acrylic Nail Design Tutorial


3. UV Gel Acrylic Nail Design Tutorial


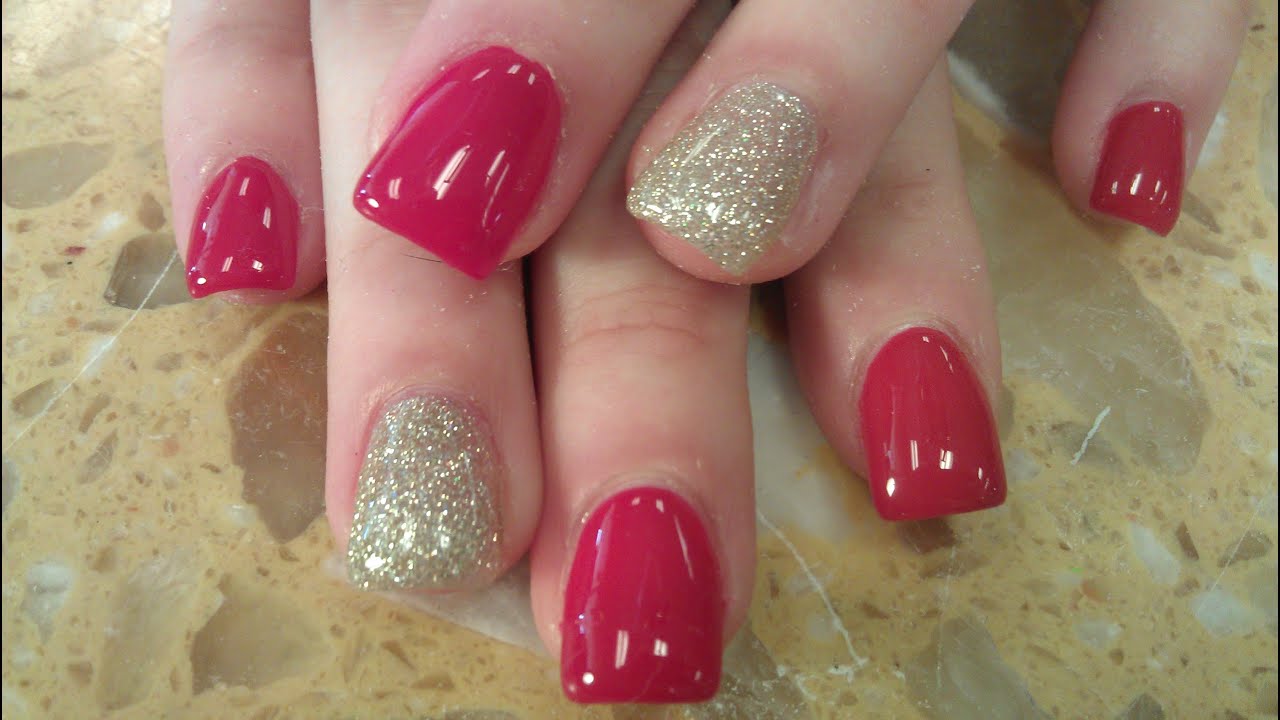
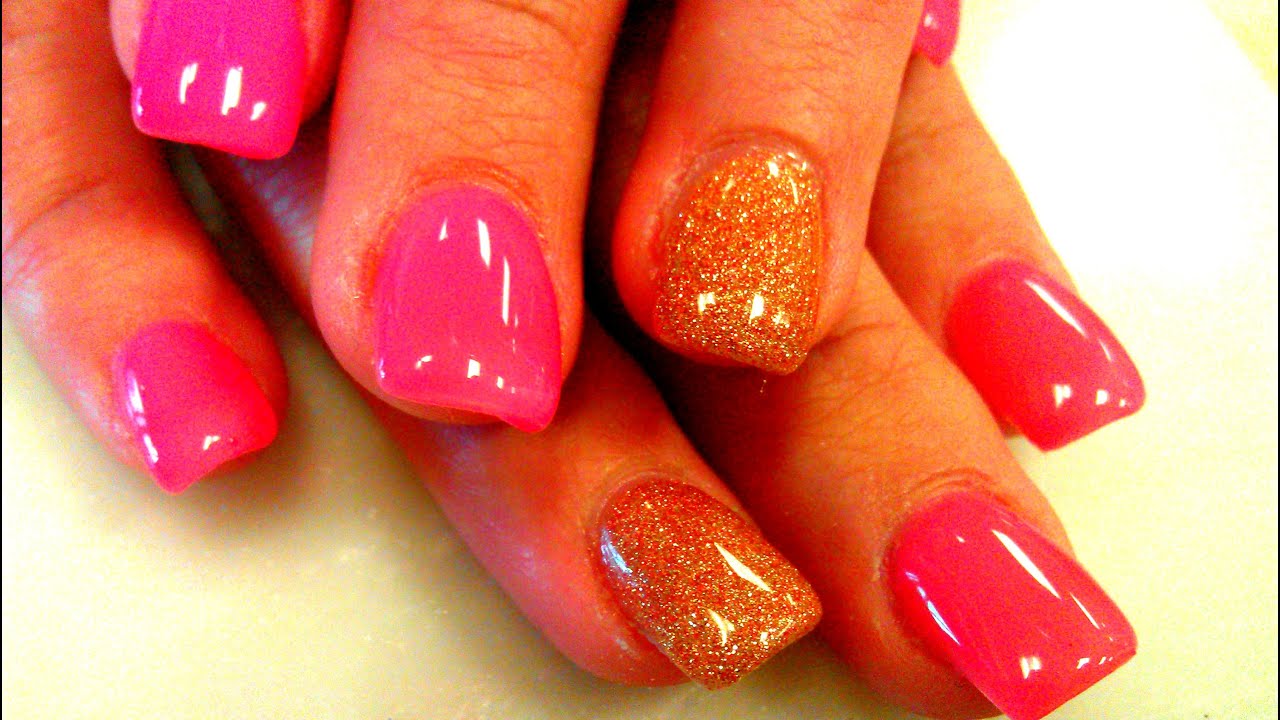
If you're new to UV gel acrylic nails, it's best to start with a simple design. This will help you get comfortable with the process and perfect your technique before trying more intricate designs. Here are some beginner-friendly UV gel acrylic nail designs to try: One-Color Nails: For a classic and effortless look, stick to one color for your UV gel acrylics. This will also make it easier to apply and cure the gel without any mistakes. Glitter Accent Nails: Add a touch of sparkle by painting one or two accent nails with glitter gel polish. This is a simple way to elevate your nail design without being too overwhelming.4. UV Gel Acrylic Nail Design for Beginners


4. UV Gel Acrylic Nail Design for Beginners
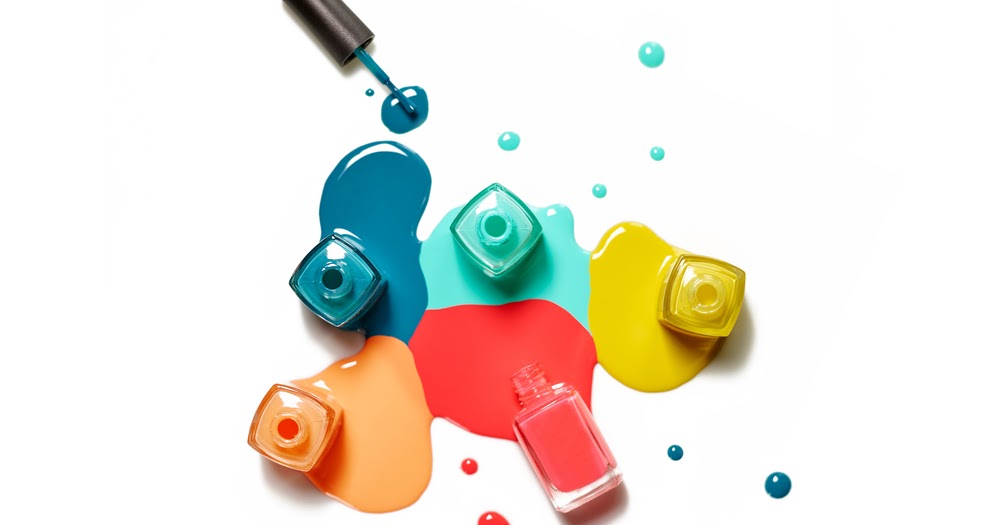
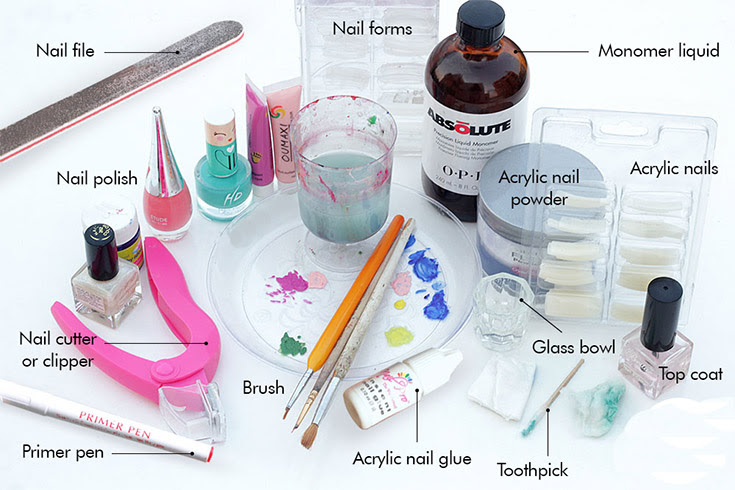
To achieve the perfect UV gel acrylic nails, you'll need the right supplies. Here are some essential tools and products you'll need: UV Lamp: This is a must-have for curing the UV gel polish and ensuring long-lasting results. UV Gel Polish: There are countless shades and brands of UV gel polish to choose from, so pick your favorites and have fun experimenting with different colors. Acrylic Nail Brush: This will help you apply the acrylic powder and create the desired shape and length for your nails. Nail File and Buffer: These tools are crucial for prepping and shaping your nails.5. UV Gel Acrylic Nail Design Supplies


5. UV Gel Acrylic Nail Design Supplies


There are various techniques to achieve different UV gel acrylic nail designs. Here are some popular techniques you can try: Dip Powder: This technique involves dipping your nails into colored acrylic powder to achieve a full-color look. Ombré: Create a gradient effect by blending two or more colors using a makeup sponge or a brush. Stamping: Use a stamping plate and stamping polish to create intricate designs on your nails.6. UV Gel Acrylic Nail Design Techniques


6. UV Gel Acrylic Nail Design Techniques

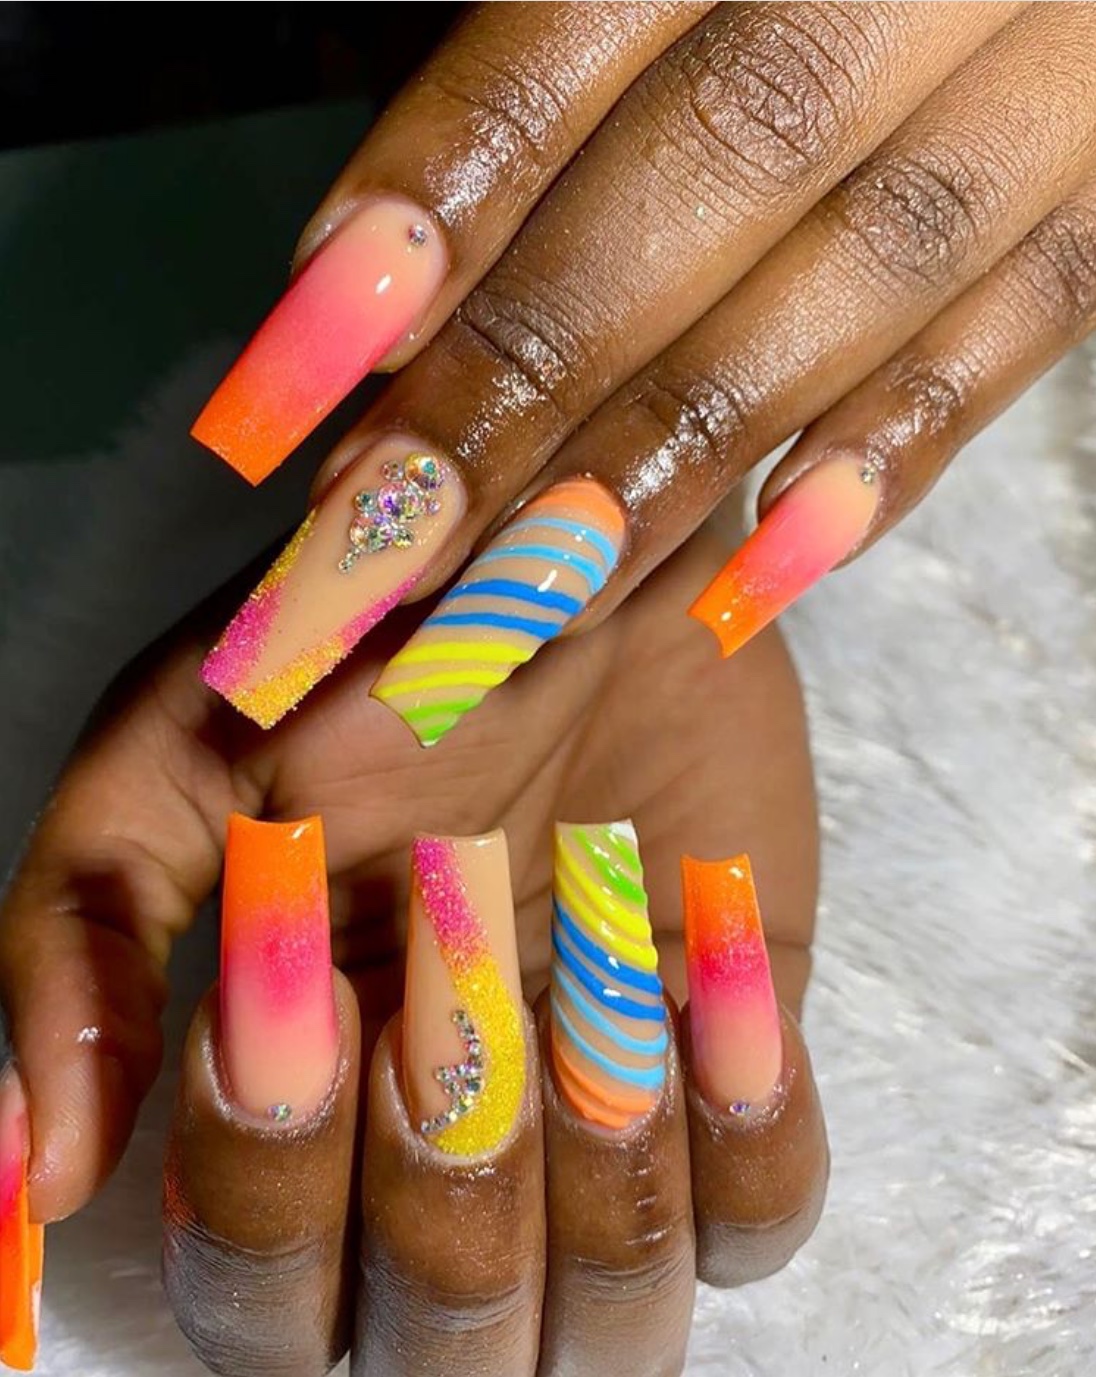
Just like fashion and makeup, nail trends are constantly changing. Here are some current UV gel acrylic nail design trends to keep your eye on: Geometric Nails: Create clean and modern designs using geometric shapes and lines. Nude Nails: Simple and chic, nude nails are a timeless trend that never goes out of style. Abstract Nails: Let your creativity run wild with abstract designs using different colors and shapes.7. UV Gel Acrylic Nail Design Trends


7. UV Gel Acrylic Nail Design Trends

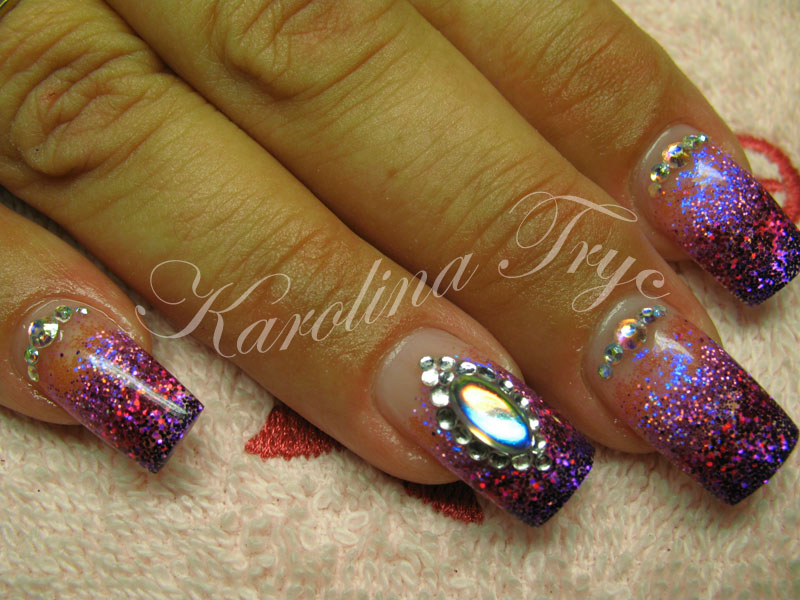
In addition to the basic supplies, there are also some products specifically designed for UV gel acrylic nails that can enhance your manicure. Here are some popular products to consider: Matte Top Coat: Transform your glossy UV gel acrylics into a chic matte finish with a matte top coat. Glitter Powder: Add some extra sparkle and dimension to your nails with glitter powder. You can mix it with clear gel polish or sprinkle it onto wet gel polish for different effects.8. UV Gel Acrylic Nail Design Products


8. UV Gel Acrylic Nail Design Products


If you prefer a more detailed guide, here is a step-by-step process to achieve perfect UV gel acrylic nails: Step 1: Prep your natural nails by filing and pushing back your cuticles. Step 2: Apply a base coat and cure it under the UV lamp for the recommended time. Step 3: Apply a layer of clear UV gel and cure it under the lamp. Step 4: Using an acrylic brush, pick up a small bead of acrylic powder and place it on your nail. Use the brush to spread the powder and create your desired shape and length. Step 5: Cure the acrylic under the lamp for the recommended time. Step 6: File and shape your nails to your liking, and then apply a top coat and cure it under the lamp.9. UV Gel Acrylic Nail Design Step by Step


9. UV Gel Acrylic Nail Design Step by Step
:max_bytes(150000):strip_icc()/uv-nails-2-a70ae6b84c094d99ab69d68fa70f07f8.jpg)
If you're still unsure about which design to try, take a look at some UV gel acrylic nail designs on social media and get inspired. You can also create a mood board or save your favorite designs for future reference. Remember, the key is to have fun and experiment with different colors, techniques, and products to find the perfect UV gel acrylic nail design for you.10. UV Gel Acrylic Nail Design Inspiration

10. UV Gel Acrylic Nail Design Inspiration

The Versatility of UV Gel Acrylic Nail Design

The Perfect Combination of Strength and Style
 When it comes to creating a statement with your nails,
UV gel acrylic nail design
is the perfect choice. This innovative technique combines the strength of acrylic nails with the sleek and polished finish of gel polish. The result? A long-lasting and versatile
nail design
that is sure to turn heads.
Unlike traditional acrylic nails,
UV gel acrylic nails
are cured under a UV lamp, creating a durable and chip-resistant finish. This makes them ideal for those with active lifestyles, as they can withstand everyday wear and tear. Furthermore, the gel polish used in this technique is known for its glossy and smooth appearance, giving your nails a professional and high-end finish.
When it comes to creating a statement with your nails,
UV gel acrylic nail design
is the perfect choice. This innovative technique combines the strength of acrylic nails with the sleek and polished finish of gel polish. The result? A long-lasting and versatile
nail design
that is sure to turn heads.
Unlike traditional acrylic nails,
UV gel acrylic nails
are cured under a UV lamp, creating a durable and chip-resistant finish. This makes them ideal for those with active lifestyles, as they can withstand everyday wear and tear. Furthermore, the gel polish used in this technique is known for its glossy and smooth appearance, giving your nails a professional and high-end finish.
Infinite Design Possibilities
 One of the biggest advantages of
UV gel acrylic nail design
is its versatility. Whether you prefer a classic French manicure or bold and intricate designs, this technique allows you to achieve any look you desire. The gel polish comes in a wide variety of colors, including shimmery and metallic shades, allowing for endless possibilities when it comes to
nail art
.
Moreover, the
UV gel acrylic
itself can be shaped and molded into different lengths, shapes, and styles, making it suitable for any nail shape and size. This means you can have the perfect set of nails, tailored to your personal style and preferences.
One of the biggest advantages of
UV gel acrylic nail design
is its versatility. Whether you prefer a classic French manicure or bold and intricate designs, this technique allows you to achieve any look you desire. The gel polish comes in a wide variety of colors, including shimmery and metallic shades, allowing for endless possibilities when it comes to
nail art
.
Moreover, the
UV gel acrylic
itself can be shaped and molded into different lengths, shapes, and styles, making it suitable for any nail shape and size. This means you can have the perfect set of nails, tailored to your personal style and preferences.
Low-Maintenance and Long-Lasting
 Another great benefit of
UV gel acrylic nail design
is its low-maintenance nature. Unlike traditional acrylic nails that require regular touch-ups and fills,
UV gel acrylic nails
only need to be filled every 2-3 weeks. This not only saves you time but also saves you money in the long run.
Additionally,
UV gel acrylic nails
have a longer lifespan compared to other nail techniques, lasting up to 4-6 weeks before needing a full set replacement. This means you can enjoy your beautiful and durable nails for longer periods without worrying about constant upkeep.
In conclusion,
UV gel acrylic nail design
offers the best of both worlds – strength and style. Its versatility, low-maintenance, and long-lasting nature make it the go-to choice for anyone looking to make a statement with their nails. So why settle for plain and weak nails when you can have the perfect combination of strength and style with UV gel acrylic nails?
Another great benefit of
UV gel acrylic nail design
is its low-maintenance nature. Unlike traditional acrylic nails that require regular touch-ups and fills,
UV gel acrylic nails
only need to be filled every 2-3 weeks. This not only saves you time but also saves you money in the long run.
Additionally,
UV gel acrylic nails
have a longer lifespan compared to other nail techniques, lasting up to 4-6 weeks before needing a full set replacement. This means you can enjoy your beautiful and durable nails for longer periods without worrying about constant upkeep.
In conclusion,
UV gel acrylic nail design
offers the best of both worlds – strength and style. Its versatility, low-maintenance, and long-lasting nature make it the go-to choice for anyone looking to make a statement with their nails. So why settle for plain and weak nails when you can have the perfect combination of strength and style with UV gel acrylic nails?


