Want to try out a trendy and edgy nail design? Look no further than the v-shaped nail design! This unique and eye-catching design is perfect for those who want to add a fun twist to their nails. In this tutorial, we’ll show you how to create a v-shaped nail design step by step, so you can achieve this look easily at home. To start off, you’ll need to gather all the necessary tools and supplies. Make sure you have a base coat, a top coat, two different colored nail polishes, a small brush or toothpick, and a pair of scissors. Once you have everything ready, you’re all set to begin the v-shaped nail design procedure! First, apply a base coat to your nails to protect them and help the nail polish last longer. Let it dry completely before moving on to the next step. Next, choose two different colored nail polishes that complement each other. You can go for a bold and contrasting color combination, or opt for a more subtle and complementary one. Remember to use keywords such as "v-shaped nail design" and "nail art procedure" to improve the SEO of your article. Once you’ve chosen your colors, paint your nails with the lighter color as your base. Apply two coats for a more opaque finish and let them dry completely. Now comes the fun part – creating the v-shape! Take your darker nail polish and using the brush or toothpick, paint two diagonal lines starting from the bottom of your nail and meeting at the center. You can also use a v-shaped nail stencil for a more precise and symmetrical look. Let it dry before moving on to the next step. Once the darker polish has dried, take your scissors and carefully cut off the excess polish from the sides of your nails, following the diagonal lines you created earlier. This will give your nails the perfect v-shaped tip. Make sure to mention "nail art tips" and "v-shaped nail design techniques" in your article to cater to readers looking for helpful tips and techniques. Finish off your v-shaped nail design by applying a top coat to seal in the design and add shine. Let it dry completely and voila, you now have a stunning v-shaped nail design!1. V-Shaped Nail Design Tutorial | Nail Art Procedure | Nail Art Tips

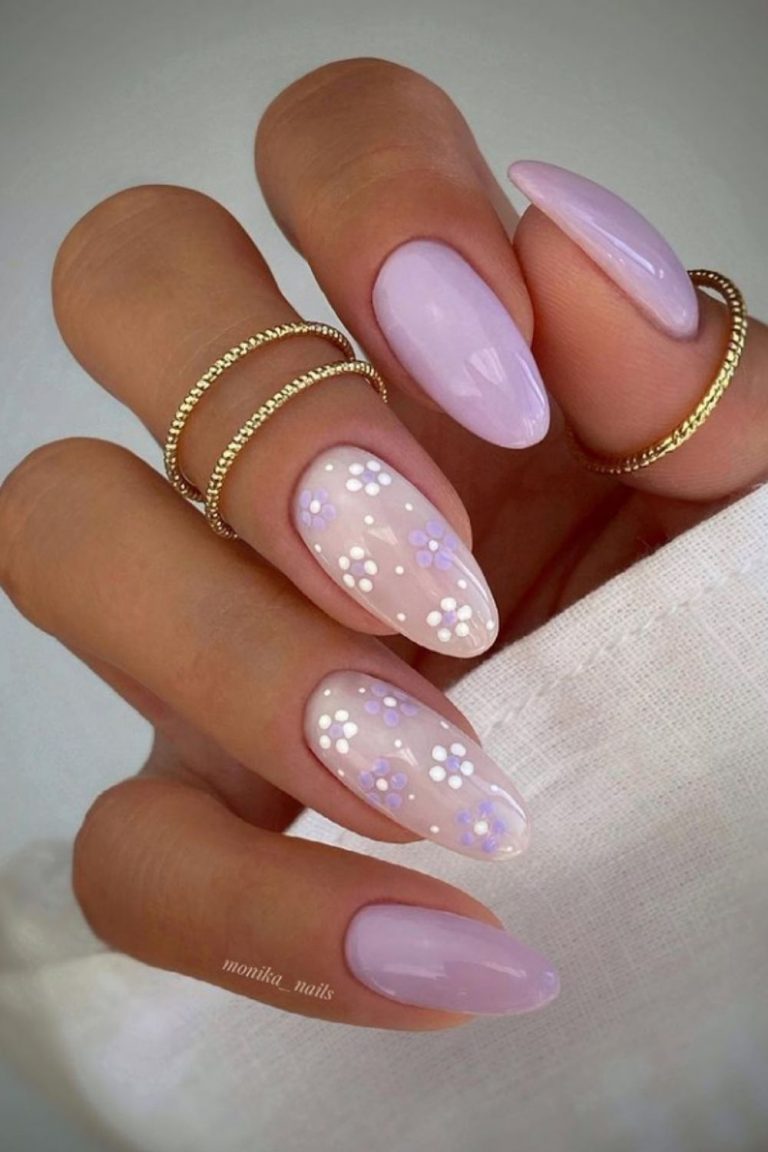
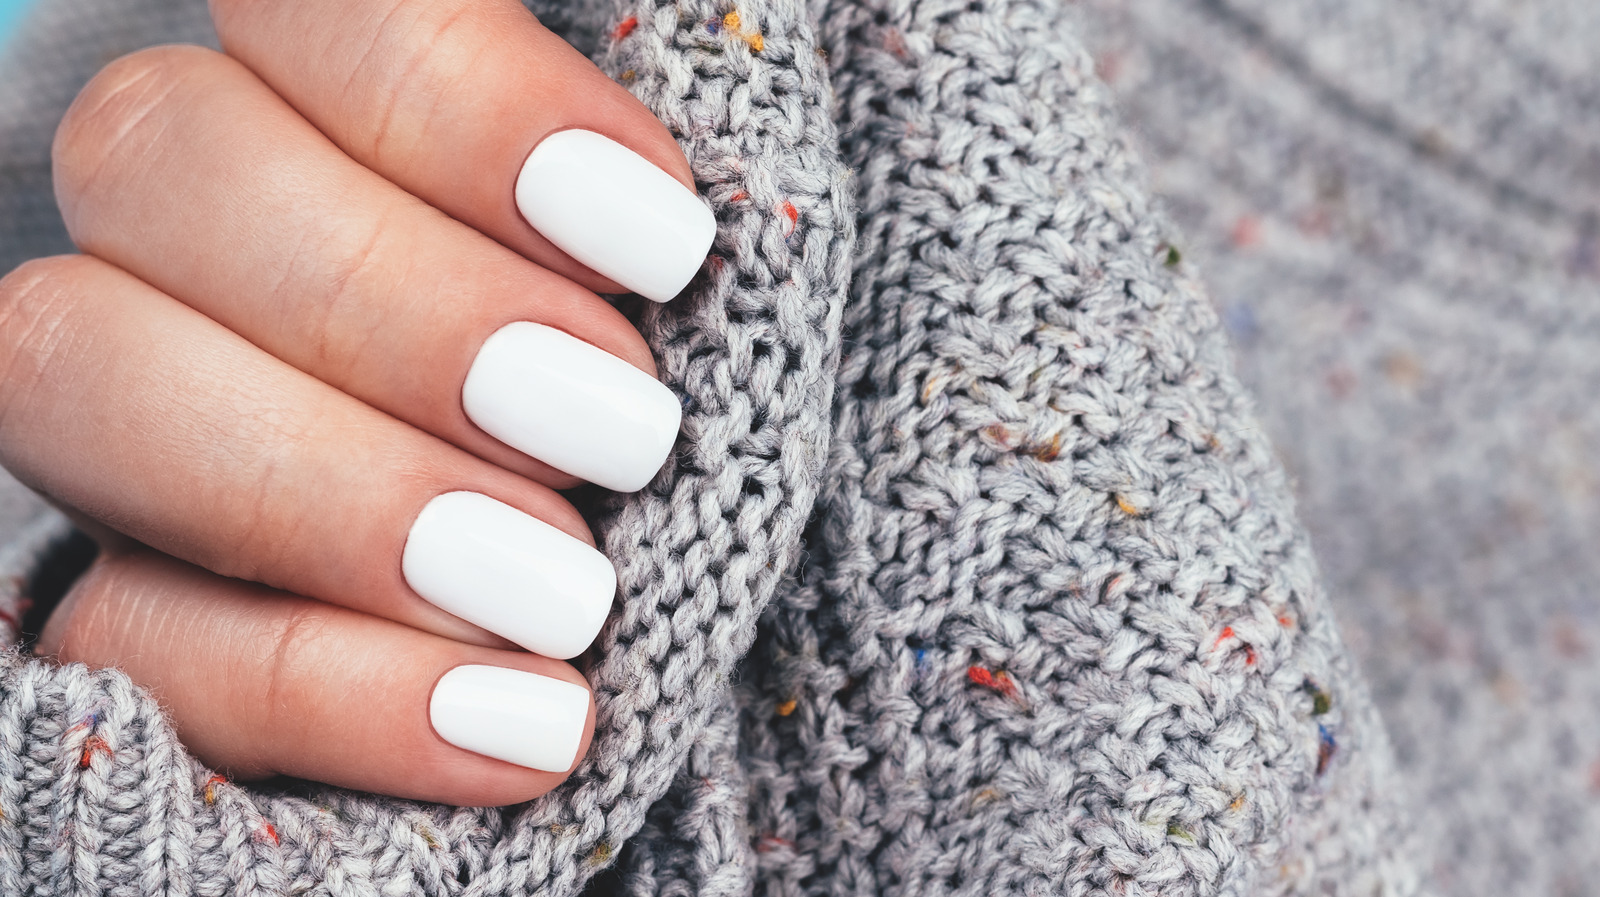
1. V-Shaped Nail Design Tutorial


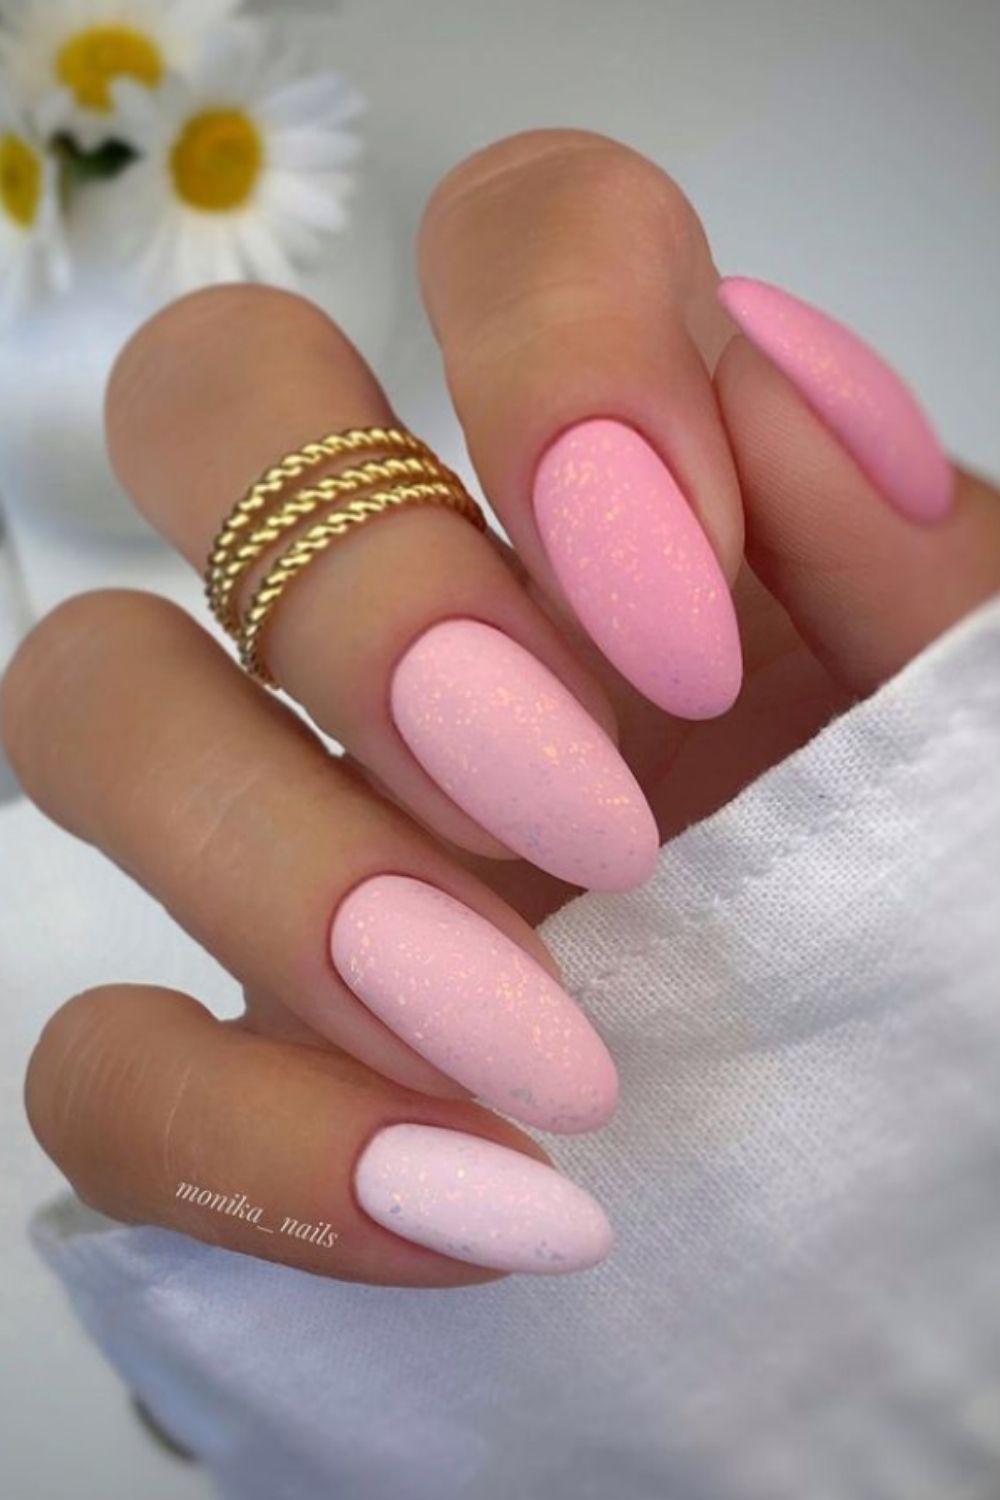
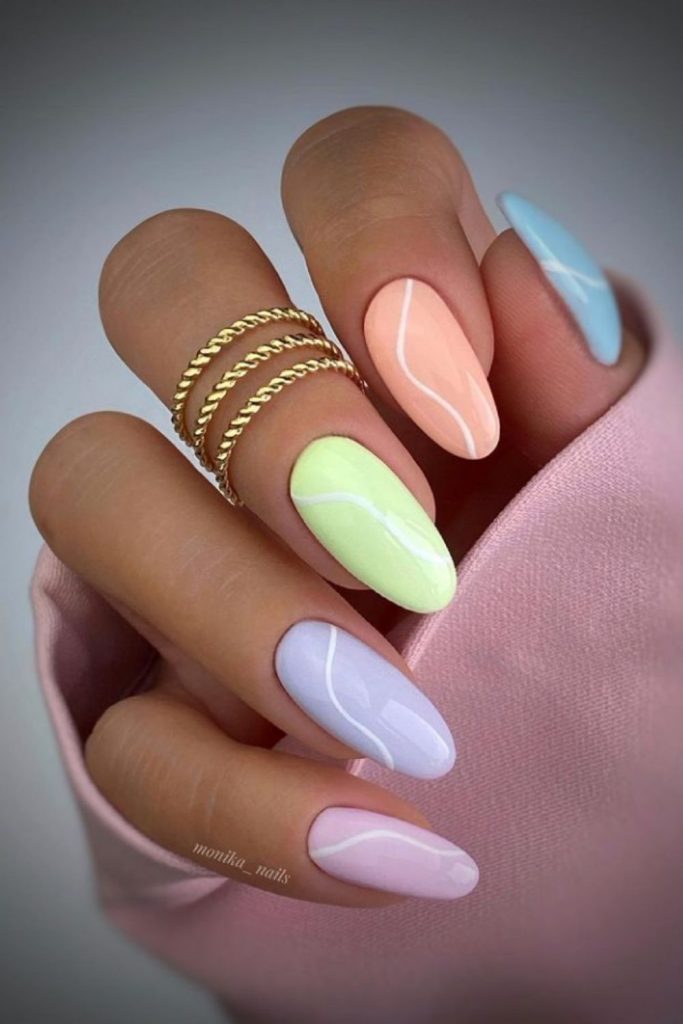
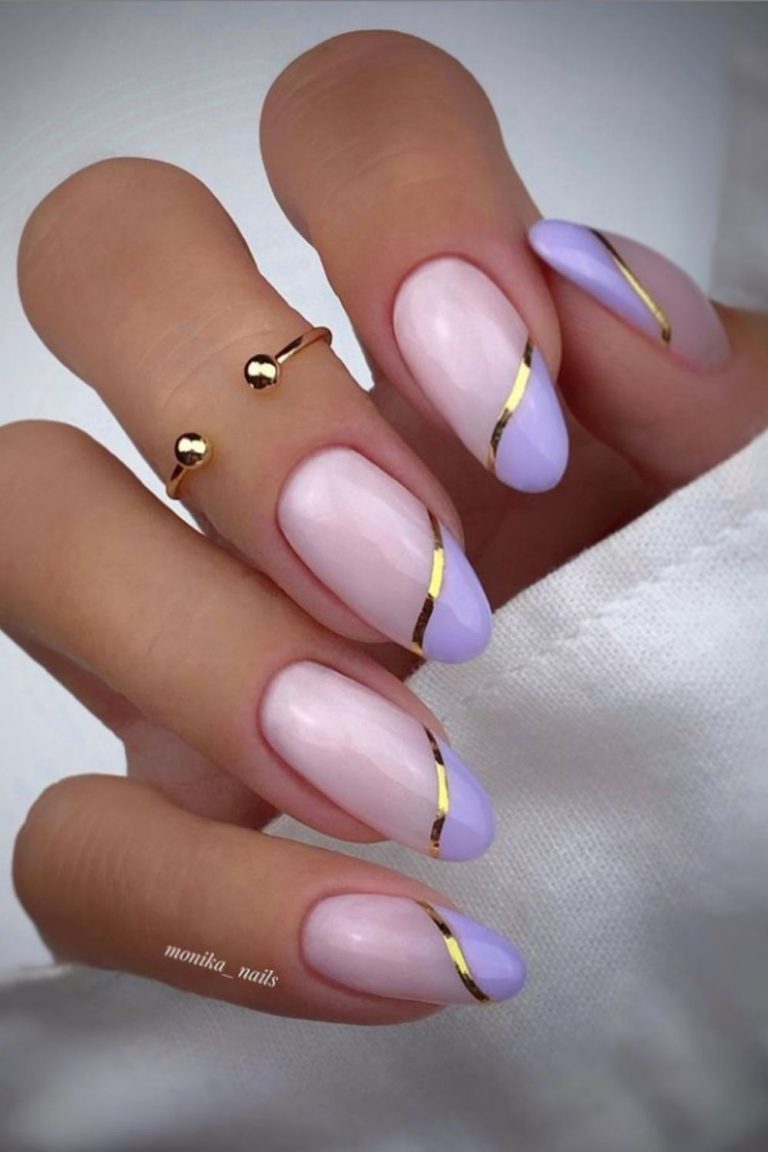
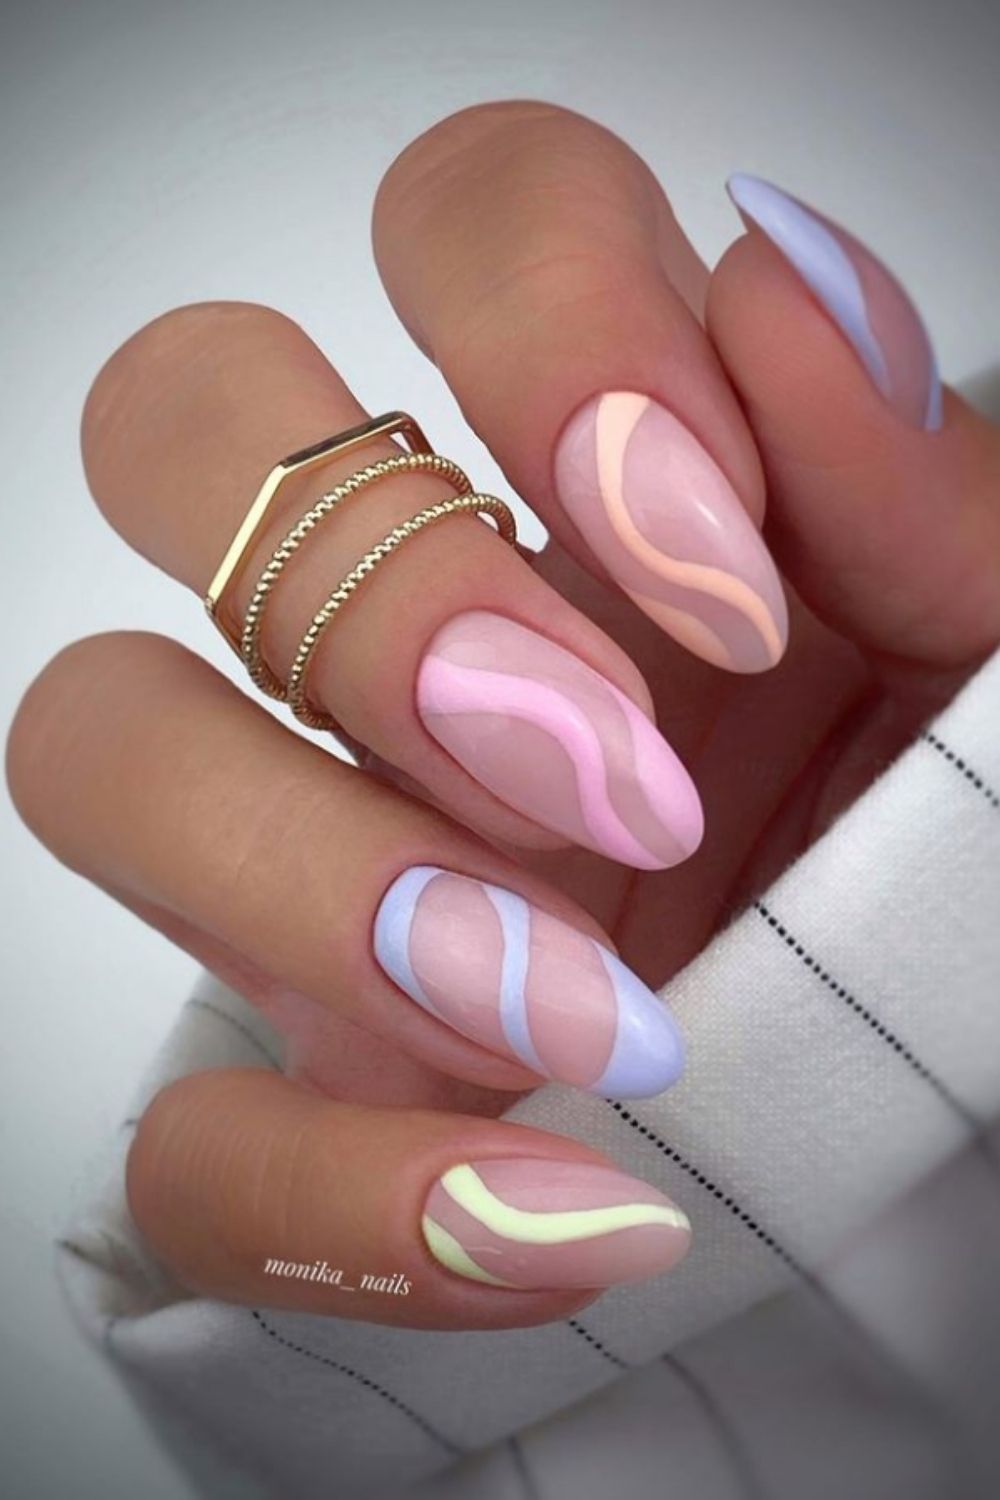
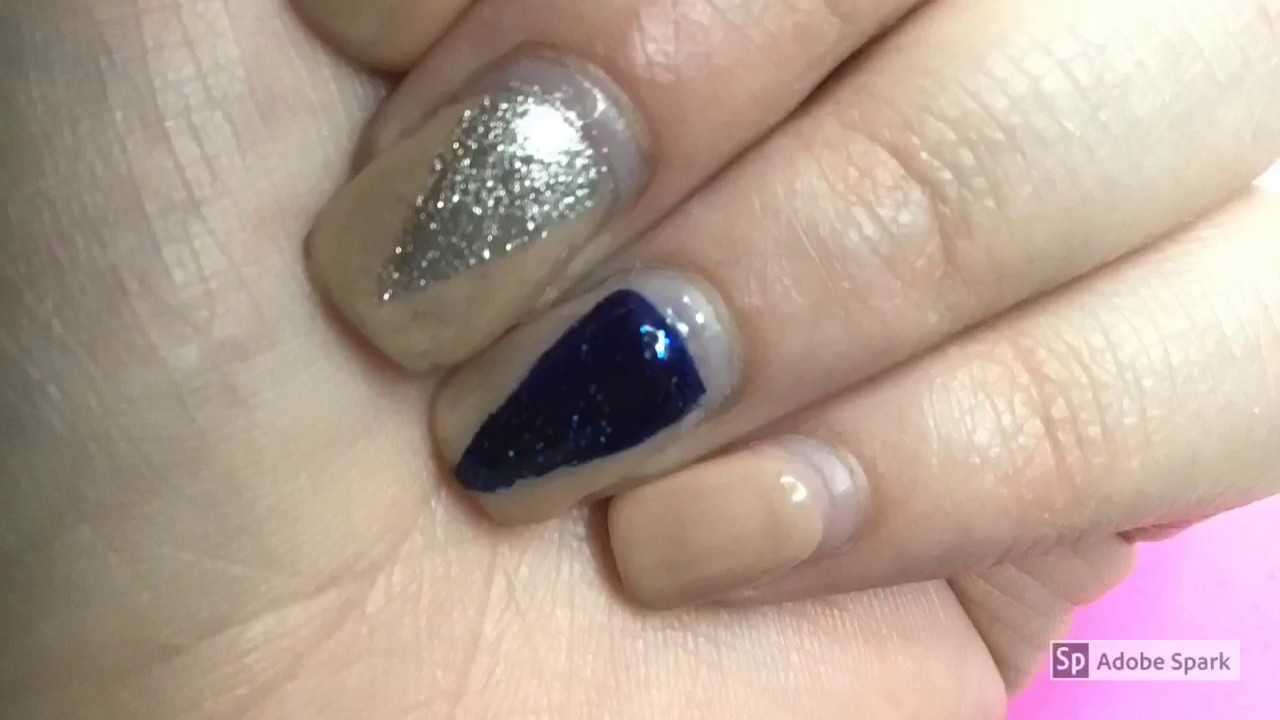
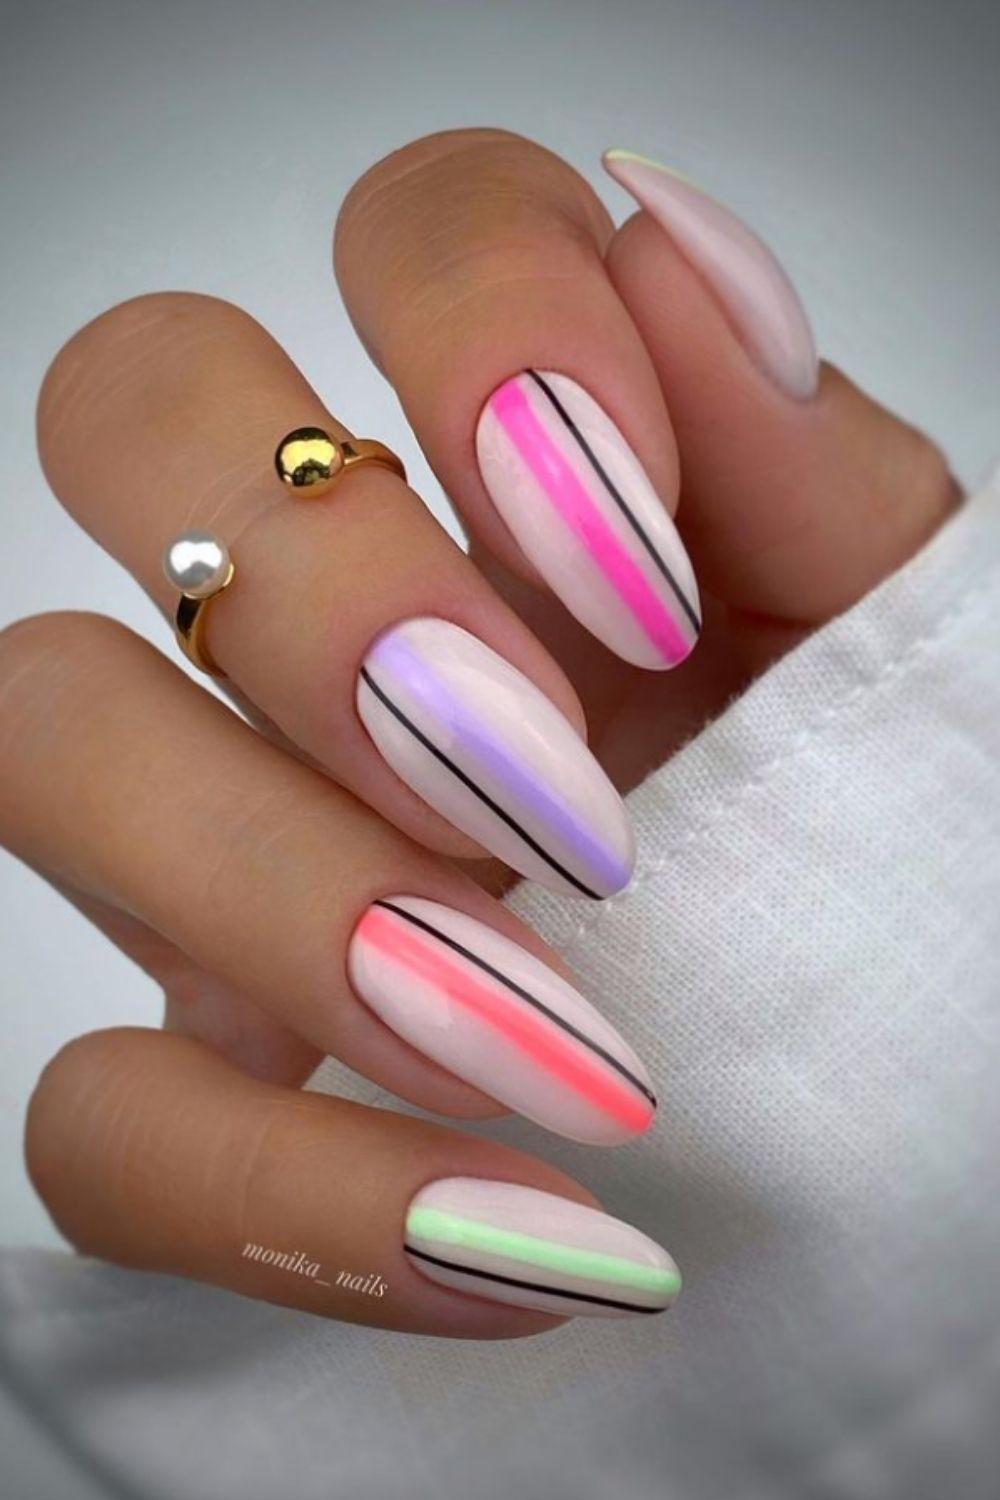
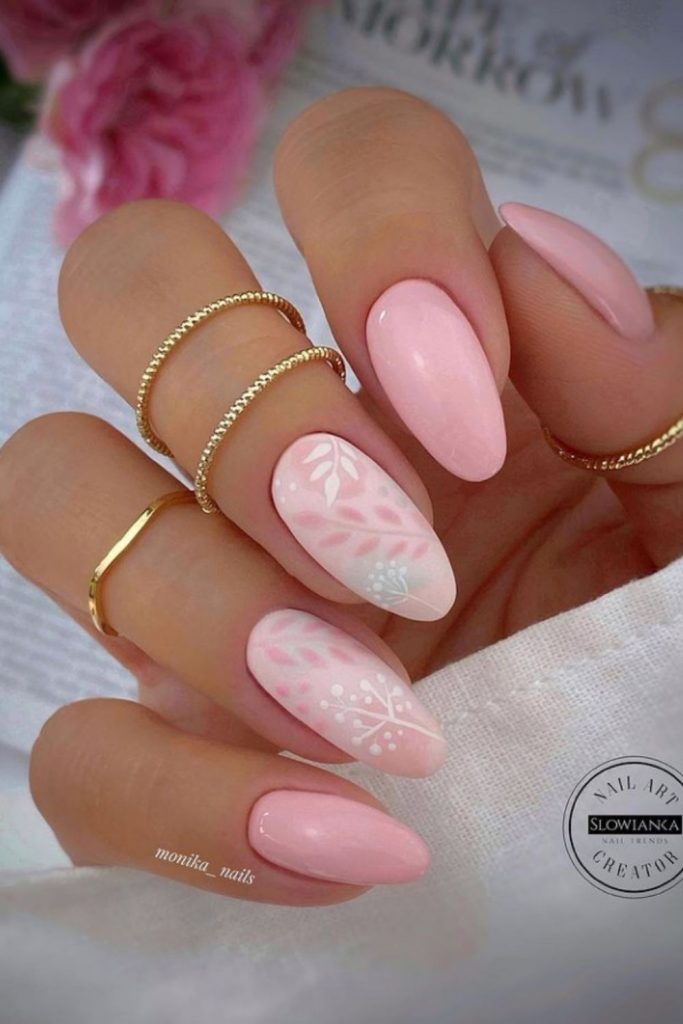
If you’re looking for some v-shaped nail design ideas, we’ve got you covered. Here are some creative and inspiring v-shaped nail designs that you can try out: 1. Pastel V-Shaped Nails: For a subtle and feminine look, try out this pastel v-shaped nail design. Use soft shades of pink, purple, or blue for the base color and add a pop of color with a darker shade for the v-shape. This design is perfect for spring or summer and looks great on all nail lengths. 2. Glitter V-Shaped Nails: Add some sparkle to your v-shaped nail design by incorporating glitter. You can either use a glitter nail polish for the v-shaped tip or add loose glitter on top of the darker polish before it dries. This design is perfect for a night out or special occasions. 3. Geometric V-Shaped Nails: Take your v-shaped nail design to the next level by incorporating geometric shapes. Use different colors and create a unique pattern with triangles, squares, or lines. This design is perfect for those who love a bold and edgy look. 4. Ombre V-Shaped Nails: Combine the popular ombre trend with a v-shaped nail design for a stunning and trendy look. Choose two colors that blend well together and create a gradient effect starting from the base of your nail and ending at the v-shaped tip. 5. Floral V-Shaped Nails: Add a touch of nature to your v-shaped nail design by incorporating flowers. You can either use flower nail decals or try your hand at creating tiny flowers with a small brush or toothpick. This design is perfect for spring and summer and adds a feminine touch to your nails.2. How to Create a V-Shaped Nail Design | Nail Art Procedure | Nail Art Inspiration
Nail Art Procedure


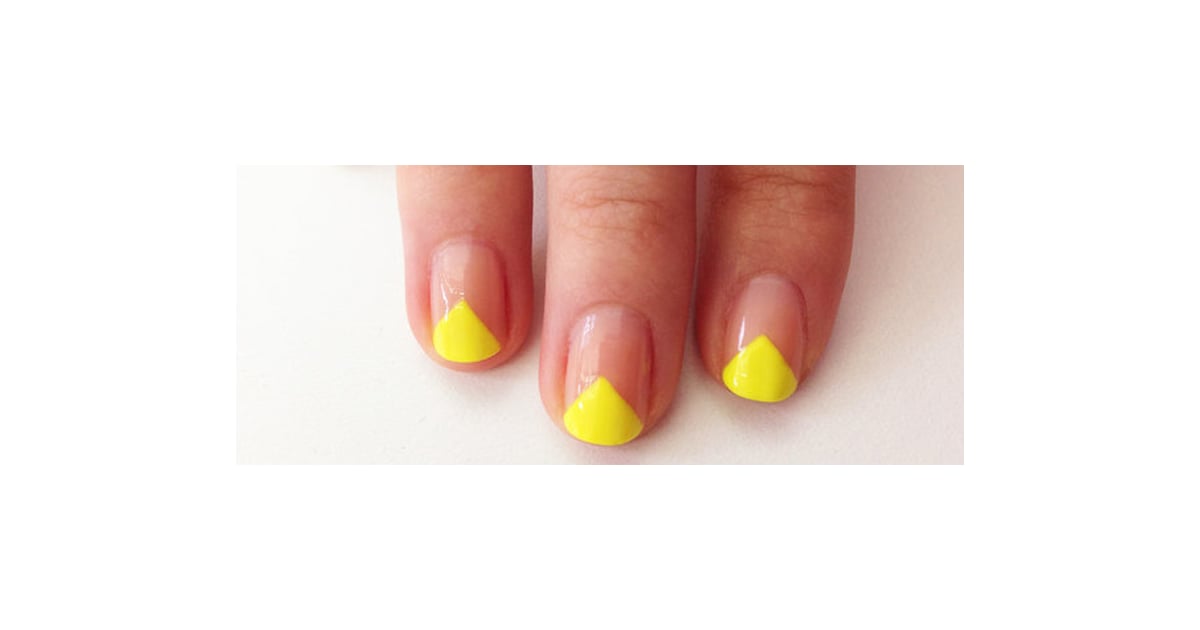
If you’re a visual learner, here’s a step by step guide on how to create a v-shaped nail design: Step 1: Apply a base coat to protect your nails and let it dry completely. Step 2: Paint your nails with a lighter colored polish as your base. Apply two coats for a more opaque finish and let them dry completely. Step 3: Using a darker colored nail polish and a small brush or toothpick, create two diagonal lines starting from the bottom of your nail and meeting at the center. Step 4: Let the darker polish dry before moving on to the next step. Step 5: Carefully cut off the excess polish from the sides of your nails, following the diagonal lines you created earlier. Step 6: Apply a top coat to seal in the design and add shine. Let it dry completely and you’re done!3. V-Shaped Nail Design Step by Step | Nail Art Procedure | Nail Art Tips
Nail Art ...

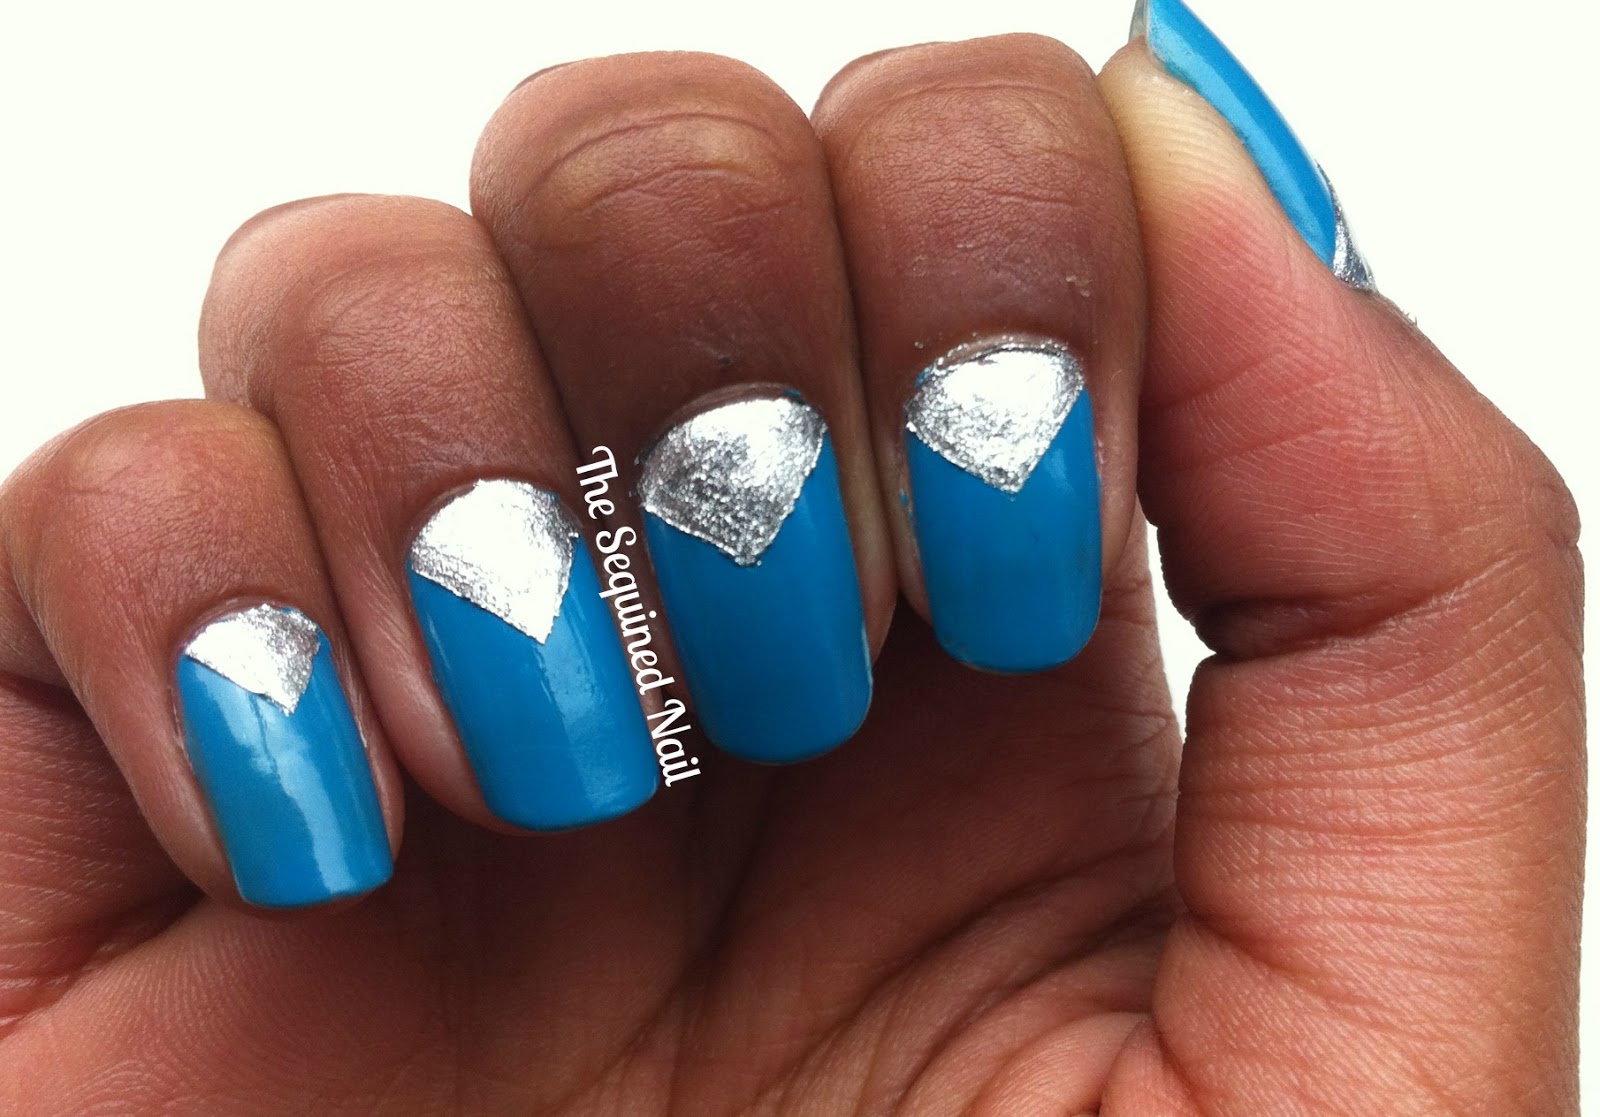
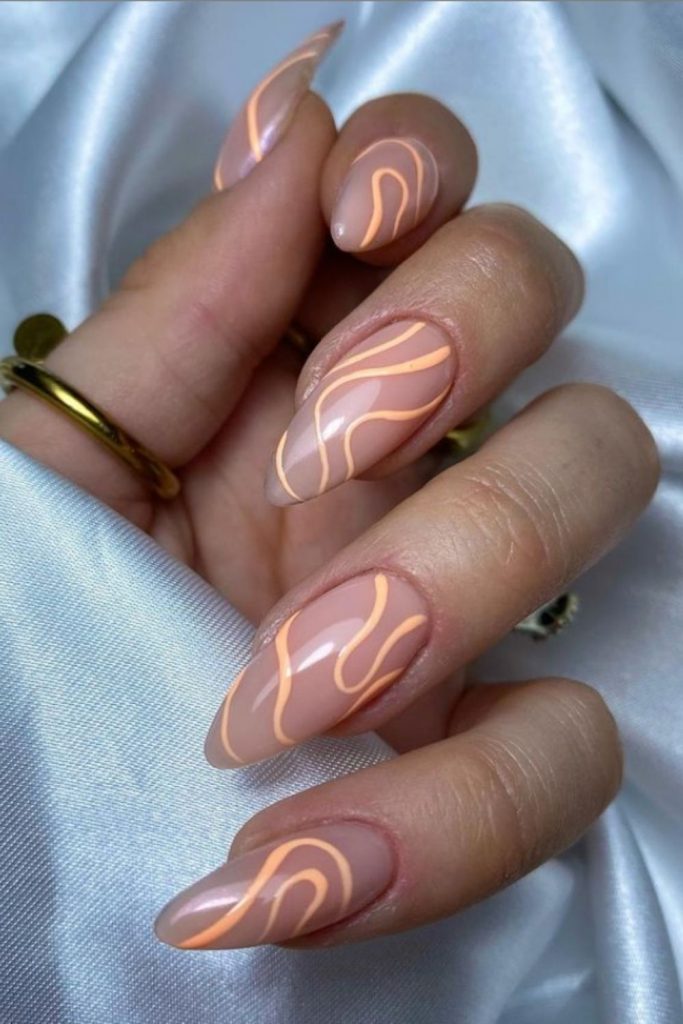
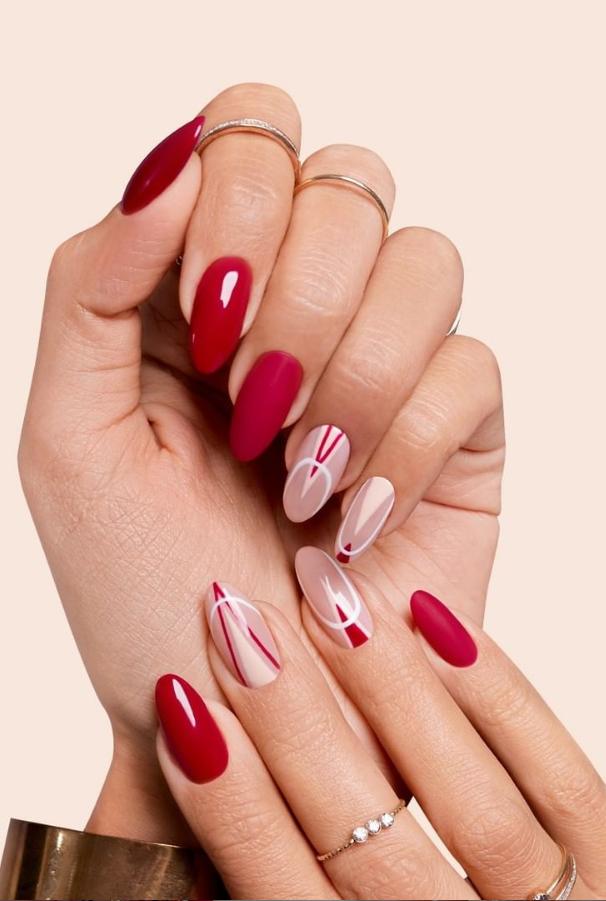
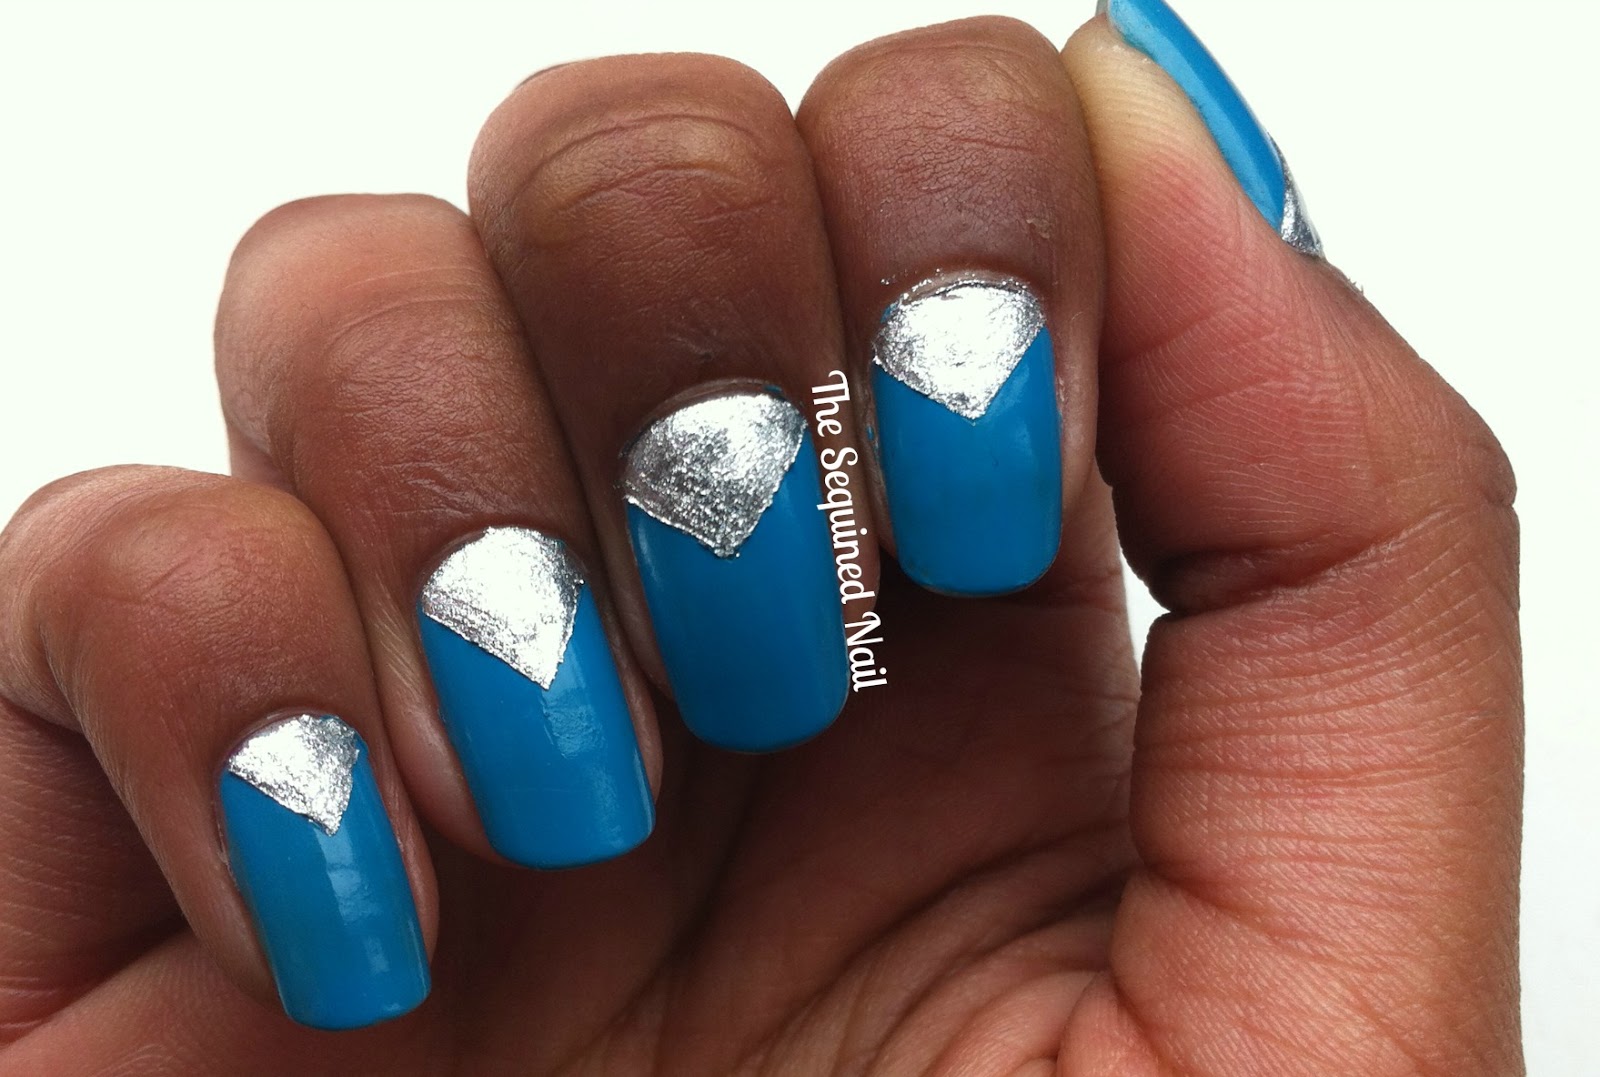
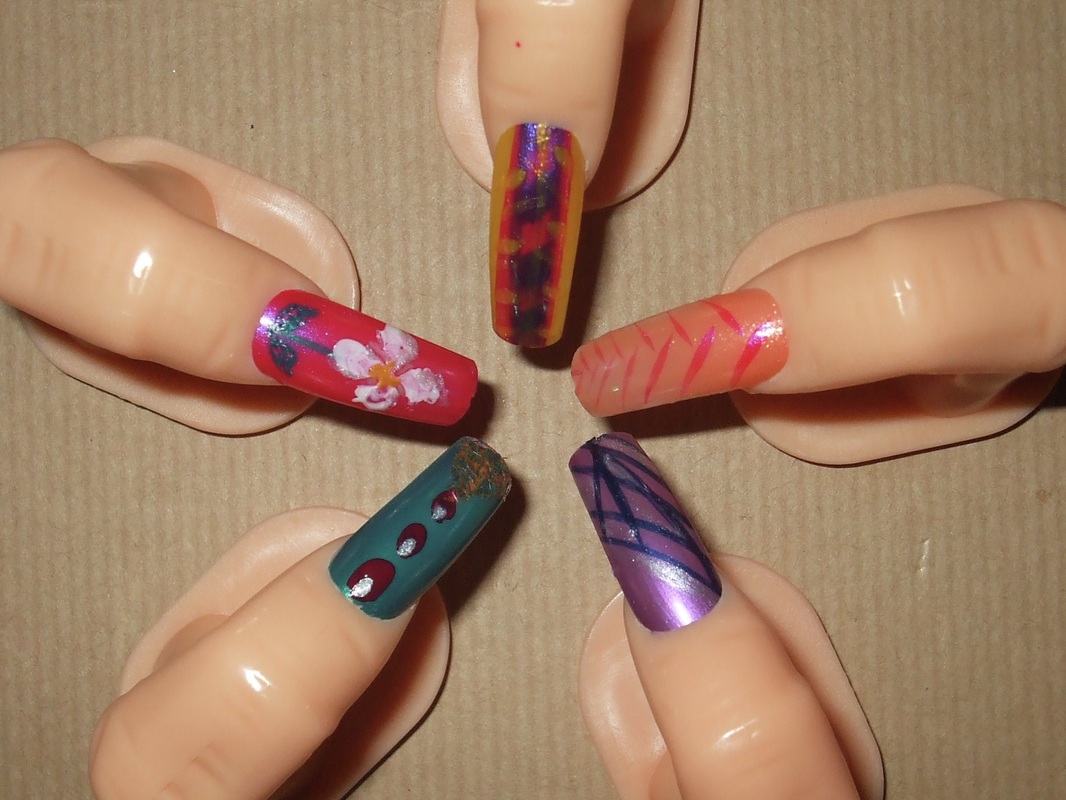
Looking for some v-shaped nail design ideas? Here are a few to inspire you: 1. Bold and Bright: Make a statement with a bold and bright v-shaped nail design. Use contrasting colors like red and black, or yellow and blue for a striking look. 2. Monochromatic: Keep it simple yet chic with a monochromatic v-shaped nail design. Choose different shades of the same color for a subtle and sophisticated look. 3. Metallic Accents: Add some metallic accents to your v-shaped nail design for a touch of glamour. You can use metallic nail polish for the v-shaped tip or add some rhinestones for a more subtle shine. 4. French V-Shaped Nails: Give the classic French manicure a twist by creating a v-shaped tip instead of the traditional straight line. This design is perfect for those who want to add a subtle yet unique touch to their nails. 5. Animal Print V-Shaped Nails: Take your v-shaped nail design to the wild side by incorporating animal prints. Use a small brush or nail art pen to create leopard spots, zebra stripes, or any other animal print you desire.4. V-Shaped Nail Design Ideas | Nail Art Procedure | Nail Art Inspiration


2. How to Create a V-Shaped Nail Design


To create a flawless v-shaped nail design, you’ll need the right tools and supplies. Here are some essential items you’ll need: 1. Base coat: A base coat is important to protect your nails and help the nail polish last longer. 2. Top coat: A top coat is necessary to seal in the design and add a shiny finish. 3. Nail polishes: Choose two different colored nail polishes to create the v-shaped design. You can also use more colors if you want to add a gradient or ombre effect. 4. Small brush or toothpick: This will be used to create the v-shaped design on your nails. 5. Scissors: To cut off the excess polish and create the perfect v-shaped tip. 6. Nail stencil: This is optional, but using a v-shaped nail stencil can help you achieve a more precise and symmetrical design.5. V-Shaped Nail Design Tools and Supplies | Nail Art Procedure | Nail Art Tips

Nail Art Procedure

.jpg)

Creating a v-shaped nail design may seem daunting, but with the right techniques, it can be easy and fun. Here are some tips to keep in mind: 1. Practice makes perfect: Don’t be discouraged if your first attempt at a v-shaped nail design doesn’t turn out the way you want it to. Keep practicing and you’ll get the hang of it in no time. 2. Use a light touch: When creating the v-shaped design, use a light touch with the brush or toothpick to achieve clean and precise lines. 3. Take your time: Don’t rush through the steps, especially when cutting off the excess polish. Take your time and be patient for the best results. 4. Experiment with colors and patterns: Don’t be afraid to try out different color combinations and patterns to create a unique and personalized v-shaped nail design.6. V-Shaped Nail Design Techniques | Nail Art Procedure | Nail Art Tips


Nail ...

Short nails can also rock a v-shaped nail design! Here are some tips to create a v-shaped nail design for short nails: 1. Use lighter colors: Lighter colors tend to make nails look longer, so opt for a lighter base color and a darker v-shaped tip. 2. Create a diagonal line: Instead of creating a v-shape, you can also opt for a single diagonal line on your nails for a simpler yet still chic look. 3. Add some negative space: Leave a small space at the base of your nail unpainted for a modern and trendy look. 4. Keep it minimal: Short nails look great with a simple and minimal v-shaped nail design. Use a single color for the base and a contrasting color for the v-shaped tip.7. V-Shaped Nail Design for Short Nails | Nail Art Procedure | Nail Art Inspiration

3. V-Shaped Nail Design Step by Step

Long nails have more surface area to work with, so let your creativity run wild with a v-shaped nail design for long nails. Here are some ideas to get you started: 1. Multi-colored v-shape: Use multiple colors for the v-shaped tip for a colorful and playful look. 2. Add some rhinestones: For a touch of glamour, add some rhinestones or gems along the v-shaped tip. 3. Incorporate different patterns: Use different patterns like stripes, polka dots, or even chevron for a unique and eye-catching v-shaped nail design. 4. Use metallics: Metallic nail polish looks stunning on long nails and can add a touch of luxury to your v-shaped nail design.8. V-Shaped Nail Design for Long Nails | Nail Art Procedure | Nail Art Inspiration
Nail Art Procedure

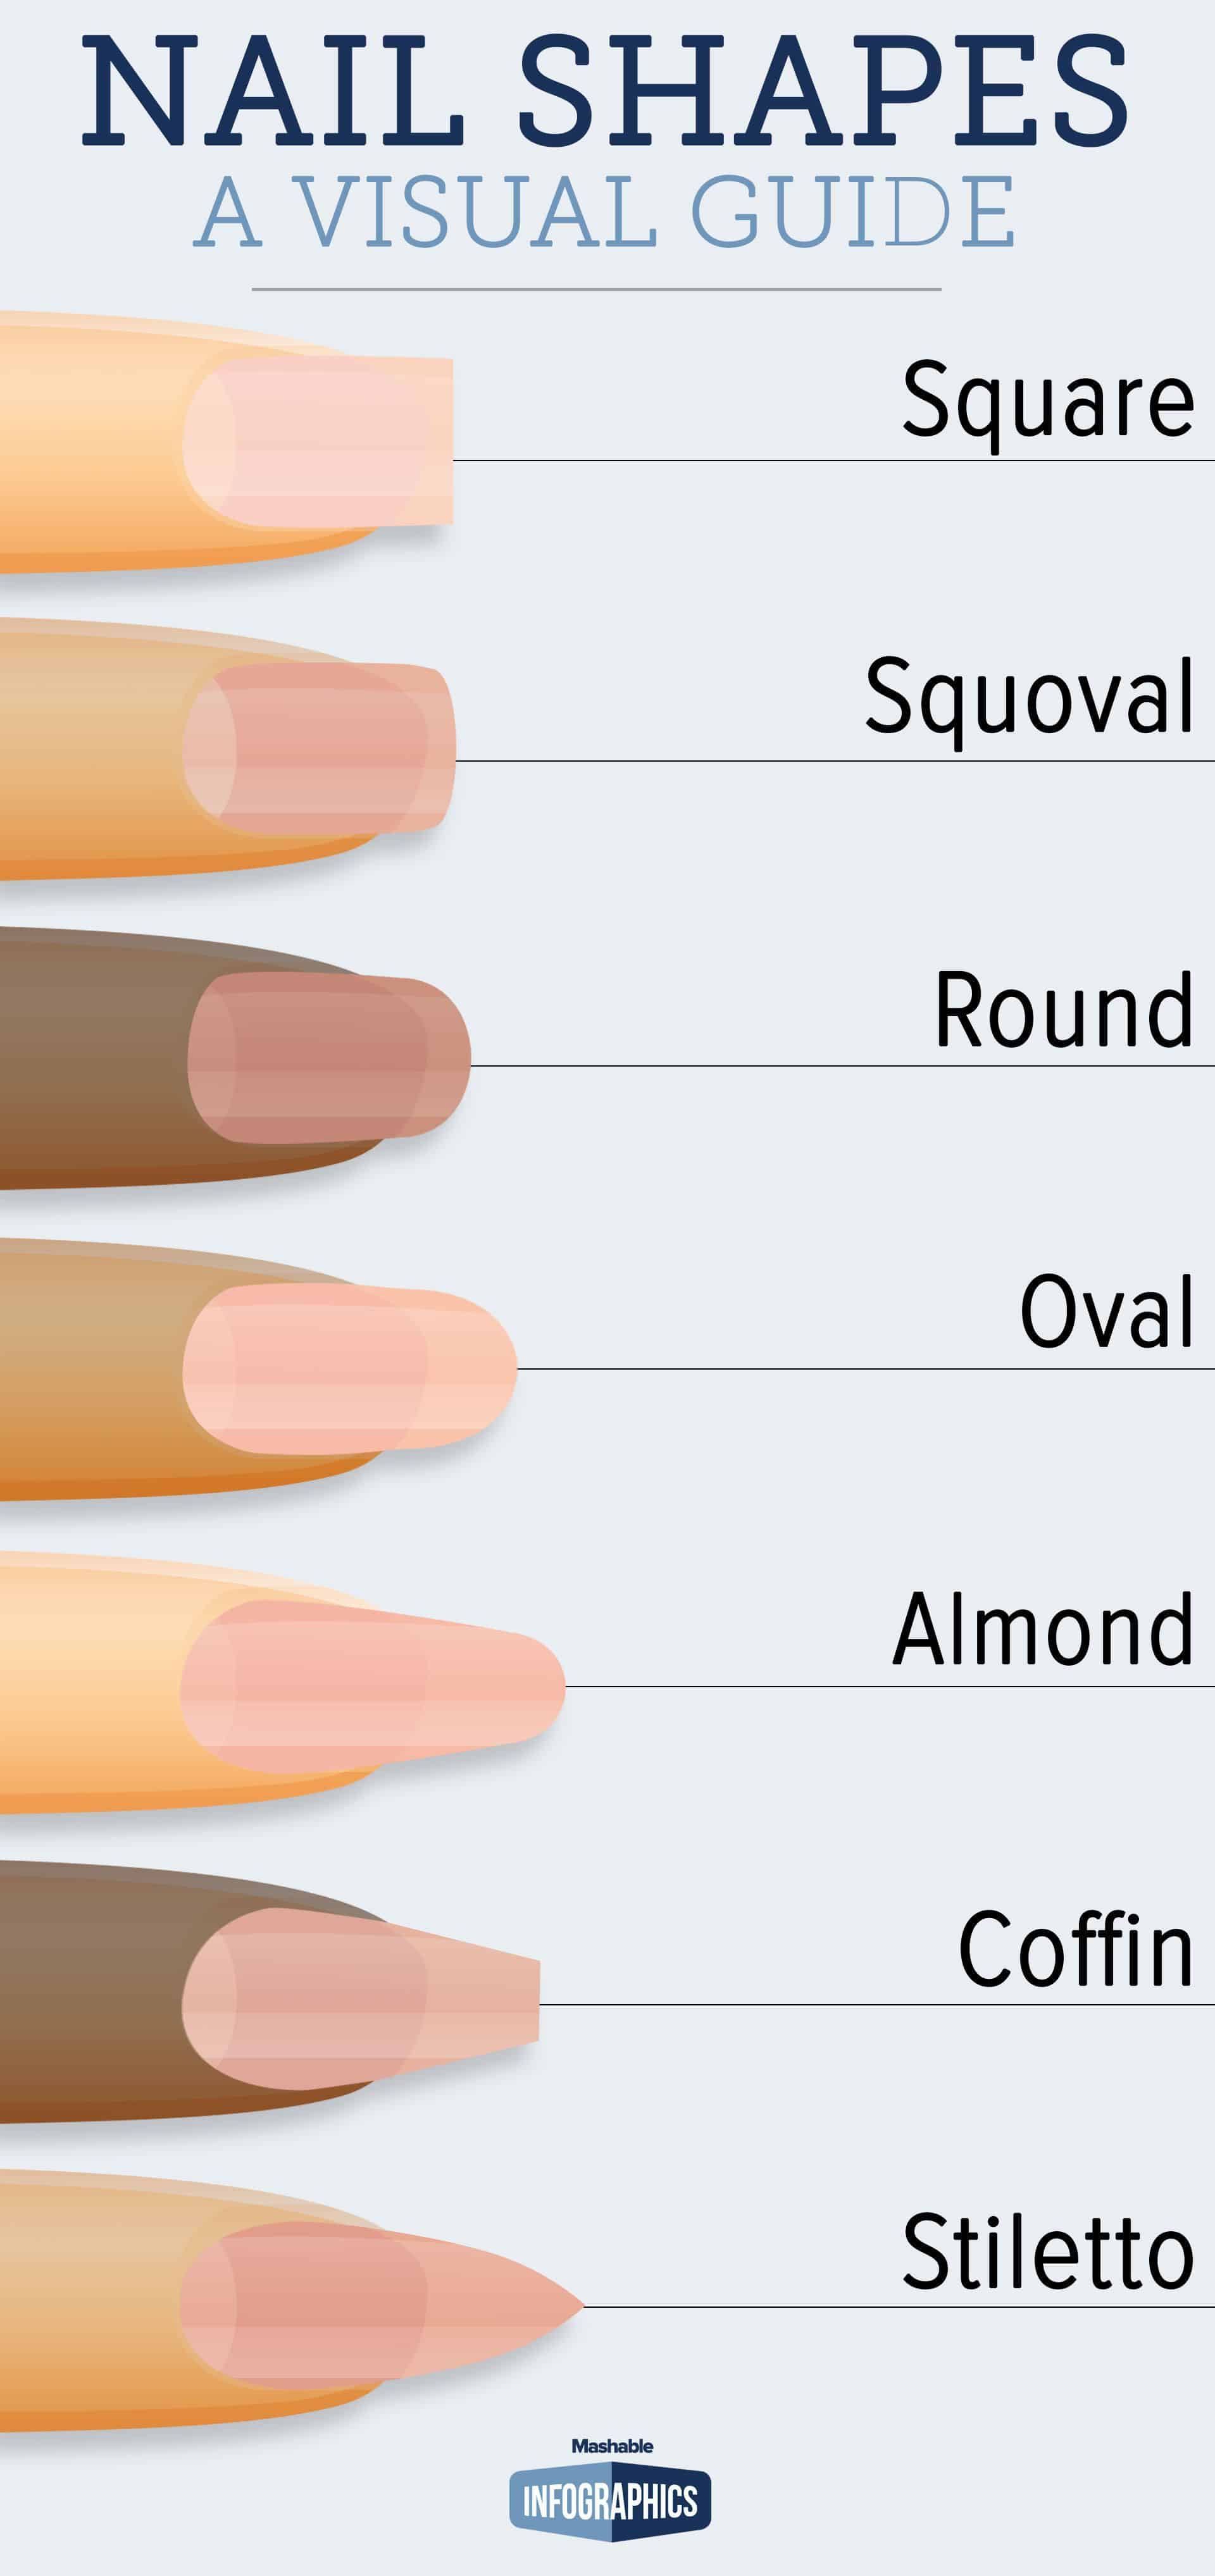
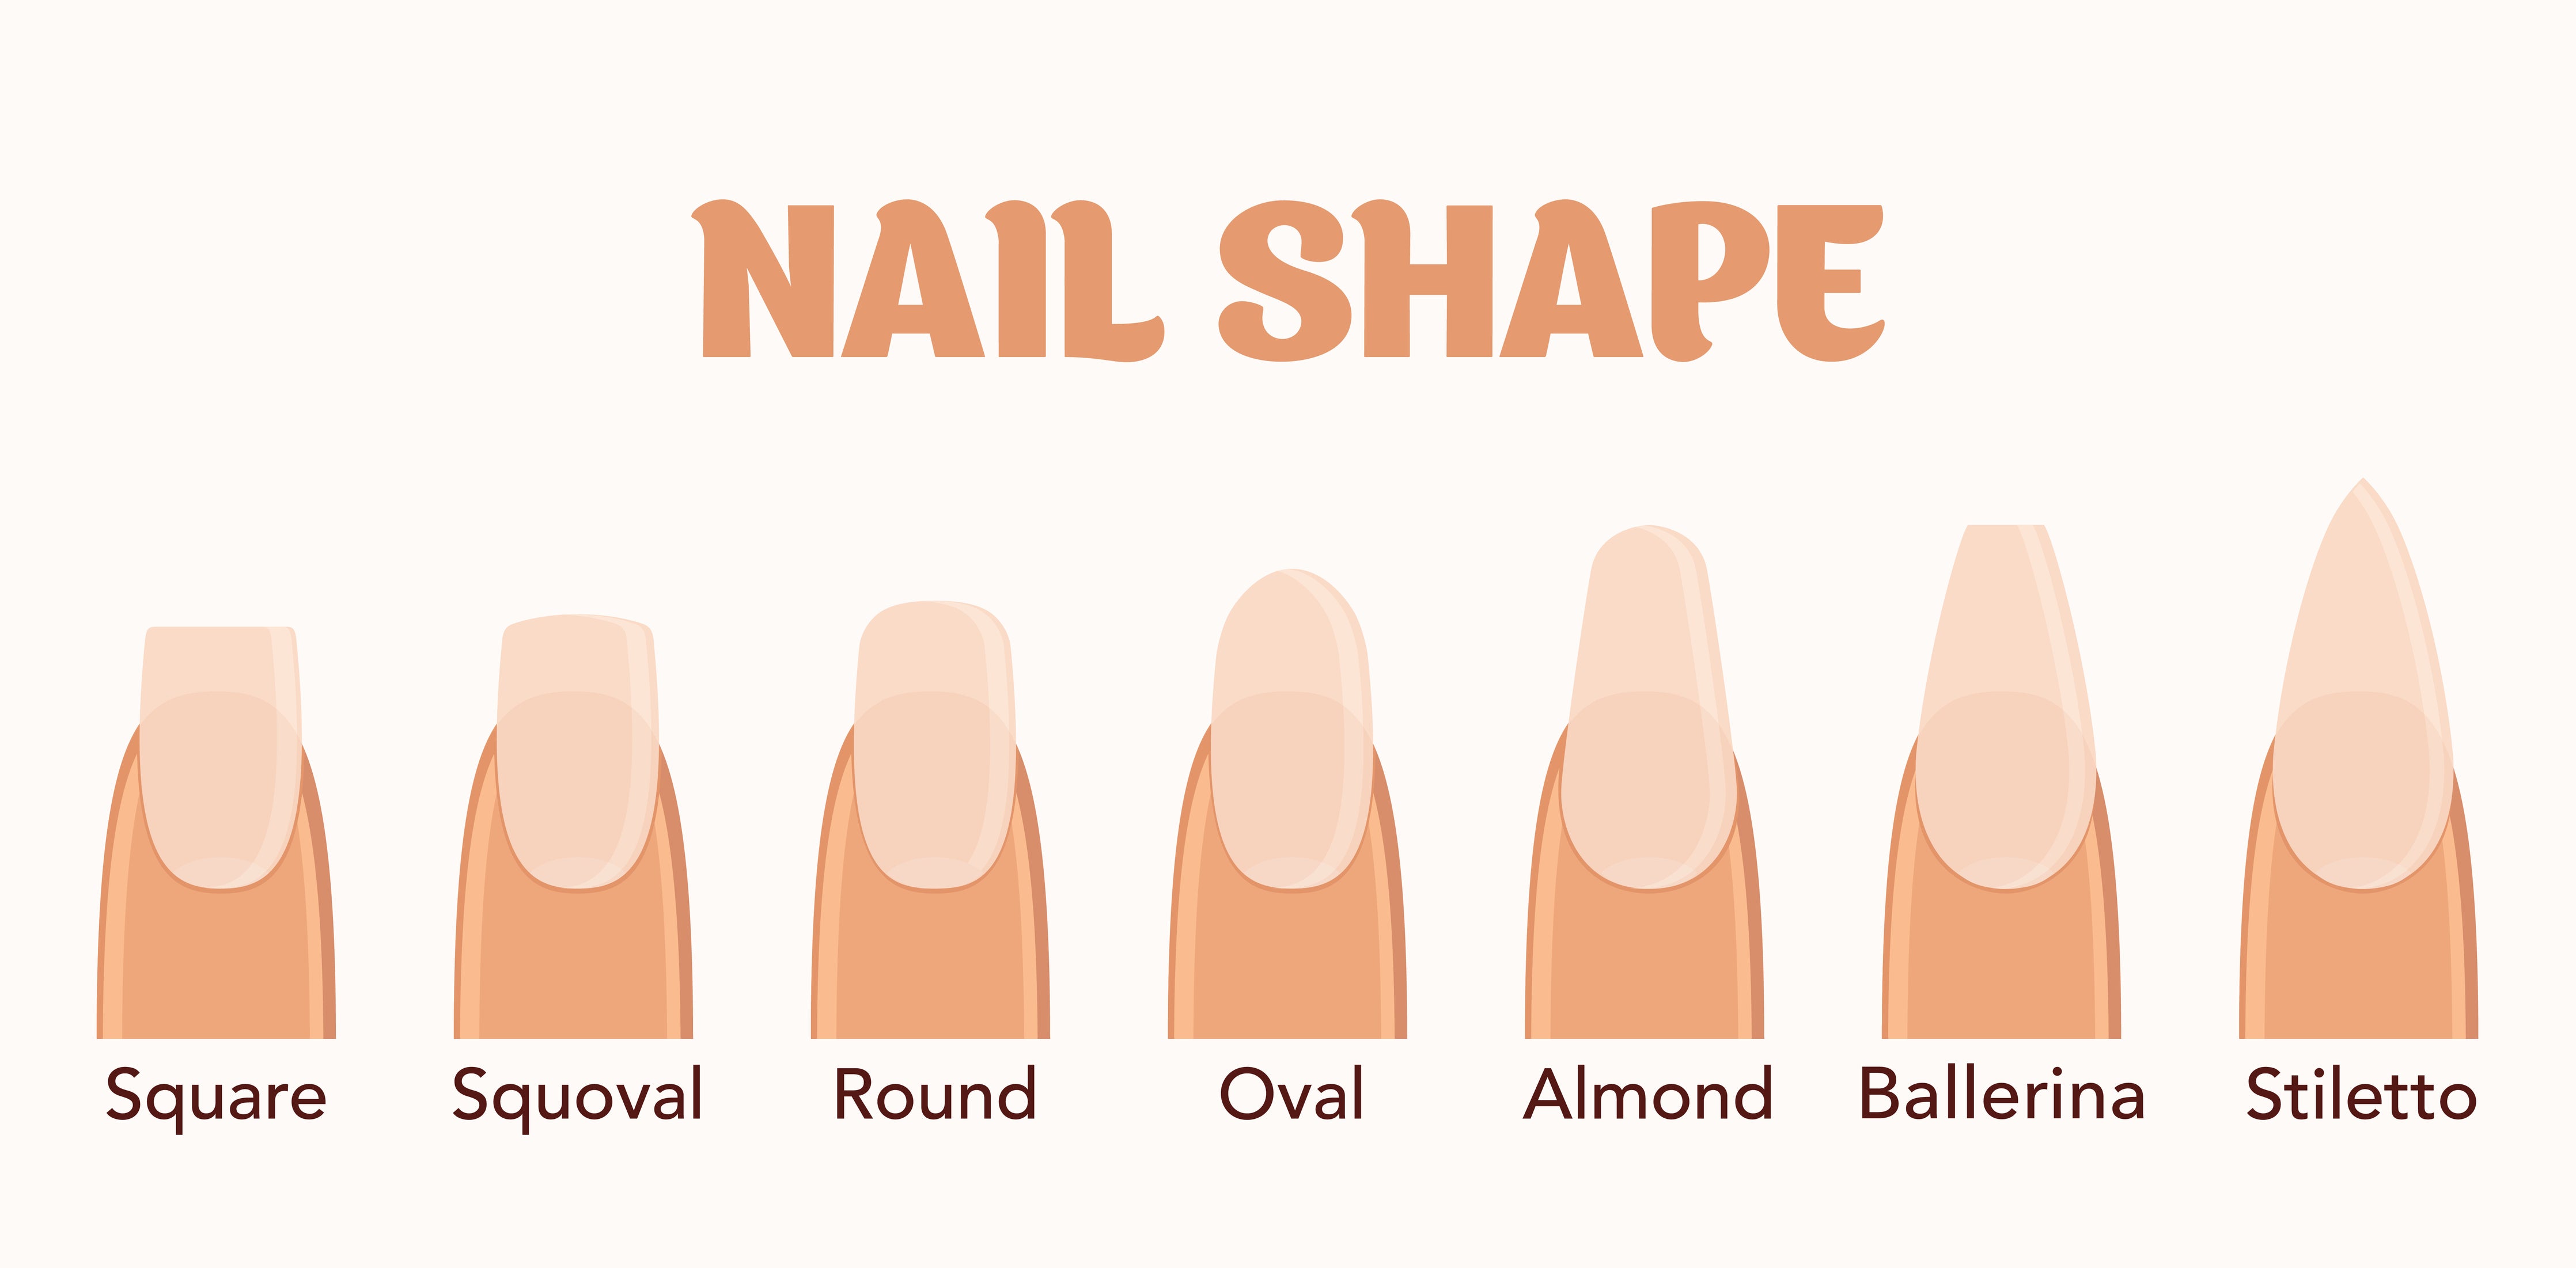
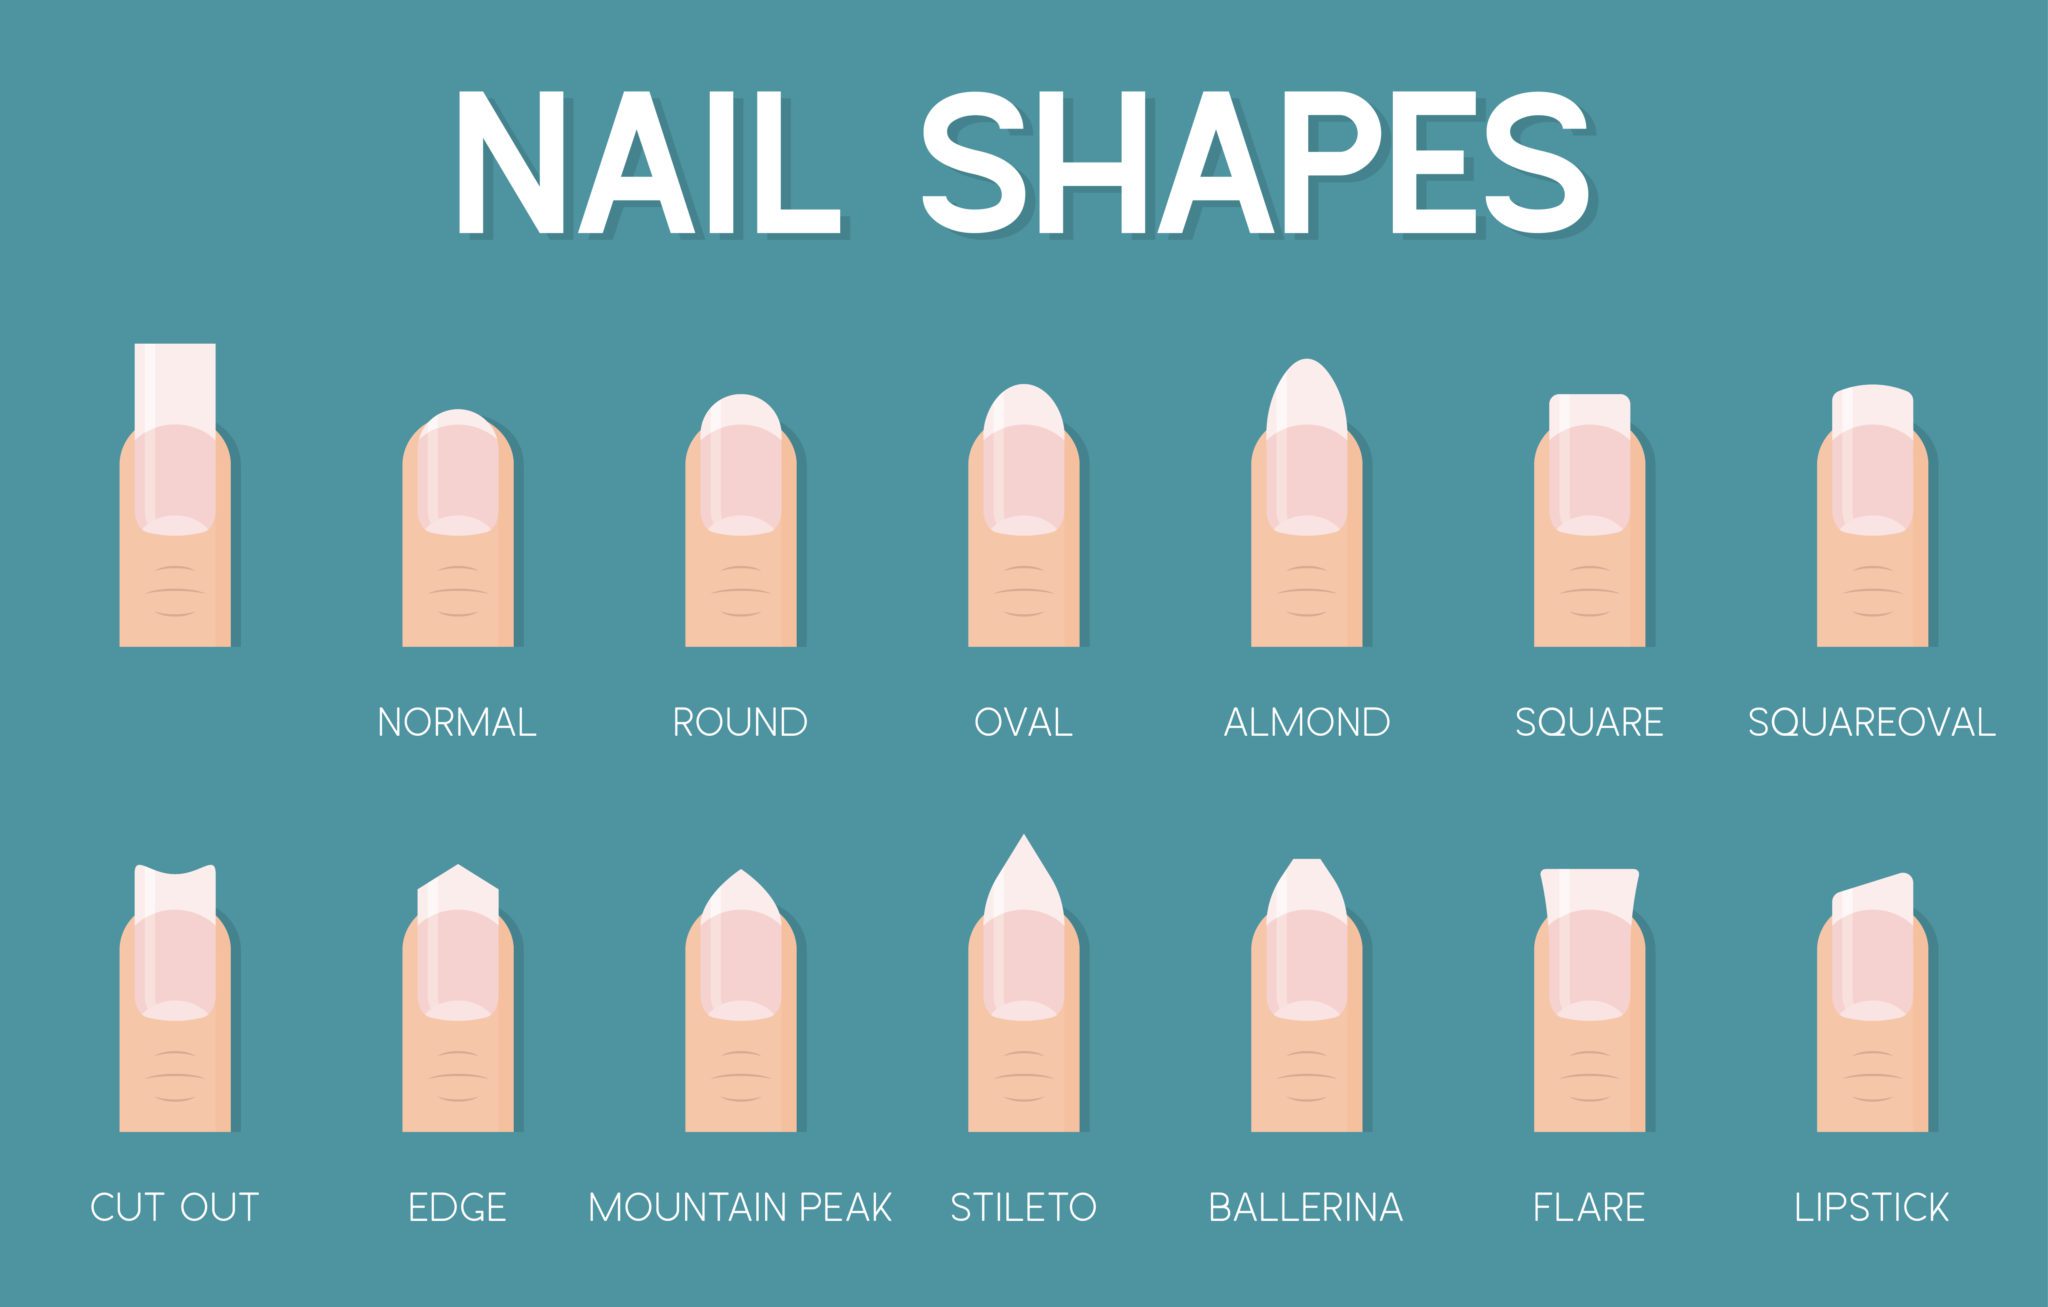
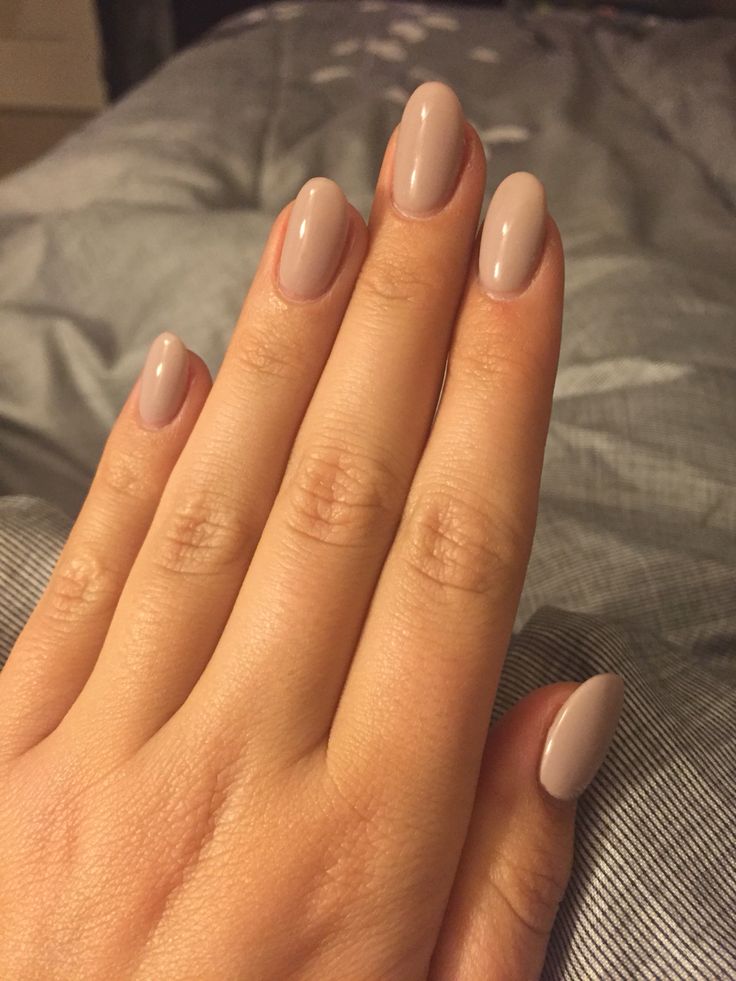
Whether you have square, round, or almond-shaped nails, the v-shaped nail design can work for any nail shape. Here are some tips for creating a v-shaped nail design for different nail shapes: 1. Square nails: For square-shaped nails, create a v-shaped tip that follows the natural shape of your nail for a more elongated look. 2. Round nails: Round nails can also rock a v-shaped nail design. Keep the v-shaped tip more curved to complement the round shape of the nail. 3. Almond nails: Almond-shaped nails look great with a subtle v-shaped tip. Keep the v-shape small and close to the base of the nail for a chic and elegant look.9. V-Shaped Nail Design for Different Nail Shapes | Nail Art Procedure | Nail Art Tips


Nail Art ...

The v-shaped nail design is versatile and can be worn for any occasion. Here are some ideas for different occasions: 1. Everyday wear: For a subtle and everyday-appropriate v-shaped nail design, stick to neutral or pastel colors and keep the v-shaped tip small. 2. Party or night out: Amp up the glam factor with a bold and colorful v-shaped nail design featuring glitter or metallic accents. 3. Wedding or special occasion: Keep it elegant and sophisticated with a monochromatic v-shaped nail design or add some delicate floral patterns for a touch of romance. 4. Summer or spring: Embrace the season with a bright and playful v-shaped nail design featuring fun patterns and colors. 5. Holiday or festive: Get into the holiday spirit with a festive v-shaped nail design using colors and patterns that represent the occasion. There you have it, the top 10 v-shaped nail design procedures to help you achieve this trendy and unique look. Don’t forget to convert your article to HTML code to make it easily accessible and readable for readers online. Whether you have short or long nails, square or almond-shaped, there’s a v-shaped nail design that will suit your style and personality. So go ahead and give it a try, and let your nails make a statement with a v-shaped twist!10. V-Shaped Nail Design for Different Occasions | Nail Art Procedure | Nail Art Inspiration
4. V-Shaped Nail Design Ideas
:max_bytes(150000):strip_icc()/121020-red-art-nail-designs-lead-2000-d0787e7365f44dfeaa27972ae713d448.jpg)
The Benefits of V Shape Nail Design

Enhancing the Beauty of Your Hands
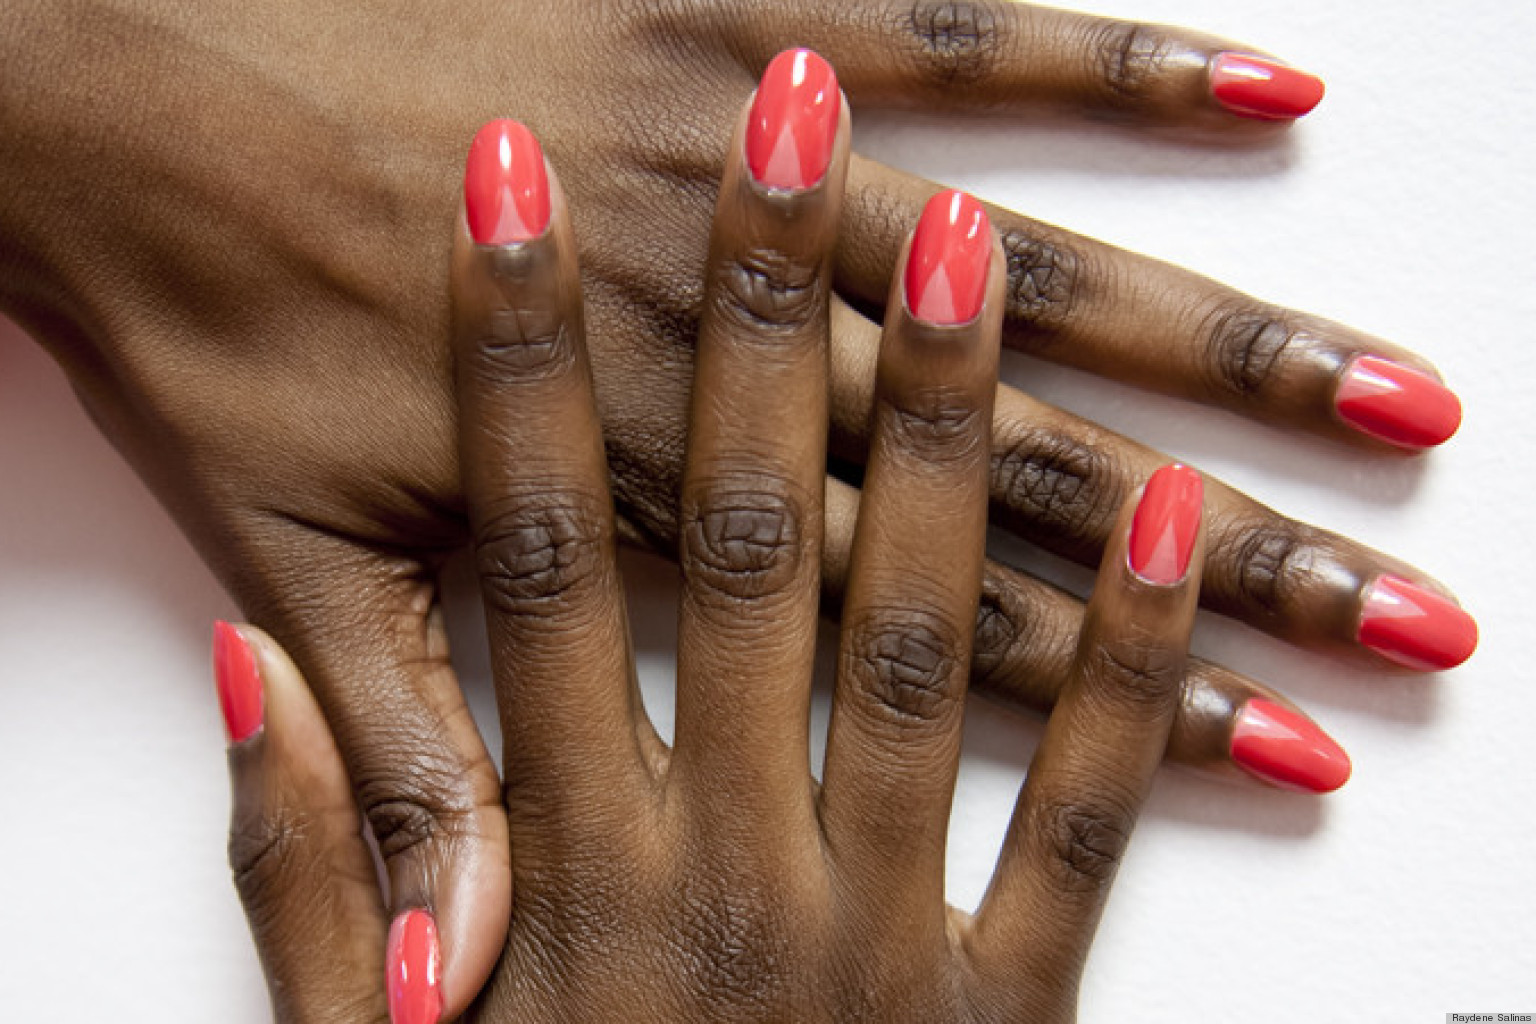
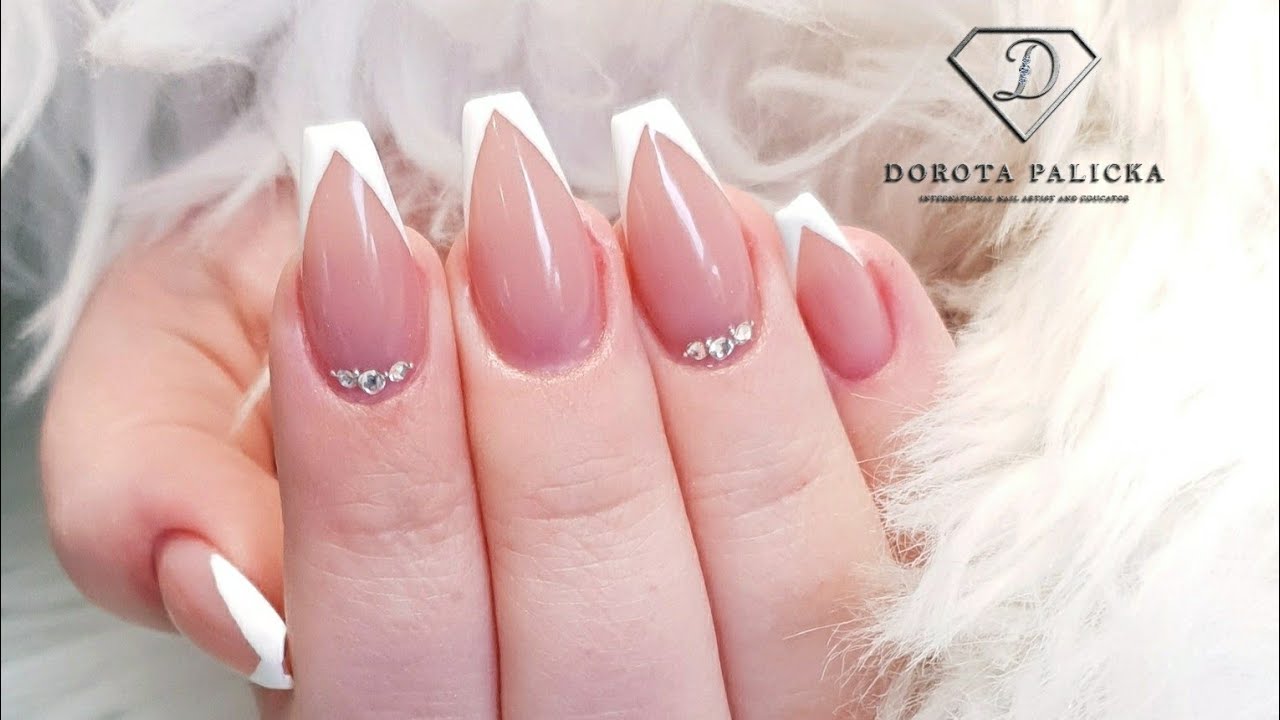
 The shape of your nails plays a significant role in the overall appearance of your hands. A well-shaped and well-maintained nail can make your hands look more elegant and attractive. The V shape nail design is a popular choice among many due to its ability to elongate and slim down the fingers, creating a more feminine and delicate look. The V shape design is achieved by filing the nails into a sharp point at the tip, resembling the letter V. This unique shape can complement any outfit and add a touch of sophistication to your style.
Endless Design Possibilities
 Apart from the classic V shape, there are endless design possibilities with this nail shape. From simple and minimalistic to intricate and bold, you can experiment with various designs and patterns to suit your personal style. The V shape can be incorporated into different nail art techniques, such as ombre, French tips, or glitter, making it a versatile choice for any occasion. With the right combination of colors and designs, you can create a stunning and eye-catching nail look that will make a statement.
Long-Lasting Results
Easy Maintenance
 Contrary to popular belief, the V shape nail design is relatively low maintenance. Once you have achieved the desired shape, all you need to do is maintain it by regularly filing the tips to keep them sharp. This will not only keep your nails looking neat and tidy but also prevent any potential breakage. Additionally, the V shape design makes it easier to apply nail polish, as the sharp point provides a smooth and even surface to work with.
In conclusion, the V shape nail design is not only aesthetically pleasing but also offers practical benefits. From enhancing the beauty of your hands to providing endless design possibilities, this nail shape is a must-try for anyone looking to elevate their manicure game. So why not give it a try and see the stunning results for yourself?
Contrary to popular belief, the V shape nail design is relatively low maintenance. Once you have achieved the desired shape, all you need to do is maintain it by regularly filing the tips to keep them sharp. This will not only keep your nails looking neat and tidy but also prevent any potential breakage. Additionally, the V shape design makes it easier to apply nail polish, as the sharp point provides a smooth and even surface to work with.
In conclusion, the V shape nail design is not only aesthetically pleasing but also offers practical benefits. From enhancing the beauty of your hands to providing endless design possibilities, this nail shape is a must-try for anyone looking to elevate their manicure game. So why not give it a try and see the stunning results for yourself?


