Valentine's Day is the perfect occasion to show off your love for all things romantic, and what better way to do so than through your nail art? With these step by step designs, you can create the perfect look for a romantic date night or a fun Galentine's Day celebration with your friends. So grab your favorite nail polish and get ready to create some love-inspired nail art!Valentine's Day Nail Art Tutorial: Step by Step Designs for a Romantic Look


Valentine's Day Nail Art Tutorial: Step by Step Designs for ...

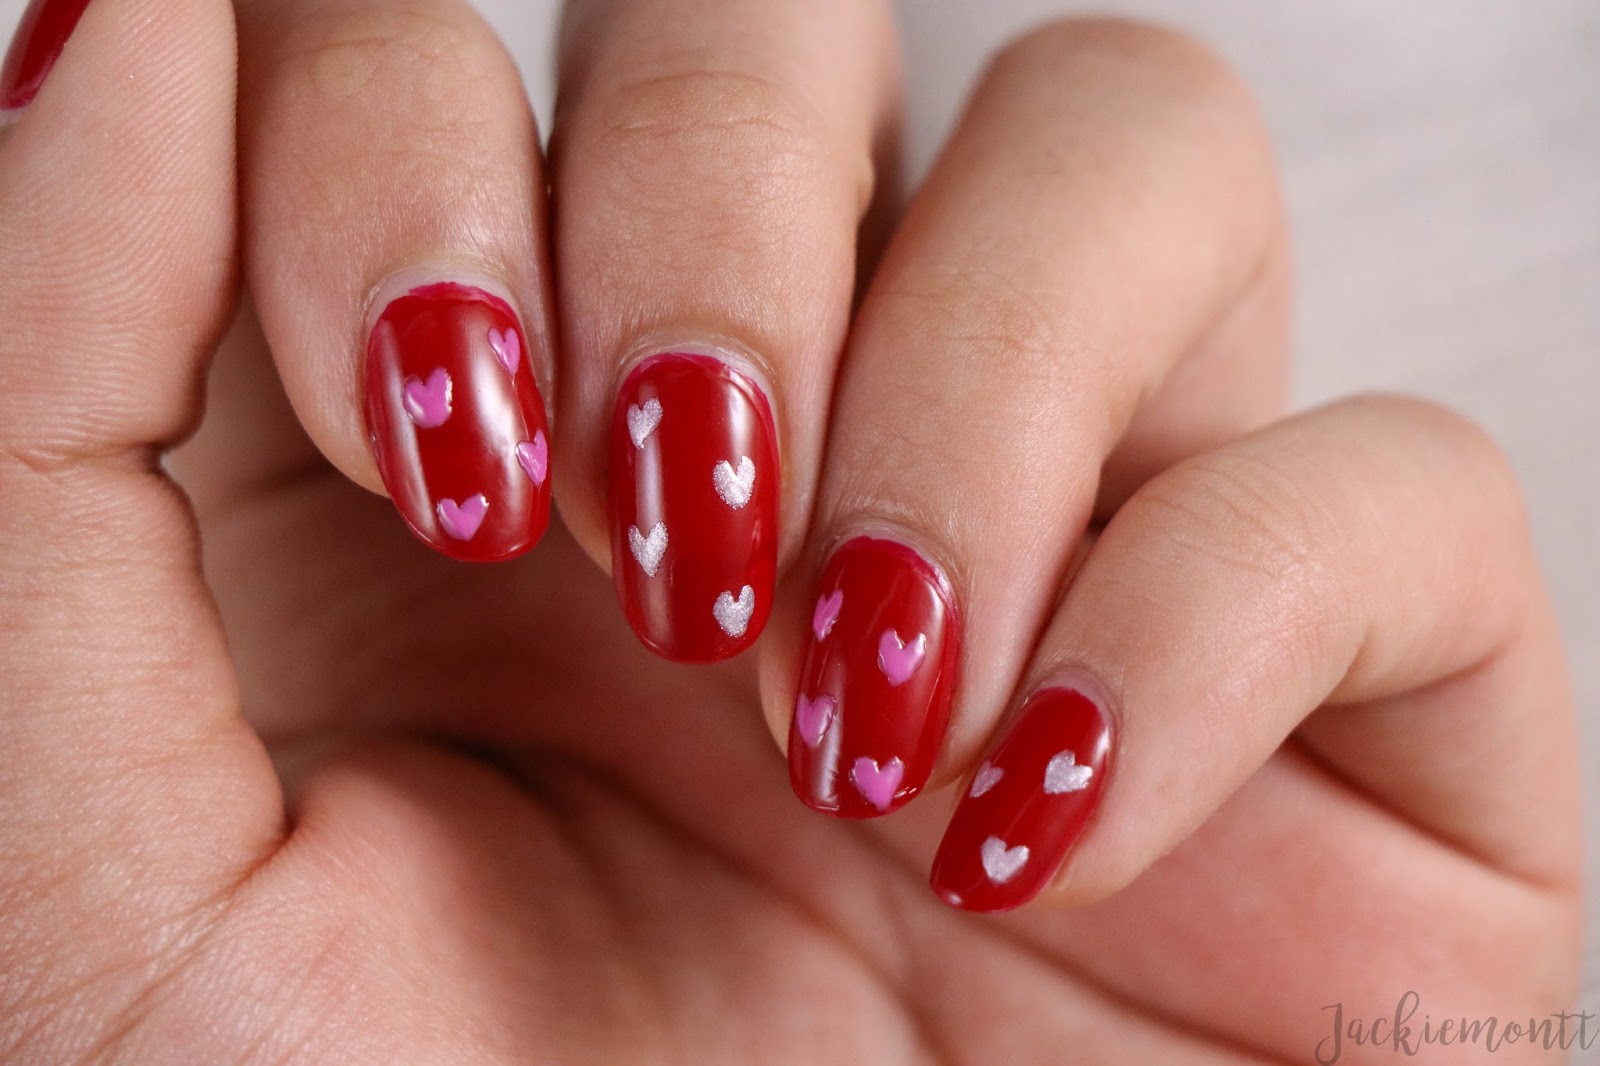


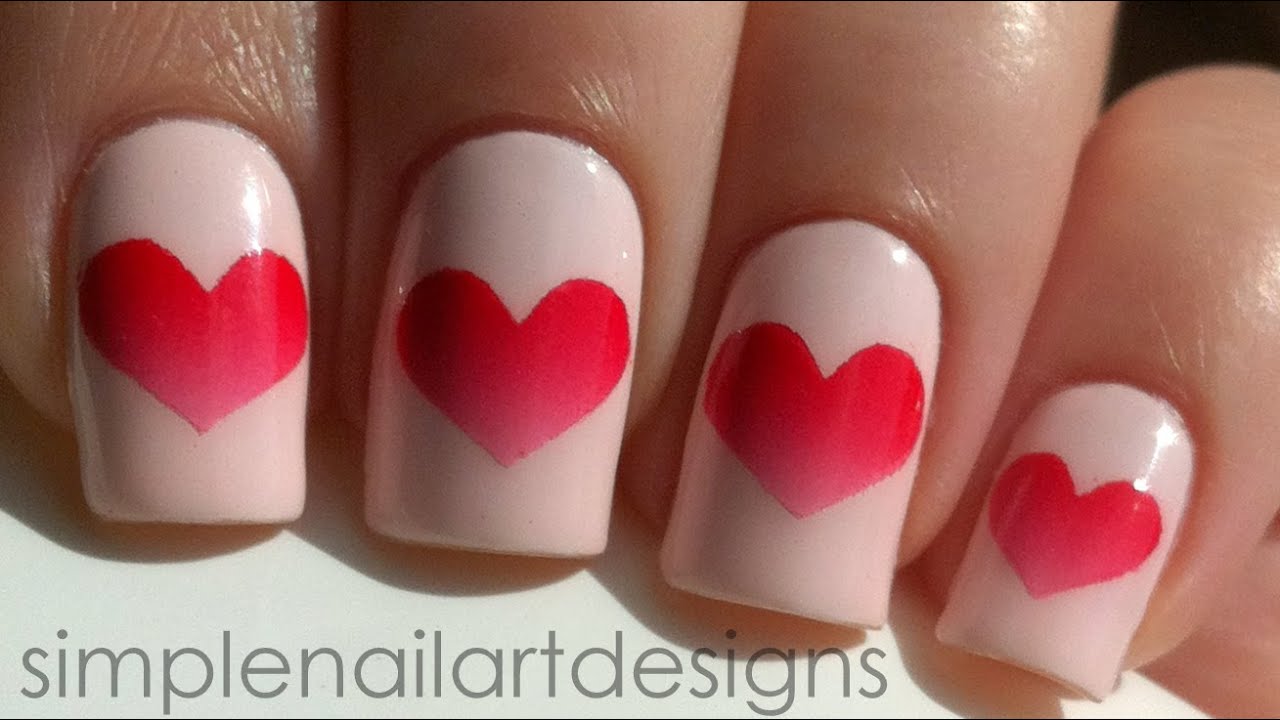
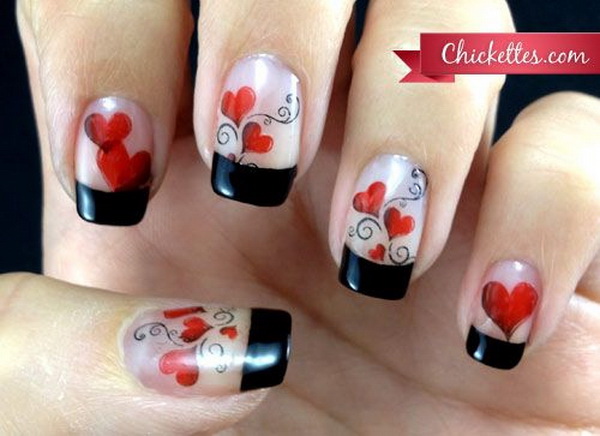
Add a touch of romance to your classic French manicure with heart tips. Start by painting your nails with a light pink or nude base color. Then, using a thin brush or a toothpick, create a small heart shape at the tip of your nail. You can use a red or pink nail polish for the hearts to make them stand out. Finish off with a layer of top coat to seal in your design.1. Heart Tips
Valentine's Day Nail Art Tutorial: Step by Step Designs for ...

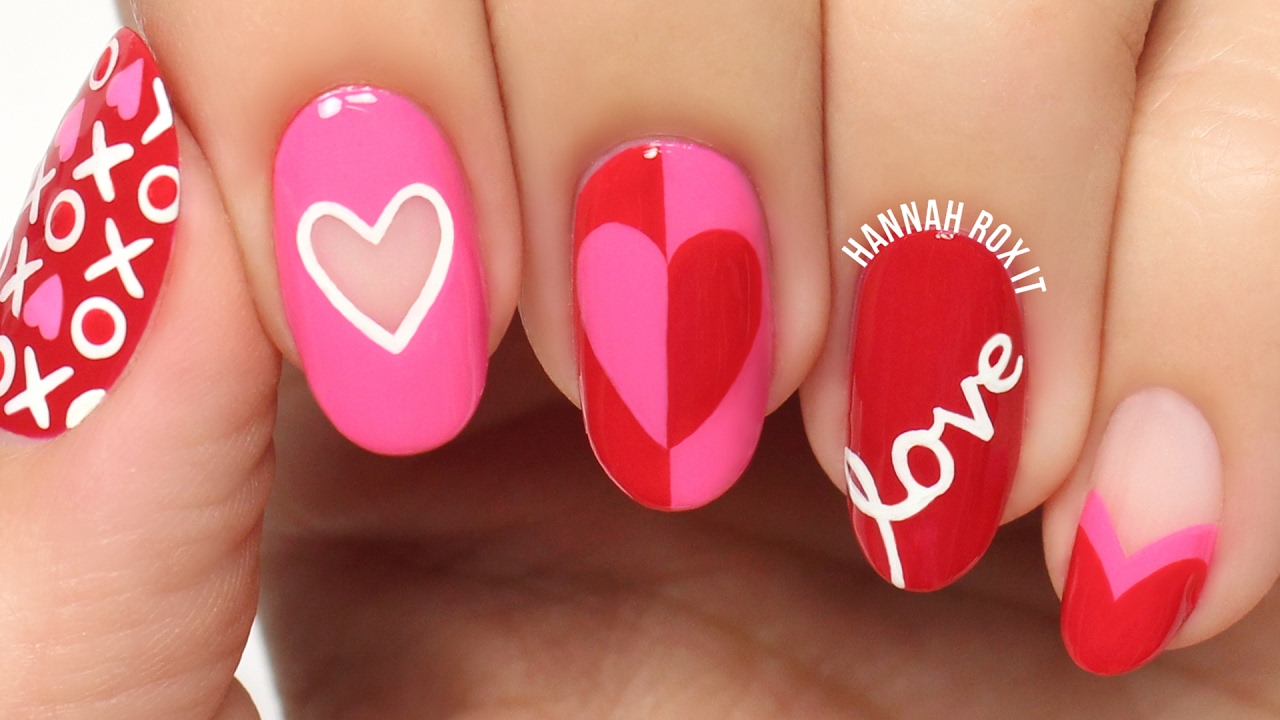
Channel your inner romantic by creating love letter nails. Start by painting your nails with a light pink or lavender base color. Then, using a white or light pink nail polish, draw small lines to represent the lines on a sheet of paper. Next, use a thin brush or a toothpick to write out the word "love" on each nail. Finish off with a layer of top coat to make your love letters last.2. Love Letter Nails


Valentine's Day Nail Art Tutorial: Step by Step Designs for ...
.jpg)

No Valentine's Day is complete without a beautiful bouquet of roses, and now you can have them on your nails too. Start by painting your nails with a light green or mint base color. Then, using a thin brush or a toothpick, create small red rose or rosebud shapes on each nail. Finish off with a layer of top coat to make your roses pop.3. Red Rose Nails
Valentine's Day Nail Art Tutorial: Step by Step Designs for ...
Spread love and kisses with these simple yet cute XO nails. Start by painting your nails with a light pink or peach base color. Then, using a thin brush or a toothpick, create small X and O shapes on each nail. You can alternate the colors and use a white or red nail polish for the letters. Finish off with a layer of top coat to seal in your design.4. XO Nails
Valentine's Day Nail Art Tutorial: Step by Step Designs for ...
Get ready to fly away with love with these cute heart balloon nails. Start by painting your nails with a light blue or lavender base color. Then, using a thin brush or a toothpick, create a small pink or red heart at the tip of your nail. Next, create a thin line from the heart to the top of your nail to represent the balloon string. Finish off with a layer of top coat to make your balloons shine.5. Heart Balloon Nails


Valentine's Day Nail Art Tutorial: Step by Step Designs for ...
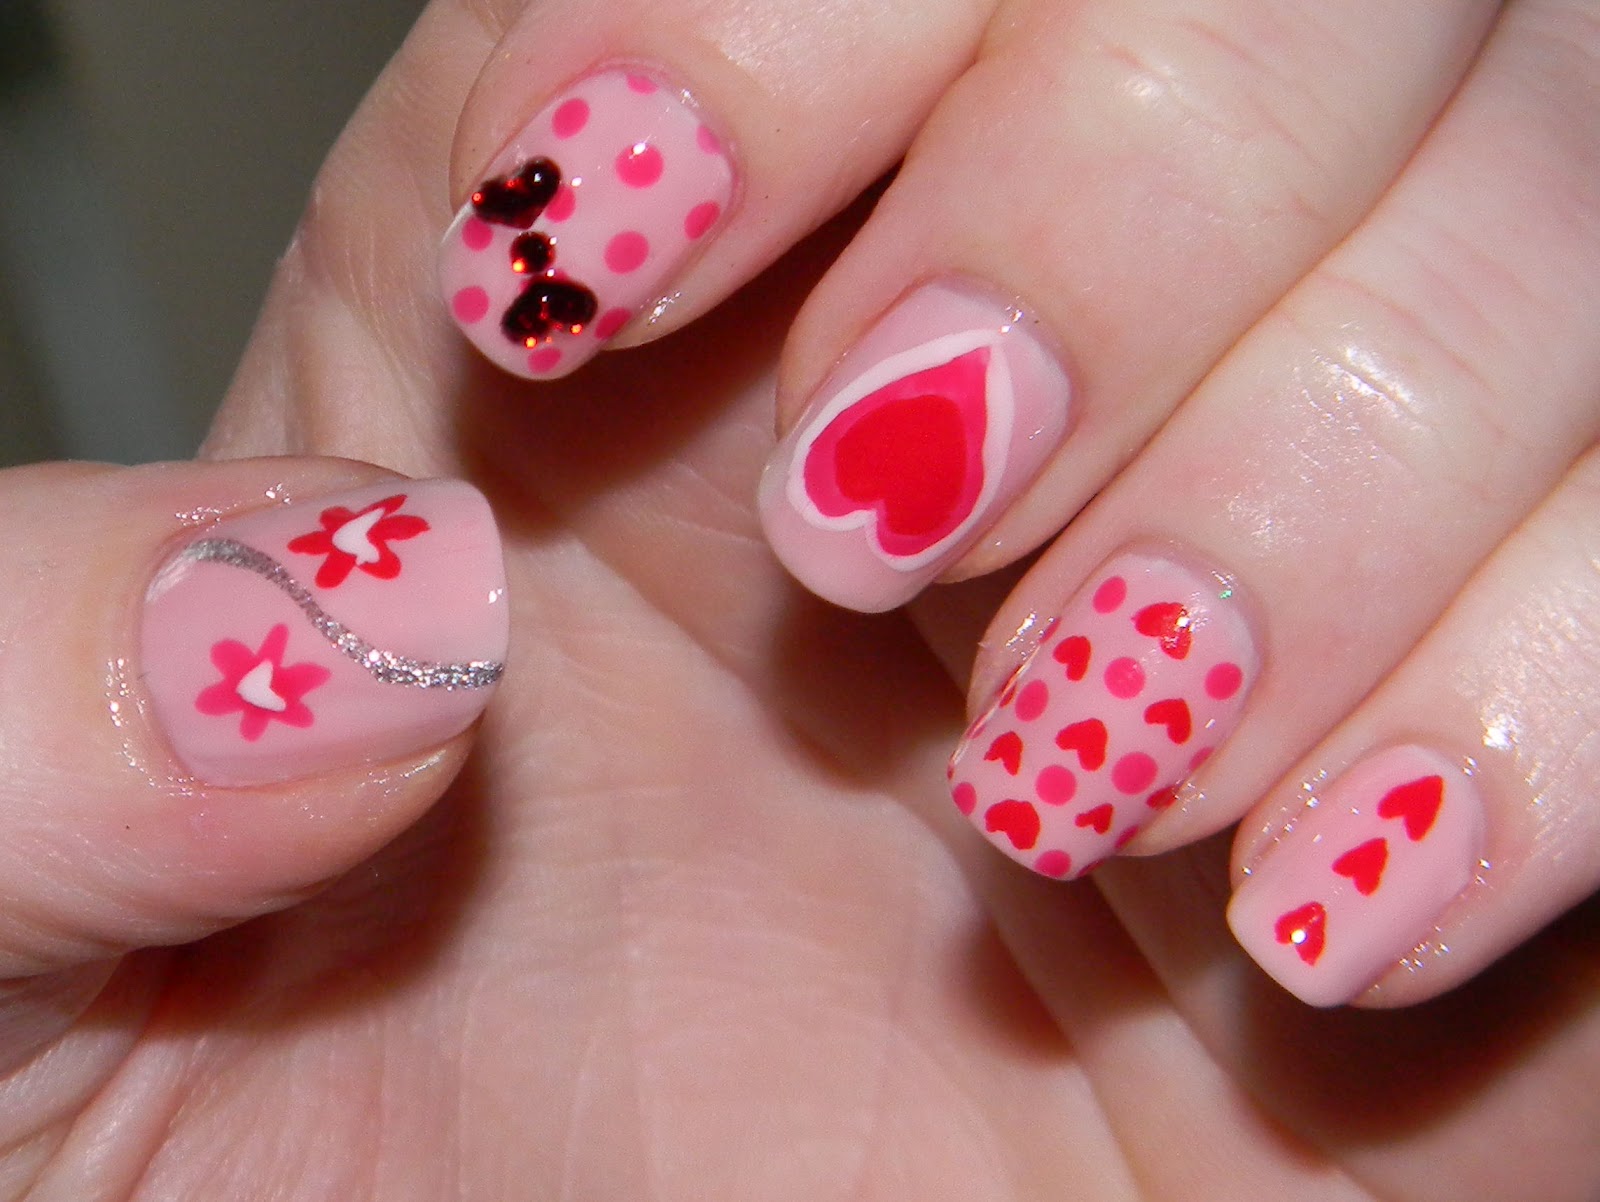
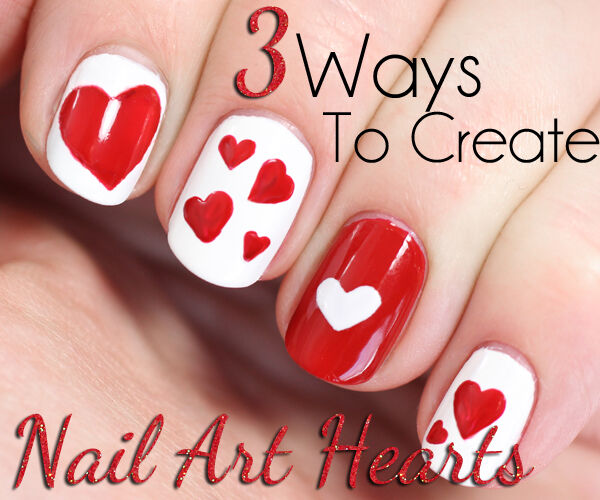
Add some sparkle to your Valentine's Day with these glitter heart nails. Start by painting your nails with a light pink or rose gold base color. Then, using a thin brush or a toothpick, create small hearts on each nail using a glitter or metallic nail polish. You can also add some extra glitter around the hearts for a more dazzling look. Finish off with a layer of top coat to make your hearts shine.6. Glitter Hearts
Valentine's Day Nail Art Tutorial: Step by Step Designs for ...
Get ready to fall in love with these adorable lovebird nails. Start by painting your nails with a light blue or mint base color. Next, using a thin brush or a toothpick, create a small pink or red heart on each nail. Then, using a black or dark brown nail polish, draw a small bird sitting on the heart. Finish off with a layer of top coat to make your lovebirds shine.7. Lovebirds Nails
Valentine's Day Nail Art Tutorial: Step by Step Designs for ...
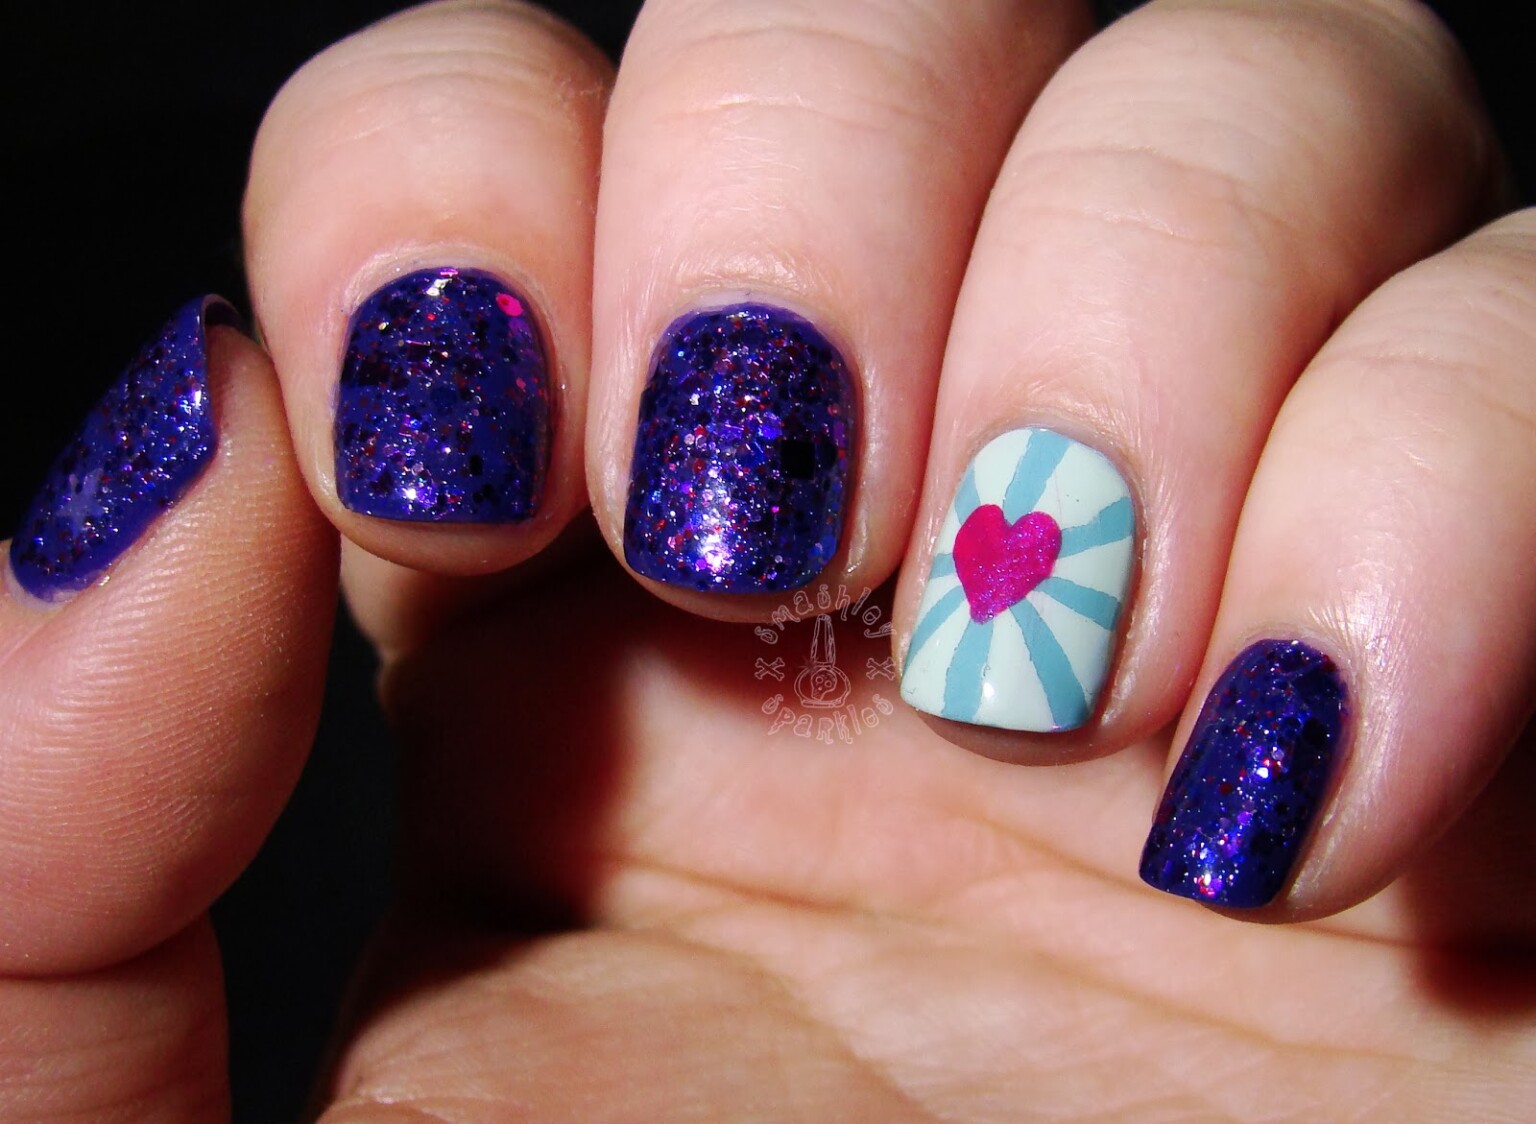
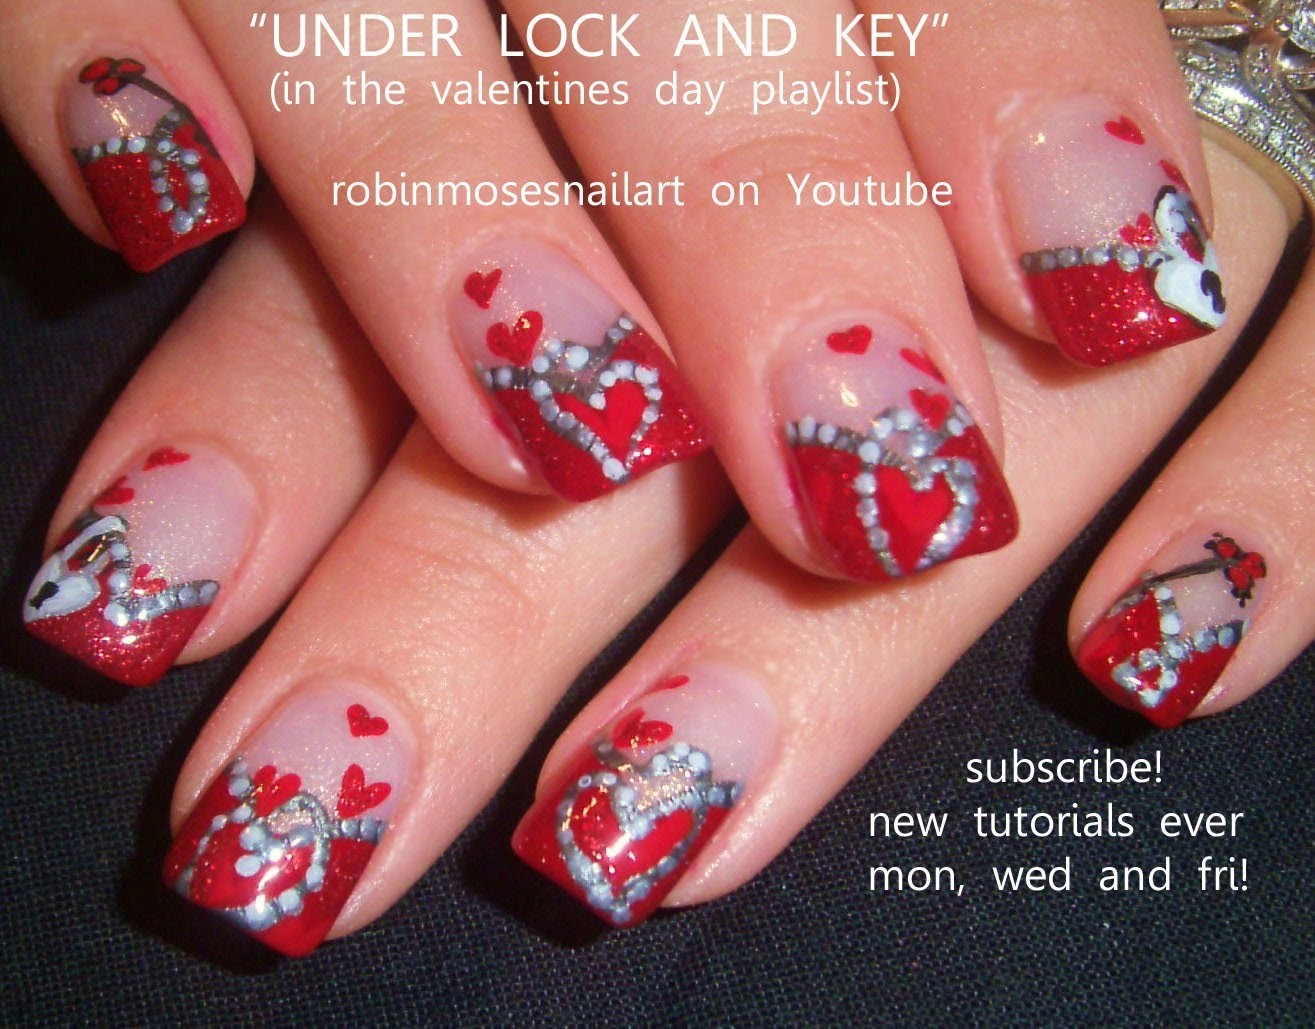
Get ready to cast a spell on your nails with these love potion nails. Start by painting your nails with a dark purple or burgundy base color. Then, using a thin brush or a toothpick, create a small pink or red heart in the corner of your nail. Next, use a white or light pink nail polish to write "love potion" on each nail. Finish off with a layer of top coat to make your potion last.8. Love Potion Nails
Valentine's Day Nail Art Tutorial: Step by Step Designs for ...
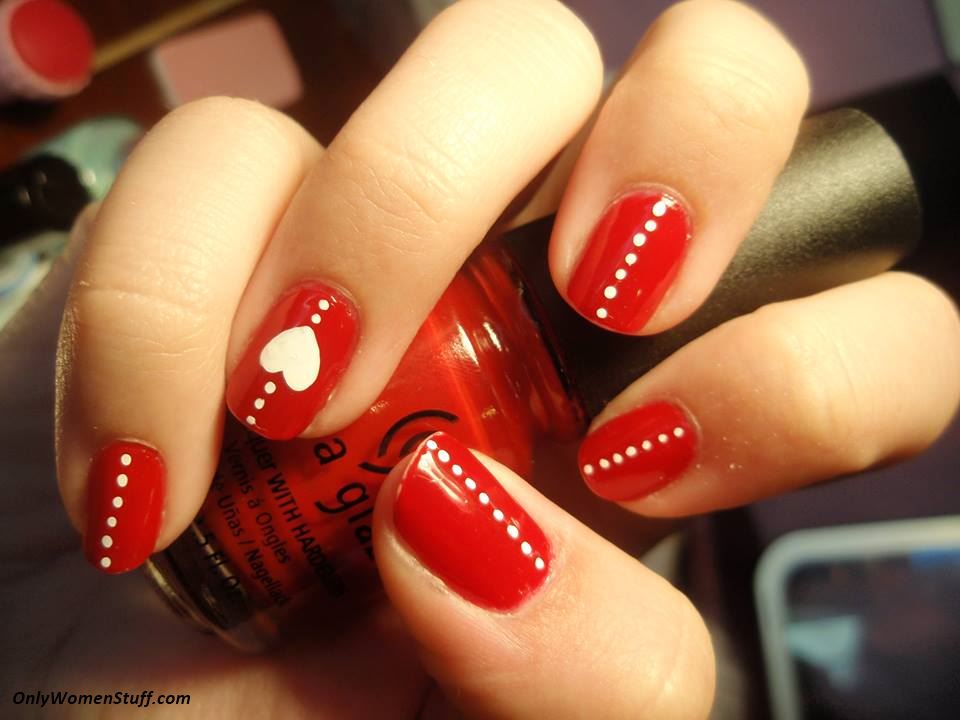
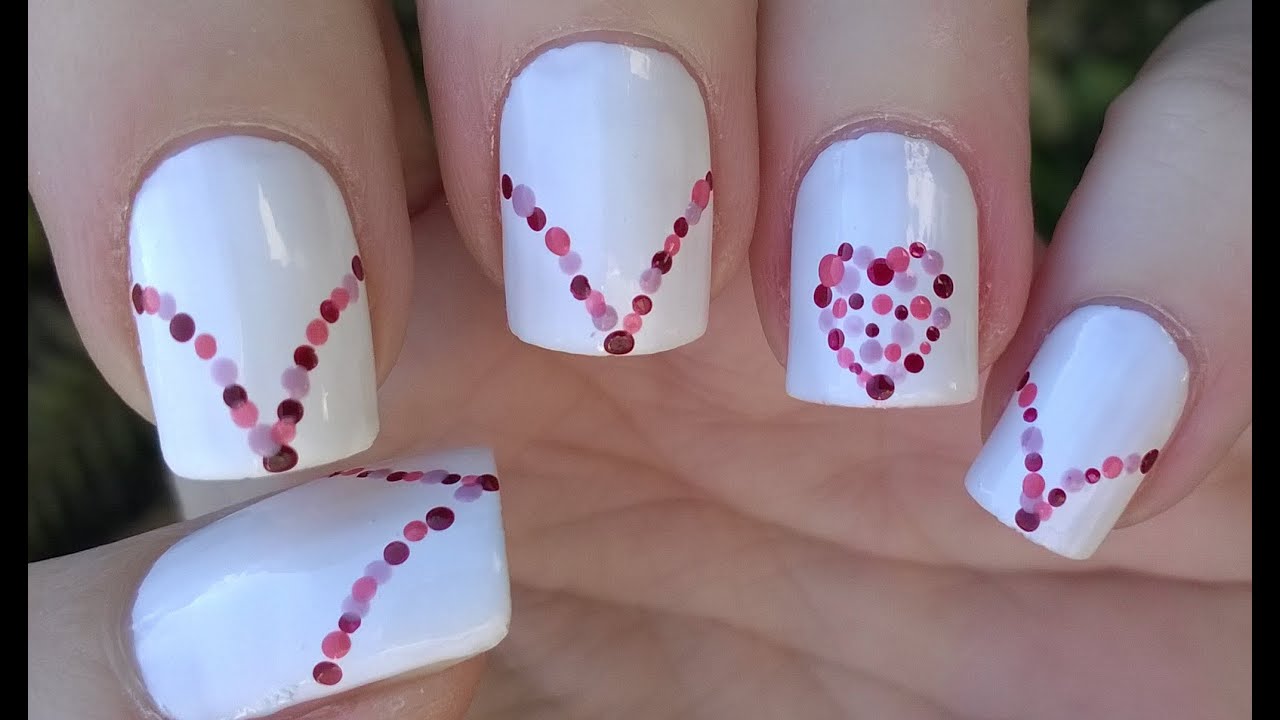
Show off your love for your significant other with these heartbeat nails. Start by painting your nails with a nude or light pink base color. Then, using a thin brush or a toothpick, create a small red or pink heartbeat line on each nail. You can also add a small heart at the end of the line for an extra touch of love. Finish off with a layer of top coat to make your heartbeat strong.9. Heartbeat Nails
Valentine's Day Nail Art Tutorial: Step by Step Designs for ...
Creating a Romantic Valentine Nail Design: A Step-by-Step Guide

Valentine's Day is just around the corner and what better way to celebrate this romantic holiday than with a beautiful and festive nail design? Whether you're spending the day with your significant other or having a fun Galentine's Day with your best friends, a Valentine nail design is the perfect way to add some extra love to your look. In this article, we will provide a step-by-step guide on how to create a stunning Valentine nail design that will have everyone swooning.
Gather Your Supplies
Before diving into the nail design, it's important to make sure you have all the necessary supplies. For a Valentine nail design, you will need:
- Nail polish in shades of pink, red, and white
- Nail art tools such as dotting tools, striping brushes, and nail stickers
- Top coat to seal and protect the design
- Nail polish remover to clean up any mistakes
Prep Your Nails
Before painting your nails, it's important to prep them for the best results. Start by removing any old nail polish and trimming and shaping your nails. Next, apply a base coat to protect your natural nails from staining and to help the polish adhere better.
Choose Your Design

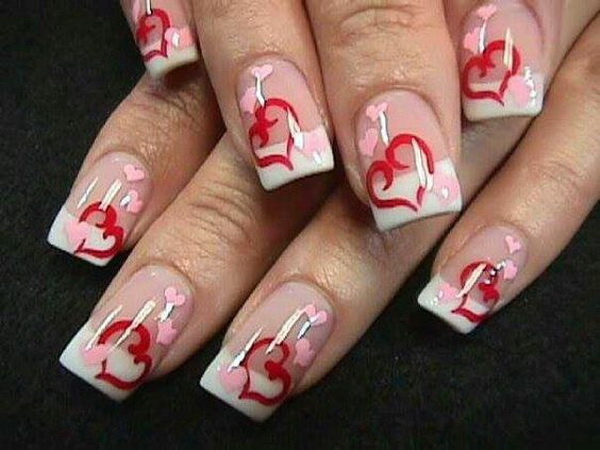
Now comes the fun part – choosing your Valentine nail design! Some popular options include heart patterns, ombre designs, and floral accents. You can also get creative and mix and match different designs for a unique look.
Paint Your Nails
Once you have chosen your design, it's time to start painting your nails. Start with a base color and let it dry before adding any designs or accents. Use nail art tools to create precise and intricate designs, or simply use a toothpick or bobby pin for a more DIY approach. Remember to be patient and let each layer dry completely before moving on to the next step.
Seal the Design

After your design is complete and your nails are fully dry, apply a top coat to seal the design and protect it from chipping. This will also give your nails a glossy finish. If you make any mistakes during the painting process, use a small brush dipped in nail polish remover to clean up the edges.
With these simple steps, you can create a beautiful and romantic Valentine nail design that will make your nails stand out. So, grab your supplies and get ready to show off your love for Valentine's Day on your fingertips. Happy Valentine's Day!


