Valentine's Day is just around the corner and what better way to celebrate than with some romantic and beautiful nail art? With these step by step designs, you can create the perfect look for a romantic date night or a fun Galentine's Day celebration with your friends.Valentine's Day Nail Art Tutorial: Step by Step Designs for a Perfect Romantic Look


Valentine's Day Nail Art Tutorial: Step by Step Designs for ...


.jpg)


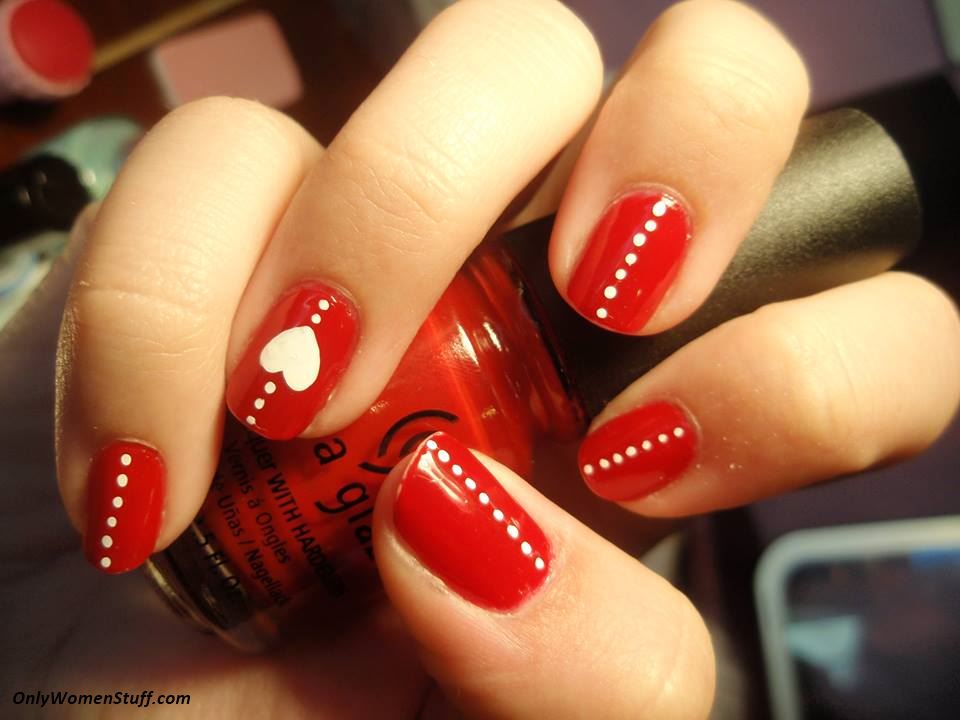
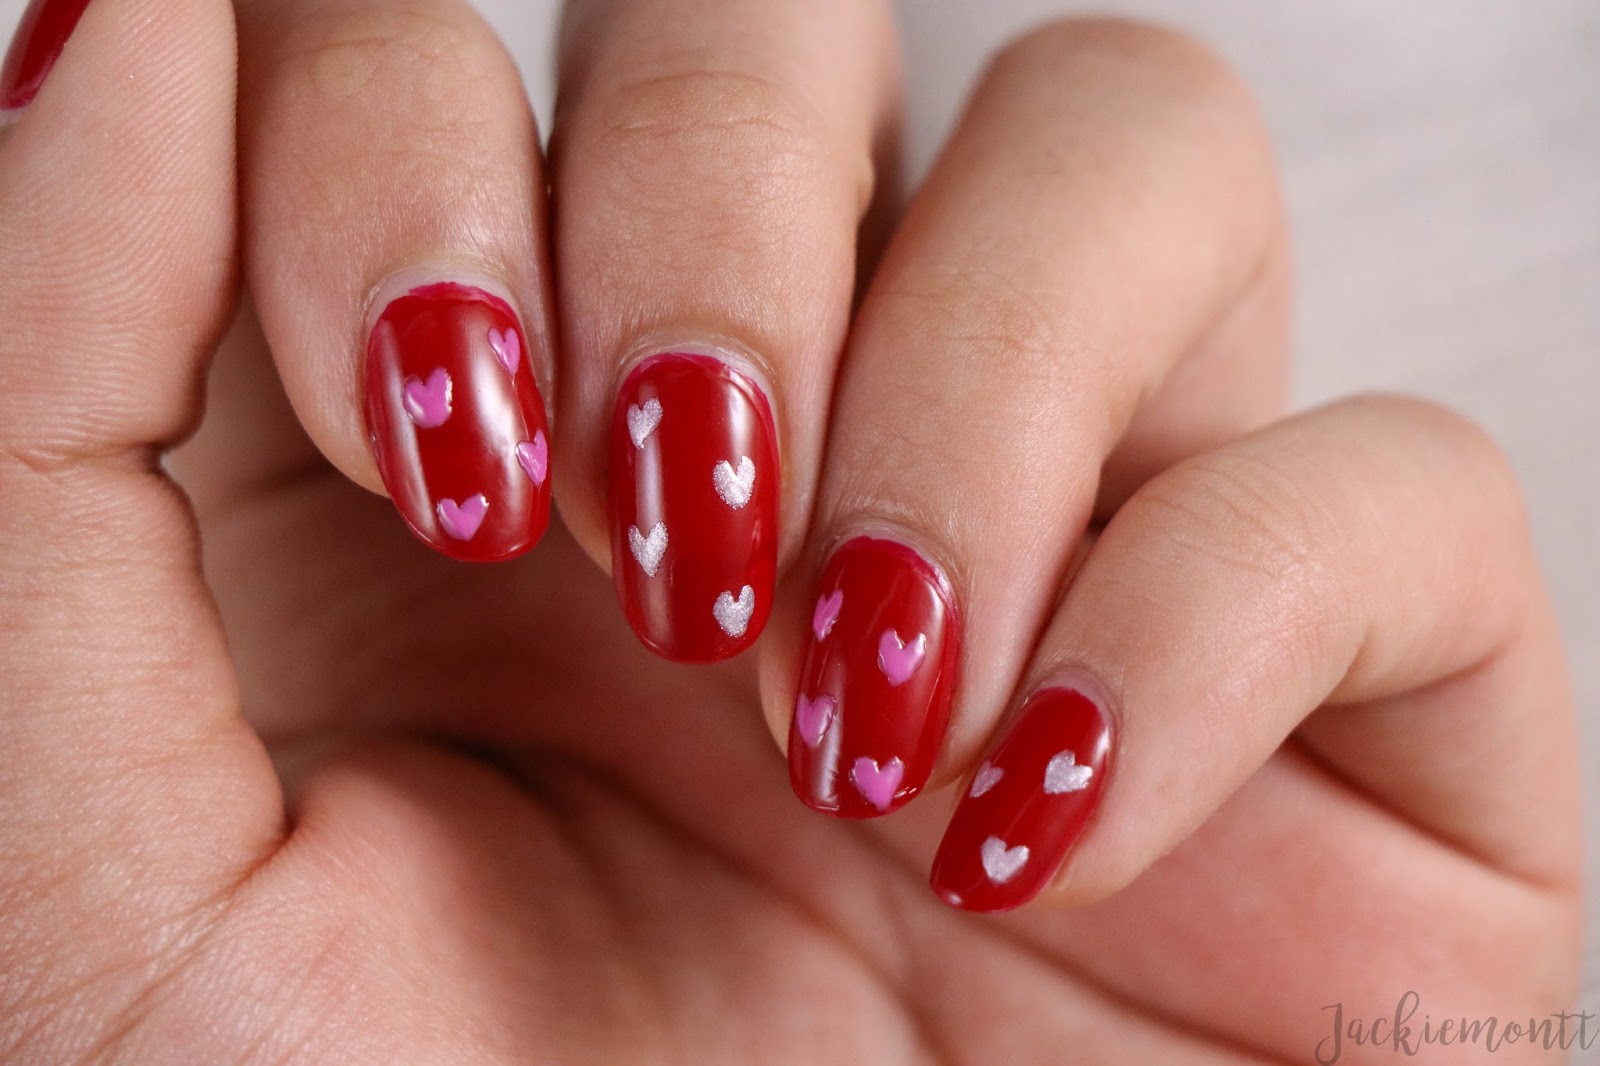
Start off with a classic and timeless look by painting your nails a bold and vibrant red. Then, using a white nail polish or a nail art pen, create small heart designs on each nail. This simple yet romantic design is perfect for any Valentine's Day occasion.1. Classic Red Hearts
Valentine's Day Nail Art Tutorial: Step by Step Designs for ...
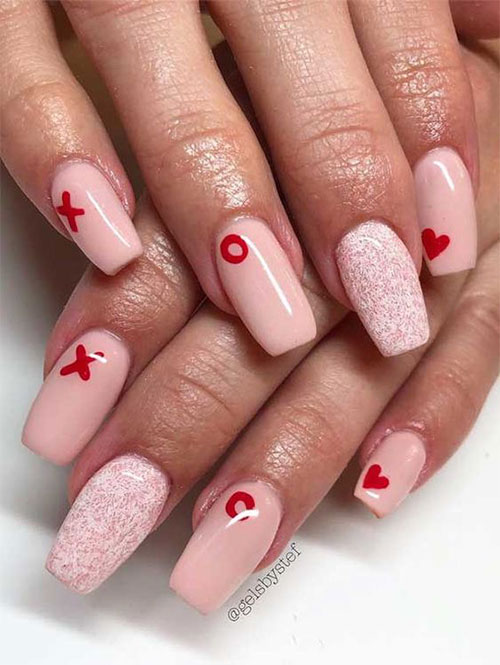
For a unique and creative design, try recreating the look of a love letter on your nails. Start with a nude or light pink base and then use a red nail polish or nail art pen to draw on lines resembling the folds of a letter. Add some small details like hearts, stamps, or even a love quote for an extra touch.2. Love Letter Nails

Valentine's Day Nail Art Tutorial: Step by Step Designs for ...
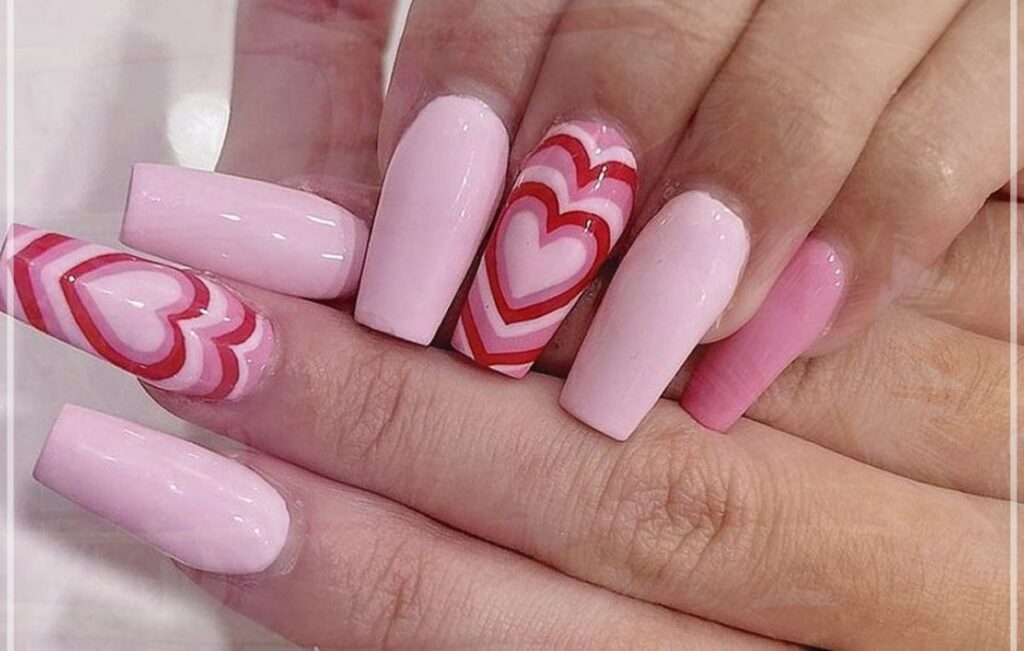
Create a gradient effect on your nails with this ombre heart design. Start with a white base and then use a makeup sponge to dab on a pink or red nail polish from the tip of your nail towards the middle. Then, using a small brush or toothpick, create heart shapes with a darker shade of pink or red on the tip of your nail.3. Ombre Hearts


Valentine's Day Nail Art Tutorial: Step by Step Designs for ...
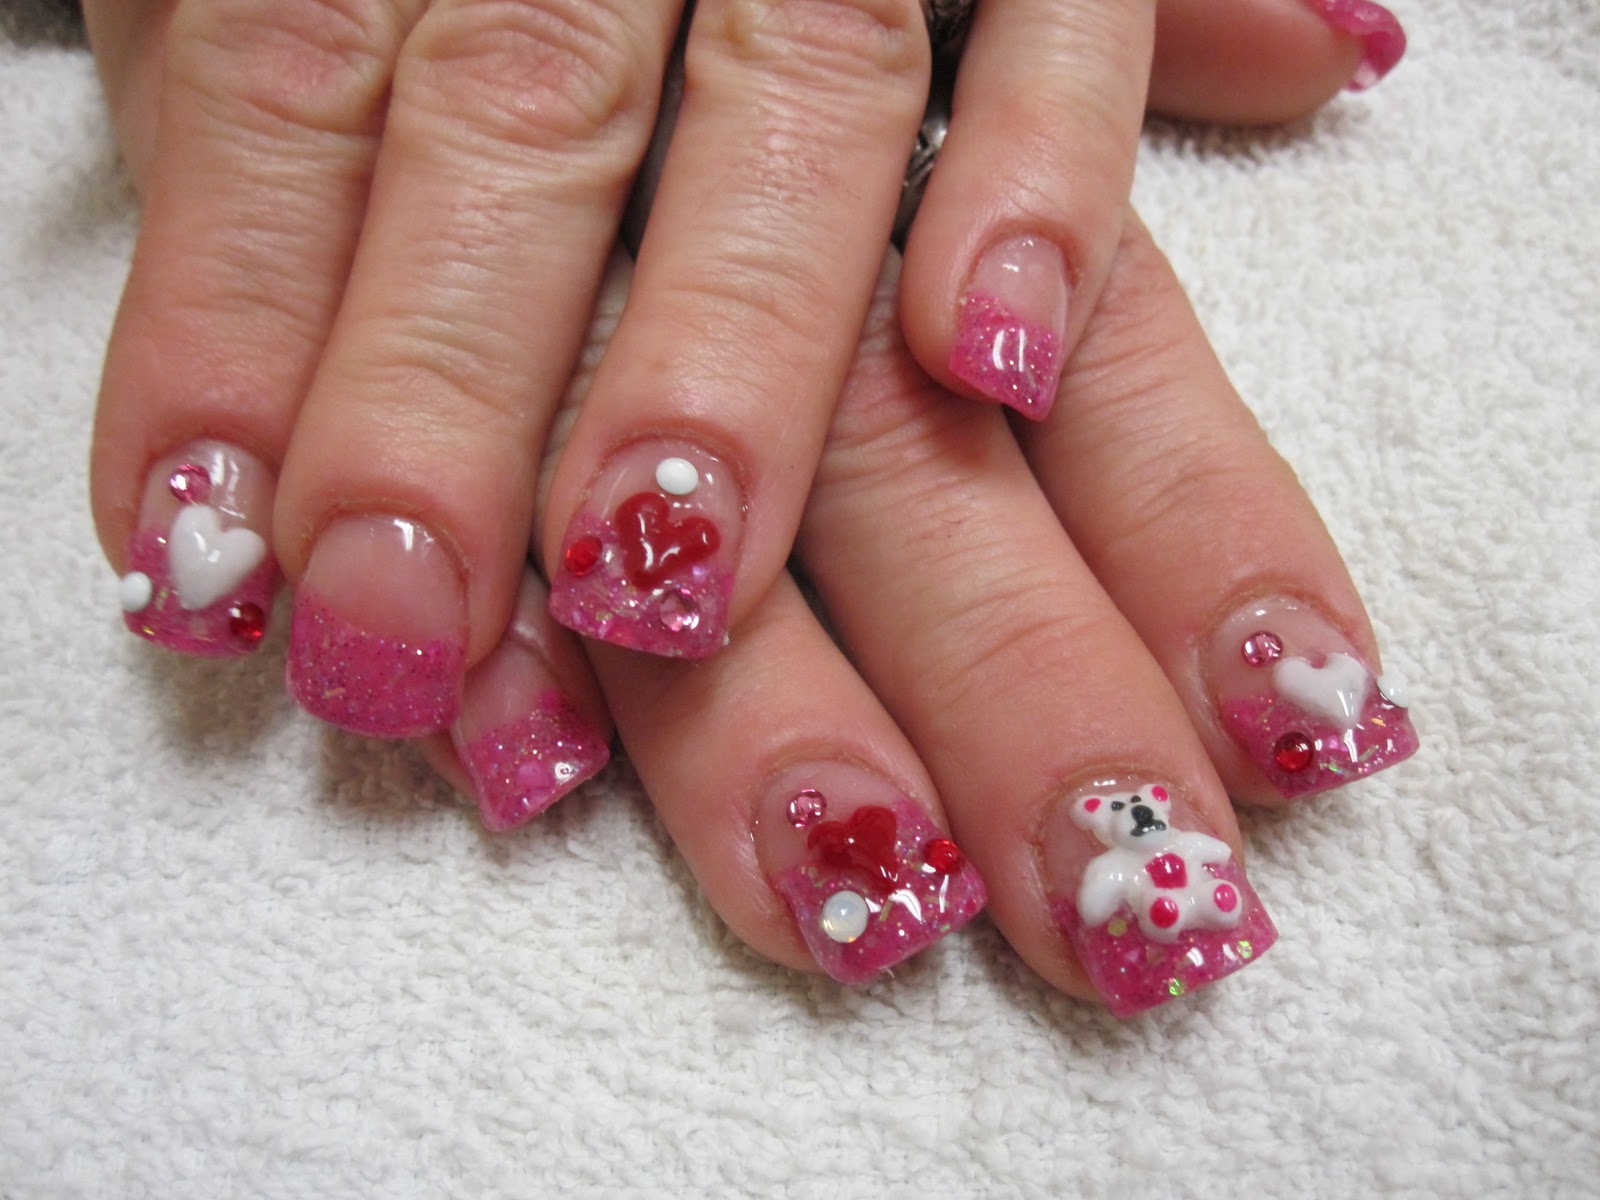
Add some sparkle to your Valentine's Day look with this glittery design. Paint your nails with a light pink or nude base and then use a clear glitter polish to add some sparkle to the tips of your nails. For an extra romantic touch, add a small heart or love symbol using a red glitter polish.4. Glitter Love
Valentine's Day Nail Art Tutorial: Step by Step Designs for ...
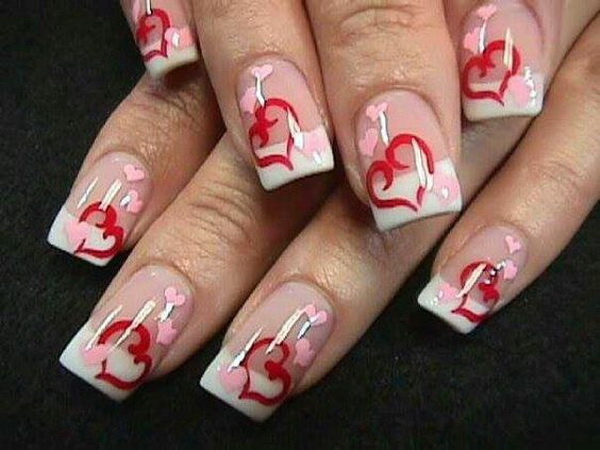
Put a twist on the classic French manicure by adding a heart design to the tips of your nails. Start with a light pink or nude base and then use a red nail polish or nail art pen to create small hearts on the tips of your nails. This design is perfect for those who want a subtle and elegant look.5. Heart French Tips


Valentine's Day Nail Art Tutorial: Step by Step Designs for ...
For a cute and whimsical design, try creating love birds on your nails. Start with a light blue or gray base and then use a small brush or toothpick to paint on two birds facing each other. Add some details like a heart between them or a tree branch for them to sit on.6. Love Birds
Valentine's Day Nail Art Tutorial: Step by Step Designs for ...
Create a fun and playful look with these heart balloon nails. Start with a light pink or nude base and then use a red nail polish or nail art pen to draw on lines resembling the strings of a balloon. Then, add small hearts at the end of each string. This design is perfect for those who want to add a pop of color to their Valentine's Day outfit.7. Heart Balloon Nails


Valentine's Day Nail Art Tutorial: Step by Step Designs for ...
Bring back some nostalgia with this sweetheart candy nail design. Start with a light pink or nude base and then use a small brush or toothpick to paint on small hearts in different colors, resembling the popular Valentine's Day candy. You can also add small accents like "XOXO" or "Be Mine" to complete the look.8. Sweetheart Candy Nails
Valentine's Day Nail Art Tutorial: Step by Step Designs for ...
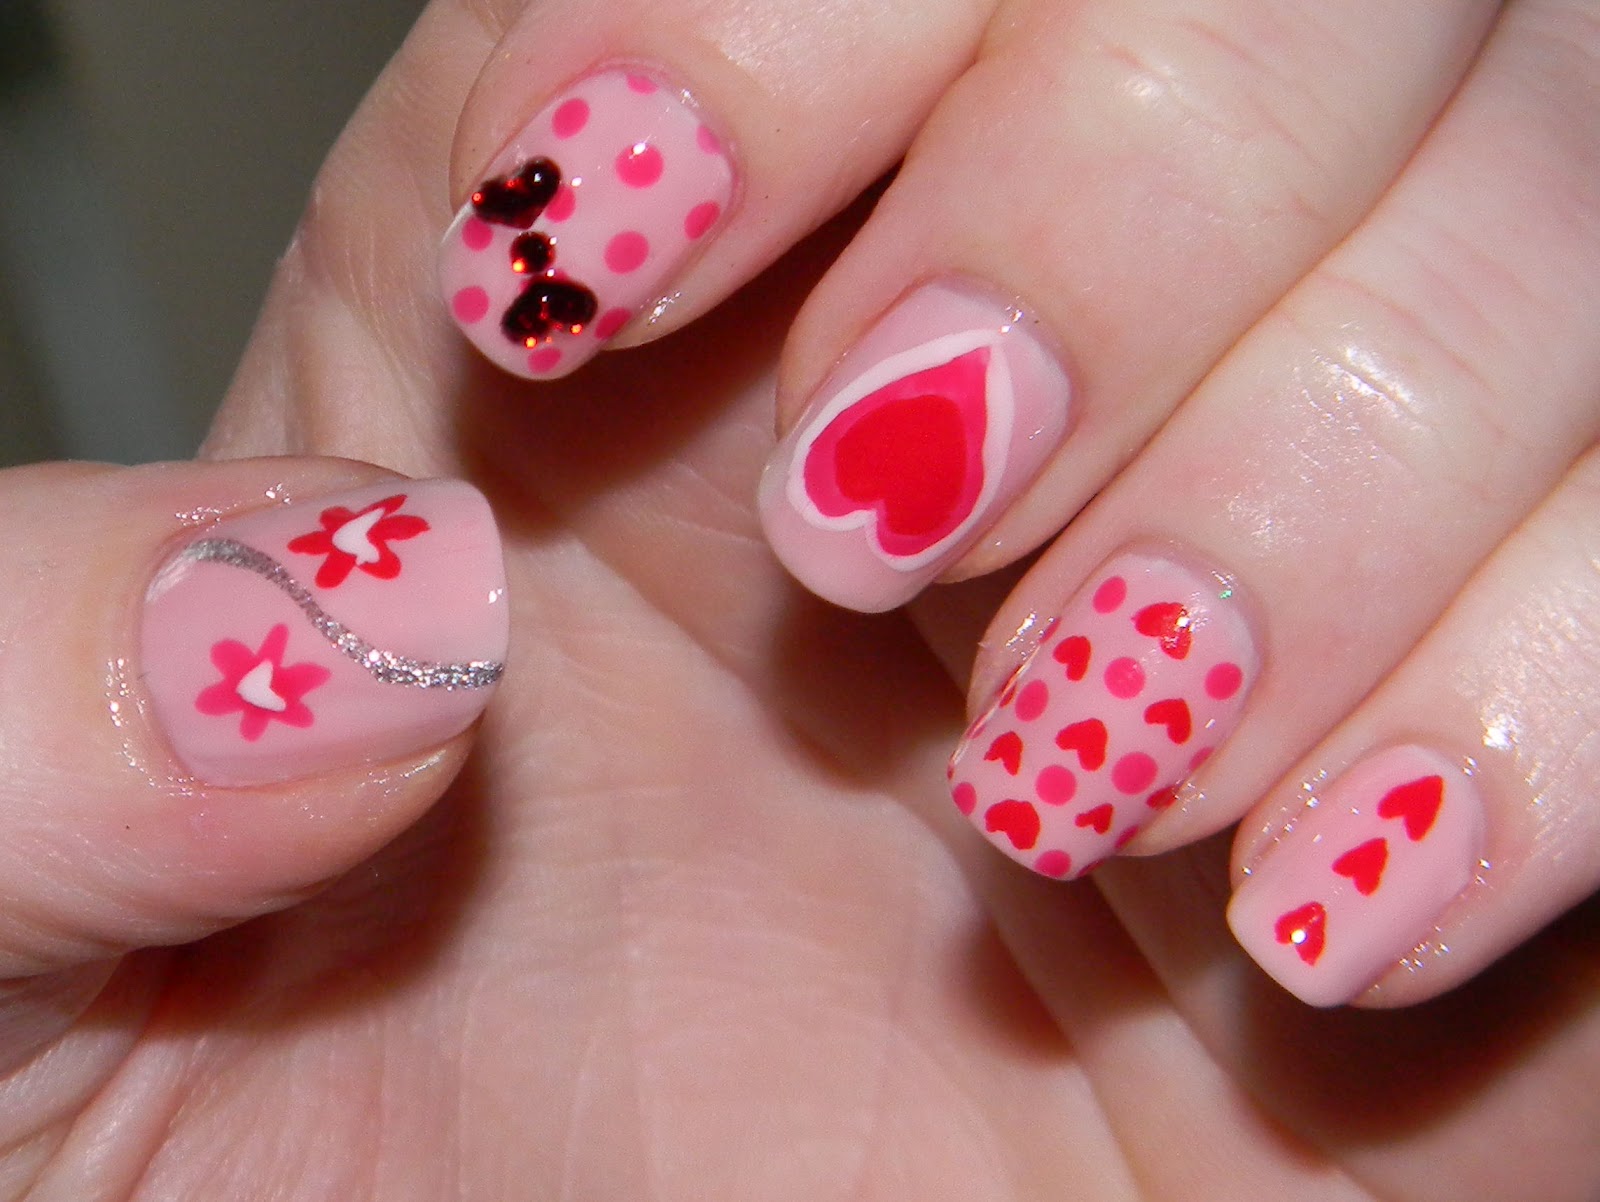
Add some romance to your nails with this floral heart design. Start with a light pink or nude base and then use a small brush or toothpick to create small flower designs on each nail. Then, use a red nail polish or nail art pen to draw on a heart shape in the center of each flower.9. Floral Hearts
Valentine's Day Nail Art Tutorial: Step by Step Designs for ...

Valentine's Day Nail Design Step by Step: Creating a Romantic Look for Your Nails
Valentine's Day is just around the corner, and what better way to celebrate than with some festive nail designs? Whether you have a hot date planned or just want to spread the love, these step by step instructions will help you create the perfect Valentine's Day nail look.
 Valentine's Day is the perfect excuse to add some romance and sparkle to your nails. With so many different designs and colors to choose from, it can be overwhelming to decide on the perfect look. But don't worry, we've got you covered with this easy to follow guide on creating a beautiful Valentine's Day nail design.
Step 1: Prep Your Nails
Before you start painting, it's important to prep your nails. Start by removing any old polish and trimming and shaping your nails to your desired length and shape. Then, gently push back your cuticles and use a nail file to smooth out any rough edges. This will ensure a clean and smooth surface for your nail design.
Step 2: Apply a Base Coat
A base coat is essential for protecting your nails and helping your nail polish last longer. Choose a clear or light pink base coat and apply it evenly to all of your nails. This will also help your nail polish glide on smoothly.
Step 3: Choose Your Colors
Valentine's Day is all about love and romance, so why not incorporate some classic colors like red, pink, and white into your nail design? You can also add some glitter or metallic accents for a touch of glamour. Don't be afraid to mix and match different shades and textures to create a unique look.
Step 4: Start Painting
Now it's time to get creative and start painting your nails. If you're new to nail art, you can start with a simple heart design by using a toothpick or a small brush to create a heart shape with your chosen color. You can also use tape to create straight lines or use a stamping tool for more intricate designs. Take your time and have fun with it!
Step 5: Add Some Bling
No Valentine's Day nail design is complete without some bling. You can add some rhinestones or glitter to your nails for an extra touch of sparkle. Just make sure to apply a layer of top coat to seal in the bling and make it last longer.
Step 6: Finish with a Top Coat
To ensure your nail design lasts as long as possible, finish off with a top coat. This will not only protect your design but also give it a glossy finish. Let your nails dry completely before moving on to any other tasks.
Congratulations, you now have a beautiful and romantic Valentine's Day nail design! Whether you're spending the day with your significant other or just treating yourself, your nails will be sure to make a statement. So go ahead and show off your festive nails with confidence.
Now that you know the steps to create a Valentine's Day nail design, it's time to get creative and have fun with it. Don't be afraid to experiment with different colors and designs to find the perfect look for you. Happy Valentine's Day!
Valentine's Day is the perfect excuse to add some romance and sparkle to your nails. With so many different designs and colors to choose from, it can be overwhelming to decide on the perfect look. But don't worry, we've got you covered with this easy to follow guide on creating a beautiful Valentine's Day nail design.
Step 1: Prep Your Nails
Before you start painting, it's important to prep your nails. Start by removing any old polish and trimming and shaping your nails to your desired length and shape. Then, gently push back your cuticles and use a nail file to smooth out any rough edges. This will ensure a clean and smooth surface for your nail design.
Step 2: Apply a Base Coat
A base coat is essential for protecting your nails and helping your nail polish last longer. Choose a clear or light pink base coat and apply it evenly to all of your nails. This will also help your nail polish glide on smoothly.
Step 3: Choose Your Colors
Valentine's Day is all about love and romance, so why not incorporate some classic colors like red, pink, and white into your nail design? You can also add some glitter or metallic accents for a touch of glamour. Don't be afraid to mix and match different shades and textures to create a unique look.
Step 4: Start Painting
Now it's time to get creative and start painting your nails. If you're new to nail art, you can start with a simple heart design by using a toothpick or a small brush to create a heart shape with your chosen color. You can also use tape to create straight lines or use a stamping tool for more intricate designs. Take your time and have fun with it!
Step 5: Add Some Bling
No Valentine's Day nail design is complete without some bling. You can add some rhinestones or glitter to your nails for an extra touch of sparkle. Just make sure to apply a layer of top coat to seal in the bling and make it last longer.
Step 6: Finish with a Top Coat
To ensure your nail design lasts as long as possible, finish off with a top coat. This will not only protect your design but also give it a glossy finish. Let your nails dry completely before moving on to any other tasks.
Congratulations, you now have a beautiful and romantic Valentine's Day nail design! Whether you're spending the day with your significant other or just treating yourself, your nails will be sure to make a statement. So go ahead and show off your festive nails with confidence.
Now that you know the steps to create a Valentine's Day nail design, it's time to get creative and have fun with it. Don't be afraid to experiment with different colors and designs to find the perfect look for you. Happy Valentine's Day!


