Do you want to achieve stunning and unique nail designs without spending too much money at the salon? Look no further than water marble nail art! This technique involves creating beautiful swirls and patterns on your nails by using water and nail polish. It may seem intimidating at first, but with the right tools and a little bit of practice, you can achieve professional-looking water marble nail art right at home. Here is a step-by-step tutorial on how to create your own water marble nail art.Water Marble Nail Art Tutorial


Water Marble Nail Art Tutorial


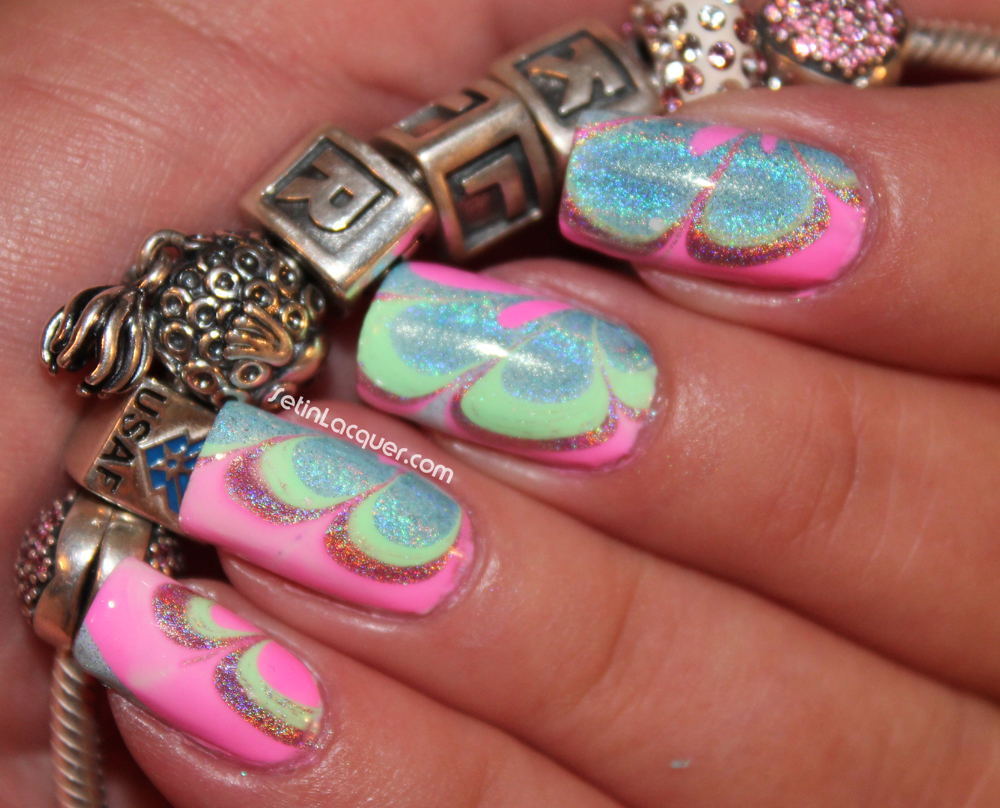
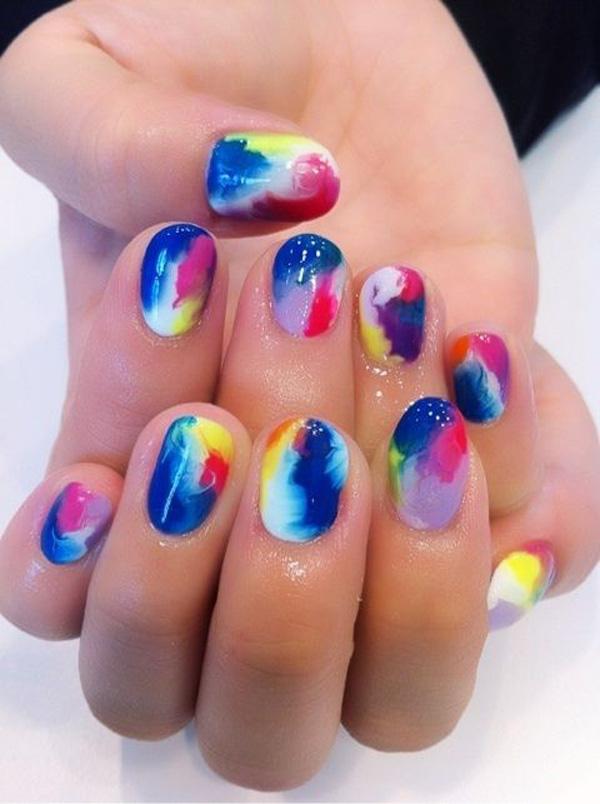
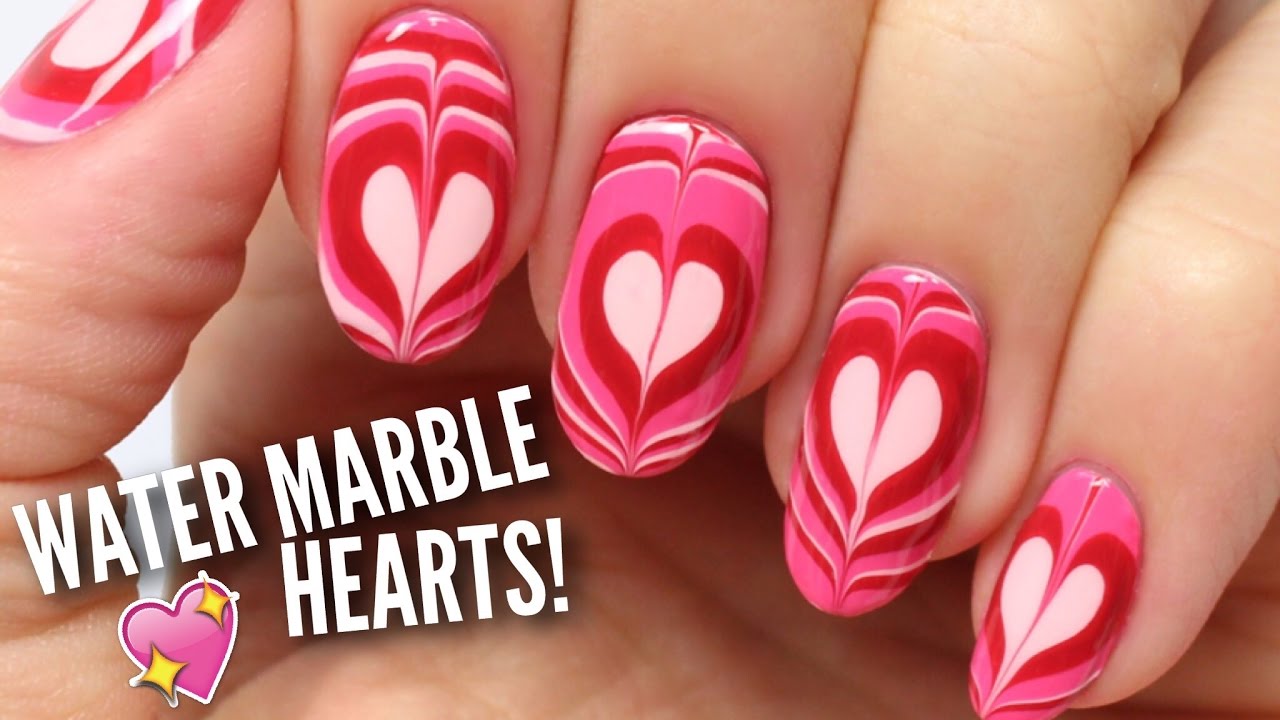
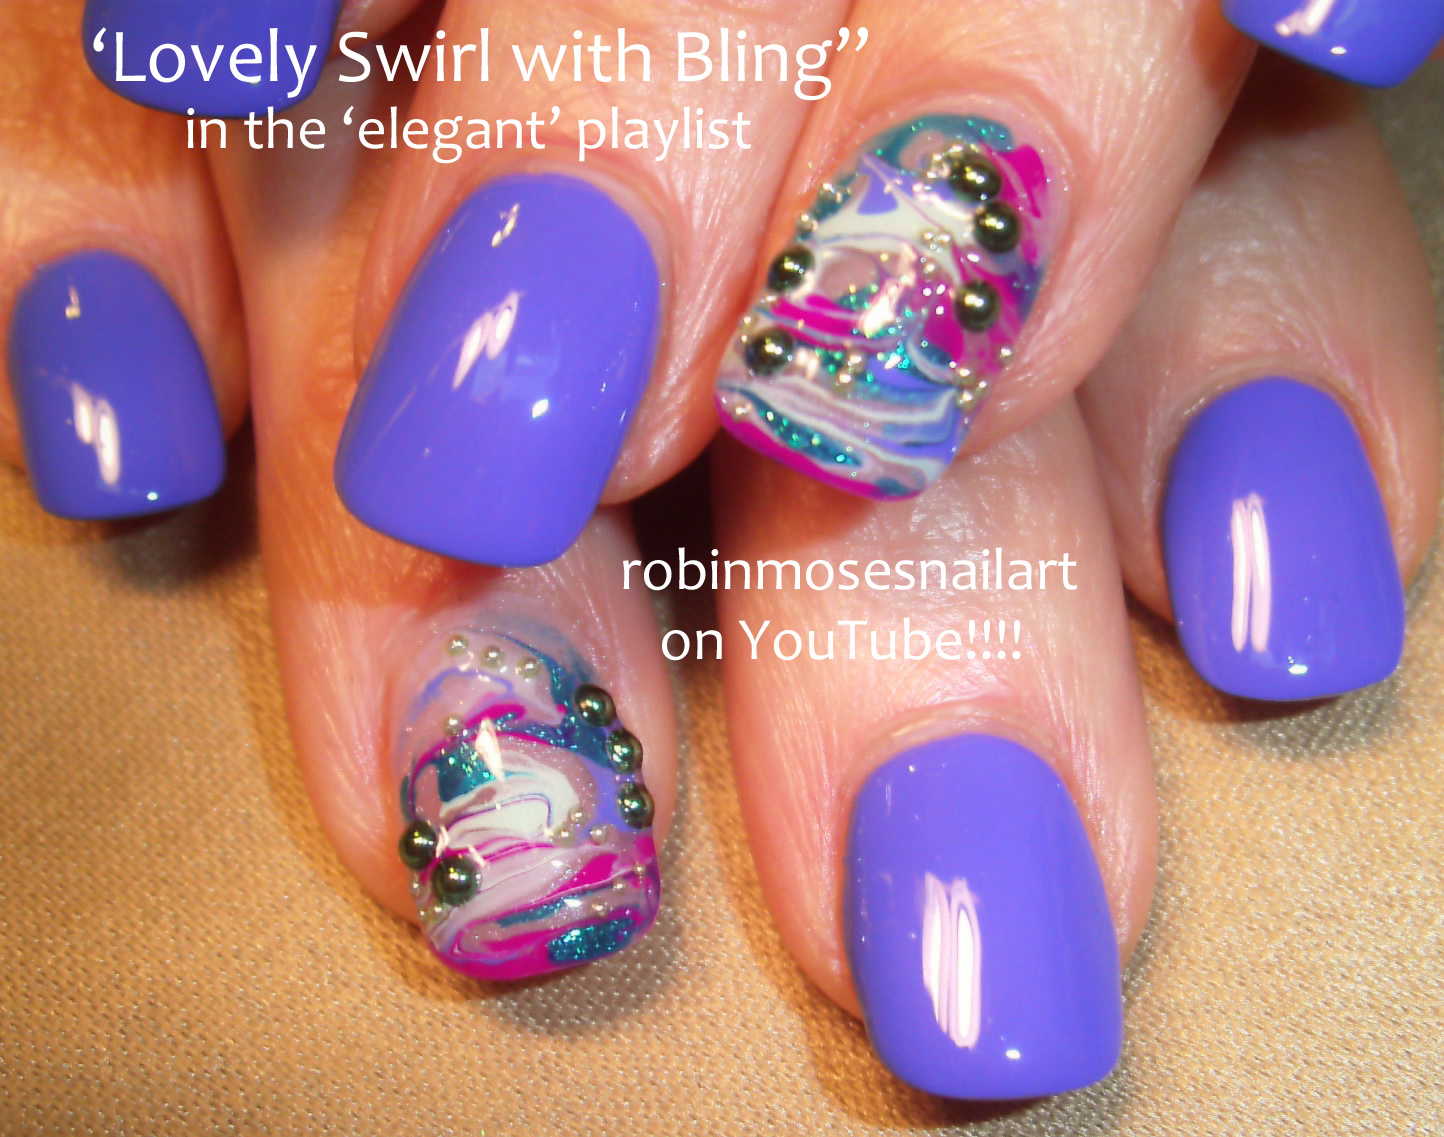
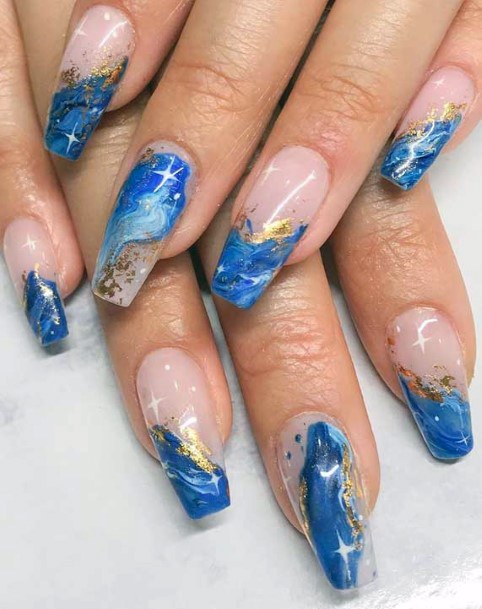
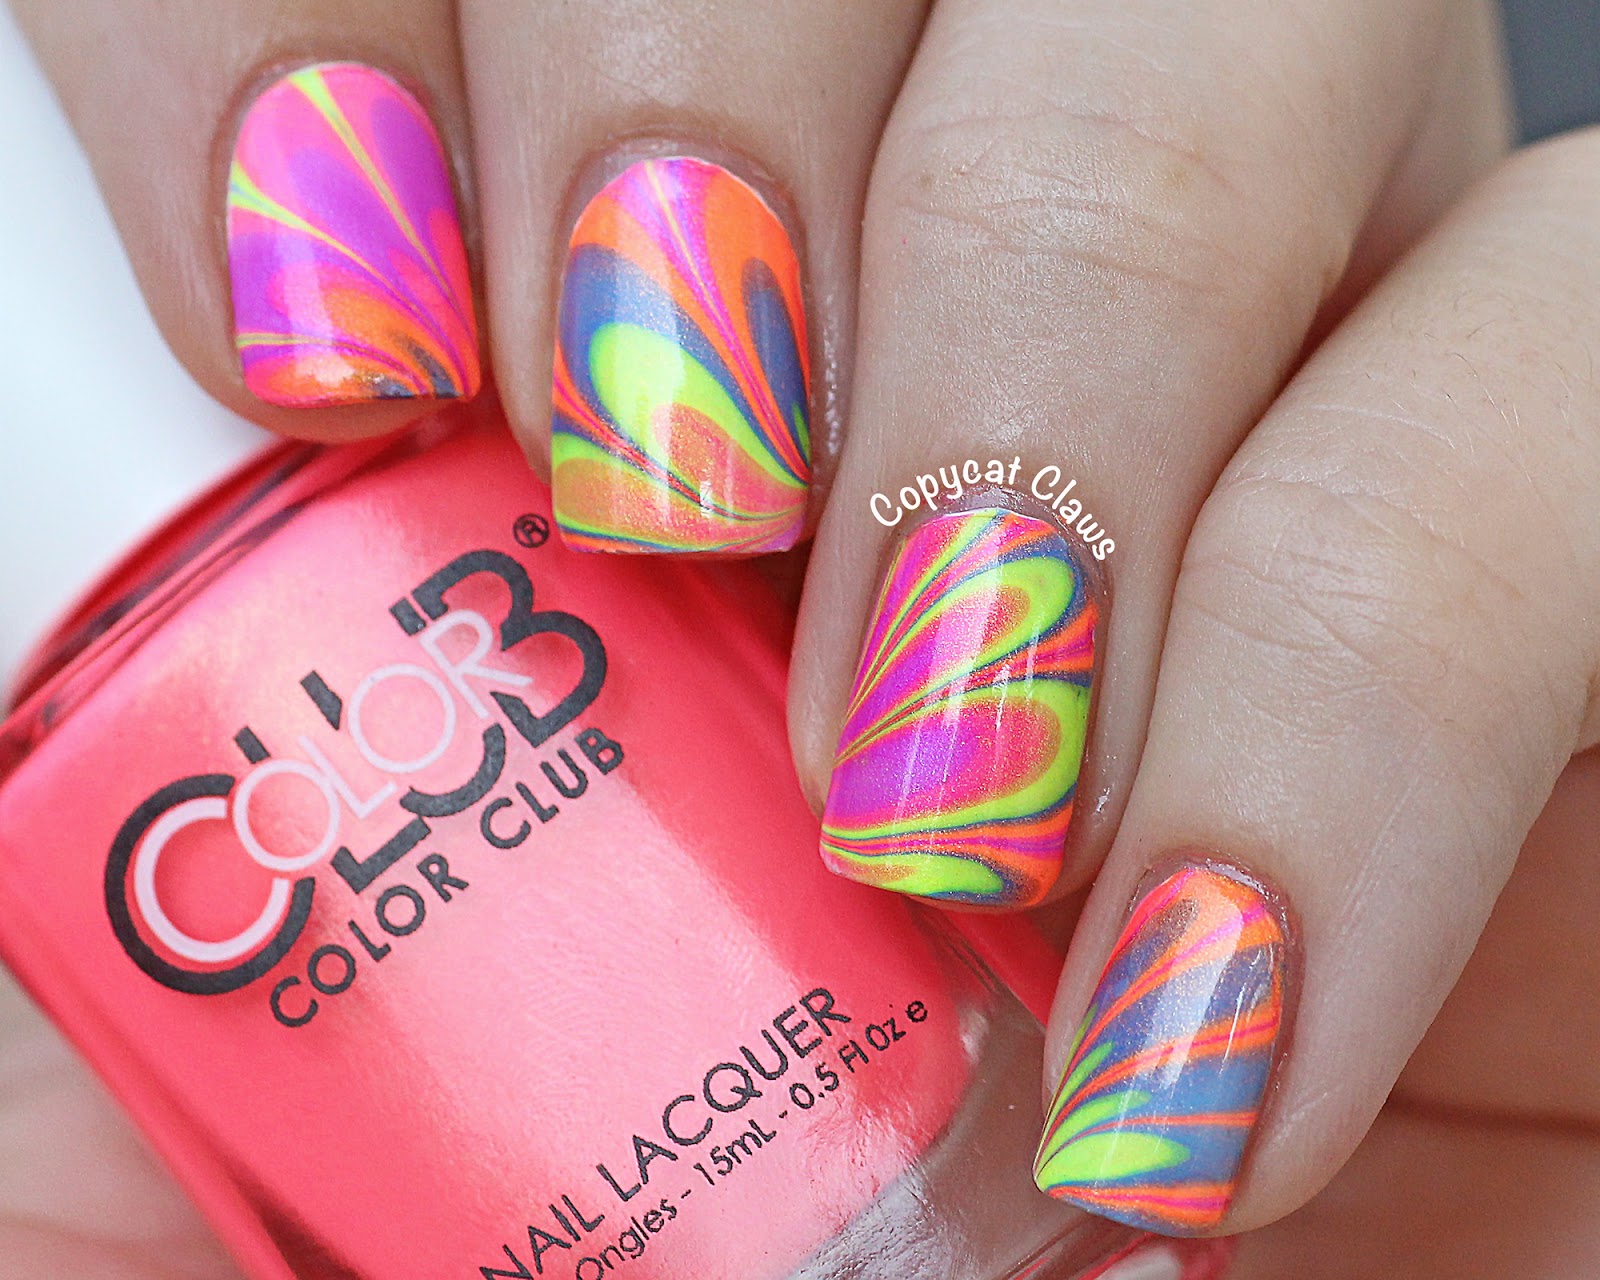
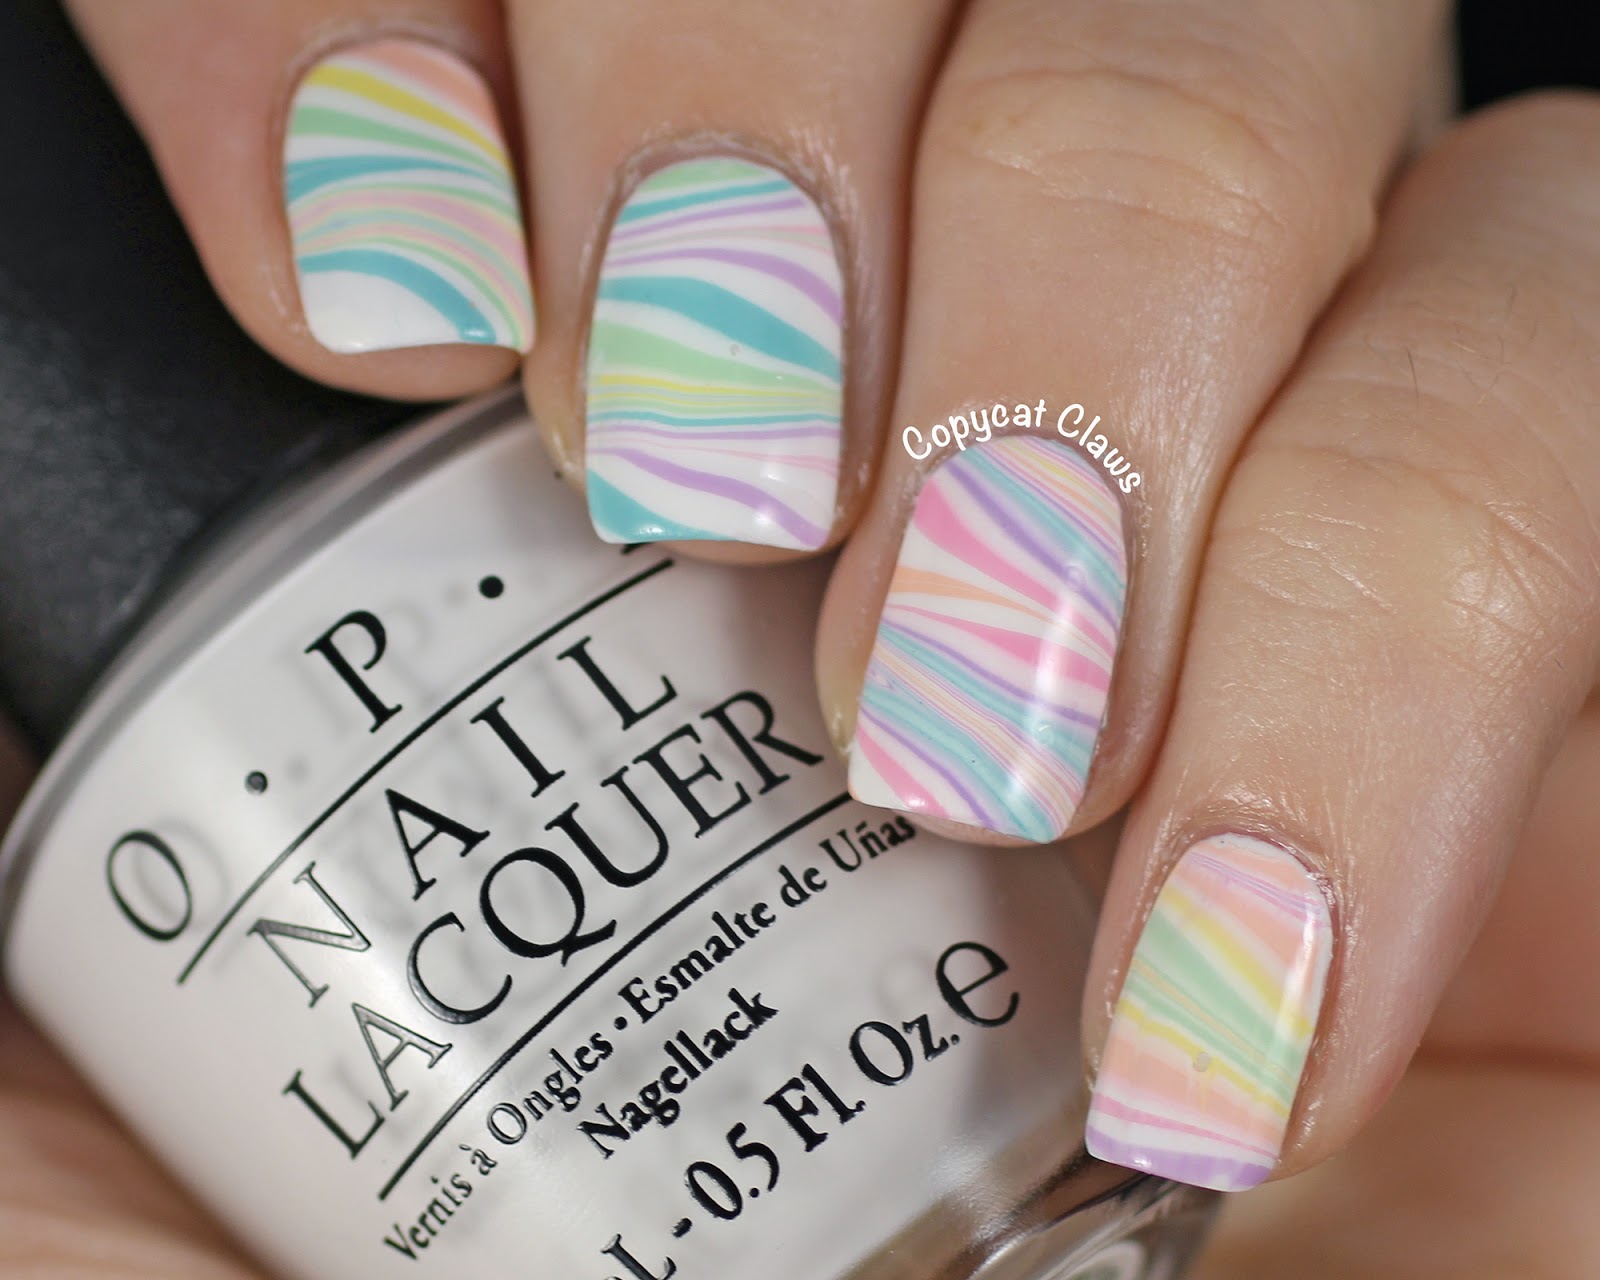
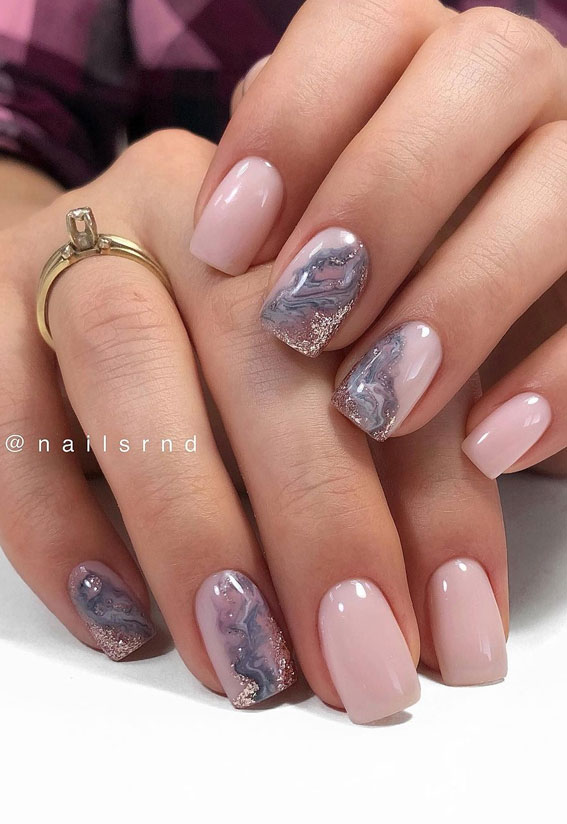
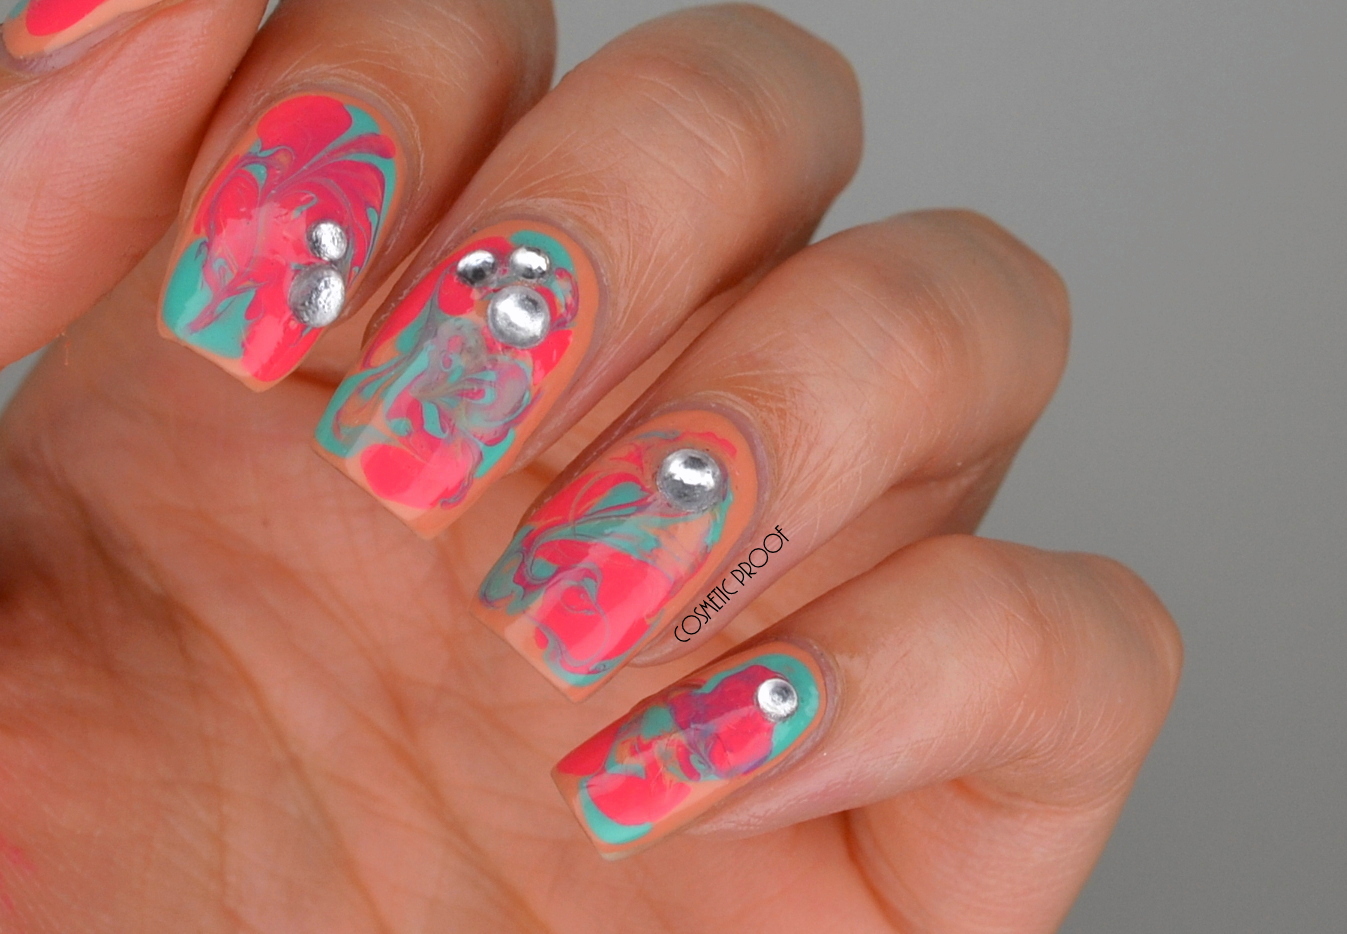
Water marble nail art allows for endless design possibilities. You can mix and match colors, create intricate patterns, or keep it simple and elegant. Some popular cute water marble nail designs include pastel swirls, floral patterns, and ombre effects. You can also add some sparkle by using glitter nail polish or rhinestones. The possibilities are endless, and you can customize the design to your liking.Cute Water Marble Nail Designs


Cute Water Marble Nail Designs


Water marble nail art may seem like a daunting task, but it can be quite simple once you get the hang of it. The key is to have all your tools and materials ready before you start. This includes a bowl of water, tape to protect your skin, toothpicks, and your choice of nail polish. Start with a simple design and gradually work your way up to more intricate ones. With some practice, you'll be creating beautiful water marble nail art in no time.Easy Water Marble Nail Art


Easy Water Marble Nail Art

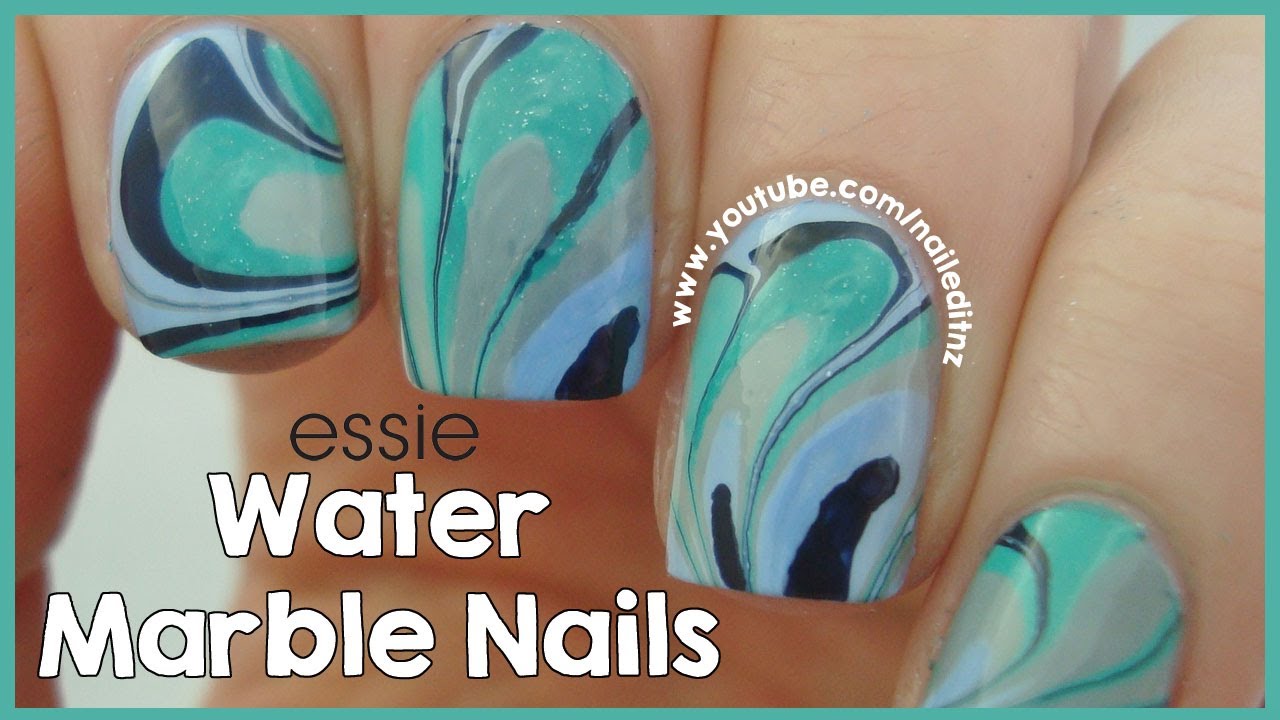


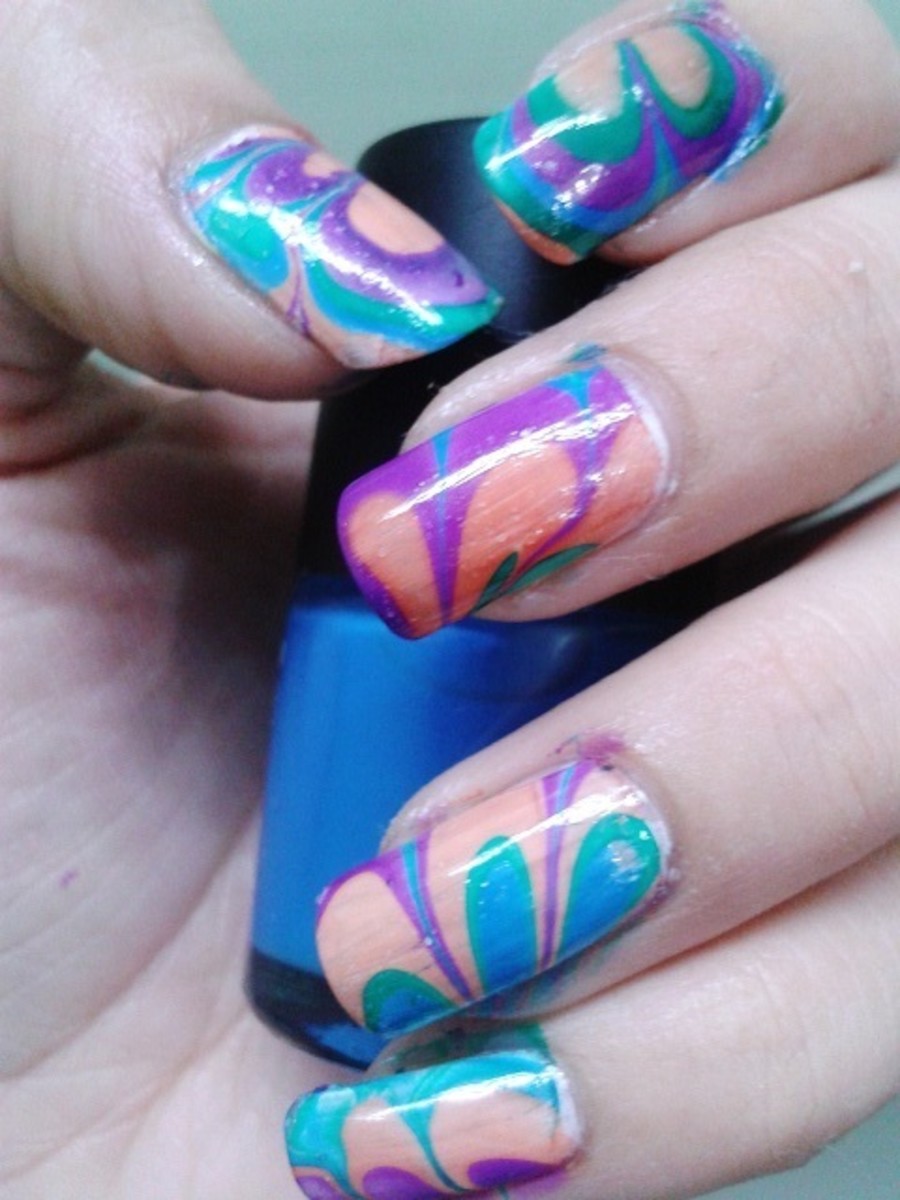
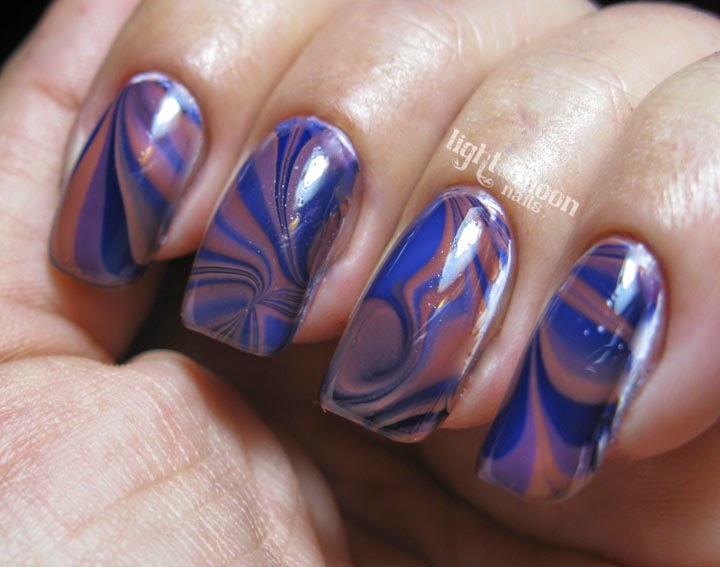
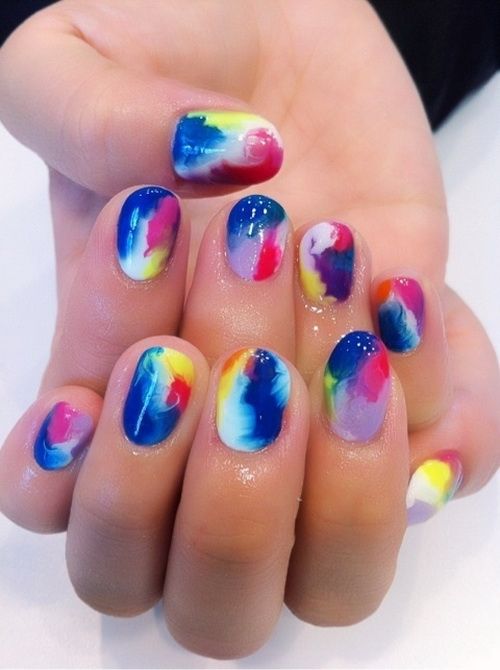
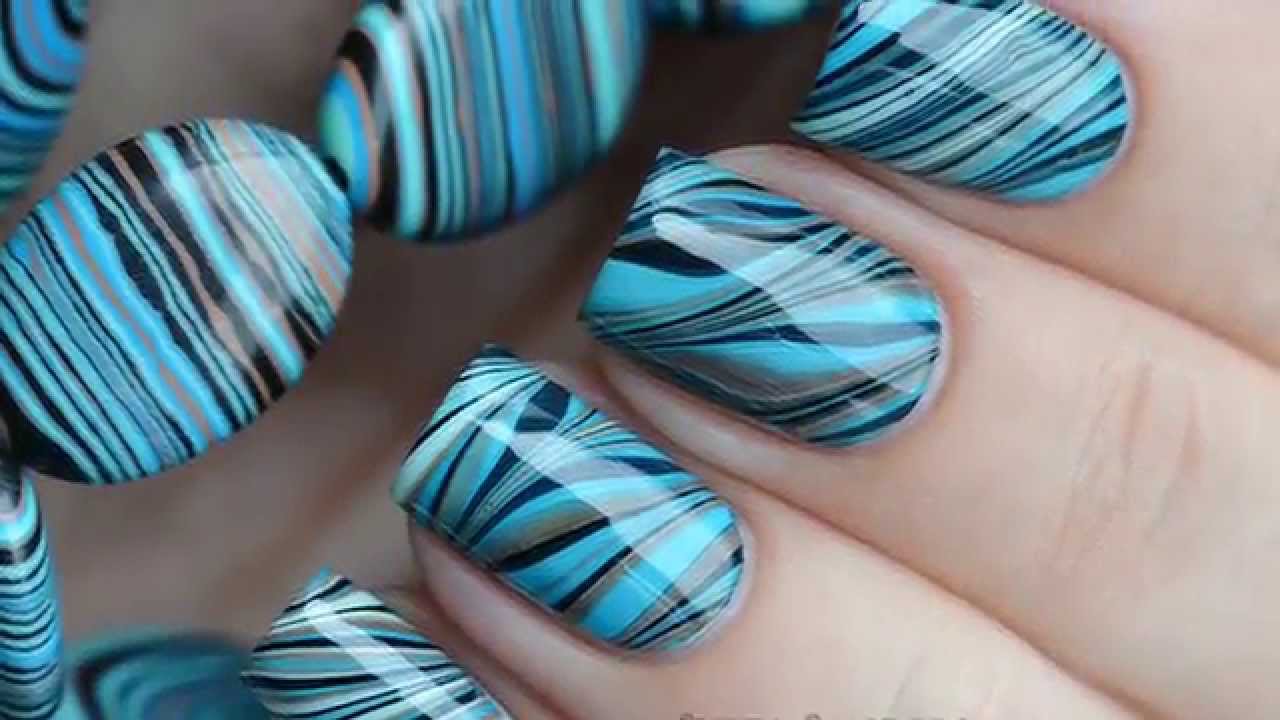
If you're new to water marble nail art, it's best to start with a simple design and gradually work your way up to more complex ones. A great beginner design is the swirl pattern. Start by applying a base coat of your desired nail polish color and let it dry completely. Then, drop a few drops of different nail polish colors into the water and use a toothpick to create swirls. Dip your nail into the water, and voila! You have a beautiful swirl design on your nail.Water Marble Nail Art for Beginners

Water Marble Nail Art for Beginners


For a more detailed step-by-step guide on how to create water marble nail art, follow these simple steps: 1. Start by applying a base coat to protect your nails. 2. Use tape to protect the skin around your nails. 3. Fill a bowl with room temperature water. 4. Drop a few drops of your desired nail polish colors into the water. 5. Use a toothpick to create patterns and swirls in the water. 6. Dip your nail into the water, making sure the polish covers the entire nail. 7. Use a toothpick to remove any excess polish from the water. 8. Slowly pull your finger out of the water and remove the tape. 9. Clean up any excess polish around your nails with a cotton swab and nail polish remover. 10. Finish with a top coat to seal and protect your design.Water Marble Nail Art Step by Step

Water Marble Nail Art Step by Step

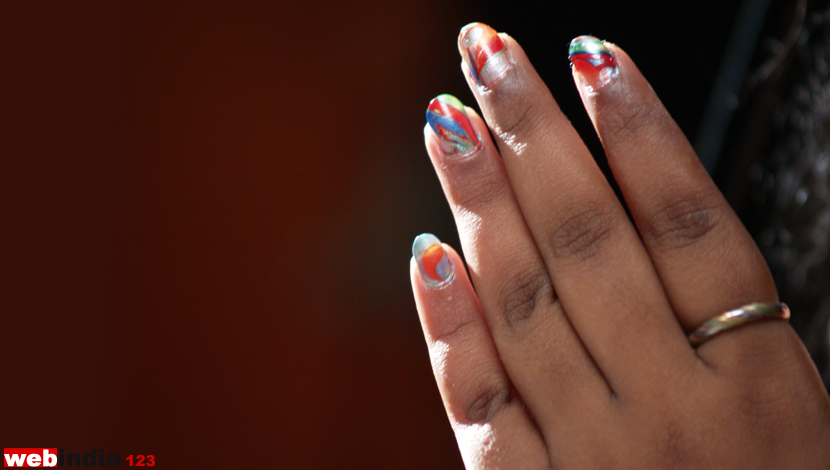
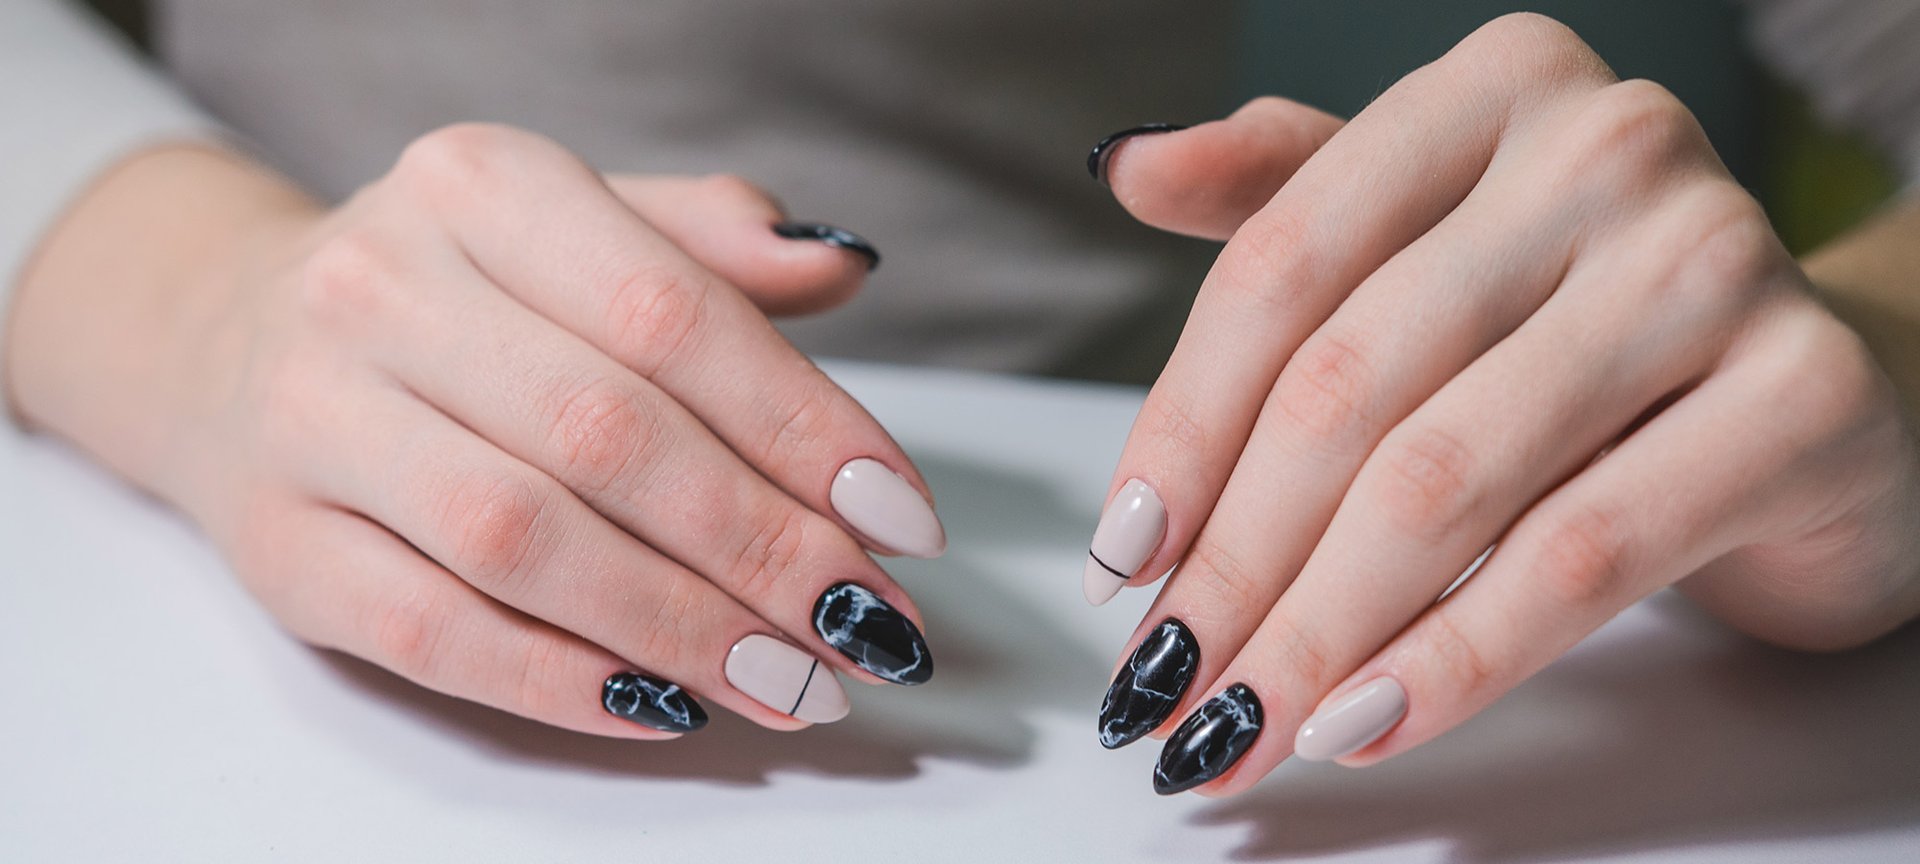
Short nails can also rock water marble nail art designs. The key is to use smaller drops of polish and to dip your nail at a steeper angle to ensure the design covers the entire nail. You can also try creating a diagonal design on your short nails for a unique and eye-catching look. Just remember to start with a base coat and finish with a top coat for long-lasting results.Water Marble Nail Art Designs for Short Nails

Water Marble Nail Art Designs for Short Nails

.JPG)
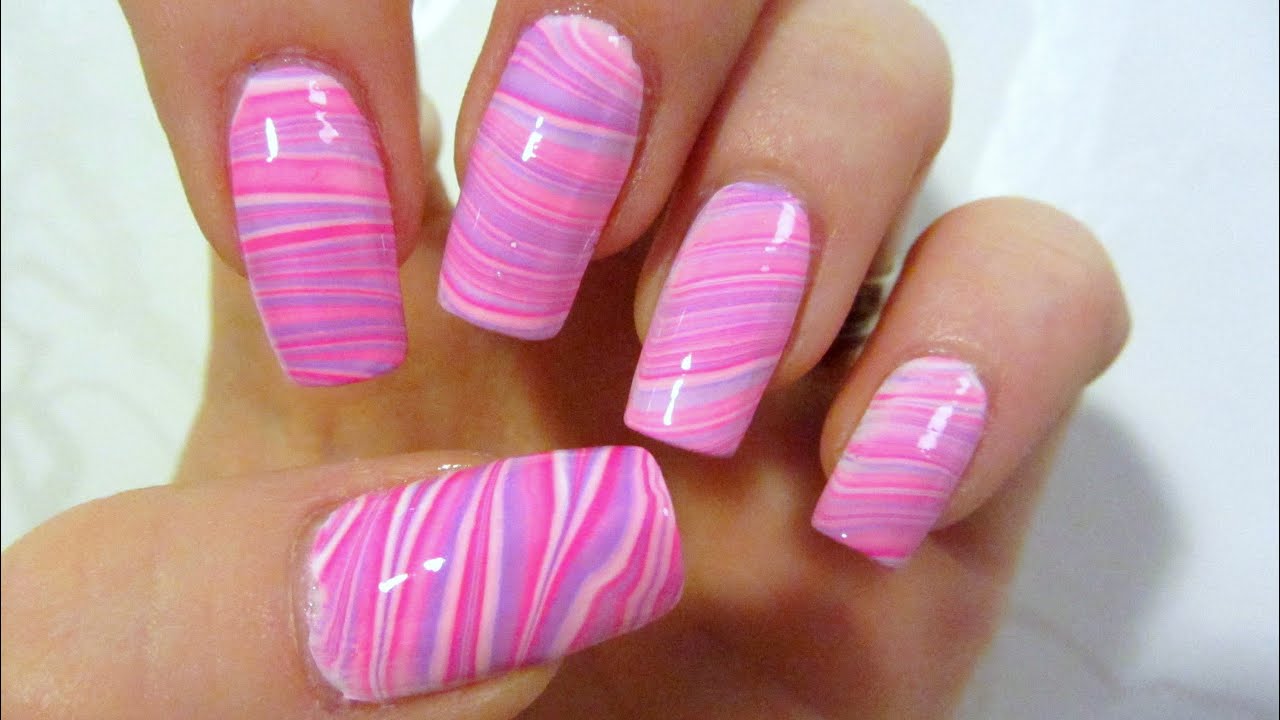
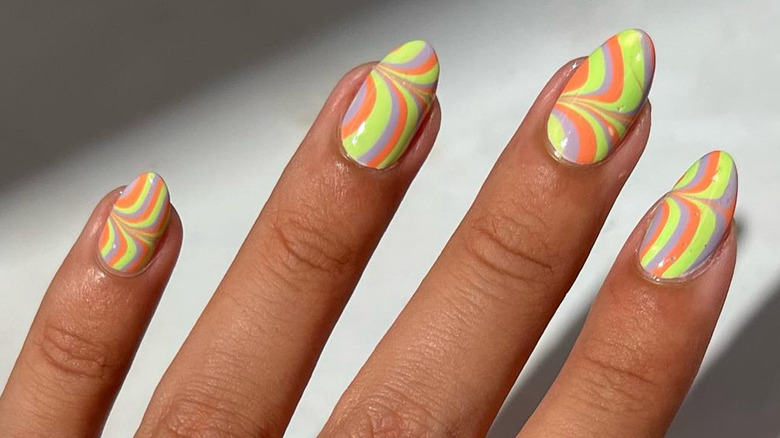
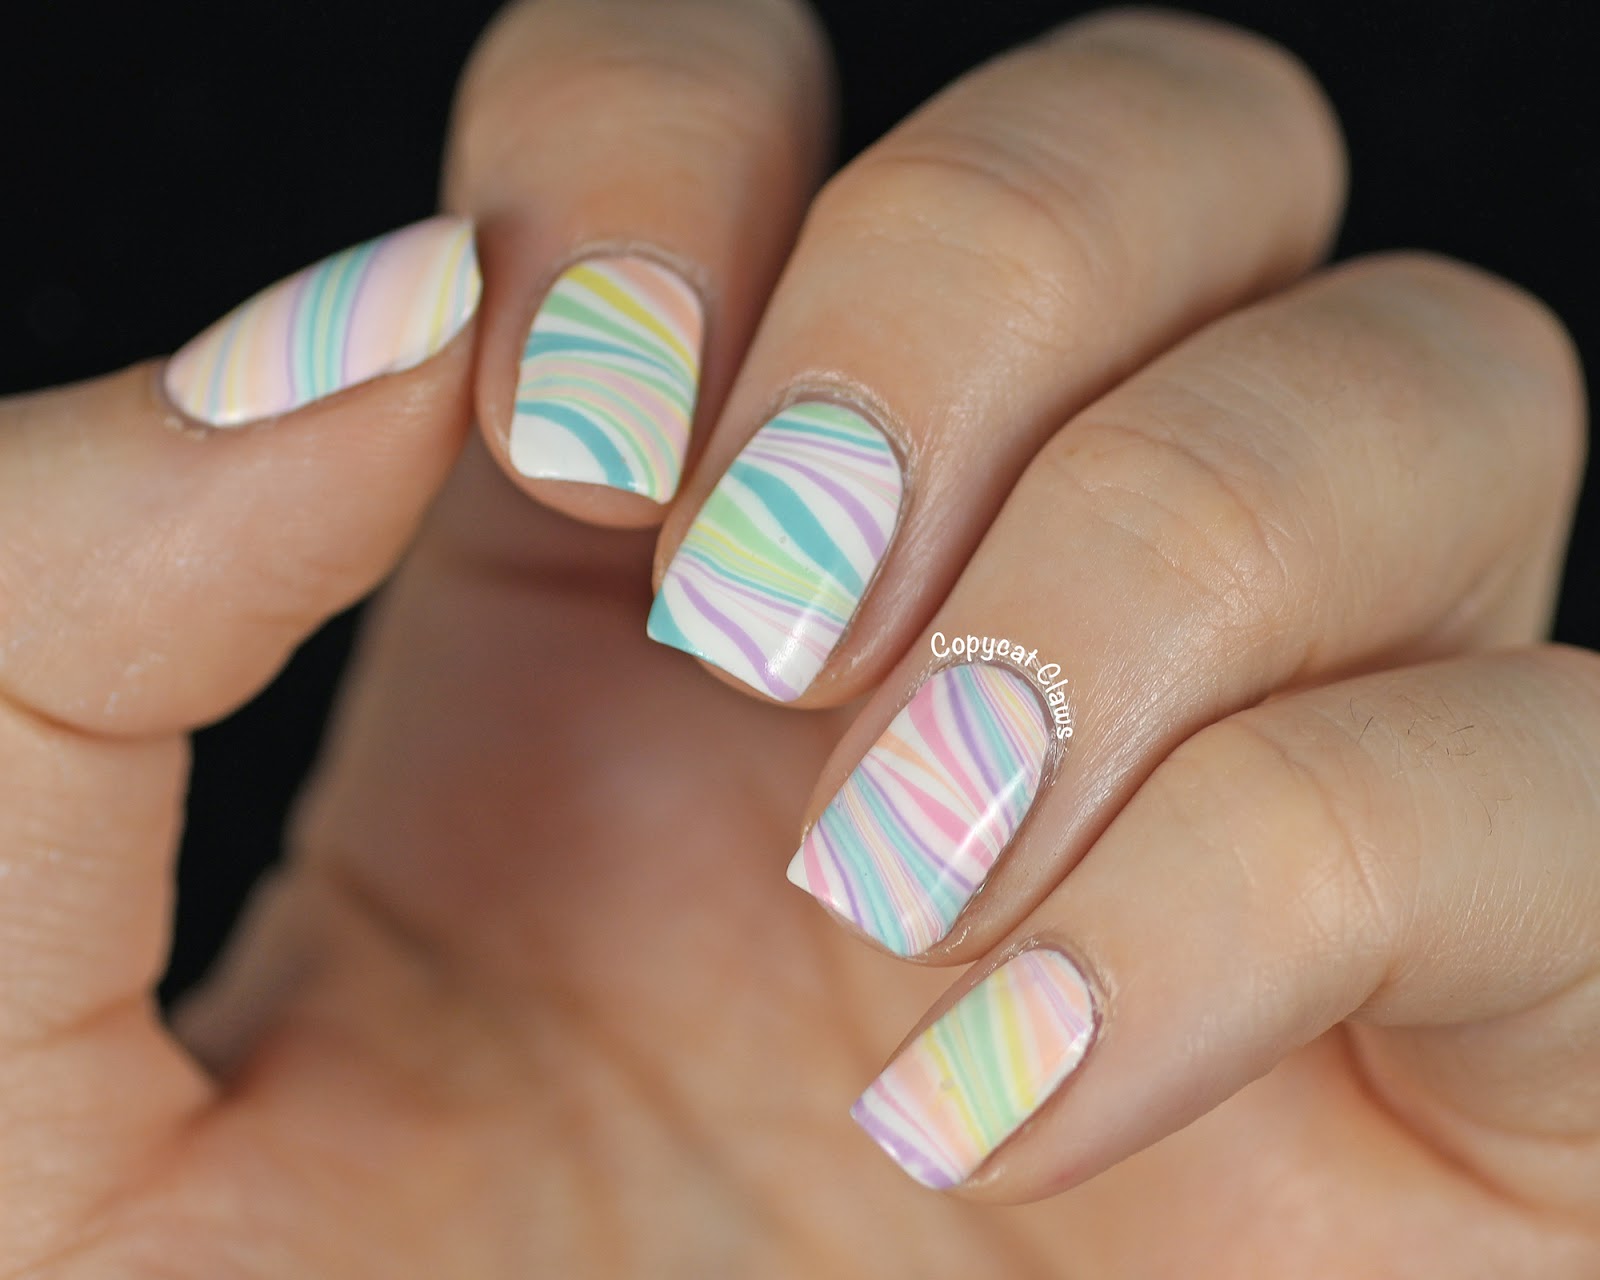
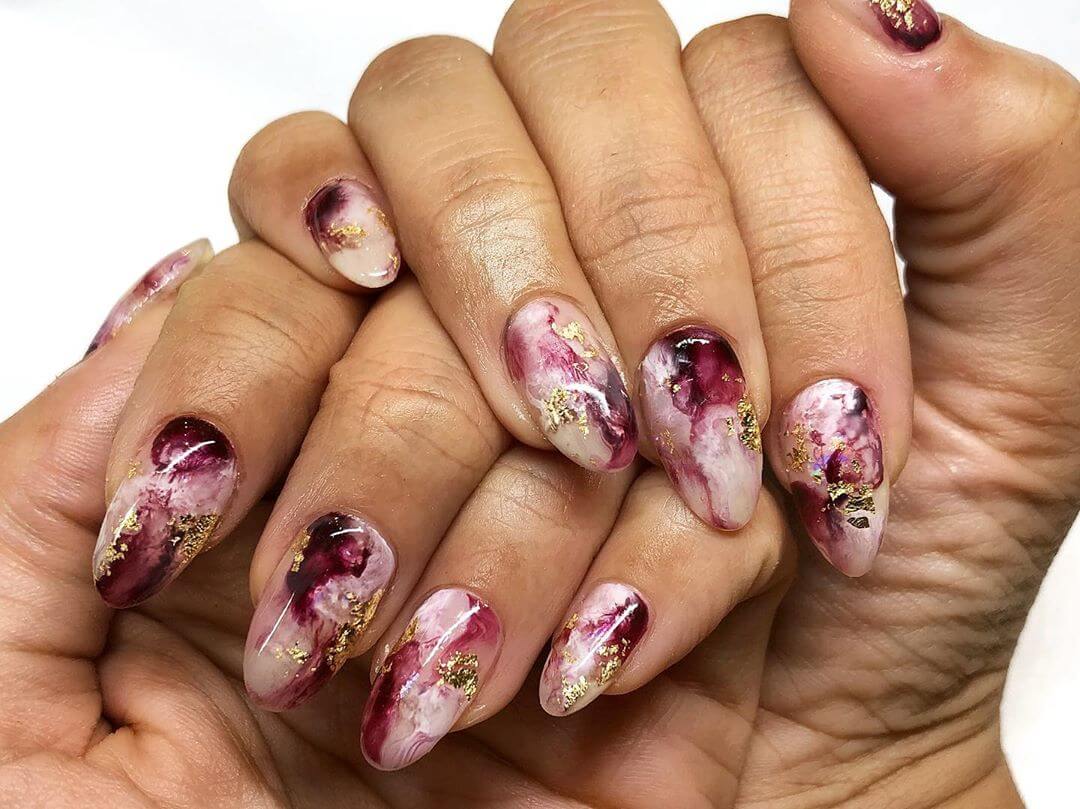
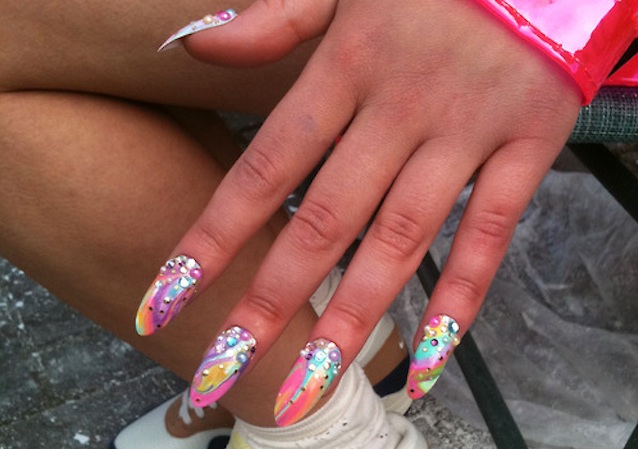
If you're looking for a cute and simple water marble nail art design, try a pastel ombre effect. Choose three to four pastel colors and create a gradient effect by dropping the lightest color into the water first and gradually adding the darker colors. Use a toothpick to blend the colors and dip your nail for a soft and feminine look.Cute and Simple Water Marble Nail Art


Cute and Simple Water Marble Nail Art


Don't have any fancy tools for water marble nail art? No problem! A toothpick can be a great alternative for creating intricate designs. You can use the pointed end to create swirls and the flat end to drag the polish and create unique patterns. Plus, it's a tool that most of us have lying around the house, making it easily accessible for anyone to try water marble nail art.Water Marble Nail Art with Toothpick


Water Marble Nail Art with Toothpick

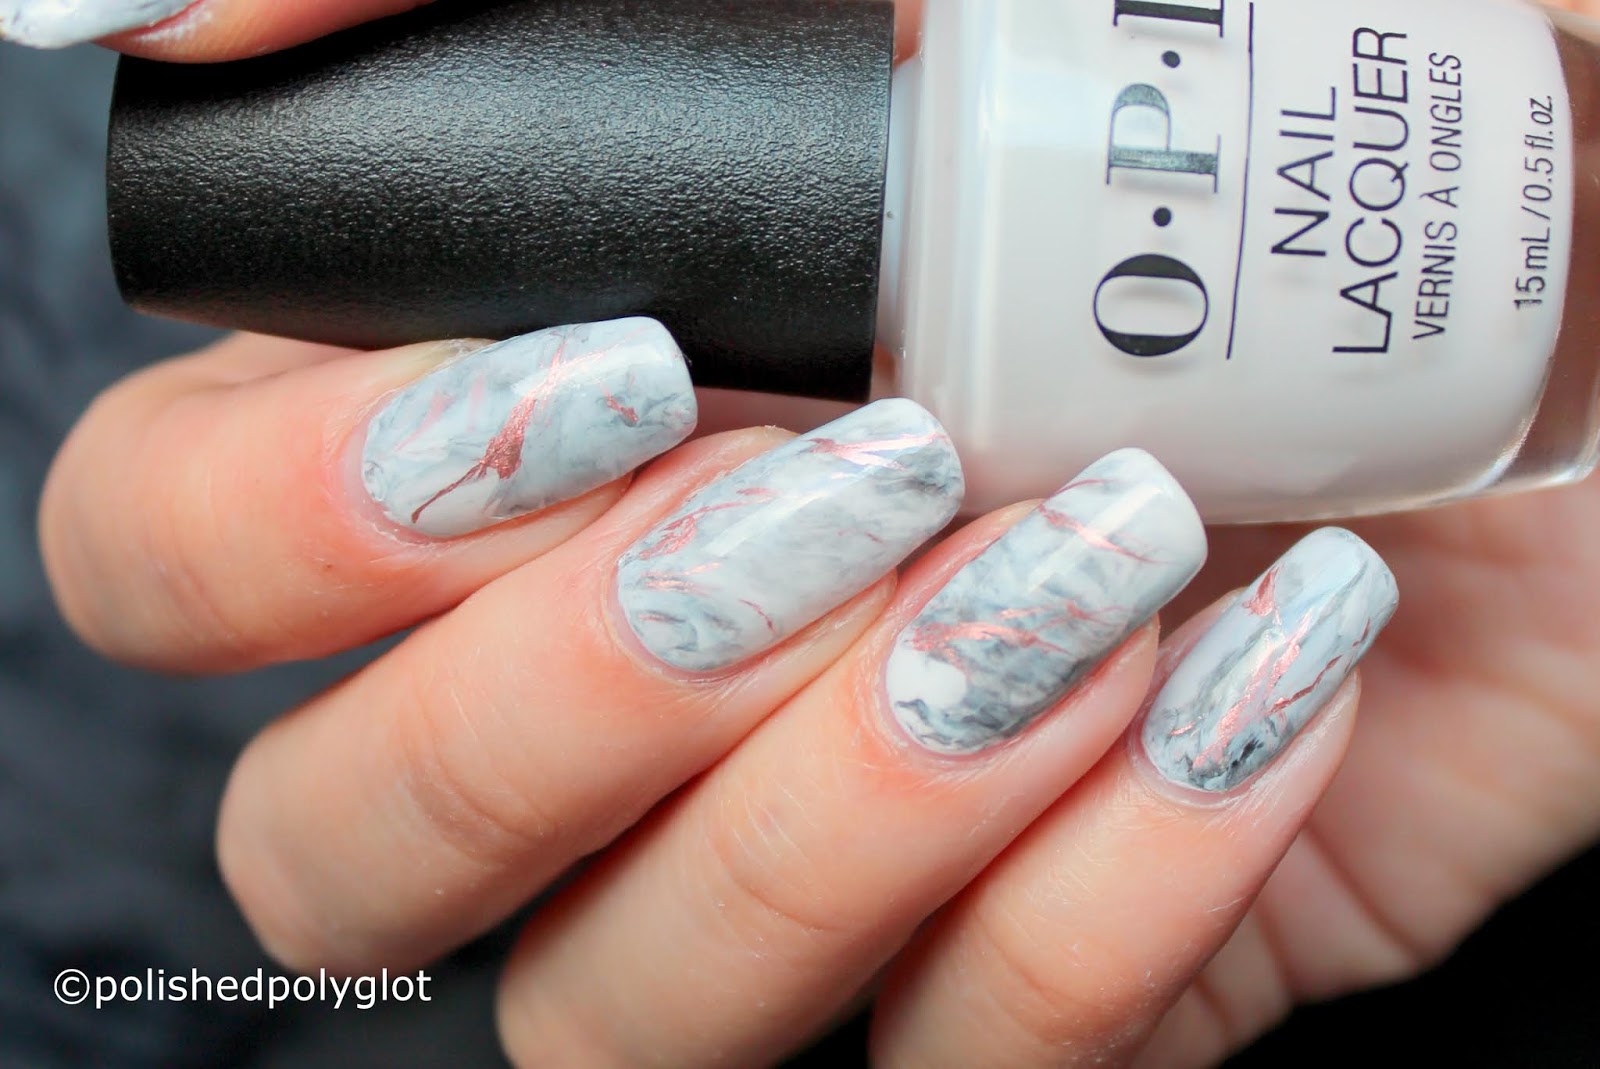
Another alternative tool for creating water marble nail art is plastic wrap. Cut a small piece of plastic wrap and scrunch it up to create a textured surface. After dropping the nail polish into the water, use the scrunched plastic wrap to dab and create unique patterns. This technique can result in a marble-like effect and adds an extra dimension to your water marble nail art.Water Marble Nail Art with Plastic Wrap

Water Marble Nail Art with Plastic Wrap

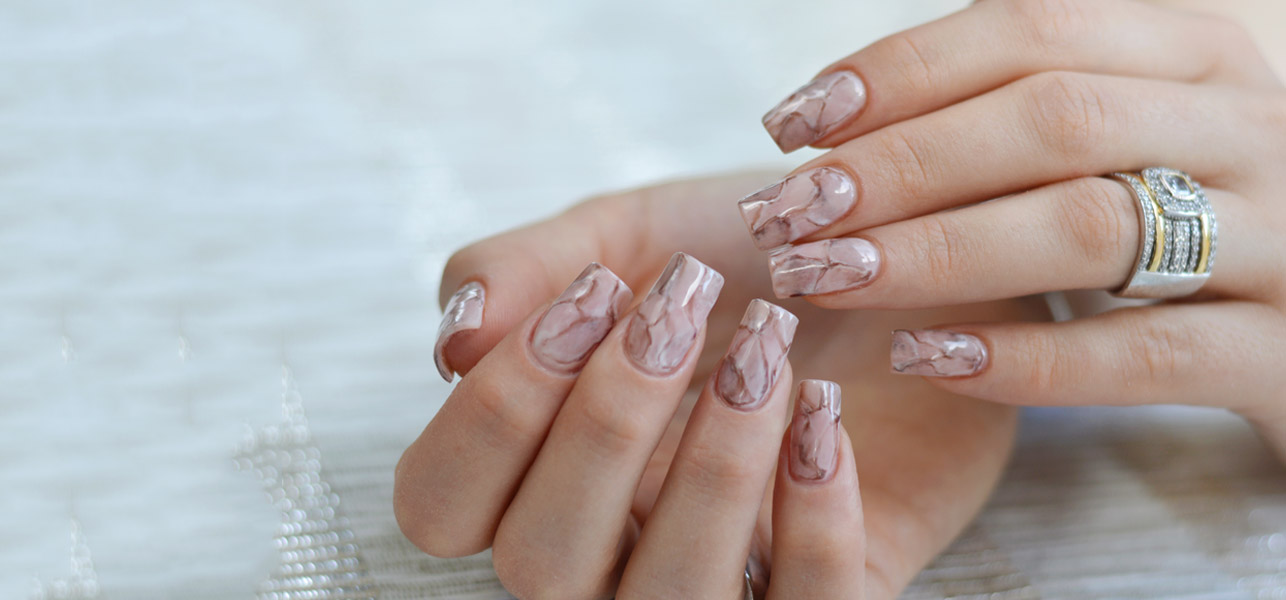
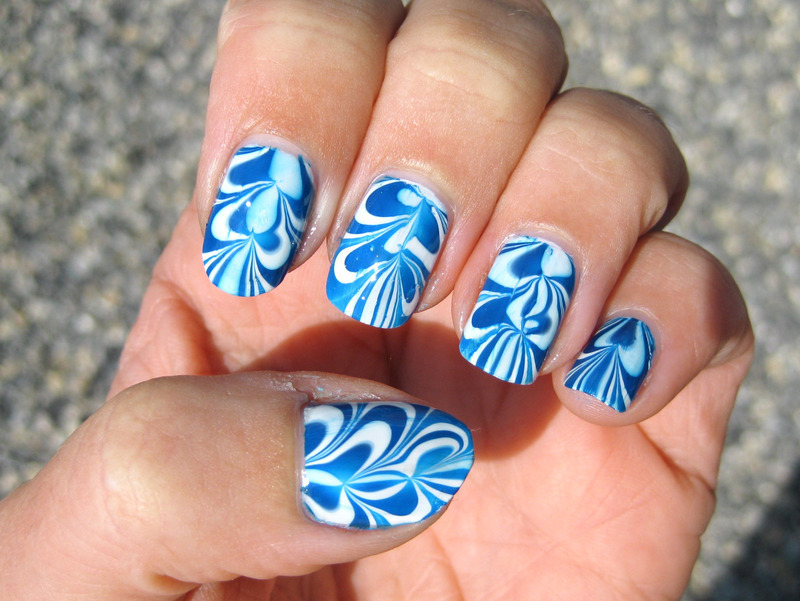
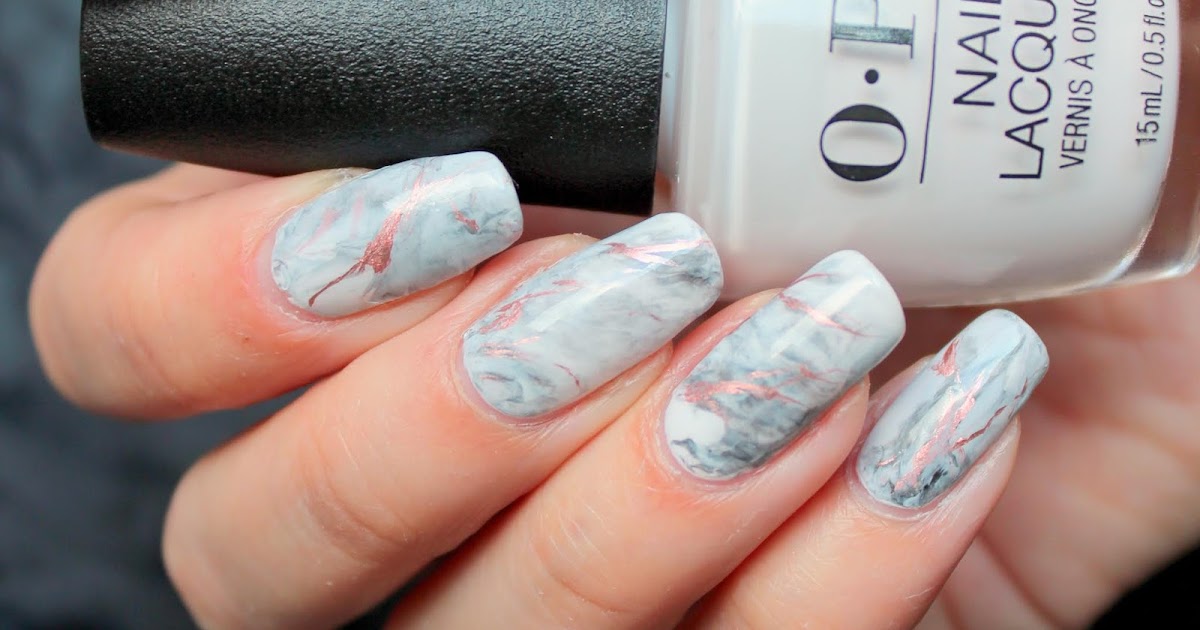
Water marble nail art doesn't always have to involve using multiple nail polish colors. You can also create a stunning design using just one color. This is a great option if you want a more subtle and elegant look. Simply drop a few drops of the same color into the water and use a toothpick to create patterns and swirls. Dip your nail, and you'll have a beautiful monochromatic water marble design. Water marble nail art is a fun and creative way to add some personality to your nails. With endless design possibilities, it's a great technique to try at home. Just remember to have patience and practice, and you'll be creating professional-looking water marble nail art in no time. So go ahead and express yourself with some cute and unique water marble nail designs!Water Marble Nail Art with Nail Polish

Water Marble Nail Art with Nail Polish
The Beauty of Water Marble Nail Art: A Fun and Creative Design to Try

Unleash Your Inner Artist with Water Marble Nail Art
 Water marble nail art has taken the beauty world by storm, and for good reason. This unique and mesmerizing technique allows you to create stunning and intricate designs on your nails, making them the perfect canvas for self-expression. Whether you're a nail art enthusiast or just looking for a new way to spice up your manicure, water marble nail art is definitely worth trying.
The Process: Creating the Perfect Water Marble Design
 To create a water marble design, you will need a few basic supplies: a bowl of room temperature water, nail polish in various colors, toothpicks, and tape. Start by applying a base coat to protect your natural nails. Then,
choose your featured colors and related main keywords
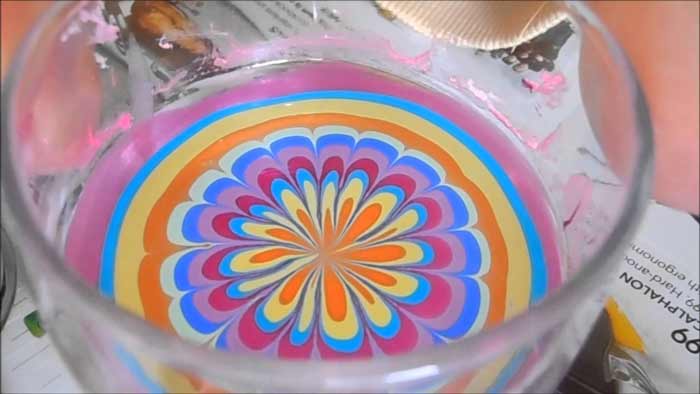
and drop a few drops of each color into the bowl of water, creating concentric circles. Use a toothpick to create a pattern by dragging it through the circles. Once you're happy with your design, dip your nail into the water, covering the entire nail. Use tape to protect your skin from excess nail polish, then slowly remove your nail from the water. Clean up any excess polish on your skin with a cotton swab and nail polish remover. Finish off with a top coat to seal in your design.
To create a water marble design, you will need a few basic supplies: a bowl of room temperature water, nail polish in various colors, toothpicks, and tape. Start by applying a base coat to protect your natural nails. Then,
choose your featured colors and related main keywords
and drop a few drops of each color into the bowl of water, creating concentric circles. Use a toothpick to create a pattern by dragging it through the circles. Once you're happy with your design, dip your nail into the water, covering the entire nail. Use tape to protect your skin from excess nail polish, then slowly remove your nail from the water. Clean up any excess polish on your skin with a cotton swab and nail polish remover. Finish off with a top coat to seal in your design.
Why Water Marble Nail Art is Perfect for House Design
 Not only is water marble nail art a fun and creative way to express yourself, but it also has practical benefits for house design. The intricate and unique designs can add a pop of color and personality to any room. You can use the same technique to create
featured keywords and related main keywords
on furniture, walls, or even decorative items. Plus, it's a great way to use up old nail polish that you no longer wear on your nails.
Not only is water marble nail art a fun and creative way to express yourself, but it also has practical benefits for house design. The intricate and unique designs can add a pop of color and personality to any room. You can use the same technique to create
featured keywords and related main keywords
on furniture, walls, or even decorative items. Plus, it's a great way to use up old nail polish that you no longer wear on your nails.
In Conclusion
 Water marble nail art is a fun and innovative way to add a touch of creativity to your house design. With endless color combinations and design possibilities, it's the perfect DIY project for any skill level. So why not try it out and see how this
cute design
can transform your nails and your home? Get ready to unleash your inner artist and create a unique and beautiful look that will leave everyone in awe.
Water marble nail art is a fun and innovative way to add a touch of creativity to your house design. With endless color combinations and design possibilities, it's the perfect DIY project for any skill level. So why not try it out and see how this
cute design
can transform your nails and your home? Get ready to unleash your inner artist and create a unique and beautiful look that will leave everyone in awe.


