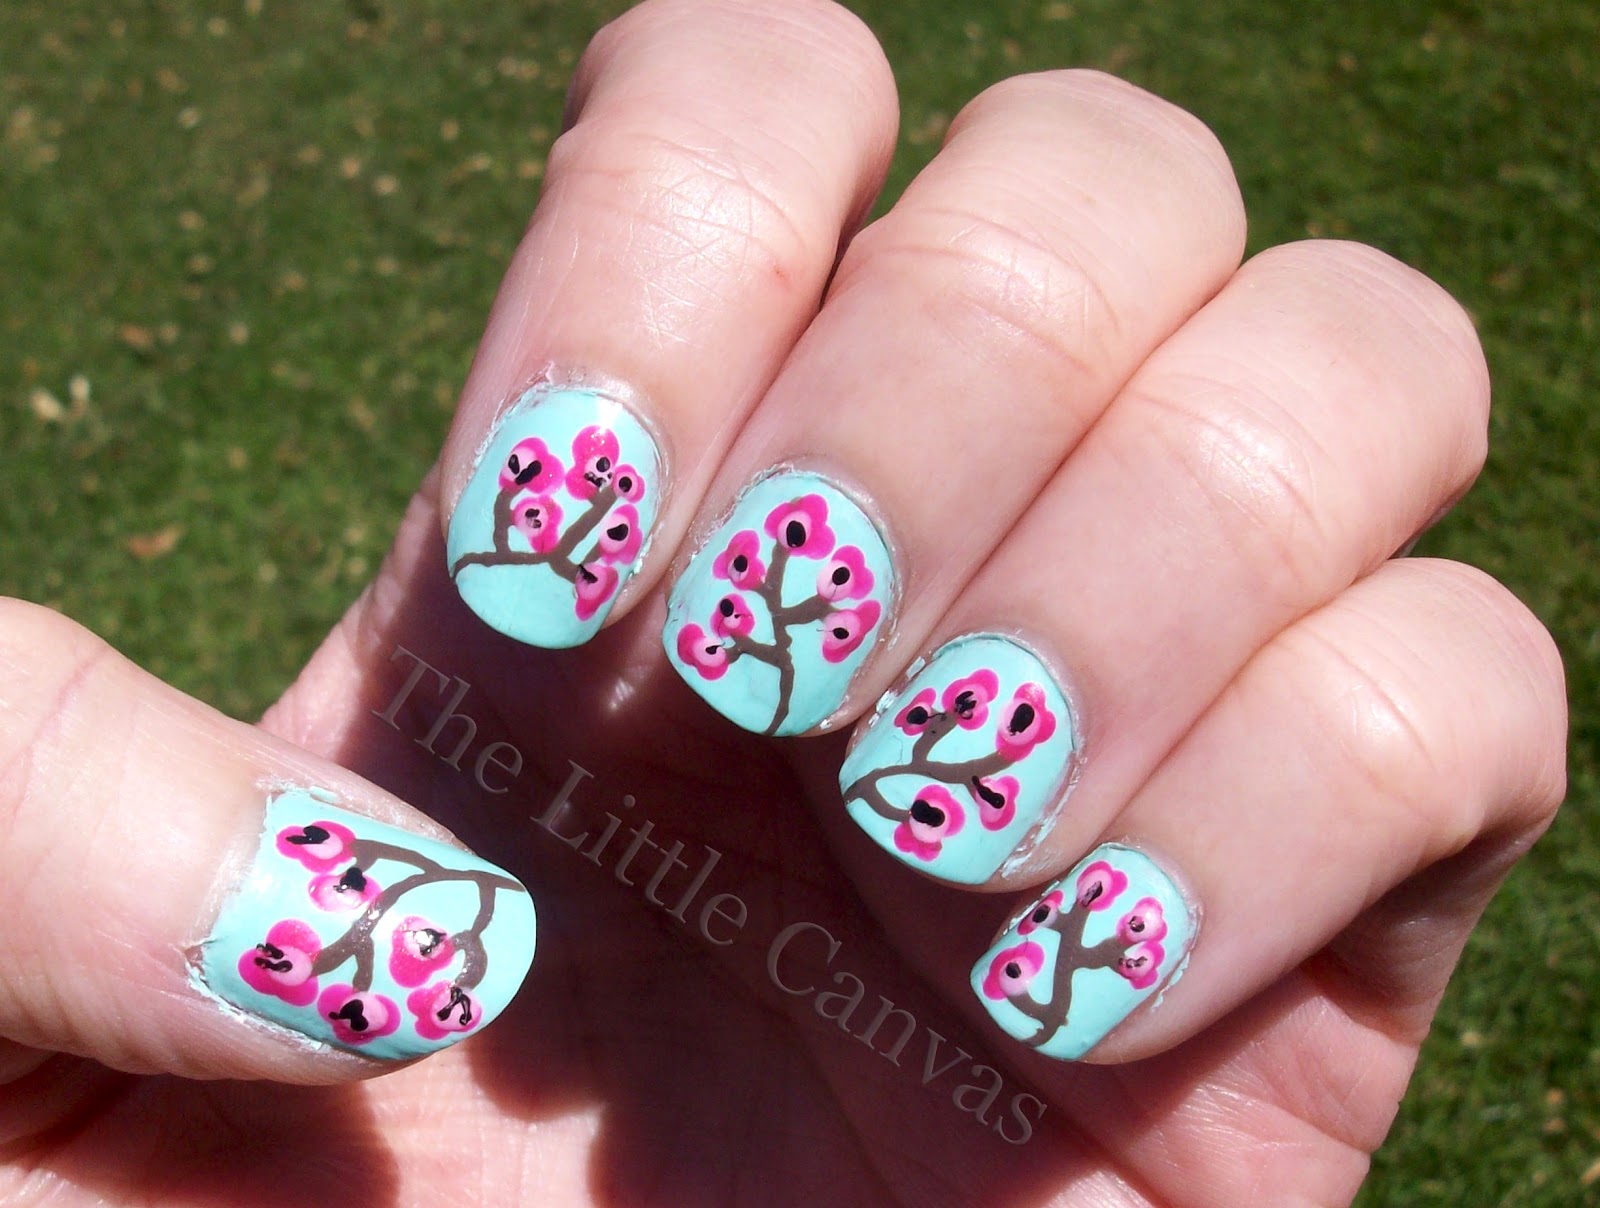
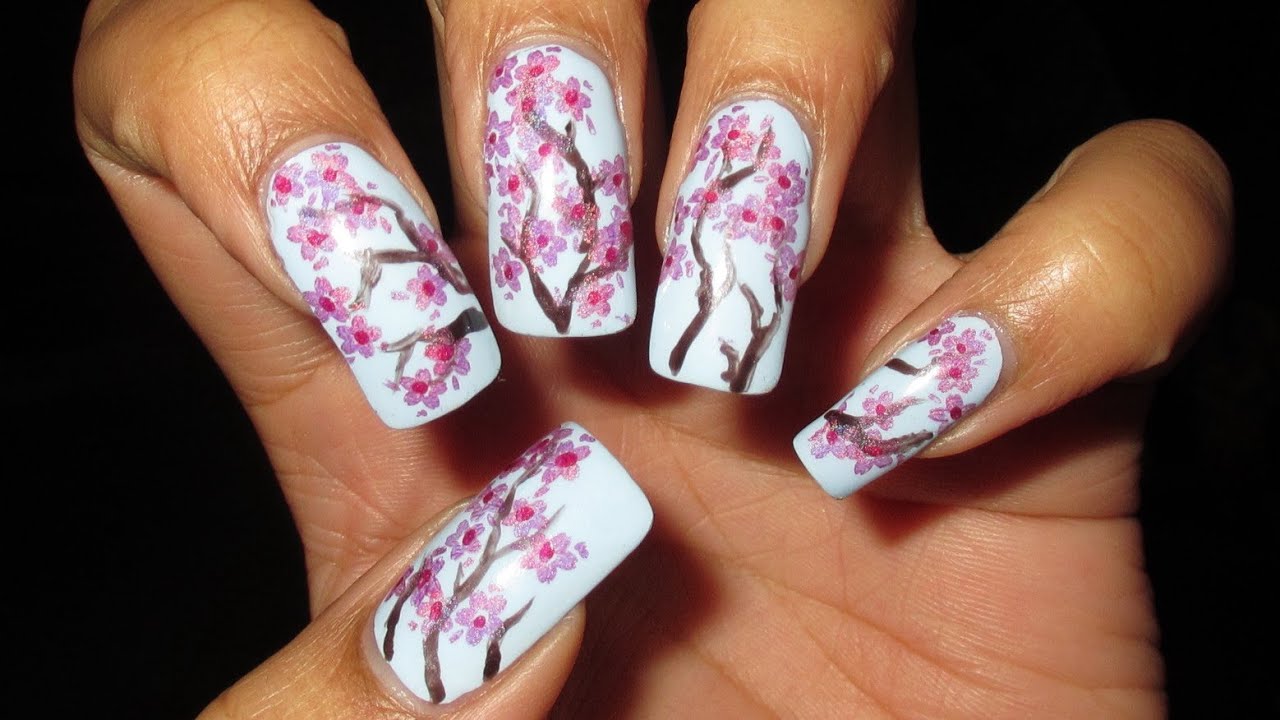
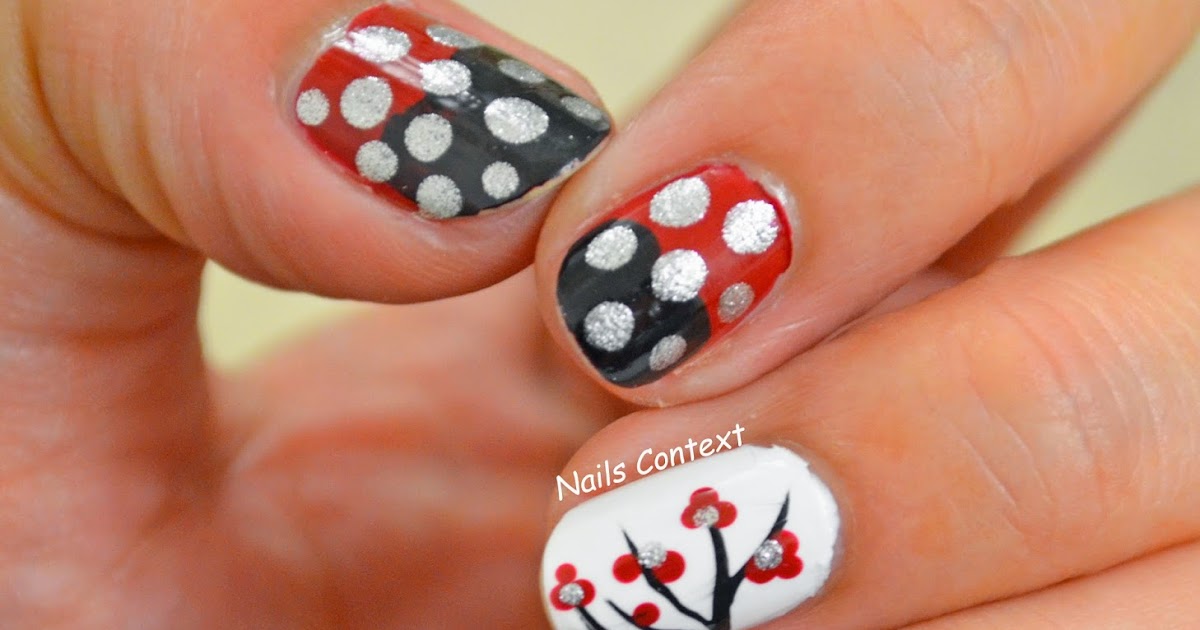
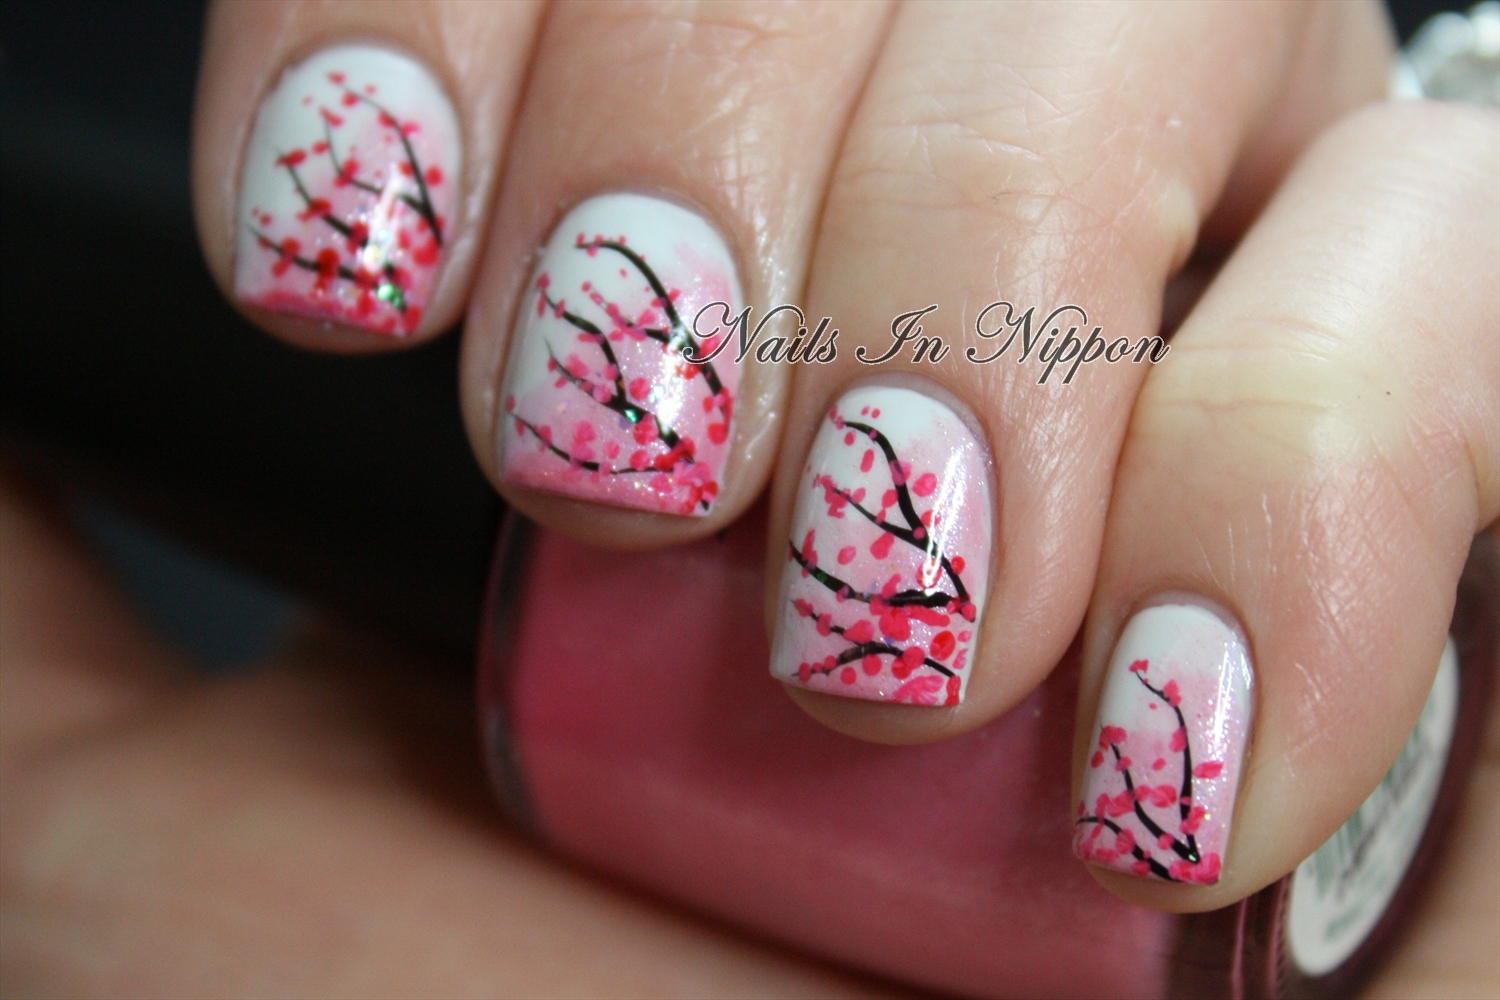
Cherry blossoms are not only a beautiful sight in nature, but they also make for stunning nail art designs. These delicate flowers symbolize renewal and the fleeting nature of life, making them a popular choice for nail art. If you're looking for some inspiration for your next manicure, here are our top 10 cherry blossom nail art designs to try.Cherry Blossom Nail Art Designs


Cherry Blossom Nail Art Designs


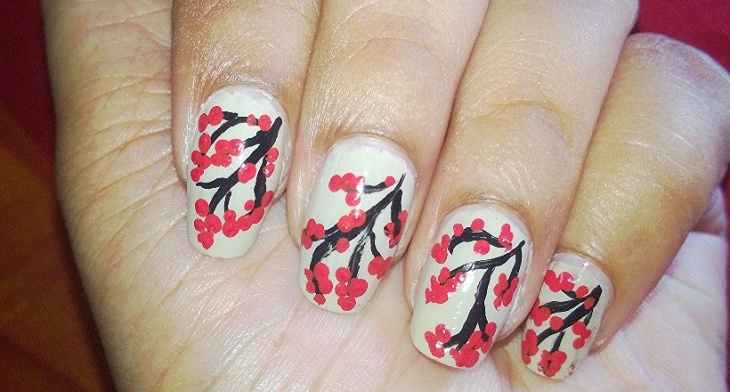


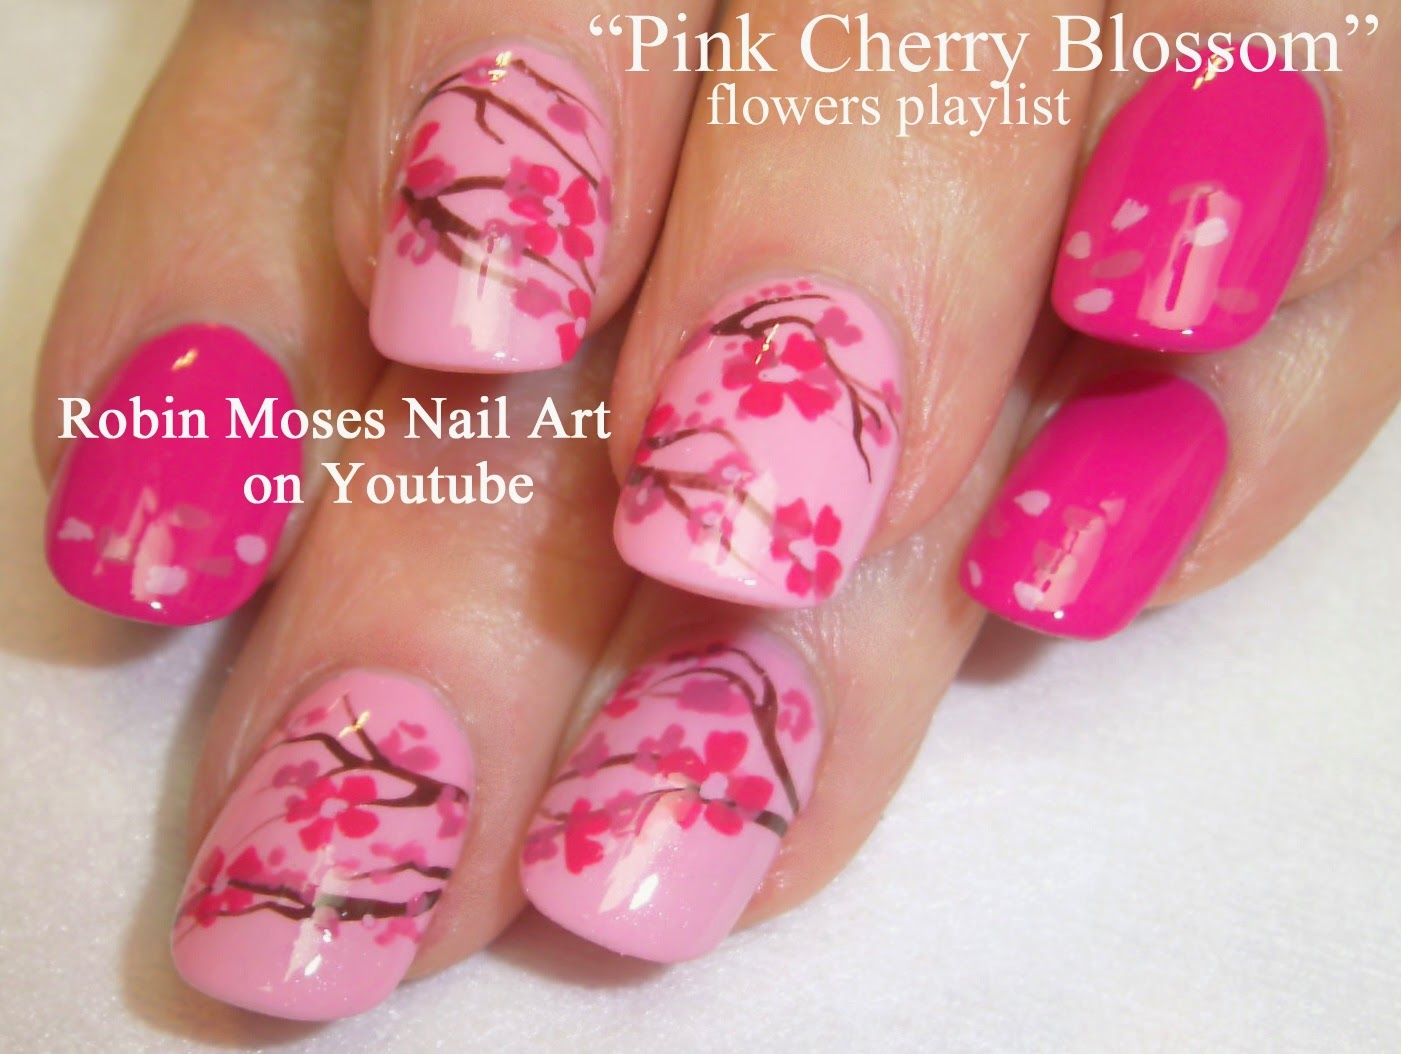
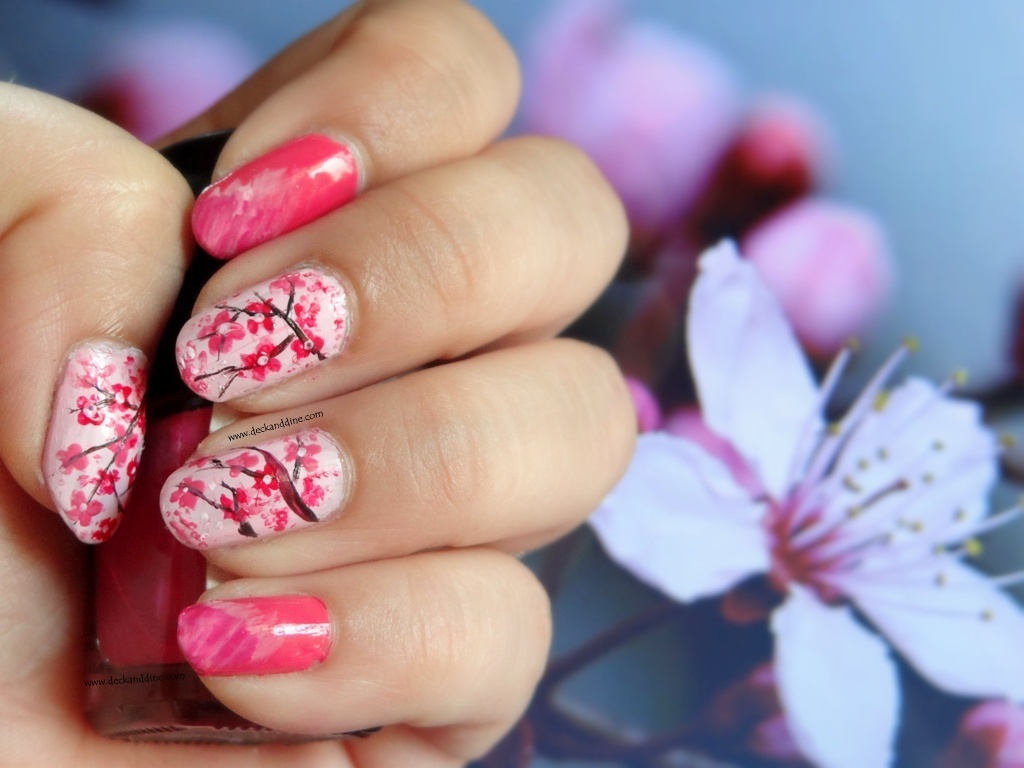
If you're new to nail art, don't worry! There are plenty of tutorials available online to help you achieve the perfect cherry blossom nails. From simple designs to more intricate ones, you can find step-by-step instructions and tips on how to create the look. You can also watch video tutorials for a more visual guide.Cherry Blossom Nail Art Tutorial


Cherry Blossom Nail Art Tutorial

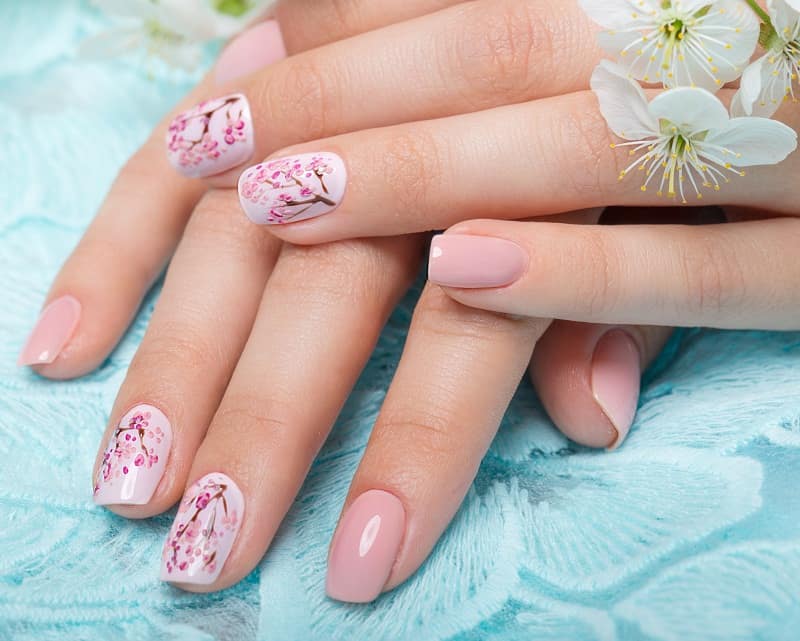
For a quick and easy way to achieve cherry blossom nails, you can opt for nail art stickers. These come in various designs and sizes, making it convenient to apply them on your nails. You can find stickers with realistic cherry blossom prints or more abstract ones, depending on your preference.Cherry Blossom Nail Art Stickers


Cherry Blossom Nail Art Stickers
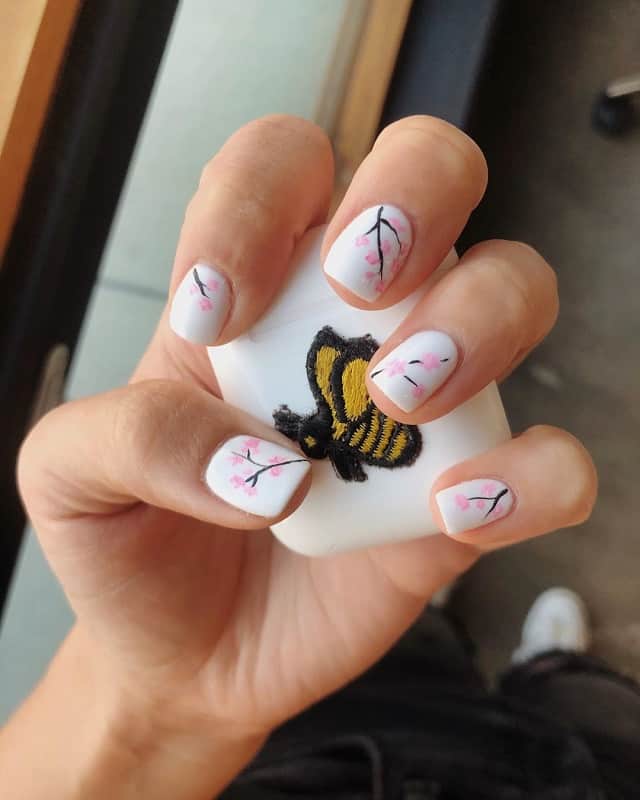
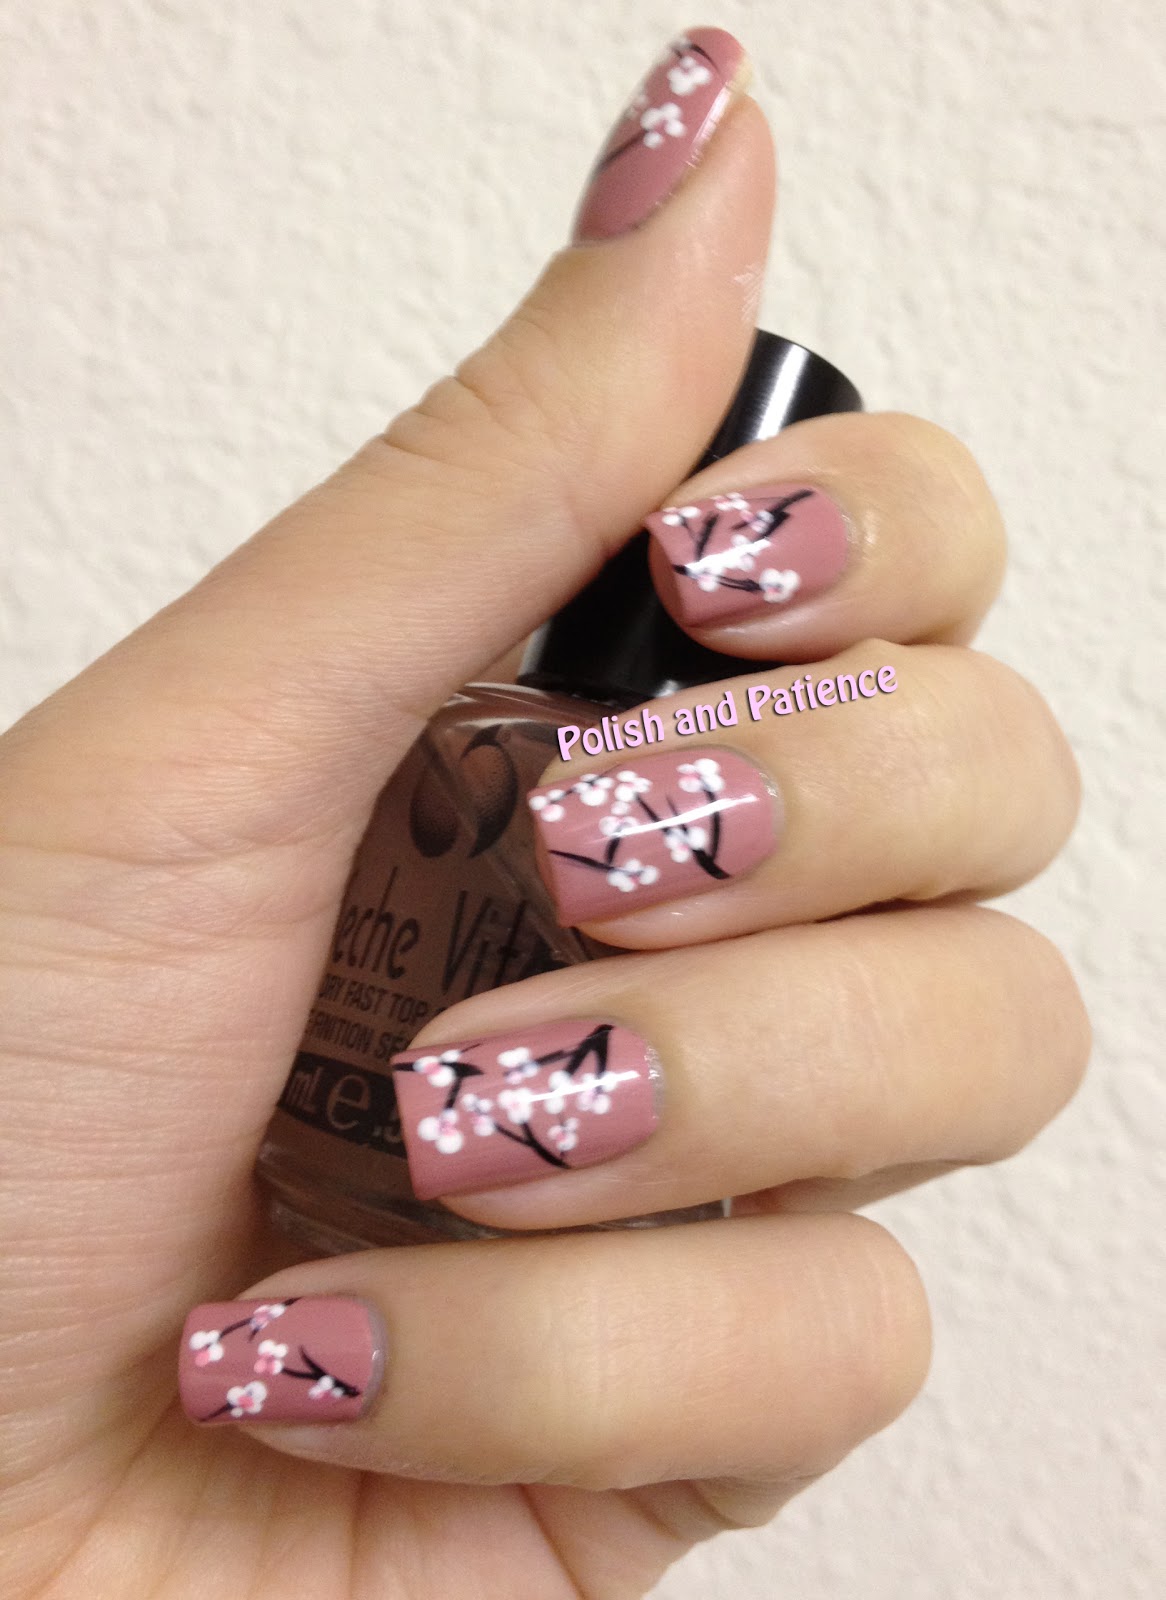
There are endless possibilities when it comes to cherry blossom nail art. You can get creative and experiment with different colors, shapes, and designs. Some ideas to consider include incorporating other elements such as birds, butterflies, or branches into your design. You can also try different backgrounds, like a gradient or ombre effect.Cherry Blossom Nail Art Ideas


Cherry Blossom Nail Art Ideas
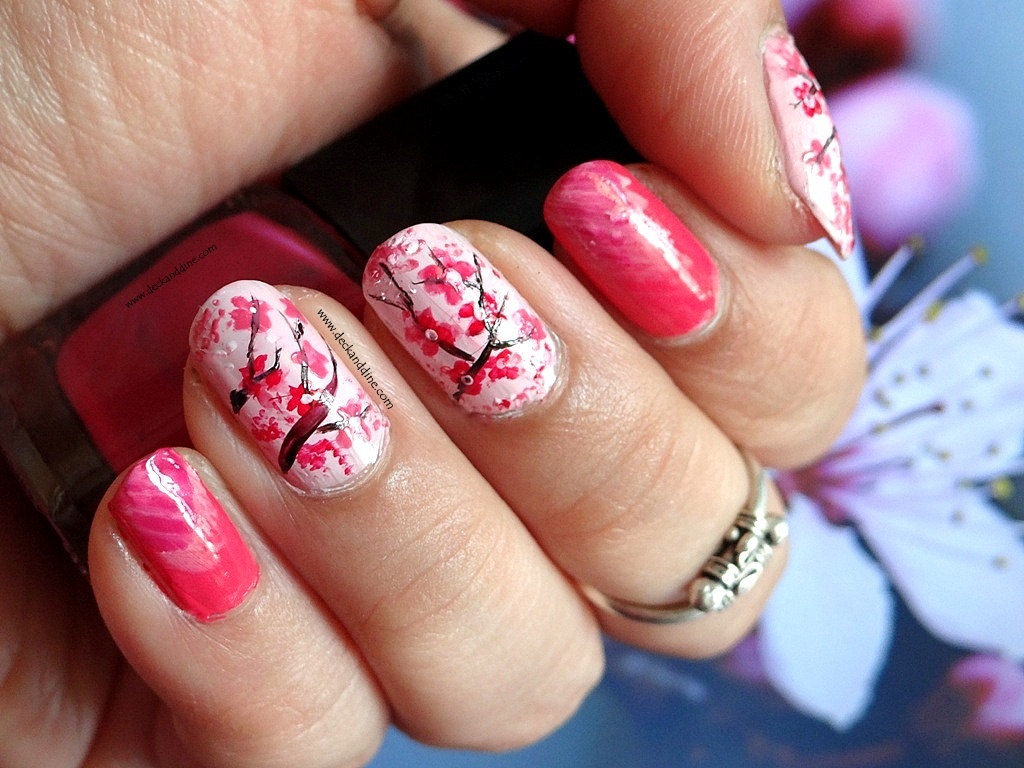
If you're feeling confident, you can try creating your own cherry blossom nail art step by step. Start by painting your nails with a base color and then add the cherry blossom details using a thin brush or toothpick. You can also use dotting tools to create the flower petals. Follow the steps carefully and take your time for a flawless result.Cherry Blossom Nail Art Step by Step
Cherry Blossom Nail Art Step by Step

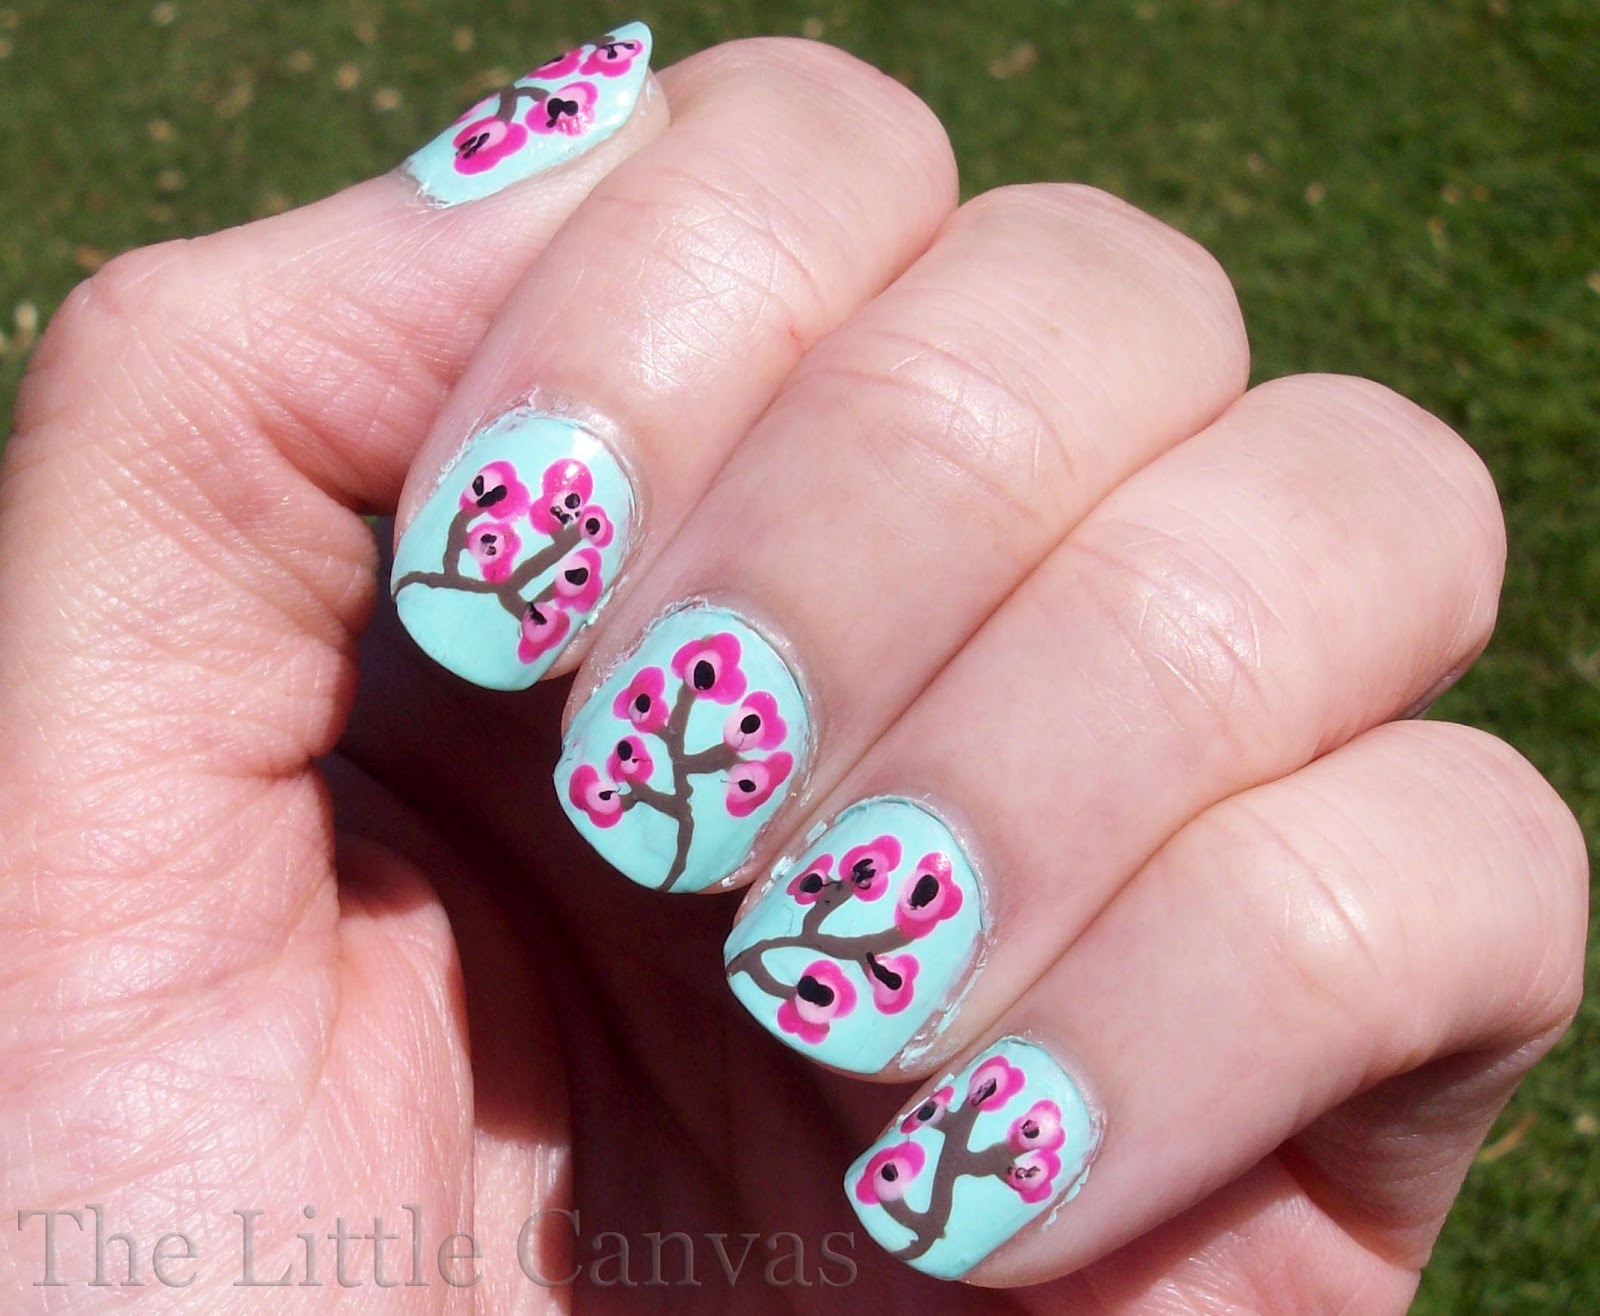
Short nails don't have to limit your options for cherry blossom nail art. In fact, the smaller canvas allows for more detailed designs. You can keep your nails simple with a single cherry blossom on each nail or play around with different designs on each nail. Just make sure to choose smaller brush sizes to avoid overcrowding on your nails.Cherry Blossom Nail Art for Short Nails

Cherry Blossom Nail Art for Short Nails

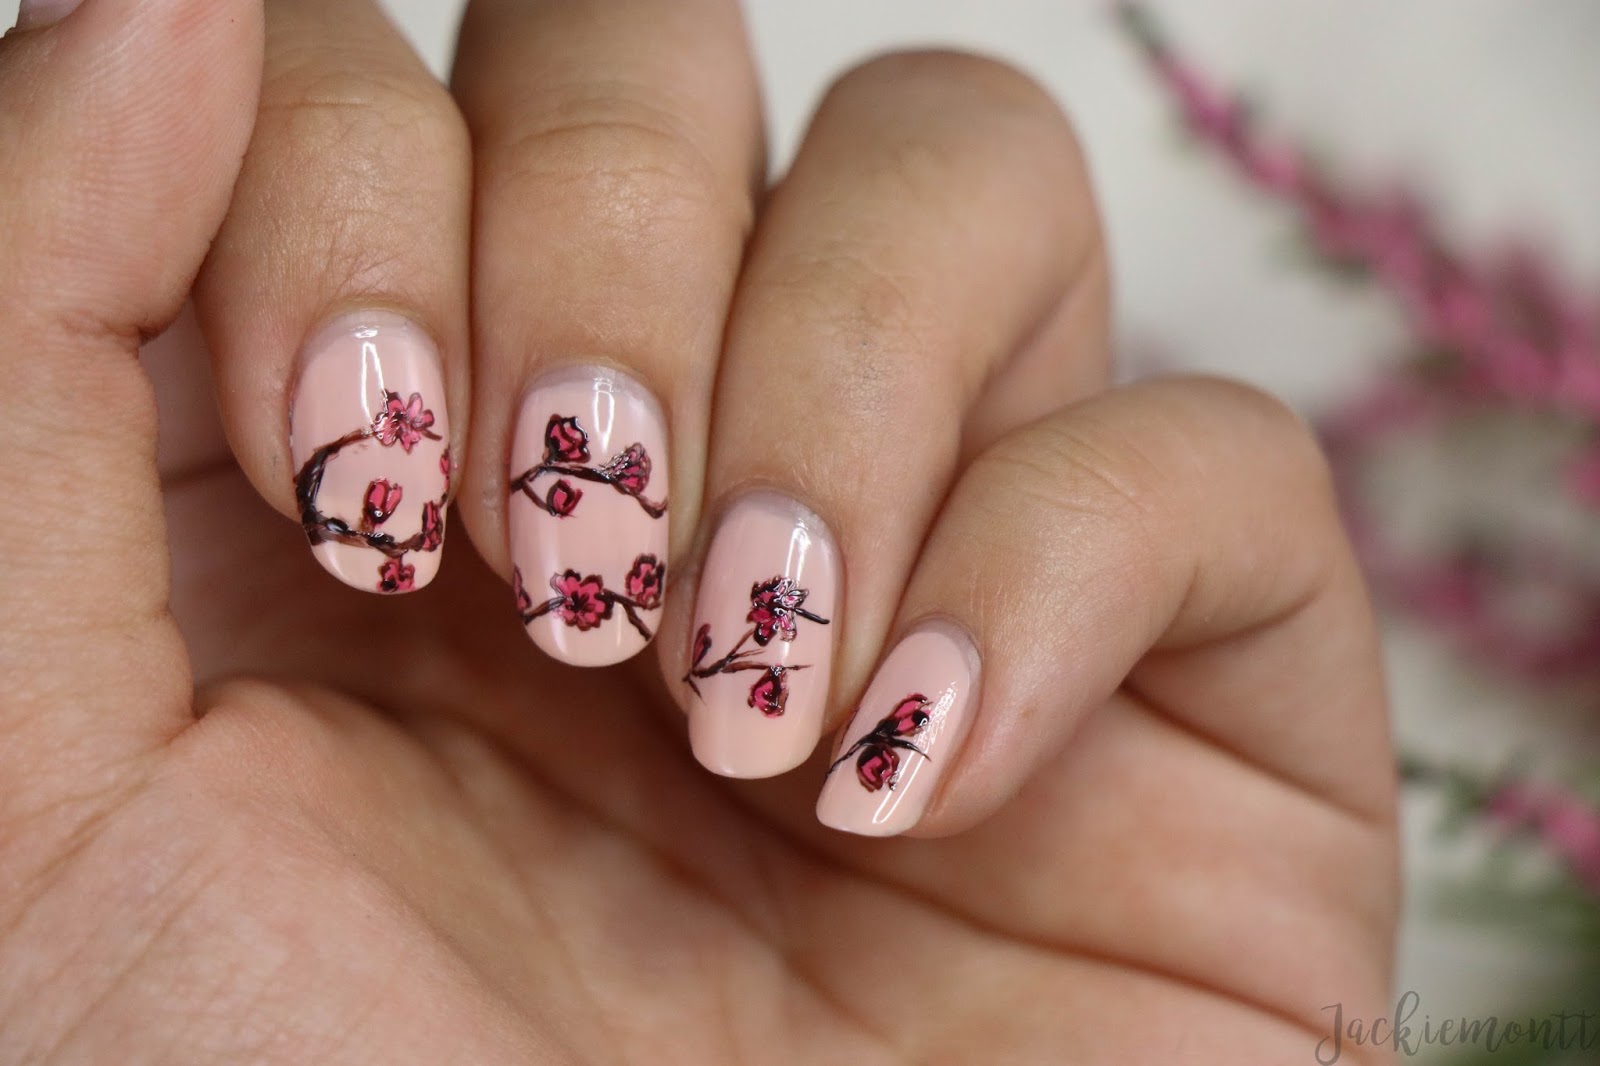
If you're new to nail art, starting with a simple cherry blossom design is a great way to get started. You can try a basic design with just a few flowers on a solid color background. As you gain more experience, you can gradually add more details and complexity to your designs.Cherry Blossom Nail Art for Beginners
Cherry Blossom Nail Art for Beginners
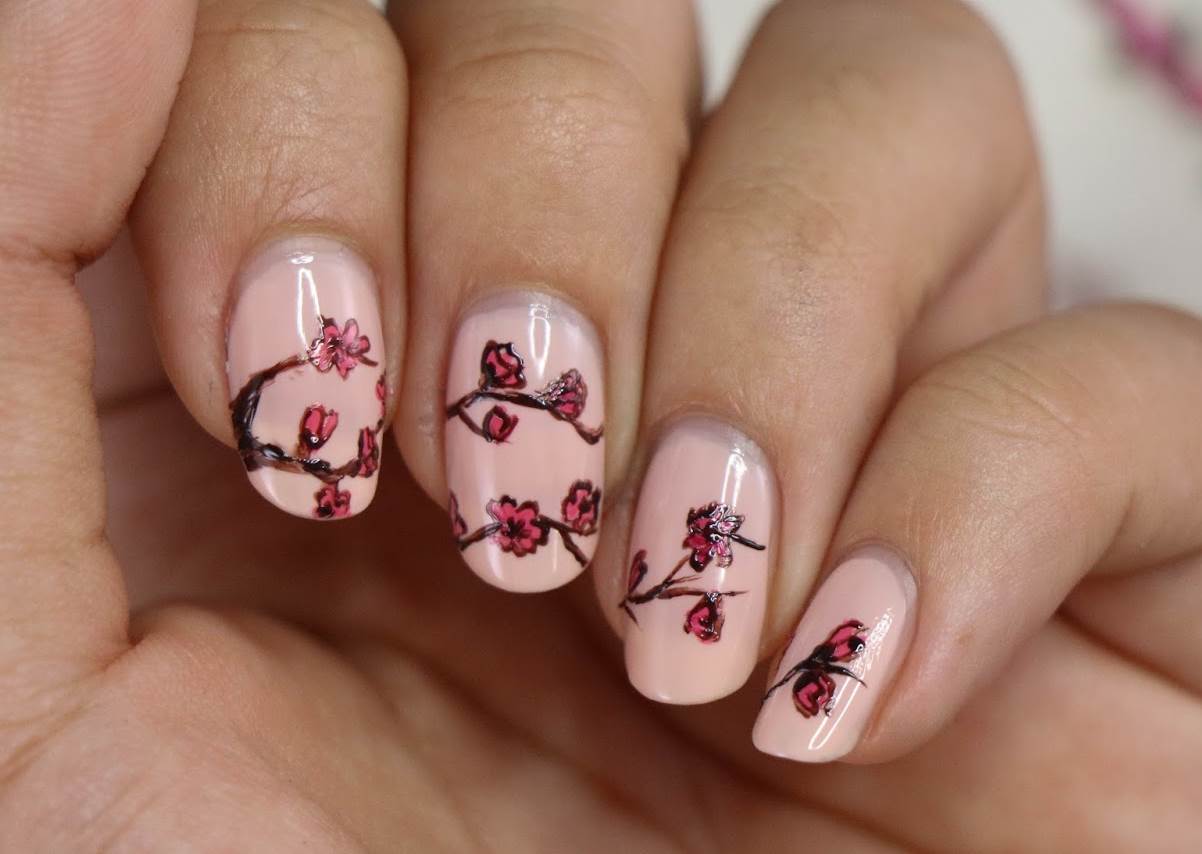
Rhinestones add a touch of glamour and elegance to any nail art, including cherry blossoms. You can use rhinestones as the center of the flower or as accents on the tips of the petals. They come in different sizes and colors, allowing you to customize your design and make it more unique.Cherry Blossom Nail Art with Rhinestones

Cherry Blossom Nail Art with Rhinestones
If you want your cherry blossom nail art to last longer, you can use gel polish instead of regular nail polish. Gel polish is known for its long-lasting and chip-resistant properties. You can also add more intricate details to your design using gel polish, as it allows for a more precise application.Cherry Blossom Nail Art with Gel Polish

Cherry Blossom Nail Art with Gel Polish


For a more traditional approach to nail art, you can use acrylic paint to create your cherry blossom design. This medium allows for more control and precision, making it easier to create intricate details. You can also mix different colors to create a unique color palette for your cherry blossoms.Cherry Blossom Nail Art with Acrylic Paint
Cherry Blossom Nail Art with Acrylic Paint
The Beauty of Cherry Blossom Nail Art: A Delicate and Captivating Design
Unleashing Your Inner Creativity
 If you're a fan of nail art, then you know that there are endless possibilities when it comes to expressing yourself through your fingertips. Whether it's a bold and vibrant design or a subtle and elegant one, your nails can make a statement and complete your overall look. One design that has gained popularity in recent years is cherry blossom nail art. This delicate and captivating design has taken the nail art world by storm, and it's not hard to see why.
Cherry blossom nail art
is inspired by the delicate and beautiful flowers that bloom in Japan during the spring season. The soft pink and white hues of the cherry blossoms make for a stunning and feminine design that is perfect for any occasion. The best part? You don't have to be a professional nail artist to achieve this look. With a little practice and the right tools, you can create your own cherry blossom nail art at home.
If you're a fan of nail art, then you know that there are endless possibilities when it comes to expressing yourself through your fingertips. Whether it's a bold and vibrant design or a subtle and elegant one, your nails can make a statement and complete your overall look. One design that has gained popularity in recent years is cherry blossom nail art. This delicate and captivating design has taken the nail art world by storm, and it's not hard to see why.
Cherry blossom nail art
is inspired by the delicate and beautiful flowers that bloom in Japan during the spring season. The soft pink and white hues of the cherry blossoms make for a stunning and feminine design that is perfect for any occasion. The best part? You don't have to be a professional nail artist to achieve this look. With a little practice and the right tools, you can create your own cherry blossom nail art at home.
The Tools You'll Need
 To create your own cherry blossom nail art, you'll need a few basic tools. These include a base coat, a top coat, a light pink or nude nail polish, a white nail polish, a dotting tool or toothpick, and a thin nail art brush. You can also add some glitter or rhinestones for some extra sparkle.
Nail polishes
in shades of pink and white are essential for this design. You can opt for a light pink or nude shade as the base color, and a brighter pink for the cherry blossom flowers. White polish will be used to create the petals of the flowers, so make sure you have a good quality white polish on hand.
To create your own cherry blossom nail art, you'll need a few basic tools. These include a base coat, a top coat, a light pink or nude nail polish, a white nail polish, a dotting tool or toothpick, and a thin nail art brush. You can also add some glitter or rhinestones for some extra sparkle.
Nail polishes
in shades of pink and white are essential for this design. You can opt for a light pink or nude shade as the base color, and a brighter pink for the cherry blossom flowers. White polish will be used to create the petals of the flowers, so make sure you have a good quality white polish on hand.
Creating Your Cherry Blossom Nail Art
 Now that you have all your tools ready, it's time to create your cherry blossom nail art. Start by applying a base coat to protect your nails and create a smooth surface for your design. Once the base coat is dry, apply your base color. You can also use a light pink or nude nail polish as the base color and add a few coats for a more opaque look.
Once your base color is dry, it's time to create the cherry blossom flowers. Using your dotting tool or toothpick, make small dots in a circular shape on your nails. These will serve as the centers of your flowers. Next, use your thin nail art brush to create five small strokes around the dot to create the petals of the flower. Continue this process on all your nails until you have a few cherry blossom flowers on each nail.
To add some dimension to your design, you can use a darker pink polish to create smaller flowers in between the larger ones. You can also use a black or dark green polish to add some branches or leaves to your design.
Once your flowers are dry, use your dotting tool or toothpick to add some white dots around the flowers to create a more realistic look. Finally, seal in your design with a top coat for long-lasting wear and shine.
Now that you have all your tools ready, it's time to create your cherry blossom nail art. Start by applying a base coat to protect your nails and create a smooth surface for your design. Once the base coat is dry, apply your base color. You can also use a light pink or nude nail polish as the base color and add a few coats for a more opaque look.
Once your base color is dry, it's time to create the cherry blossom flowers. Using your dotting tool or toothpick, make small dots in a circular shape on your nails. These will serve as the centers of your flowers. Next, use your thin nail art brush to create five small strokes around the dot to create the petals of the flower. Continue this process on all your nails until you have a few cherry blossom flowers on each nail.
To add some dimension to your design, you can use a darker pink polish to create smaller flowers in between the larger ones. You can also use a black or dark green polish to add some branches or leaves to your design.
Once your flowers are dry, use your dotting tool or toothpick to add some white dots around the flowers to create a more realistic look. Finally, seal in your design with a top coat for long-lasting wear and shine.
Express Yourself with Cherry Blossom Nail Art
 With its delicate and captivating design,
cherry blossom nail art
is a perfect way to express your creativity and add a touch of beauty to your nails. Whether you're attending a special event or just want to add some feminine flair to your everyday look, this design is sure to turn heads and make you feel confident and beautiful. So grab your tools and unleash your inner nail artist with this stunning and popular design.
With its delicate and captivating design,
cherry blossom nail art
is a perfect way to express your creativity and add a touch of beauty to your nails. Whether you're attending a special event or just want to add some feminine flair to your everyday look, this design is sure to turn heads and make you feel confident and beautiful. So grab your tools and unleash your inner nail artist with this stunning and popular design.


