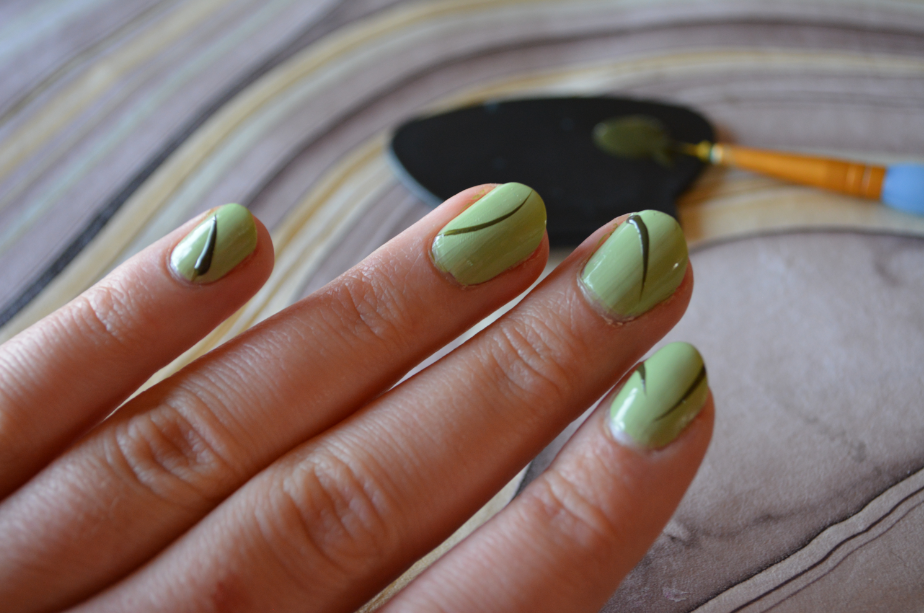
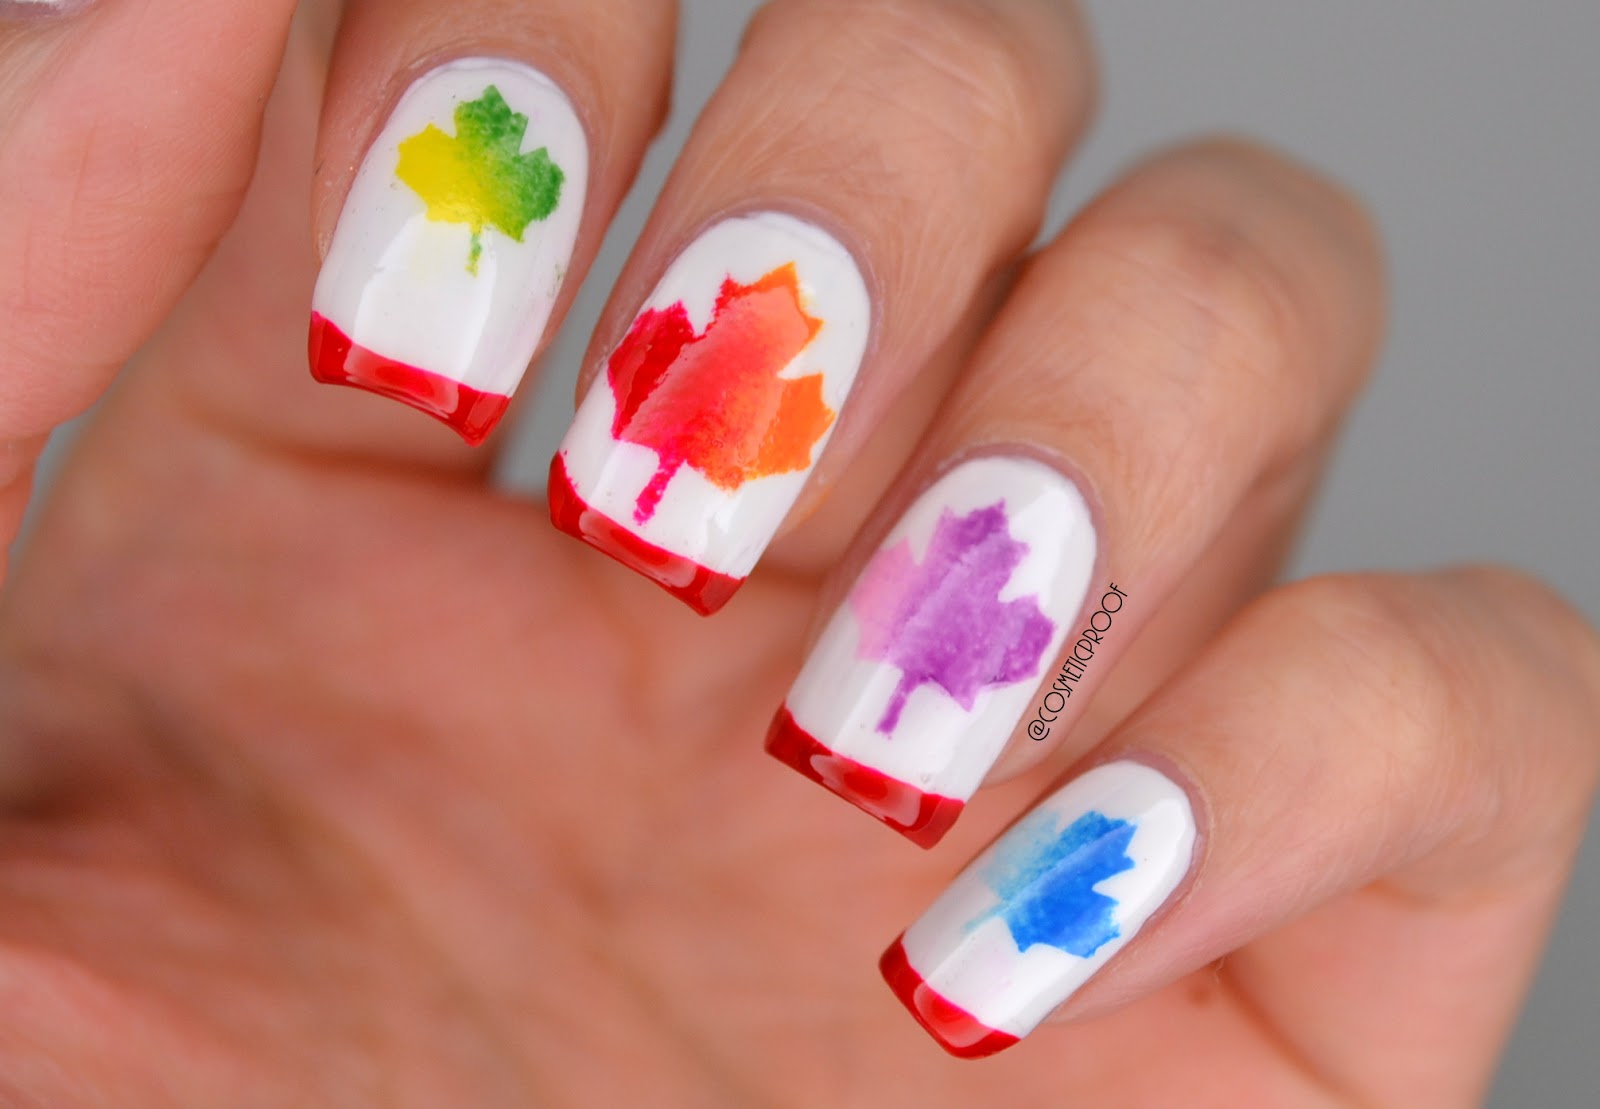
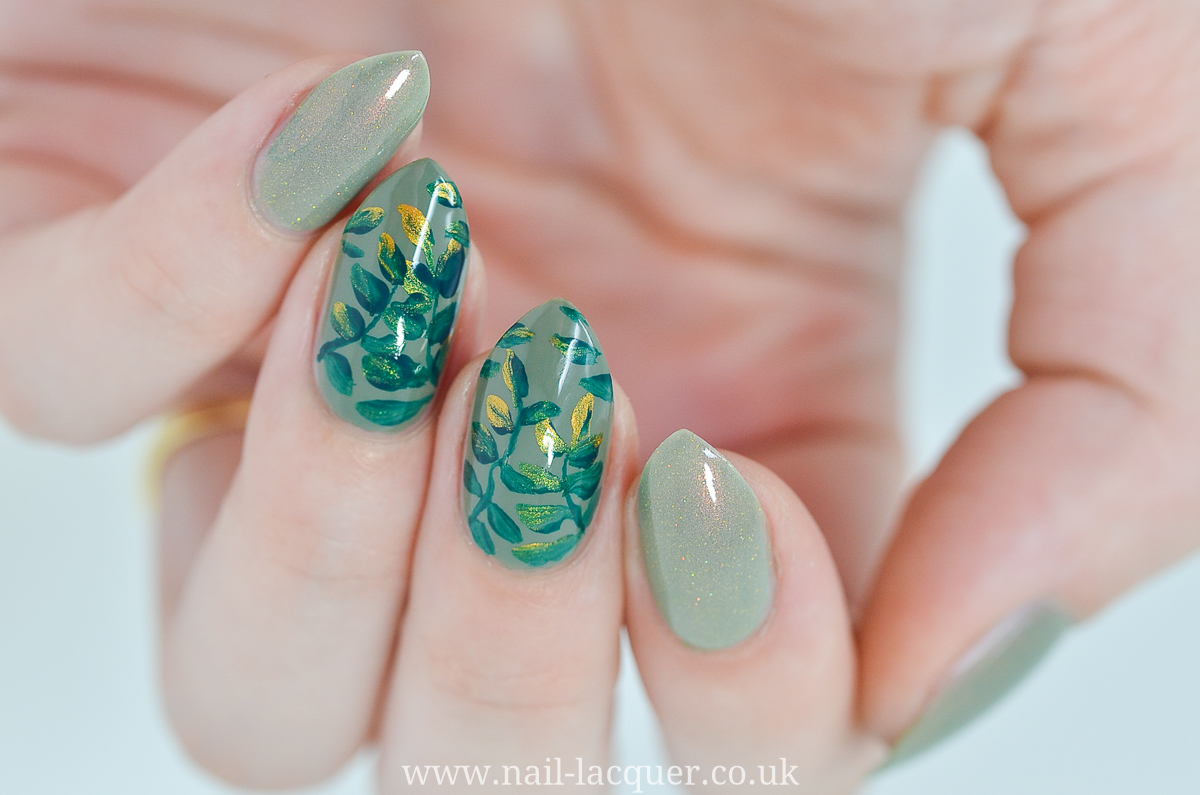
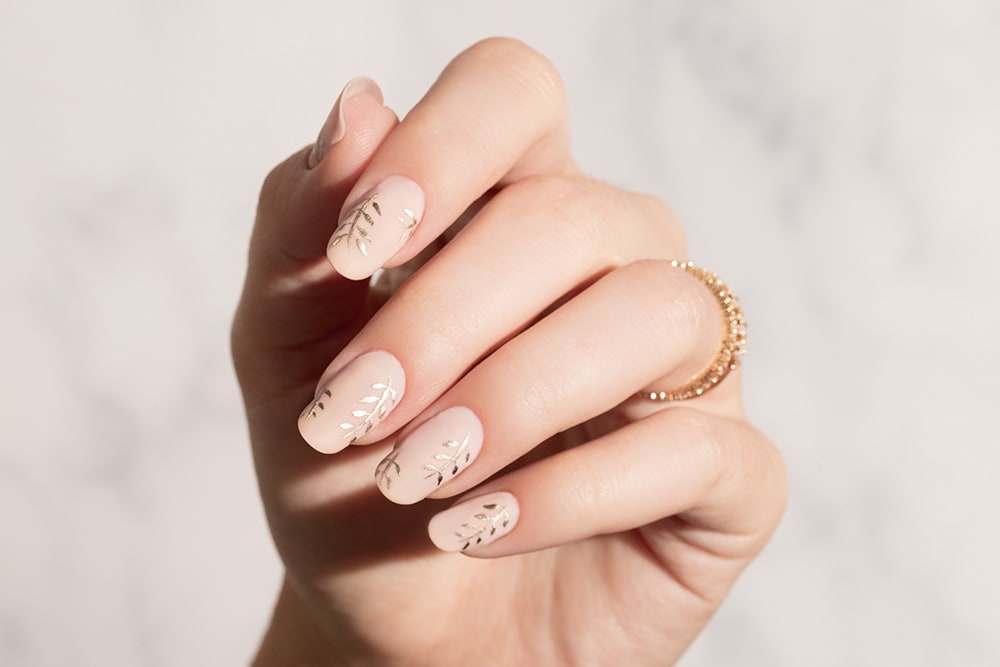
Looking to add a touch of nature to your nails? Look no further than this simple leaf nail art tutorial. With just a few easy steps, you can create a beautiful and unique design that will have everyone asking where you got your nails done. To start, gather your materials. You will need a base coat, a green nail polish, a white nail polish, a black nail polish, a thin nail art brush, and a top coat. Begin by applying your base coat to protect your nails. Then, paint all of your nails with the green polish. Once dry, use the thin nail art brush to create a thin line down the center of each nail with the white polish. This will be the stem of your leaf. Next, use the same brush to create four curved lines coming out from the stem on each nail. These will be the veins of the leaf. You can vary the length and direction of these lines to create a more natural look. Once the white polish is dry, use the thin brush to create smaller black lines following the shape of the white lines. This will add depth and dimension to your leaf design. Finally, finish off with a top coat to seal in your design and add shine. And there you have it - a simple and stunning leaf nail art that will make your nails stand out.1. Simple Leaf Nail Art Tutorial


1. Simple Leaf Nail Art Tutorial

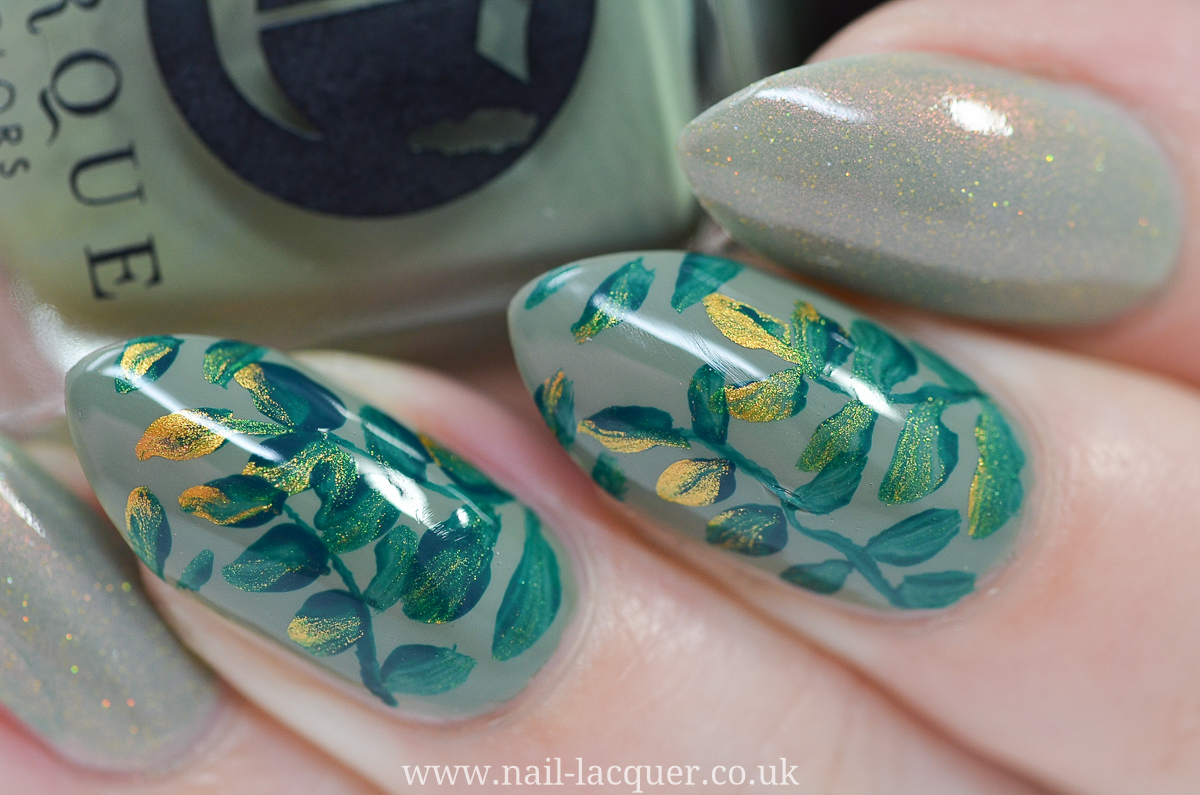
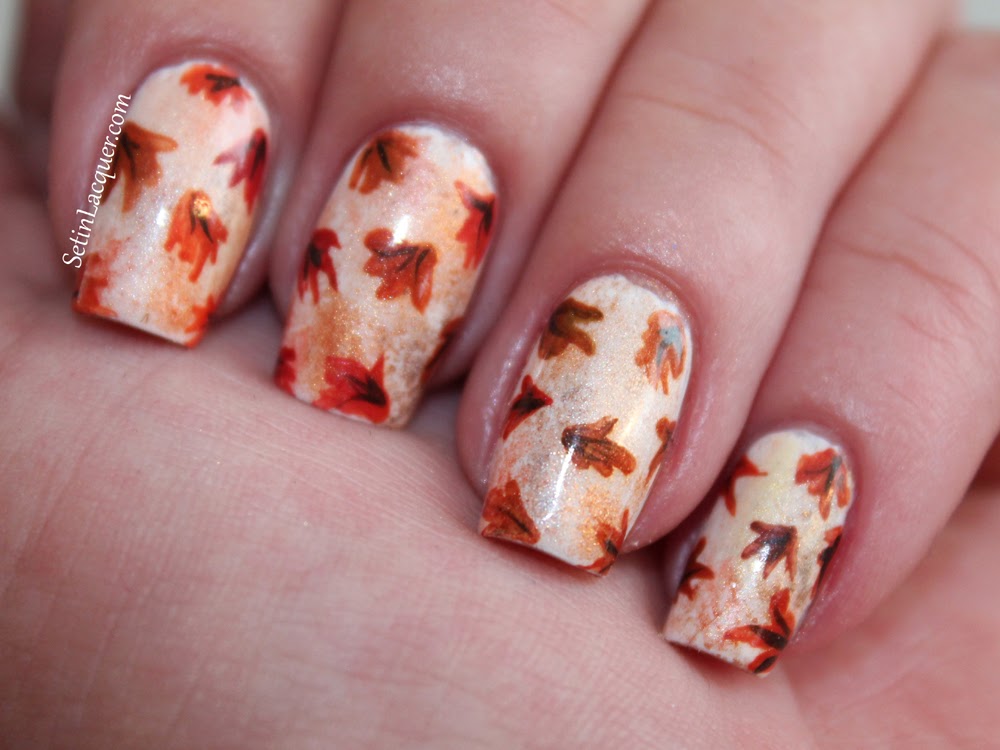
As the leaves start to change colors and fall from the trees, why not bring that beautiful autumn scenery to your nails? This easy fall leaf nail design is perfect for the season and will add a pop of color to your manicure. To recreate this design, you will need a base coat, a burgundy nail polish, a mustard yellow nail polish, a gold glitter nail polish, a leaf-shaped nail stencil, and a top coat. Start by applying your base coat to protect your nails. Then, paint all of your nails with the burgundy polish. Once dry, use the leaf stencil to create the shape of a leaf on each nail using the mustard yellow polish. Next, use the gold glitter polish to add some sparkle to your design. You can either paint the glitter all over the leaf or just add it to the edges for a subtle touch. Once the glitter is dry, carefully remove the stencil to reveal your leaf shape. You can use a toothpick or small brush to clean up any edges if needed. Finish off with a top coat to seal in your design and add shine. This easy fall leaf nail design is perfect for any autumn occasion and will have everyone admiring your nails.2. Easy Fall Leaf Nail Design


2. Easy Fall Leaf Nail Design


Short on time but still want to add some leafy flair to your nails? This quick and easy leaf nail art is perfect for those who want a cute and simple design without spending too much time on it. All you need for this design is a base coat, a light green nail polish, a dark green nail polish, a small leaf-shaped stencil, and a top coat. Start by applying your base coat to protect your nails. Then, paint all of your nails with the light green polish. Once dry, use the stencil to create a leaf shape on each nail using the dark green polish. For a more natural look, you can vary the placement and size of the leaves on each nail. You can also use a toothpick or small brush to add some white dots for a touch of detail. Once your design is complete, finish off with a top coat to seal it in and add shine. This quick and easy leaf nail art is perfect for those busy days when you still want your nails to look on point.3. Quick and Easy Leaf Nail Art


3. Quick and Easy Leaf Nail Art


If you're new to nail art but still want to try your hand at creating a leaf design, this DIY leaf nail art for beginners is the perfect place to start. With just a few simple steps, you can achieve a beautiful and professional-looking design. To begin, gather your materials. You will need a base coat, a light brown nail polish, a dark green nail polish, a small leaf-shaped stencil, a toothpick, and a top coat. Start by applying your base coat to protect your nails. Then, paint all of your nails with the light brown polish. Once dry, use the stencil to create a leaf shape on each nail using the dark green polish. For a more realistic look, use the toothpick to add some tiny white lines to the leaves to represent the veins. You can also add some white dots for a touch of detail. Once your design is complete, finish off with a top coat to seal it in and add shine. This DIY leaf nail art is perfect for beginners and will have you feeling like a pro in no time.4. DIY Leaf Nail Art for Beginners

4. DIY Leaf Nail Art for Beginners

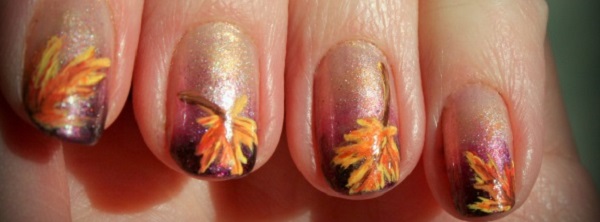
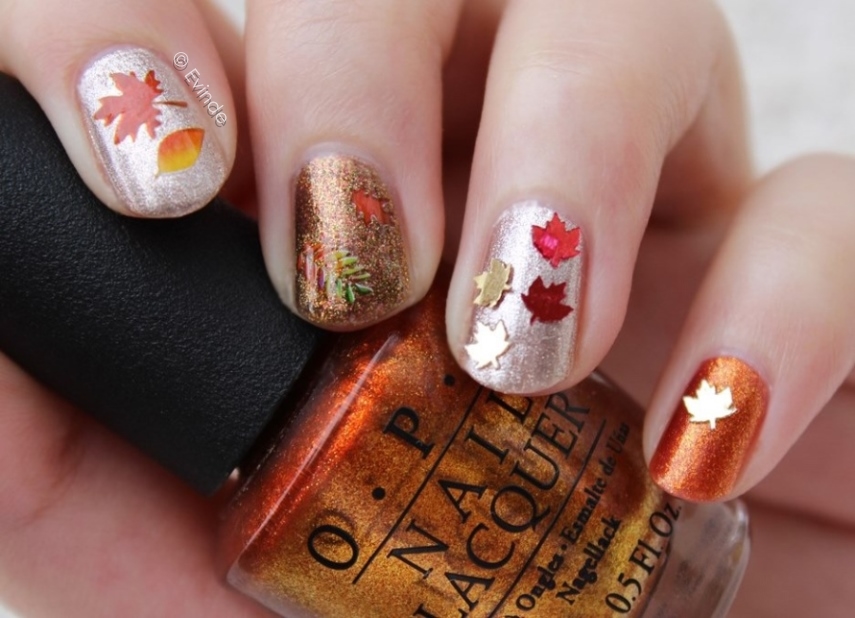
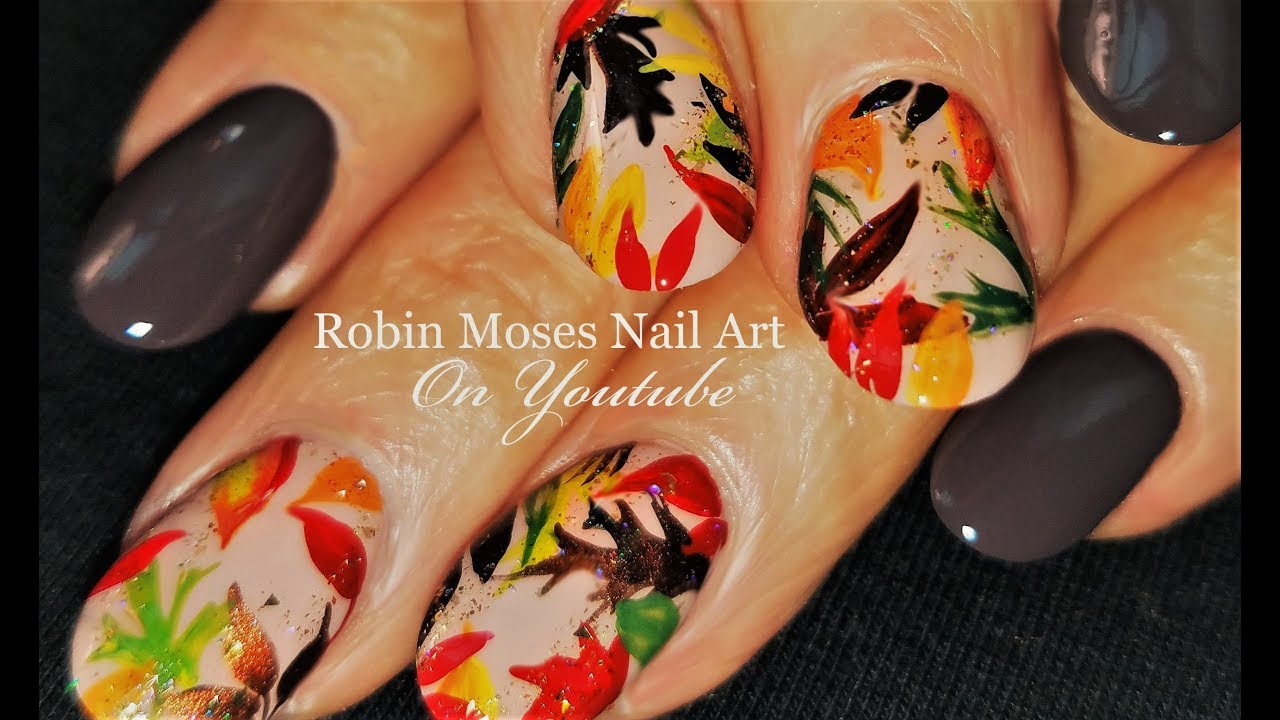
Embrace the beautiful colors of autumn with this easy autumn leaf nail design. With just a few colors and a simple technique, you can create a stunning and vibrant design that will make your nails the talk of the season. To recreate this look, you will need a base coat, a dark brown nail polish, a gold nail polish, a red nail polish, a orange nail polish, a green nail polish, a thin nail art brush, and a top coat. Start by applying your base coat to protect your nails. Then, paint all of your nails with the dark brown polish. Once dry, use the thin nail art brush to create four curved lines coming out from the bottom of each nail with the gold polish. Next, use the same brush to create smaller curved lines with the red, orange, and green polishes. These will represent the different colors of fall leaves. Once the colors are dry, use the thin brush to add some white lines to the gold lines to create dimension. You can also use the brush to create tiny gold dots throughout the design for added detail. Finish off with a top coat to seal in your design and add shine. This easy autumn leaf nail design is perfect for those who want to showcase their love for the season on their nails.5. Easy Autumn Leaf Nail Design


5. Easy Autumn Leaf Nail Design


If you prefer a more detailed tutorial, this step-by-step leaf nail art tutorial is for you. With clear instructions and photos, you can easily recreate this beautiful leaf design on your own nails. For this tutorial, you will need a base coat, a white nail polish, a light green nail polish, a dark green nail polish, a small leaf-shaped stencil, a toothpick, and a top coat. Start by applying your base coat to protect your nails. Then, paint all of your nails with the white polish. Once dry, use the stencil to create a leaf shape on each nail using the light green polish. Next, use the toothpick to create tiny white lines on the leaves to represent the veins. You can also add some white dots for added detail. Once the white details are dry, use the stencil again to create a smaller leaf shape on top of the light green leaf using the dark green polish. Finally, finish off with a top coat to seal in your design and add shine. This step-by-step leaf nail art tutorial is perfect for those who want a more intricate design on their nails.6. Step-by-Step Leaf Nail Art Tutorial


6. Step-by-Step Leaf Nail Art Tutorial

This cute and easy leaf nail design is perfect for those who want a fun and playful look on their nails. With bright colors and a simple technique, you can create a design that is both adorable and stylish. To recreate this design, you will need a base coat, a light blue nail polish, a light green nail polish, a dark green nail polish, a small leaf-shaped stencil, a toothpick, and a top coat. Start by applying your base coat to protect your nails. Then, paint all of your nails with the light blue polish. Once dry, use the stencil to create a leaf shape on each nail using the light green polish. Next, use the toothpick to create tiny white lines on the leaves to represent the veins. You can also add some white dots for added detail. Once the white details are dry, use the stencil again to create a smaller leaf shape on top of the light green leaf using the dark green polish. Finish off with a top coat to seal in your design and add shine. This cute and easy leaf nail design is perfect for those who want to add a touch of fun to their manicure.7. Cute and Easy Leaf Nail Design

7. Cute and Easy Leaf Nail Design

Don't have long nails but still want to try out a leaf design? This minimalist leaf nail art for short nails is the perfect solution. With just a few simple steps, you can create a chic and elegant design that is perfect for any occasion. All you need for this design is a base coat, a light pink nail polish, a dark green nail polish, a small leaf-shaped stencil, and a top coat. Start by applying your base coat to protect your nails. Then, paint all of your nails with the light pink polish. Once dry, use the stencil to create a leaf shape on each nail using the dark green polish. For a more natural look, use the stencil to create the leaf shape in different directions on each nail. This will give the appearance of falling leaves on your nails. Finish off with a top coat to seal in your design and add shine. This minimalist leaf nail art is perfect for those with short nails who still want to rock a fun and stylish design.8. Minimalist Leaf Nail Art for Short Nails


8. Minimalist Leaf Nail Art for Short Nails

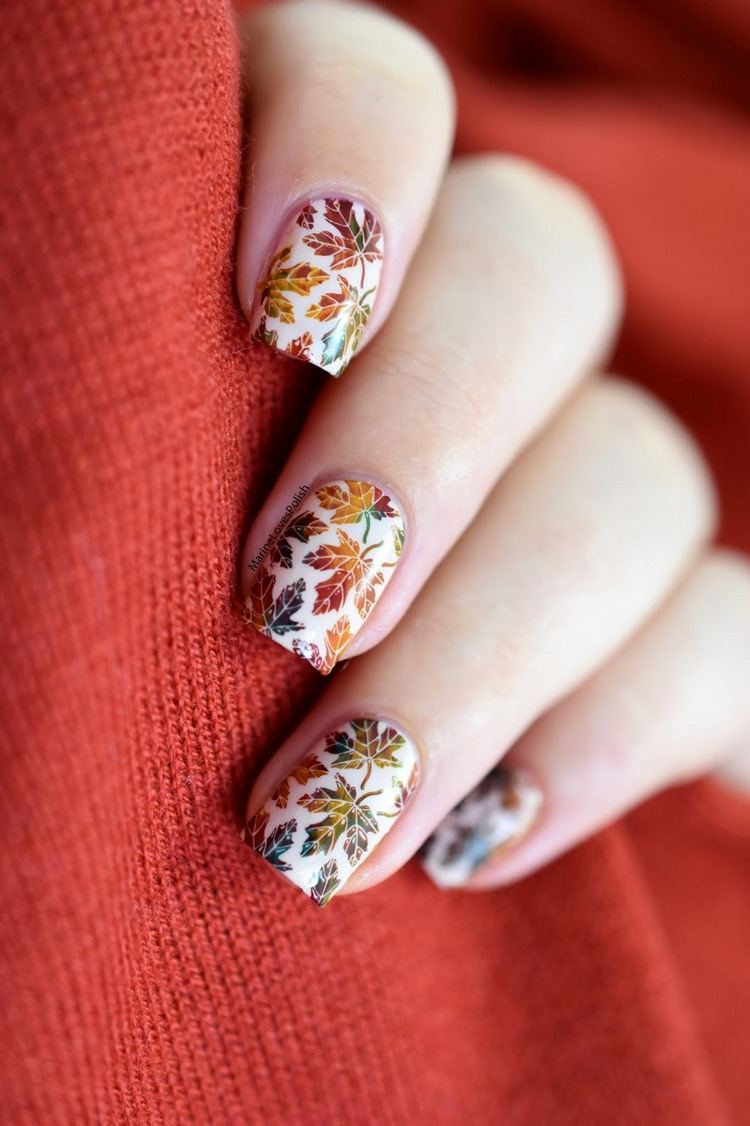
If you love using nail stamps to create designs, this easy leaf stamping nail art is perfect for you. With just a few tools and a simple technique, you can have a beautiful leaf design on your nails in no time. To recreate this look, you will need a base coat, a dark green nail polish, a light green nail polish, a leaf-shaped nail stamp, a stamping plate, a scraper, and a top coat. Start by applying your base coat to protect your nails. Then, paint all of your nails with the dark green polish. Once dry, use the light green polish to paint a thin layer on the leaf-shaped stamp on the stamping plate. Use the scraper to remove any excess polish, then quickly press the stamp onto your nail to transfer the design. You may need to practice a few times to get the hang of it, but once you do, it's a quick and easy process. Repeat this step on all of your nails, using different leaves and angles for a more natural look. Finish off with a top coat to seal in your design and add shine. This easy leaf stamping nail art is perfect for those who want a professional-looking design without any freehand work.9. Easy Leaf Stamping Nail Art

9. Easy Leaf Stamping Nail Art

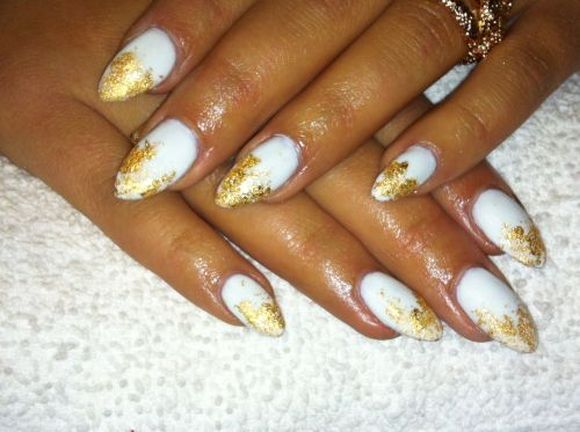
If you want to add a touch of glamour to your nails, this elegant gold leaf nail design is the way to go. With a combination of metallic accents and delicate leaf details, you can create a chic and sophisticated look that is perfect for any special occasion. To recreate this design, you will need a base coat, a light pink nail polish, a gold glitter nail polish, a small leaf-shaped stencil, a toothpick, and a top coat. Start by applying your base coat to protect your nails. Then, paint all of your nails with the light pink polish. Once dry, use the stencil to create a leaf shape on each nail using the gold glitter polish. For a more delicate look, use the toothpick to add tiny white dots around the edges of the gold leaves. This will give the appearance of veins in the leaves. Finish off with a top coat to seal in your design and add shine. This elegant gold leaf nail design is perfect for those who want to add a touch of sparkle and sophistication to their manicure.10. Elegant Gold Leaf Nail Design

10. Elegant Gold Leaf Nail Design


Add a Touch of Nature to Your Nails with Easy Leaf Nail Art
Transform Your Nails into a Stunning Garden
 Looking for a way to add a pop of nature to your nails? Look no further than easy leaf nail art! This trendy nail design is perfect for anyone who loves plants and flowers. Not only is it beautiful, but it's also easy to create at home.
Leaf nail art
is a great way to showcase your creativity and style, while also embracing the beauty of nature.
Looking for a way to add a pop of nature to your nails? Look no further than easy leaf nail art! This trendy nail design is perfect for anyone who loves plants and flowers. Not only is it beautiful, but it's also easy to create at home.
Leaf nail art
is a great way to showcase your creativity and style, while also embracing the beauty of nature.
Simple Steps to Achieve Leaf Nail Art
 Creating
leaf nail art
is surprisingly simple and only requires a few basic tools. First, gather your supplies: a base coat, top coat, green nail polish, a small brush, and a
leaf nail art
stencil or stamp. Start by applying a base coat to protect your nails and help the polish last longer. Next, paint your nails with a
green nail polish
of your choice. You can use a solid color or mix and match different shades for a more colorful look.
Creating
leaf nail art
is surprisingly simple and only requires a few basic tools. First, gather your supplies: a base coat, top coat, green nail polish, a small brush, and a
leaf nail art
stencil or stamp. Start by applying a base coat to protect your nails and help the polish last longer. Next, paint your nails with a
green nail polish
of your choice. You can use a solid color or mix and match different shades for a more colorful look.
Get Creative with Your Design
 Once your base coat is dry, it's time to add the leaves. You can either use a stencil or a stamp to create the
leaf design
on your nails. If using a stencil, simply place it on your nail and use a small brush to fill in the design with a darker or lighter shade of green. If using a stamp, apply a thin layer of polish on the stamp and press it onto your nail to transfer the design. You can also add other details like flowers or butterflies to complete the garden-inspired look.
Once your base coat is dry, it's time to add the leaves. You can either use a stencil or a stamp to create the
leaf design
on your nails. If using a stencil, simply place it on your nail and use a small brush to fill in the design with a darker or lighter shade of green. If using a stamp, apply a thin layer of polish on the stamp and press it onto your nail to transfer the design. You can also add other details like flowers or butterflies to complete the garden-inspired look.
Seal the Deal with a Top Coat
 After creating your
leaf nail art
, let it dry completely before applying a top coat. This will help seal in the design and give your nails a shiny finish. The top coat will also help your nail art last longer, so you can enjoy your stunning garden nails for days to come.
After creating your
leaf nail art
, let it dry completely before applying a top coat. This will help seal in the design and give your nails a shiny finish. The top coat will also help your nail art last longer, so you can enjoy your stunning garden nails for days to come.
Embrace the Beauty of Nature with Easy Leaf Nail Art
 In just a few simple steps, you can transform your nails into a beautiful garden with
easy leaf nail art
. This trendy and
professional
design is perfect for any occasion and will showcase your love for nature. So why not give it a try and add a touch of nature to your next manicure?
In just a few simple steps, you can transform your nails into a beautiful garden with
easy leaf nail art
. This trendy and
professional
design is perfect for any occasion and will showcase your love for nature. So why not give it a try and add a touch of nature to your next manicure?


