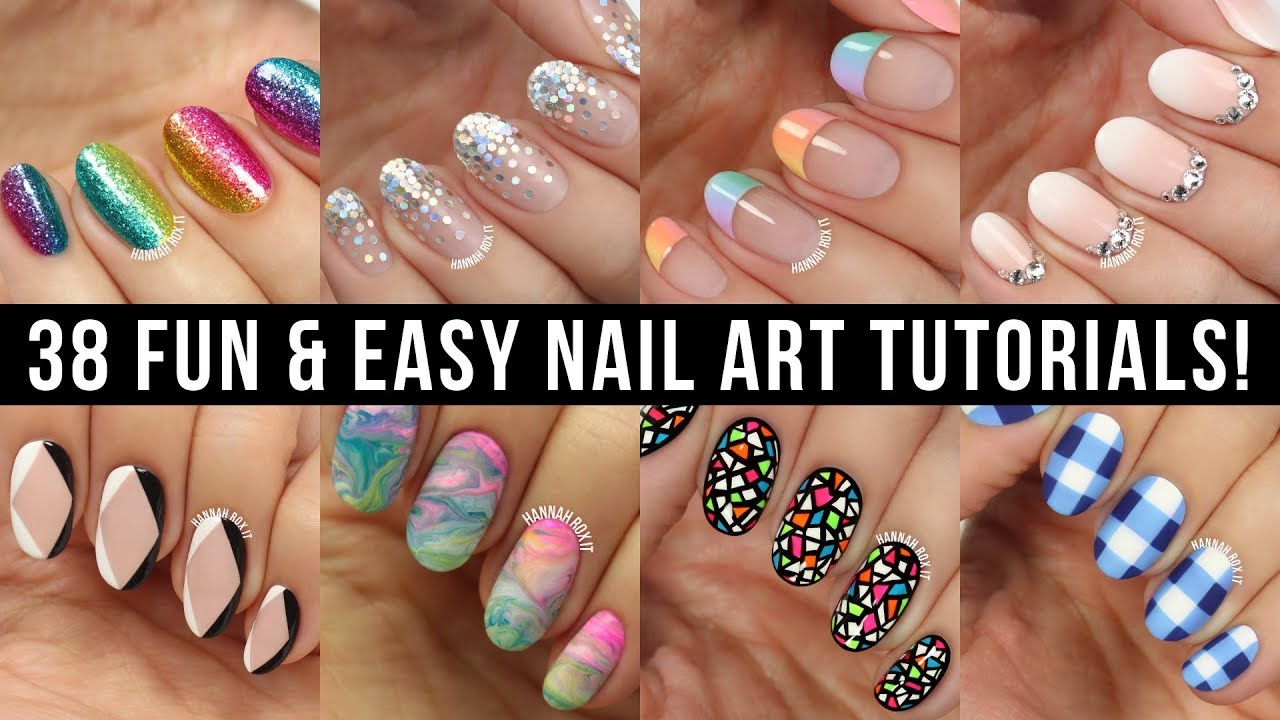
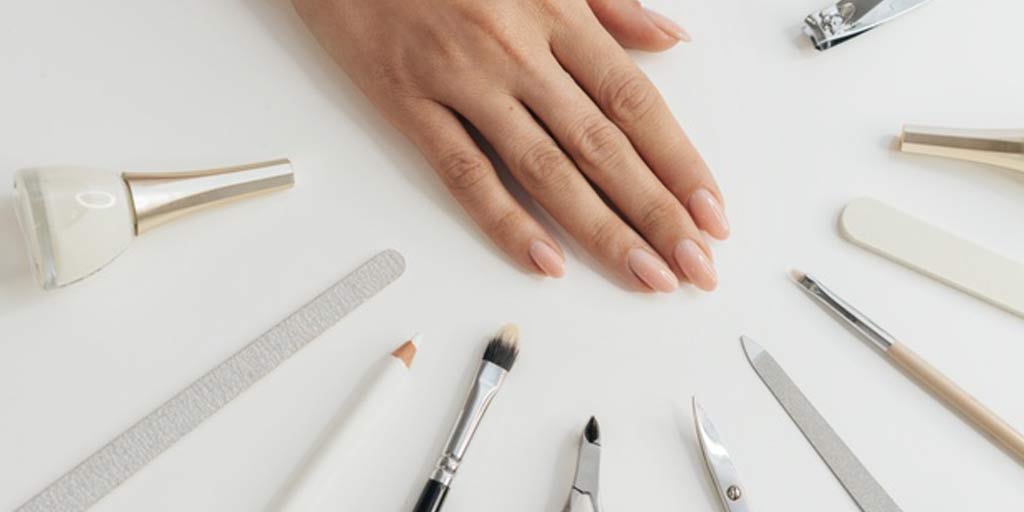
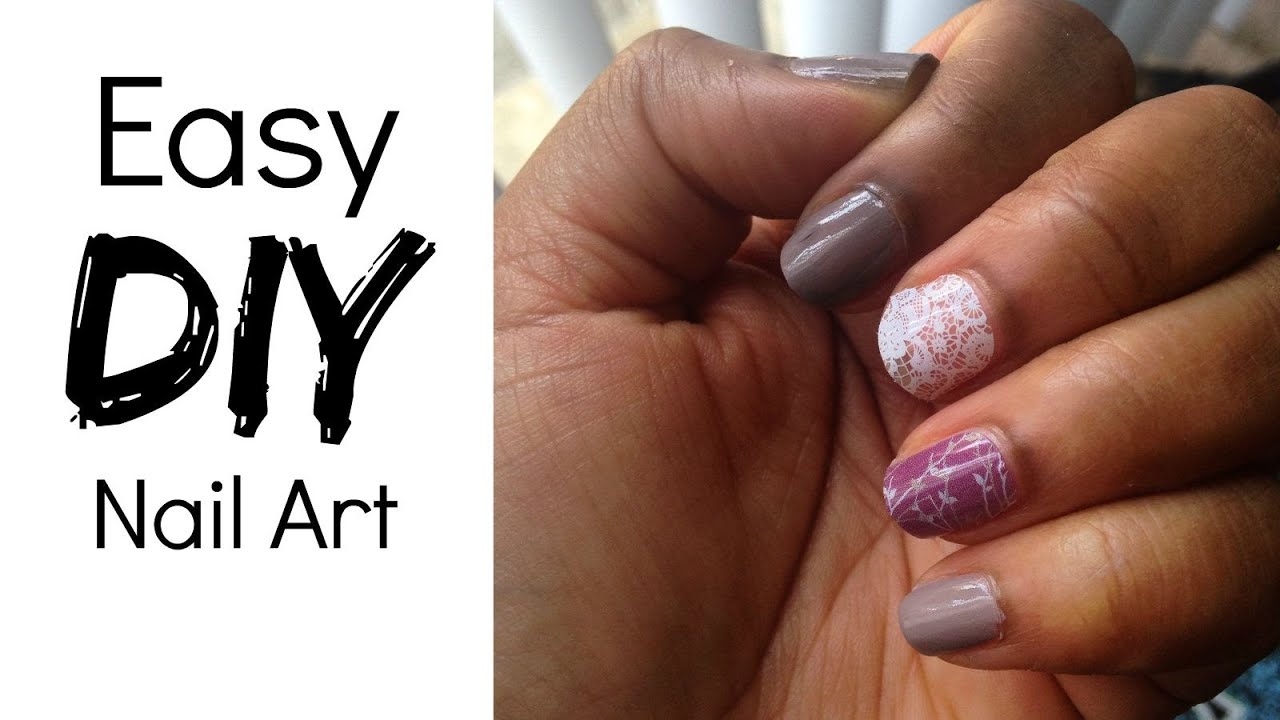
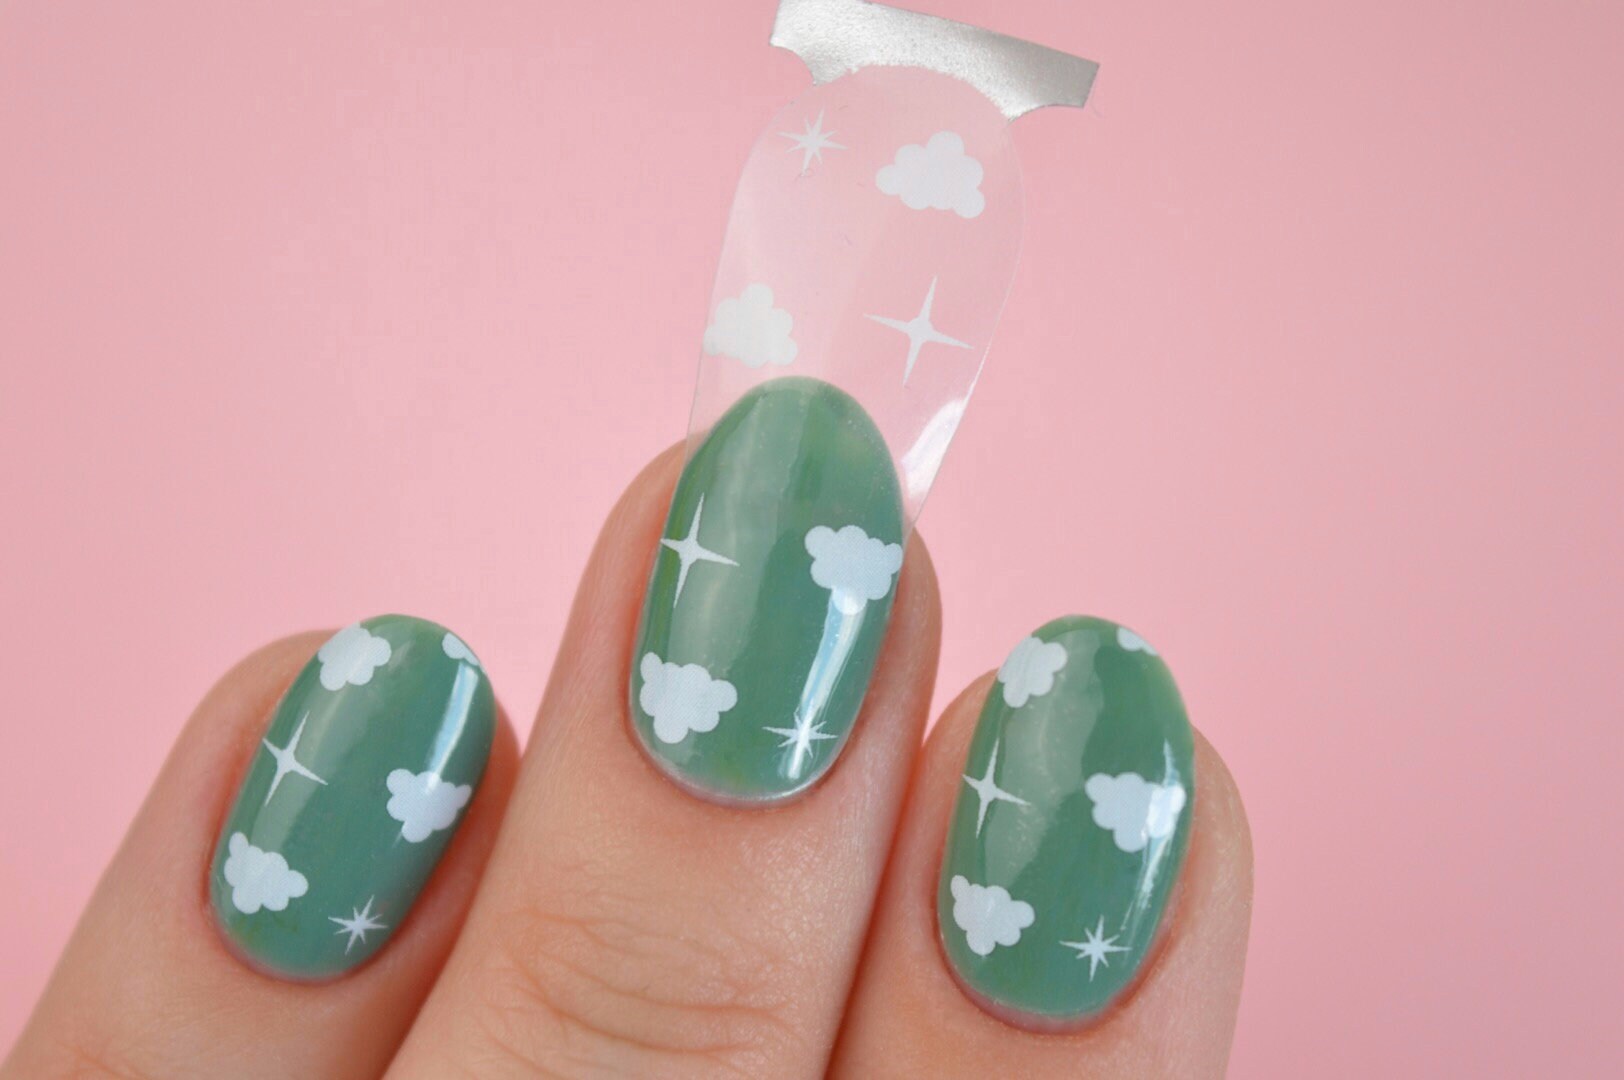
If you're new to the world of nail art, it may seem overwhelming to see all the amazing designs and intricate details that nail artists create. But don't worry, with the right accessories, you can achieve those same stunning looks right at home. Here are the must-have accessories for beginners to get started on their nail art journey. Nail art brushes are essential for creating precise and intricate designs. Look for a set that includes a variety of brush sizes to give you more options for different designs. Dotting tools are also a must-have, as they are perfect for creating small dots and other details on your nails. Another essential accessory is nail striping tape. This thin, adhesive tape is perfect for creating clean and straight lines on your nails. It can also be used to create geometric designs or as a guideline for other designs. If you love adding glitter to your nail art, then you need glitter brushes in your collection. These brushes are designed specifically for applying glitter onto your nails without making a mess. They have a flat and wide shape that helps to evenly distribute the glitter onto your nails. Nail studs and rhinestones are great for adding a touch of bling to your nail art. They come in a variety of colors and shapes, allowing you to get creative with your designs. Use a pair of tweezers to place them onto your nails, and seal them in with a top coat for long-lasting wear.1. Nail Art Tutorial: Must-Have Accessories for Beginners


1. Nail Art Tutorial: Must-Have Accessories for Beginners


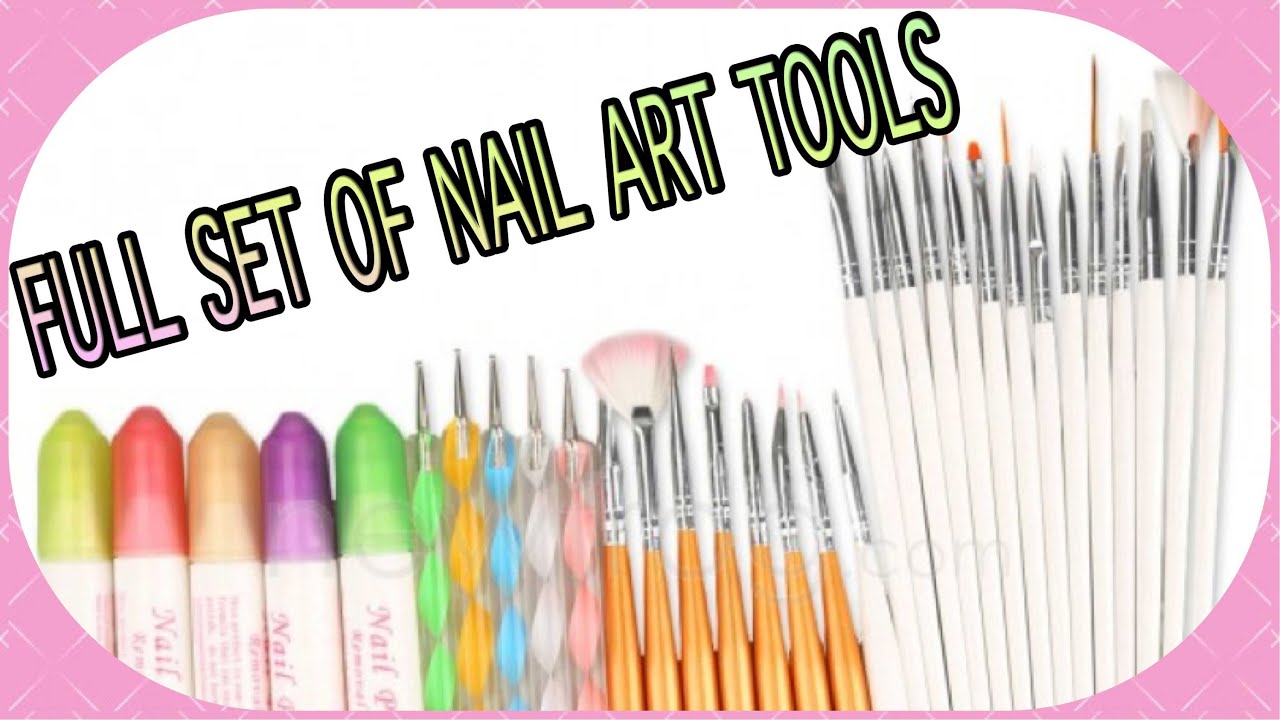
Now that you have the basics covered, let's dive into some other essential tools and accessories that every nail art enthusiast needs in their collection. Nail polish corrector pen is a game-changer when it comes to fixing mistakes. Instead of having to remove all your polish and start over, you can use this pen to quickly and easily fix any smudges or mistakes. It's a must-have for clean and precise nail art. You can never have too many nail polishes in your collection. Make sure to have a variety of colors, finishes, and formulas to create endless possibilities for your nail art designs. Don't be afraid to mix and match different colors and textures to create unique looks. Nail art stencils are perfect for creating intricate designs without having to freehand them. They come in various patterns and designs, and all you have to do is place them on your nail and fill them in with polish. Easy and impressive nail art in minutes! Nail art water decals are another way to achieve intricate designs without having to spend a lot of time and effort. These decals can be soaked in water and then applied to your nails, giving you a professional-looking design in no time. A fan brush is a great tool for creating gradient or ombre effects on your nails. It's also perfect for creating delicate and wispy designs. You can also use it to clean up any excess polish around your cuticles. Nail polish thinner is a lifesaver when your favorite polish starts to thicken or become clumpy. Just a few drops of this solution will restore your polish to its original consistency, making it easier to apply and prolonging its lifespan. If you want to take your nail art to the next level, consider investing in a UV/LED lamp. This will allow you to use gel polishes, which have a longer-lasting formula and give you more time to create intricate designs before curing them under the lamp. Finally, make sure to have a good quality top coat and base coat in your collection. These are essential for protecting your nails and your nail art, as well as giving your designs a smooth and glossy finish.2. 10 Essential Nail Art Tools and Accessories


2. 10 Essential Nail Art Tools and Accessories


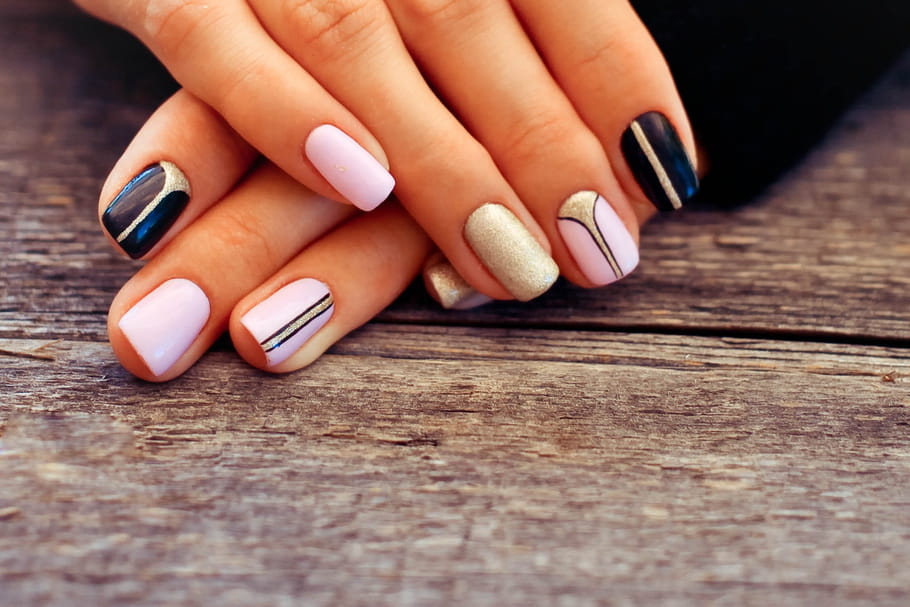
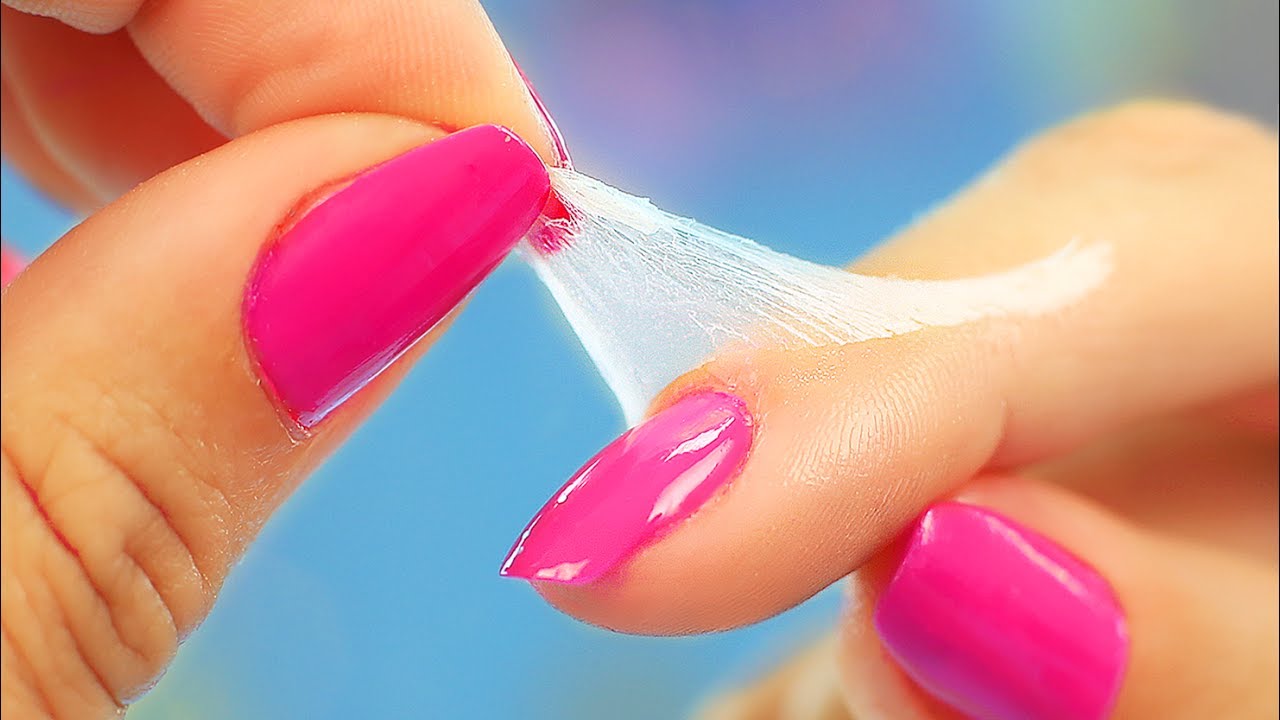
If you're feeling creative and want to add a personal touch to your nail art, why not try making your own accessories? It's a fun and budget-friendly way to add unique elements to your designs. Nail polish jewelry is a popular trend in the nail art world. You can create your own by pouring colored polish into a silicone mold and letting it dry. Once hardened, you can pop out the shapes and use them as charms or decorations on your nails. Nail polish rings are another fun DIY accessory. All you need is a plain ring, some clear nail polish, and your choice of glitter or other decorations. Paint the polish onto the ring, add the glitter, and seal it with another layer of clear polish. You'll have a unique and eye-catching accessory to wear with your nail art. For a more unique and personalized touch, you can also create nail polish decals. Simply paint your design onto a plastic bag or sheet, let it dry, and then peel it off and apply it to your nails. This method allows you to create intricate designs with ease and can be stored and reused for future nail art looks. Don't be afraid to get creative and experiment with different materials and techniques to create your own unique nail art accessories.3. DIY Nail Art: How to Make Your Own Accessories

3. DIY Nail Art: How to Make Your Own Accessories


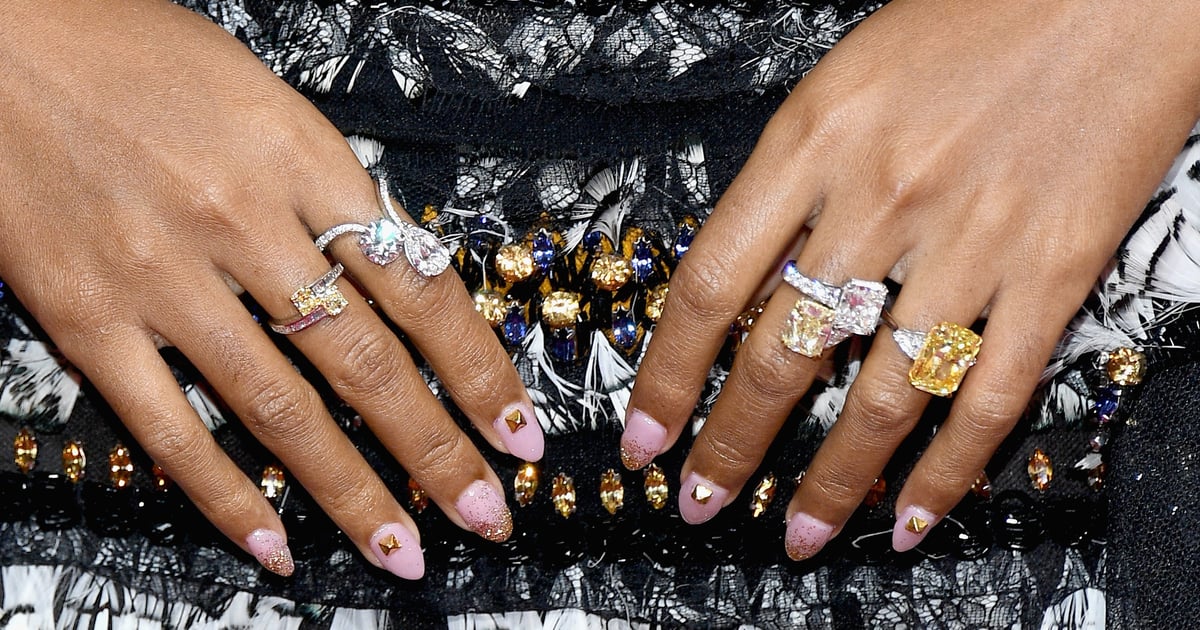
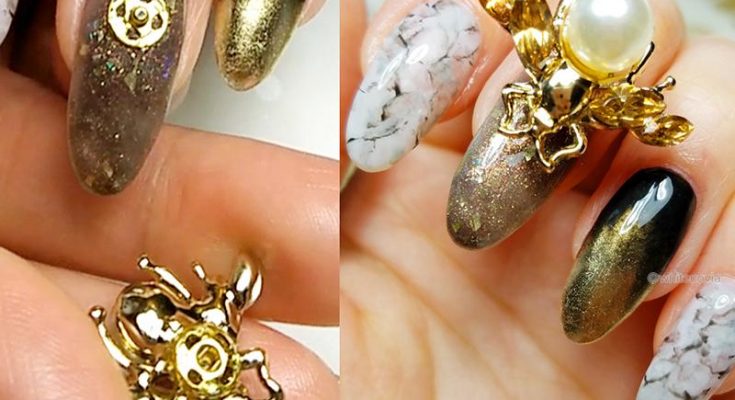
With so many accessories available, it can be challenging to know which ones are essential for your collection. Here are our top five must-have nail art accessories that you need in your collection. Nail art mat is a game-changer when it comes to creating and practicing nail art. It's a silicone mat with various sized circles and shapes that act as a guide for your designs. It's also perfect for practicing different techniques and cleaning up any messy polish. Nail art tweezer is a handy tool for picking up and placing small decorations onto your nails. It's also great for cleaning up any excess polish or fixing mistakes. Nail art foil adds a touch of glam and shine to your nail art. You can use it to create accent nails or cover your entire nail. Just apply a layer of foil adhesive and press the foil on top for a dazzling effect. A silicone tool is perfect for creating 3D designs or adding texture to your nail art. You can use it to create tiny bows, flowers, or other shapes, giving your nails a unique and eye-catching look. Finally, rhinestone picker is a must-have for anyone who loves adding gems and jewels to their nail art. This tool has a wax tip that allows you to easily pick up and place rhinestones onto your nails without any mess or fuss.4. Top 5 Nail Art Accessories You Need in Your Collection


4. Top 5 Nail Art Accessories You Need in Your Collection


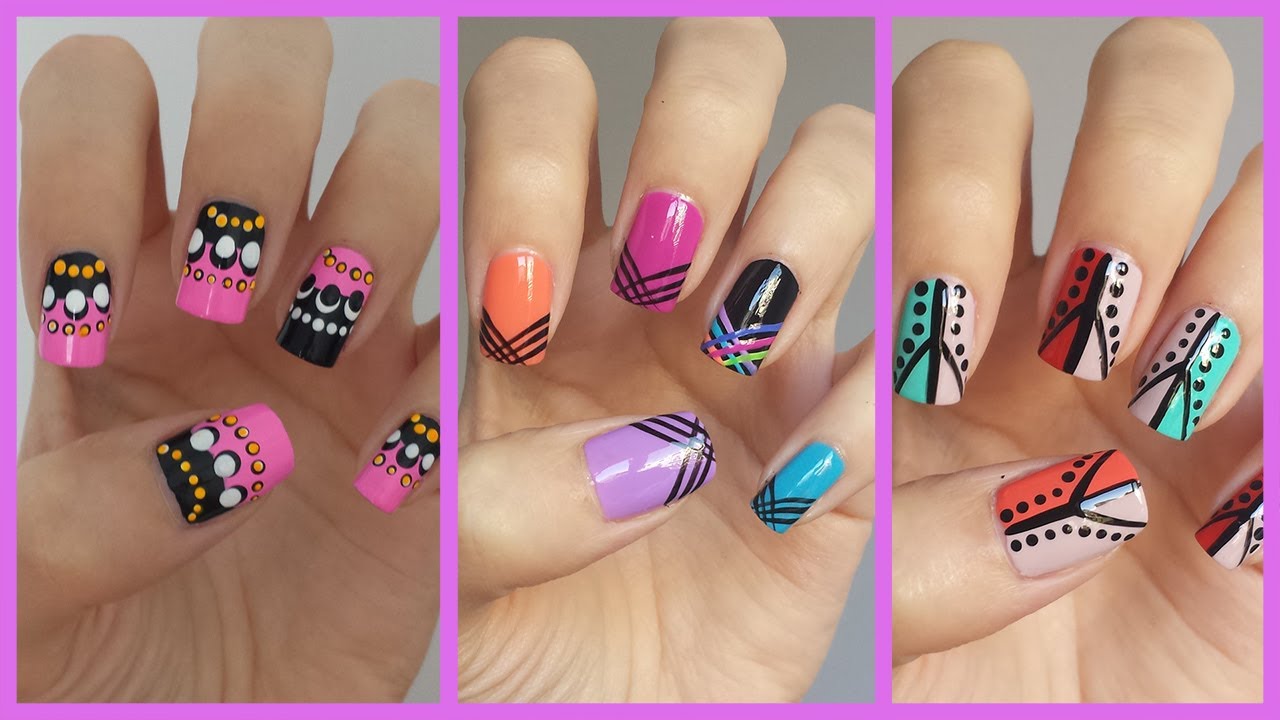
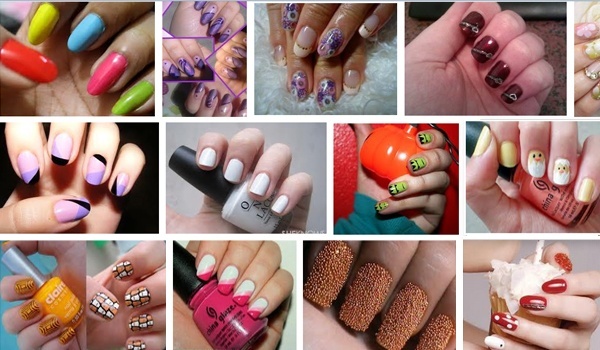
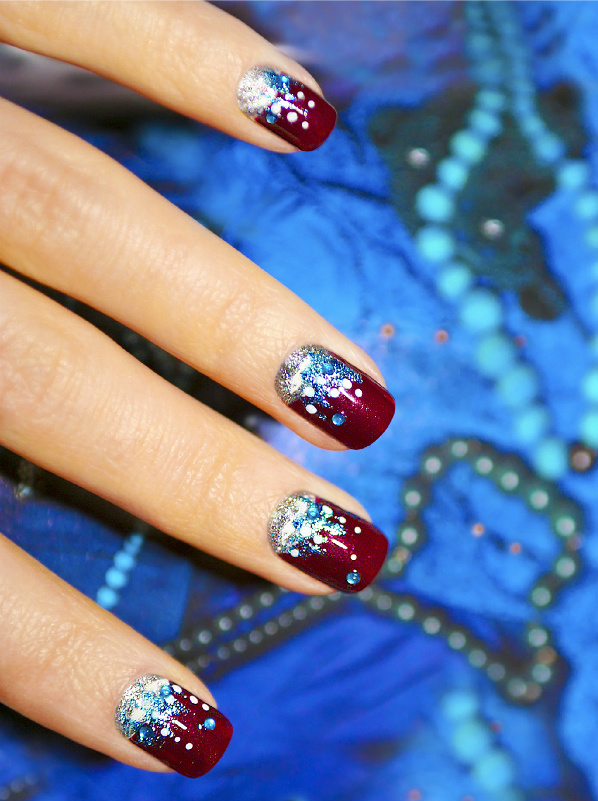
Now that you have all the essential accessories, let's put them to use and create some stunning nail art designs. Here's a simple tutorial for using accessories to create a unique and eye-catching look. Step 1: Start by applying a base coat to your nails to protect them and create a smooth surface for your design. Step 2: Paint your nails with your desired base color and let it dry completely. Step 3: Using nail striping tape, create a geometric design on your nail, leaving some areas of the base color visible. Step 4: Fill in the exposed areas with a different color, creating a bold and modern look. Step 5: Once the polish is dry, carefully peel off the striping tape to reveal the clean lines. Step 6: Using a dotting tool, add small dots of a third color onto the design for a pop of color. Step 7: Apply a top coat to seal and protect your design. There you have it, an easy and unique nail art design using a few simple accessories.5. Nail Art Tutorial: Using Accessories to Create Unique Designs


5. Nail Art Tutorial: Using Accessories to Create Unique Designs


With so many nail art accessories available, it's easy to get overwhelmed and not know where to start. But don't worry, here's the ultimate guide to help you navigate the world of nail art accessories. Brushes: Nail art brushes are essential for creating precise and intricate designs. Dotting tools: Perfect for creating small dots and details on your nails. Nail striping tape: Ideal for creating clean and straight lines on your nails. Glitter brushes: Specifically designed for applying glitter onto your nails. Nail studs and rhinestones: Great for adding a touch of bling to your nail art. Nail polish corrector pen: A handy tool for fixing mistakes without having to start over. Nail polishes: A variety of colors, finishes, and formulas to create endless possibilities. Nail art stencils: Perfect for creating intricate designs without having to freehand them. Nail art water decals: A quick and easy way to achieve professional-looking designs. Fan brush: Ideal for creating gradient or ombre effects, as well as delicate designs. Nail polish thinner: Restores thick and clumpy polish to its original consistency. UV/LED lamp: Allows you to use gel polishes for longer-lasting designs. Top coat and base coat: Essential for protecting your nails and giving your designs a smooth and glossy finish. Nail art mat: A silicone mat with various shapes and guides for creating and practicing nail art. Nail art tweezer: Perfect for picking up and placing small decorations onto your nails. Nail art foil: Adds a touch of glam and shine to your nail art. Silicone tool: Ideal for creating 3D designs and adding texture to your nail art. Rhinestone picker: A must-have for anyone who loves adding gems and jewels to their nail art.6. The Ultimate Guide to Nail Art Accessories


6. The Ultimate Guide to Nail Art Accessories

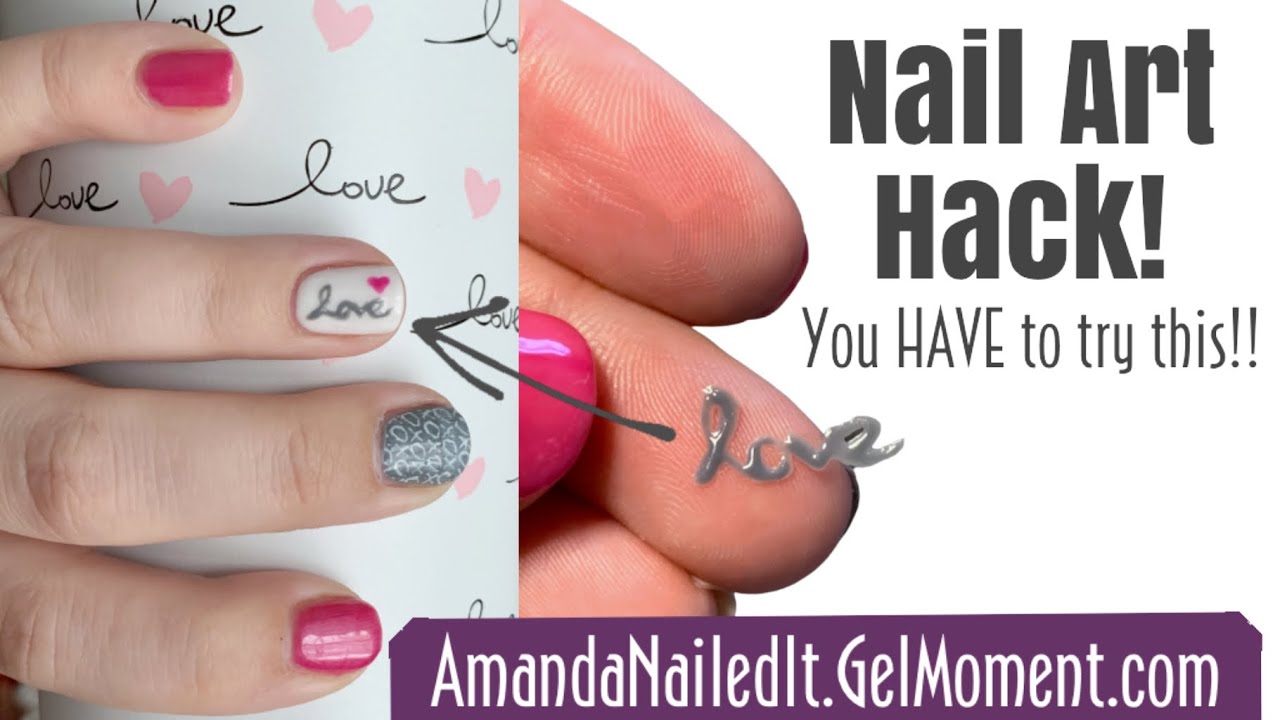
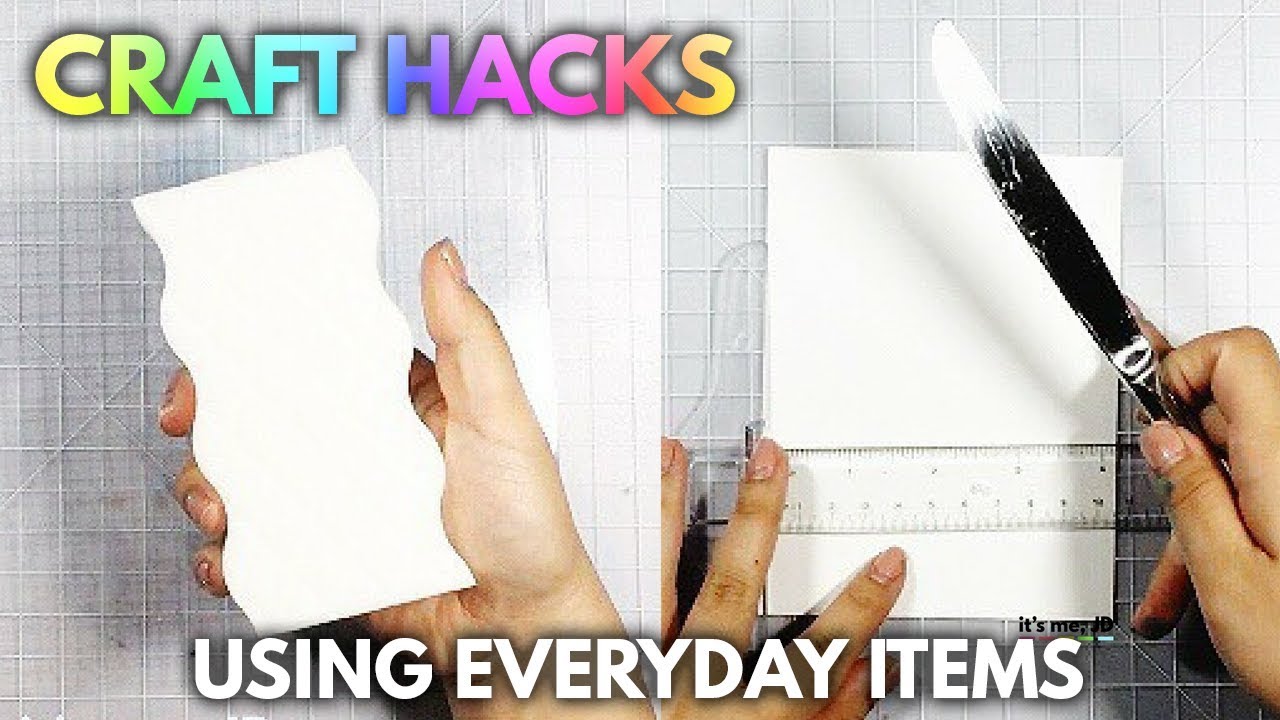
Who says you need to spend a lot of money on fancy accessories for your nail art? You can find many everyday items around your house that can be used as nail art tools and accessories. Q-tips: Perfect for creating small dots and details on your nails. Makeup sponges: Ideal for creating gradient or ombre effects on your nails. Scotch tape: Can be used as a substitute for nail striping tape to create clean lines. Small paintbrush: Can be used as a dotting tool or for creating small details on your nails. Cotton swabs: Great for cleaning up any smudges or mistakes around your cuticles. Hair pins: Can be used as a dotting tool or for creating small details on your nails. Toothpicks: Perfect for creating small dots and details on your nails. Plastic bag: Can be used to create nail polish decals to use as designs on your nails. Bobby pins: Can be used as a dotting tool or for creating small details on your nails. Get creative and see what other items you can find around your house that can be used for your nail art.7. Nail Art Hacks: Using Everyday Items as Accessories


7. Nail Art Hacks: Using Everyday Items as Accessories


With a growing collection of nail art accessories, it's essential to have a system for storing and organizing them to make your nail art process more efficient. Here are some tips for keeping your accessories neat and tidy. Separate by type: Store your brushes, dotting tools, and other small accessories in separate containers or compartments to make them easier to find. Label your containers: Use labels or markers to identify which container holds which type of accessory. Use a storage box: A clear storage box with multiple compartments is perfect for storing all your nail art accessories in one place. Keep nail polish and accessories separate: To prevent your nail polish from getting damaged, make sure to store it separately from your accessories. Hang your tools: You can use a pegboard or magnetic board to hang your brushes, dotting tools, and other tools for easy access. Use a nail polish rack: If you have a large collection of nail polish, invest in a nail polish rack to keep them organized and easily visible. Rotate your collection: If you have limited space, consider rotating your accessories and tools, keeping only the ones you use frequently in your storage area.8. How to Store and Organize Your Nail Art Accessories

8. How to Store and Organize Your Nail Art Accessories


If you want to take your nail art to the next level, try creating 3D designs using accessories. Here's a simple tutorial for creating a 3D floral design. Step 1: Start by applying a base coat to your nails to protect them and create a smooth surface for your design. Step 2: Paint your nails with a light color and let it dry completely. Step 3: Using a silicone tool, create small dots in different sizes and colors onto your nails to resemble flower petals. Step 4: Once the dots are dry, use a toothpick to create small lines in the center of each dot to create a more defined petal shape. Step 5: Using a clear polish, secure a small rhinestone in the center of each flower.9. Nail Art Tutorial: Using Accessories to Create 3D Designs


9. Nail Art Tutorial: Using Accessories to Create 3D Designs
Create Beautiful Nails with Accessoire Nail Art Tuto

Unleash Your Creativity with Accessoire Nail Art Tuto
 Are you tired of your plain and boring nail colors? Do you want to add some fun and flair to your nails? Look no further because Accessoire Nail Art Tuto has got you covered! This innovative and creative nail art tool will take your nail game to the next level. With Accessoire Nail Art Tuto, you can create unique and eye-catching nail designs in the comfort of your own home.
Accessoire Nail Art Tuto
is a comprehensive kit that includes everything you need to create stunning nail art designs. From
nail stencils
to
nail polish
in a variety of colors, this kit has it all. You can choose from a wide range of designs and patterns or let your imagination run wild and create your own. The possibilities are endless with Accessoire Nail Art Tuto.
Are you tired of your plain and boring nail colors? Do you want to add some fun and flair to your nails? Look no further because Accessoire Nail Art Tuto has got you covered! This innovative and creative nail art tool will take your nail game to the next level. With Accessoire Nail Art Tuto, you can create unique and eye-catching nail designs in the comfort of your own home.
Accessoire Nail Art Tuto
is a comprehensive kit that includes everything you need to create stunning nail art designs. From
nail stencils
to
nail polish
in a variety of colors, this kit has it all. You can choose from a wide range of designs and patterns or let your imagination run wild and create your own. The possibilities are endless with Accessoire Nail Art Tuto.
The Perfect Addition to Your Nail Collection
 Whether you're a professional nail artist or a DIY enthusiast, Accessoire Nail Art Tuto is the perfect addition to your nail collection. This versatile tool is suitable for all skill levels and allows you to create intricate designs with ease. With its user-friendly design, you can achieve professional-looking results without any hassle.
Accessoire Nail Art Tuto
is also perfect for those who are new to nail art. The kit comes with easy-to-follow instructions and tips, making it a breeze for beginners to create beautiful nail designs. With its affordable price and high-quality products, Accessoire Nail Art Tuto is a must-have for anyone who wants to experiment with nail art.
Whether you're a professional nail artist or a DIY enthusiast, Accessoire Nail Art Tuto is the perfect addition to your nail collection. This versatile tool is suitable for all skill levels and allows you to create intricate designs with ease. With its user-friendly design, you can achieve professional-looking results without any hassle.
Accessoire Nail Art Tuto
is also perfect for those who are new to nail art. The kit comes with easy-to-follow instructions and tips, making it a breeze for beginners to create beautiful nail designs. With its affordable price and high-quality products, Accessoire Nail Art Tuto is a must-have for anyone who wants to experiment with nail art.
Express Yourself with Accessoire Nail Art Tuto
 Nail art is not just about painting your nails; it's a form of self-expression. With Accessoire Nail Art Tuto, you can let your creativity shine and express yourself through your nails. Whether you want a simple and elegant design or a bold and colorful one, this kit has everything you need to bring your ideas to life.
Accessoire Nail Art Tuto
also makes a great gift for your loved ones. Give them the gift of creativity and watch as they unleash their inner artist with this amazing tool.
In conclusion, if you want to take your nail game to the next level,
Accessoire Nail Art Tuto
is the perfect tool for you. With its easy-to-use design, endless possibilities, and affordable price, you can't go wrong with this kit. So what are you waiting for? Get your hands on Accessoire Nail Art Tuto and create beautiful nails like a professional.
Nail art is not just about painting your nails; it's a form of self-expression. With Accessoire Nail Art Tuto, you can let your creativity shine and express yourself through your nails. Whether you want a simple and elegant design or a bold and colorful one, this kit has everything you need to bring your ideas to life.
Accessoire Nail Art Tuto
also makes a great gift for your loved ones. Give them the gift of creativity and watch as they unleash their inner artist with this amazing tool.
In conclusion, if you want to take your nail game to the next level,
Accessoire Nail Art Tuto
is the perfect tool for you. With its easy-to-use design, endless possibilities, and affordable price, you can't go wrong with this kit. So what are you waiting for? Get your hands on Accessoire Nail Art Tuto and create beautiful nails like a professional.


