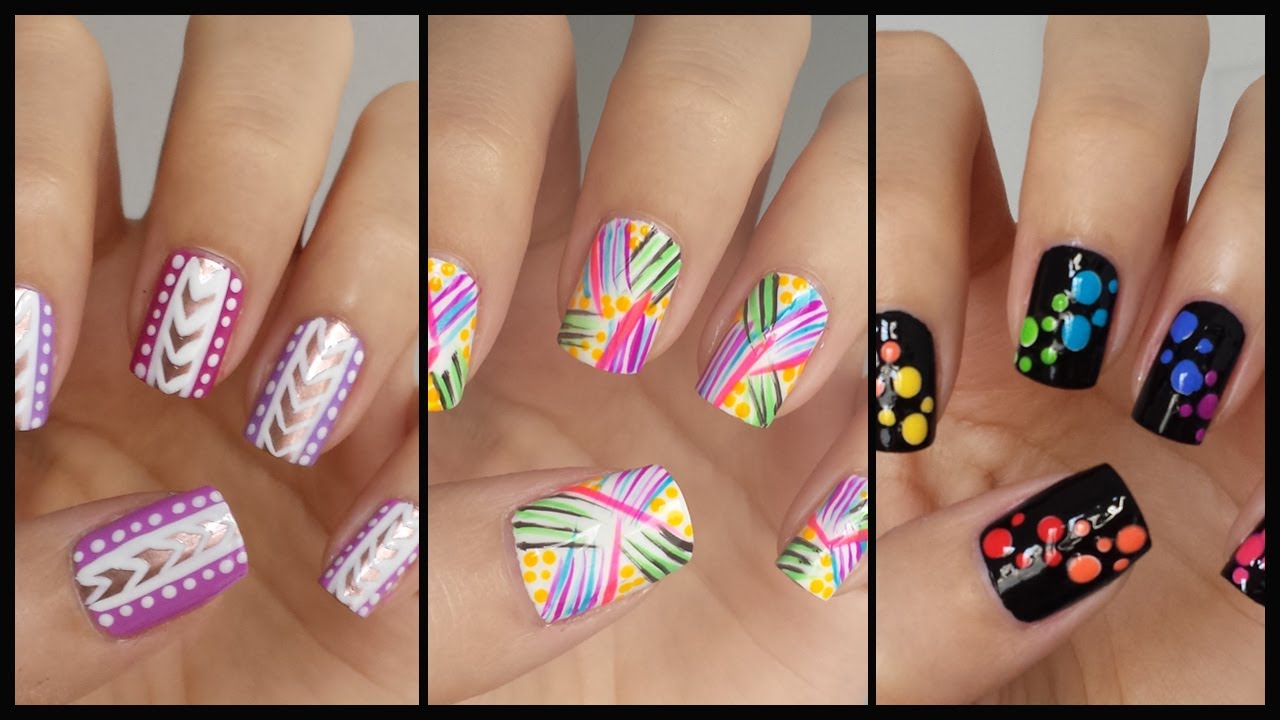
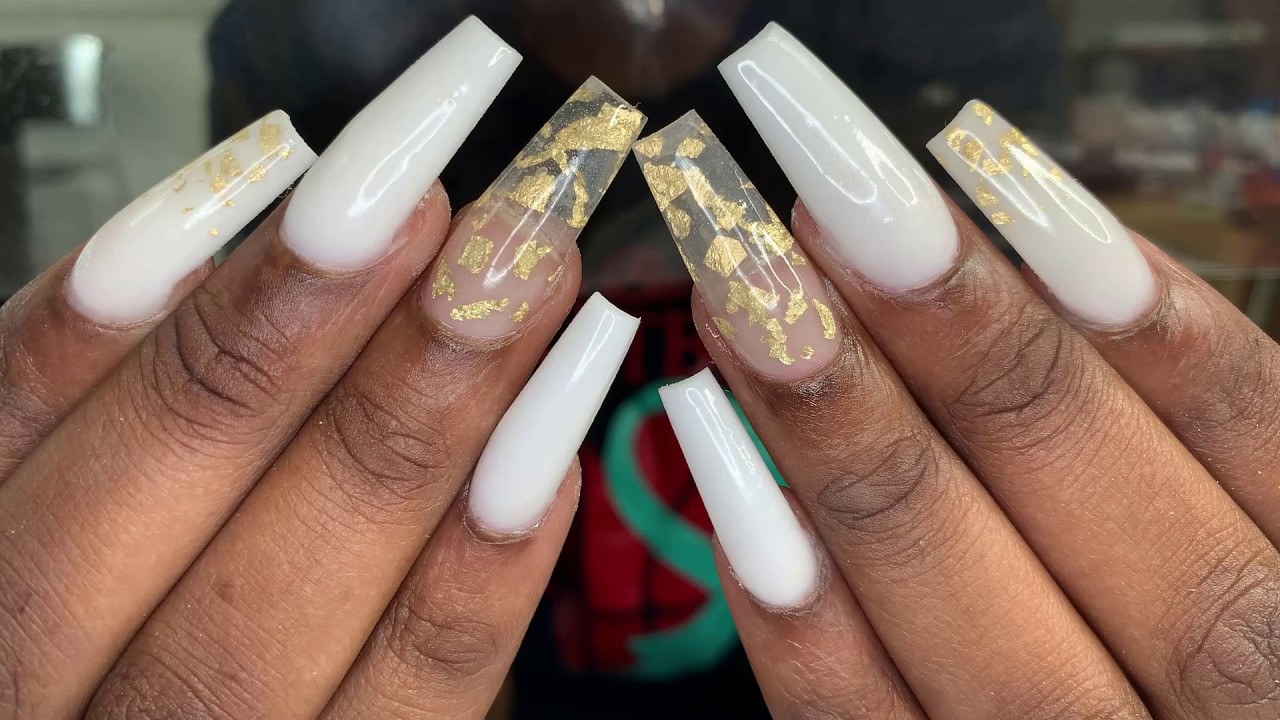
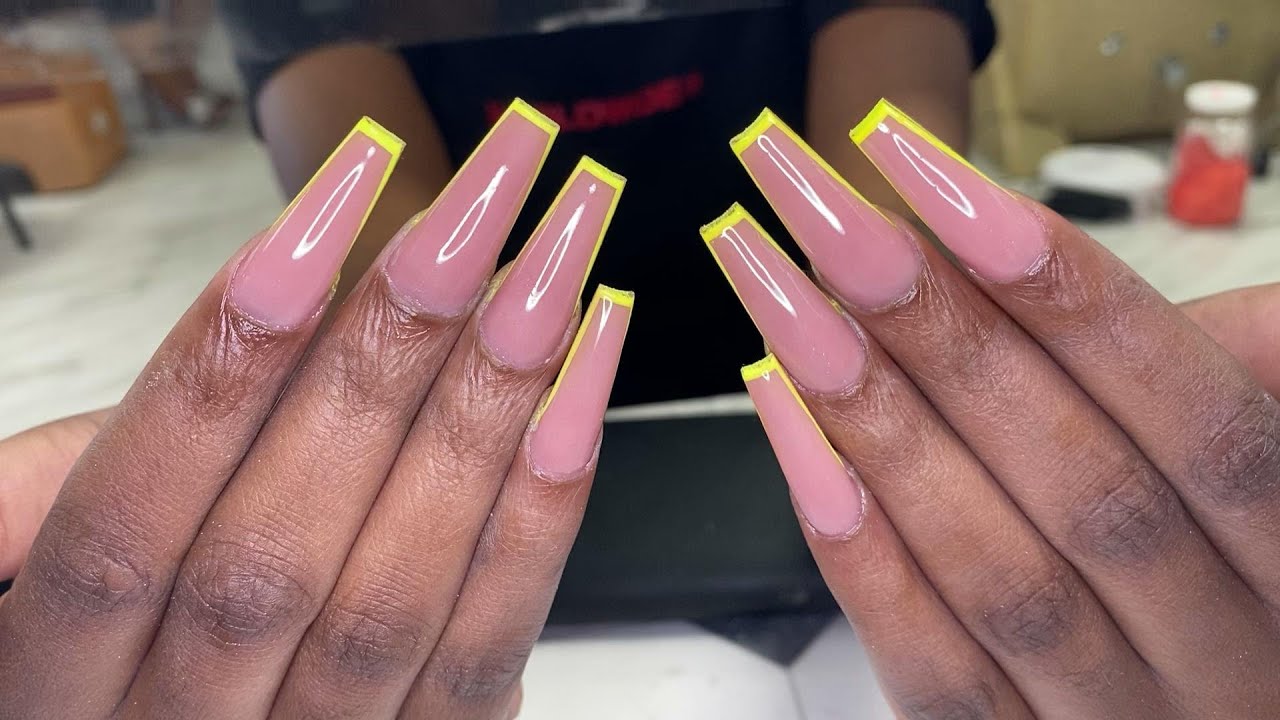
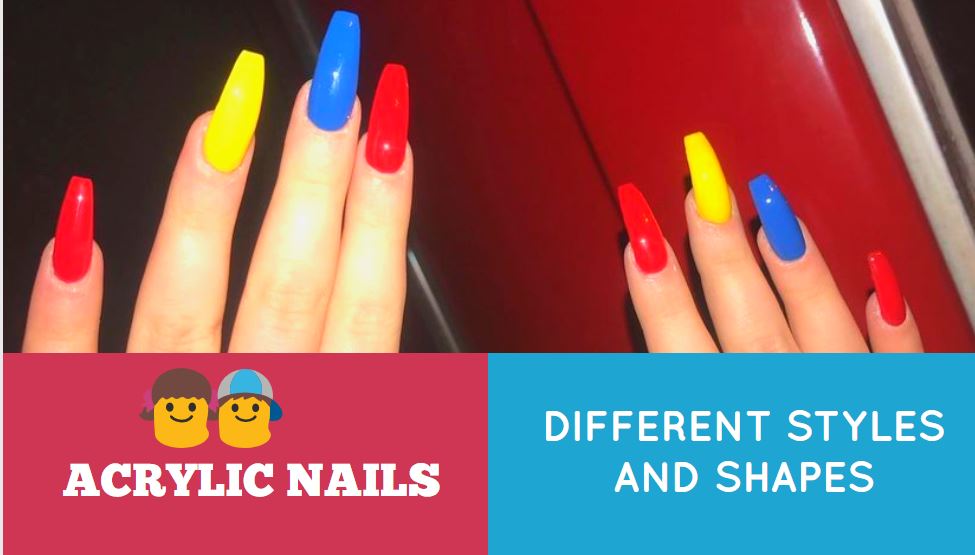
Acrylic nails are a great way to add length and style to your nails. They are durable, long-lasting, and perfect for those who struggle to grow their natural nails. But creating acrylic nail art designs can seem intimidating, especially for beginners. Fear not, we have curated a list of easy acrylic nail art tutorials that will help you elevate your nail game in no time! From simple designs to more intricate ones, these tutorials will guide you step-by-step, making it easy for beginners to follow along. So get your acrylic nail kit ready, and let's dive into the world of beautiful and creative nail art!Easy Acrylic Nail Art Tutorial for Beginners

Easy Acrylic Nail Art Tutorial for Beginners


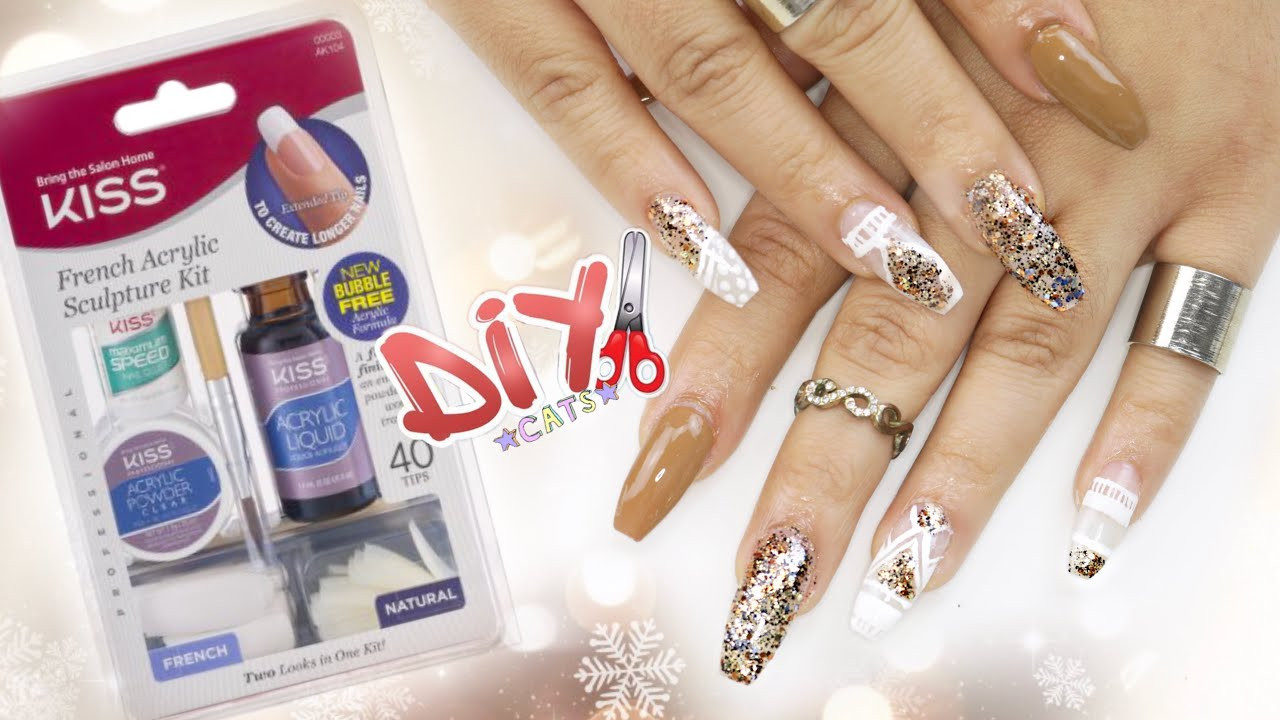
If you're new to acrylic nails, it's essential to learn the basics before attempting any nail art designs. This step-by-step tutorial will guide you through the process of applying acrylic nails and creating a beautiful design on top. First, start by prepping your natural nails. Trim and file them to your desired shape and push back your cuticles. Then, apply a base coat and let it dry. Next, dip the acrylic brush into the acrylic liquid and then into the powder. Apply the mixture to your nail, starting from the cuticle and working your way to the tip. Repeat this process on all your nails. Once the acrylic has dried, you can begin the nail art design. Use different colors, glitters, and tools to create your desired design. Finish off with a topcoat, and voila, you have a stunning set of acrylic nails!Step-by-Step Acrylic Nail Art Tutorial


Step-by-Step Acrylic Nail Art Tutorial


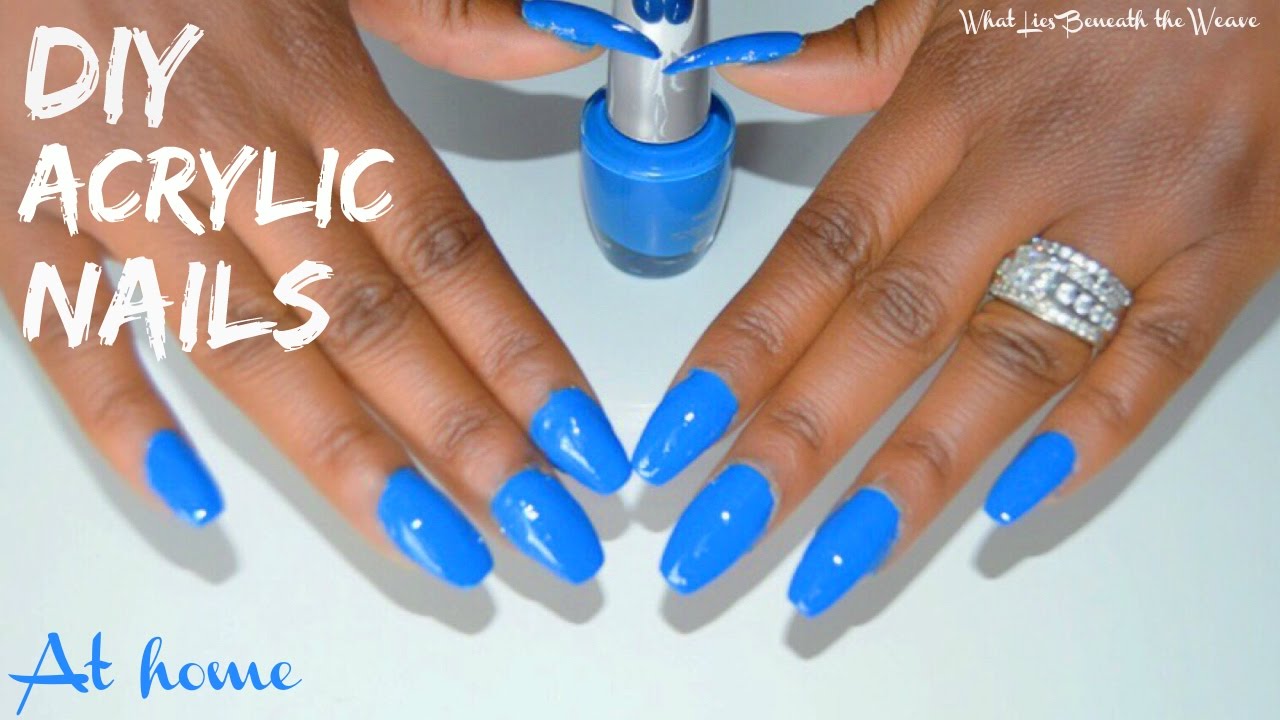
Who says you need to visit a salon to get gorgeous acrylic nails? This DIY tutorial will show you how to create stunning nail art designs in the comfort of your own home. Start by prepping your nails and applying the acrylic mixture as mentioned in the previous tutorial. Then, using household items like bobby pins, toothpicks, or even a makeup brush, you can create unique and intricate designs on your nails. You can also use tape to create geometric patterns or use a sponge for a gradient effect. The best part about DIY acrylic nail art is that you can let your creativity run wild and experiment with different techniques and designs. Plus, you'll save money by not having to visit a salon every time you want a new set of nails!DIY Acrylic Nail Art Tutorial


DIY Acrylic Nail Art Tutorial


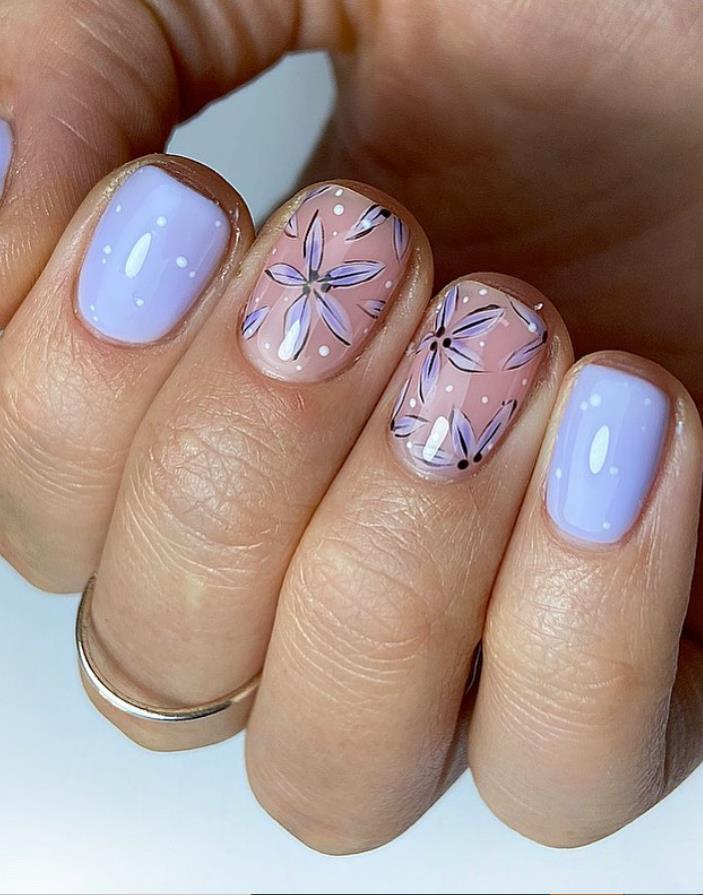
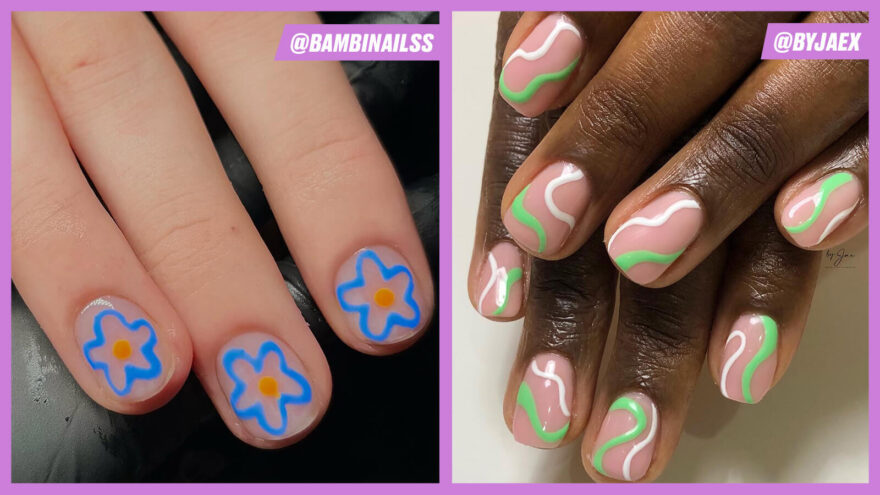
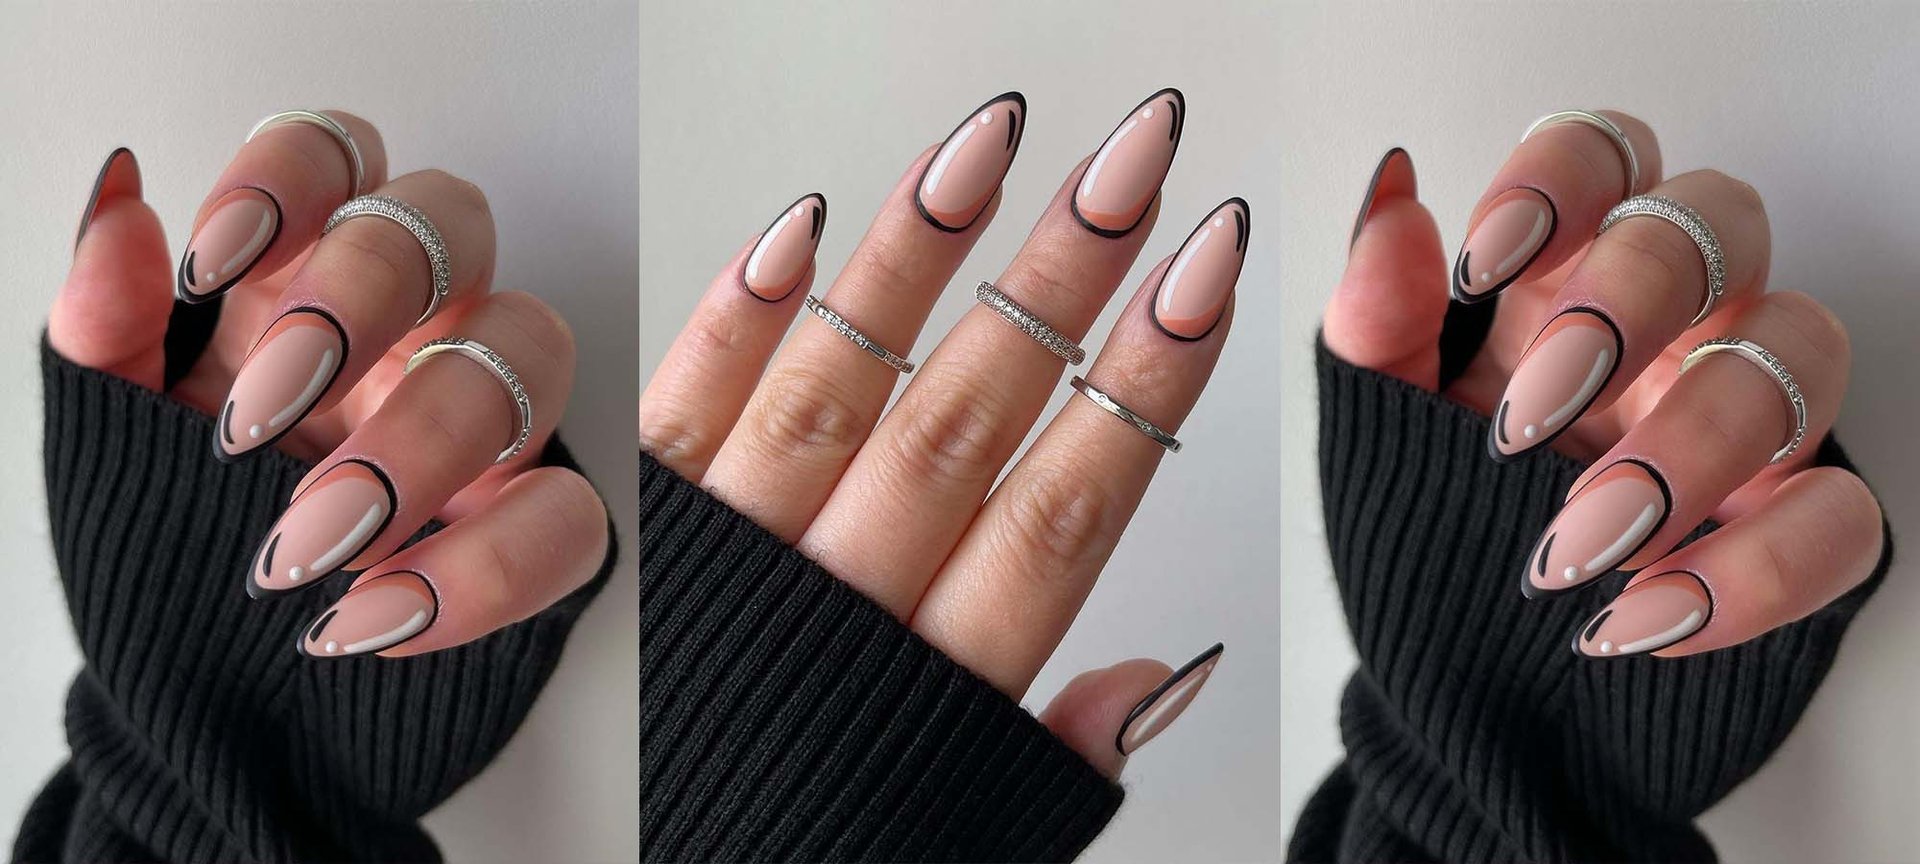
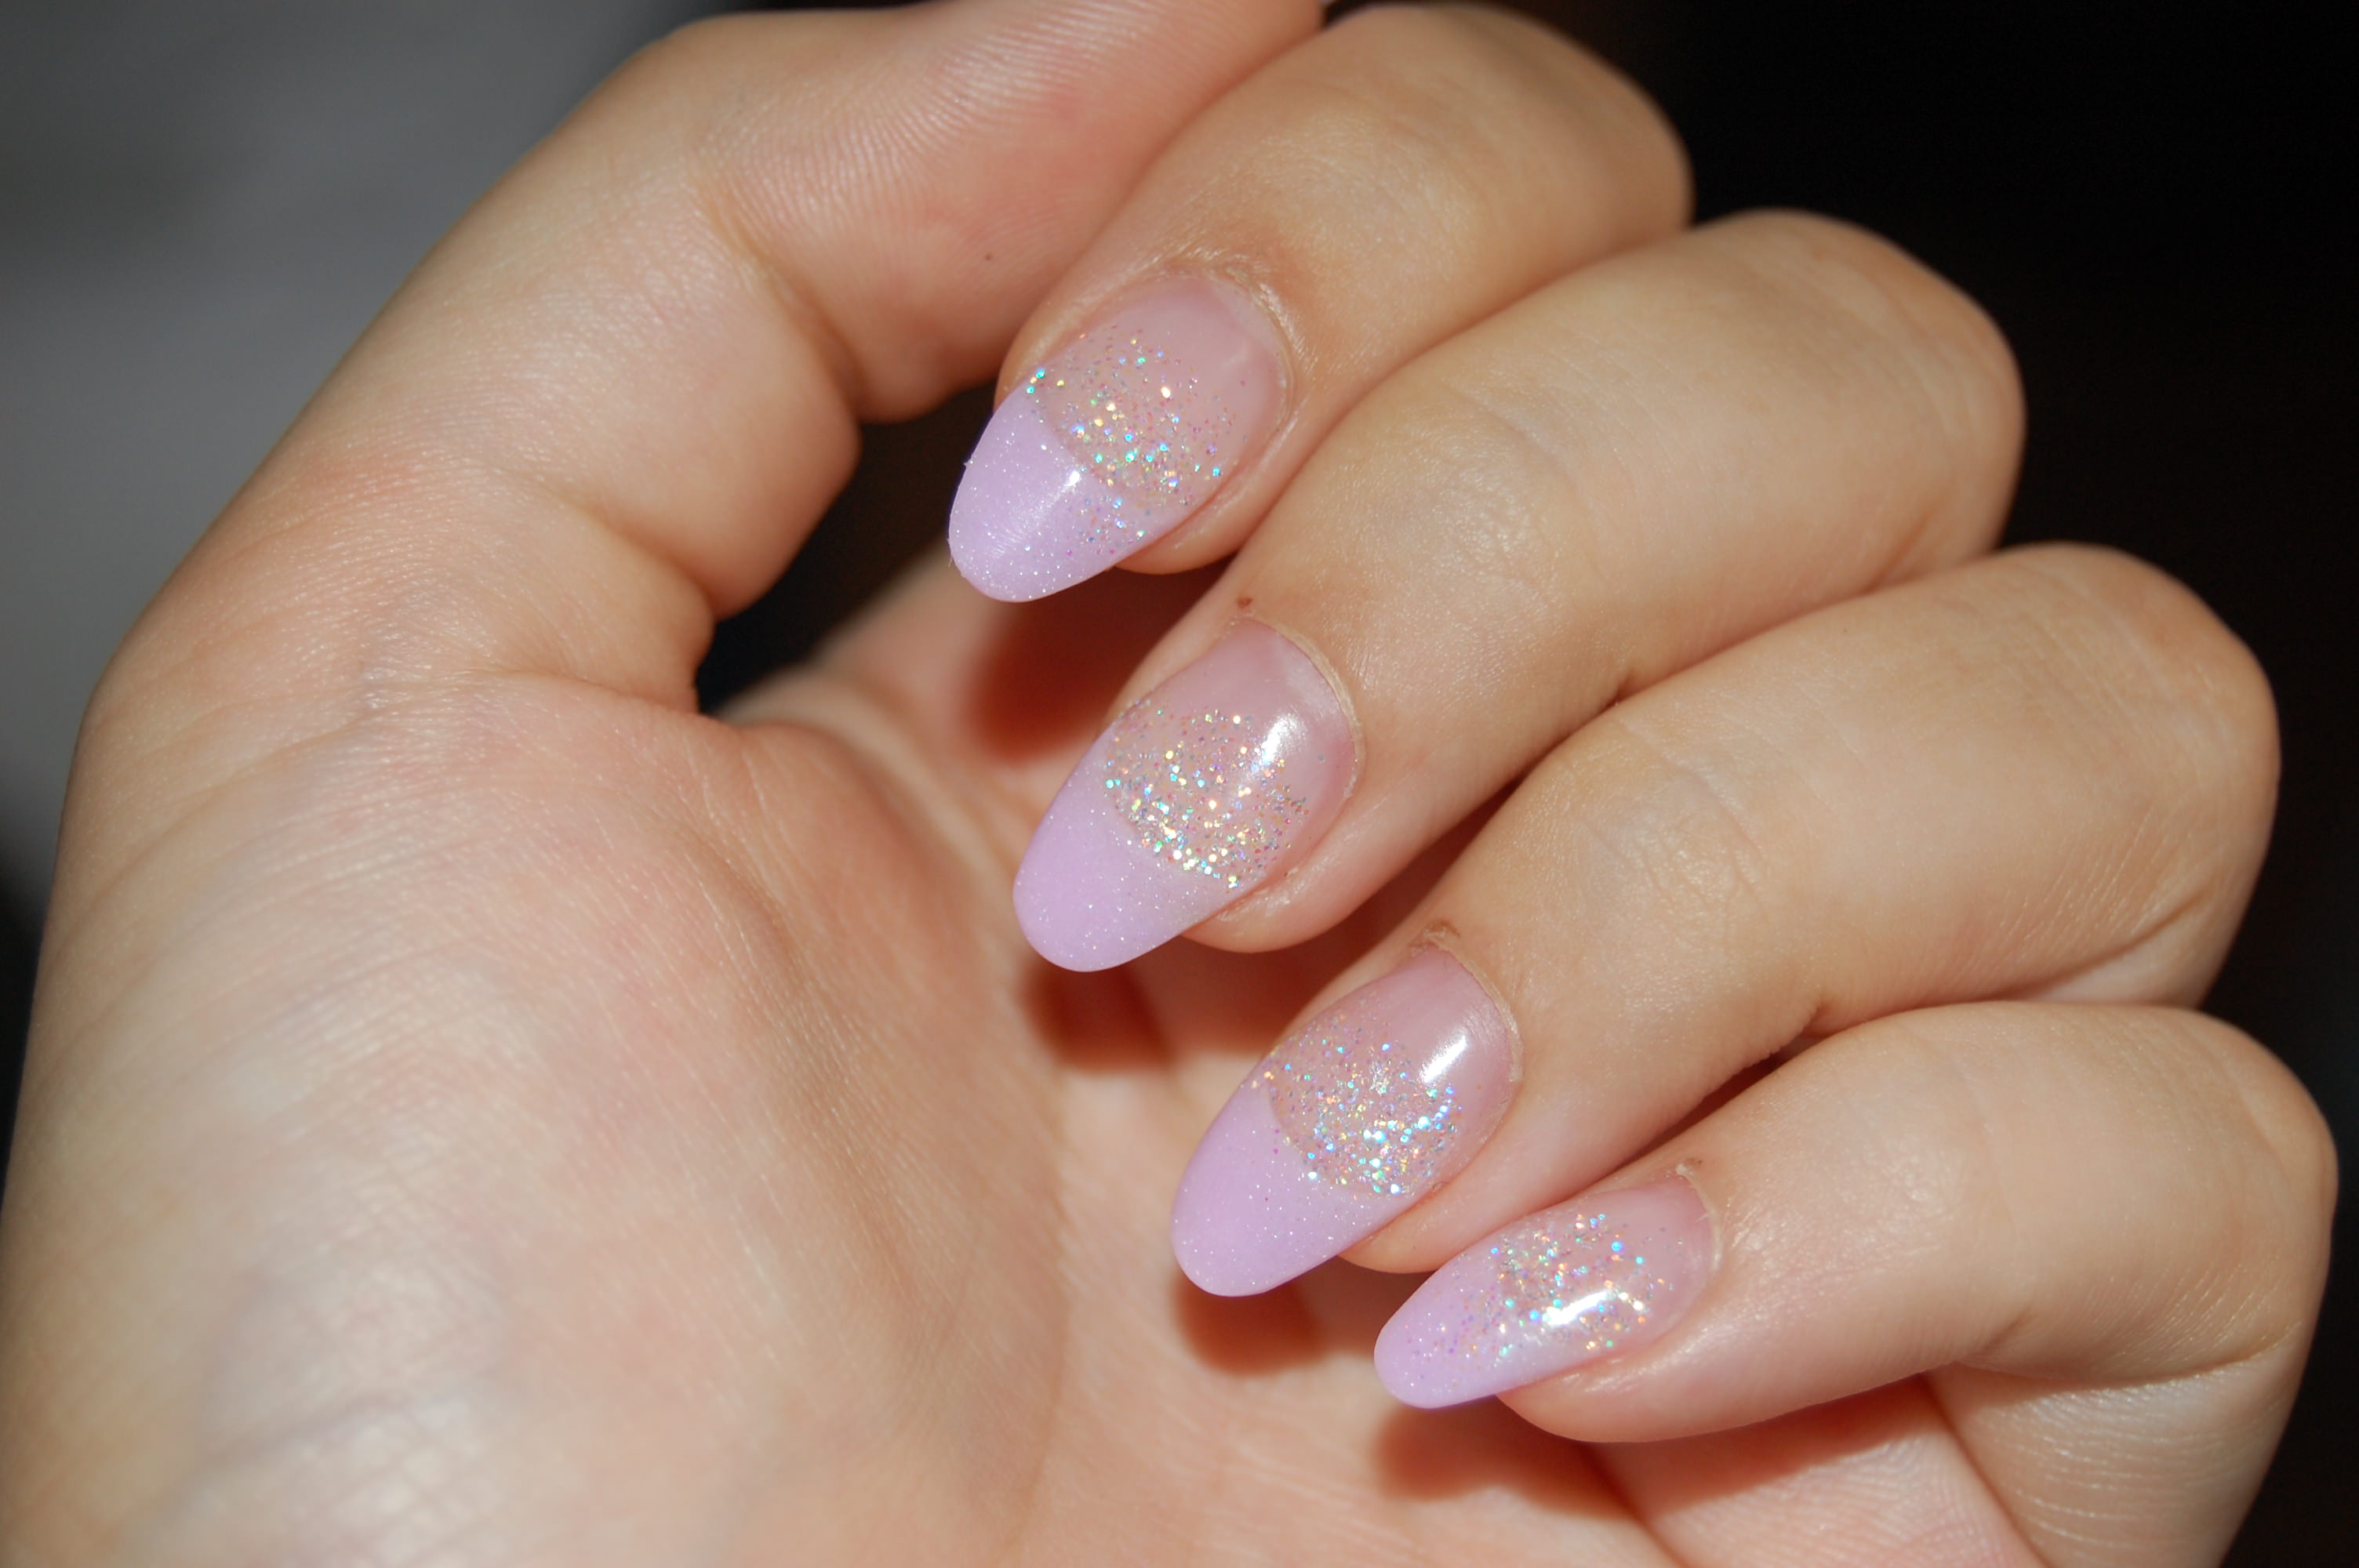
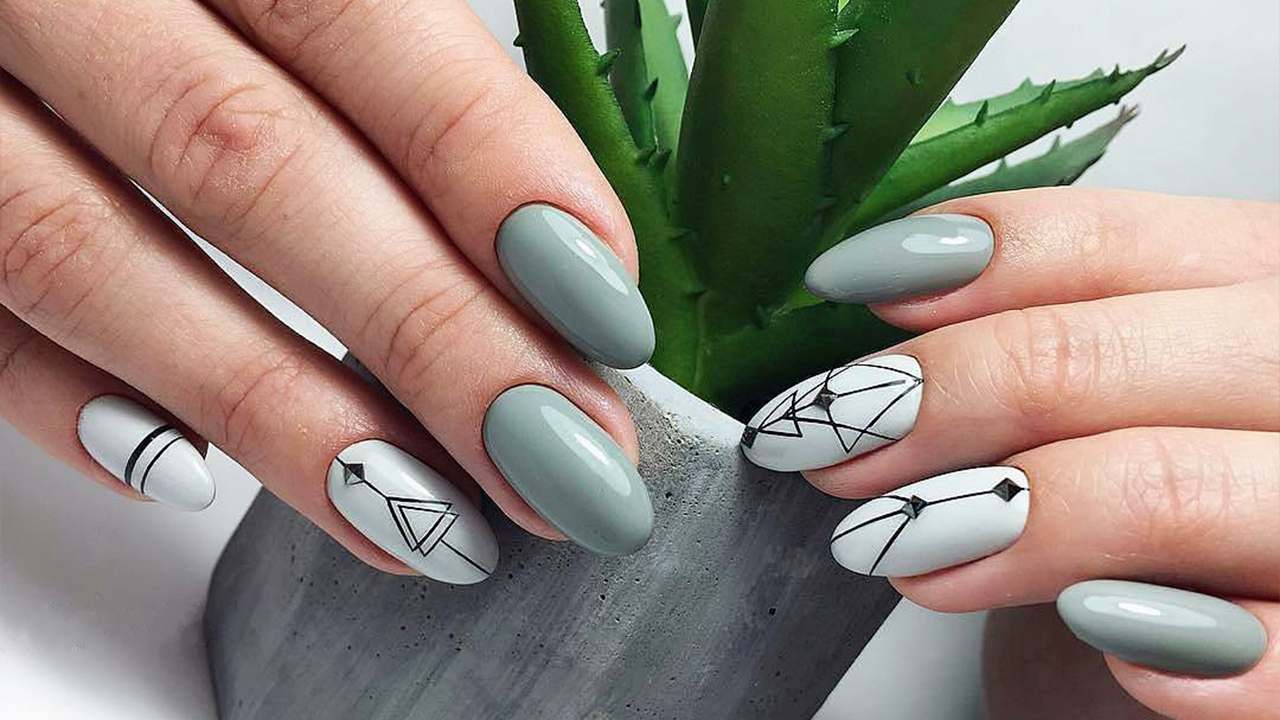
Short nails don't mean you can't have beautiful acrylic nail art designs. In fact, shorter nails can sometimes make the designs stand out more. This tutorial will show you how to create stunning nail art on shorter nails. Start by prepping your nails and applying the acrylic mixture as mentioned before. Then, instead of creating designs on the entire nail, focus on the tips or the sides of the nails. You can also use smaller tools, like nail art brushes, to create intricate designs on a smaller canvas. Don't be afraid to play around with different designs and colors to find what works best for your short nails.Acrylic Nail Art Tutorial for Short Nails


Acrylic Nail Art Tutorial for Short Nails
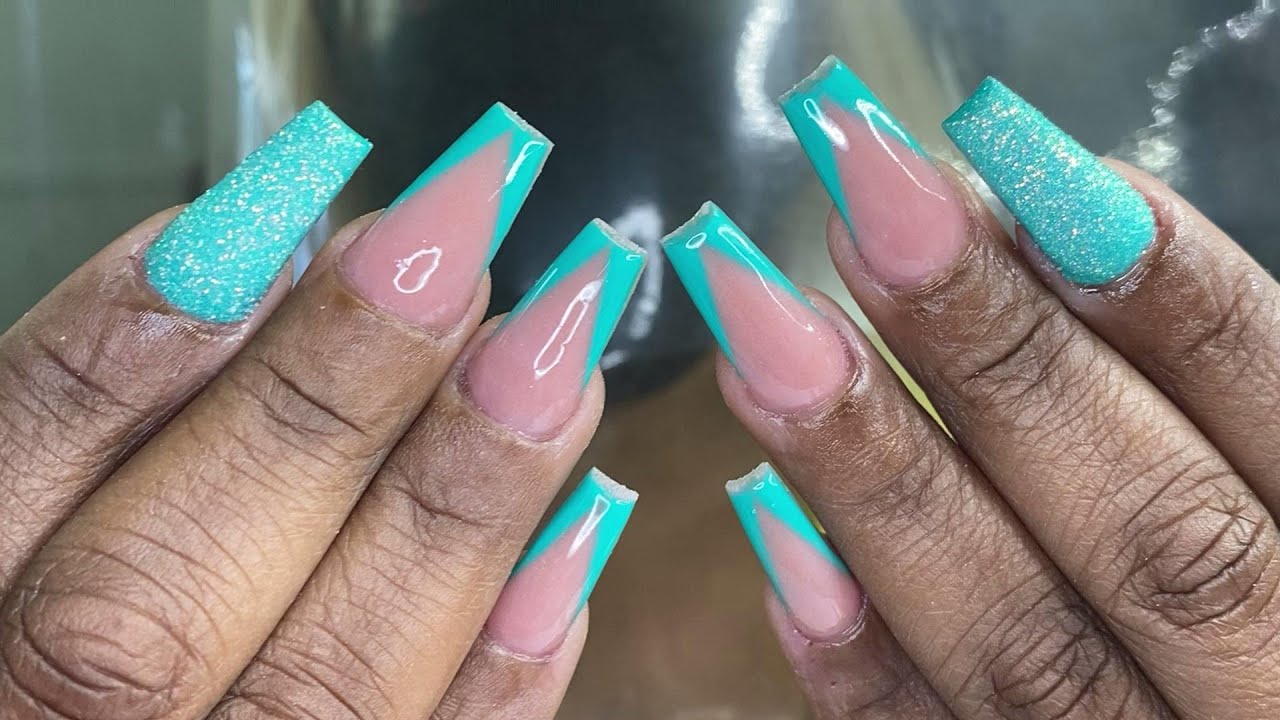
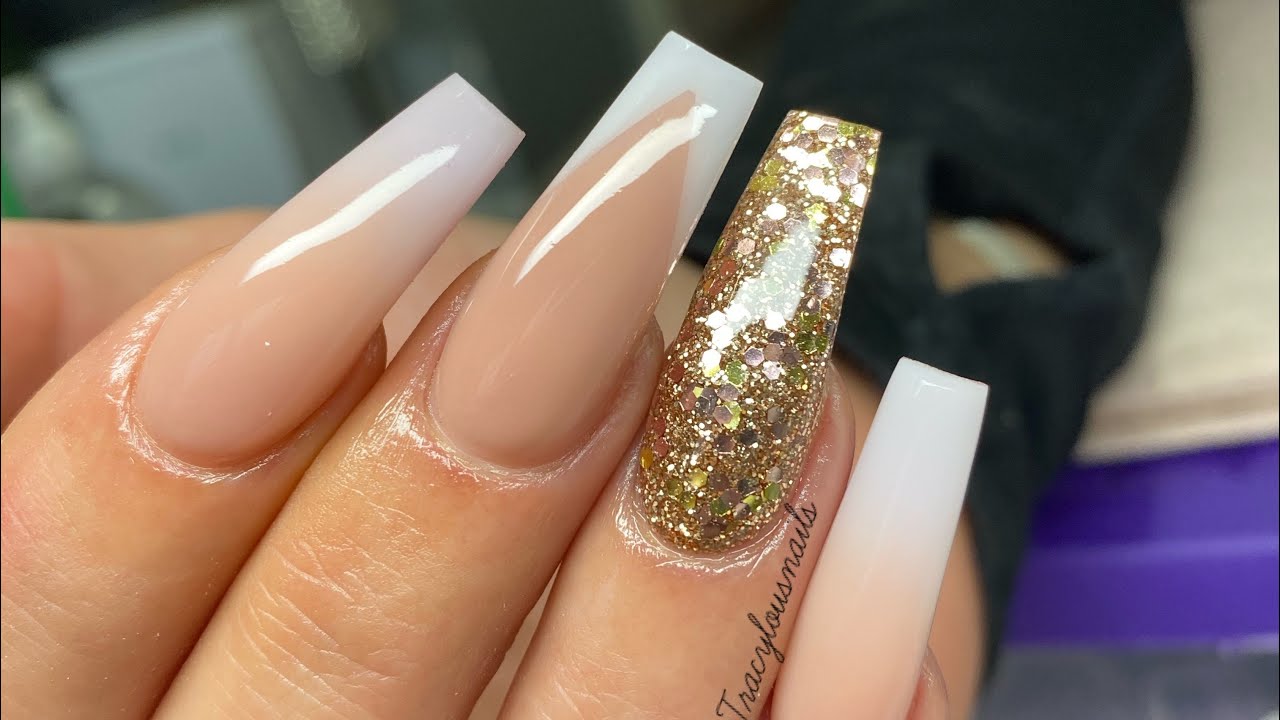
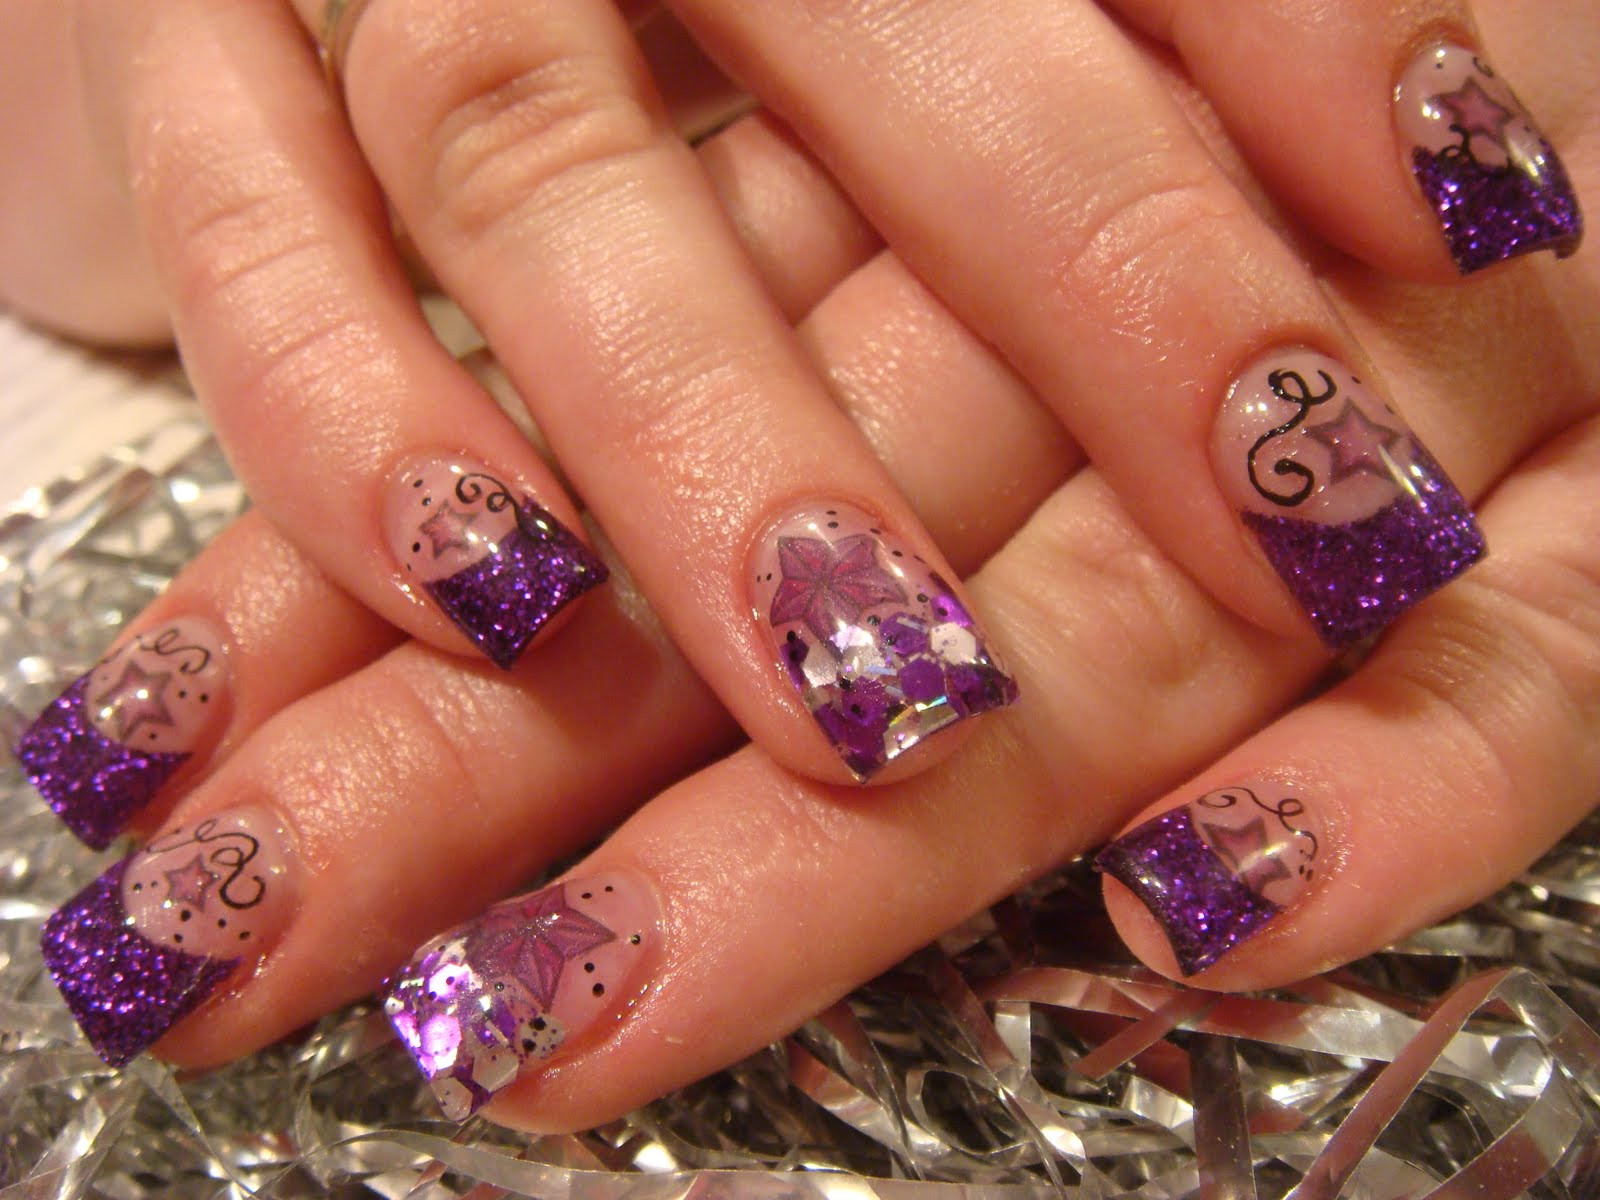
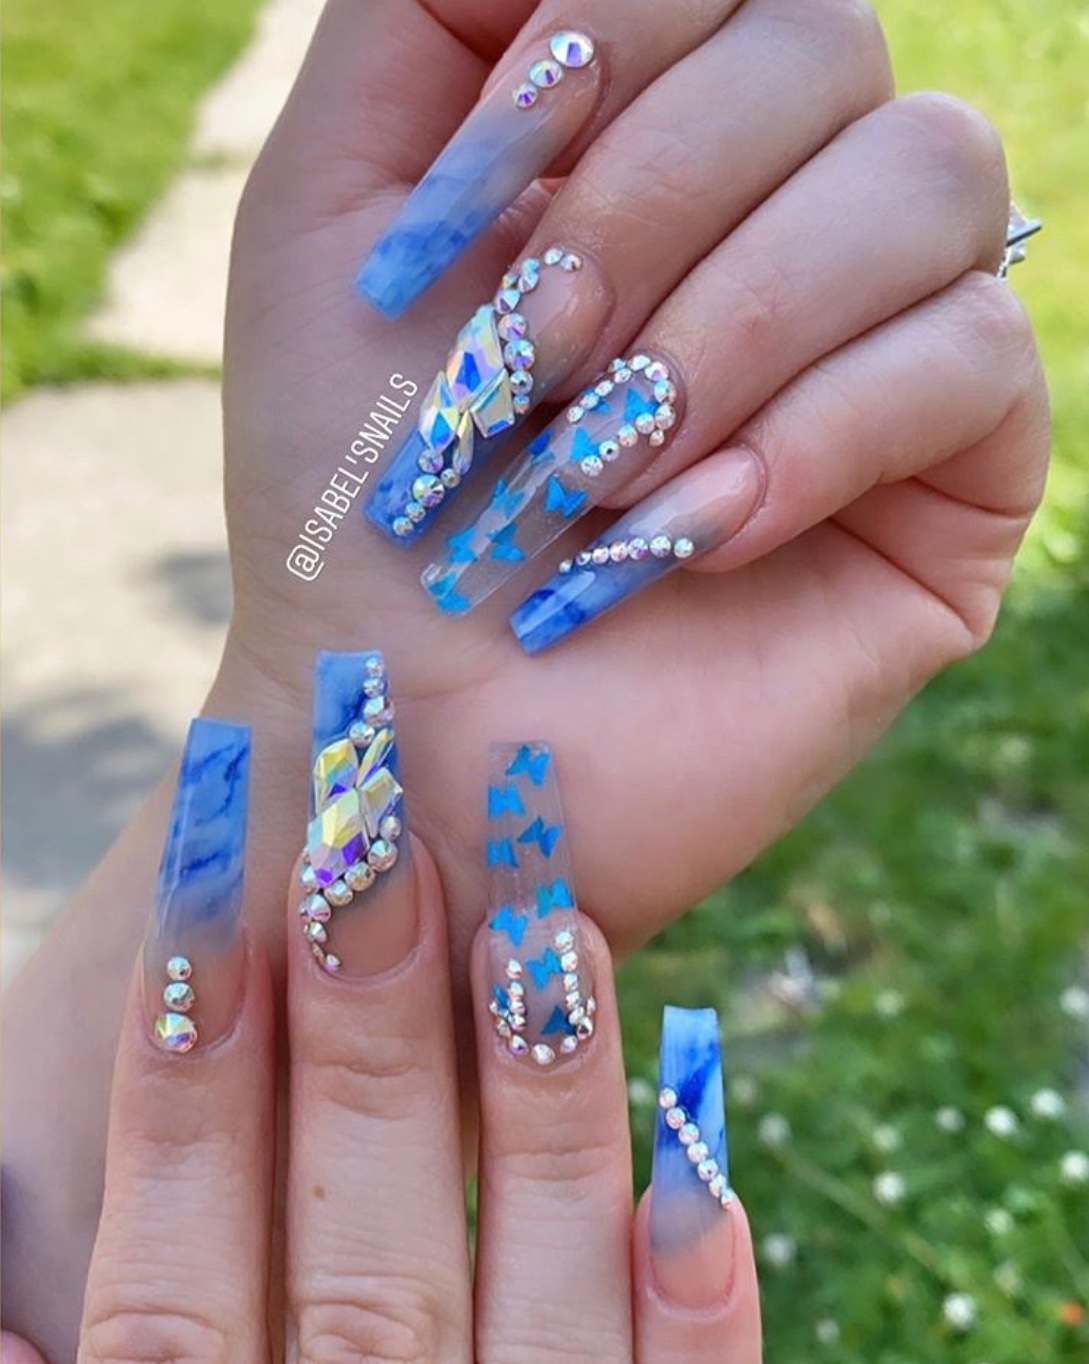
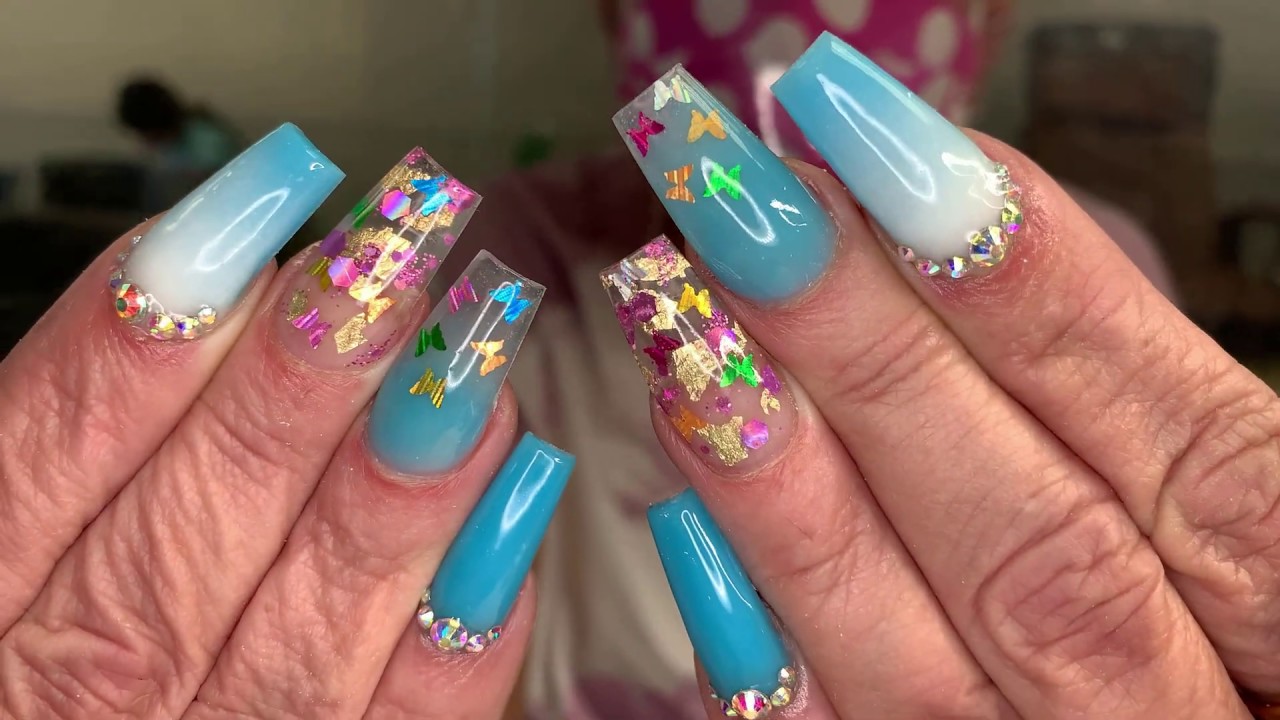
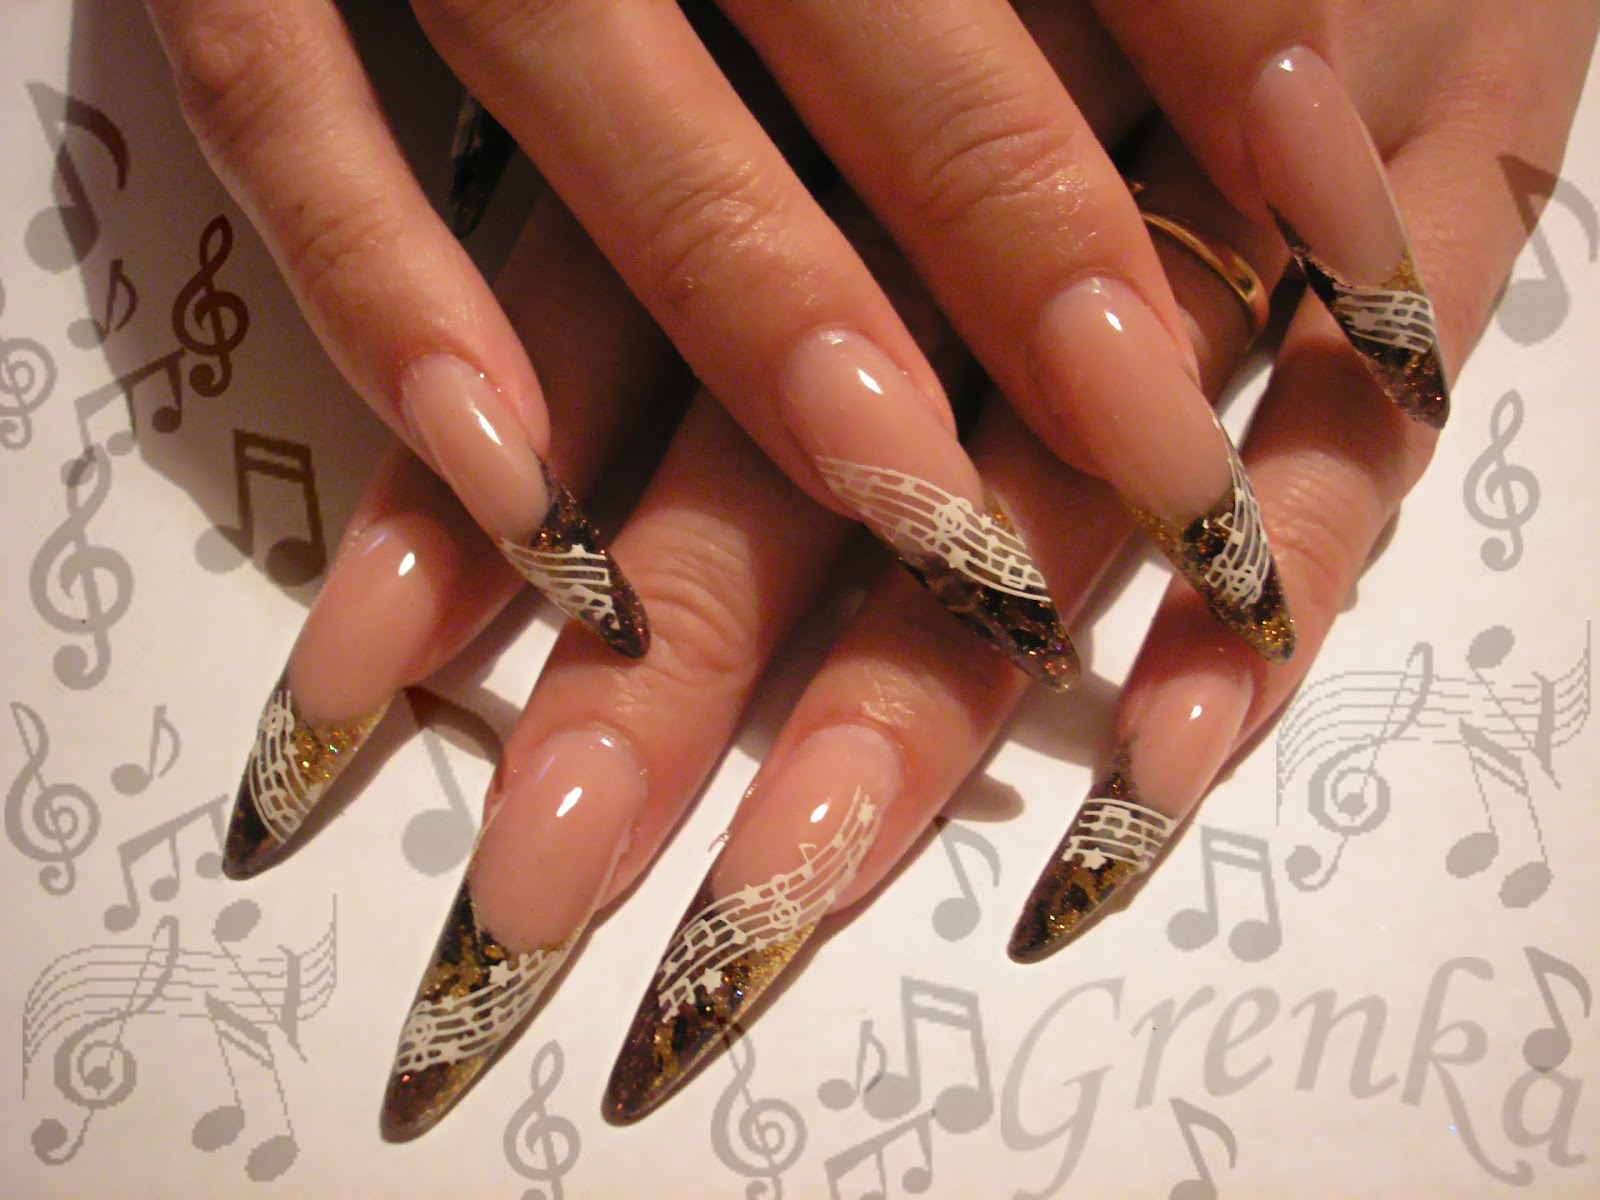
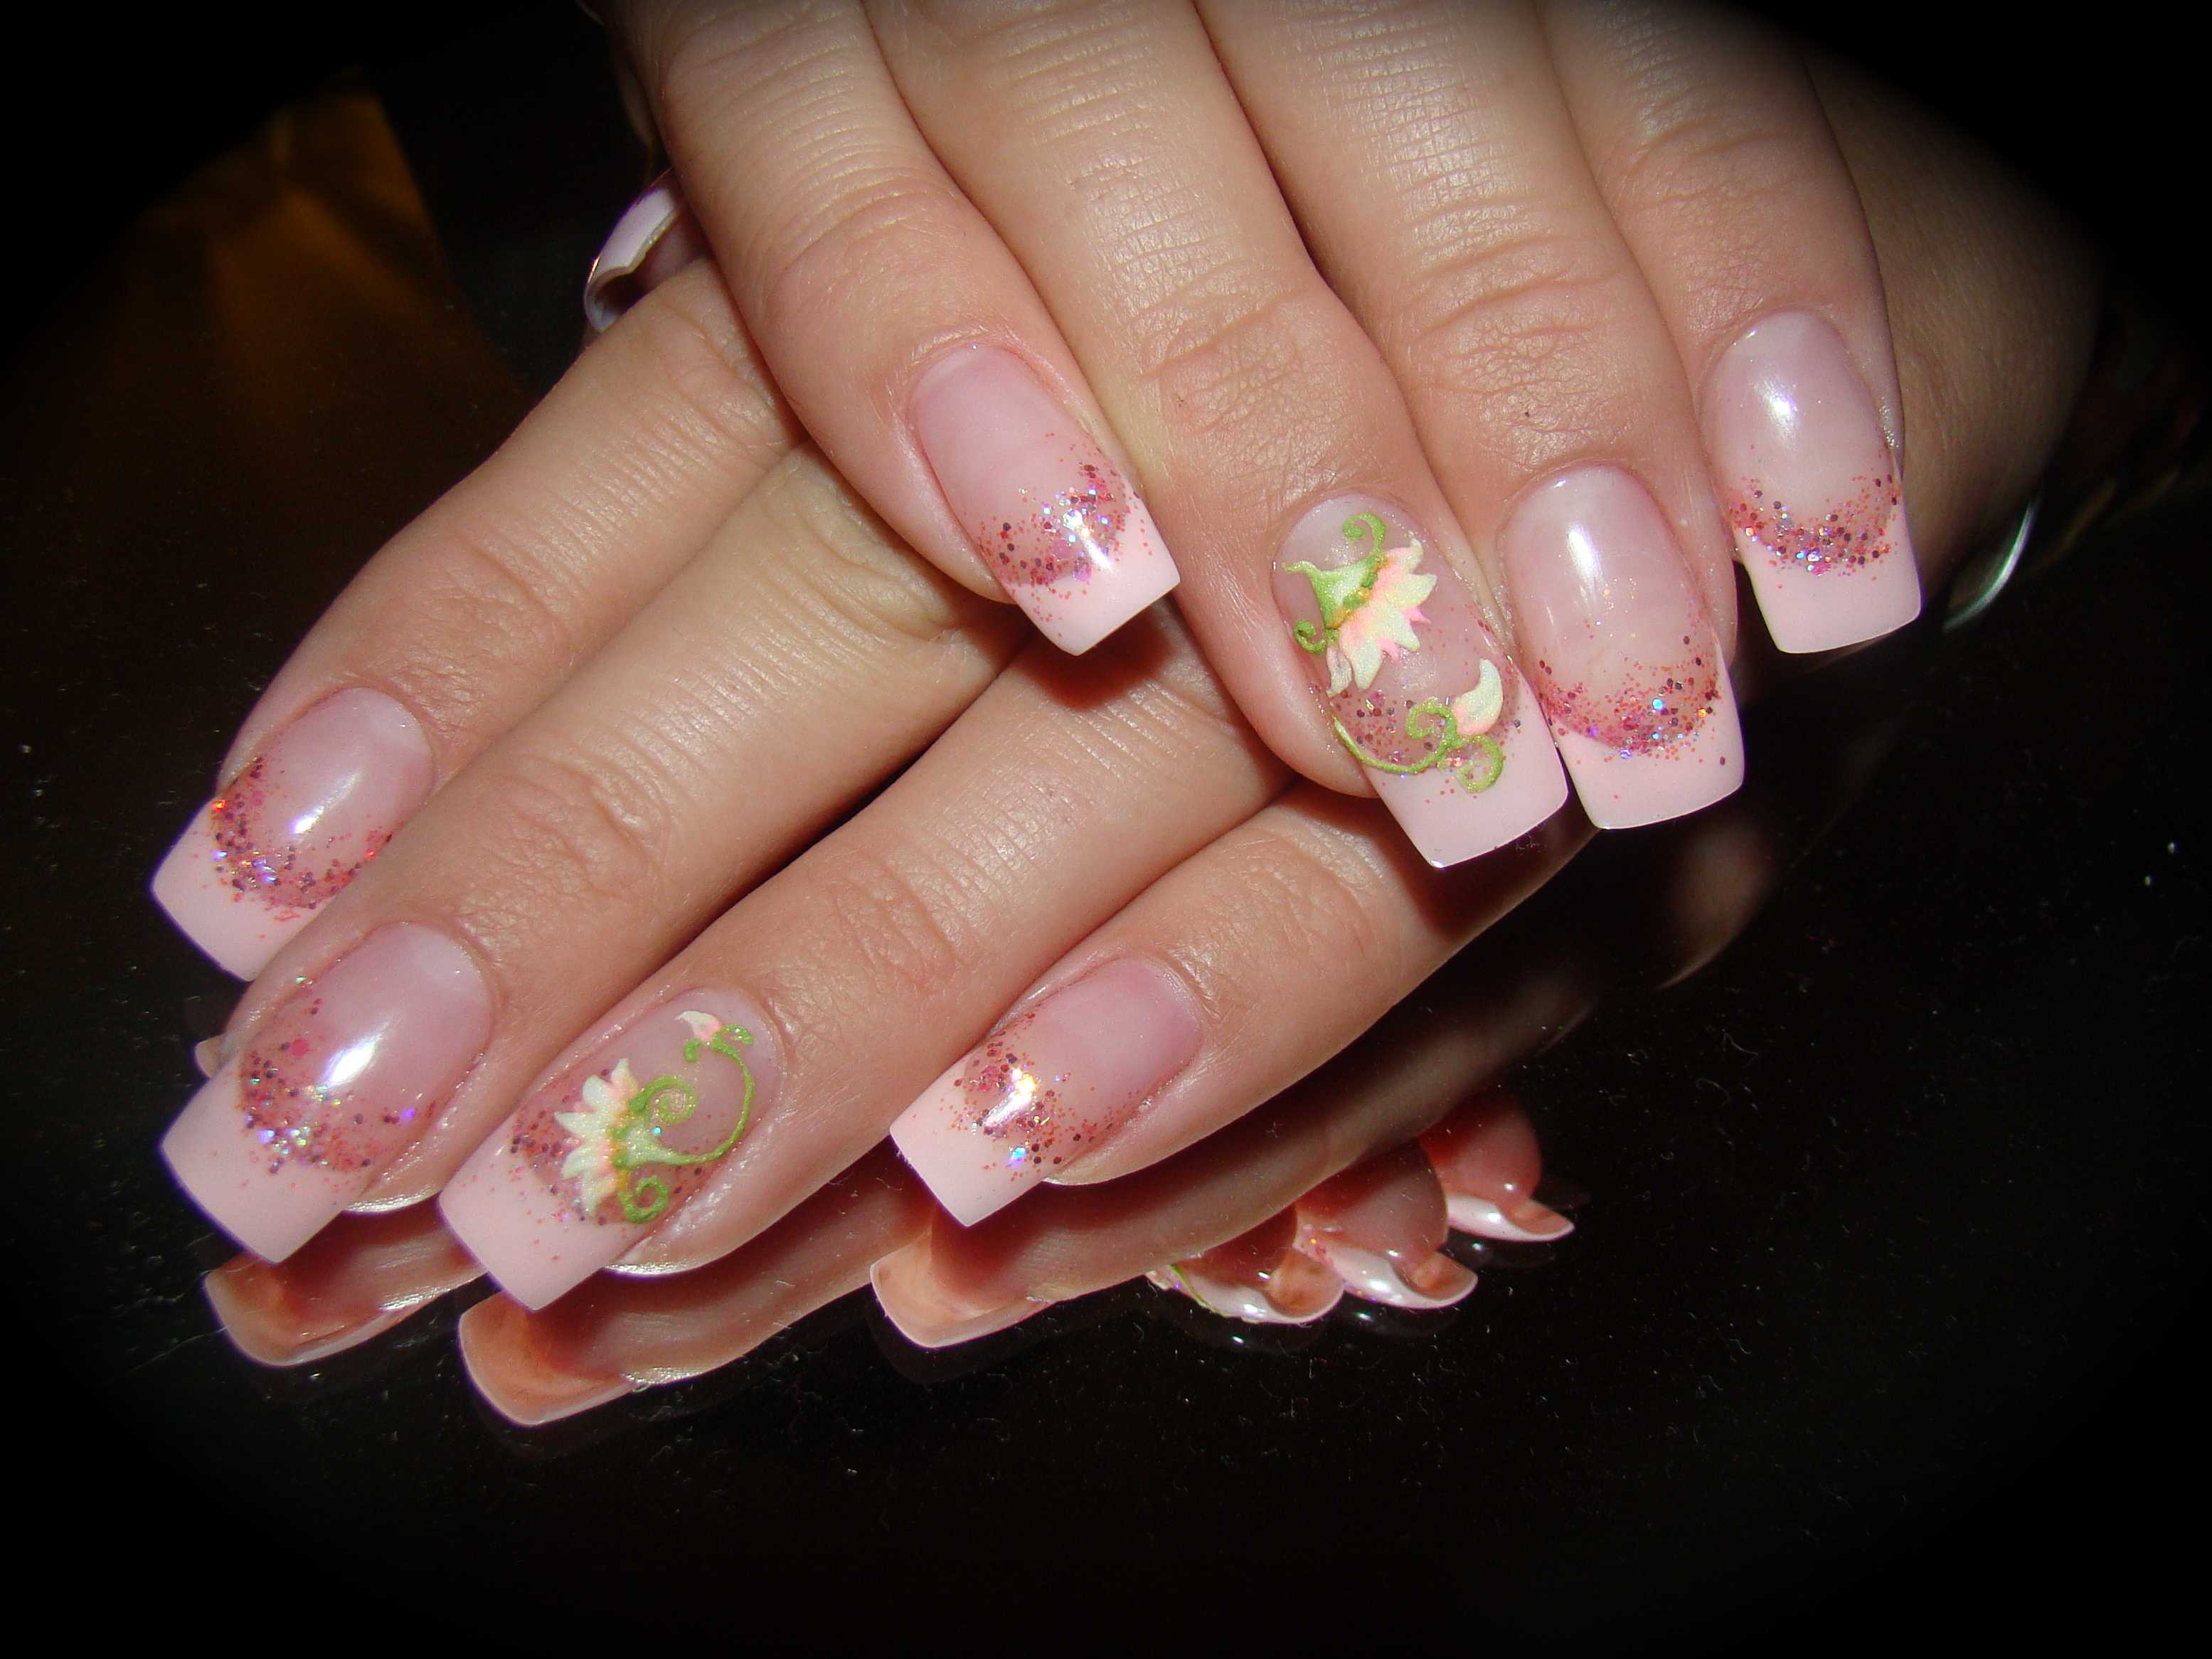
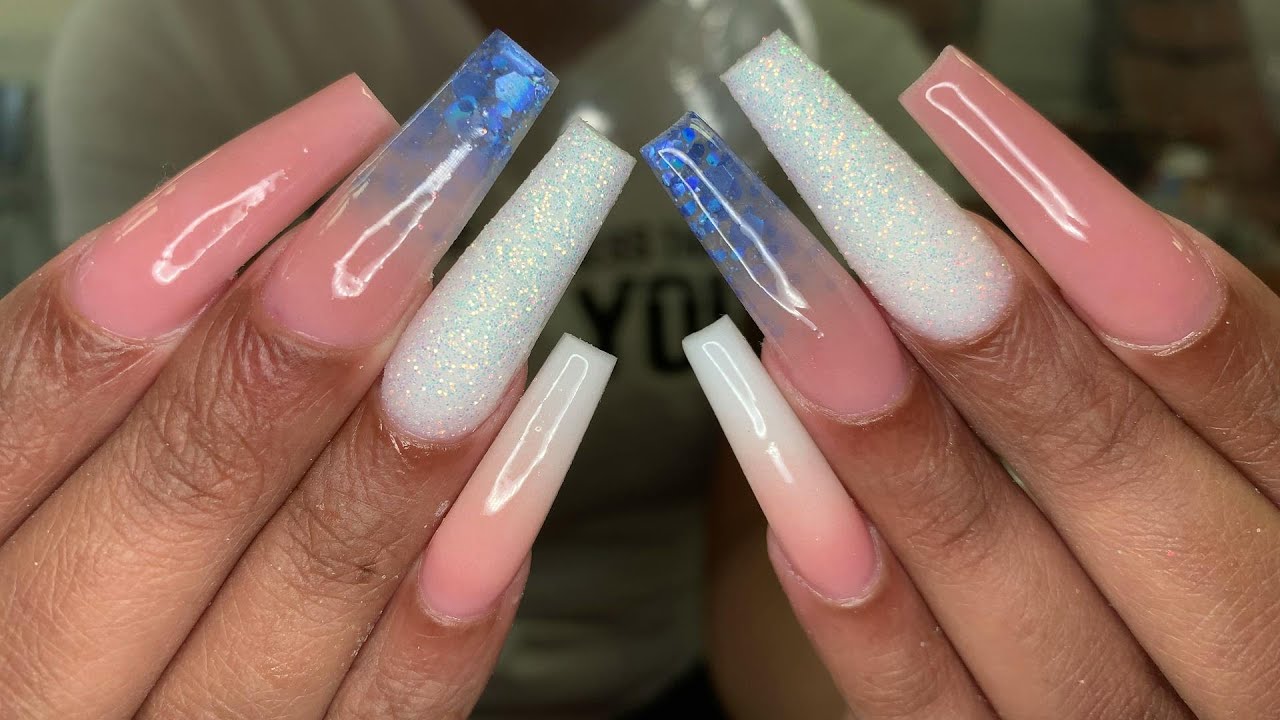
Long nails provide a larger canvas to create beautiful acrylic nail art designs. This tutorial will guide you through creating stunning designs on long nails. Start by prepping your nails and applying the acrylic mixture as mentioned before. Then, use longer strokes with the acrylic brush to create bolder and more prominent designs. You can also experiment with different shapes, like stiletto or coffin, to add an extra element of style to your nails. Long nails also provide more space for 3D designs, like flowers or jewels, so don't be afraid to get creative and add some extra dimension to your nails.Acrylic Nail Art Tutorial for Long Nails


Acrylic Nail Art Tutorial for Long Nails


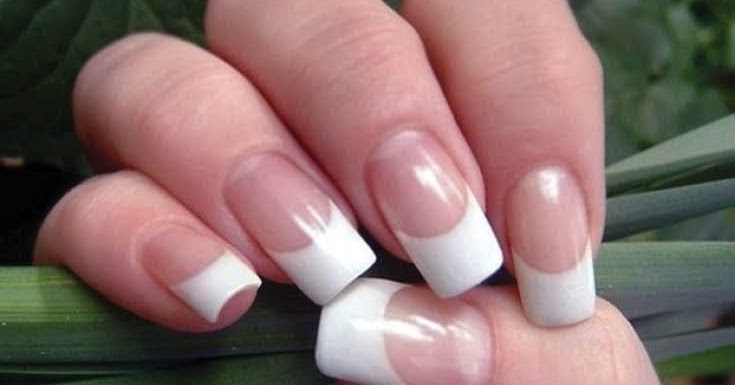
Acrylic nails don't always have to cover your natural nails. This tutorial will show you how to incorporate your natural nails into your acrylic nail art designs. Start by prepping your nails and applying the acrylic mixture on just the tips of your nails. Then, use nail polish or nail art pens to create designs on your natural nails. This technique allows you to show off your natural nails while still having the strength and durability of acrylic nails.Acrylic Nail Art Tutorial for Natural Nails


Acrylic Nail Art Tutorial for Natural Nails


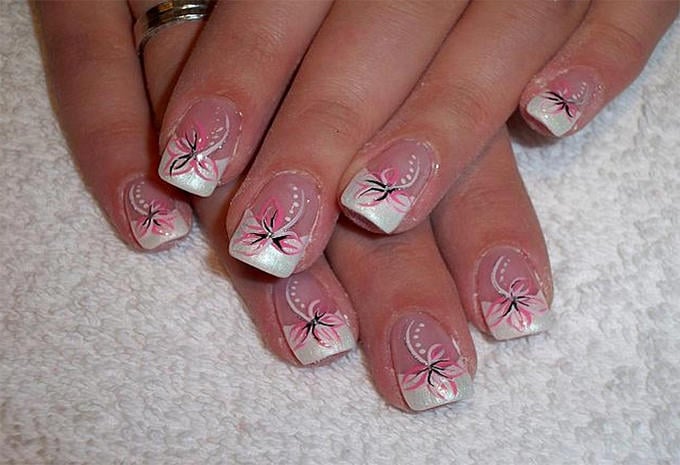
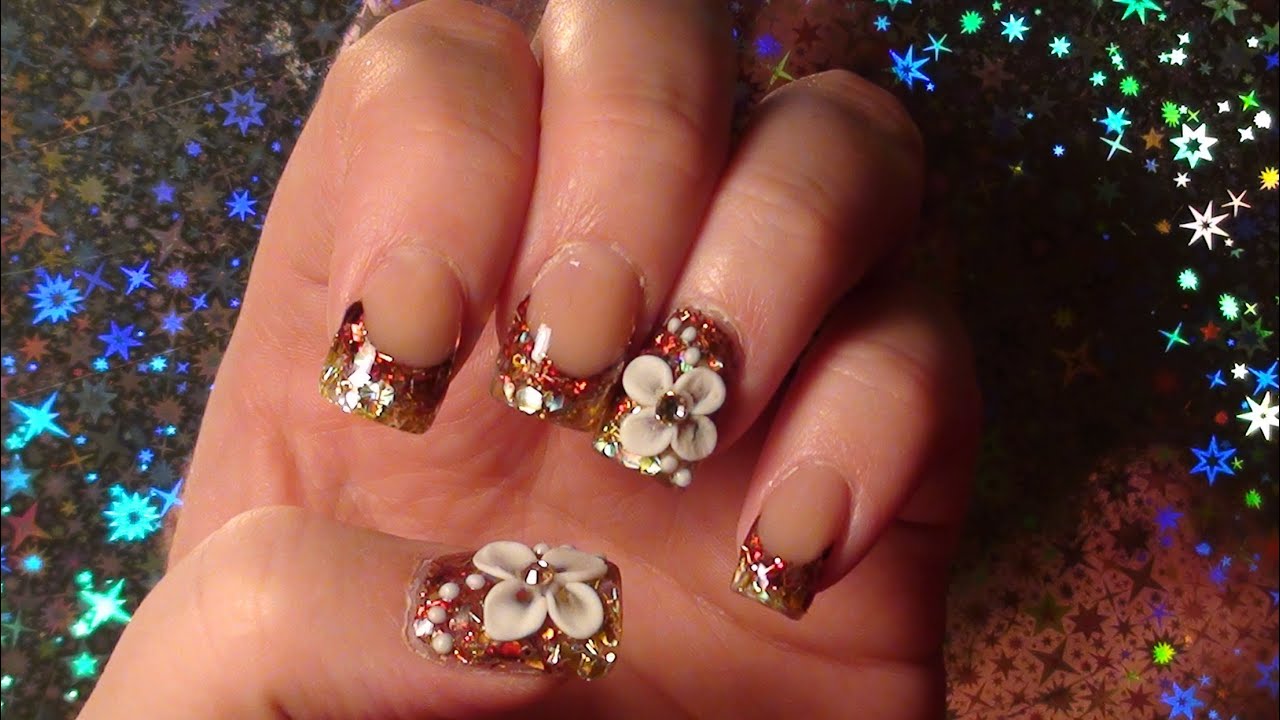
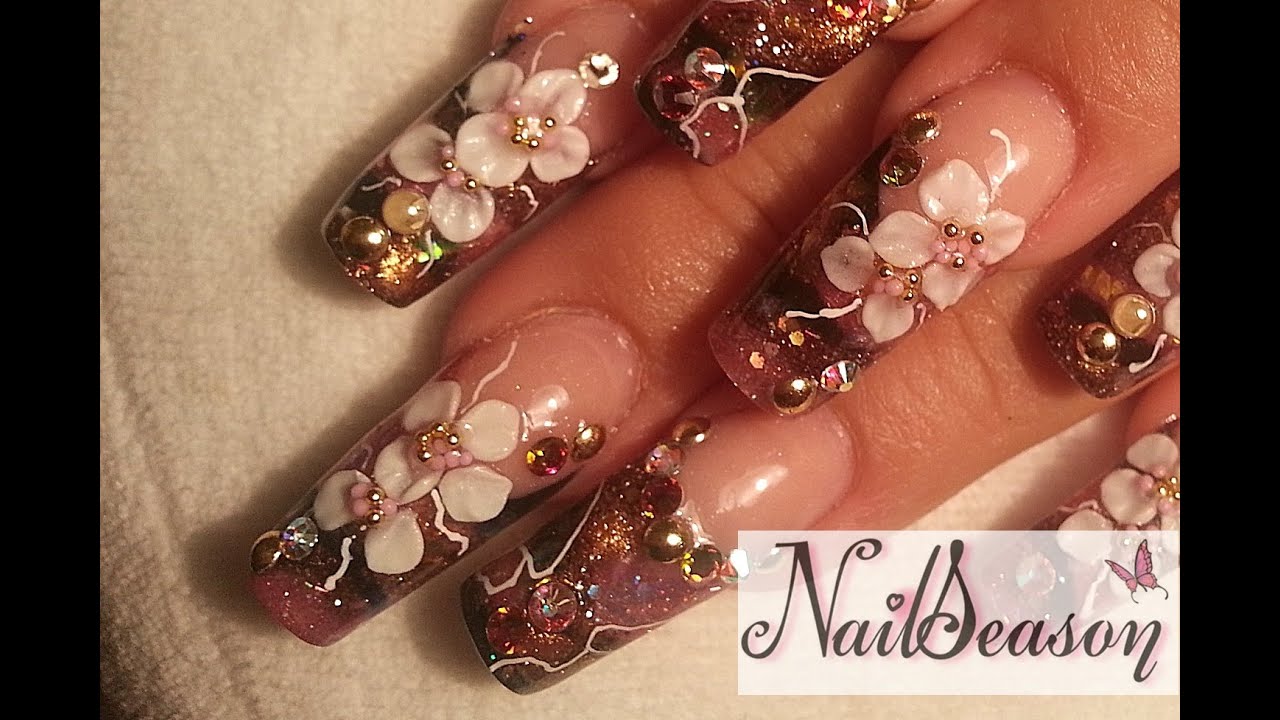
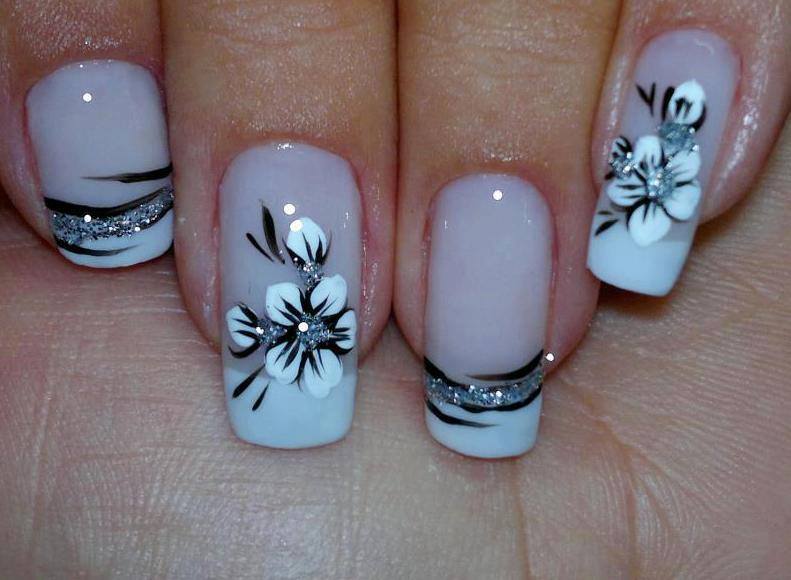
Special occasions call for special nails. This tutorial will show you how to create acrylic nail art designs perfect for weddings, prom, or any other special event. Start by prepping your nails and applying the acrylic mixture as mentioned before. Then, use delicate designs like lace, pearls, or glitter to create elegant and feminine nails. You can also add some bling with rhinestones or gems to make your nails sparkle and stand out.Acrylic Nail Art Tutorial for Special Occasions

Acrylic Nail Art Tutorial for Special Occasions


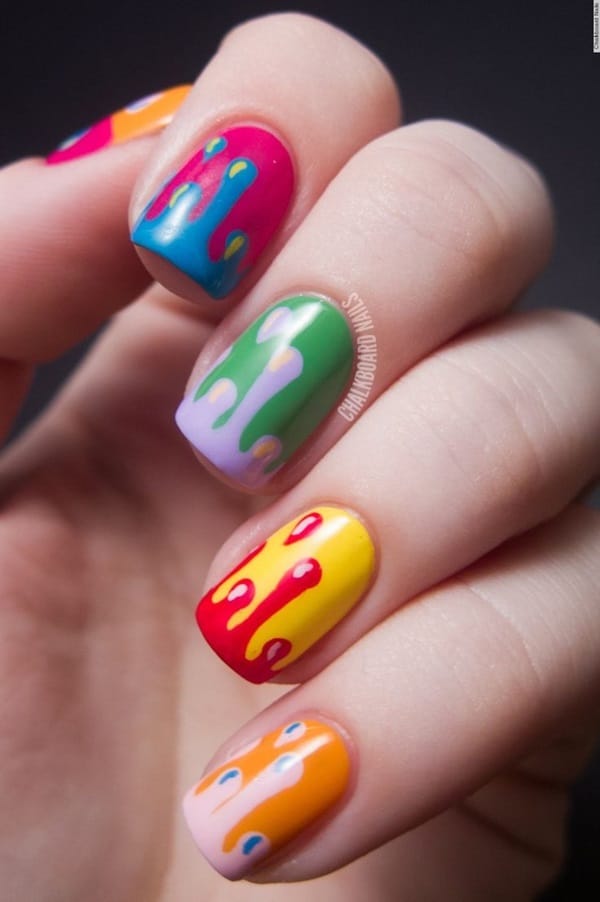
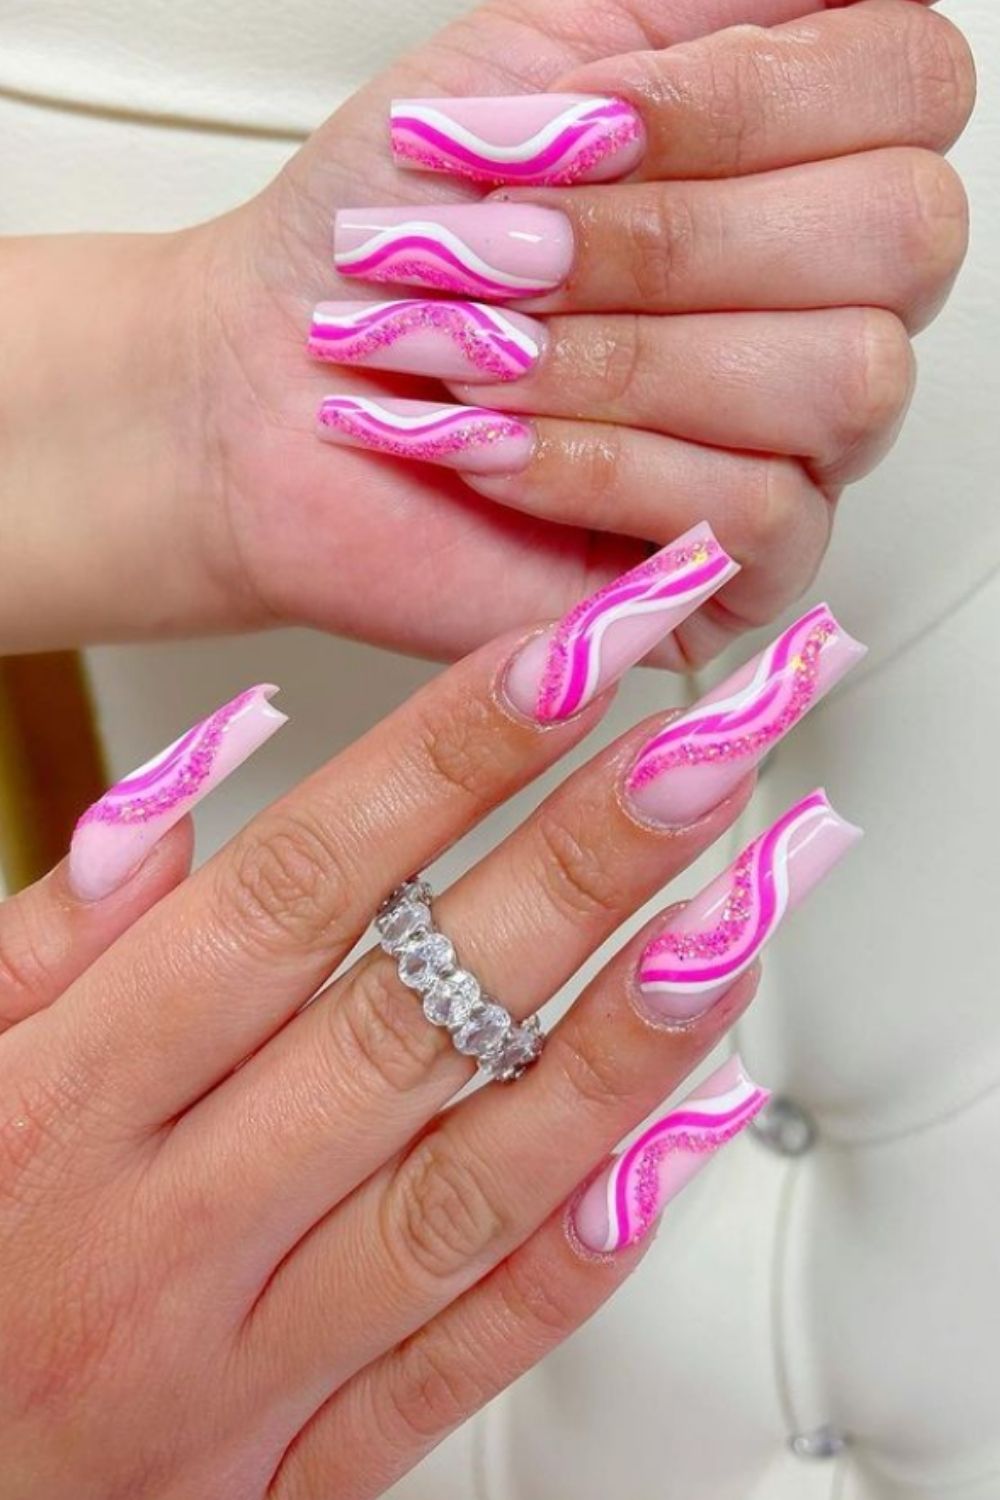
Summer is the perfect time to show off your bright and fun acrylic nail art designs. This tutorial will show you how to create nails that are perfect for the sunny season. Start by prepping your nails and applying the acrylic mixture as mentioned before. Then, use bright colors like pink, yellow, or orange to create a tropical look. You can also add some palm tree or flower designs for an extra summery touch. Don't forget to add a glossy topcoat to make your nails shine in the sun!Acrylic Nail Art Tutorial for Summer

Acrylic Nail Art Tutorial for Summer

Fall is all about warm and cozy vibes, and your nails should reflect that. This tutorial will show you how to create acrylic nail art designs perfect for the autumn season. Start by prepping your nails and applying the acrylic mixture as mentioned before. Then, use warm colors like burgundy, brown, or mustard to create a fall-inspired look. You can also add some leaf or pumpkin designs for a festive touch. Finish off with a matte topcoat to add some texture to your nails.Acrylic Nail Art Tutorial for Fall
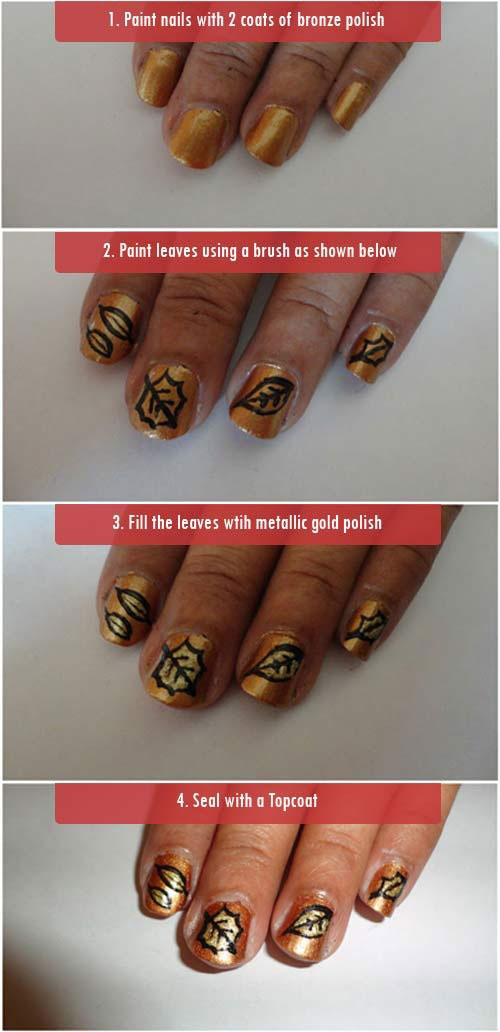

Acrylic Nail Art Tutorial for Fall

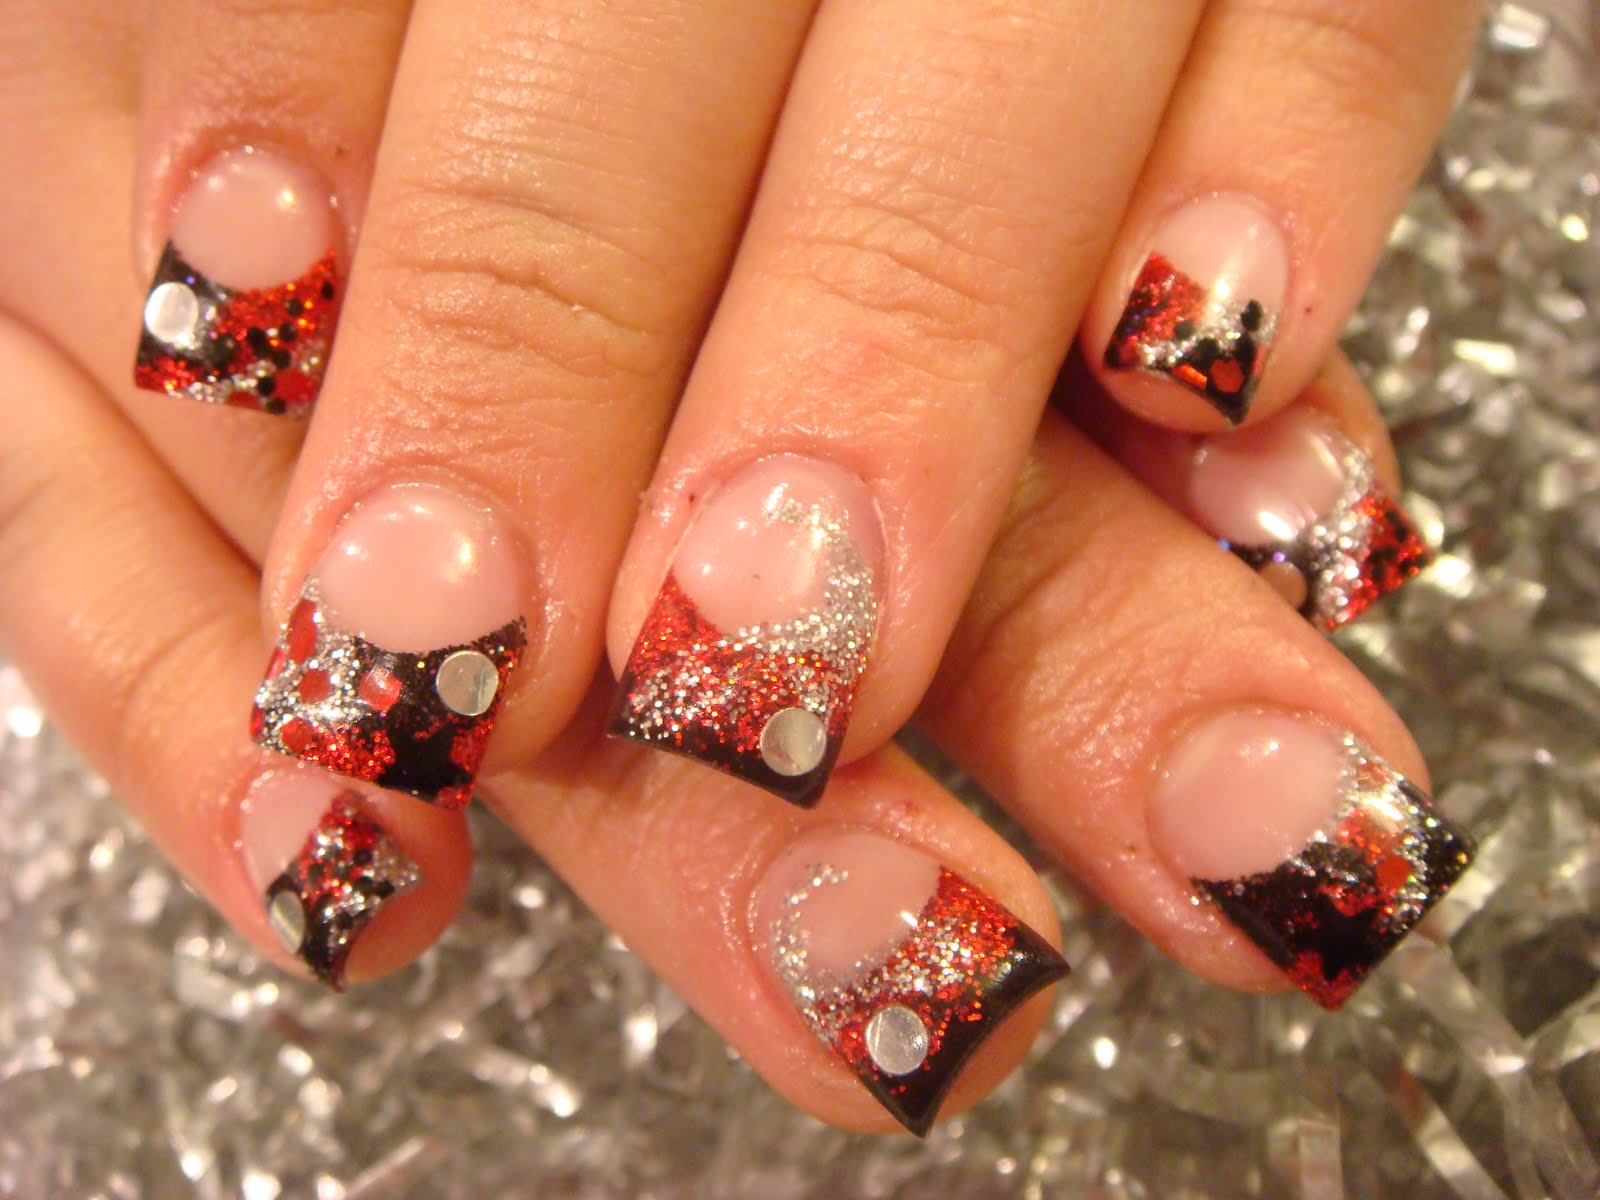


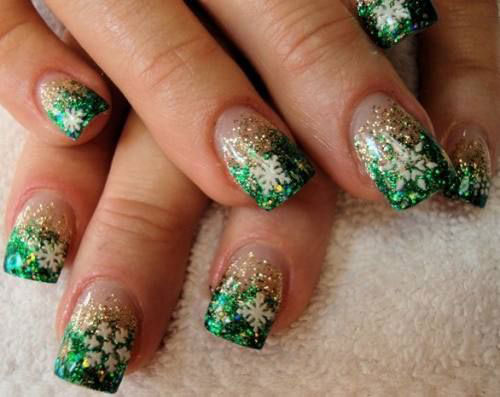
Winter is the season for festivities and celebrations, and your nails should be just as festive. This tutorial will guide you through creating acrylic nail art designs perfect for the winter season. Start by prepping your nails and applying the acrylic mixture as mentioned before. Then, use cool colors like blue, silver, or white to create a winter wonderland look. You can also add some snowflake or reindeer designs for a festive touch. Finish off with a glitter topcoat to add some extra sparkle to your nails.Acrylic Nail Art Tutorial for Winter

Acrylic Nail Art Tutorial for Winter


Creating Stunning Acrylic Nail Art: A Step-by-Step Tutorial
Introduction
 Are you tired of plain, boring nails? Do you want to add some excitement and creativity to your nails? Look no further, because acrylic nail art is here to save the day! Acrylic nails are a popular and versatile way to enhance the look of your nails. With endless design possibilities, you can unleash your inner artist and create stunning and unique nail art. In this tutorial, we will guide you through the process of creating your own acrylic nail art and help you achieve beautiful and eye-catching nails. So, let's get started and elevate your nail game with acrylic nail art!
Materials You Will Need
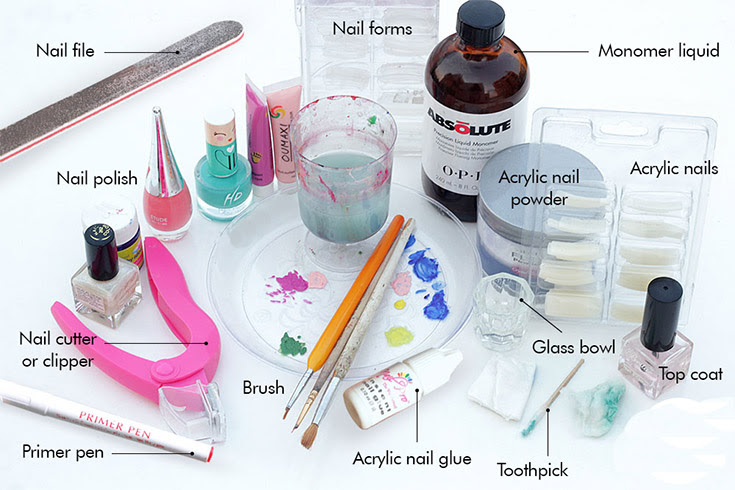
 Before we dive into the tutorial, let's first gather all the necessary materials. You will need
acrylic powder, acrylic liquid, a small brush, nail tips, nail glue, a nail file, and a top coat
. These can be easily found at your local beauty supply store or online. Make sure to choose high-quality products for a long-lasting and professional-looking result.
Before we dive into the tutorial, let's first gather all the necessary materials. You will need
acrylic powder, acrylic liquid, a small brush, nail tips, nail glue, a nail file, and a top coat
. These can be easily found at your local beauty supply store or online. Make sure to choose high-quality products for a long-lasting and professional-looking result.
Step 1: Prepare Your Nails
 The first step to creating acrylic nail art is to prep your nails. Start by
cleaning your nails and pushing back your cuticles
. Then, use a nail file to gently buff the surface of your nails. This will help the acrylic adhere better to your natural nails, creating a stronger bond and preventing chipping or lifting.
The first step to creating acrylic nail art is to prep your nails. Start by
cleaning your nails and pushing back your cuticles
. Then, use a nail file to gently buff the surface of your nails. This will help the acrylic adhere better to your natural nails, creating a stronger bond and preventing chipping or lifting.
Step 2: Apply the Nail Tips
 Next, choose the desired length and shape of your nails by selecting the appropriate nail tips.
Apply a small amount of nail glue to the back of the tip and press it onto your natural nail
. Hold it in place for a few seconds until it sets. Then, use a nail clipper to trim and shape the tip according to your preference.
Next, choose the desired length and shape of your nails by selecting the appropriate nail tips.
Apply a small amount of nail glue to the back of the tip and press it onto your natural nail
. Hold it in place for a few seconds until it sets. Then, use a nail clipper to trim and shape the tip according to your preference.
Step 3: Mix the Acrylic Powder and Liquid
 In a small container, mix the acrylic powder and liquid according to the instructions on the packaging.
Use a ratio of 2 parts powder to 1 part liquid
. Mix it well until it forms a smooth consistency with no lumps.
In a small container, mix the acrylic powder and liquid according to the instructions on the packaging.
Use a ratio of 2 parts powder to 1 part liquid
. Mix it well until it forms a smooth consistency with no lumps.
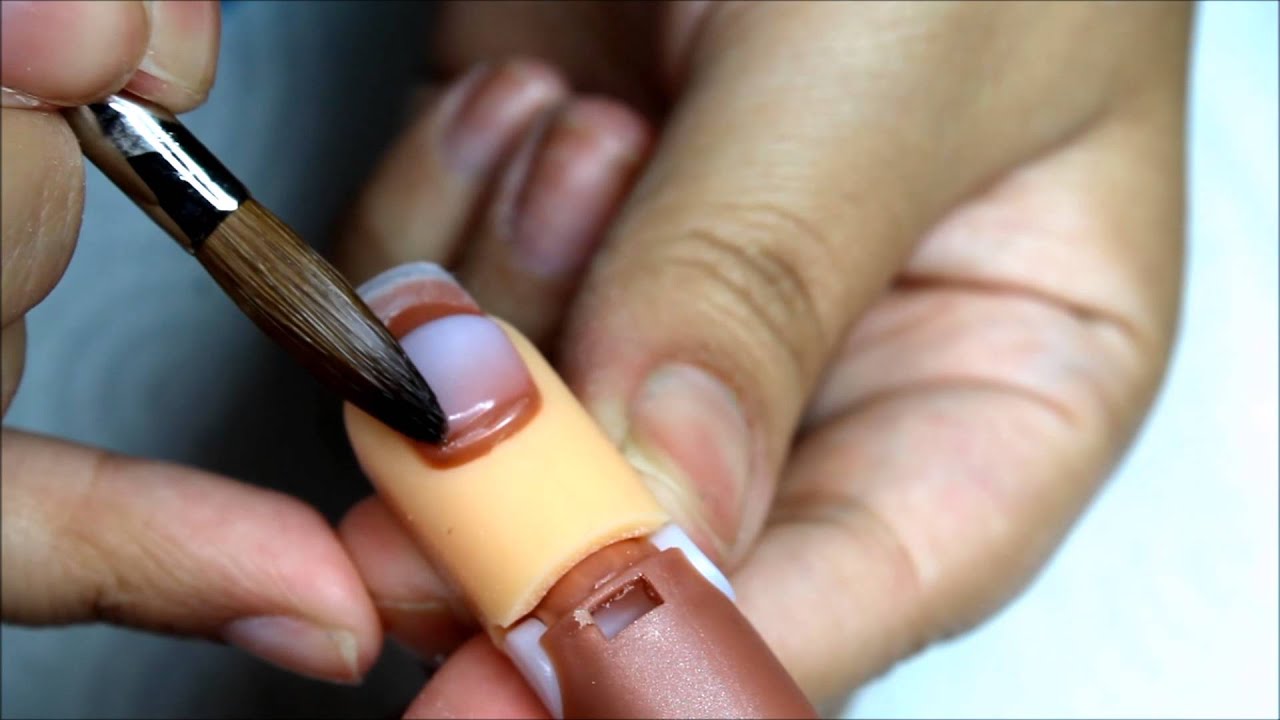
Step 4: Apply the Acrylic
 Using the small brush,
dip it into the acrylic mixture and carefully apply it onto your nail, starting from the base of the nail and working your way to the tip
. Make sure to cover the entire nail and smooth out any bumps or unevenness. Repeat this process on all your nails and let them dry completely.
Using the small brush,
dip it into the acrylic mixture and carefully apply it onto your nail, starting from the base of the nail and working your way to the tip
. Make sure to cover the entire nail and smooth out any bumps or unevenness. Repeat this process on all your nails and let them dry completely.
Step 5: Shape and File
 Once the acrylic has dried, use a nail file to shape and smooth out the edges of your nails. You can also use a buffer to give them a shiny finish. This step is crucial in achieving a professional-looking result, so take your time and pay attention to detail.
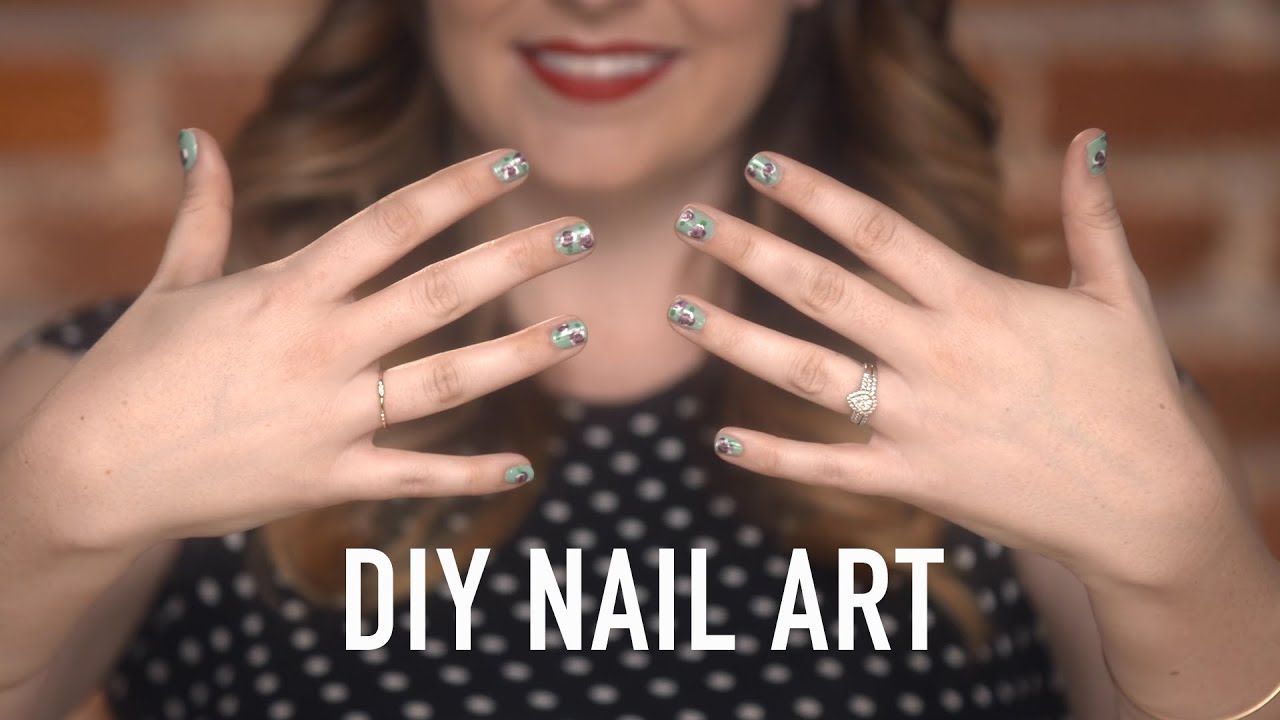
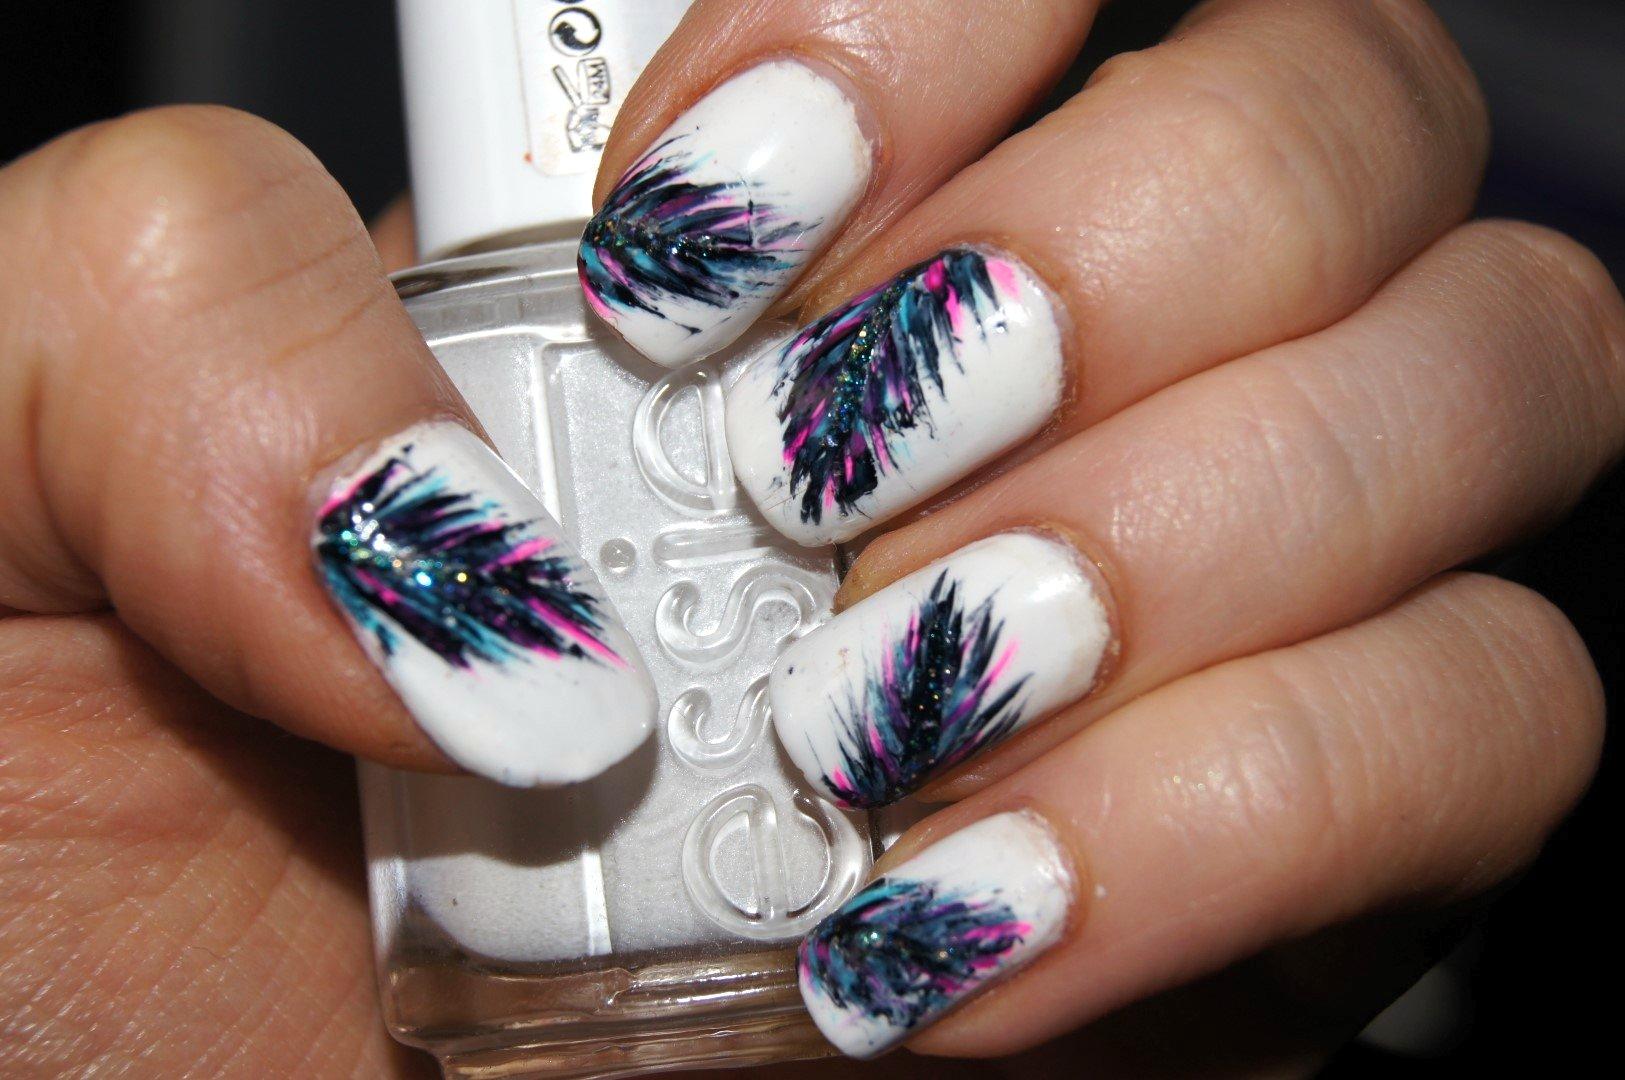
Step 6: It's Time to Get Creative!
 Now comes the fun part – the design! You can use
nail polish, glitter, rhinestones, stickers, or any other nail art supplies
to create your desired design. Let your imagination run wild and experiment with different color combinations and patterns. You can also use a toothpick or a small brush to create intricate designs with the acrylic itself.
Now comes the fun part – the design! You can use
nail polish, glitter, rhinestones, stickers, or any other nail art supplies
to create your desired design. Let your imagination run wild and experiment with different color combinations and patterns. You can also use a toothpick or a small brush to create intricate designs with the acrylic itself.
Step 7: Apply a Top Coat
 To seal and protect your beautiful nail art,
apply a top coat over the entire nail
. This will also give your nails a glossy finish and make the design last longer.
Congratulations, you have now successfully created your own acrylic nail art! With a little practice and creativity, you can achieve endless designs and have stunning nails that will turn heads. So, next time you want to spice up your nails, remember this tutorial and let your artistic side shine through.
To seal and protect your beautiful nail art,
apply a top coat over the entire nail
. This will also give your nails a glossy finish and make the design last longer.
Congratulations, you have now successfully created your own acrylic nail art! With a little practice and creativity, you can achieve endless designs and have stunning nails that will turn heads. So, next time you want to spice up your nails, remember this tutorial and let your artistic side shine through.


