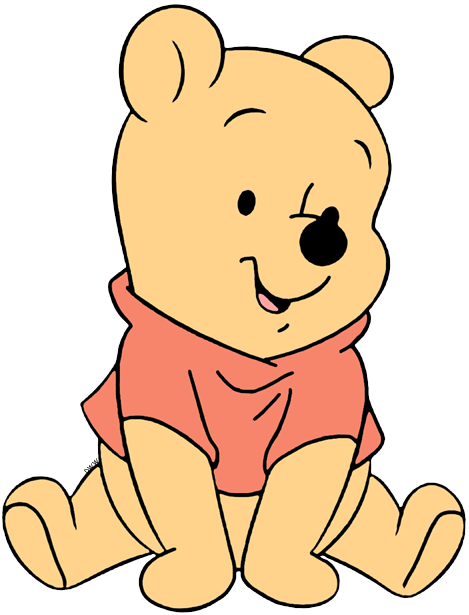
If you're a fan of the lovable bear from the Hundred Acre Wood, then you'll definitely want to try out this adorable Baby Pooh nail art tutorial. With just a few simple steps, you can have these cute and colorful designs on your nails in no time! To start, gather your supplies: a base coat, nail polish in yellow, orange, red, black, and white, a nail art brush, and a top coat. Begin by painting your nails with the yellow polish as the base color. This will serve as the main color for Baby Pooh's body. Once dry, take your orange polish and paint a small semi-circle at the top of your nail. This will be Baby Pooh's head. Next, use the red polish to create a small triangle under the orange semi-circle for Baby Pooh's shirt. Then, using the black polish, add two small dots for his eyes and a curved line for his smile. Now for the fun part – adding the details! Take your white polish and create a small oval shape on Baby Pooh's shirt for a button. Then, using the yellow polish again, add two small circles on his head for his ears. For the finishing touch, use your nail art brush and black polish to add tiny details to Baby Pooh's face, such as eyebrows and a nose. Once everything is dry, seal your design with a top coat and voila – you now have adorable Baby Pooh nails!1. Baby Pooh Nail Art Tutorial


1. Baby Pooh Nail Art Tutorial


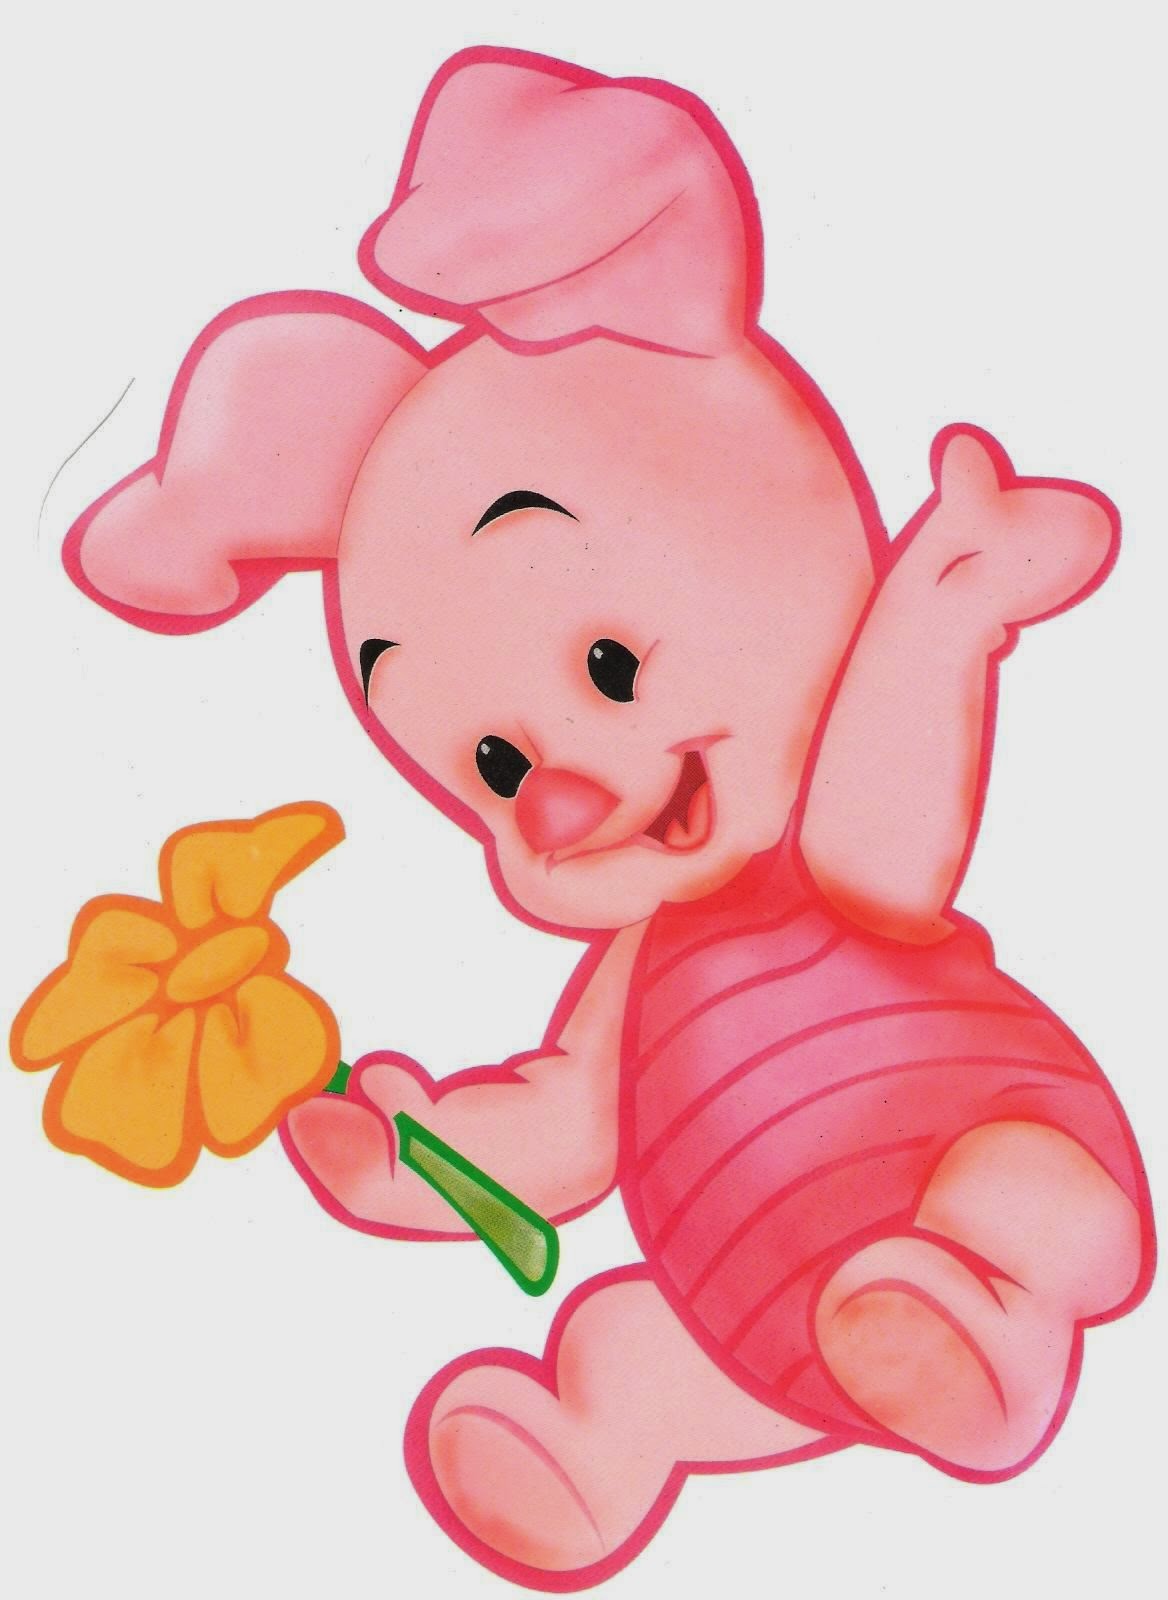
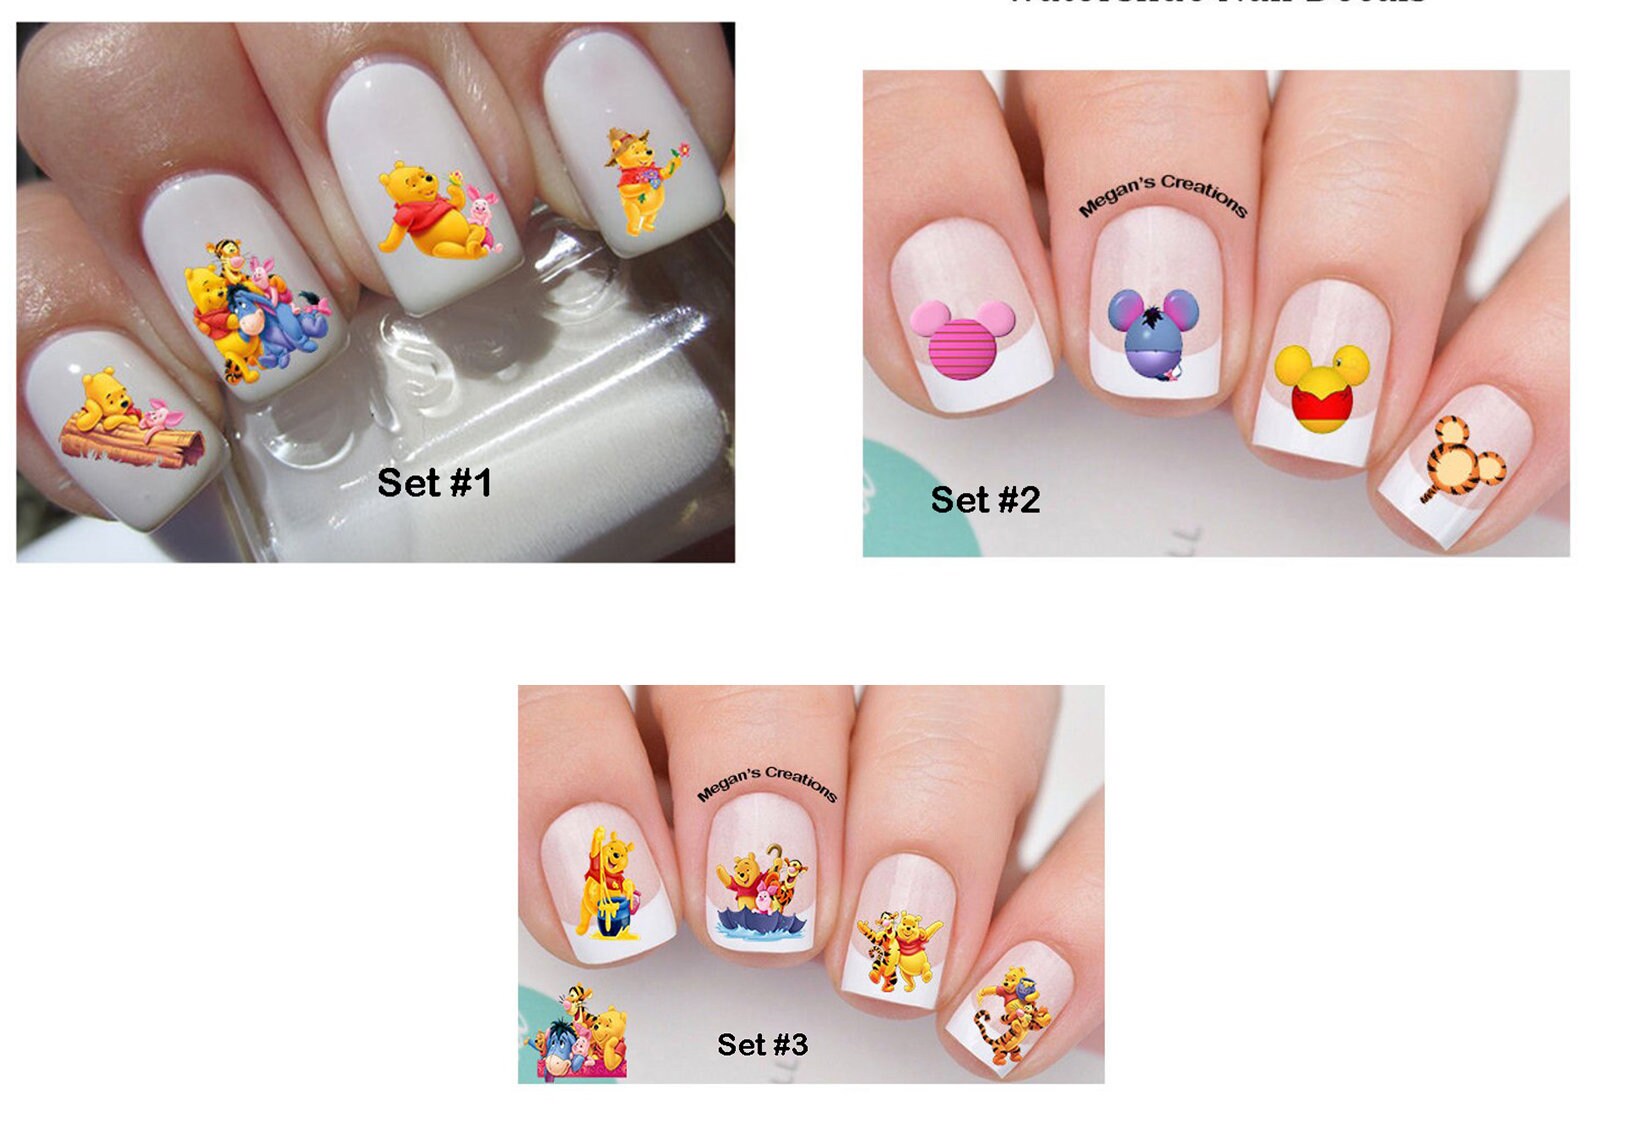
If you're looking for a cute and playful nail design, then look no further than these Baby Pooh inspired designs. These designs are perfect for any occasion and will surely bring a smile to your face every time you look down at your nails. One design idea is to have Baby Pooh's face on each nail. Start by painting your nails with a light yellow base color. Then, using a nail art brush, create Baby Pooh's face on each nail using black and white polish. You can add a different facial expression to each nail for a fun and unique look. Another cute idea is to have a different character from the Hundred Acre Wood on each nail. You can have Baby Pooh, Piglet, Tigger, and Eeyore as your nail art subjects. Use different colors for each character and add details with a nail art brush for a colorful and whimsical look. If you prefer a more subtle design, you can opt for just having Baby Pooh's face on one accent nail while the rest of your nails are painted with a coordinating color. This will add a pop of cuteness to your overall look without being too overwhelming. Get creative with these cute Baby Pooh nail designs and have fun expressing your love for this beloved character.2. Cute Baby Pooh Nail Designs


2. Cute Baby Pooh Nail Designs


Baby Pooh isn't just for kids – adults can also show their love for this adorable bear with these Baby Pooh inspired nail art designs. These designs are a perfect way to add a touch of nostalgia to your nail look. One idea is to create a Baby Pooh French manicure. Instead of the traditional white tip, use a light yellow polish for a subtle nod to Baby Pooh. Then, on the accent nail, add Baby Pooh's face using a nail art brush and black and white polish. For a more intricate design, you can create a scene from the Hundred Acre Wood on your nails. Paint a light blue base color for the sky and use a nail art brush to add a tree, a beehive, and Baby Pooh himself. This design will surely bring a smile to your face every time you look at it. If you're feeling particularly creative, you can try your hand at creating a 3D Baby Pooh design. Use acrylic paint or sculpting gel to create Baby Pooh's face and body on your nail. This design may take more time and skill, but the end result will be worth it.3. Baby Pooh Inspired Nail Art


3. Baby Pooh Inspired Nail Art


Not everyone has the time or skill to create intricate nail art designs, but that doesn't mean you can't have cute Baby Pooh nails. These easy ideas are perfect for beginners or anyone looking for a simple and quick way to show their love for this classic character. One easy idea is to simply add Baby Pooh's face as an accent on one nail. You can use a nail art brush or a stamping tool to create the design. This will add a pop of cuteness to your nails without requiring too much effort. Another easy idea is to use Baby Pooh themed nail stickers. These can be found at most beauty supply stores and are a quick and easy way to add some Baby Pooh flair to your nails. Simply apply the stickers on top of your base color and seal with a top coat for a simple yet adorable look. If you have a steady hand, you can also try painting small Baby Pooh designs on your nails using a nail art brush and acrylic paint. This will give you more control over the design and allows you to customize it to your liking.4. Easy Baby Pooh Nail Art Ideas


4. Easy Baby Pooh Nail Art Ideas

Baby Pooh is undeniably adorable, and these nail designs are no exception. These designs are perfect for anyone who loves all things cute and will surely make a statement on your nails. One design idea is to have Baby Pooh on one nail and his friends Tigger, Eeyore, and Piglet on the other nails. You can use different colors for each character to make them stand out. This design is perfect for any Disney lover or for anyone who wants to add a touch of childhood nostalgia to their nails. Another cute idea is to have a baby version of each character on your nails. Use pastel colors for the base and add details with a nail art brush. This design is perfect for spring or Easter and is sure to put a smile on your face every time you look at it. If you're feeling extra creative, you can create a 3D Baby Pooh design using sculpting gel or acrylic paint. This will give your nails a unique and eye-catching look that will surely impress anyone who sees it.5. Adorable Baby Pooh Nail Designs


5. Adorable Baby Pooh Nail Designs

If you're new to nail art, don't worry – these Baby Pooh nail art designs are perfect for beginners. With just a few simple steps, you can have cute and colorful nails that will make you feel like a pro. For a simple yet adorable design, paint your nails with a light yellow base color and add a white semi-circle at the top for Baby Pooh's head. Then, using a nail art brush, add his facial features with black and white polish. This design is perfect for anyone who wants to show their love for Baby Pooh without being too complicated. You can also try creating a Baby Pooh French manicure. Use a light yellow polish for the tip and on the accent nail, add Baby Pooh's face using a stamping tool or nail art brush. This design is perfect for anyone who wants a subtle yet cute look. Another easy design is to use Baby Pooh themed nail stickers. These can be found at most beauty supply stores and are a quick and easy way to add some Baby Pooh flair to your nails. Simply apply the stickers on top of your base color and seal with a top coat for a simple yet adorable look.6. Baby Pooh Nail Art for Beginners


6. Baby Pooh Nail Art for Beginners

If you're planning a baby shower or birthday party with a Baby Pooh theme, then these nail art designs are perfect for the occasion. They are fun, colorful, and will surely be a hit with all the guests. One idea is to create a different design on each nail, featuring different characters from the Hundred Acre Wood. You can have Baby Pooh, Piglet, Tigger, Eeyore, and even Rabbit on your nails. This design is perfect for anyone who wants to showcase their love for all the characters. Another idea is to create a Baby Pooh scene on your nails. Use a light blue base color for the sky and add a tree, a beehive, and Baby Pooh using a nail art brush and acrylic paint. This design is perfect for anyone who wants to add a touch of whimsy to their nails. You can also try creating a baby version of each character on your nails. Use pastel colors for the base and add details with a nail art brush. This design is perfect for a baby shower or birthday party and will surely be a hit with all the guests.7. Baby Pooh Themed Nail Art


7. Baby Pooh Themed Nail Art

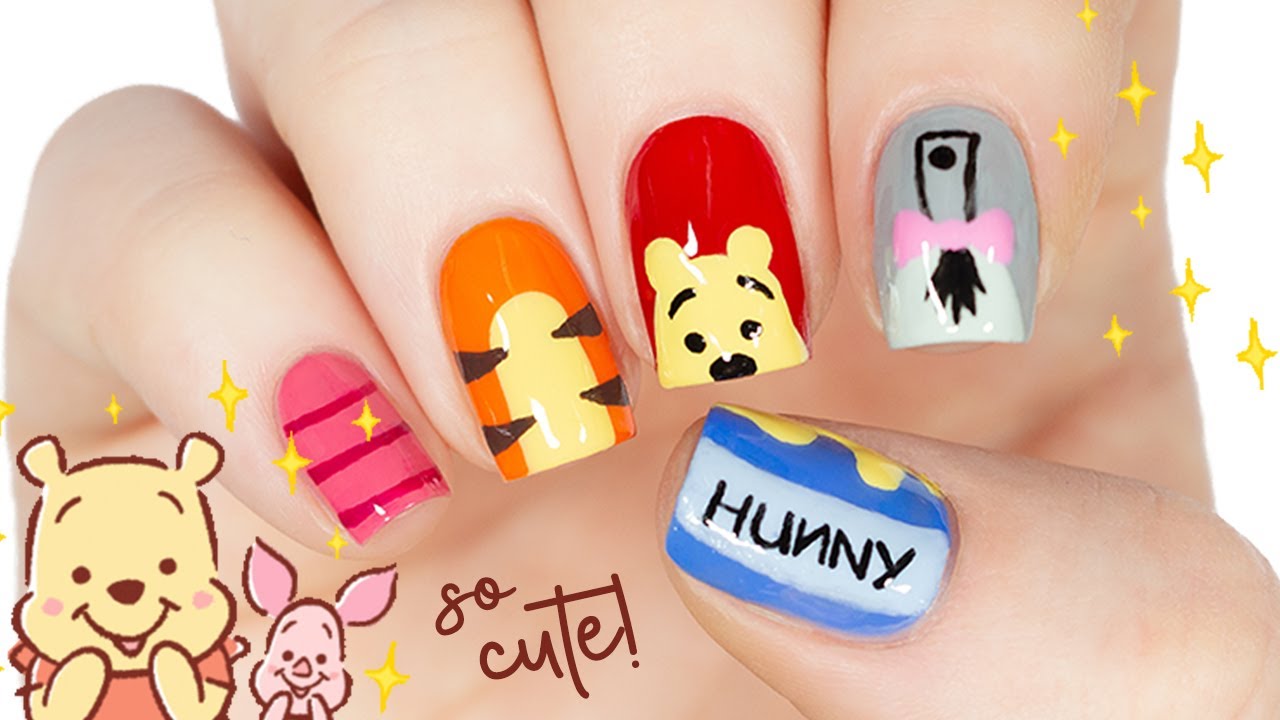


If you're a visual learner, then this step-by-step guide for Baby Pooh nail art will be perfect for you. Follow these simple steps to achieve cute and colorful Baby Pooh nails. Step 1: Prep your nails by filing, shaping, and applying a base coat. Step 2: Paint your nails with a light yellow base color and let it dry completely. Step 3: Using an orange polish, create a small semi-circle at the top of your nail for Baby Pooh's head. Step 4: With a red polish, paint a small triangle under the orange semi-circle for Baby Pooh's shirt. Step 5: Using a nail art brush, add two small dots for Baby Pooh's eyes and a curved line for his smile using black polish. Step 6: Take a white polish and create a small oval shape on Baby Pooh's shirt for a button. Step 7: Use the yellow polish again to add two small circles on Baby Pooh's head for his ears. Step 8: Use a nail art brush and black polish to add tiny details to Baby Pooh's face, such as eyebrows and a nose. Step 9: Once everything is dry, seal your design with a top coat. Step 10: Repeat these steps on all your nails and you now have adorable Baby Pooh nails!8. Baby Pooh Nail Art Step-by-Step Guide

8. Baby Pooh Nail Art Step-by-Step Guide
Looking for some inspiration for your next Baby Pooh nail art design? Look no further than these cute and creative ideas that will surely spark your imagination. One idea is to create a different design on each nail, featuring different characters from the Hundred Acre Wood. You can have Baby Pooh, Piglet, Tigger, Eeyore, and even Rabbit on your nails. Use different colors and add details with a nail art brush for a whimsical look. If you're feeling extra creative, you can create a 3D Baby Pooh design using sculpting gel or acrylic paint. This will give your nails a unique and eye-catching look that will surely impress anyone who sees it. For a more subtle design, you can opt for just having Baby Pooh's face on one accent nail while the rest of your nails are painted with a coordinating color. This will add a pop of cuteness to your overall look without being too overwhelming. Get inspired and have fun creating your own unique Baby Pooh nail art designs.9. Baby Pooh Nail Art Inspiration

9. Baby Pooh Nail Art Inspiration

Looking for a fun and cute activity to do with your kids? Why not try creating some adorable Baby Pooh nail art designs together? These designs are perfect for kids and will surely bring a smile to their faces. One idea is to have Baby Pooh on one nail and his friends Tigger, Eeyore, and Piglet on the other nails. You can use different colors for each character to make them stand out. This design is perfect for any Disney loving kid or for a fun activity at a birthday party. Another idea is to create a scene from the Hundred Acre Wood on your nails. Paint a light blue base color for the sky and use a nail art brush to add a tree, a beehive, and Baby Pooh himself. This design is perfect for any kid who loves a little bit of magic and whimsy. If you want to keep things simple, you can use Baby Pooh themed nail stickers. These can be found at most beauty supply stores and are a quick and easy way to add some Baby Pooh flair to your nails. Simply apply the stickers on top of your base color and seal with a top coat for a simple yet adorable look.10. Baby Pooh Nail Art Designs for Kids


10. Baby Pooh Nail Art Designs for Kids
Unleashing Your Inner Child with Baby Pooh Nail Art

The Joy of Childhood Memories
 As adults, we often find ourselves caught up in the hustle and bustle of everyday life. We are constantly juggling work, family, and other responsibilities, leaving little time for ourselves. But amidst the chaos, there is always a small part of us that longs for the simpler times of our childhood. The carefree days of playing with our favorite toys and watching our favorite cartoons. And what better way to relive those precious memories than through
baby pooh nail art
.
As adults, we often find ourselves caught up in the hustle and bustle of everyday life. We are constantly juggling work, family, and other responsibilities, leaving little time for ourselves. But amidst the chaos, there is always a small part of us that longs for the simpler times of our childhood. The carefree days of playing with our favorite toys and watching our favorite cartoons. And what better way to relive those precious memories than through
baby pooh nail art
.
Bringing Nostalgia to Your Fingertips
 The beloved character of Winnie the Pooh has been a staple in many of our childhoods. His innocent and lovable nature has captured our hearts and continues to do so even as adults. And now, with the rise of nail art, we can incorporate this iconic character into our daily lives.
Baby pooh nail art
is not only a fun and creative way to express yourself, but it also brings a sense of nostalgia and comfort to your fingertips.
The beloved character of Winnie the Pooh has been a staple in many of our childhoods. His innocent and lovable nature has captured our hearts and continues to do so even as adults. And now, with the rise of nail art, we can incorporate this iconic character into our daily lives.
Baby pooh nail art
is not only a fun and creative way to express yourself, but it also brings a sense of nostalgia and comfort to your fingertips.
How to Achieve the Look
 Creating
baby pooh nail art
may seem daunting at first, but with a little bit of practice and the right tools, you can achieve a professional-looking design. Start by painting your nails with a base color, preferably a light yellow or nude shade to represent Winnie the Pooh's fur. Then, using a thin brush or toothpick, carefully draw on his iconic red shirt and honey pot. You can also add other details such as his face, ears, and even his honey-loving friend, Piglet. Finish off with a top coat to seal in your design and voila, you now have adorable baby pooh nails!
Creating
baby pooh nail art
may seem daunting at first, but with a little bit of practice and the right tools, you can achieve a professional-looking design. Start by painting your nails with a base color, preferably a light yellow or nude shade to represent Winnie the Pooh's fur. Then, using a thin brush or toothpick, carefully draw on his iconic red shirt and honey pot. You can also add other details such as his face, ears, and even his honey-loving friend, Piglet. Finish off with a top coat to seal in your design and voila, you now have adorable baby pooh nails!
Embrace Your Youthful Side
 Incorporating
baby pooh nail art
into your style not only adds a touch of cuteness, but it also allows you to embrace your inner child. It's a reminder to not take life too seriously and to always find joy in the simple things. So why not treat yourself to a trip down memory lane and try out this fun and nostalgic nail art? Who knows, it may just bring a smile to your face every time you look at your fingertips.
Incorporating
baby pooh nail art
into your style not only adds a touch of cuteness, but it also allows you to embrace your inner child. It's a reminder to not take life too seriously and to always find joy in the simple things. So why not treat yourself to a trip down memory lane and try out this fun and nostalgic nail art? Who knows, it may just bring a smile to your face every time you look at your fingertips.
In conclusion, baby pooh nail art is not just a trend, but a way to express your love for a beloved childhood character. It's a fun and creative way to bring a touch of nostalgia to your everyday life. So go ahead and unleash your inner child with this adorable nail art design!


