Baseball is not just a sport, it's a passion that runs deep in the hearts of many. And what better way to show your love for baseball than through your nail art? Whether you're a die-hard fan or just enjoy the game, these DIY baseball nail art designs will surely hit a home run on your nails. So grab your nail polish and let's get started!Baseball Nail Art: Step-by-Step DIY Guide


Baseball Nail Art: Step-by-Step DIY Guide


If you're new to the world of nail art, don't worry. This easy tutorial will guide you through the steps to create your very own baseball nail art. First, start off by painting your nails with a base coat to protect them from any staining. Then, apply two coats of white nail polish for your base color. Let it dry completely before moving on to the next step.DIY Baseball Nail Art Tutorial


DIY Baseball Nail Art Tutorial

Once your white base is dry, it's time to create the iconic red stitching of a baseball. Take a thin nail art brush or a toothpick and dip it in red nail polish. Start by creating a curved line in the center of your nail, from the base to the tip. Then, create two more curved lines on either side of the first one. This will create the classic baseball stitching pattern. You can also use a red nail art pen for a more precise design.Easy Baseball Nail Art Design


Easy Baseball Nail Art Design
There are many different ways to incorporate baseball into your nail art. You can try a simple design of just the red stitching on a white base, or get more creative with a full baseball scene on your nails. Use baseball-related keywords such as bat, ball, glove, field, home plate, and players to inspire your design. You can also add some sparkle with glitter polish or create a textured look with a matte top coat.DIY Baseball Nail Art Ideas

DIY Baseball Nail Art Ideas

If you're new to nail art, don't be intimidated. Start with a simple design and practice until you feel comfortable trying more complex designs. You can also use stickers or decals to create a baseball nail art design. Simply place the sticker or decal on your nail before applying a top coat to secure it in place. This is a great option for beginners or for those who don't have a steady hand for painting.Baseball Nail Art for Beginners

Baseball Nail Art for Beginners

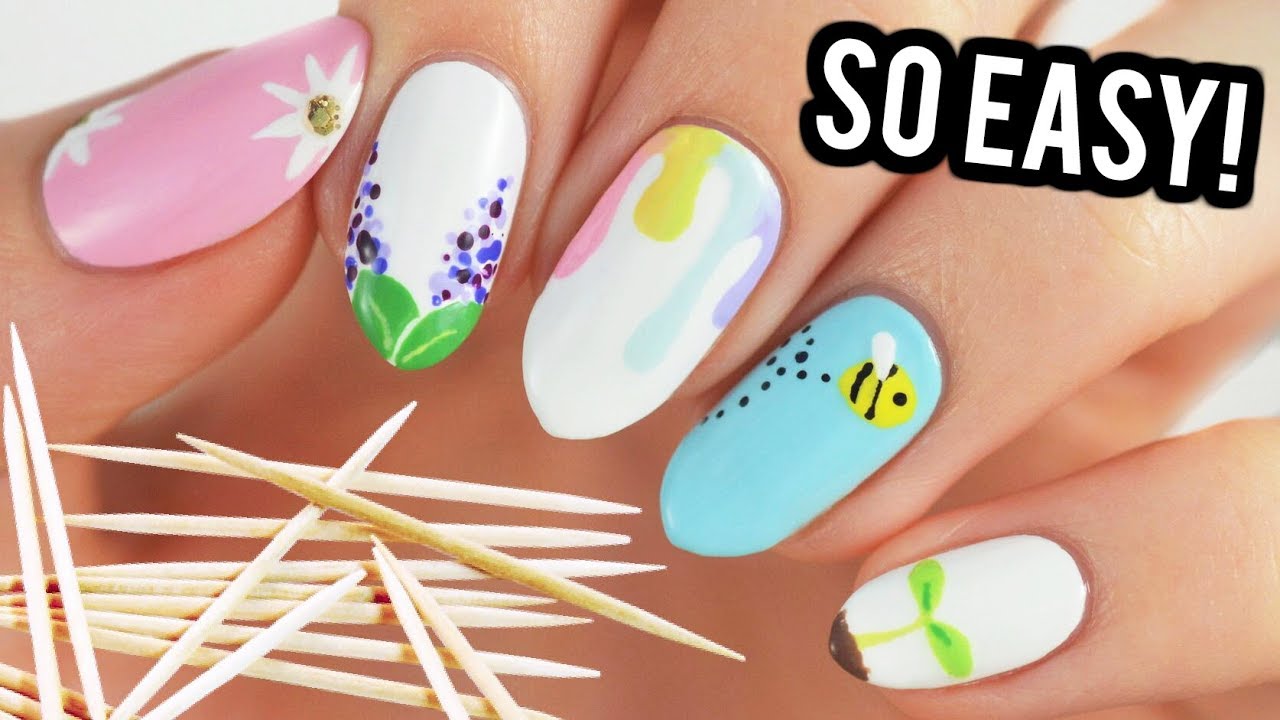
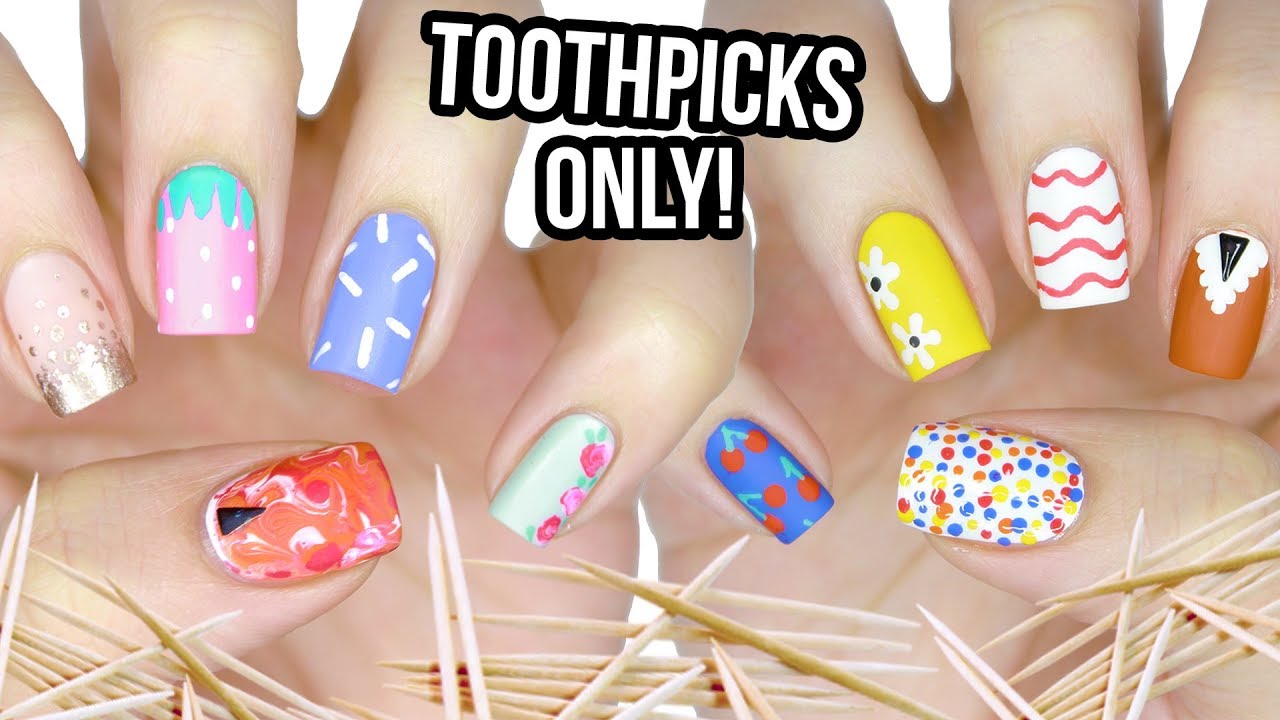
Don't have a nail art brush? No problem! You can create the red stitching on your baseball nail art using a toothpick. Simply dip the end of a toothpick into red nail polish and carefully create the curved lines on your nail. You may need to redip the toothpick for each line to get a consistent color. This is a great alternative for those who don't have nail art tools on hand.DIY Baseball Nail Art with Toothpick


DIY Baseball Nail Art with Toothpick


For a cute and playful take on baseball nail art, try incorporating some cartoon elements. You can use baseball-themed keywords such as cartoon players, mascot, baseball cap, and sunglasses to create a fun and unique design. You can also use bright colors and add some dots or stripes for a playful touch.Cute Baseball Nail Art DIY

Cute Baseball Nail Art DIY


If you're a fan of stamping nail art, you can also create a baseball design using stamping plates. Look for a plate that has a baseball or sports-themed design and use it to stamp the pattern onto your nails. This is a quick and easy way to get a professional-looking design without having to freehand it.Baseball Nail Art Stamping Tutorial

Baseball Nail Art Stamping Tutorial


If you want to take your baseball nail art to the next level, try creating a 3D effect with the stitching. After creating the red stitching pattern, use a thin brush or toothpick to apply a layer of clear or white nail polish over the red lines. This will create a raised texture that resembles the stitching on a baseball. Let it dry completely before applying a top coat.DIY Baseball Stitch Nail Art

DIY Baseball Stitch Nail Art


For a clean and precise design, try using tape to create your baseball nail art. First, paint your nails with a base coat and two coats of white polish. Once dry, cut small strips of tape and place them in a criss-cross pattern on your nails, leaving some space between each strip. Then, paint over the tape with red nail polish and carefully remove the tape before the polish dries. This will create a perfect white base with clean red lines for the stitching.Baseball Nail Art with Tape: Easy DIY

Baseball Nail Art with Tape: Easy DIY
How to Create Baseball Nail Art at Home

Get Ready to Step Up Your Nail Game
 Are you a baseball fan looking for a way to show your love for the sport? Look no further than baseball nail art! This fun and creative DIY project is perfect for game days, team events, or just to add some sporty flair to your nails. Not only is it a great way to express your love for baseball, but it also allows you to experiment with different designs and techniques. In this article, we'll show you how to create your own baseball nail art at home.
Gather Your Supplies
 Before you dive into creating your baseball nail art, make sure you have all the necessary supplies. You will need
nail polish
in white, red, and navy blue, as well as a top coat and base coat. You will also need some
nail art tools
such as a thin brush, dotting tool, and toothpick. Additionally, you will need some
nail polish remover
and cotton pads for clean-up.
Before you dive into creating your baseball nail art, make sure you have all the necessary supplies. You will need
nail polish
in white, red, and navy blue, as well as a top coat and base coat. You will also need some
nail art tools
such as a thin brush, dotting tool, and toothpick. Additionally, you will need some
nail polish remover
and cotton pads for clean-up.
Prep Your Nails
 Start by prepping your nails. Make sure they are clean and free of any old polish. Apply a base coat to protect your nails and help the polish last longer. Let it dry completely before moving on to the next step.
Create the Baseball Stitching
 Take your red nail polish and carefully create two diagonal lines on your nail, leaving a space in the middle. Using your thin brush, create small lines on each side of the space to create the stitching. You can also use a toothpick for this step if you don't have a thin brush. Repeat this on all of your nails.
Add the Baseball Details
 Using your white nail polish, create a small circle in the middle of the stitching. This will be the baseball. Then, using your dotting tool or toothpick, add white dots on either side of the baseball to create the laces. You can also add a small black dot in the center of the baseball for added detail.
Finish with a Top Coat
 Once your design is complete, let it dry for a few minutes before applying a top coat. This will seal in your design and give it a glossy finish. It will also help your nail art last longer. Make sure to clean up any excess polish on your skin or cuticles with a cotton pad and nail polish remover.
Final Thoughts
 With just a few simple steps, you can create your own baseball nail art at home. This fun and creative DIY project is perfect for any baseball fan and is a great way to show your love for the sport. So gather your supplies and get ready to step up your nail game with some sporty and stylish nails.


