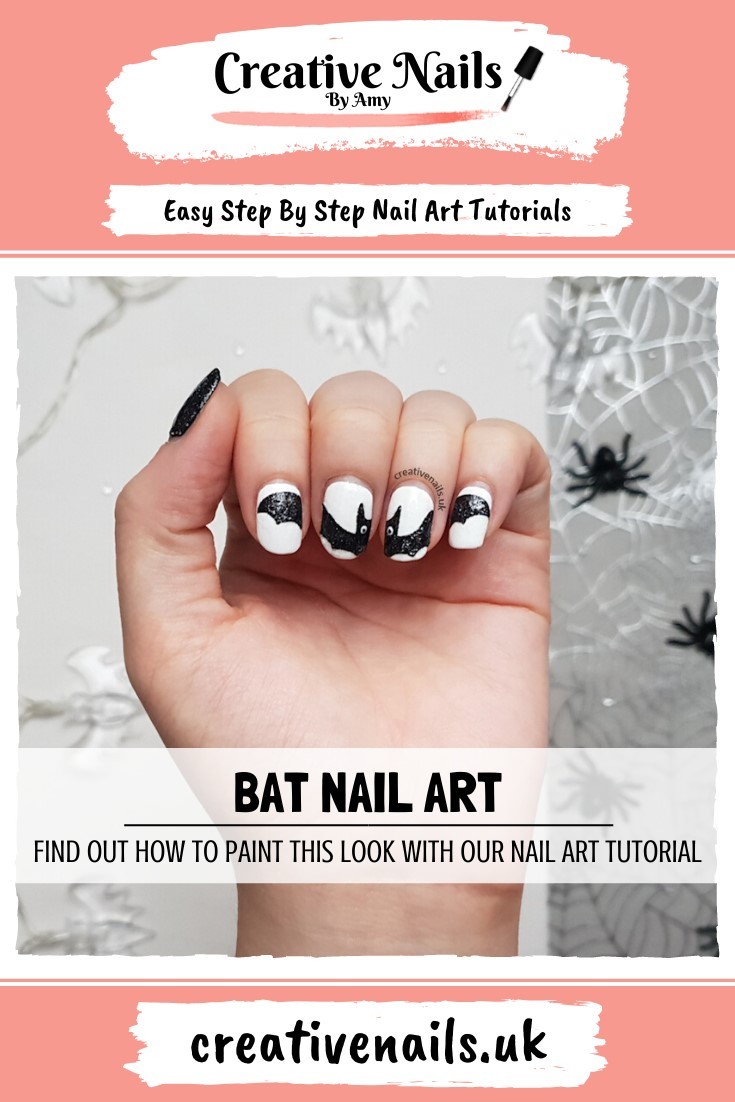
Looking for a fun and spooky nail art design for Halloween or just because you love bats? Look no further than this easy bat nail art tutorial! With just a few simple steps, you can have adorable bat nails that are perfect for any occasion. To get started, you'll need a few supplies:Easy Bat Nail Art Tutorial


Easy Bat Nail Art Tutorial


If you love doing your own nails and want to save some money, this DIY bat nail art tutorial is perfect for you. With a few simple steps and some basic nail art tools, you can create professional-looking bat nails right at home. Start by preparing your nails with a base coat to protect them and give your polish a smooth surface to adhere to. Then, paint your nails with a black polish for the base color. Once the black polish is dry, use a thin brush and white polish to create a crescent moon shape on each nail. Next, using the same thin brush and black polish, create a small curved line near the base of the moon shape to represent the bat's body. Then, add two pointed ears on top of the moon and two wings on either side of the body. If you're not confident in your painting skills, you can also use small bat-shaped nail stickers for this step. Once your bat design is complete, use a dotting tool or toothpick to add a few white dots on the black background to represent stars. Finish off with a top coat to seal in your design and add shine.DIY Bat Nail Art Tutorial

DIY Bat Nail Art Tutorial


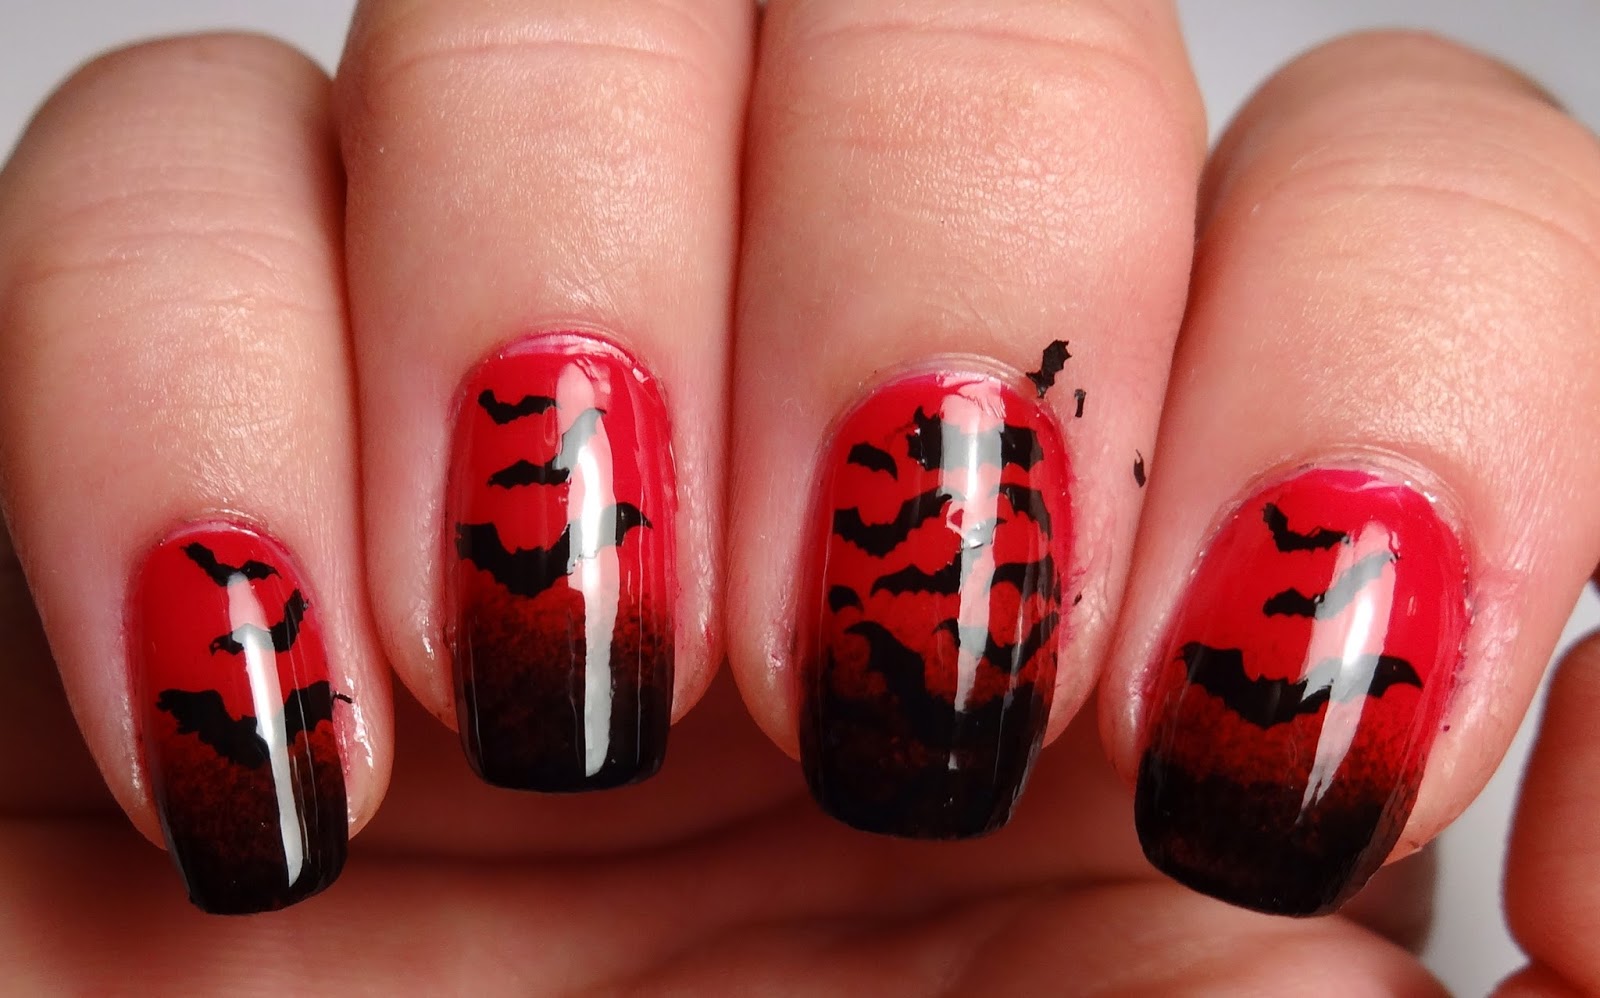
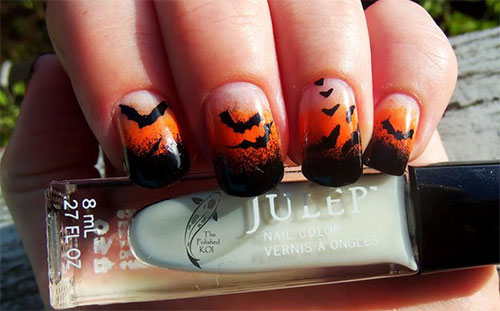
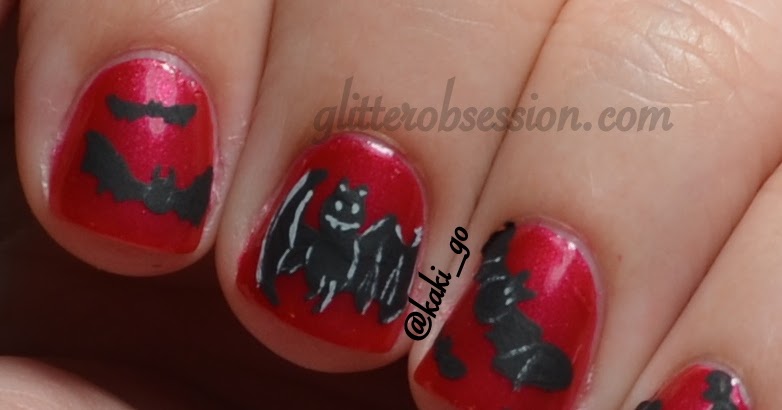
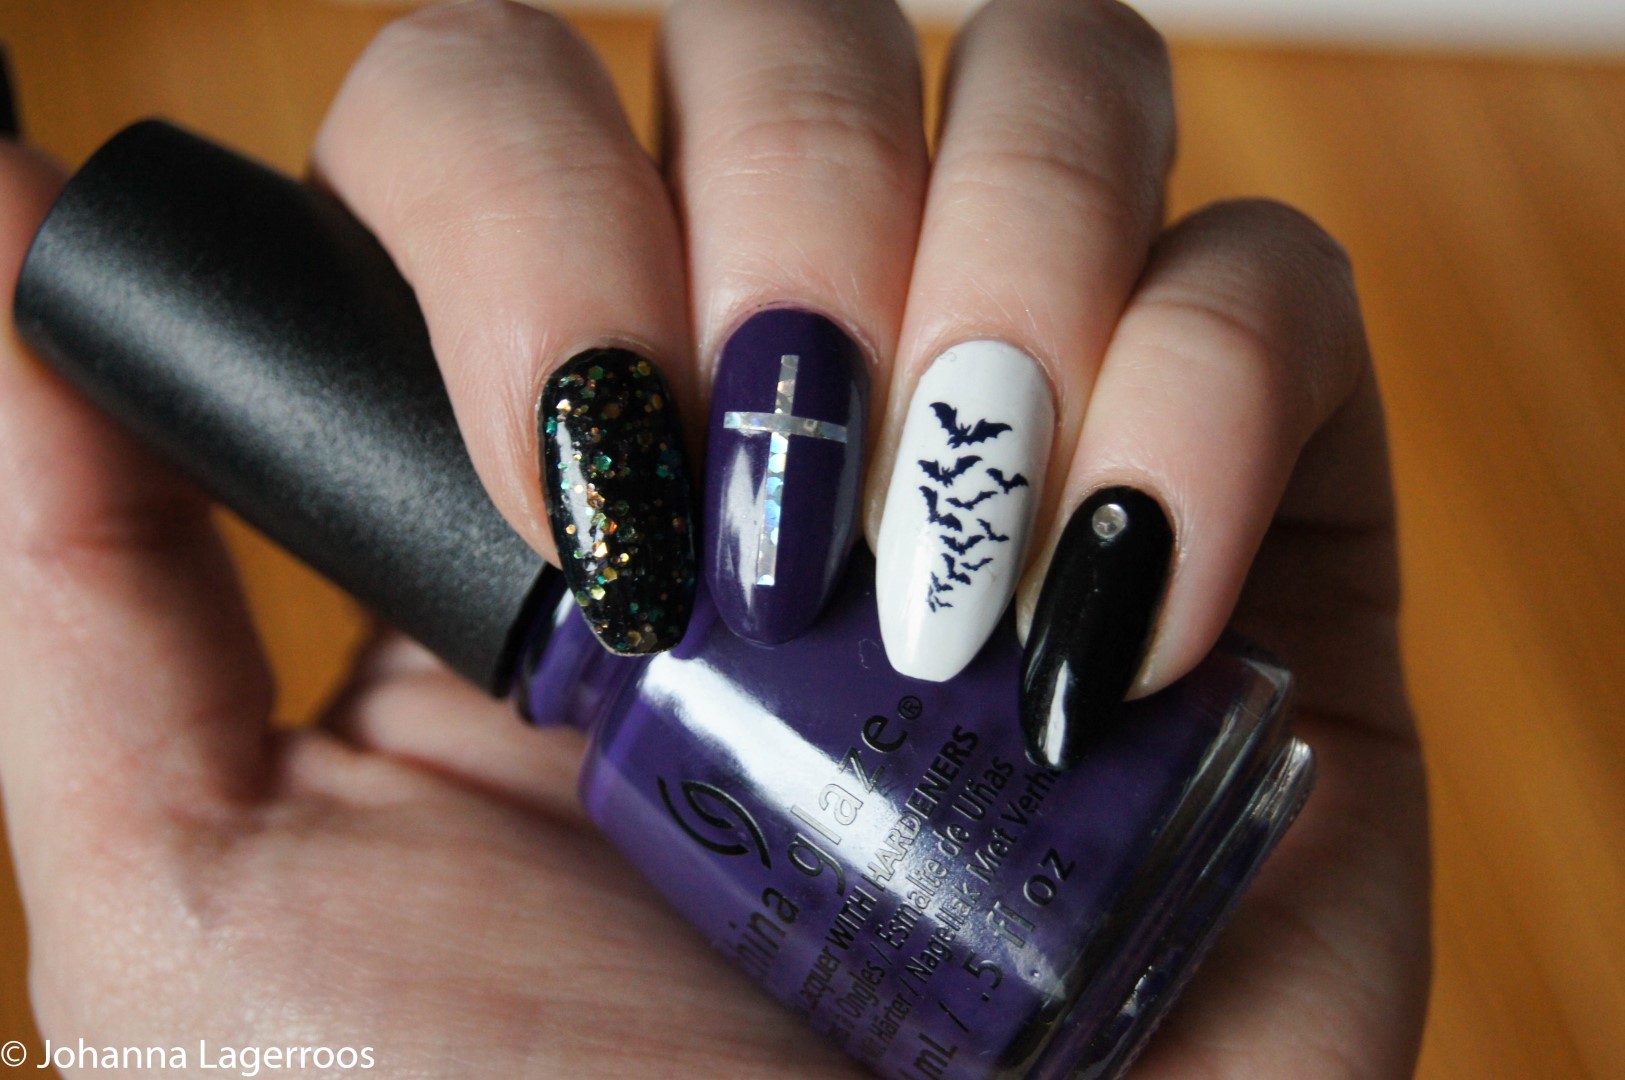
Looking for a nail art design to rock this Halloween? This bat nail art tutorial is perfect for the spooky season. With its cute and simple design, it's sure to be a hit at any Halloween party or event. Start by painting your nails with a black polish for the base color. Then, using a thin brush and white polish, create a moon shape on each nail. Next, add two small black dots for the bat's eyes and a curved line for the mouth. You can also add small fangs if you want to make your bat more menacing. Using the same thin brush and black polish, add two pointed ears on top of the moon and two wings on either side of the body. If you're not confident in your painting skills, you can also use small bat-shaped nail stickers for this step. Once your design is complete, add a top coat to seal in your design and make it last all night long.Halloween Bat Nail Art Tutorial


Halloween Bat Nail Art Tutorial


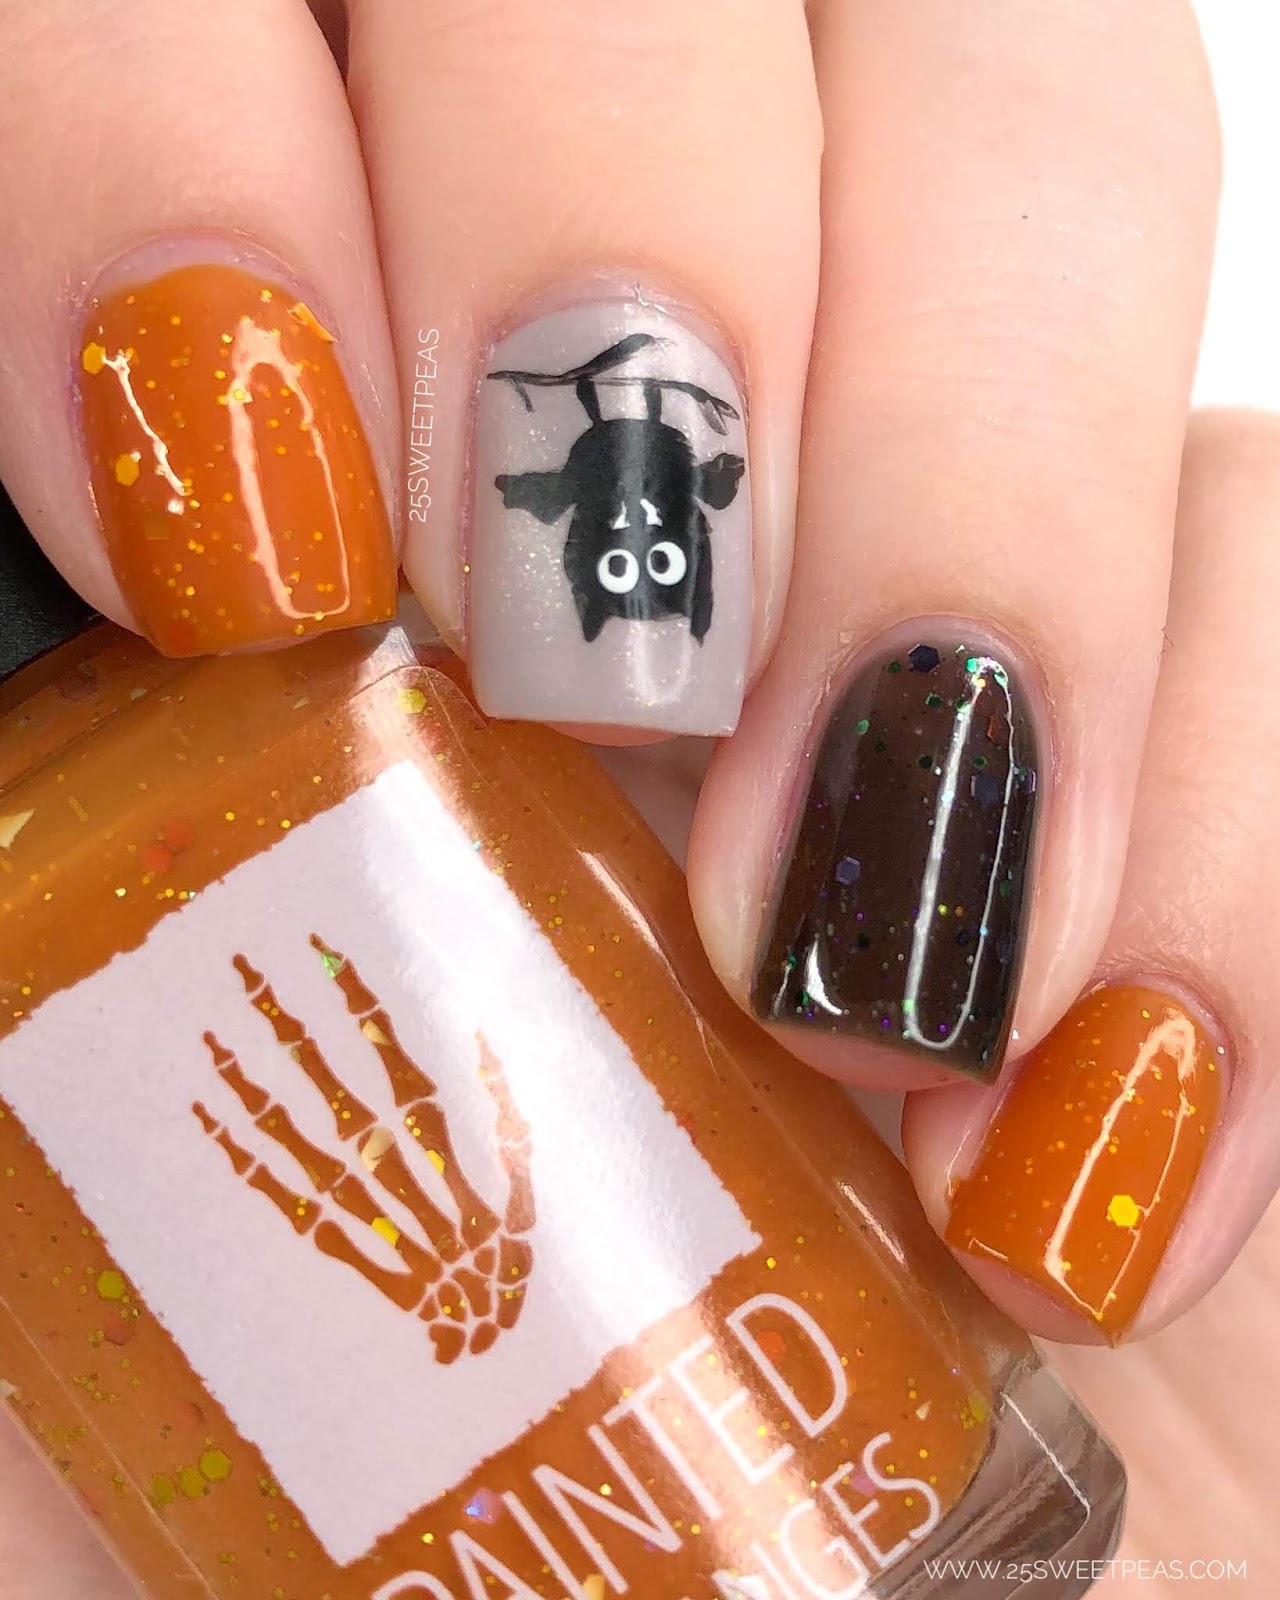
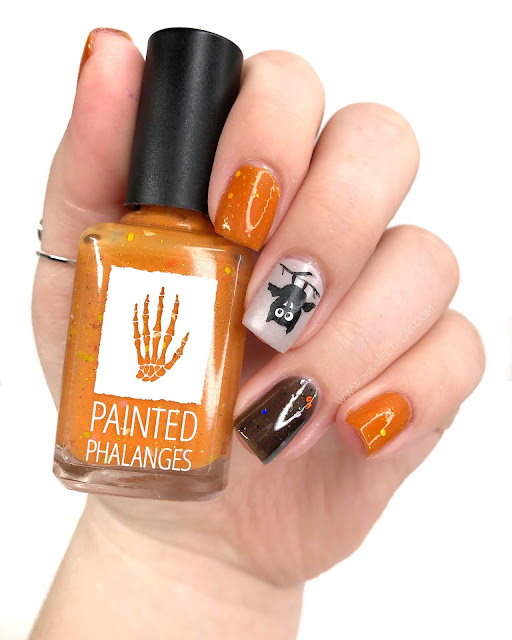
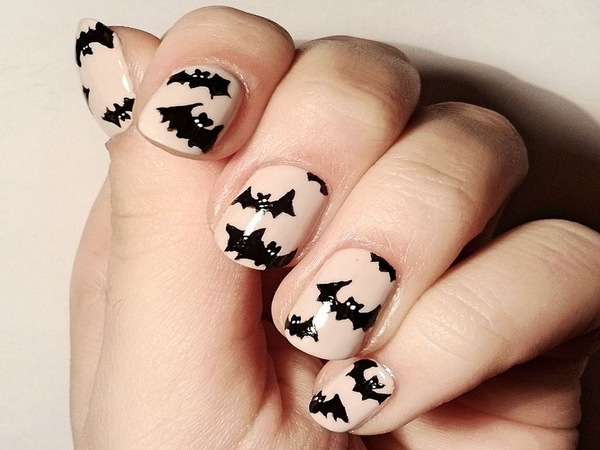
If you love cute and playful nail designs, this bat nail art tutorial is perfect for you. With its simple and adorable design, it's perfect for any occasion. Start by painting your nails with a light grey polish for the base color. Then, using a thin brush and black polish, create a small bat shape on each nail. You can also use a bat-shaped nail sticker for this step if you're not confident in your painting skills. Next, using the same thin brush and black polish, add two pointed ears on top of the bat's head and two wings on either side of the body. For a playful touch, you can also add a small bow tie or hair bow on the bat's head using a dotting tool or toothpick. Finish off with a top coat to seal in your design and add shine.Cute Bat Nail Art Tutorial
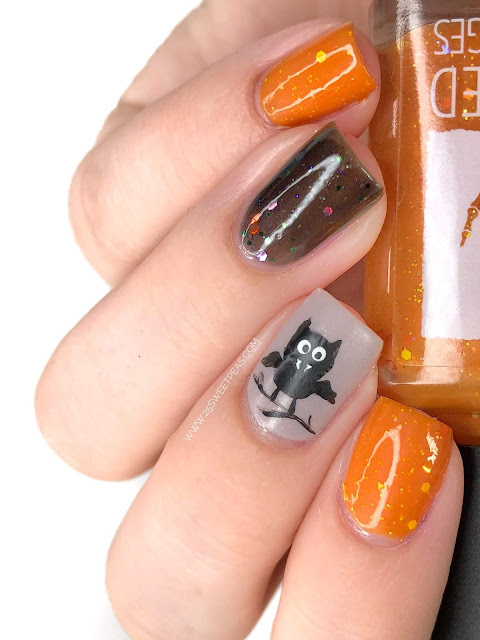

Cute Bat Nail Art Tutorial


If you're new to nail art or just looking for a simple and easy design, this bat nail art tutorial is perfect for you. With just a few steps and basic nail art tools, you can create a cute and simple bat design on your nails. Start by painting your nails with a light grey polish for the base color. Then, using a thin brush and black polish, create a small bat shape on each nail. You can also use a bat-shaped nail sticker for this step if you're not confident in your painting skills. Next, using the same thin brush and black polish, add two pointed ears on top of the bat's head and two wings on either side of the body. Finish off with a top coat to seal in your design and add shine.Simple Bat Nail Art Tutorial


Simple Bat Nail Art Tutorial


If you love a classic and sleek nail look, this black bat nail art tutorial is perfect for you. With its all-black design, it's perfect for any occasion and can even be dressed up for a more formal event. Start by painting your nails with a black polish for the base color. Then, using a thin brush and black polish, create a small bat shape on each nail. You can also use a bat-shaped nail sticker for this step if you're not confident in your painting skills. Next, using the same thin brush and black polish, add two pointed ears on top of the bat's head and two wings on either side of the body. Finish off with a top coat to seal in your design and add shine.Black Bat Nail Art Tutorial

Black Bat Nail Art Tutorial

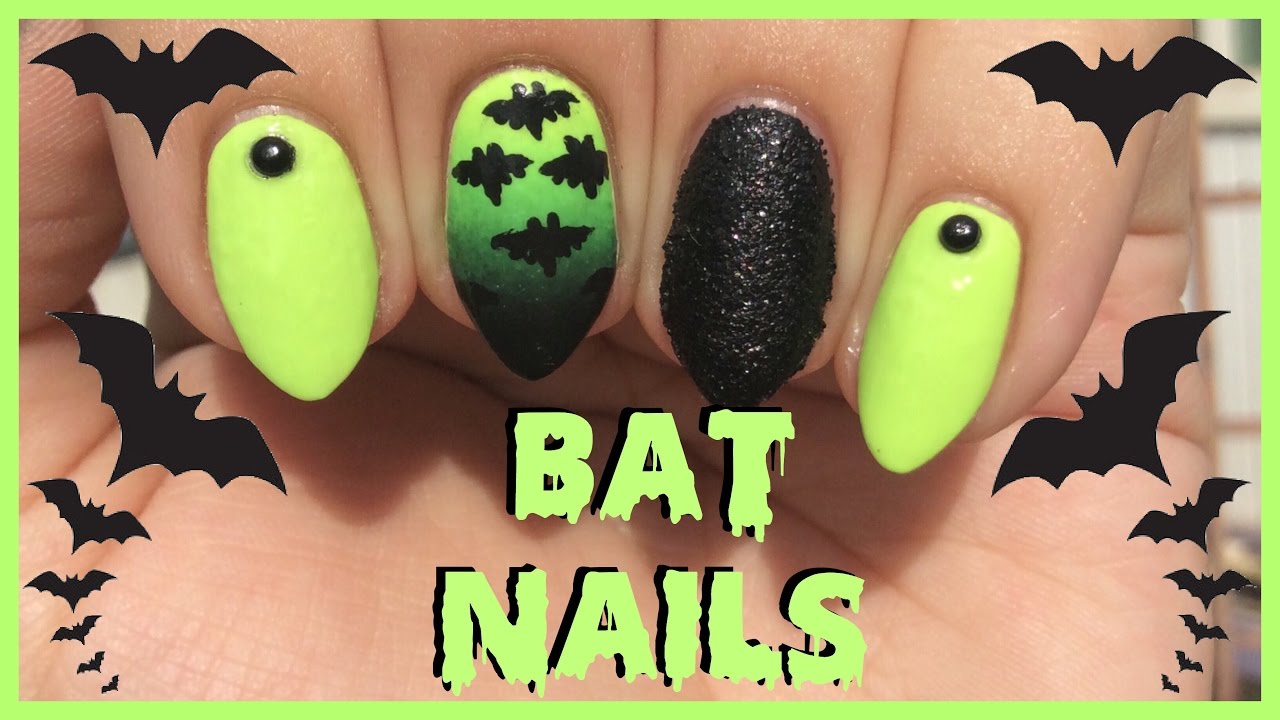
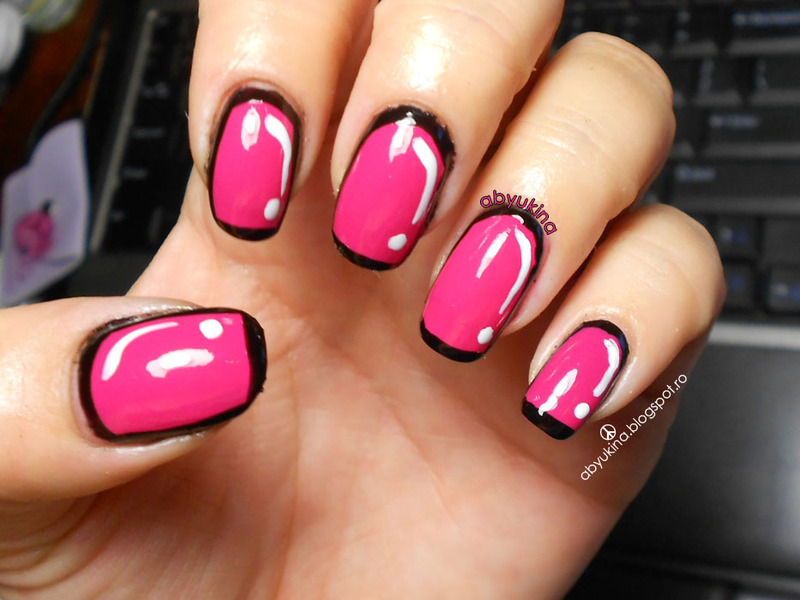
If you love fun and whimsical nail designs, this cartoon bat nail art tutorial is perfect for you. With its cute and playful design, it's sure to bring a smile to your face every time you look at your nails. Start by painting your nails with a light grey polish for the base color. Then, using a thin brush and black polish, create a small bat shape on each nail. You can also use a bat-shaped nail sticker for this step if you're not confident in your painting skills. Next, using the same thin brush and black polish, add two pointed ears on top of the bat's head and two wings on either side of the body. Then, add small white dots on the bat's body to create a cartoon-like effect. Finish off with a top coat to seal in your design and add shine.Cartoon Bat Nail Art Tutorial

Cartoon Bat Nail Art Tutorial
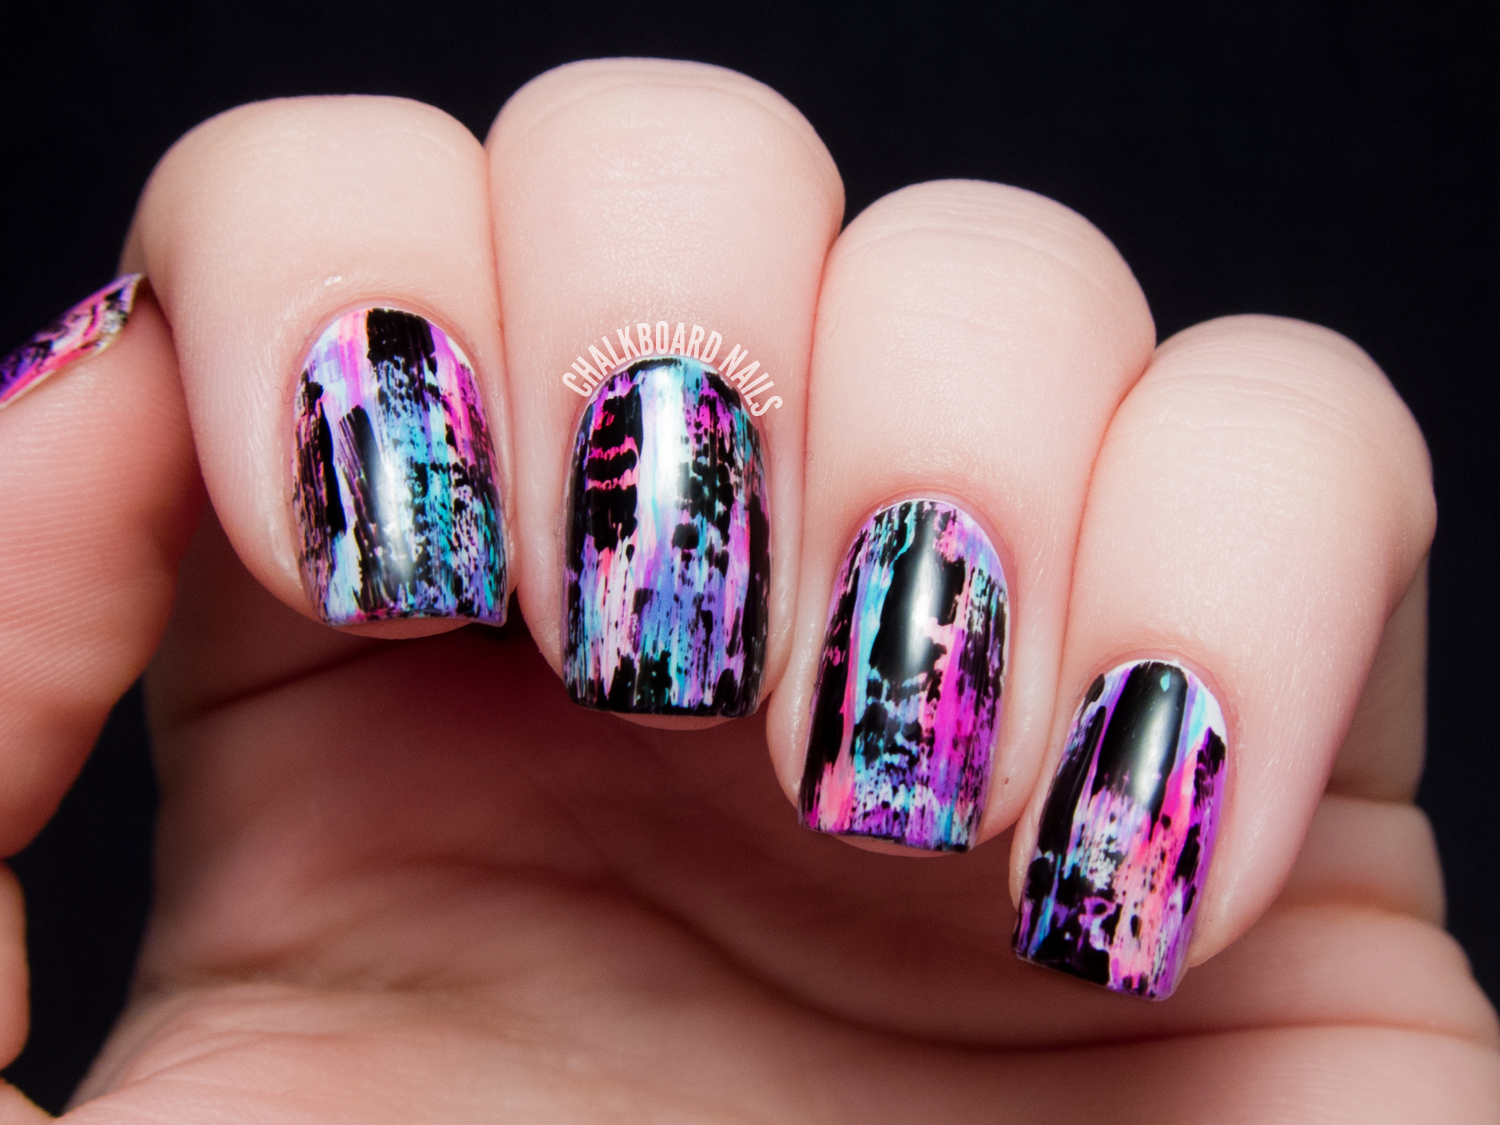
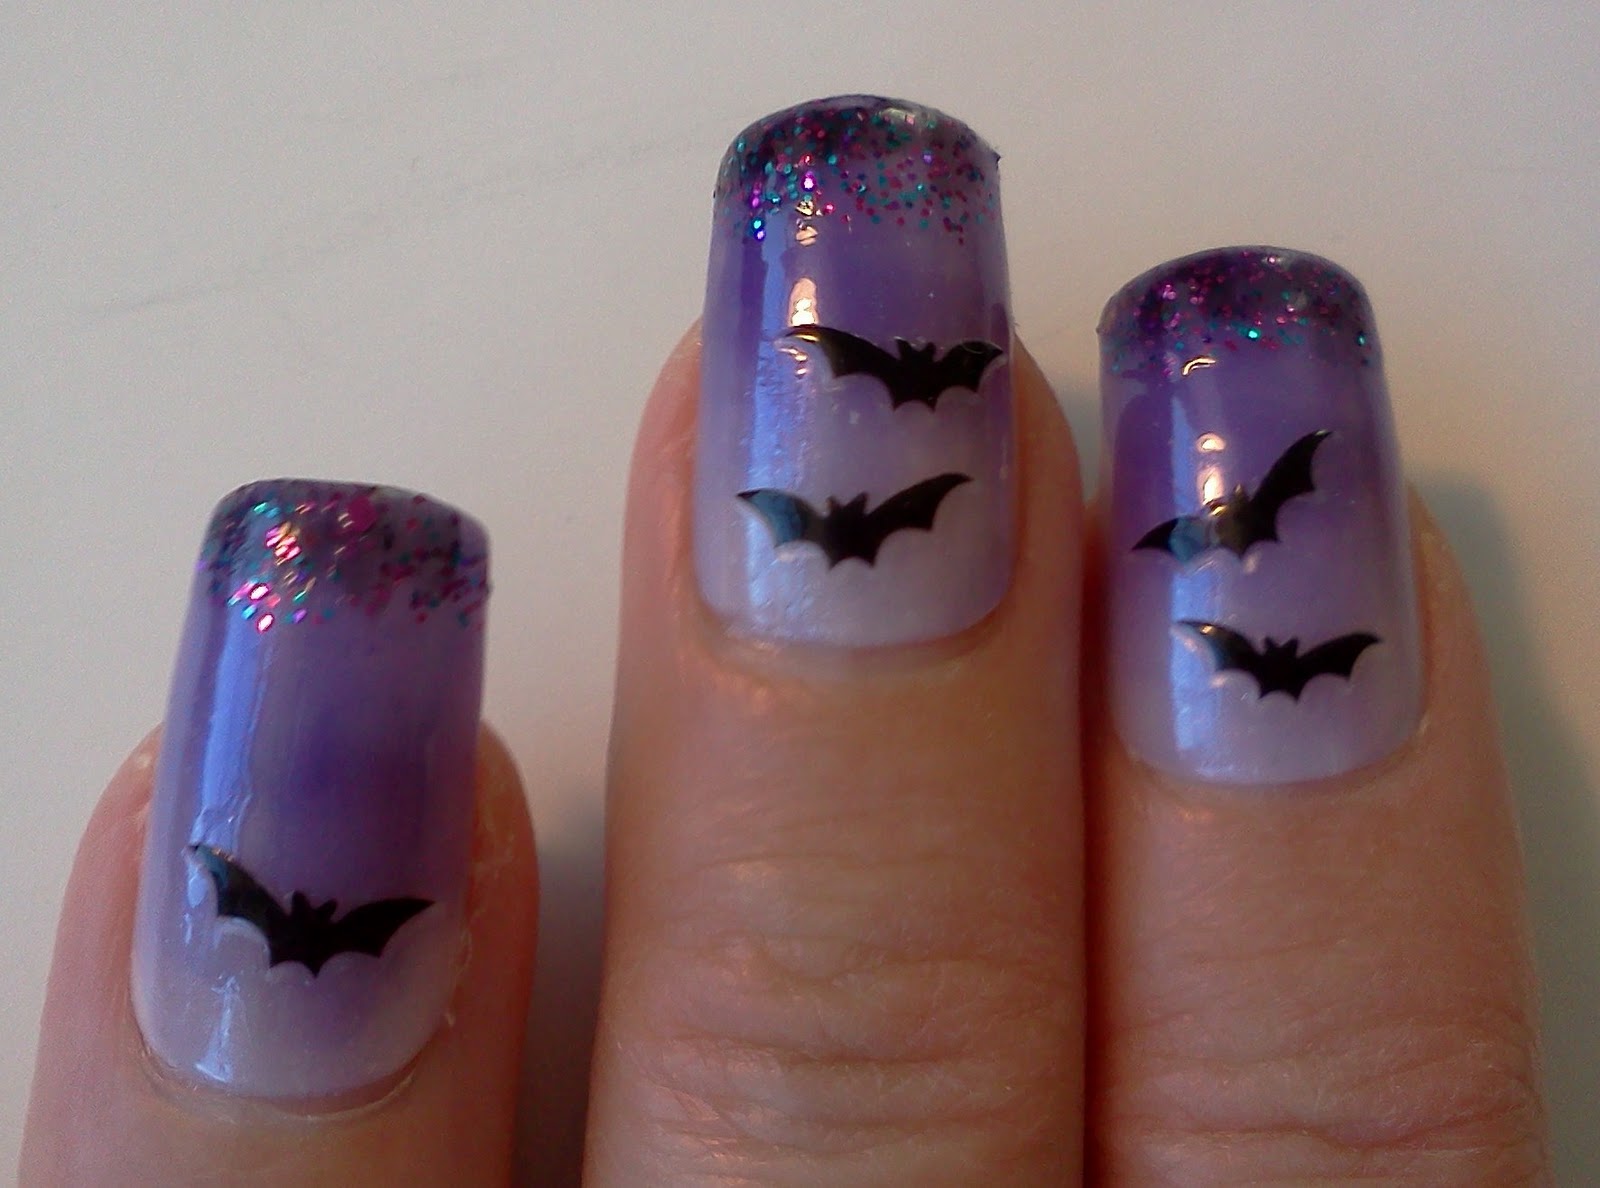
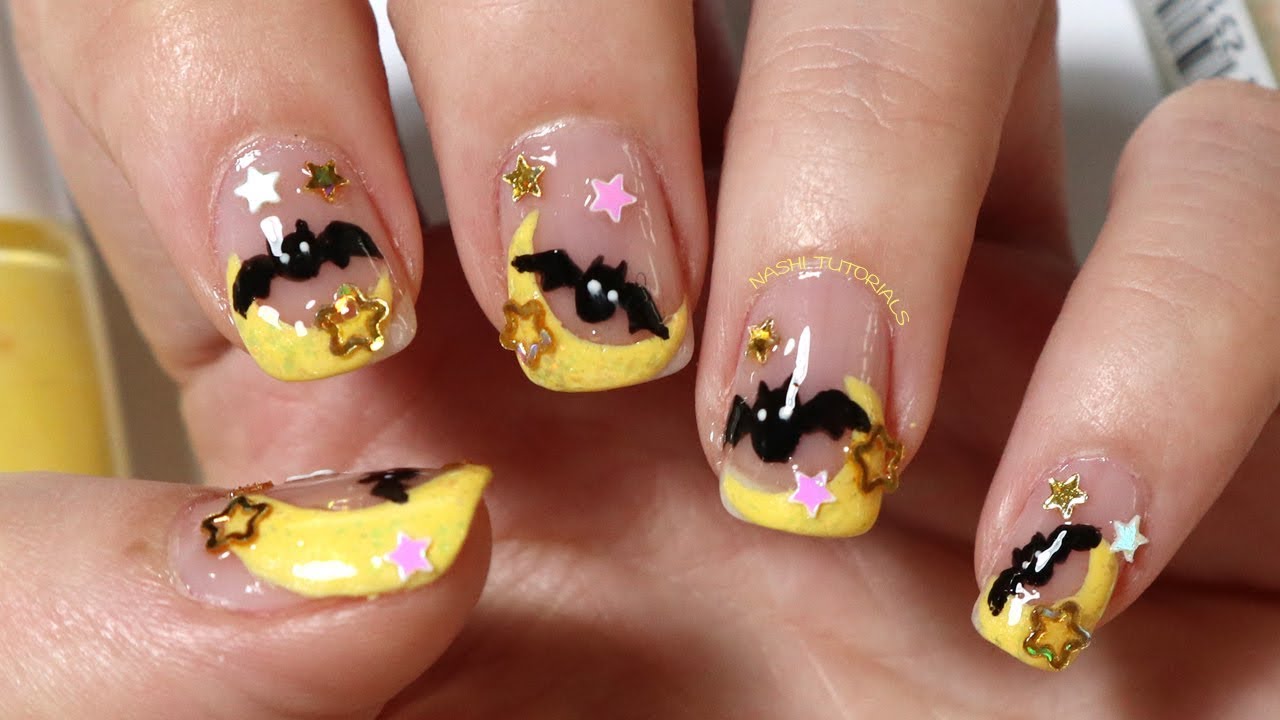
If you love a little sparkle and shine, this glitter bat nail art tutorial is perfect for you. With just a few simple steps, you can create a fun and eye-catching bat design on your nails. Start by painting your nails with a black polish for the base color. Then, using a thin brush and white polish, create a moon shape on each nail. Next, add two small black dots for the bat's eyes and a curved line for the mouth. Using the same thin brush and black polish, add two pointed ears on top of the moon and two wings on either side of the body. Then, using a dotting tool or toothpick, add a few dots of silver or holographic glitter on the black background to represent stars. Finish off with a top coat to seal in your design and add shine.Glitter Bat Nail Art Tutorial
Glitter Bat Nail Art Tutorial


If you love a more subtle and muted look, this matte bat nail art tutorial is perfect for you. With its matte finish, it's a great option for those who want to make a statement without being too flashy. Start by painting your nails with a black polish for the base color. Then, using a thin brush and white polish, create a moon shape on each nail. Next, add two small black dots for the bat's eyes and a curved line for the mouth. Using the same thin brush and black polish, add two pointed ears on top of the moon and two wings on either side of the body. Finish off with a matte top coat to seal in your design and add a subtle touch of shine.Matte Bat Nail Art Tutorial


Matte Bat Nail Art Tutorial
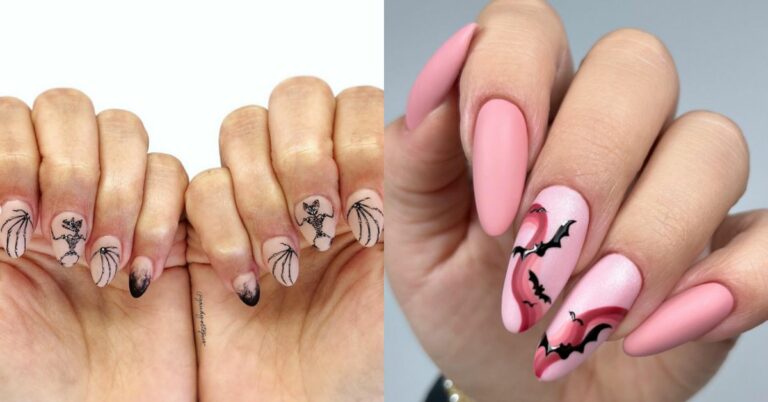
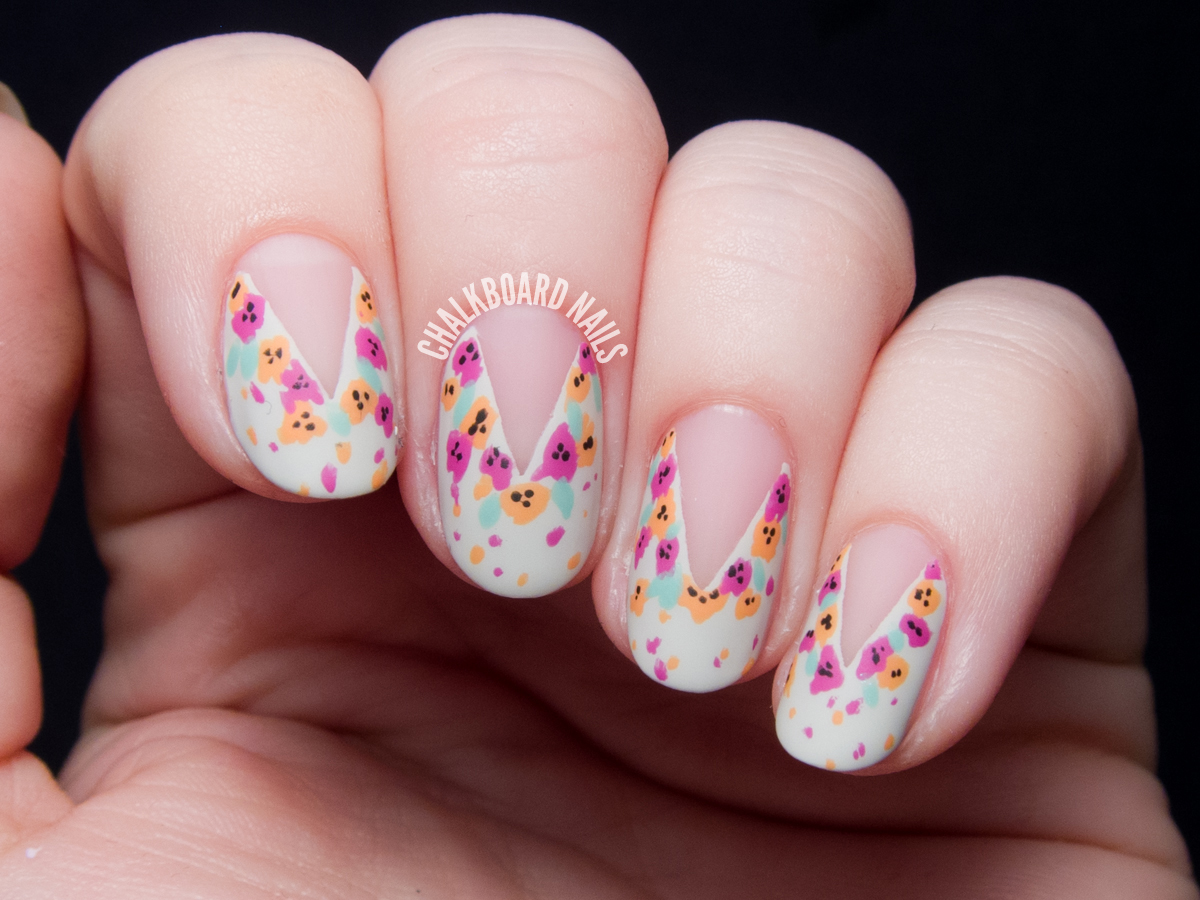
If you love a more artistic and unique nail design, this watercolor bat nail art tutorial is perfect for you. With its watercolor effect, it's a great option for those who want to make a statement with their nails. Start by painting your nails with a light grey polish for the base color. Then, using a thin brush and black polish, create a small bat shape on each nail. You can also use a bat-shaped nail sticker for this step if you're not confident in your painting skills. Next, using a dotting tool or toothpick, add a few drops of black and white polish on the nail and use a small brush or toothpick to swirl the colors together to create a watercolor effect. Finish off with a top coat to seal in your design and add shine.Watercolor Bat Nail Art Tutorial
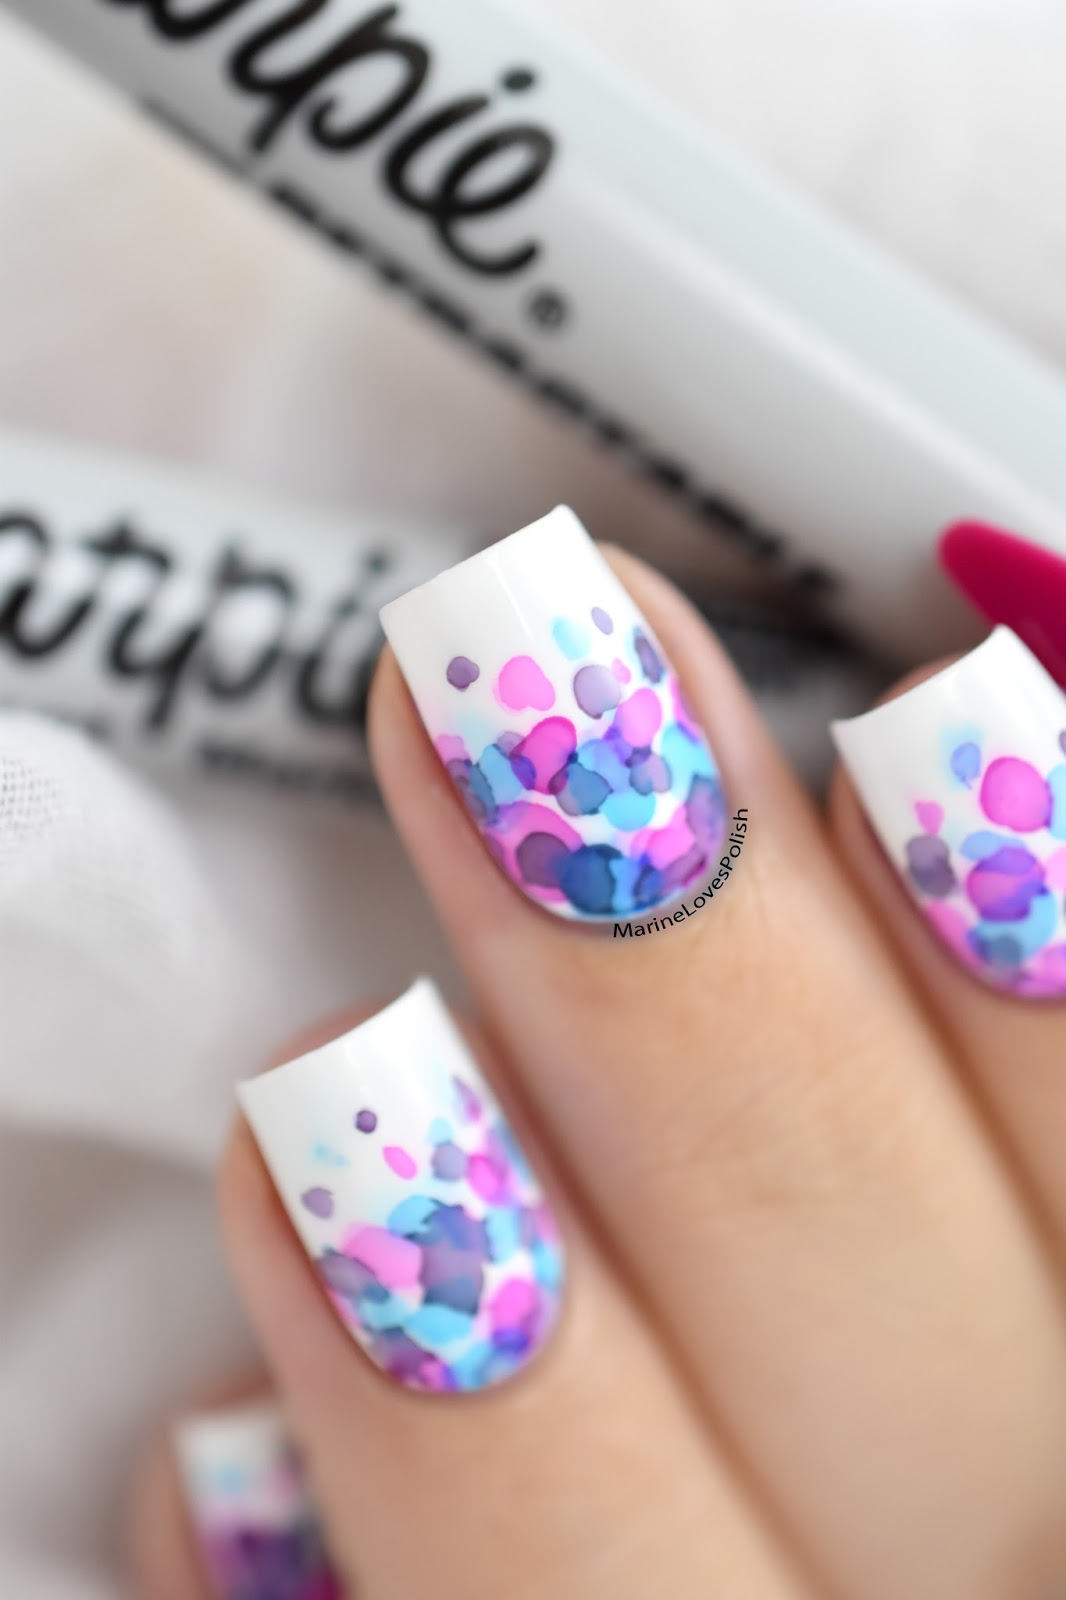

Watercolor Bat Nail Art Tutorial


Take Your Nails to the Next Level with This Bat Nail Art Tutorial

Unleash Your Inner Goth with this Spooky and Chic Design
 Are you tired of the same old boring nail designs? Do you want to add a touch of edge and personality to your nails? Look no further than this bat nail art tutorial! With Halloween right around the corner, this design is perfect for those who want to embrace their dark side. But don't worry, this design is not just limited to Halloween, it can be worn all year round for a unique and eye-catching look.
Bats
are often associated with darkness, mystery, and fear. But in recent years, they have become a popular symbol in fashion and design. This tutorial will show you how to incorporate these winged creatures into your nail art in a chic and stylish way. Plus, with some simple
nail art techniques
, you can easily recreate this design at home.
Are you tired of the same old boring nail designs? Do you want to add a touch of edge and personality to your nails? Look no further than this bat nail art tutorial! With Halloween right around the corner, this design is perfect for those who want to embrace their dark side. But don't worry, this design is not just limited to Halloween, it can be worn all year round for a unique and eye-catching look.
Bats
are often associated with darkness, mystery, and fear. But in recent years, they have become a popular symbol in fashion and design. This tutorial will show you how to incorporate these winged creatures into your nail art in a chic and stylish way. Plus, with some simple
nail art techniques
, you can easily recreate this design at home.
Gather Your Supplies
 Before we dive into the tutorial, let's go over the supplies you will need. You will need a base coat, a black nail polish, a white nail polish, a thin brush or toothpick, and a top coat. You can also add glitter or rhinestones for some extra bling. As always, make sure to have some cotton pads and nail polish remover on hand in case of any mistakes.
Step-by-Step Tutorial
 1. Start by applying a base coat to protect your natural nails.
2. Once the base coat is dry, apply two coats of black nail polish for a solid base.
3. Using a thin brush or toothpick, create three small dots in a triangle shape at the base of your nail. These will be the eyes of the bat.
4. Using the same brush or toothpick, create a curved line above the eyes to create the bat's head.
5. Next, create two curved lines on each side of the head to create the wings.
6. Using the white nail polish, fill in the area between the wings and the head to create the body of the bat.
7. Let the design dry completely before applying a top coat to seal in the design and add shine.
8. For some extra flair, you can add glitter or rhinestones to the wings or eyes.
1. Start by applying a base coat to protect your natural nails.
2. Once the base coat is dry, apply two coats of black nail polish for a solid base.
3. Using a thin brush or toothpick, create three small dots in a triangle shape at the base of your nail. These will be the eyes of the bat.
4. Using the same brush or toothpick, create a curved line above the eyes to create the bat's head.
5. Next, create two curved lines on each side of the head to create the wings.
6. Using the white nail polish, fill in the area between the wings and the head to create the body of the bat.
7. Let the design dry completely before applying a top coat to seal in the design and add shine.
8. For some extra flair, you can add glitter or rhinestones to the wings or eyes.
Embrace Your Dark Side
 This bat nail art tutorial is the perfect way to add a touch of edge and personality to your nails. It's also a great opportunity to get creative and experiment with different color combinations and designs. So, go ahead and embrace your inner goth with this spooky and chic nail design. Don't forget to share your creations with us using the hashtag #batnailart. Happy painting!


