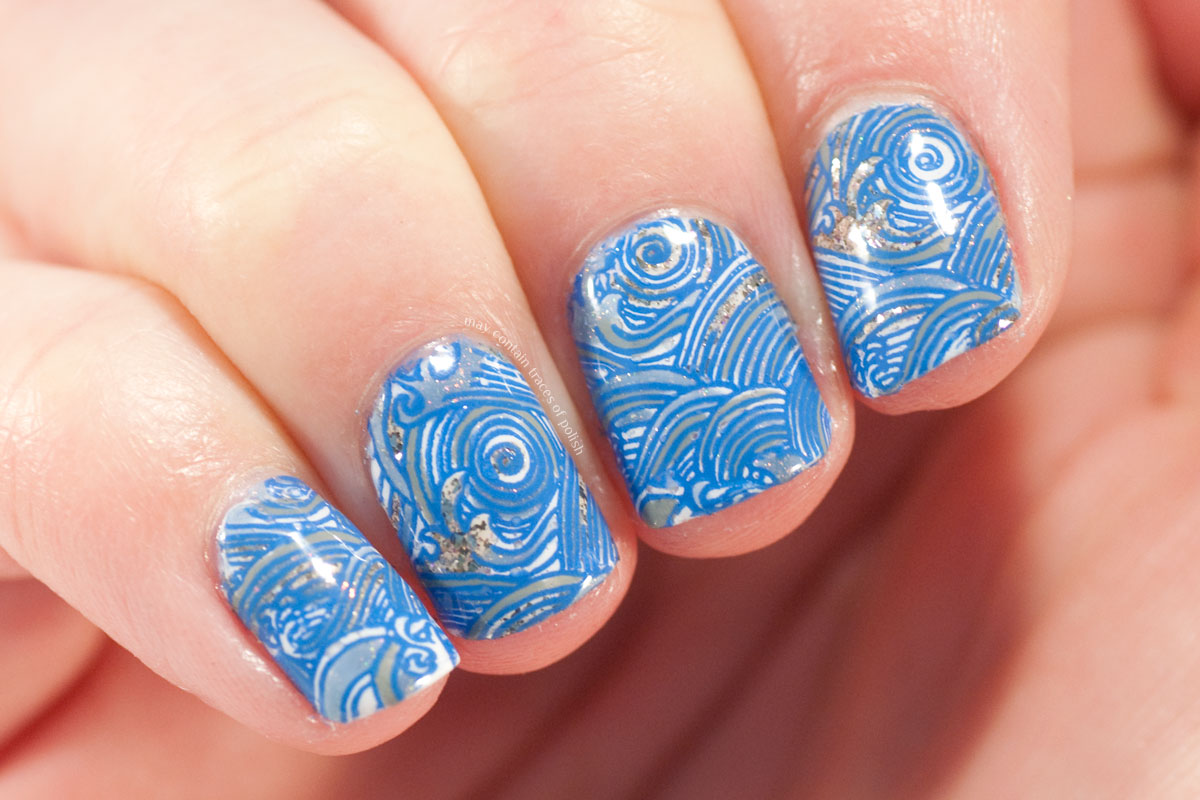
Achieve the perfect beachy look for your nails with this easy tutorial. Start by painting your nails with a light blue base color. Once dry, take a white nail polish and create irregular waves on each nail. Use a small nail brush to create the waves, making them thicker near the tip of the nail and thinner towards the base. This will give a realistic ocean wave effect. Finish off with a clear top coat for a glossy finish.1. "Easy Beach Waves Nail Art Tutorial"


1. "Easy Beach Waves Nail Art Tutorial"


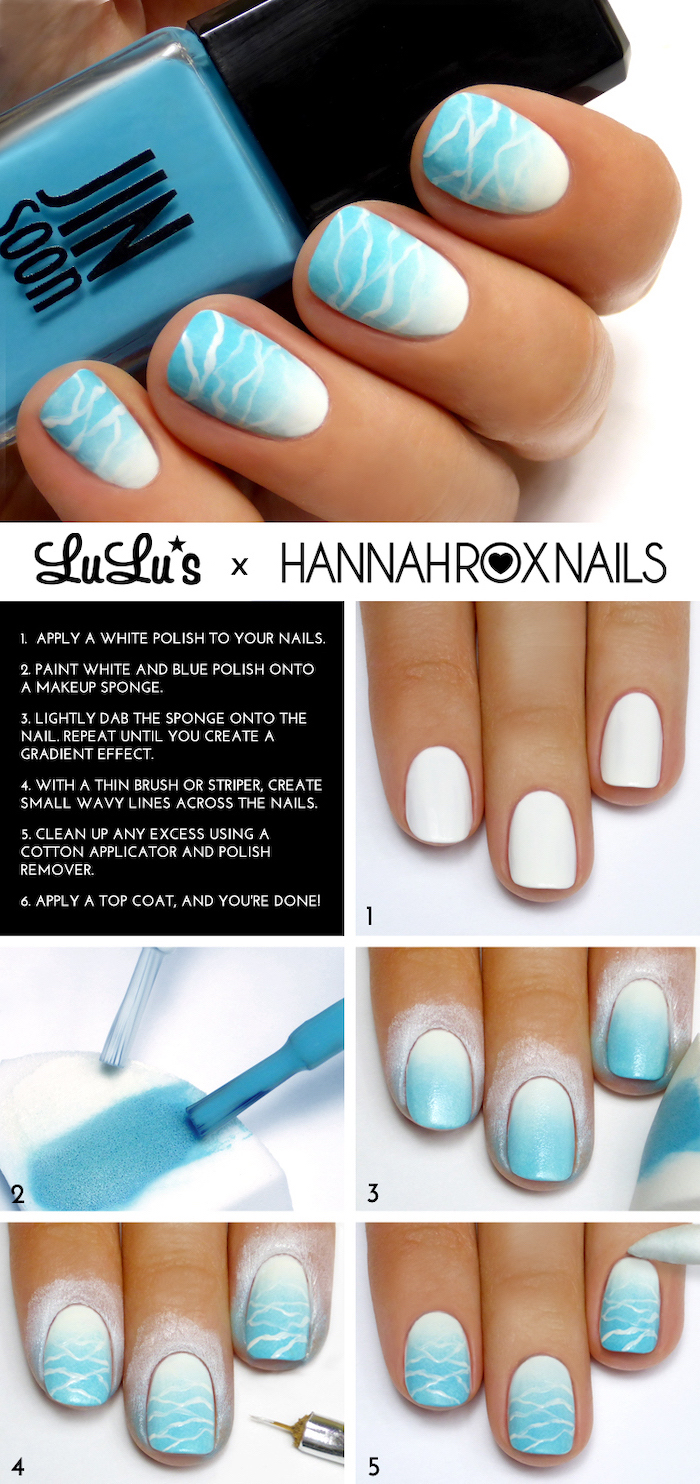
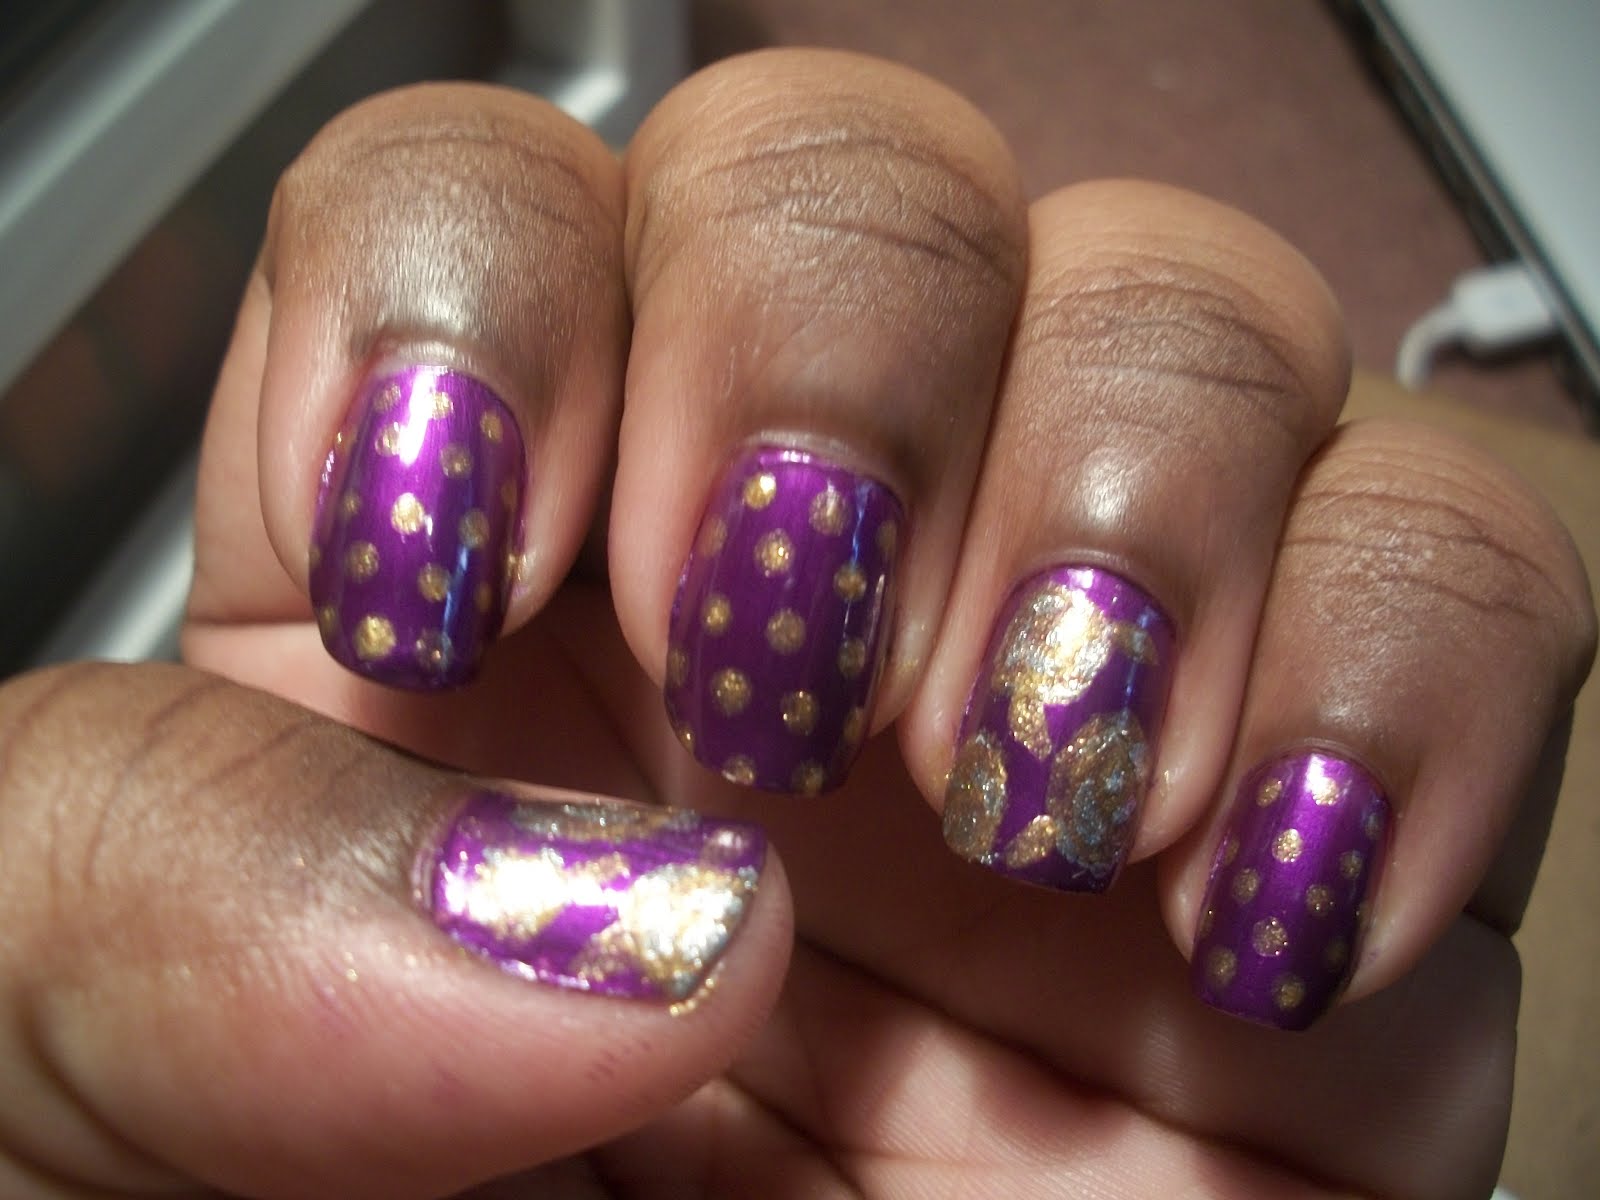
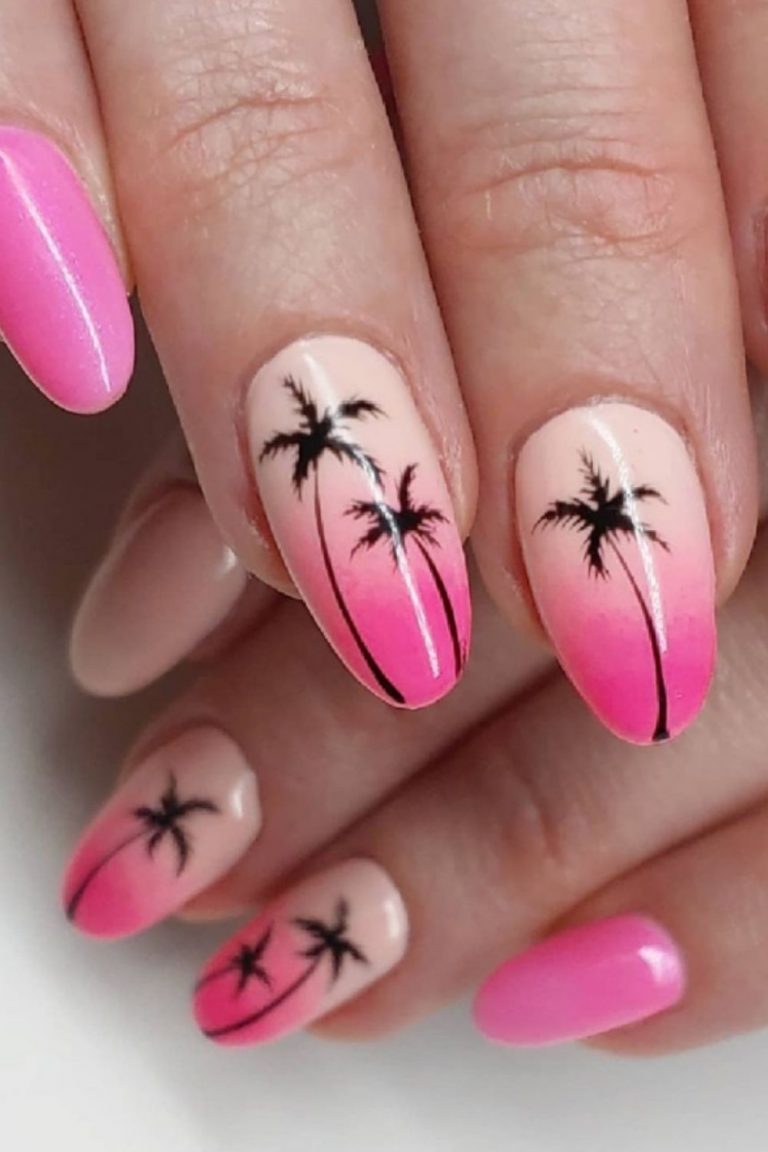
Follow these simple steps to create a stunning beach wave nail design. Start with a pale pink base color and let it dry completely. Then, using a dark blue nail polish, create curved lines on each nail to represent the waves. Next, take a yellow nail polish and add small dots to the tips of the waves to give the illusion of sunlight reflecting on the water. Finish the design by adding a few sparkles using a glitter nail polish. Seal it all in with a top coat for a long-lasting look.2. "Step-by-Step Beach Waves Nail Design"


2. "Step-by-Step Beach Waves Nail Design"


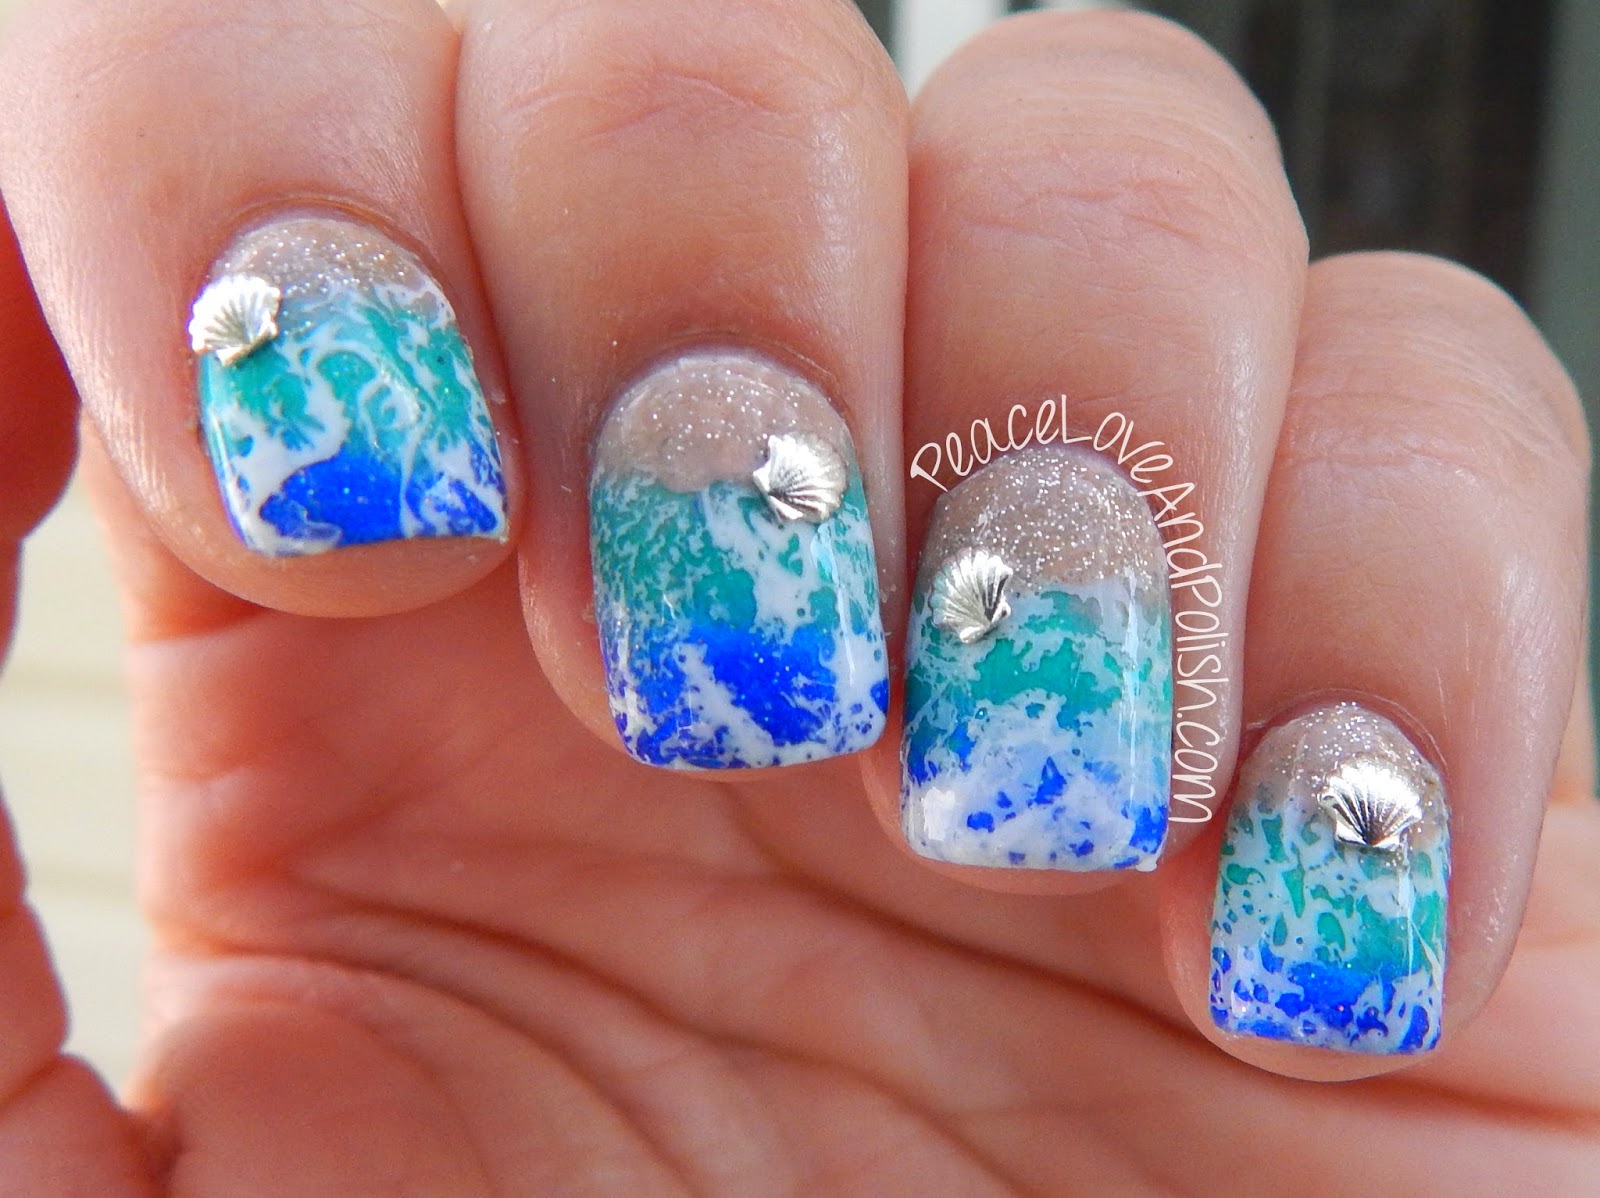
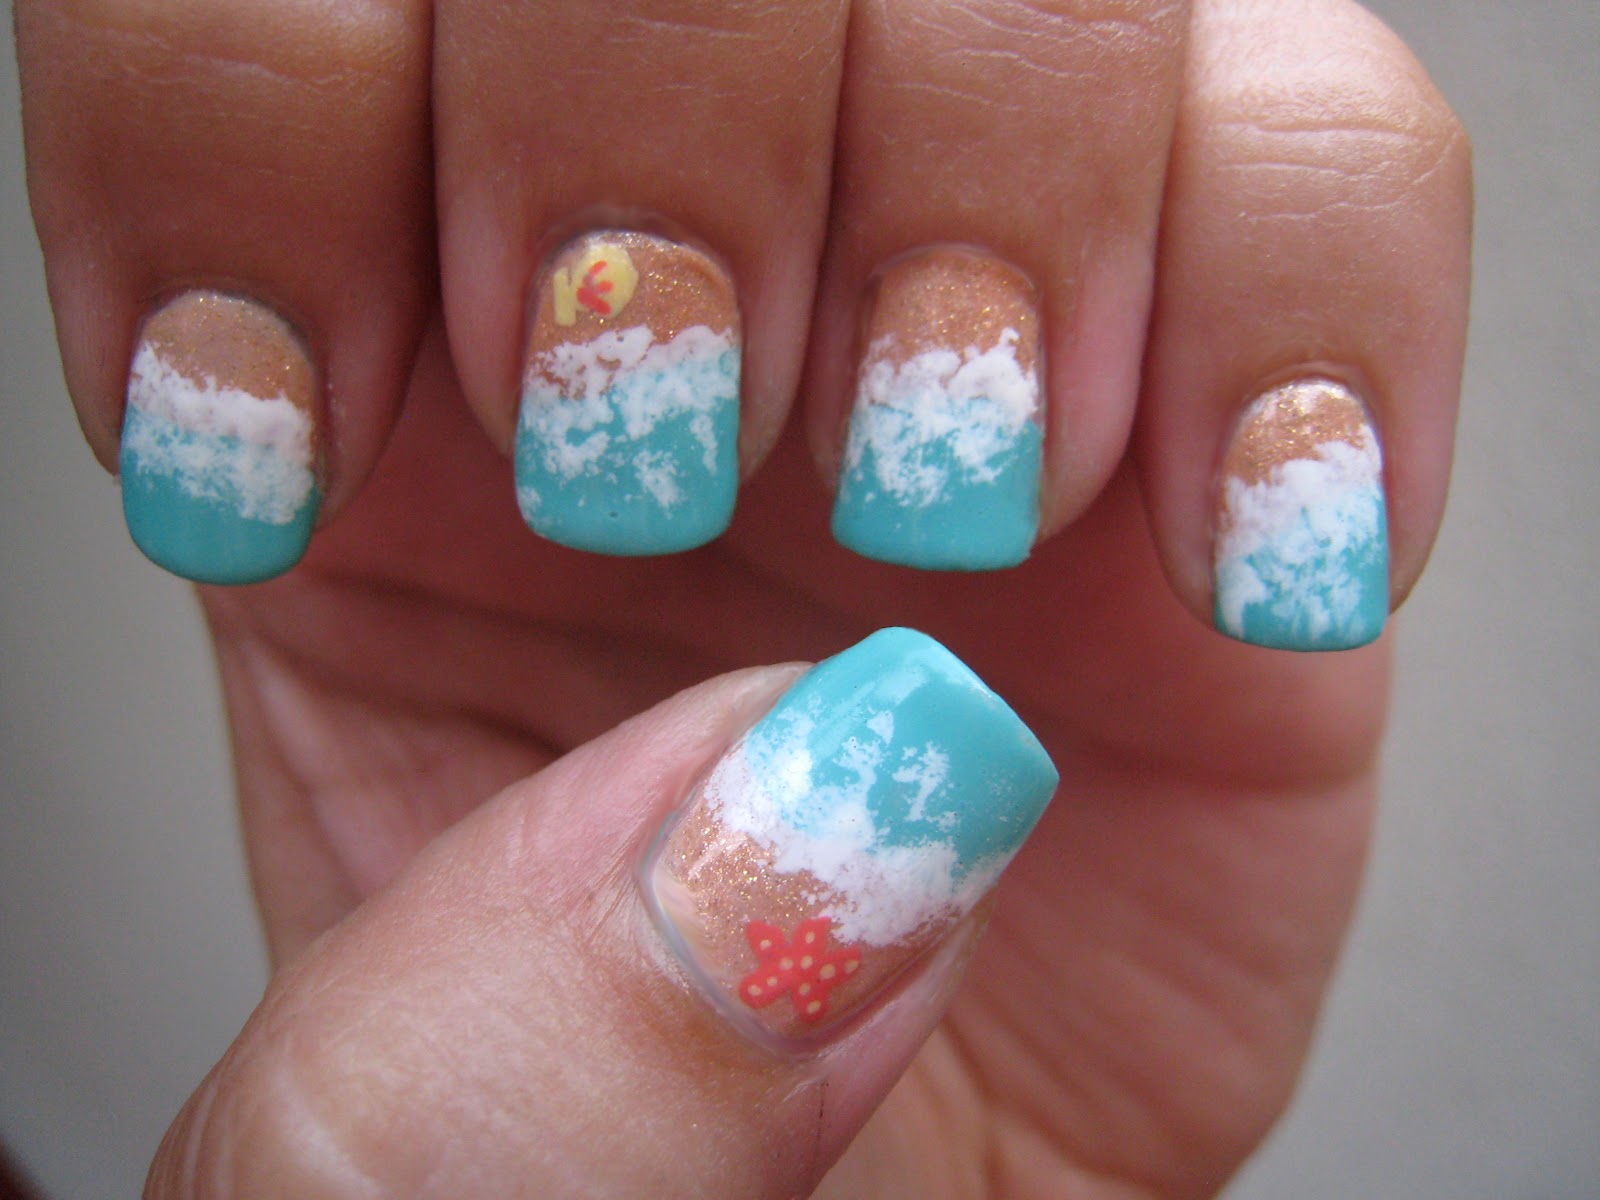
Get ready for summer with this beach waves nail tutorial. Start by painting your nails with a light peach base color. Once dry, use a dark blue nail polish to create wavy lines on each nail. Then, take a white nail polish and add small dots on the lines to represent foam on the waves. For an extra touch, add small shells using a toothpick and a gold nail polish. Finish off with a clear top coat for a polished look.3. "Summer Beach Waves Nail Tutorial"


3. "Summer Beach Waves Nail Tutorial"


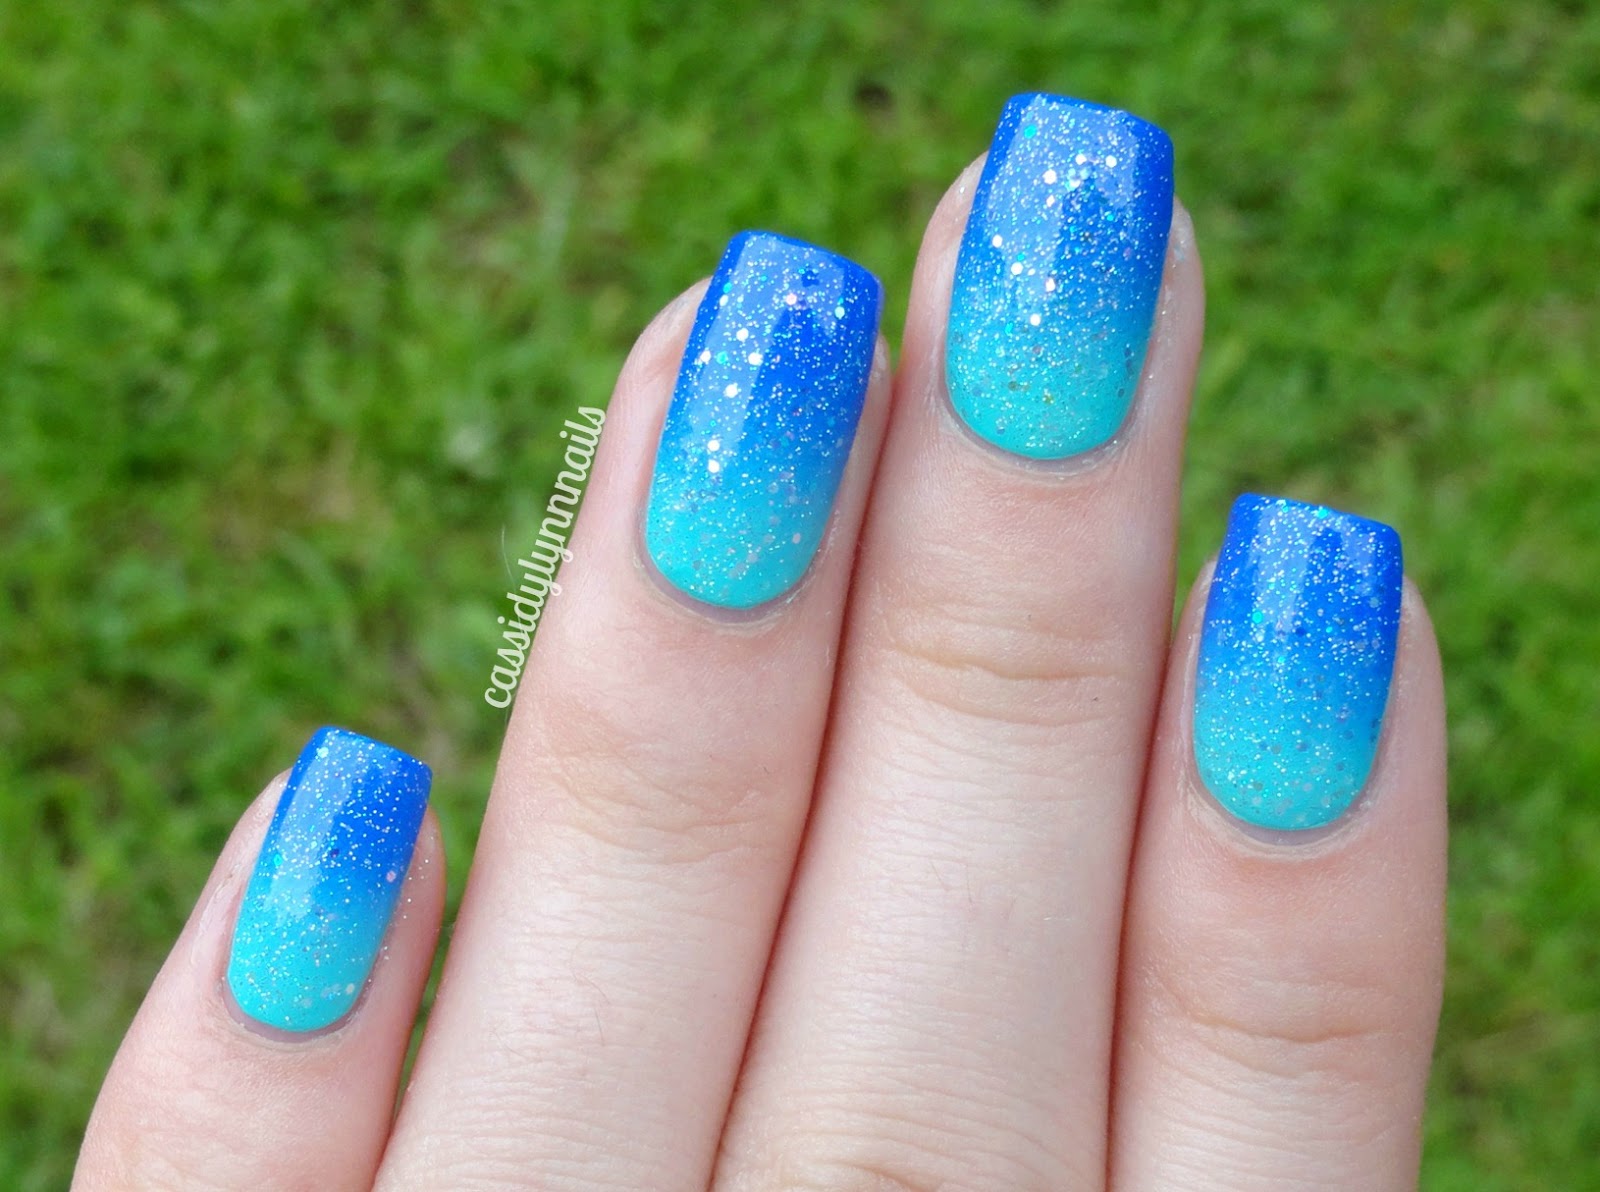
Create your own beach waves nail art with this fun and easy tutorial. Start by painting your nails with a light green base color. Once dry, take a dark blue nail polish and dab it on each nail to create random spots. Then, using a white nail polish, create zigzag lines over the blue spots to represent waves crashing on the shore. Finish off with a top coat for a glossy finish.4. "DIY Beach Waves Nail Art"

4. "DIY Beach Waves Nail Art"

.JPG)
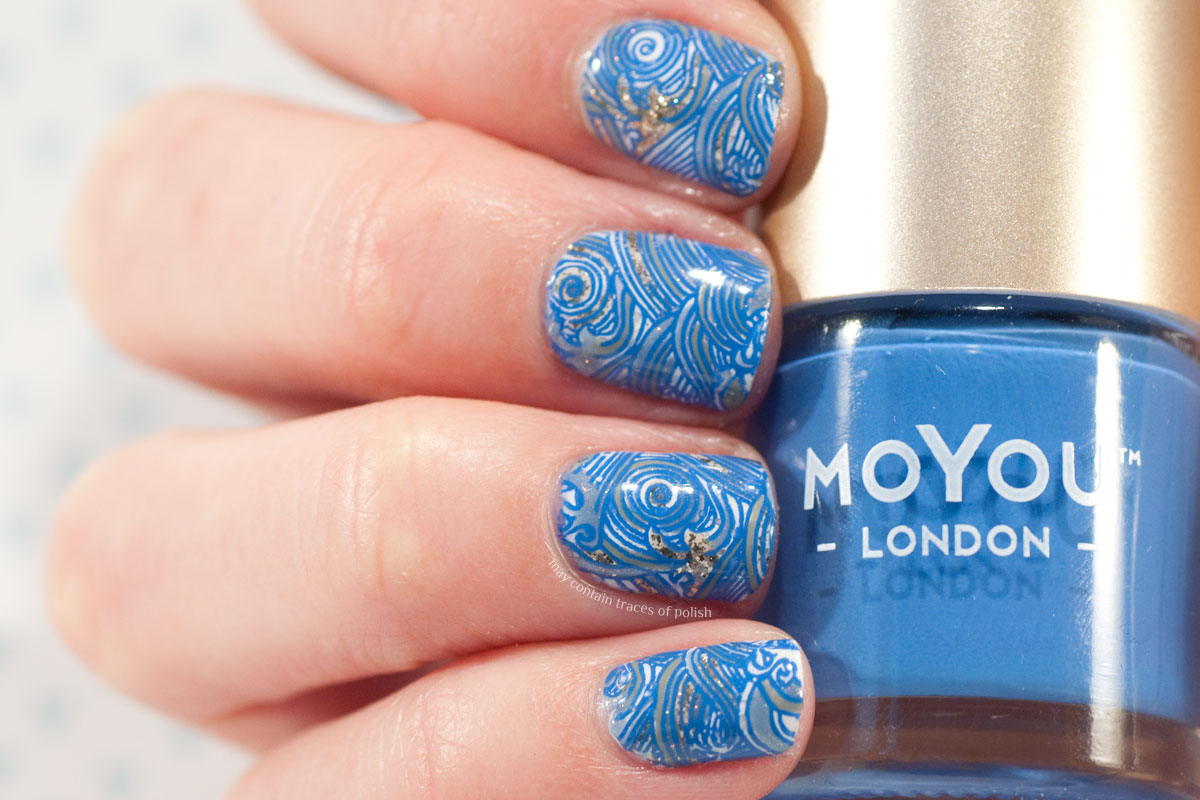
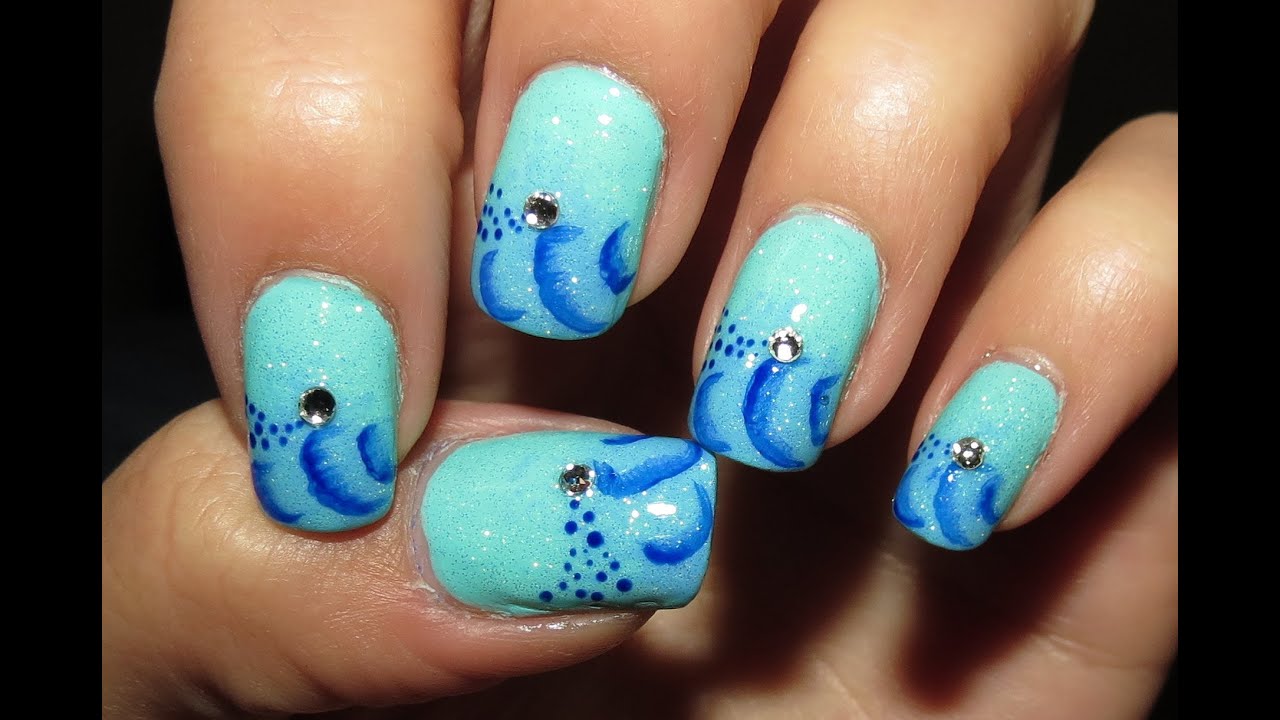
Take inspiration from the ocean with this stunning nail art tutorial. Start by painting your nails with a light blue base color. Once dry, use a dark blue nail polish to create curved lines on each nail, making them thicker towards the tip and thinner towards the base. Then, using a light blue nail polish, add small dots on the lines to represent bubbles. Finish off with a clear top coat for a shiny finish.5. "Ocean-Inspired Nail Art Tutorial"

5. "Ocean-Inspired Nail Art Tutorial"
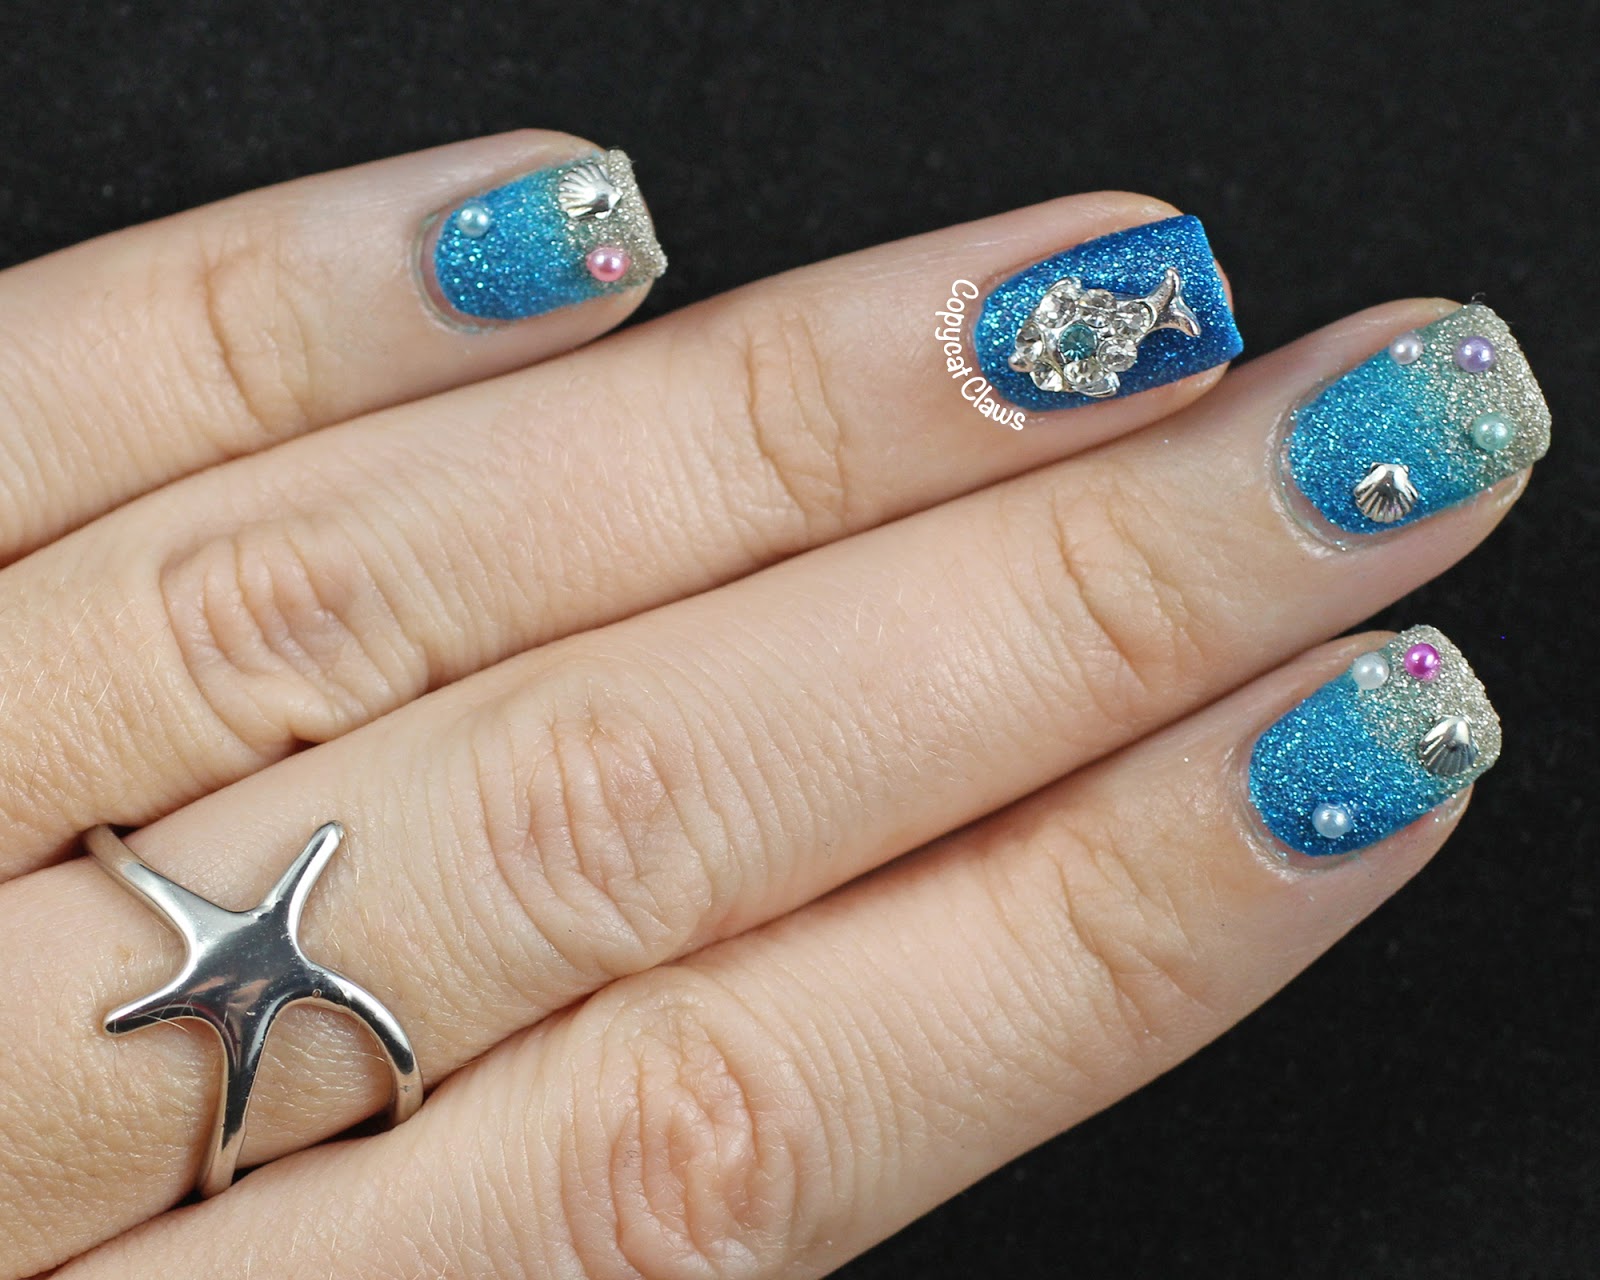

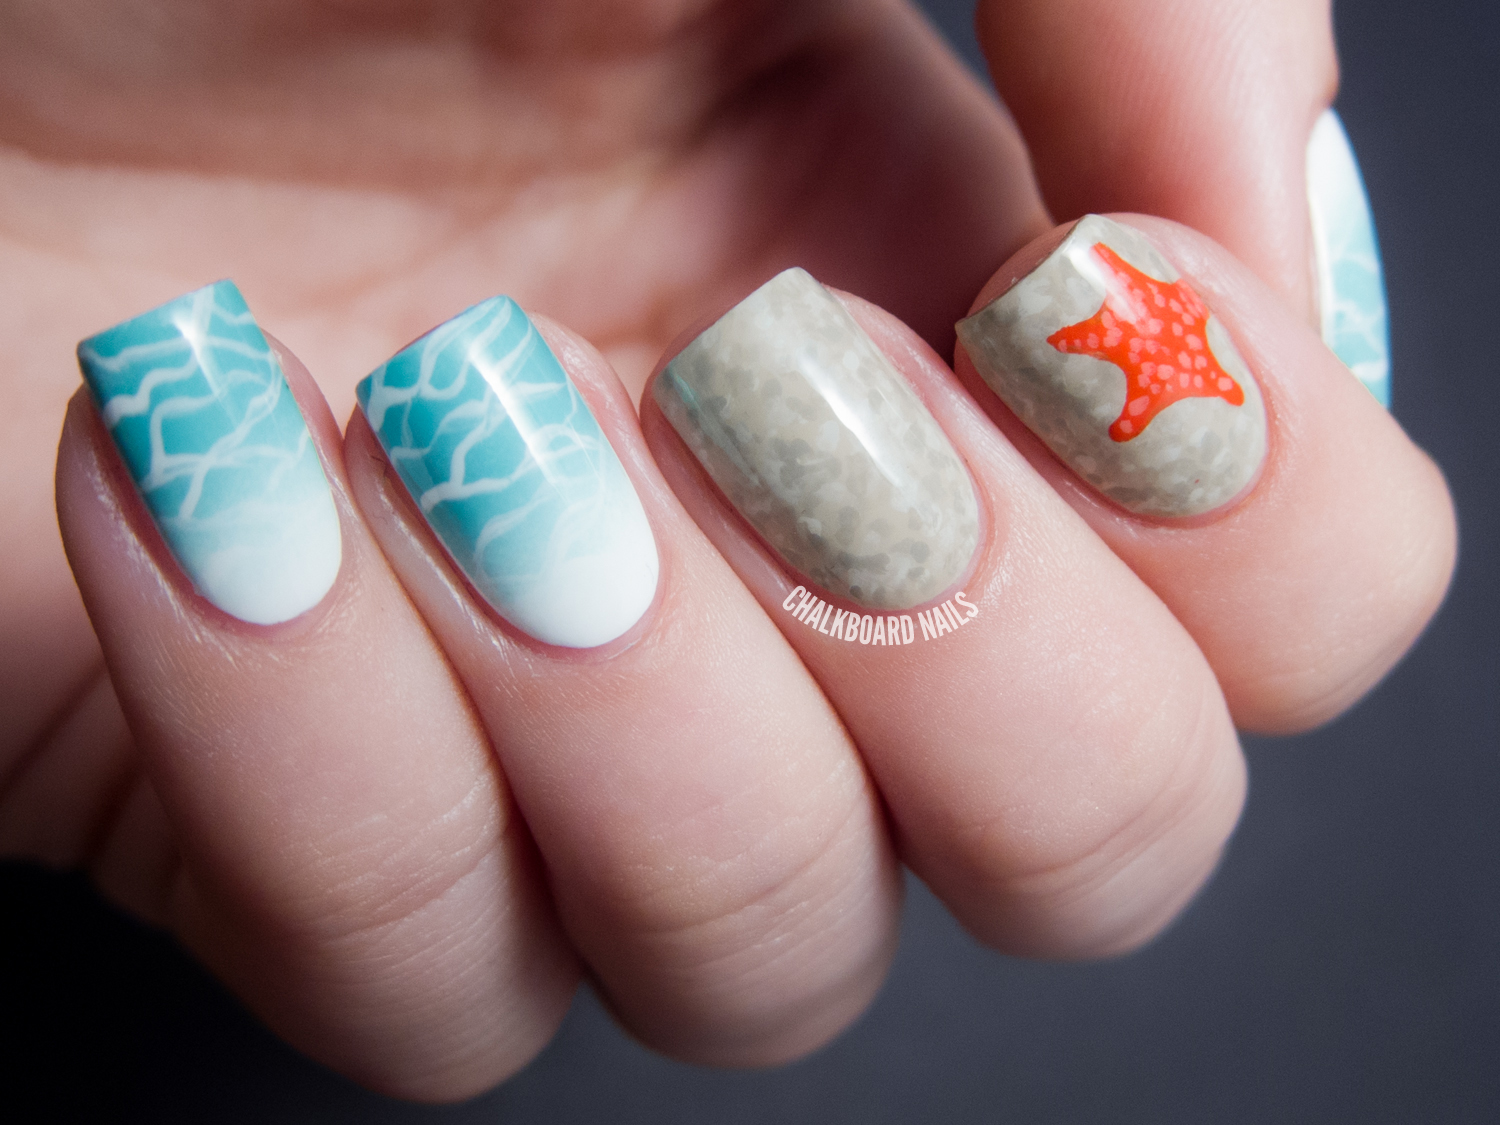
Get ready for summer with these beach-inspired nail designs. Start by painting your nails with a coral pink base color. Then, using a light blue nail polish, add zigzag lines on each nail to represent the waves. Next, take a white nail polish and create small dots on the lines to represent foam on the waves. For an extra touch, add small starfish using a toothpick and a gold nail polish. Finish off with a clear top coat for a glossy finish.6. "Beachy Nail Designs for Summer"


6. "Beachy Nail Designs for Summer"


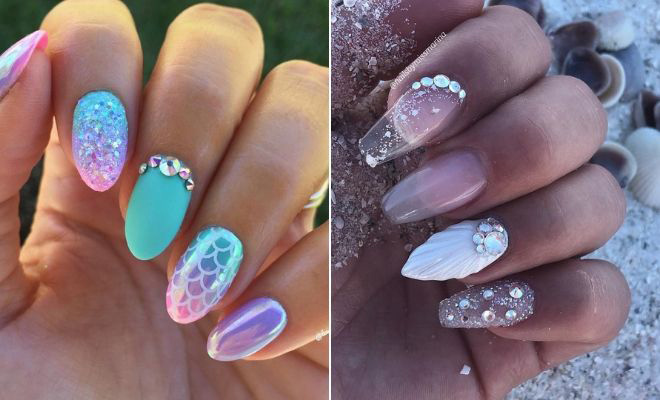
Channel your inner mermaid with this beautiful nail art tutorial. Start by painting your nails with a light purple base color. Once dry, use a dark purple nail polish to create curved lines on each nail. Then, take a blue nail polish and add small dots on the lines to represent scales. Next, using a green nail polish, create small dots on the lines to represent seaweed. Finish off with a clear top coat for a dazzling finish.7. "Mermaid-Inspired Nail Art Tutorial"


7. "Mermaid-Inspired Nail Art Tutorial"


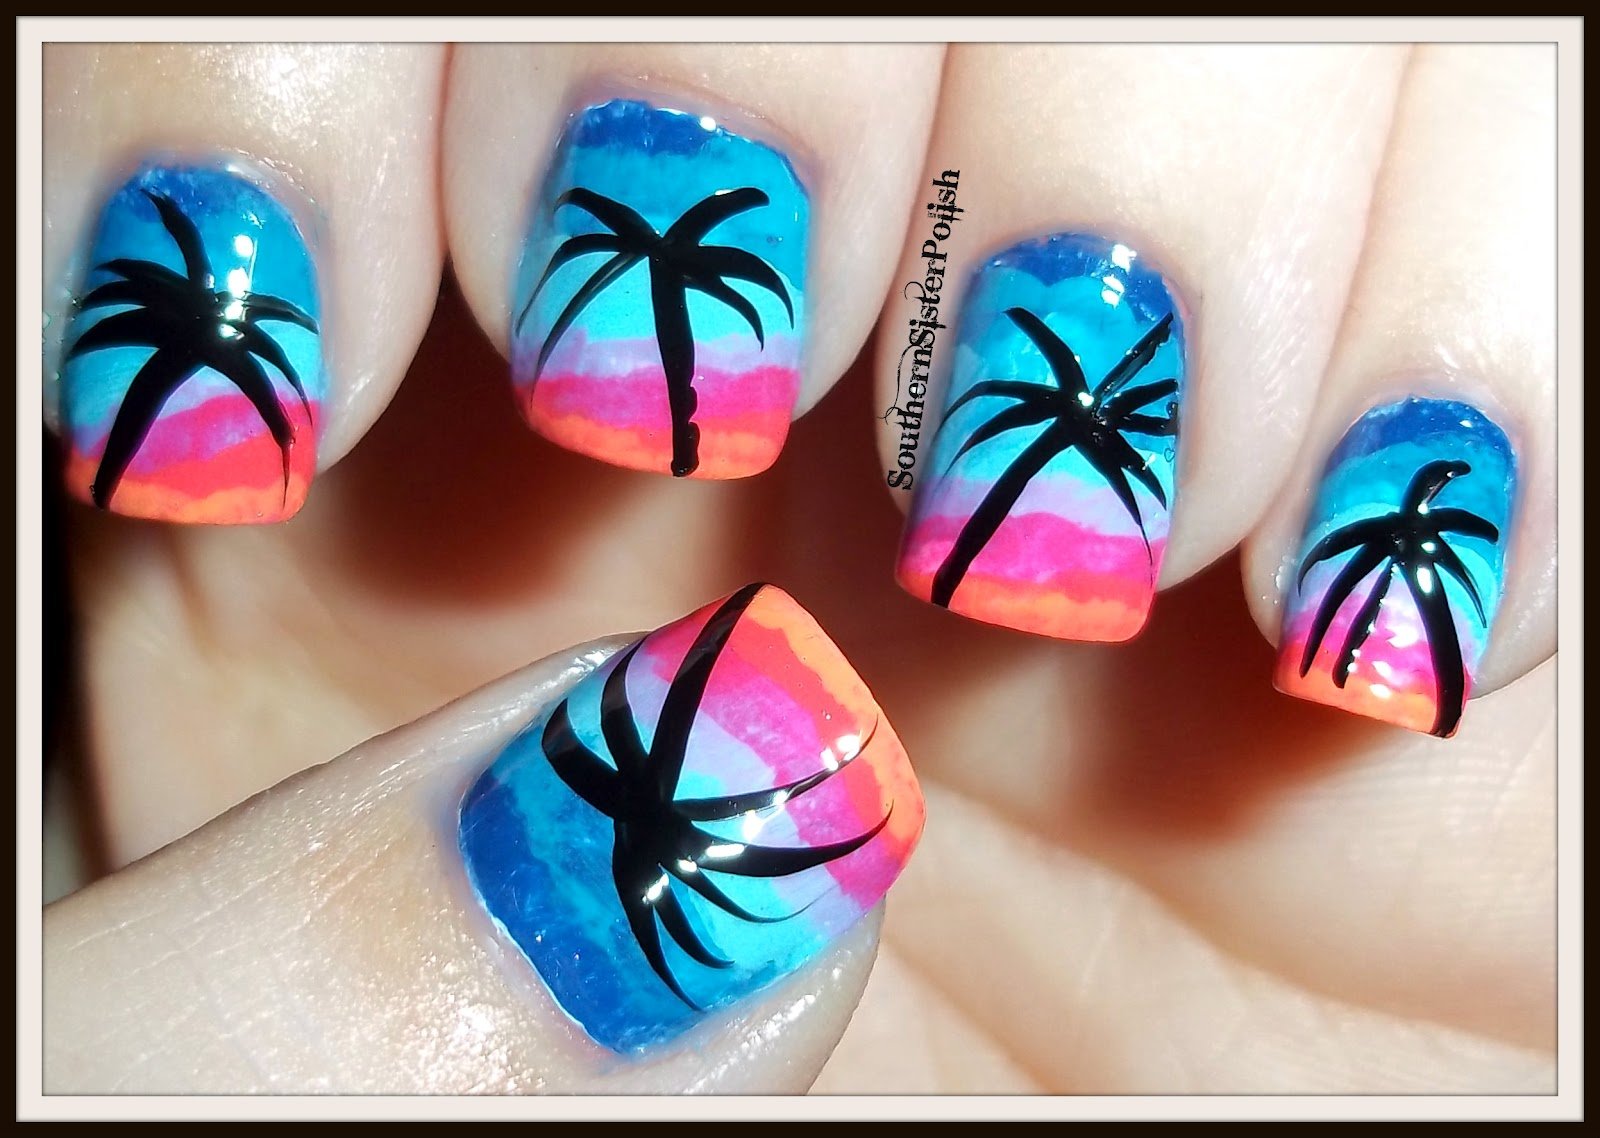
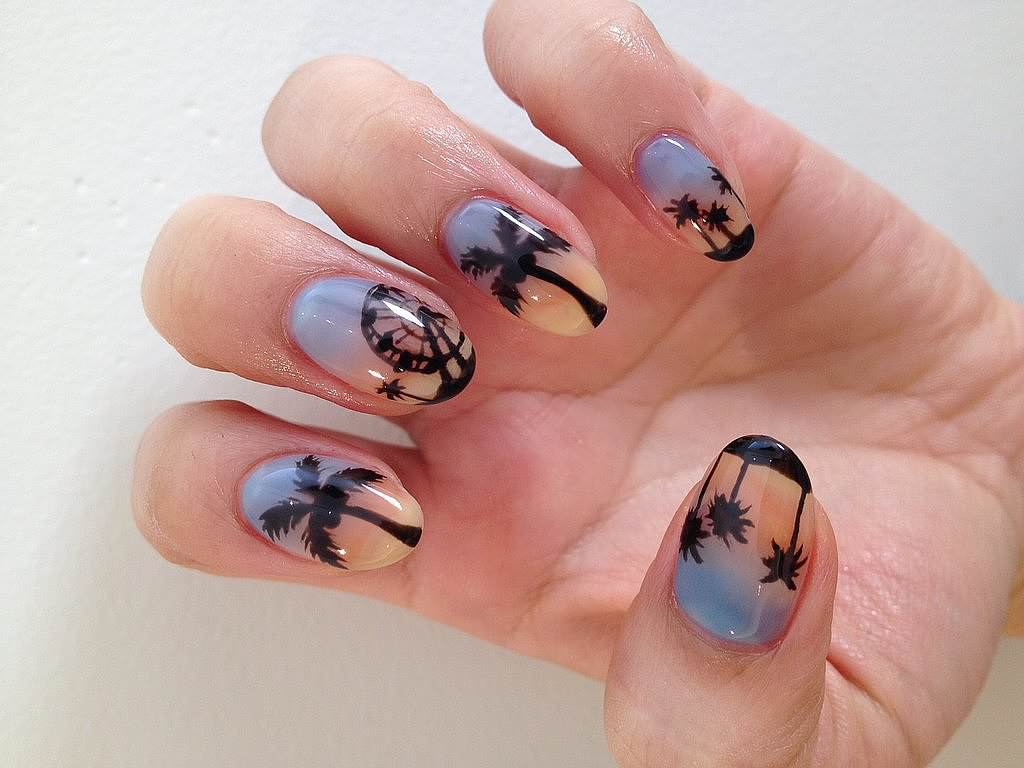
Transport yourself to a tropical paradise with these beachy nail designs. Start by painting your nails with a light pink base color. Once dry, use a dark blue nail polish to create curved lines on each nail, making them thicker towards the tip and thinner towards the base. Then, using a light blue nail polish, add small dots on the lines to represent bubbles. For an extra touch, add small palm trees using a toothpick and a green nail polish. Finish off with a clear top coat for a glossy finish.8. "Tropical Beach Nails Tutorial"
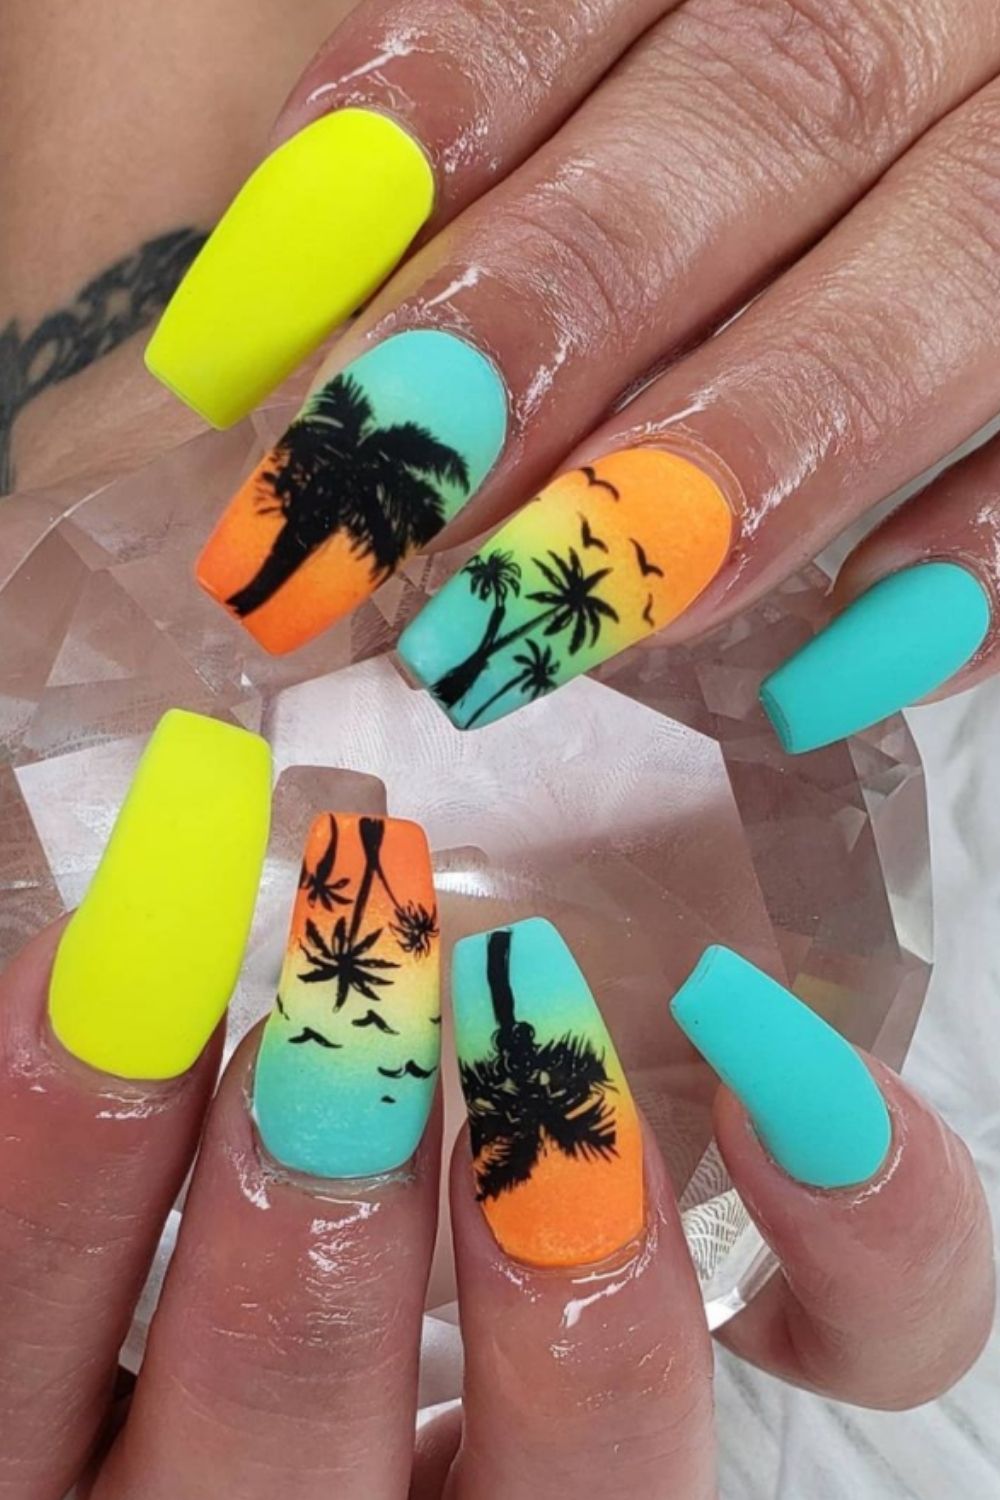

8. "Tropical Beach Nails Tutorial"


Add a touch of nautical charm to your nails with this beach waves nail design. Start by painting your nails with a light blue base color. Once dry, use a dark blue nail polish to create curved lines on each nail, making them thicker towards the tip and thinner towards the base. Then, using a white nail polish, add small dots on the lines to represent foam on the waves. For an extra touch, add small anchor using a toothpick and a red nail polish. Finish off with a clear top coat for a polished look.9. "Nautical Beach Waves Nail Design"

9. "Nautical Beach Waves Nail Design"
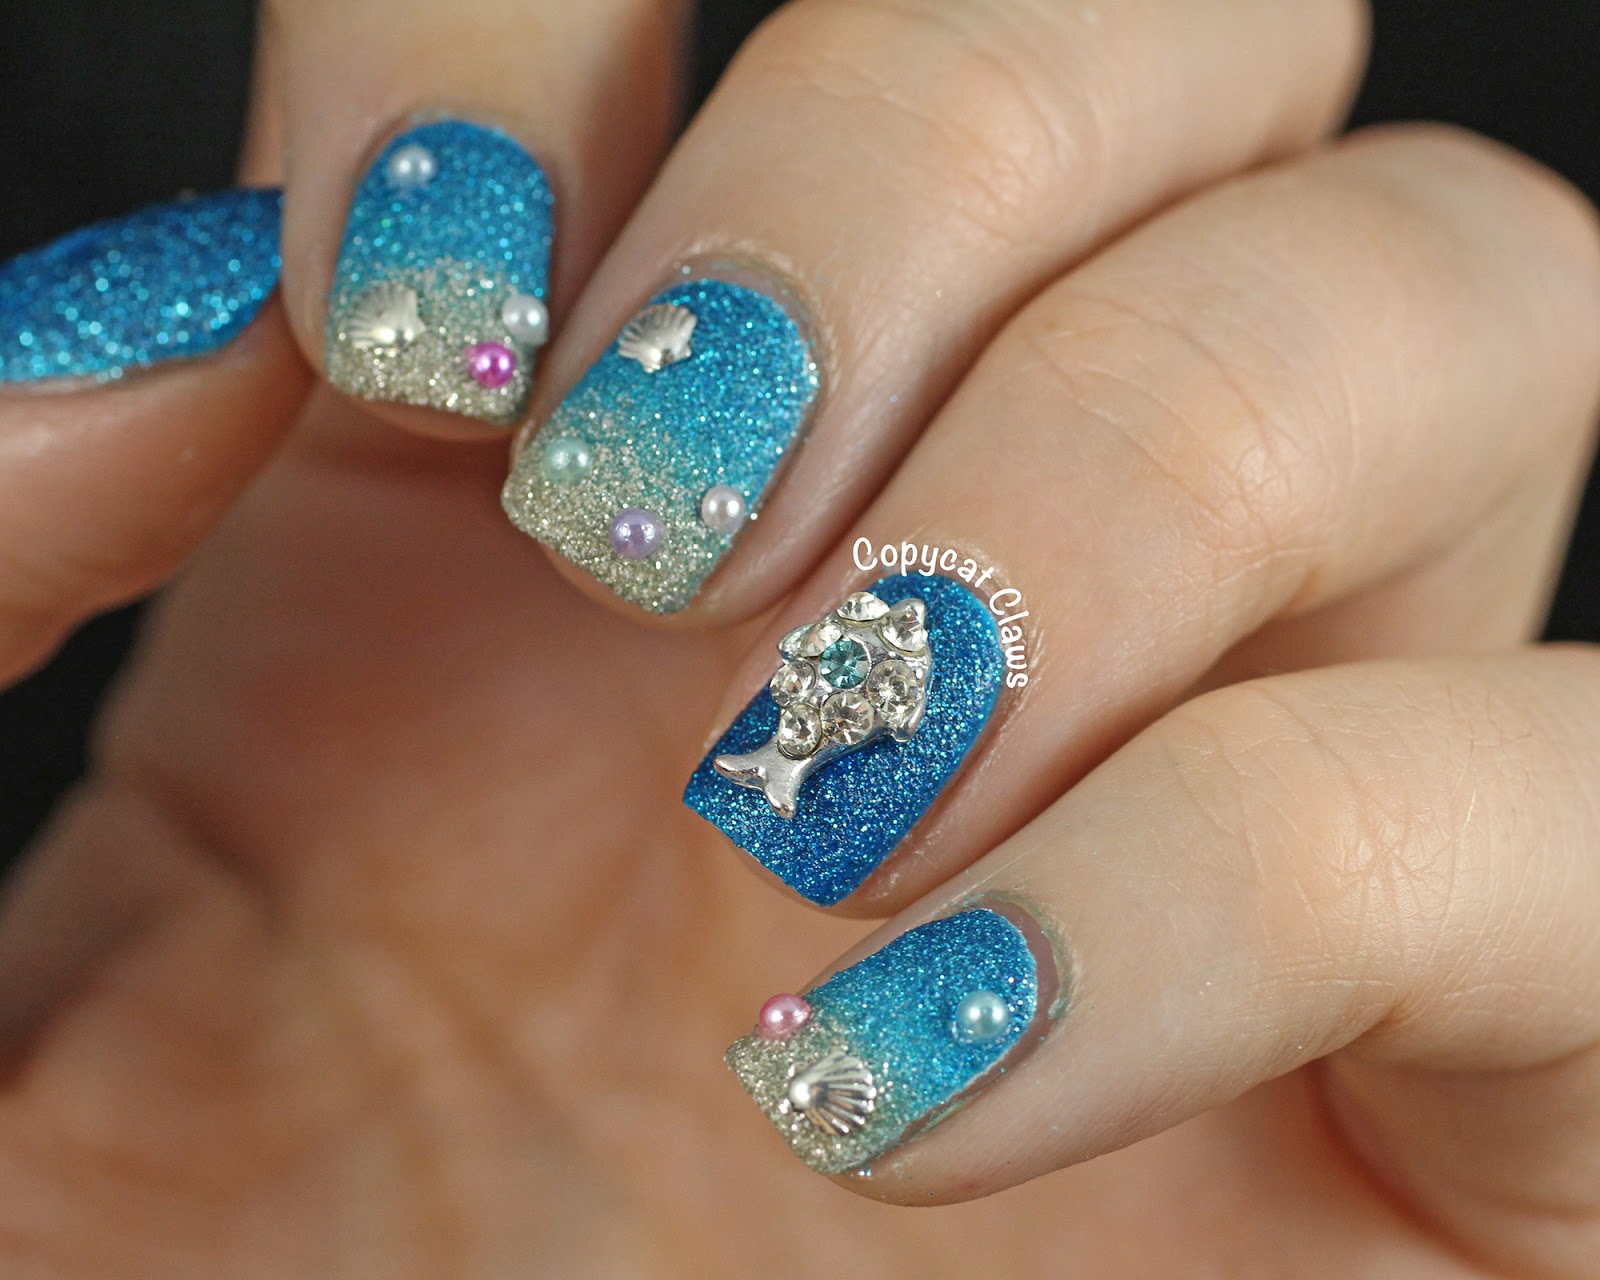
Add a touch of the beach to your nails with this seashell nail art tutorial. Start by painting your nails with a nude base color. Once dry, use a light pink nail polish to create curved lines on each nail, making them thicker towards the tip and thinner towards the base. Then, using a white nail polish, create small dots on the lines to represent the seashells. For an extra touch, add small pearls using a toothpick and a gold nail polish. Finish off with a clear top coat for a glossy finish.10. "Seashell Nail Art Tutorial"


10. "Seashell Nail Art Tutorial"


How to Create Stunning Beach Waves Inspired Nail Art

Are you dreaming of a beach vacation but can't get away? Bring a piece of the beach to your fingertips with this easy beach waves inspired nail art tutorial . Whether you're heading to the beach or just want to feel like you're there, this fun and creative nail art design is perfect for any occasion.
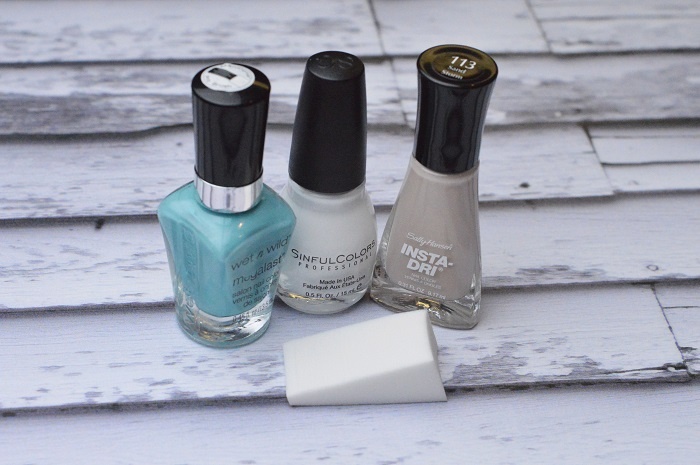
Gather Your Supplies

Before starting your nail art, make sure you have all the necessary supplies. You will need a base coat, top coat, light blue nail polish, white nail polish, a makeup sponge, a small striping brush, and some small rhinestones or gems for added sparkle.
Step 1: Apply a Base Coat

Start by applying a base coat to your nails to protect them and create a smooth base for your beach waves . Let it dry completely before moving on to the next step.
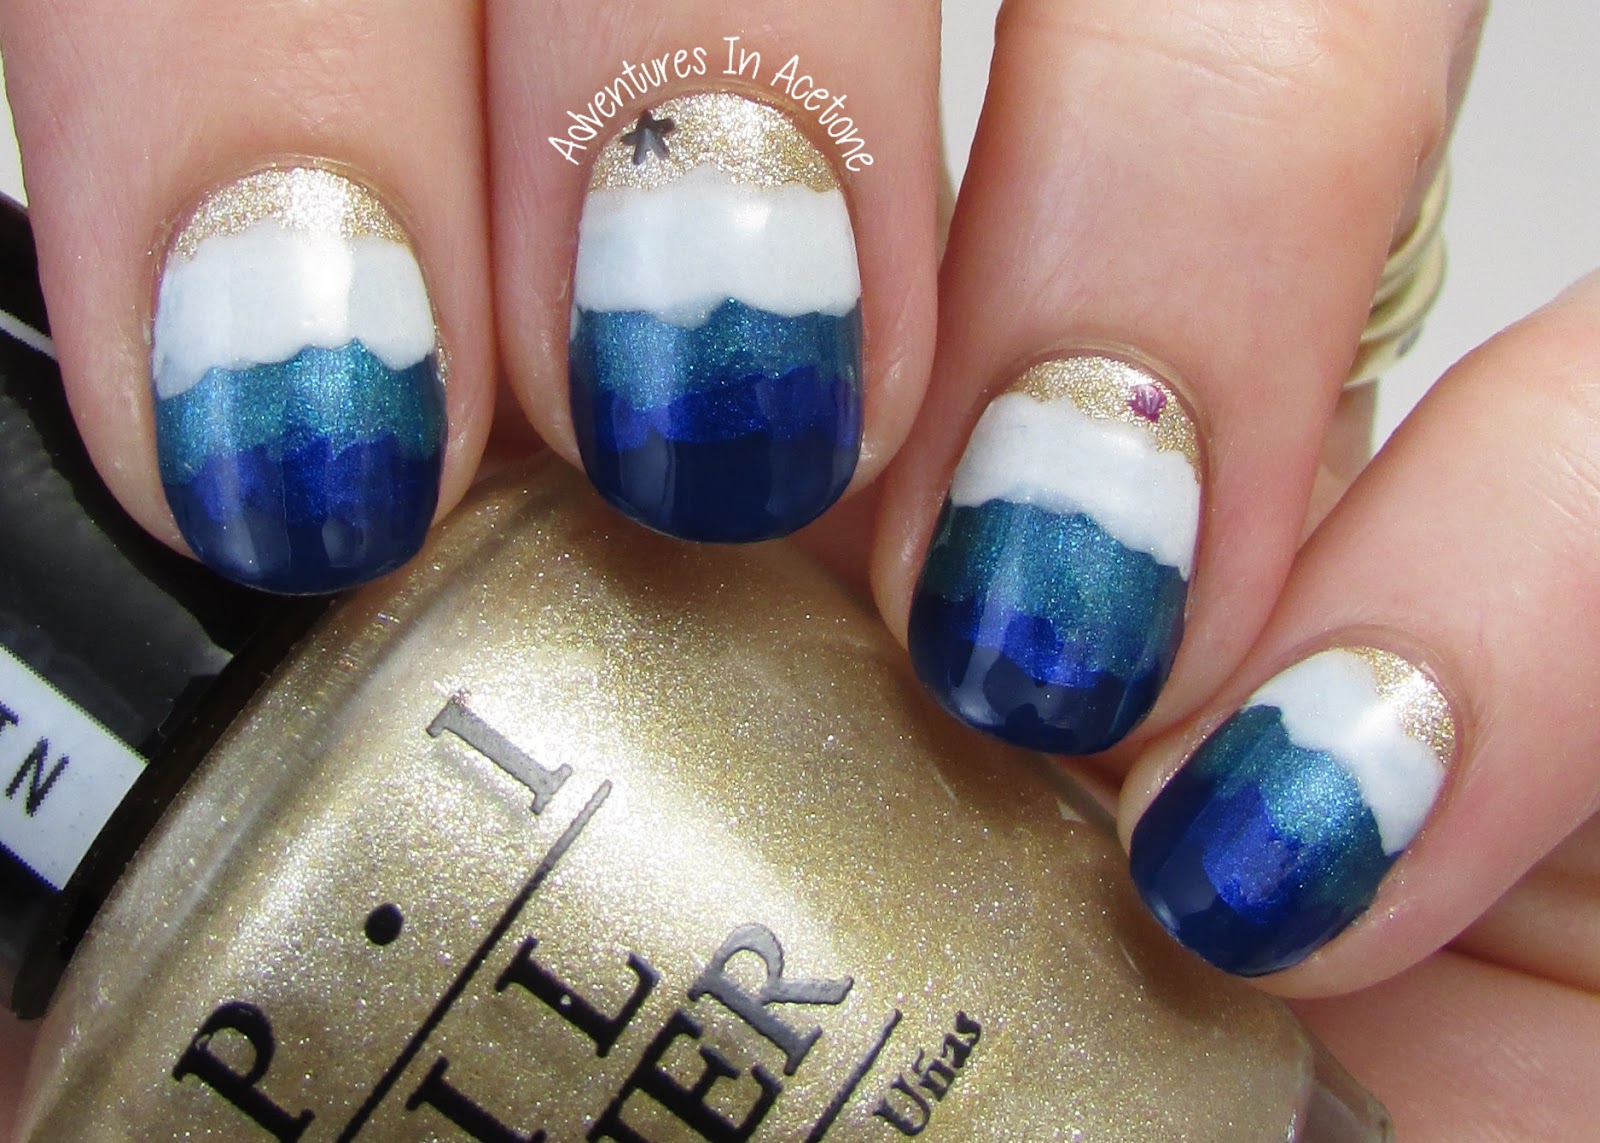
Step 2: Create the Ocean Gradient

Take your light blue nail polish and apply it to the makeup sponge. Dab the sponge onto your nails to create a gradient effect, with the lightest color at the tip of your nail and gradually getting darker towards the base. This will give the illusion of the ocean.
Step 3: Add White Waves

Using your small striping brush and white nail polish, carefully draw wavy lines across your nails. These will represent the white foam of the waves. Don't worry about making them perfect, as the natural look will add to the beachy vibe.
Step 4: Add Some Sparkle

To add some extra sparkle to your nails, place small rhinestones or gems along the white waves. Press them gently onto the nail polish before it dries completely.
Step 5: Seal with a Top Coat
Lastly, seal your nail art with a top coat to protect it and give it a glossy finish. This will also help keep the rhinestones in place.
And there you have it, beach waves inspired nail art that will make you feel like you're sitting on a tropical beach. Get creative with your color choices and add other elements like palm trees or seashells to make it your own. Have fun and enjoy your mini beach vacation at home!
Now that you have the steps, gather your supplies and give it a try. Your nails will be ready for some fun in the sun, even if it's just in your imagination.


