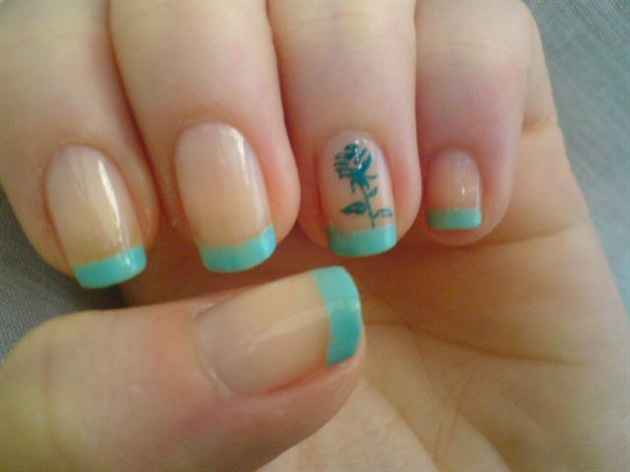
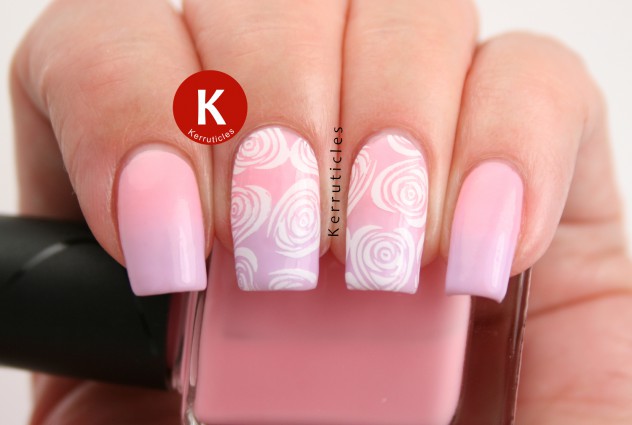
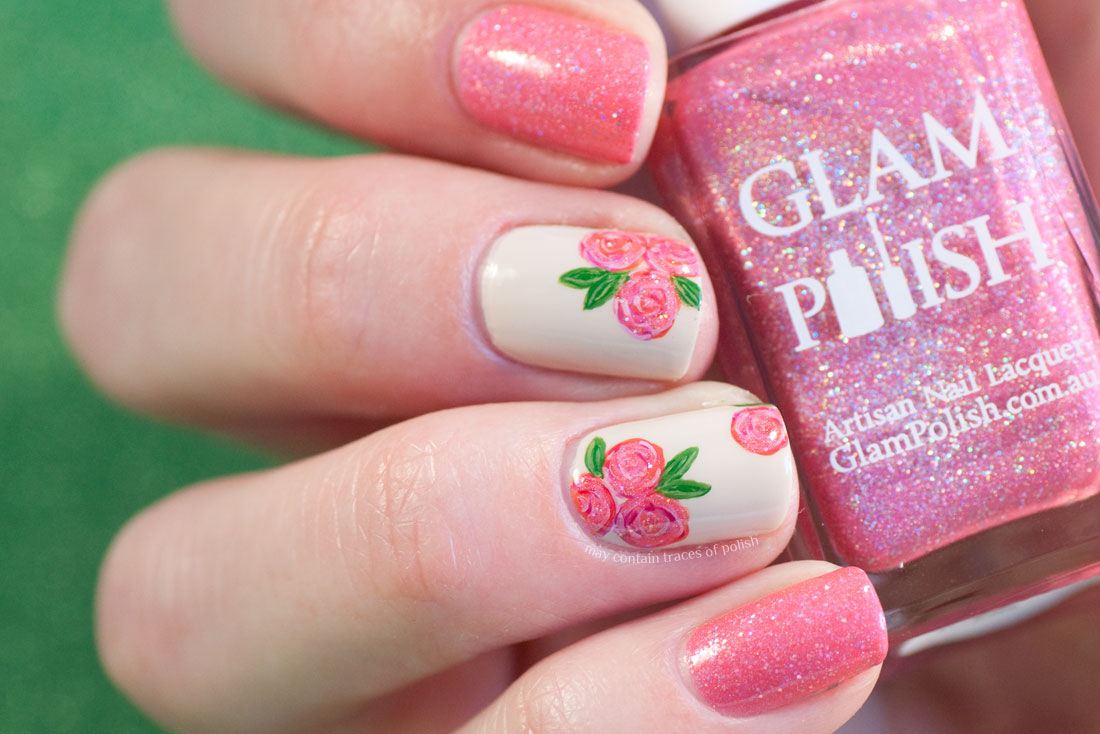
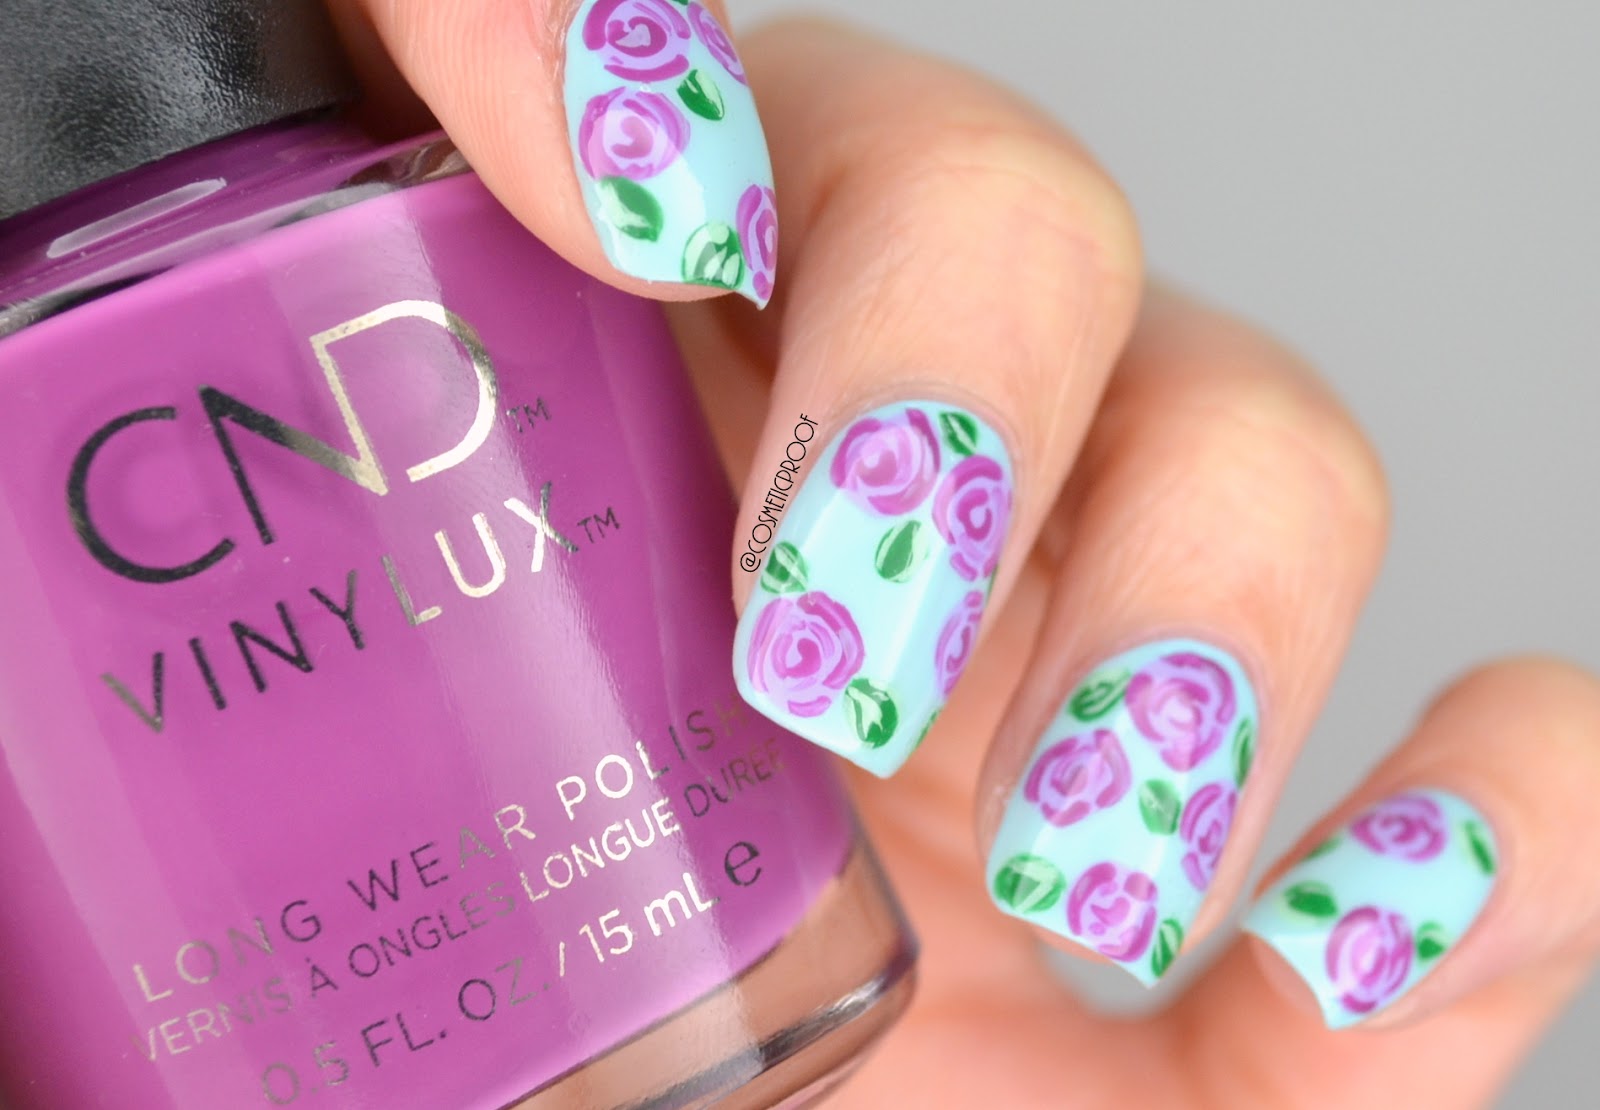
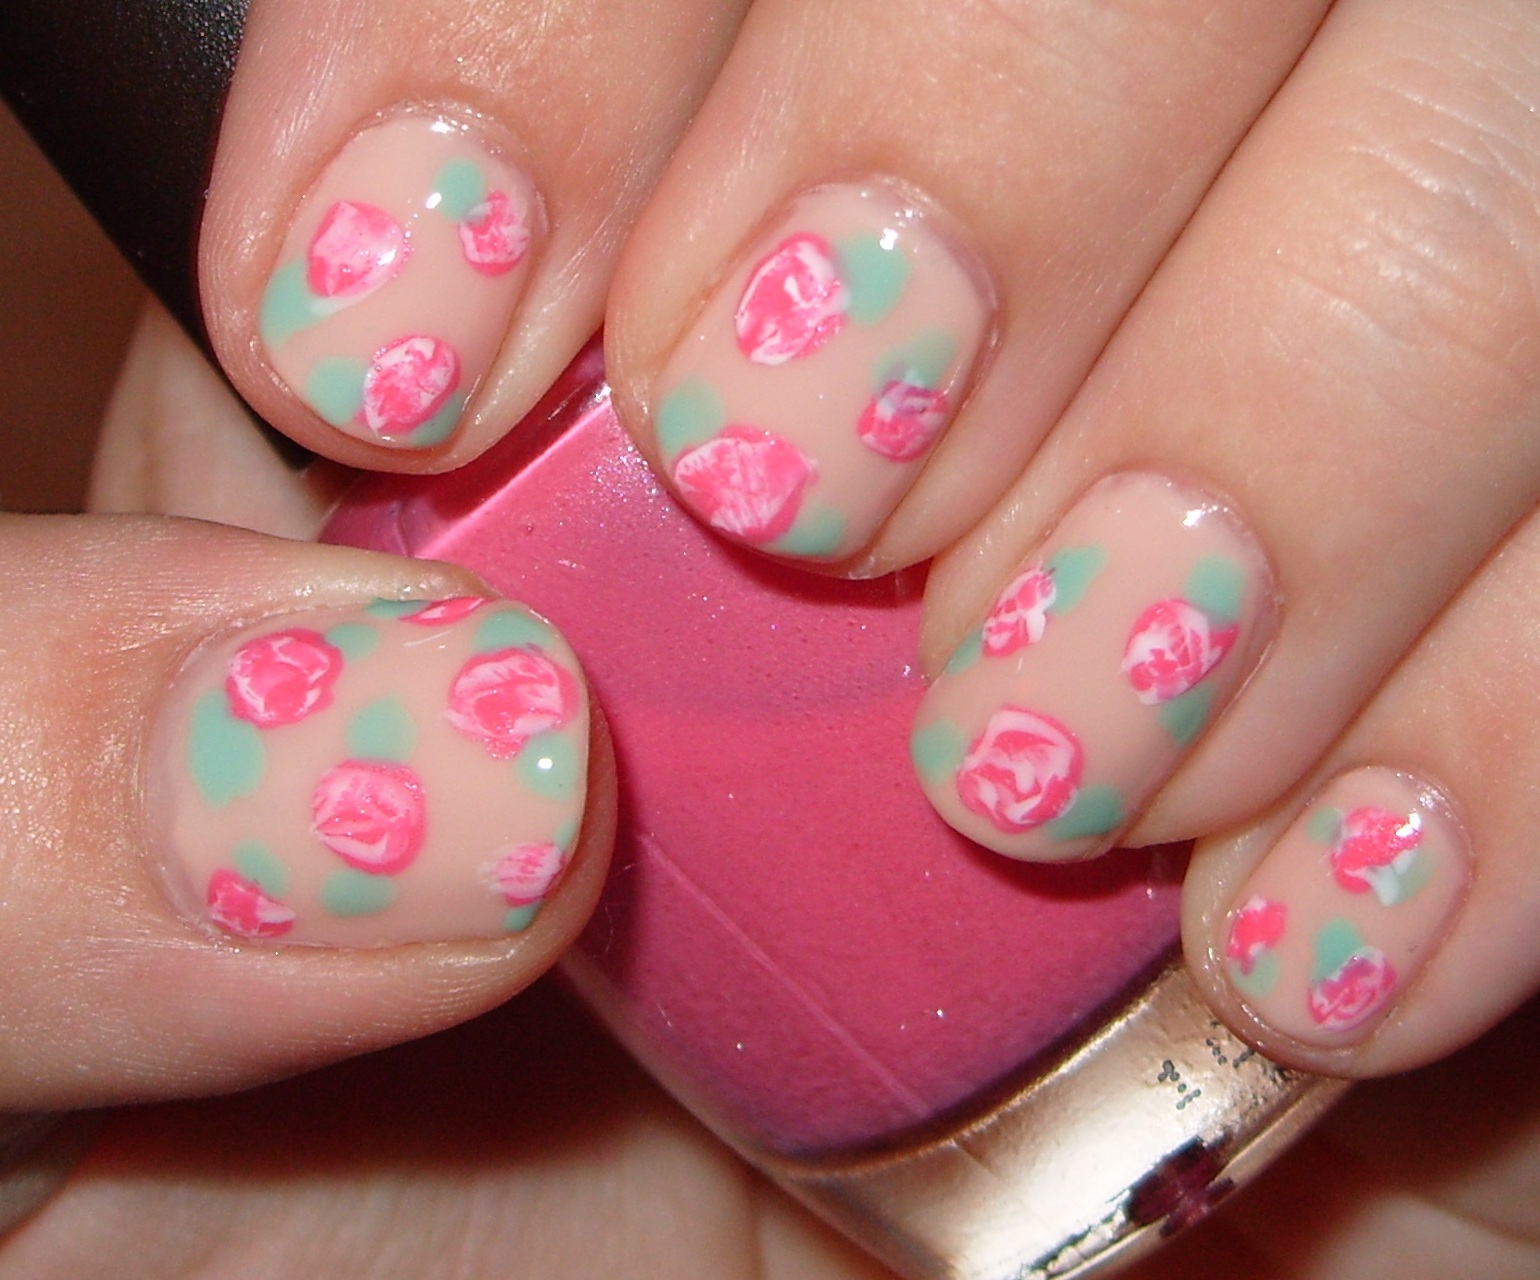
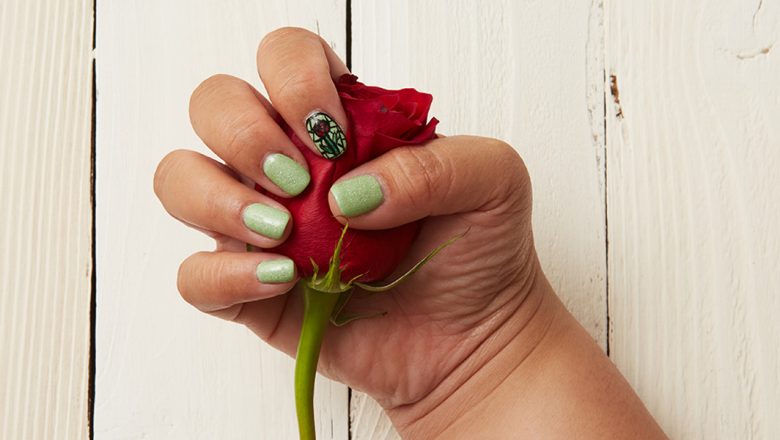
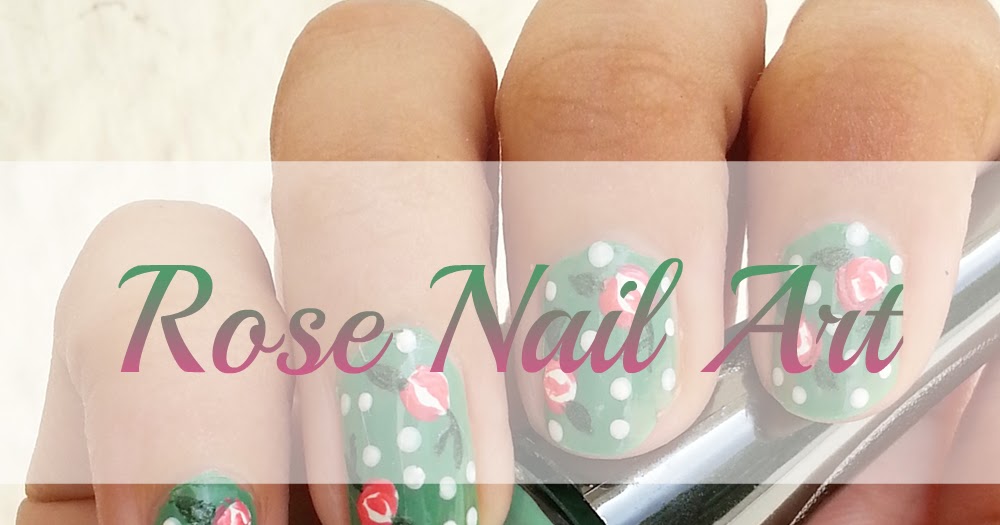
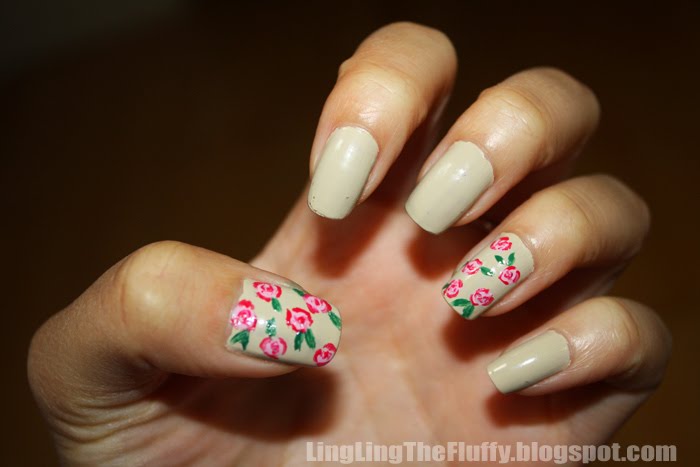
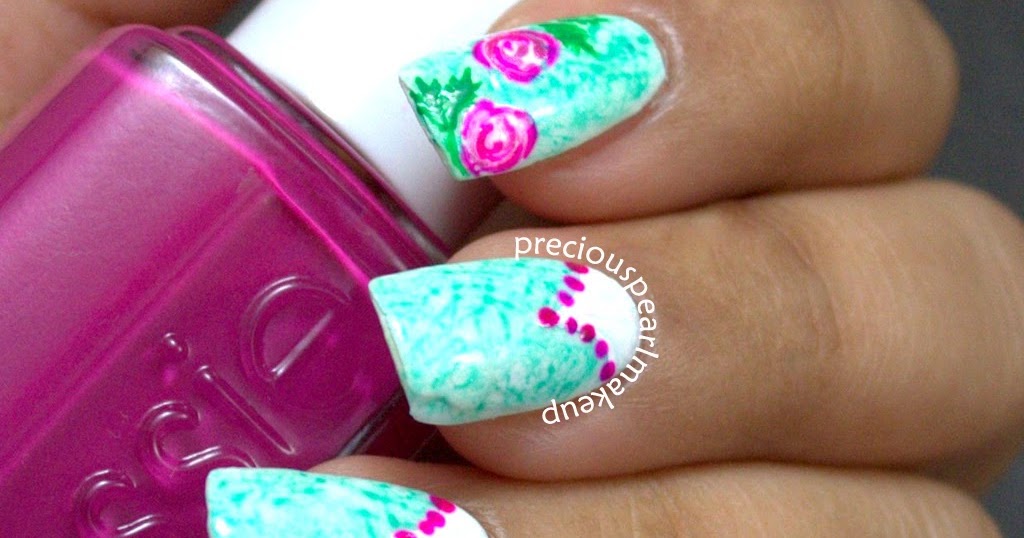
Transform your nails into a beautiful rose garden with this nail art design. Start by painting your nails with a light pink base color. Then, using a thin brush, create green stems on each nail. Next, use a dotting tool to create small pink roses on the stems. Finish off with a clear top coat to seal in the design and add shine. This elegant and feminine design is perfect for any occasion.1. "Rose Garden" Nail Art Design


1. "Rose Garden" Nail Art Design


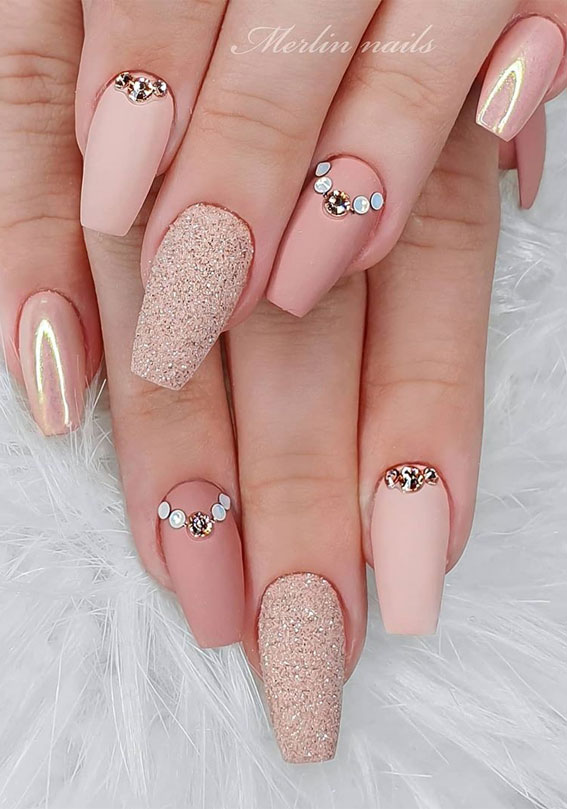
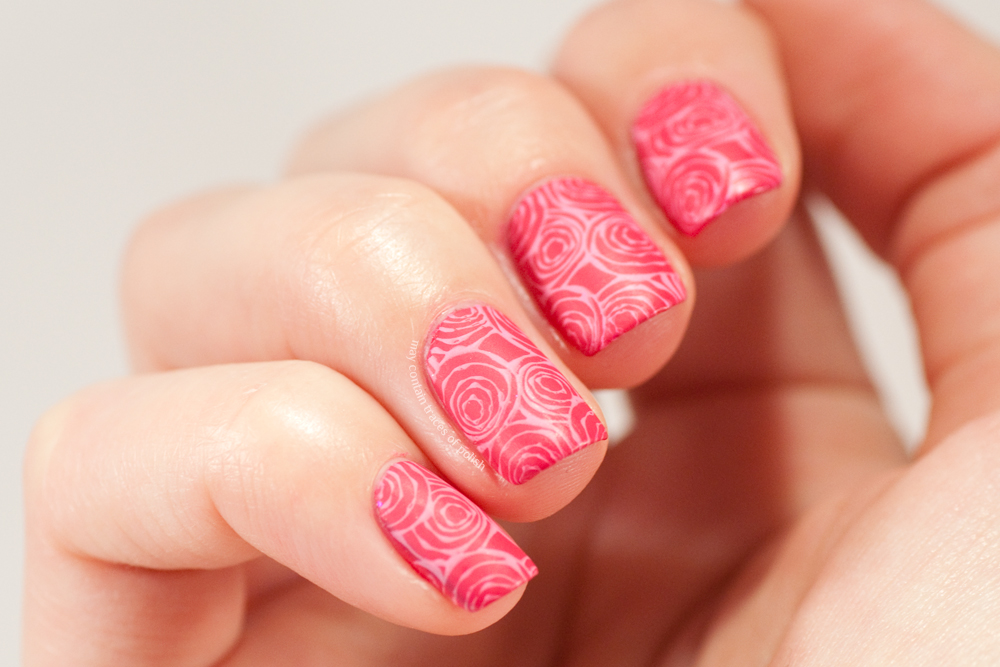
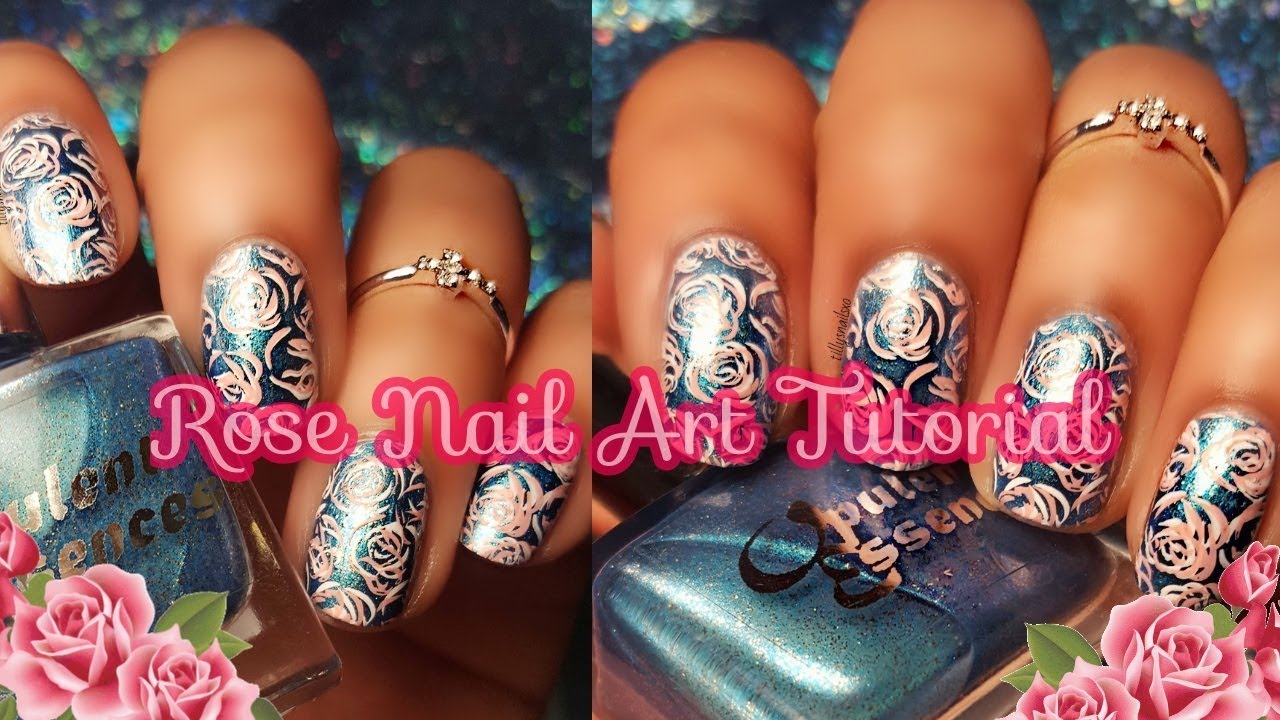
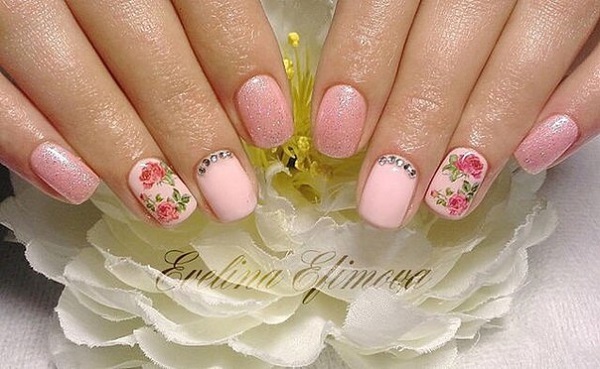
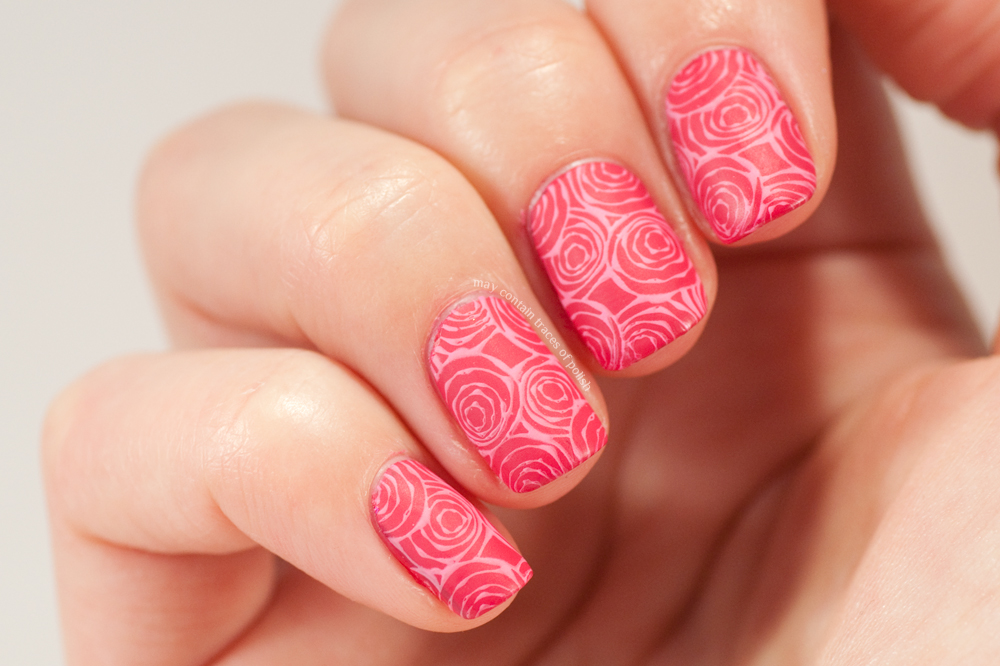
This elegant rose nail art tutorial is perfect for those who want a more subtle and sophisticated look. Start by painting your nails with a light pink or nude base color. Then, using a rose gold nail polish, create small rose outlines on each nail. Use a thin brush to fill in the roses with the same rose gold polish. Finish off with a clear top coat to add shine and make your roses pop.2. "Elegant Rose" Nail Art Tutorial

2. "Elegant Rose" Nail Art Tutorial


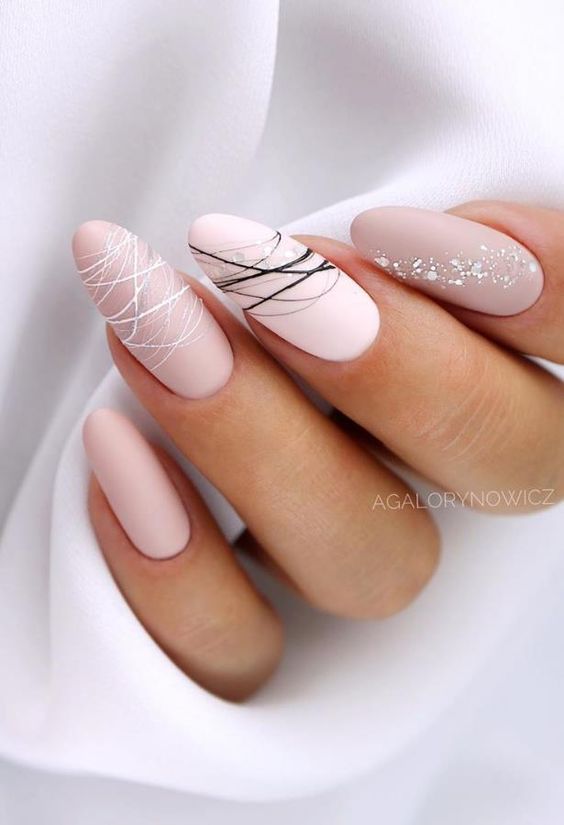
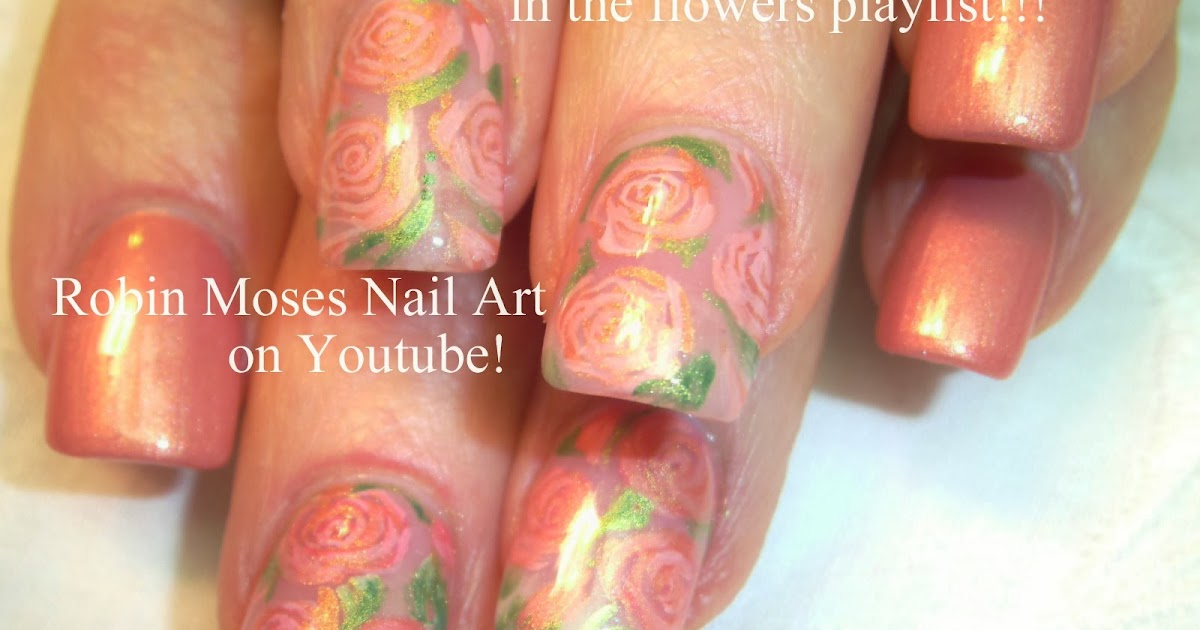
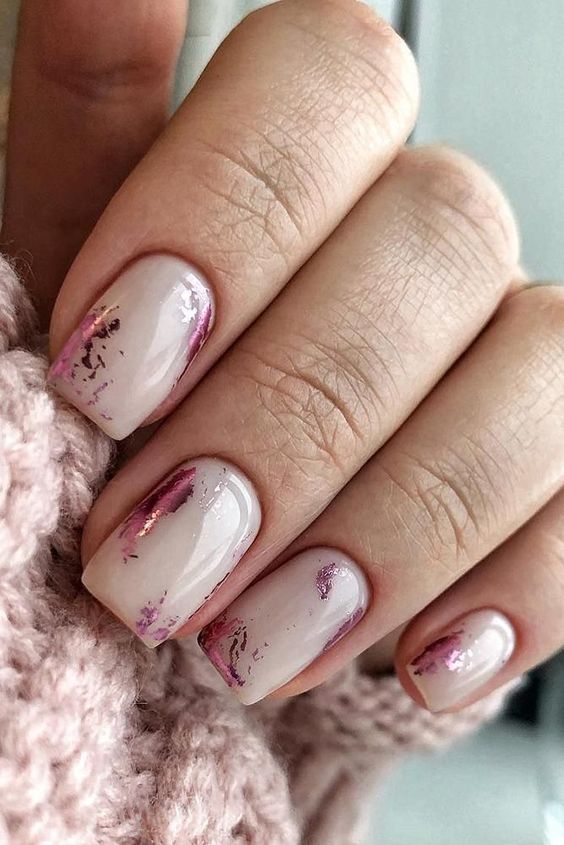
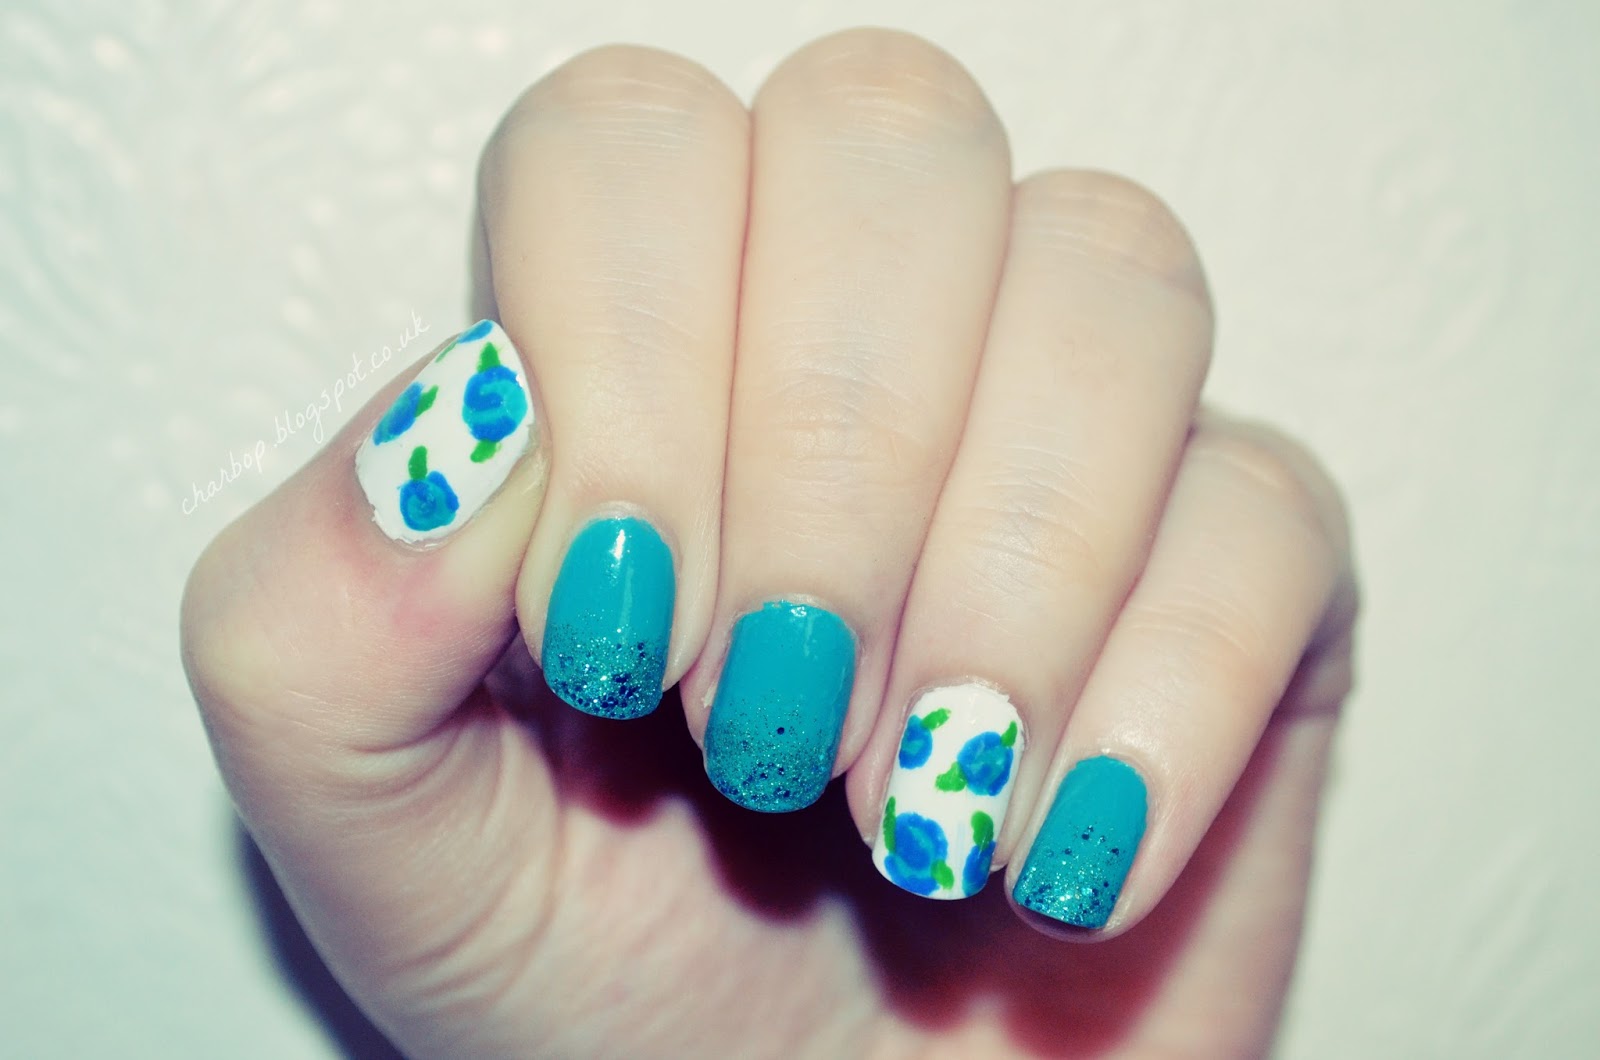
For a dreamy and romantic look, try this watercolor rose nail art tutorial. Start by painting your nails with a light pink or white base color. Then, using a thin brush, create subtle strokes of different shades of pink and red to create a watercolor effect. Finally, use a nail art pen to create delicate rose petals on each nail. Finish off with a top coat to seal in the design and add shine.3. "Watercolor Roses" Nail Art Tutorial


3. "Watercolor Roses" Nail Art Tutorial
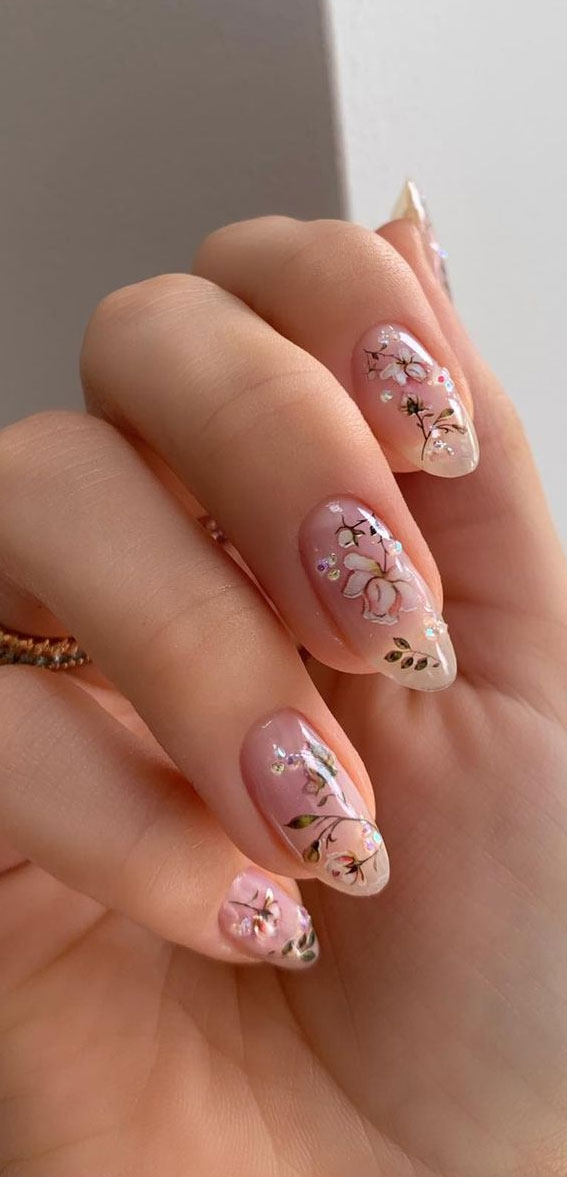
Take your nail art to the next level with this 3D rose design. Start by painting your nails with a light pink base color. Then, using a thick brush, create 3D rose petals on each nail by dabbing small amounts of pink, red, and white polish in a circular motion. Finish off with a clear top coat to give your nails a glossy finish. This design will definitely make a statement.4. "3D Rose" Nail Art Tutorial


4. "3D Rose" Nail Art Tutorial
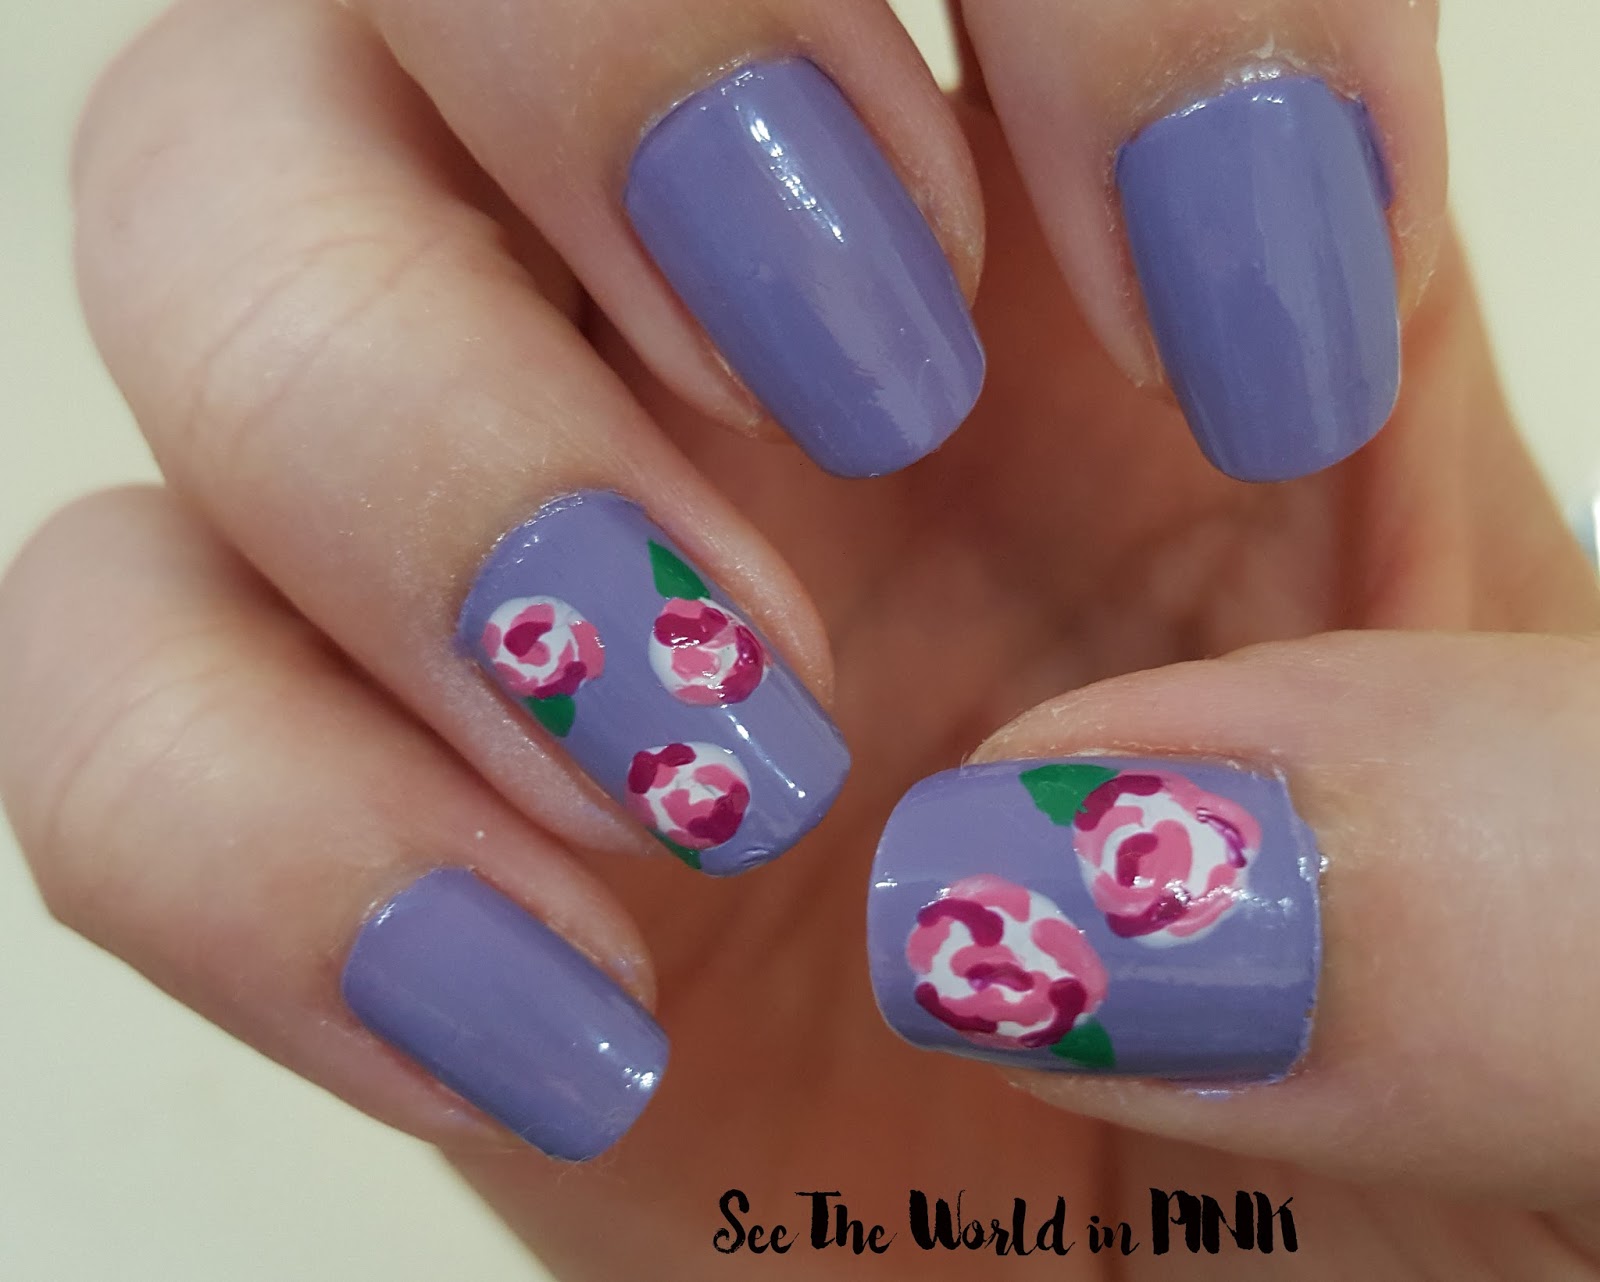
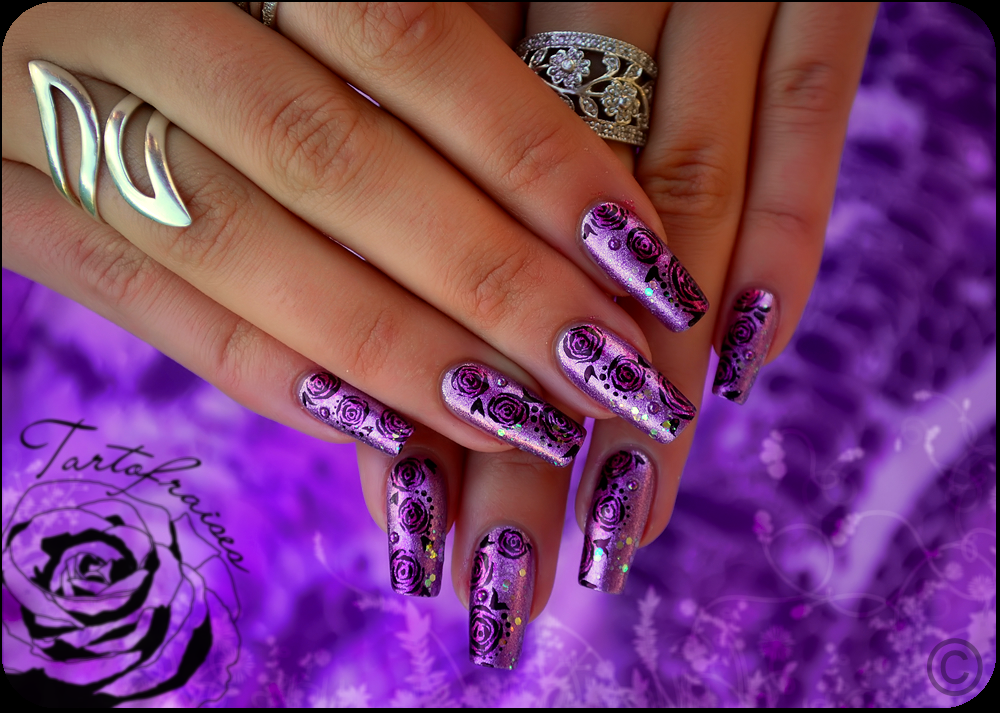
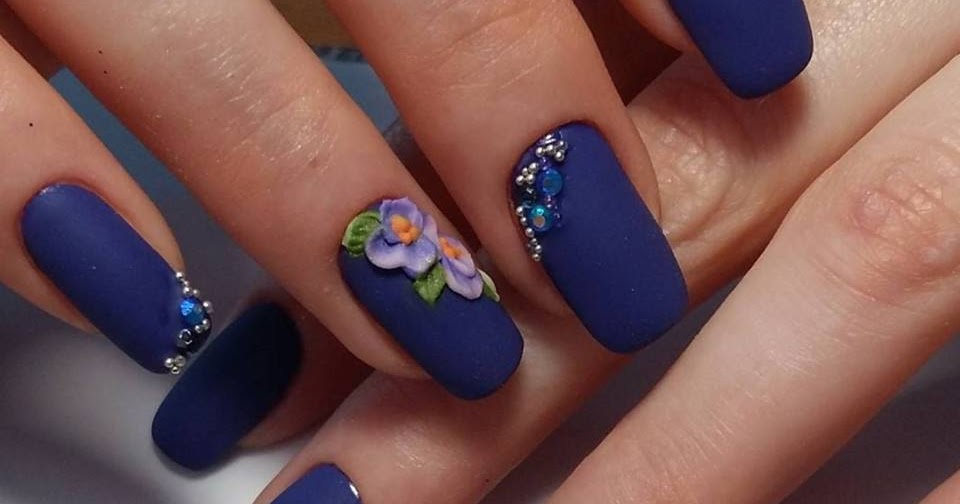
For a vintage and romantic look, try this rose nail art design. Start by painting your nails with a light lavender base color. Then, using a small brush, create intricate rose outlines on each nail using a dark purple polish. Fill in the roses with the same dark purple polish and add gold accents to create a vintage feel. Finish off with a top coat for a glossy finish.5. "Vintage Rose" Nail Art Design

5. "Vintage Rose" Nail Art Design


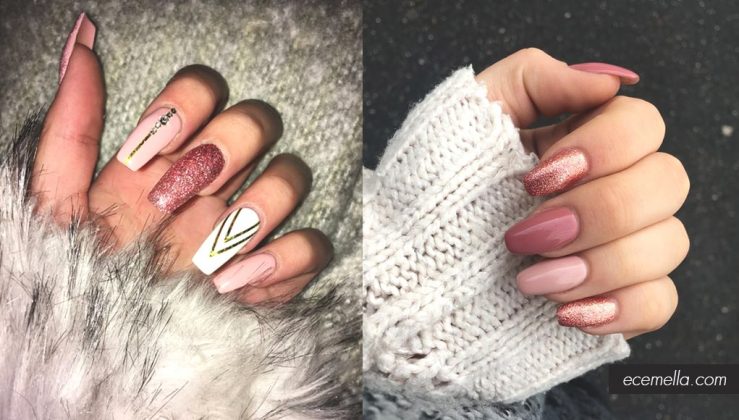
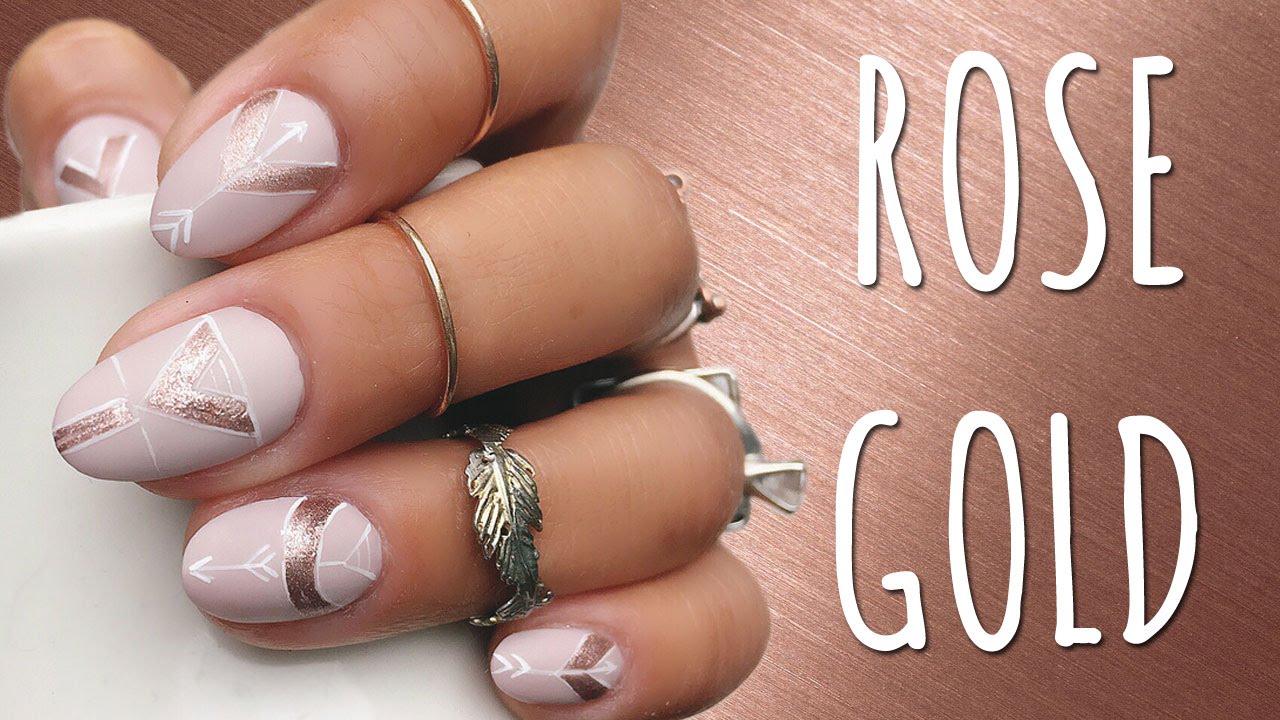
Rose gold is a popular color and it's perfect for nail art. Start by painting your nails with a light pink base color. Then, using a thin brush, create rose gold stripes on each nail. You can also add rose gold accents by using a dotting tool to create small dots or by adding rose gold rhinestones. Finish off with a clear top coat to make your nails shine.6. "Rose Gold" Nail Art Tutorial


6. "Rose Gold" Nail Art Tutorial


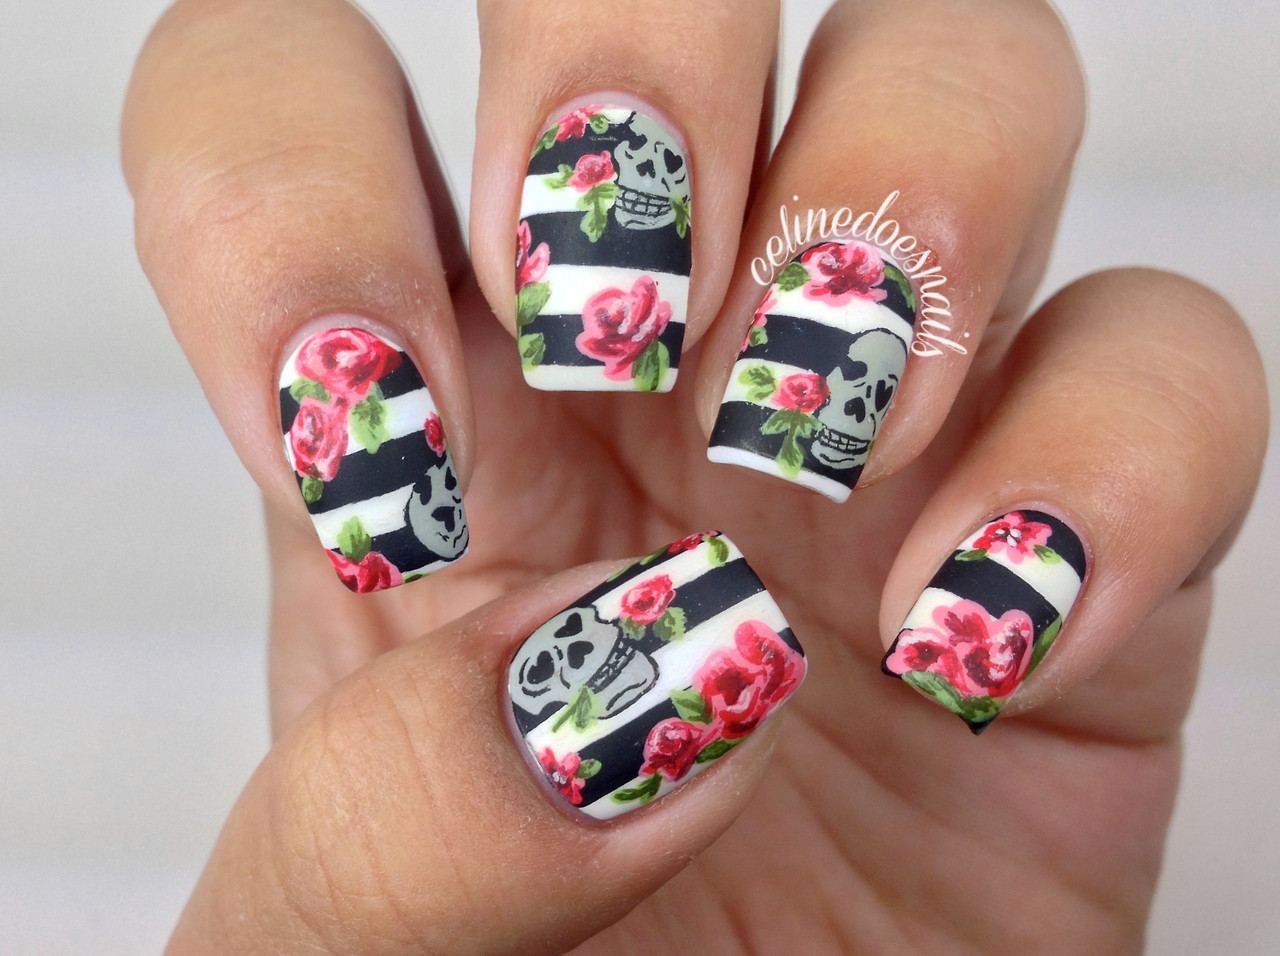
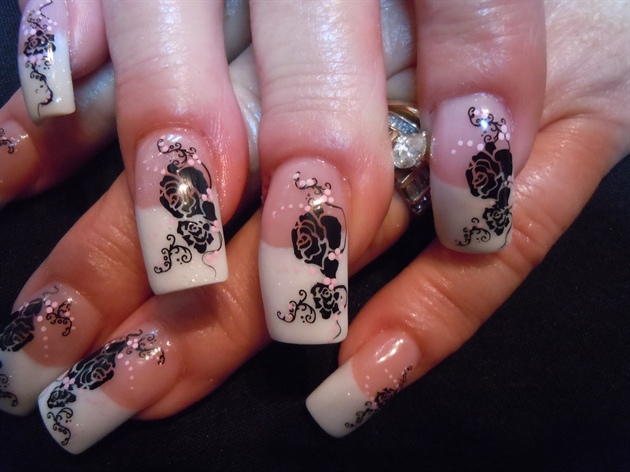
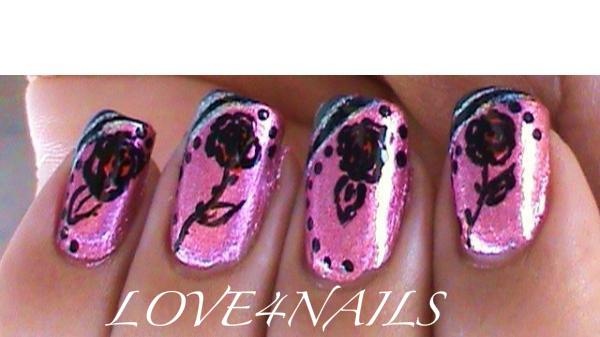
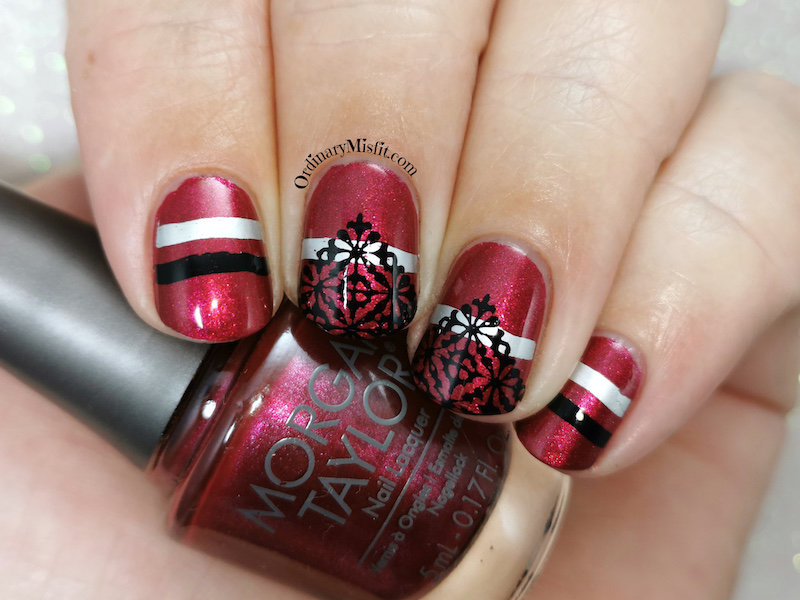
For a chic and modern twist on the classic rose nail art design, try this black and white version. Start by painting your nails with a white base color. Then, using a thin brush, create black rose outlines on each nail. Fill in the roses with the same black polish. You can also add black stripes or polka dots to create a playful look. Finish off with a top coat to seal in the design.7. "Black and White Rose" Nail Art Design
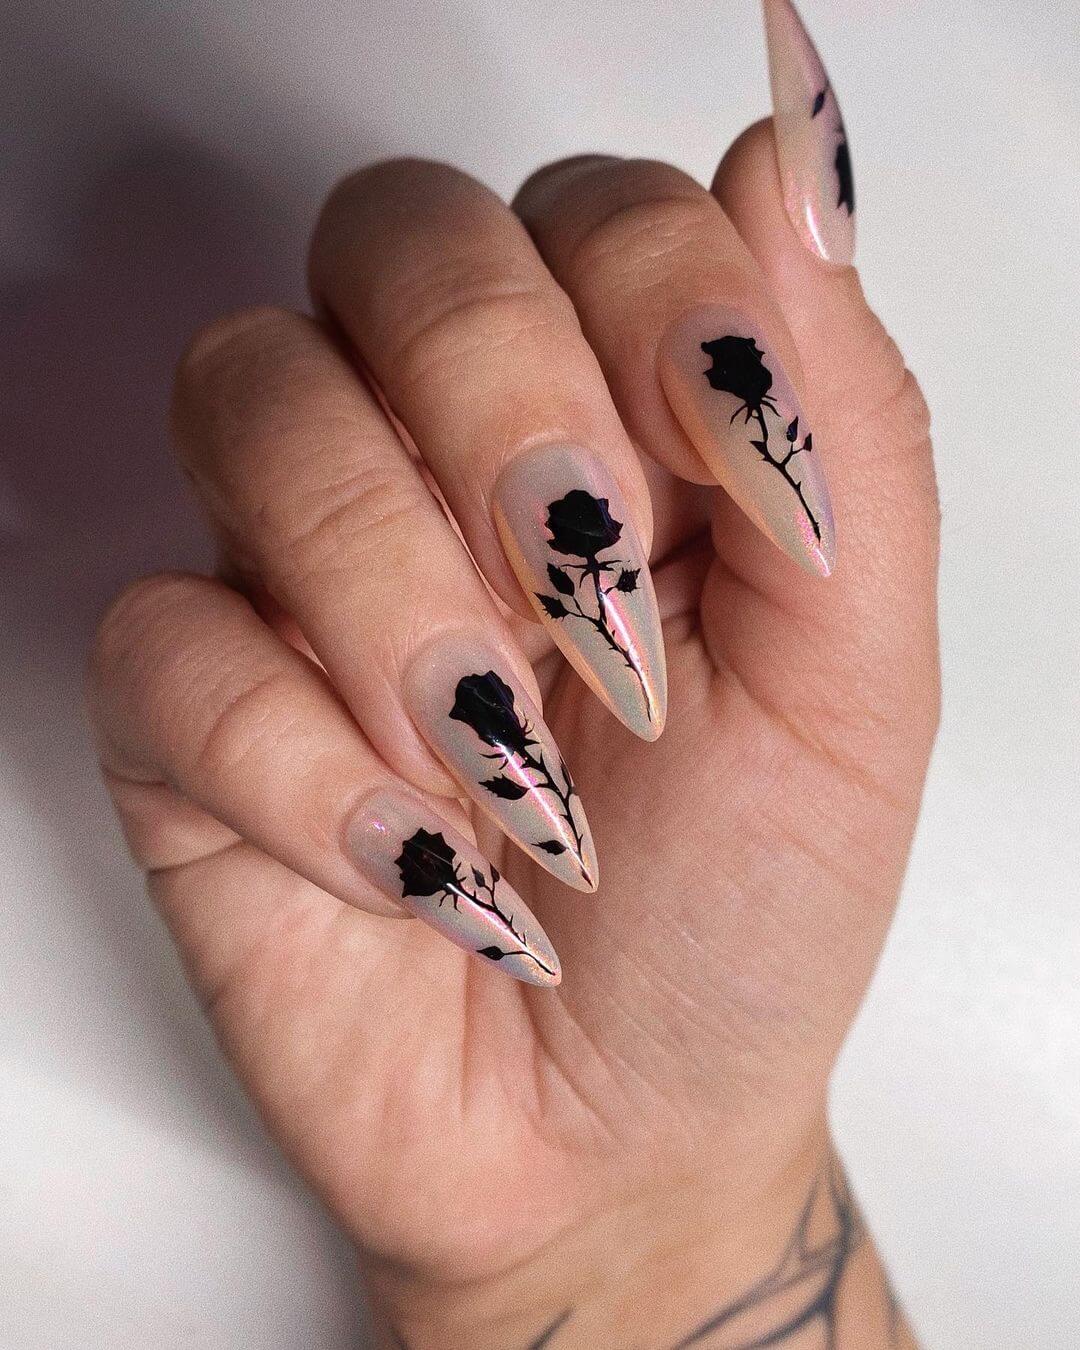
7. "Black and White Rose" Nail Art Design


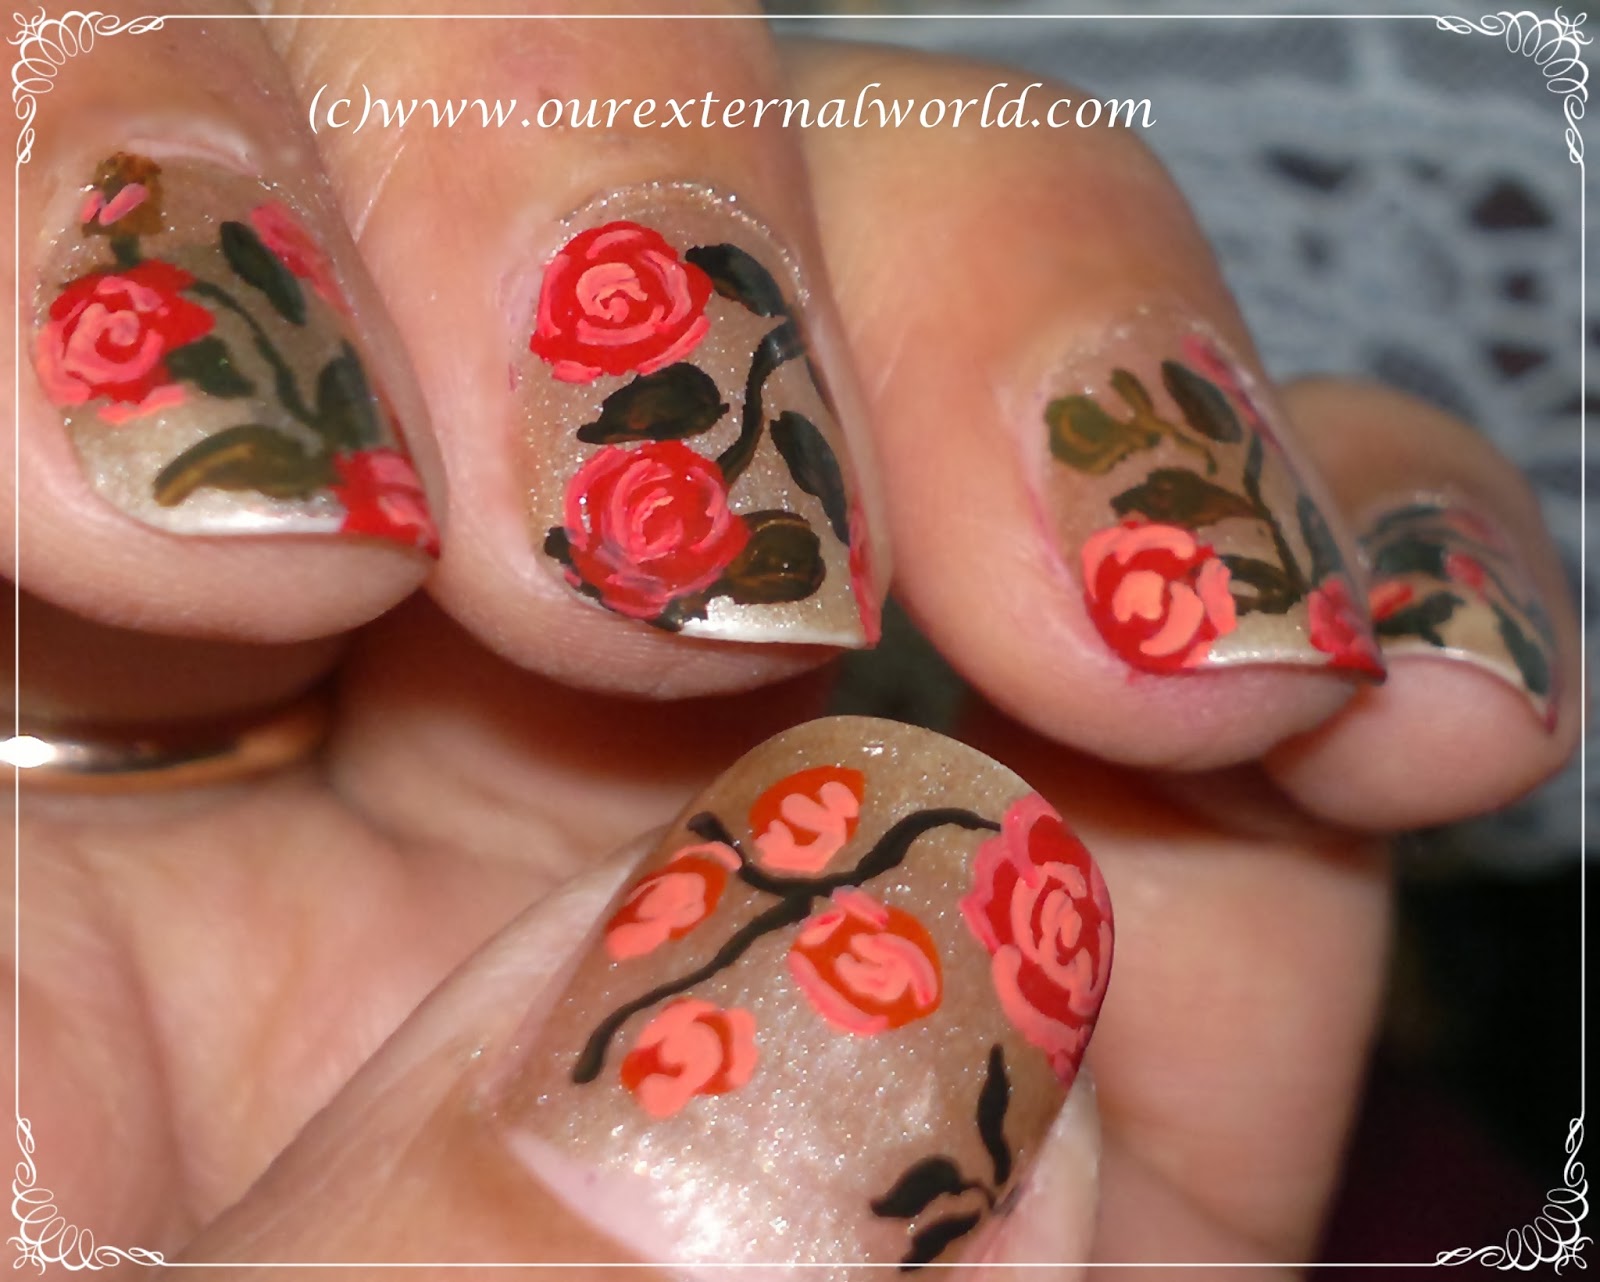
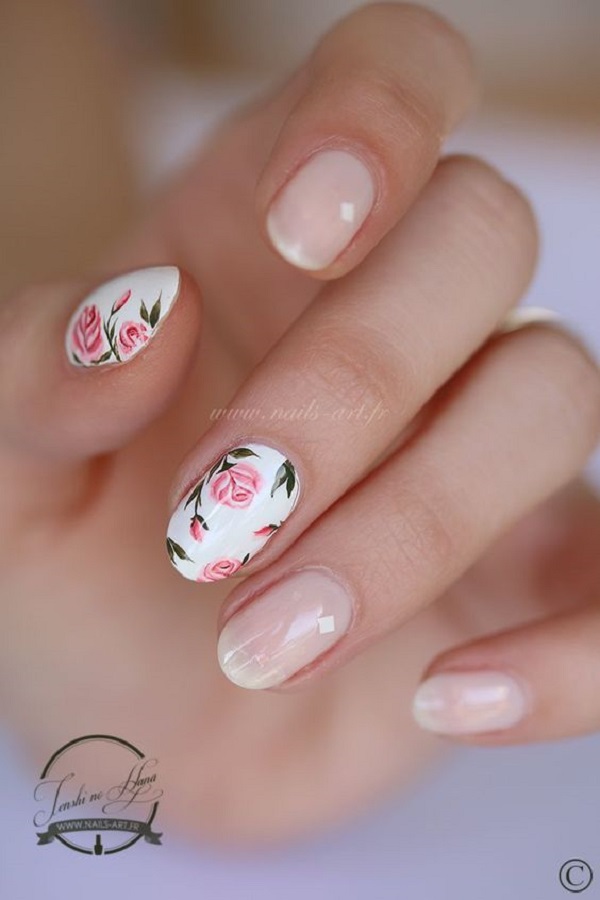
If you want to create a realistic rose on your nails, follow this tutorial. Start by painting your nails with a light pink base color. Then, using a thin brush, create realistic rose petals in shades of pink, red, and white. Add green stems and leaves to complete the design. Finish off with a clear top coat to add shine and make your roses look even more lifelike.8. "Realistic Rose" Nail Art Tutorial

8. "Realistic Rose" Nail Art Tutorial
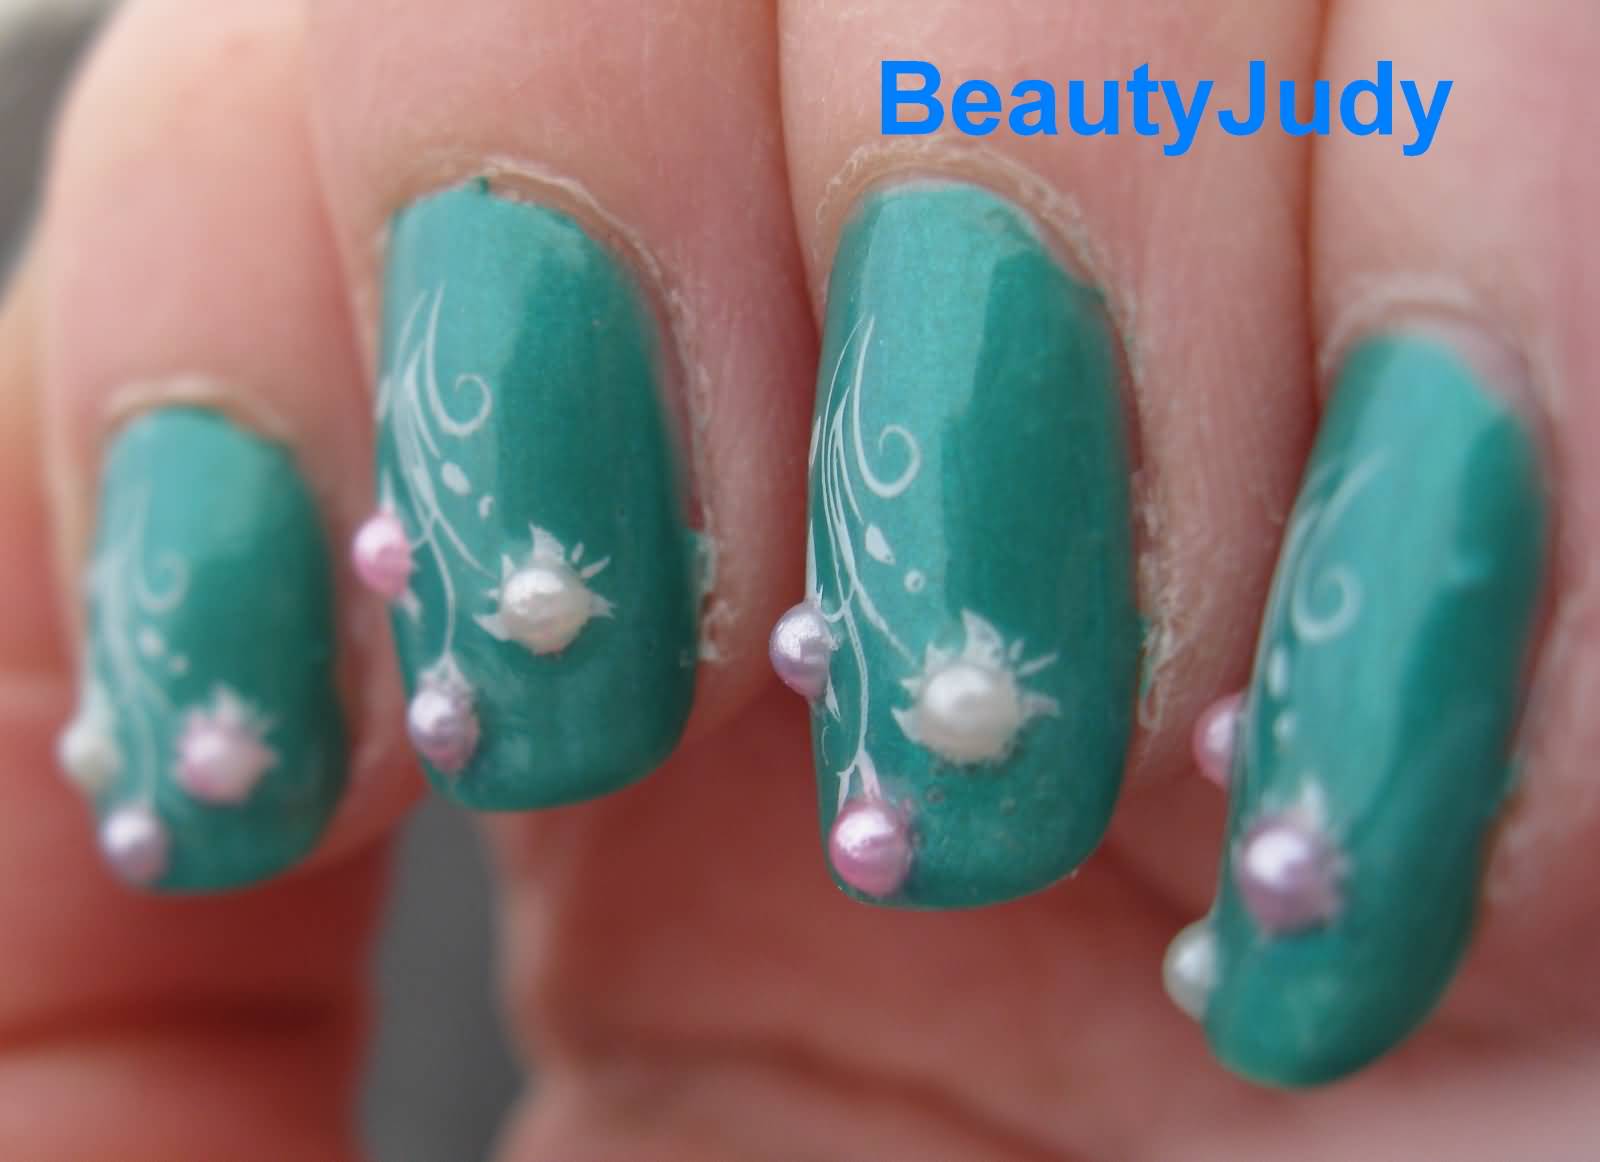
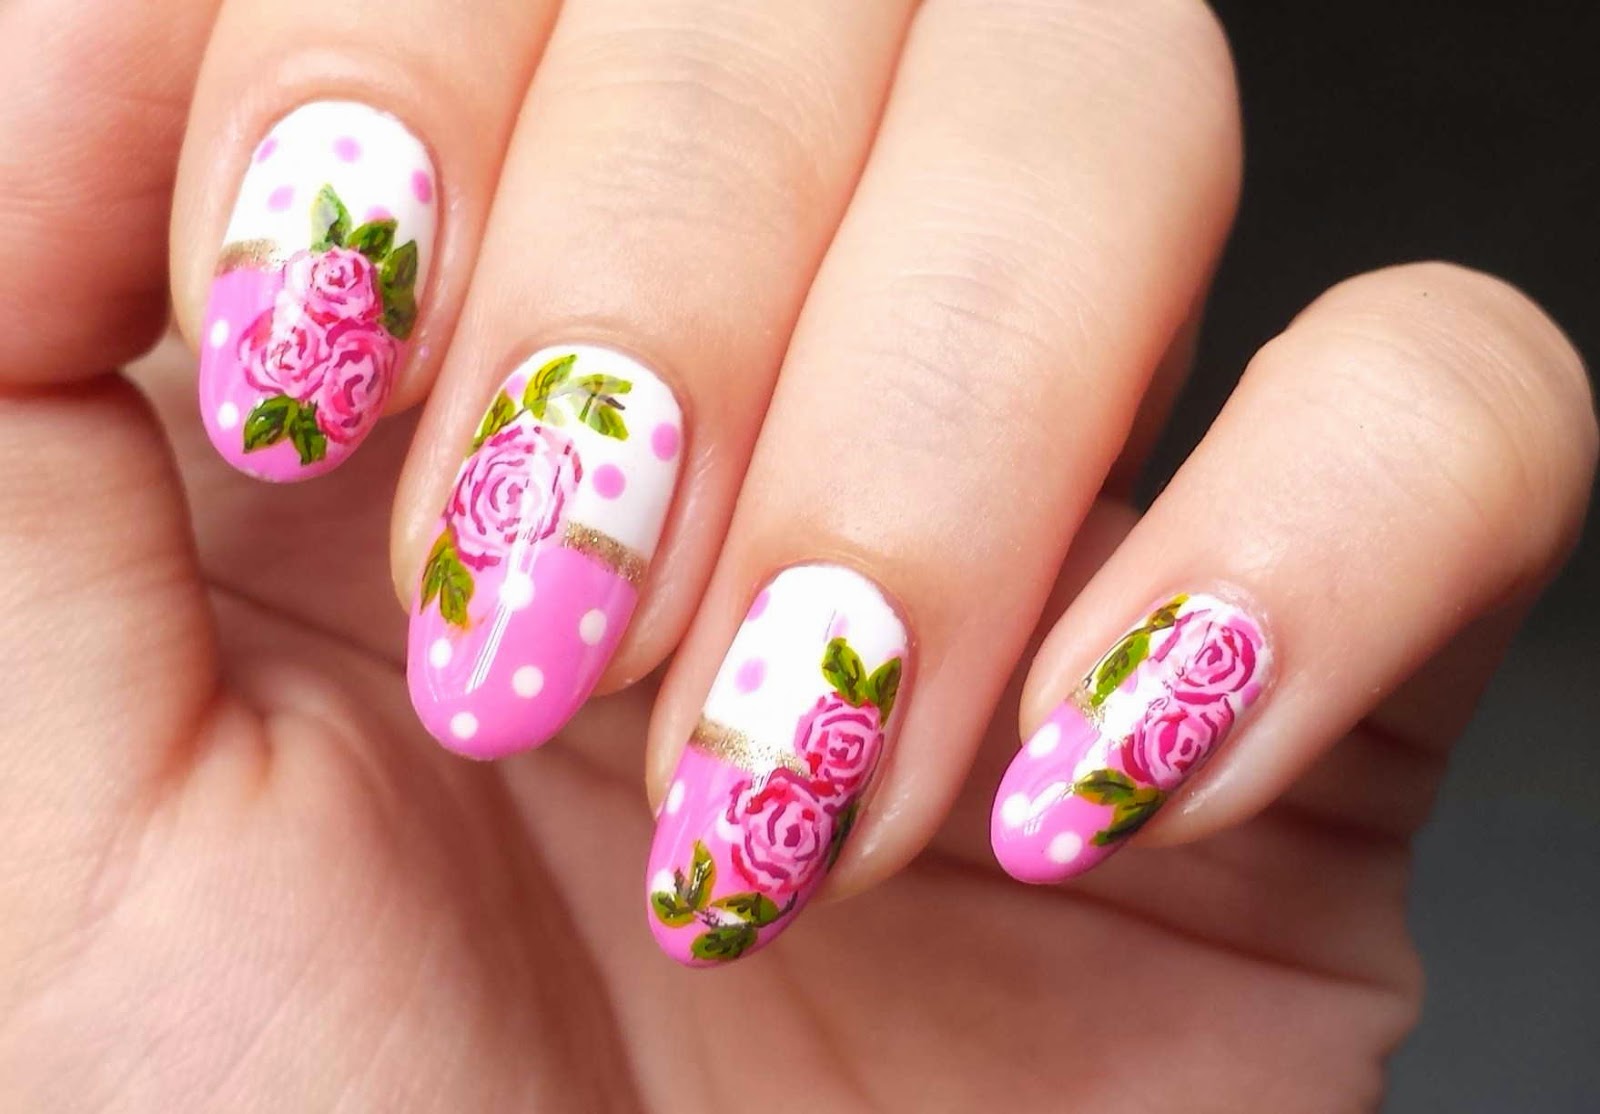
This delicate and feminine nail art design is perfect for those who want a subtle look. Start by painting your nails with a light pink base color. Then, using a thin brush, create rose petals on each nail in shades of pink and red. You can also add small gold accents for a touch of elegance. Finish off with a top coat to seal in the design and add shine.9. "Rose Petal" Nail Art Design


9. "Rose Petal" Nail Art Design

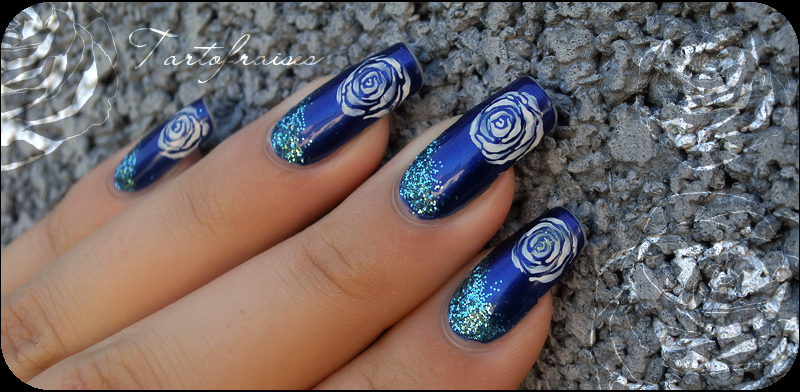

For a romantic and dreamy nail art design, try this tutorial. Start by painting your nails with a light pink or white base color. Then, using a thin brush, create rose outlines on each nail in shades of pink and red. Fill in the roses with the same shades and add silver glitter for a touch of sparkle. Finish off with a clear top coat to seal in the design and add shine.10. "Romantic Rose" Nail Art Tutorial

10. "Romantic Rose" Nail Art Tutorial

The Art of Creating Beautiful Rose Nail Designs
The Symbolism of Roses
 Roses have long been associated with beauty, love, and passion. They are a timeless symbol of romance and are often used in art, literature, and fashion. It is no surprise that rose nail art has become a popular trend in the world of beauty.
How to Create a Stunning Rose Nail Design
 Creating a beautiful rose nail design may seem intimidating, but with the right tools and techniques, anyone can achieve a stunning result. The key to creating a realistic rose design is to pay attention to detail and use
high-quality nail art tools and products
.
Creating a beautiful rose nail design may seem intimidating, but with the right tools and techniques, anyone can achieve a stunning result. The key to creating a realistic rose design is to pay attention to detail and use
high-quality nail art tools and products
.
Gather Your Tools
 To create a rose nail design, you will need a base coat, top coat, nail polish in your desired color, a fine brush, and a dotting tool. It is essential to use a fine brush to create intricate details and a dotting tool to create the perfect rose petals.
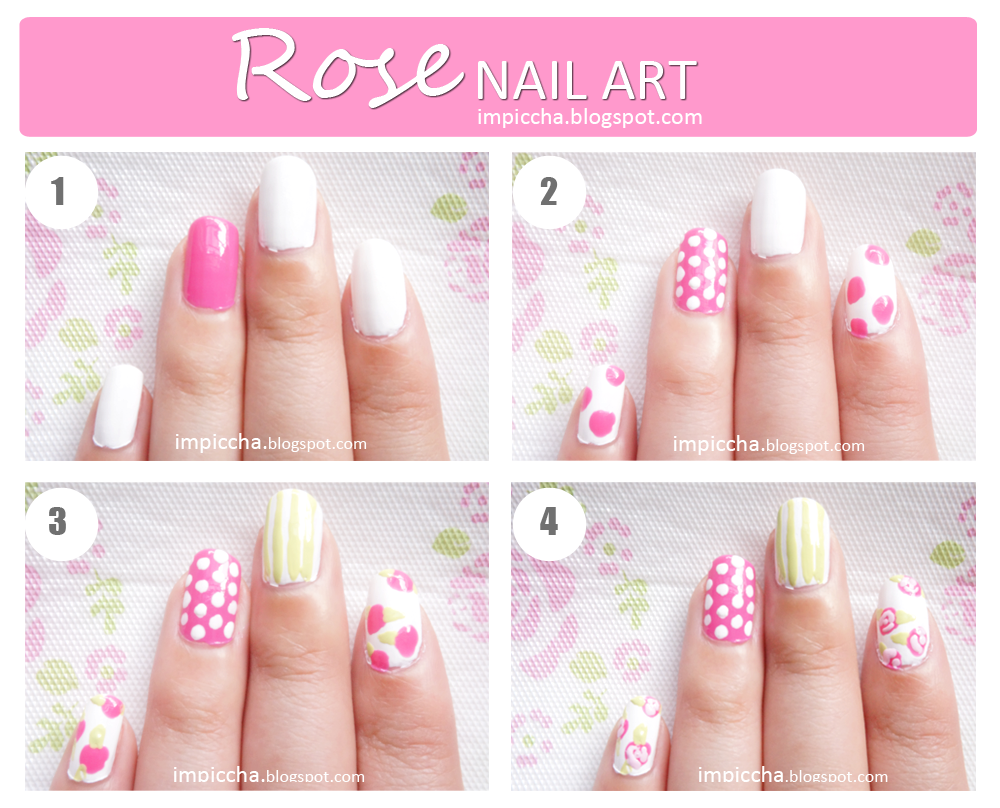
Step-by-Step Guide
 1. Start by applying a base coat to your nails to protect them and ensure your design lasts longer.
2. Once the base coat is dry, apply a coat of your chosen nail polish color.
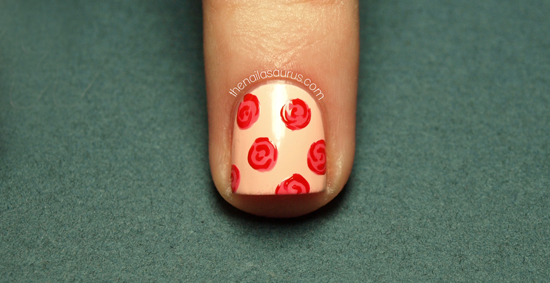
3. Using a fine brush, draw three curved lines at the center of your nail to create the outline of a rose.
4. Using a dotting tool, create small dots around the curved lines to form the petals of the rose.
5. Repeat this step until you have created multiple layers of petals, making sure to vary the size and placement of the dots to create a realistic look.
6. Once your rose is complete, use the fine brush to add details such as leaves and stems.
7. Finish off with a top coat to seal in your design and add shine.
1. Start by applying a base coat to your nails to protect them and ensure your design lasts longer.
2. Once the base coat is dry, apply a coat of your chosen nail polish color.
3. Using a fine brush, draw three curved lines at the center of your nail to create the outline of a rose.
4. Using a dotting tool, create small dots around the curved lines to form the petals of the rose.
5. Repeat this step until you have created multiple layers of petals, making sure to vary the size and placement of the dots to create a realistic look.
6. Once your rose is complete, use the fine brush to add details such as leaves and stems.
7. Finish off with a top coat to seal in your design and add shine.
Get Creative
 There are endless possibilities when it comes to creating rose nail art. You can experiment with different colors, sizes, and placement of the roses to create a unique and personalized design. You can also add other elements such as glitter or rhinestones to make your design stand out even more.
In Conclusion
 Creating beautiful rose nail art is a fun and creative way to express yourself and add a touch of elegance to your look. With some patience and practice, you can master the art of creating stunning rose designs on your nails. So why not give it a try and see the beauty of roses come to life on your fingertips?


