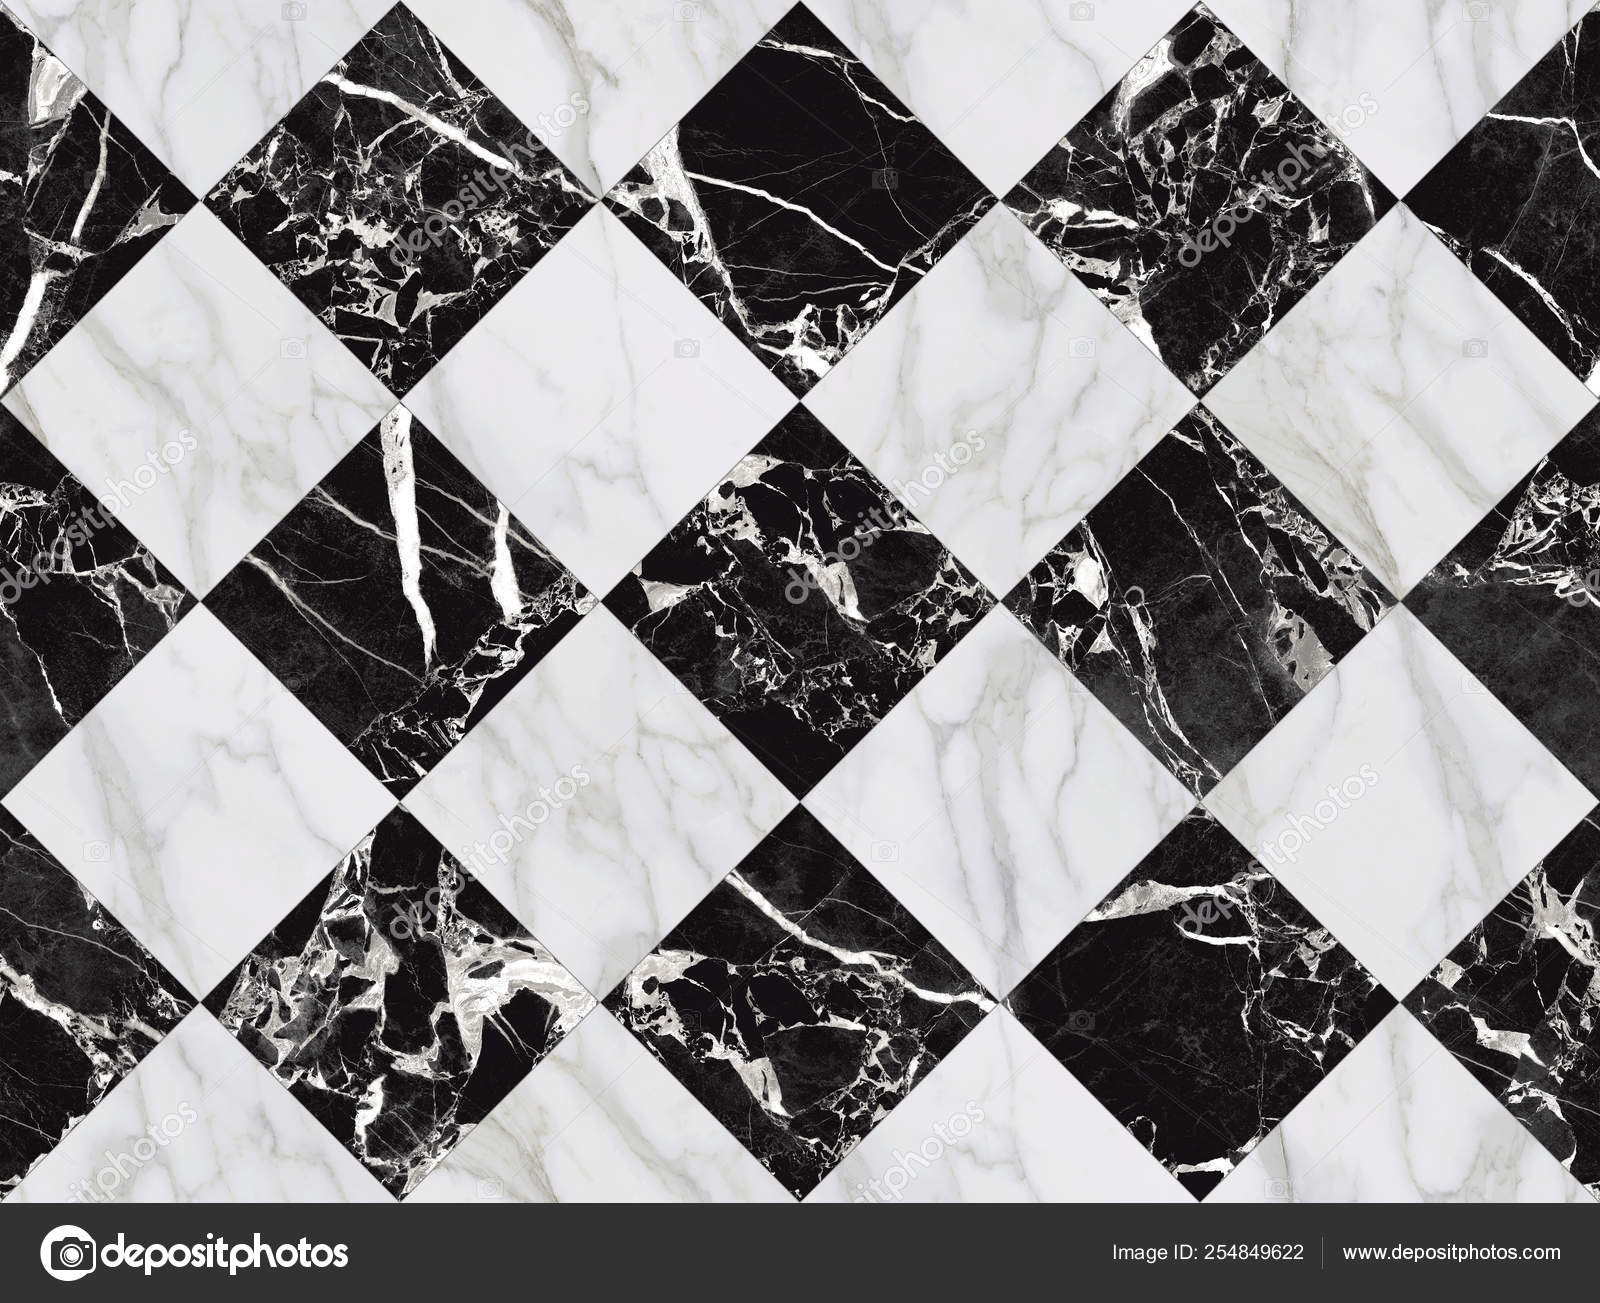
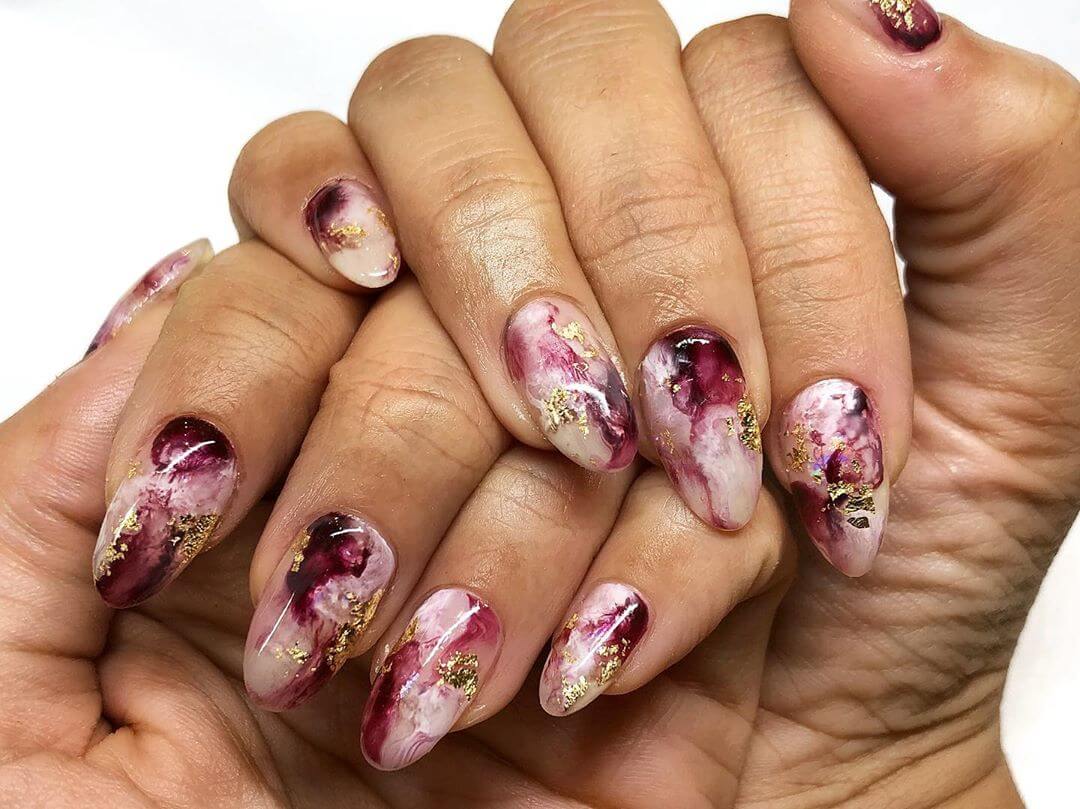
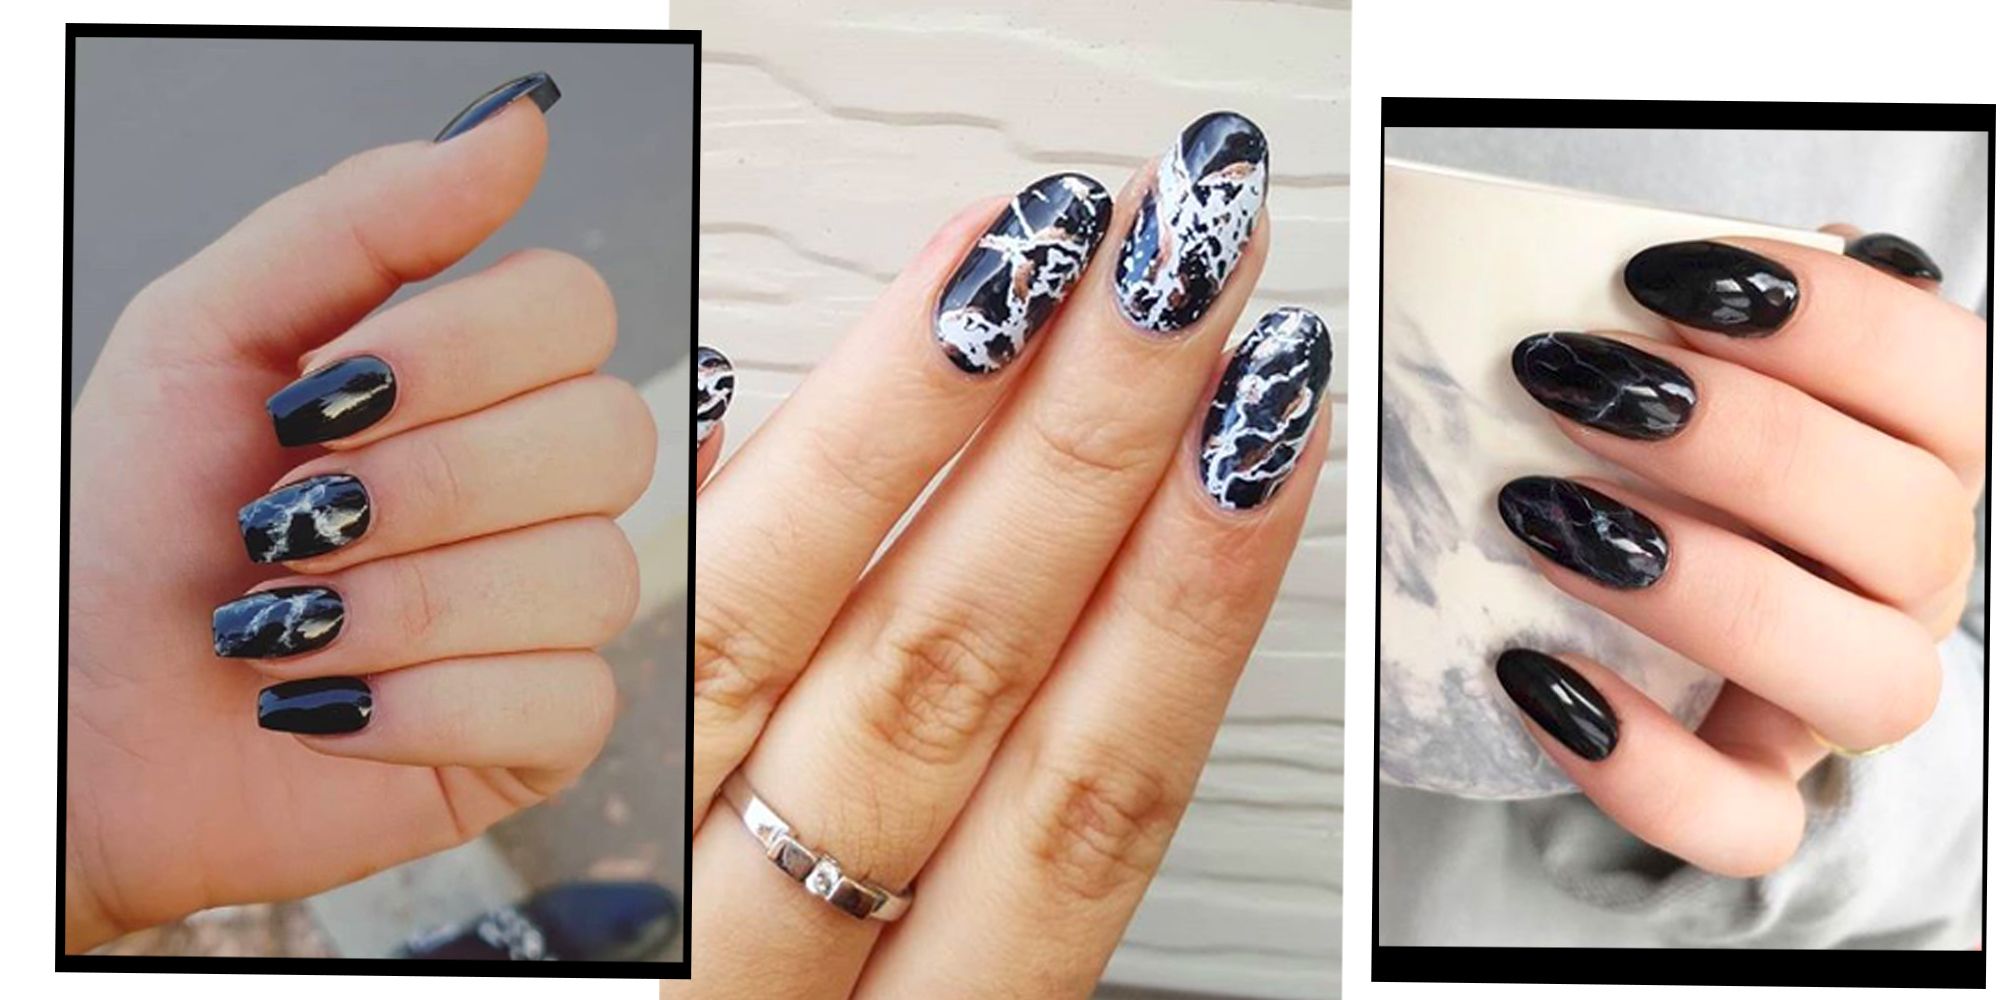
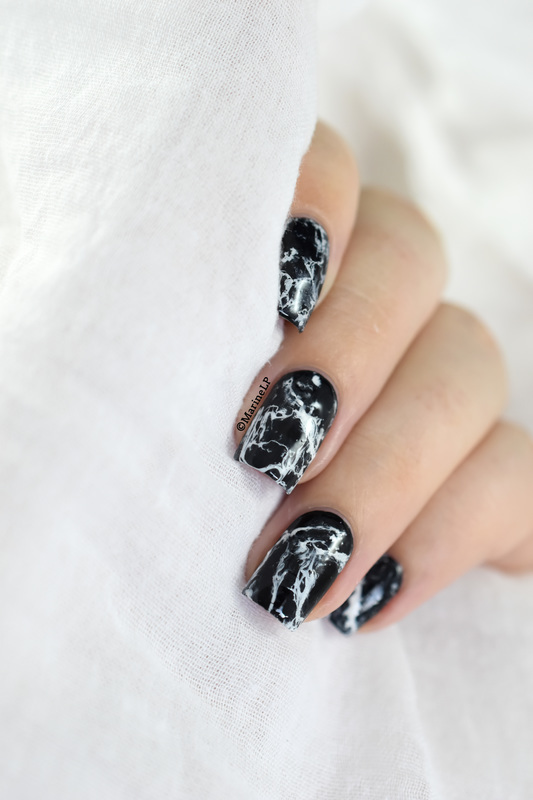
Marble nail art is a popular trend that has taken the nail world by storm. It's a unique and elegant way to add some sophistication to your nail look. And the best part? It's surprisingly easy to achieve, especially with the classic black and white color combination. So, if you're ready to up your nail game, here's a step-by-step guide to creating 10 stunning black and white marble nail art designs.Black and White Marble Nail Art Tutorial


Black and White Marble Nail Art Tutorial


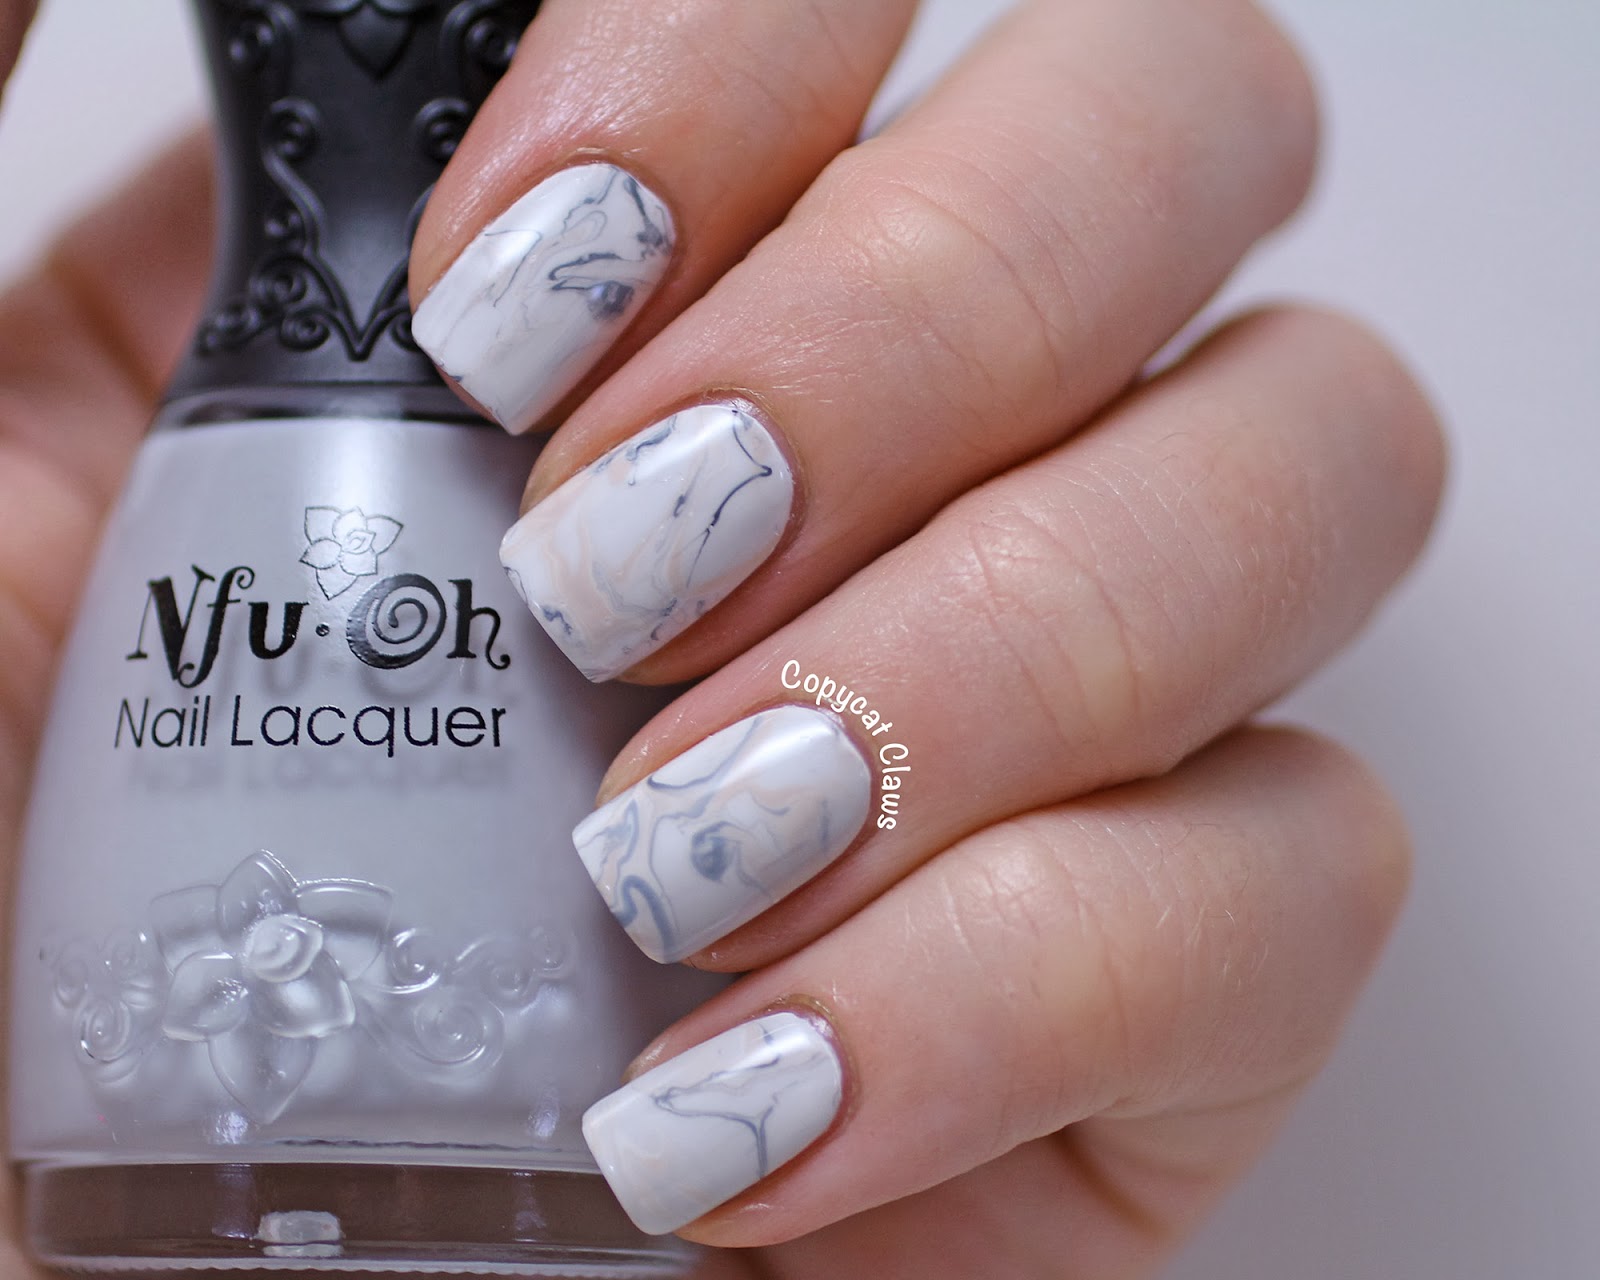
If you're new to nail art, don't worry, this tutorial is perfect for beginners. You don't need any fancy tools or techniques, just a few basic nail polish colors and a toothpick. Start by painting your nails with a white base coat. Then, using a black nail polish, create small dots on your nails. Take a toothpick and swirl the dots together to create the marble effect. Finish off with a top coat for a glossy finish.Easy Black and White Marble Nail Art Tutorial


Easy Black and White Marble Nail Art Tutorial


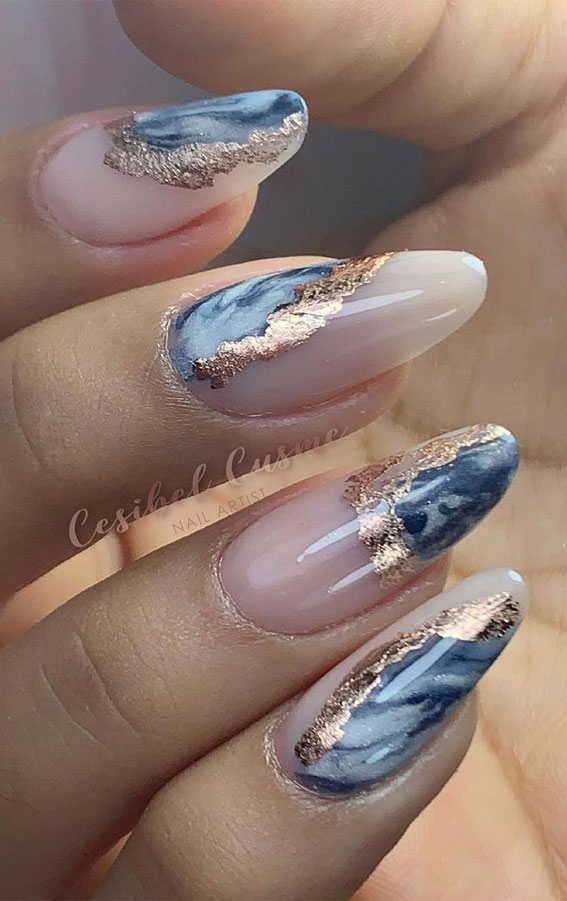
Why spend money at a salon when you can create beautiful marble nail art at home? All you need is black and white nail polish, a small bowl of water, and a toothpick. Start by painting your nails with a white base coat. Then, drop a few drops of black nail polish into the bowl of water. Use a toothpick to create a marble pattern in the water and dip your nails into the water, making sure to cover the entire nail. Clean up any excess polish around your nails with a cotton swab and finish off with a top coat.DIY Black and White Marble Nail Art Tutorial


DIY Black and White Marble Nail Art Tutorial
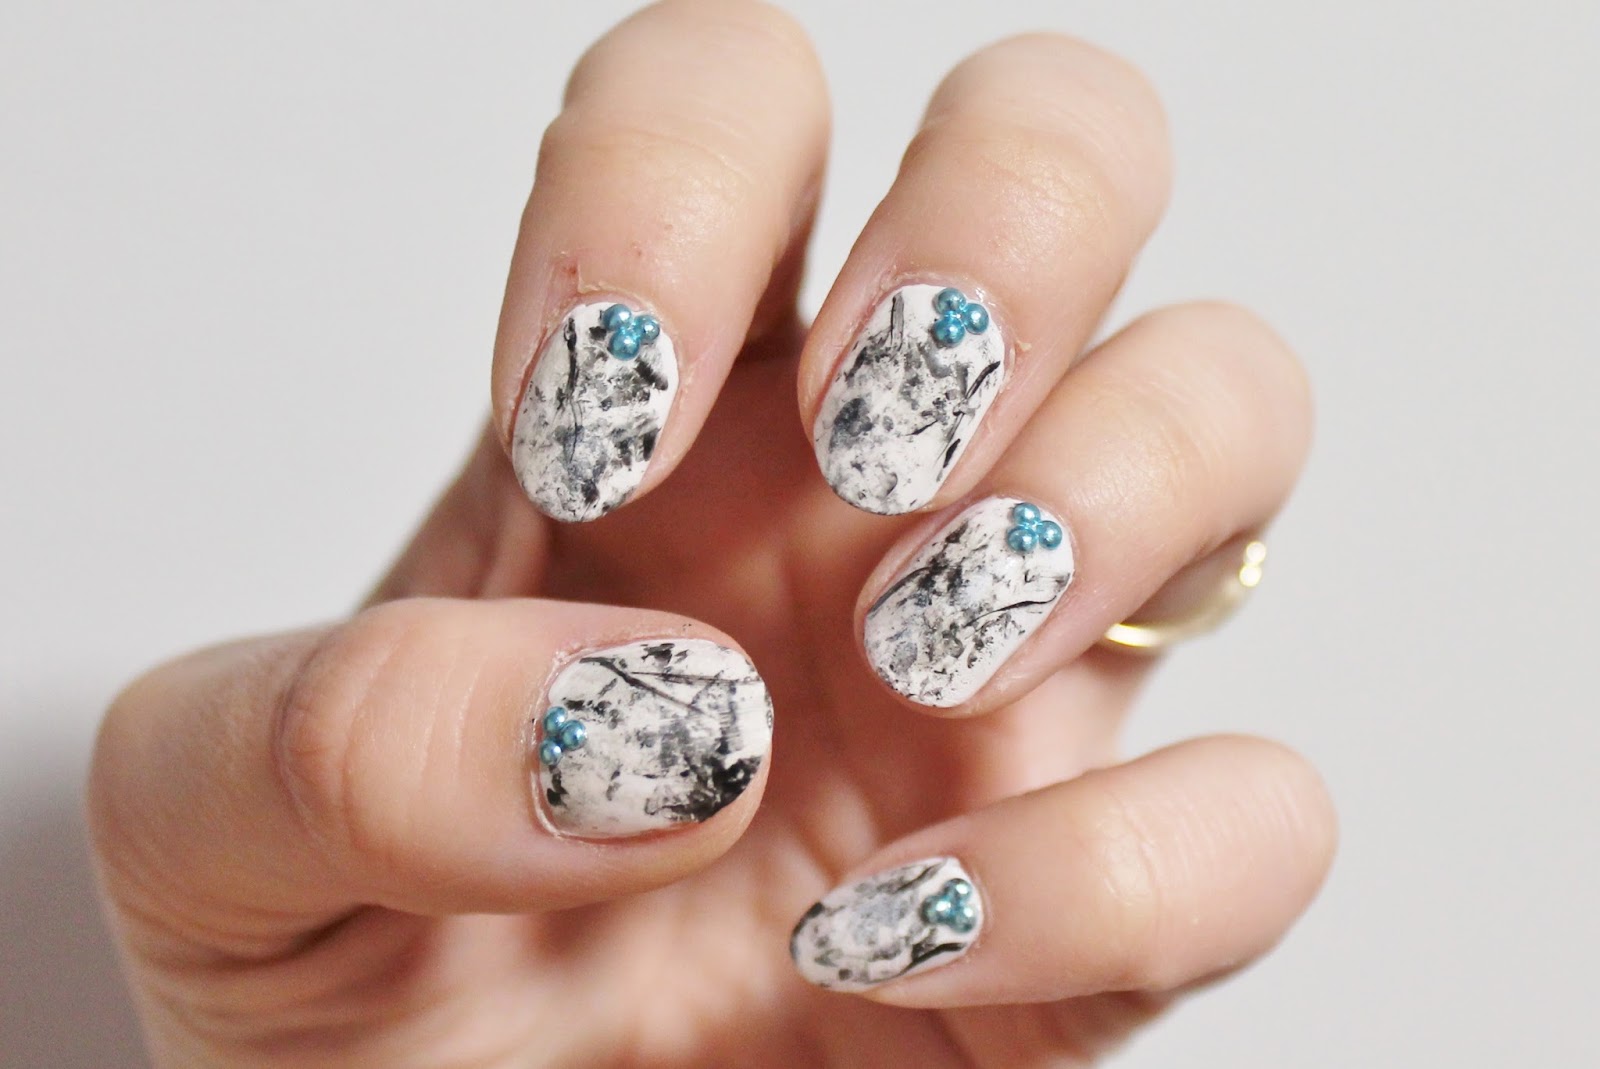
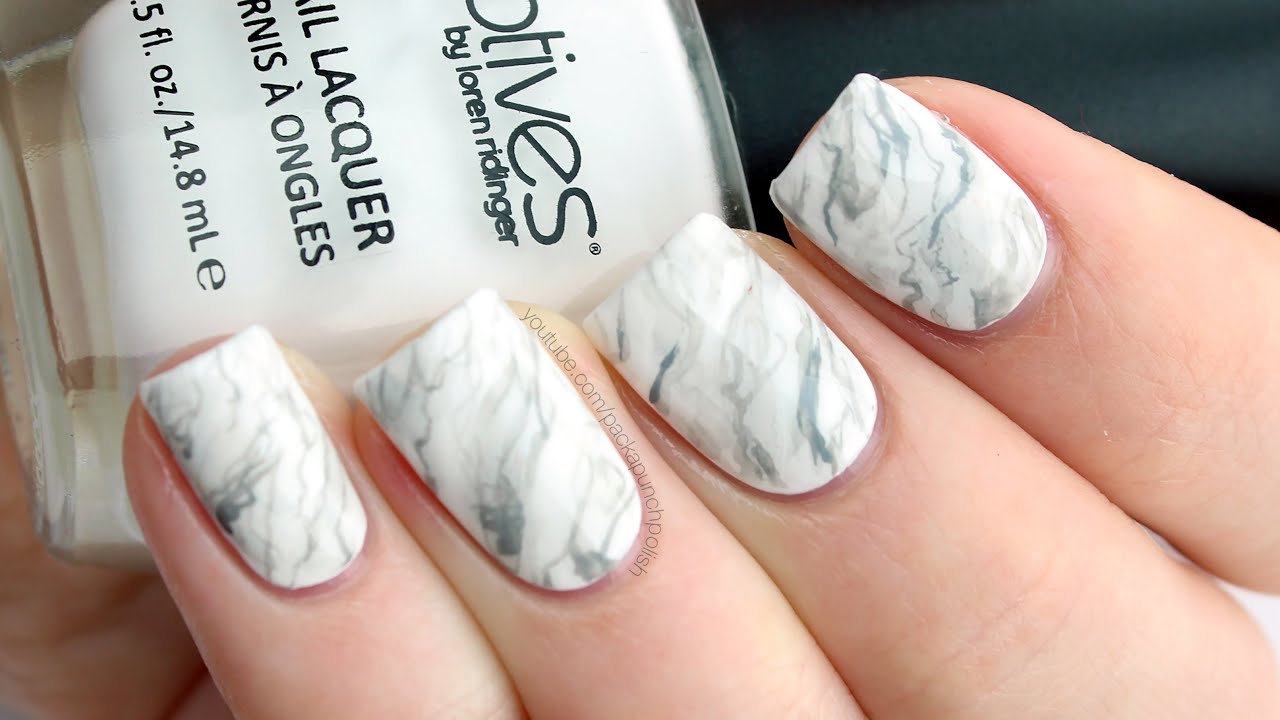
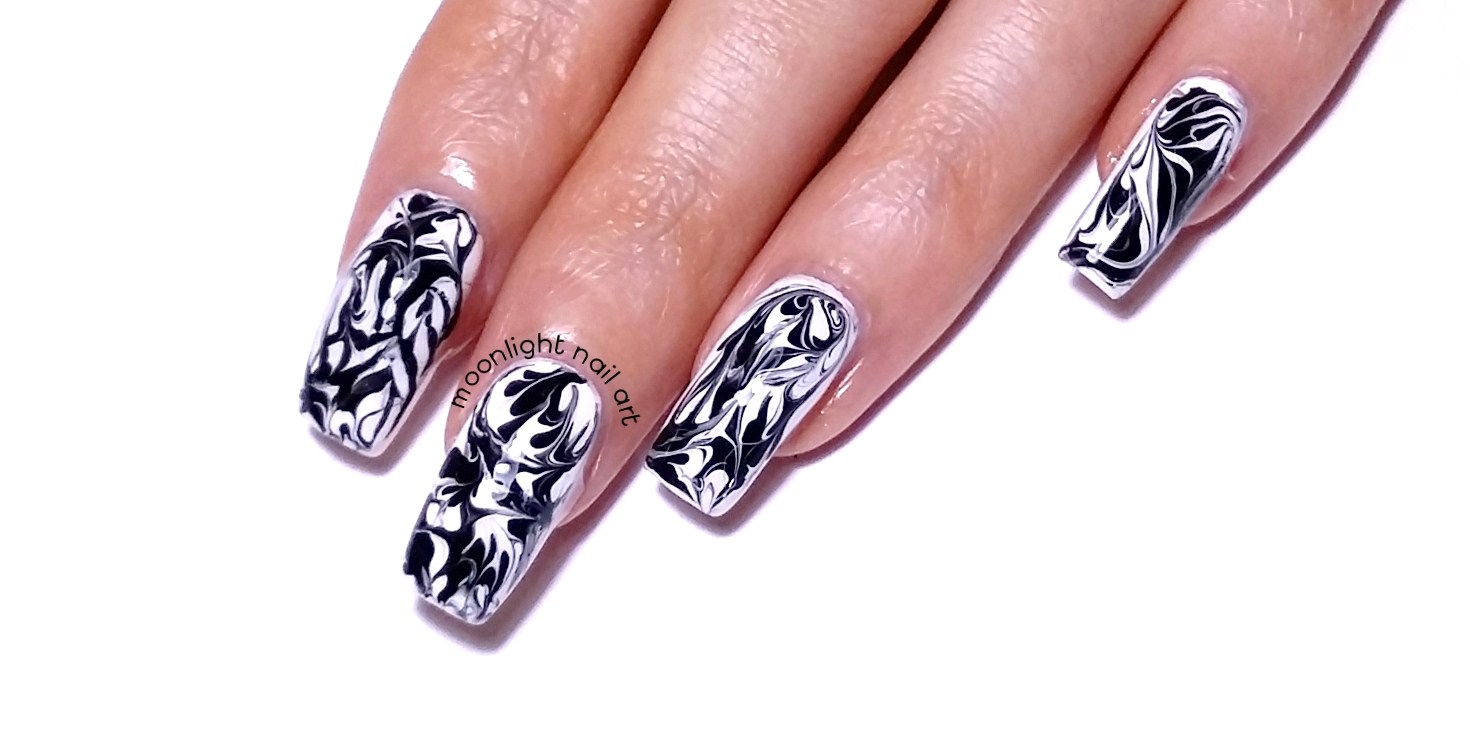
If you want a more precise and defined marble pattern, this step-by-step tutorial is for you. Start by painting your nails with a white base coat. Then, using a thin brush, create black lines in a random pattern on your nails. Next, take a small piece of plastic wrap and dab it onto your nails to blend the lines together. Finish off with a top coat for a glossy finish.Step-by-Step Black and White Marble Nail Art Tutorial
Step-by-Step Black and White Marble Nail Art Tutorial


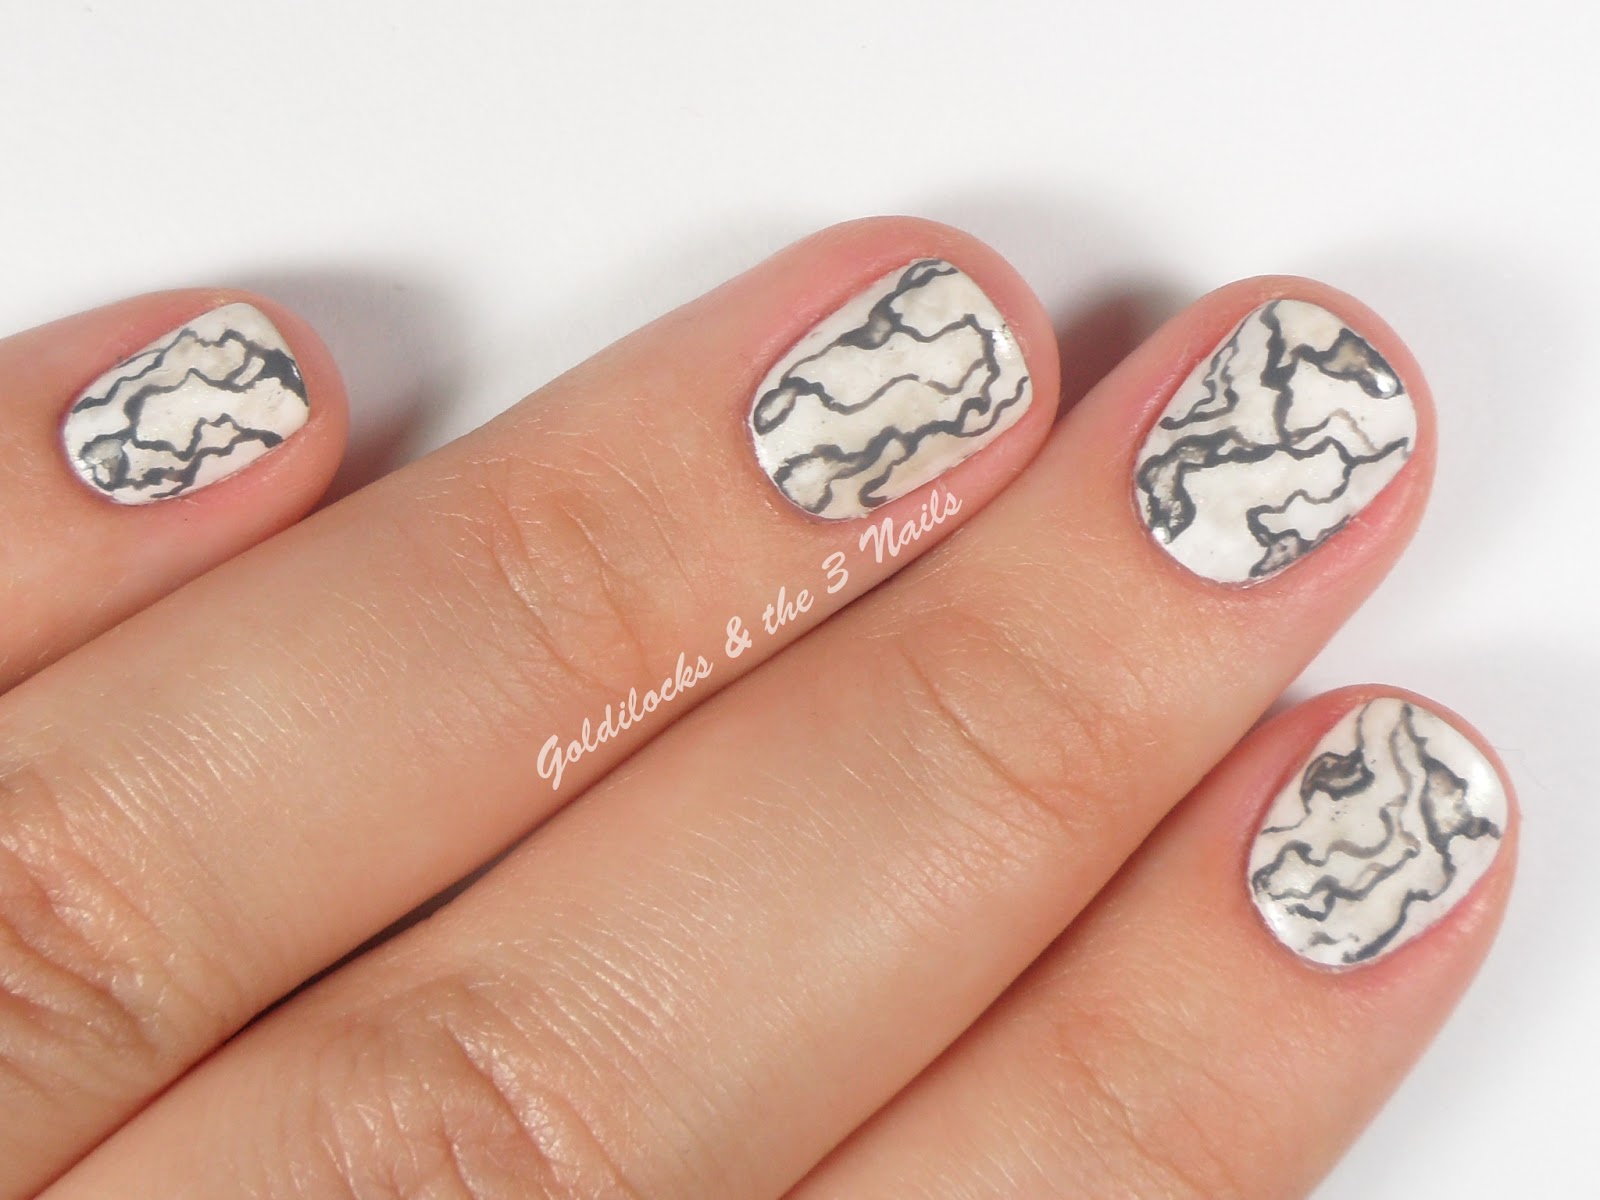
If you're new to nail art, this tutorial is perfect for you. Start by painting your nails with a white base coat. Then, using a black nail striper, create random lines on your nails. Don't worry about making them perfect, the imperfections add to the marble effect. Once your lines are dry, take a small piece of plastic wrap and dab it onto your nails to blend the lines together. Finish off with a top coat for a glossy finish.Black and White Marble Nail Art Tutorial for Beginners


Black and White Marble Nail Art Tutorial for Beginners


If you prefer gel polish for longer-lasting results, this tutorial is for you. Start by painting your nails with a white gel base coat and cure it under a UV or LED lamp. Then, using a black gel polish, create random lines on your nails. Cure under the lamp again. Next, take a small piece of plastic wrap and dab it onto your nails to blend the lines together. Cure one last time and finish off with a gel top coat for a shiny and durable finish.Black and White Marble Nail Art Tutorial with Gel Polish


Black and White Marble Nail Art Tutorial with Gel Polish


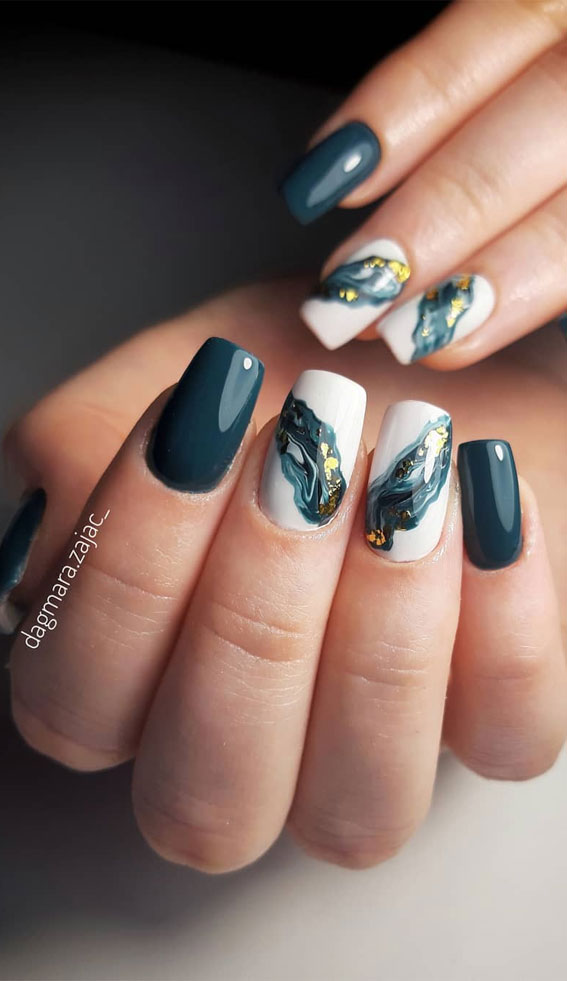
For a more intricate marble pattern, try the water marble technique. Start by painting your nails with a white base coat. Then, fill a small bowl with room temperature water and drop a few drops of black and white nail polish into the water. Use a toothpick to create a marble pattern and dip your nails into the water, making sure to cover the entire nail. Clean up any excess polish around your nails with a cotton swab and finish off with a top coat.Black and White Marble Nail Art Tutorial with Water Marble Technique

Black and White Marble Nail Art Tutorial with Water Marble Technique

If you don't have black and white nail polish, you can still achieve a stunning marble effect with acrylic paint. Start by painting your nails with a white base coat. Then, using a small brush, create random black lines on your nails. Next, take a small piece of plastic wrap and dab it onto your nails to blend the lines together. Once dry, add some white lines on top and blend them in with the plastic wrap. Finish off with a top coat for a glossy finish.Black and White Marble Nail Art Tutorial with Acrylic Paint


Black and White Marble Nail Art Tutorial with Acrylic Paint

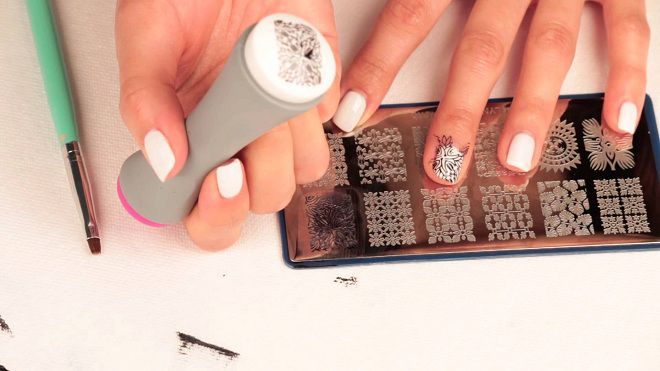
Nail stamping is a quick and easy way to create intricate nail designs. Start by painting your nails with a white base coat. Then, using a black nail stamping polish, stamp a marble pattern onto your nails. Clean up any excess polish around your nails with a cotton swab and finish off with a top coat for a glossy finish.Black and White Marble Nail Art Tutorial with Nail Stamping


Black and White Marble Nail Art Tutorial with Nail Stamping

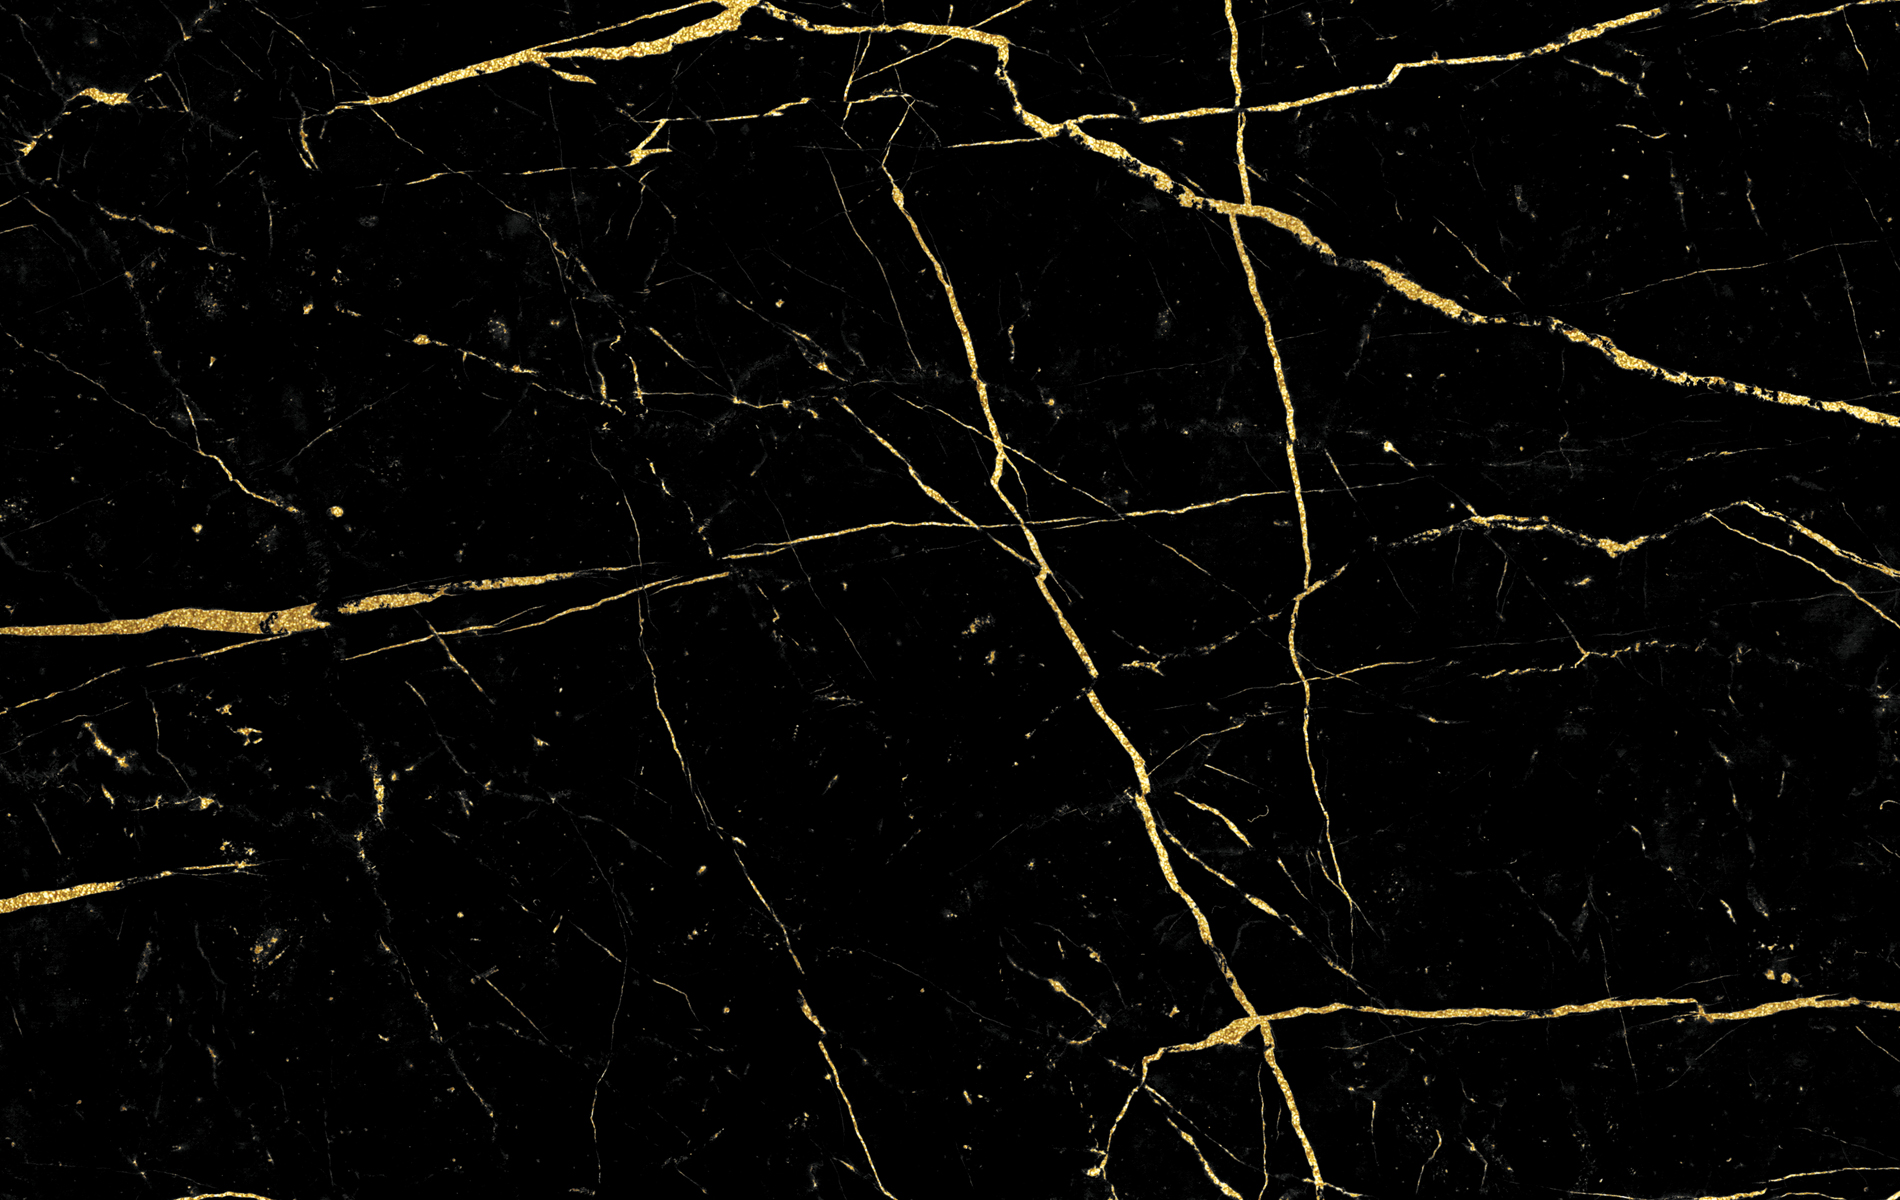
If you want some extra sparkle in your marble nails, try using nail foils. Start by painting your nails with a black base coat and let it dry completely. Then, apply a layer of foil adhesive on top and let it dry for a few minutes. Next, carefully press a black and white marble nail foil onto your nails and gently rub it to transfer the design. Finish off with a top coat for a shiny finish.Black and White Marble Nail Art Tutorial with Nail Foils


Black and White Marble Nail Art Tutorial with Nail Foils
How to Achieve a Stunning Black and White Marble Nail Art Design

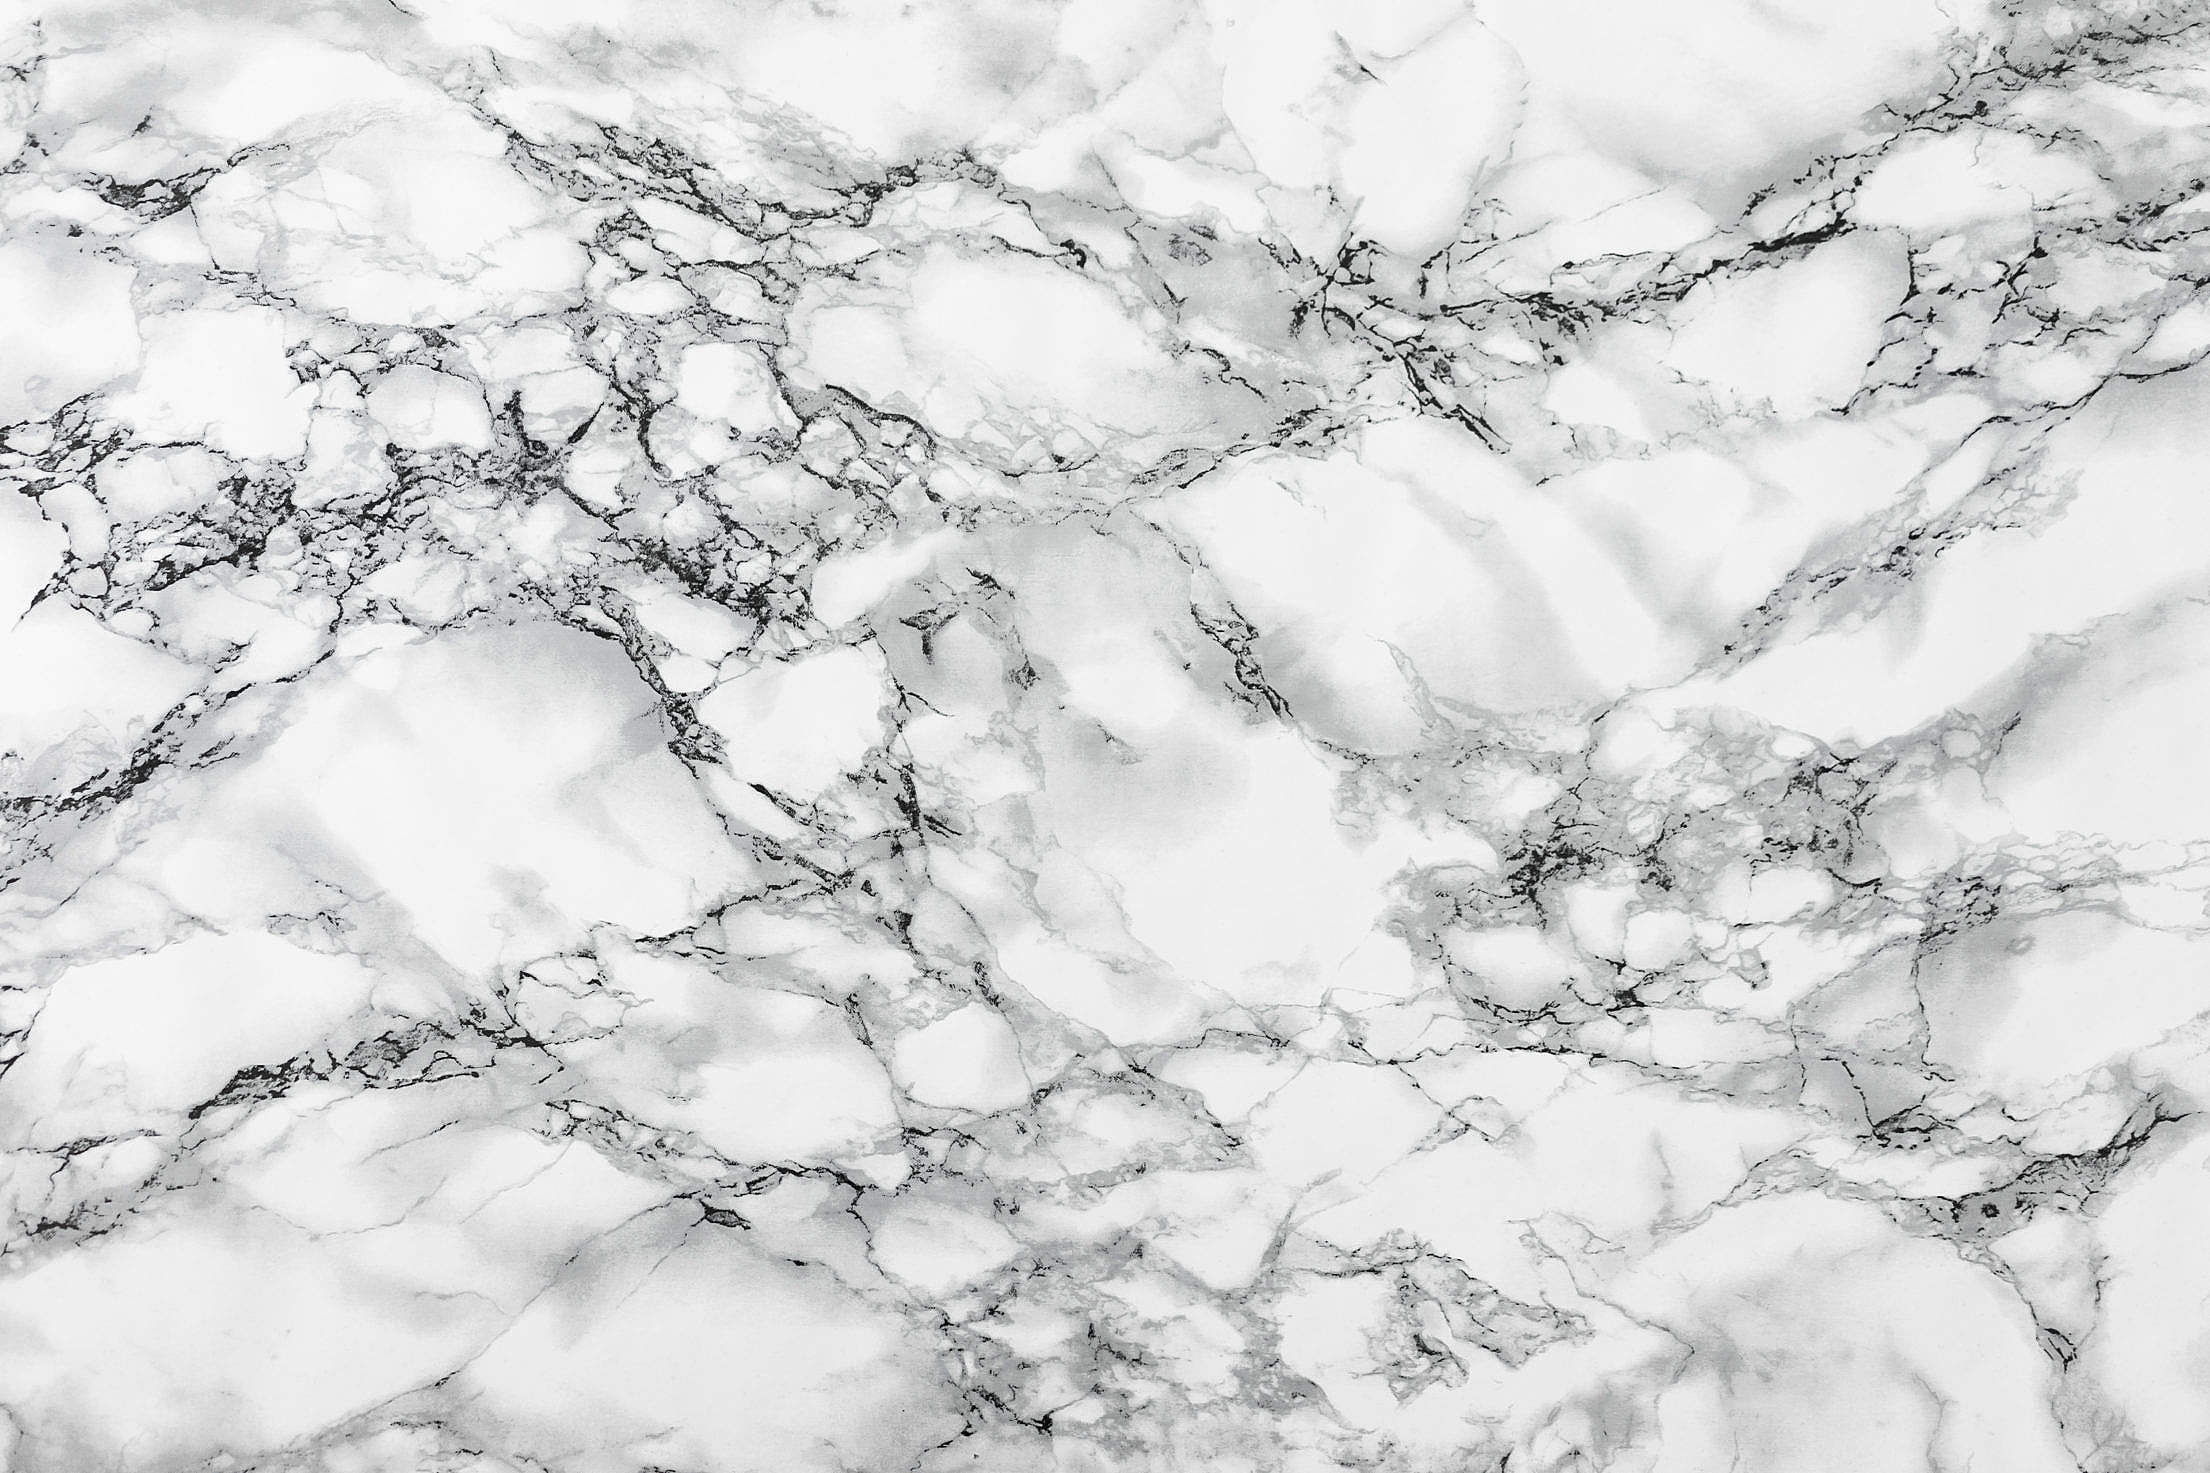
The Beauty of Black and White
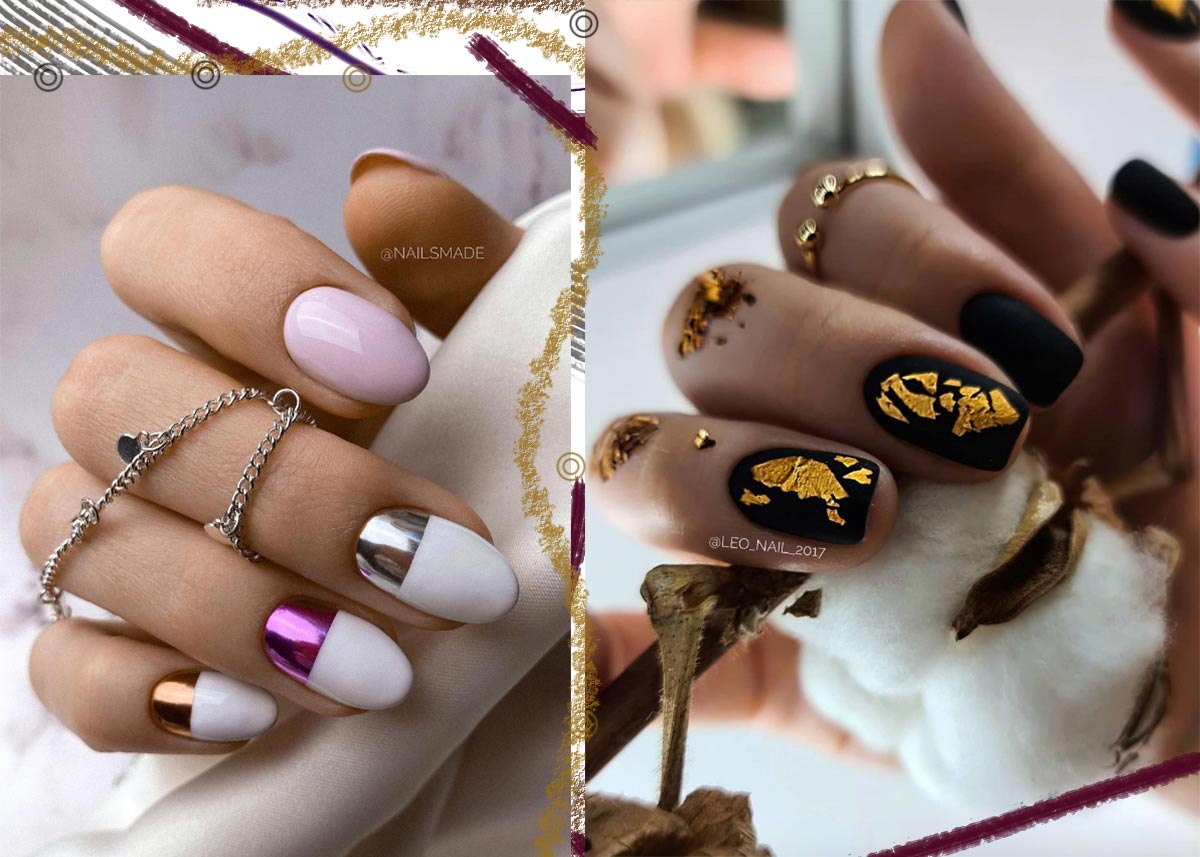
 Black and white has always been a classic and timeless color combination that has been used in various forms of art and design. From fashion to interior design, the contrast between these two colors creates a striking and elegant look. And when it comes to nail art, the same principles apply.
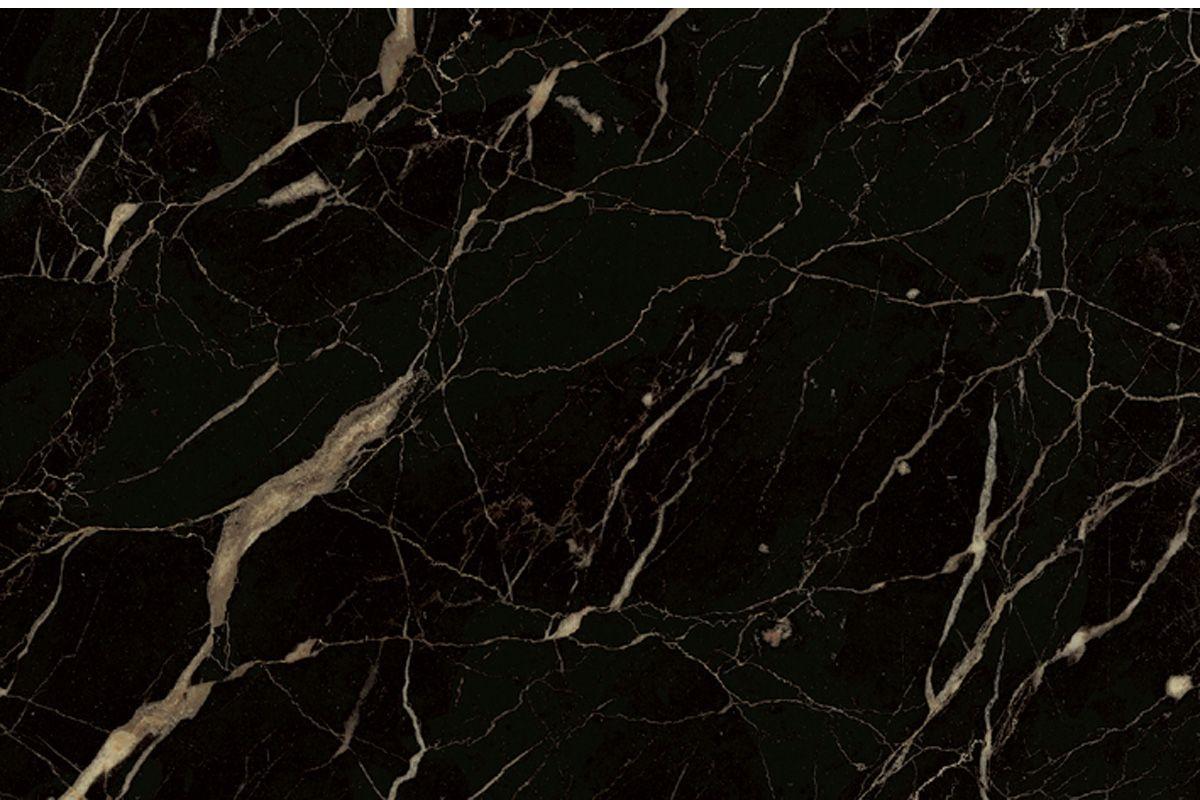
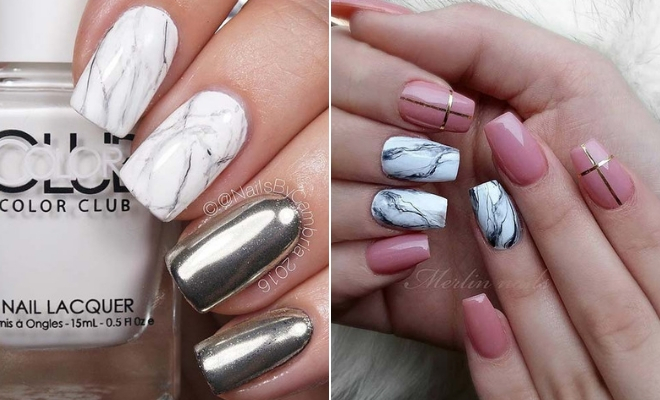
Marble Nails: A Trend That's Here to Stay
 Marble nails have been a popular trend for quite some time now, and for good reason. The intricate and unique patterns created by the combination of black and white shades give off a luxurious and sophisticated vibe. And the best part? It's not as difficult to achieve as it may seem.
Step-by-Step Tutorial
 To achieve the perfect black and white marble nail art design, follow these simple steps:
Step 1: Prep Your Nails
 Start by removing any old nail polish and shaping your nails to your desired length and shape. Then, apply a base coat to protect your nails and help the polish adhere better.
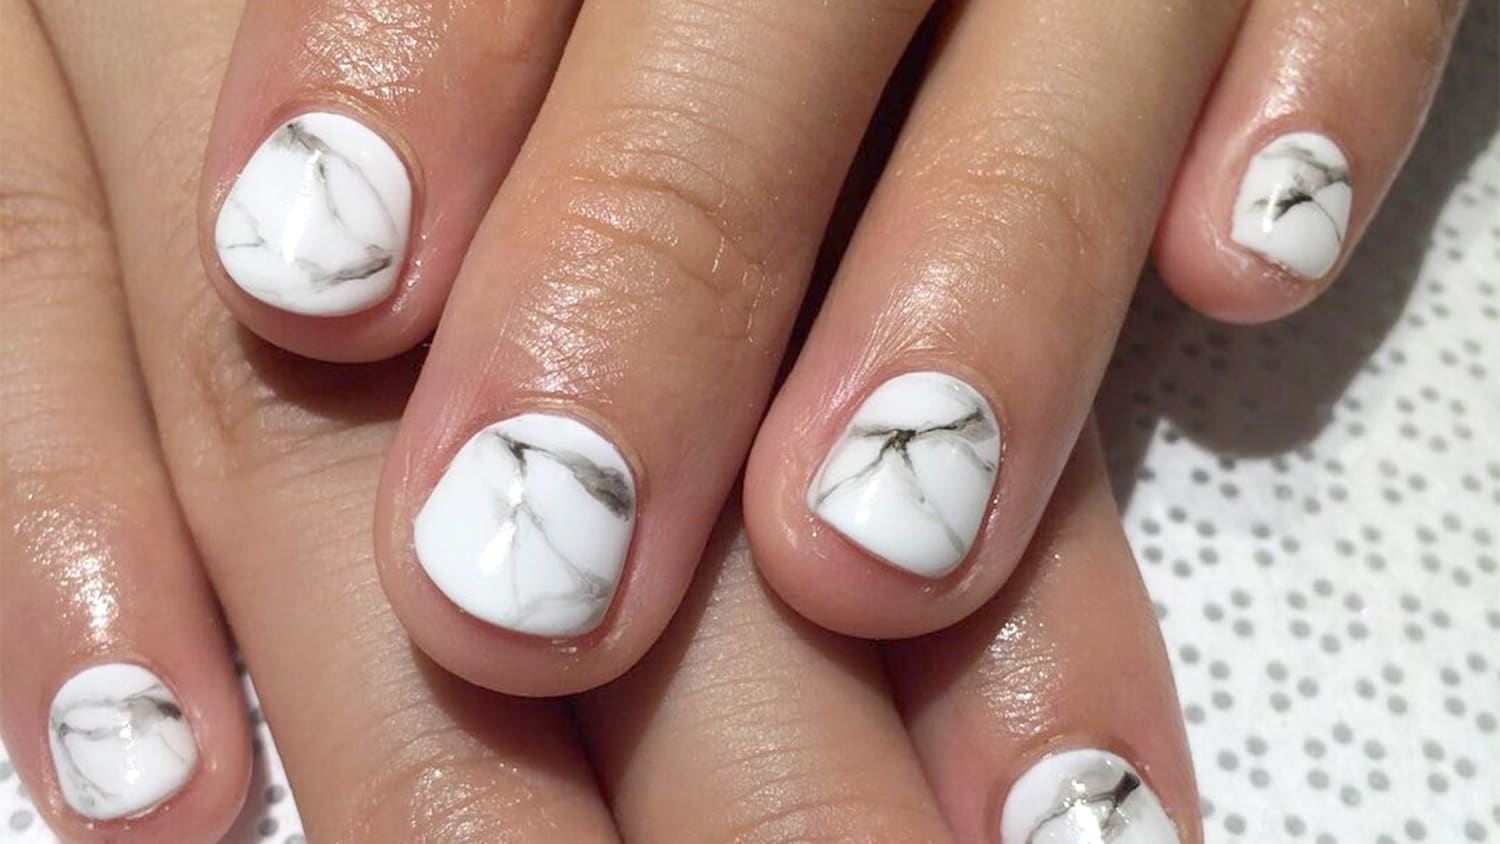
Step 2: Paint Your Nails White
 Using a white nail polish, paint all your nails and let them dry completely. This will act as the base for your marble design.
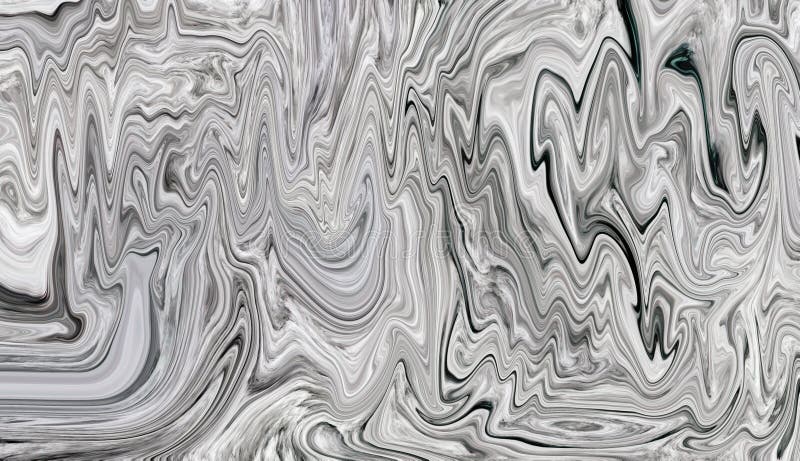
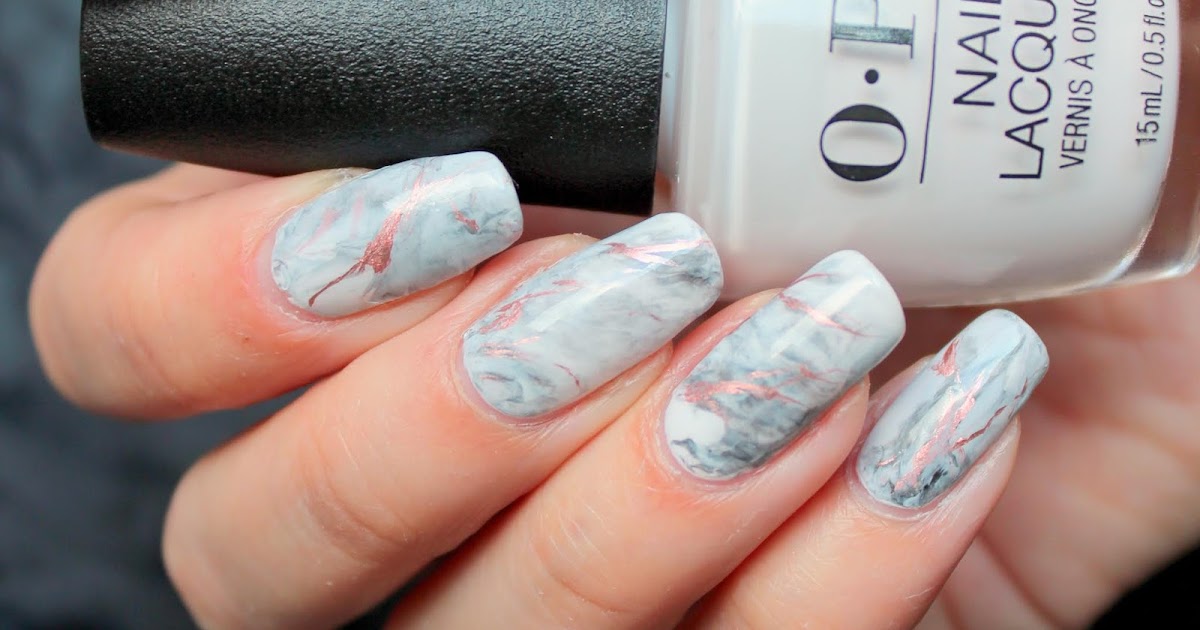
Step 3: Create the Marble Effect
 Take a black nail polish and drop a few small drops onto a piece of foil or a paper plate. Then, using a toothpick or a thin brush, swirl the black polish around to create a marbled effect.
Step 4: Apply the Design to Your Nails
 Once you have achieved the desired marbled effect, lightly press your nail onto the design. Gently lift it up and you will see the pattern transferred onto your nail. Repeat this step on all nails.
Step 5: Clean Up and Seal the Design
 Use a cotton swab dipped in nail polish remover to clean up any excess polish around your nails. Then, apply a top coat to seal in the design and give it a glossy finish.
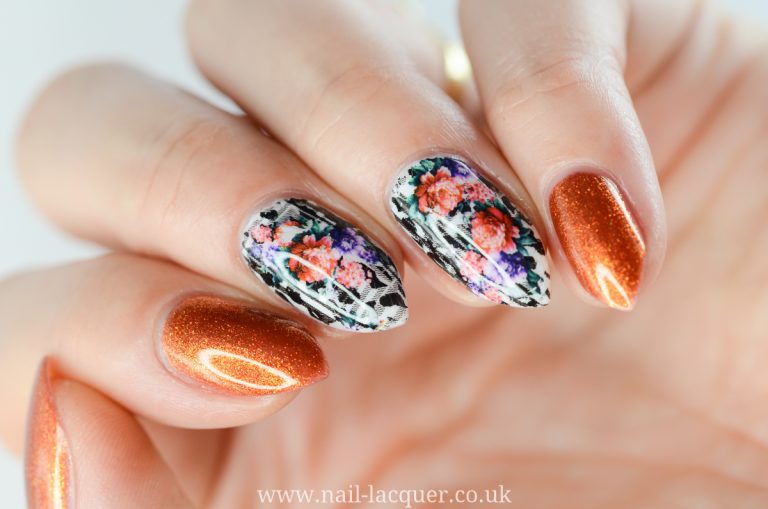
Experiment with Different Designs
 Don't be afraid to experiment with different designs and patterns using the black and white marble technique. You can also add other colors or use different shades of black and white to create a unique look.
Final Thoughts
With some patience and practice, you can achieve a stunning black and white marble nail art design that will surely make a statement. So next time you're looking to switch up your nail game, give this tutorial a try and see the beautiful results for yourself.


