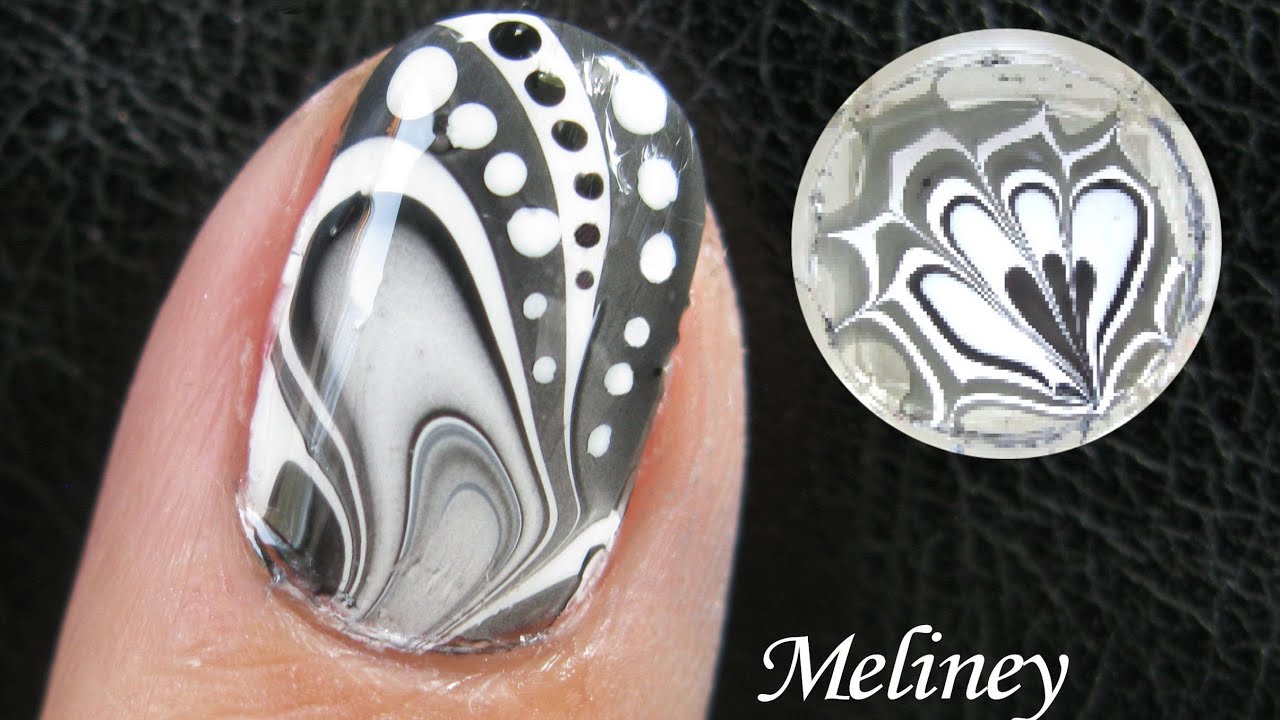
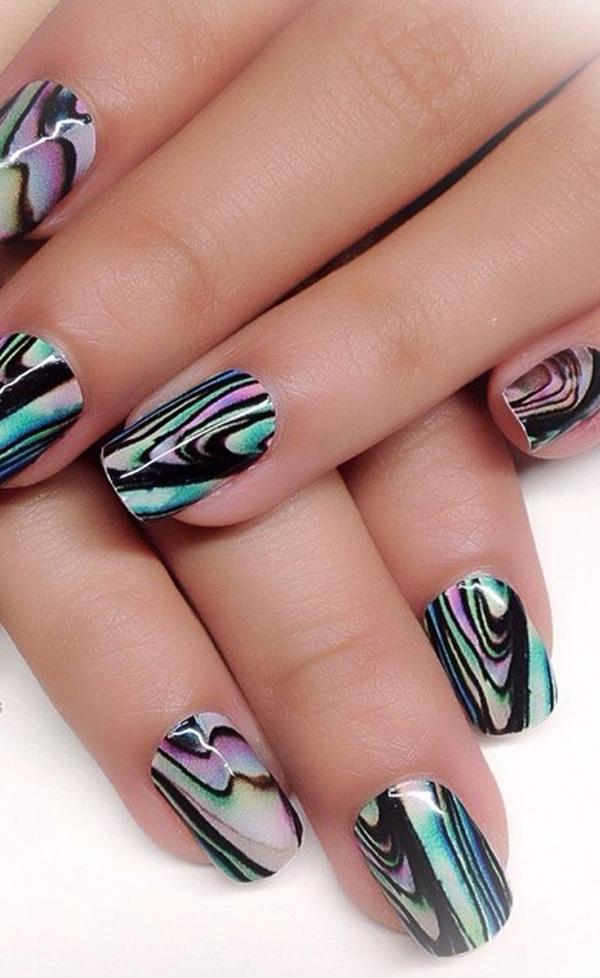
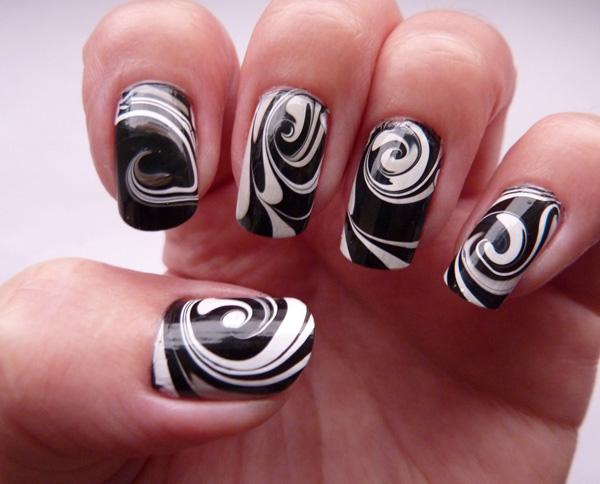
Are you looking for a unique and eye-catching nail art design? Look no further than black and white water marble nails. This trend has been taking over social media, and for good reason. It's a fun and creative way to add some art to your nails, and the best part is, no two designs are ever the same. Follow this easy tutorial to achieve the perfect black and white water marble nail art.Black and White Water Marble Nail Art Tutorial


Black and White Water Marble Nail Art Tutorial


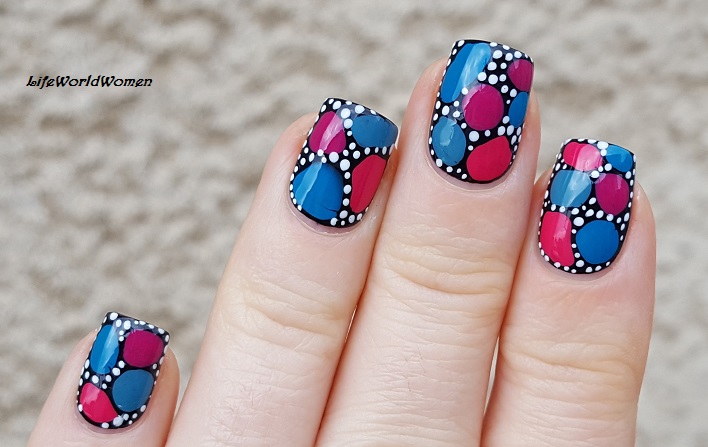
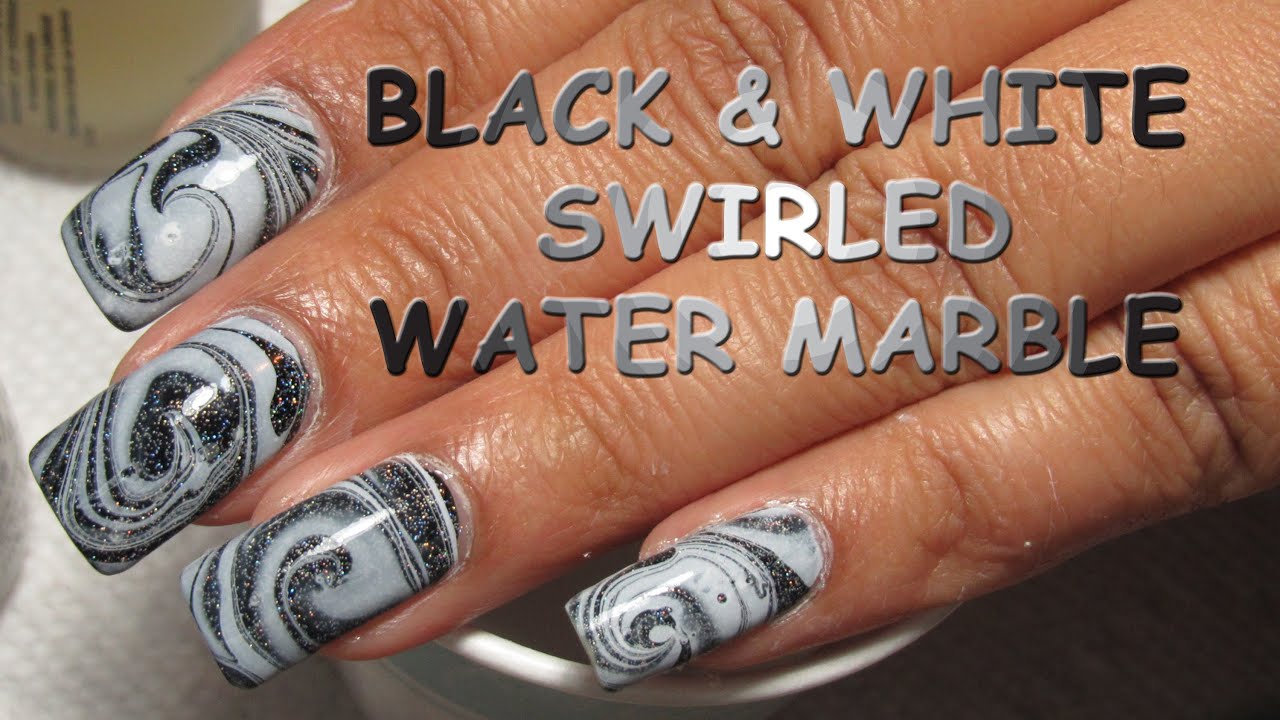
Don't be intimidated by the intricate designs you see on Instagram, creating black and white water marble nails can be easy and achievable for anyone. All you need is a few basic nail polish colors, a cup of water, and some simple tools like toothpicks or straws. You'll be amazed at how easy it is to create beautiful and unique designs on your nails.Easy Black and White Water Marble Nail Art


Easy Black and White Water Marble Nail Art

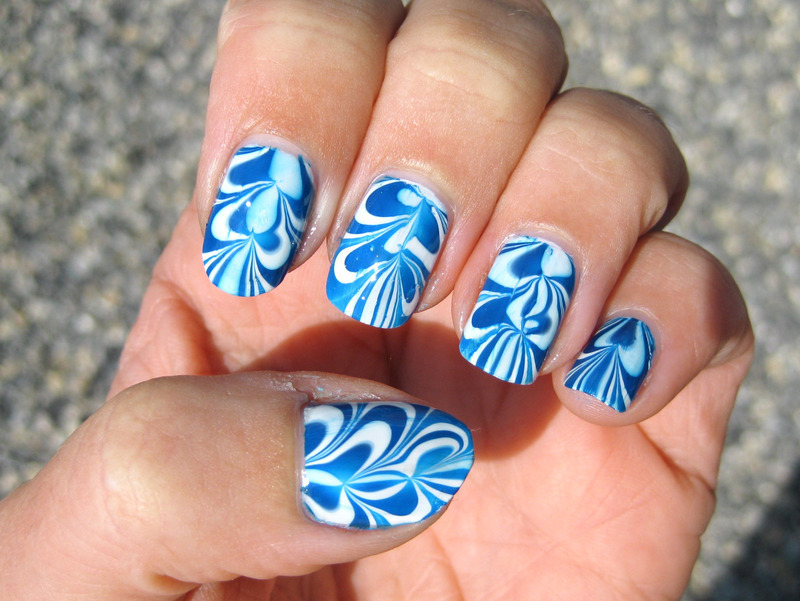

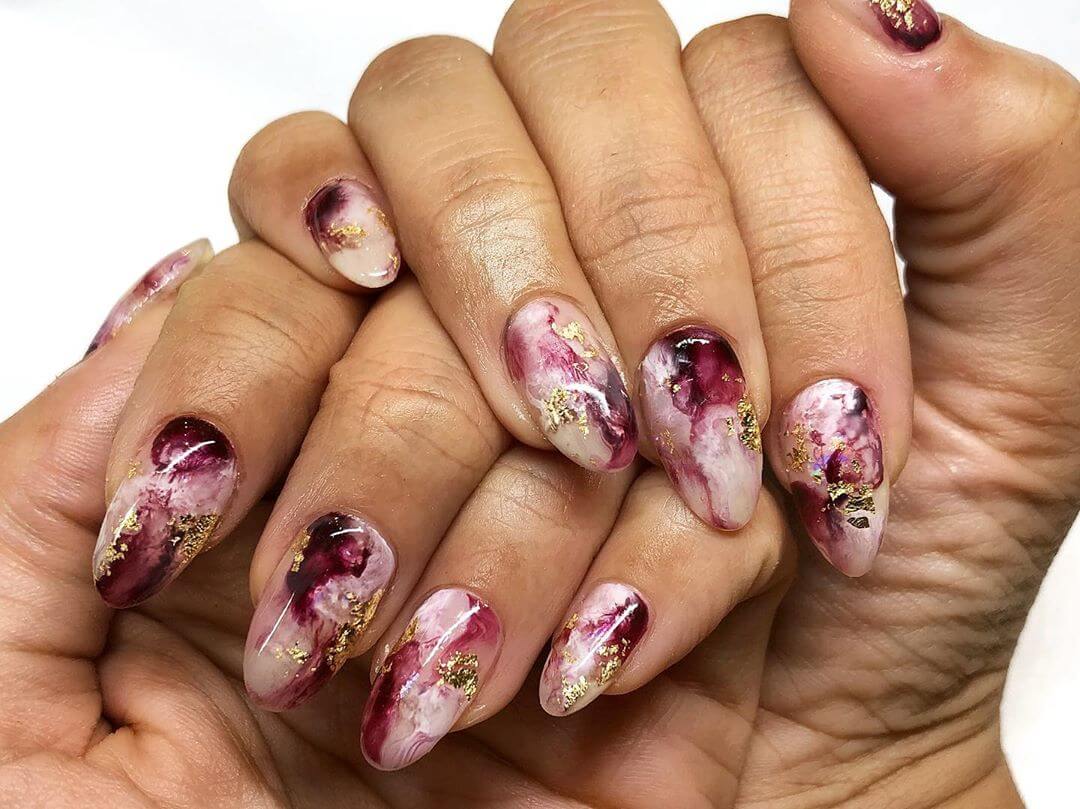
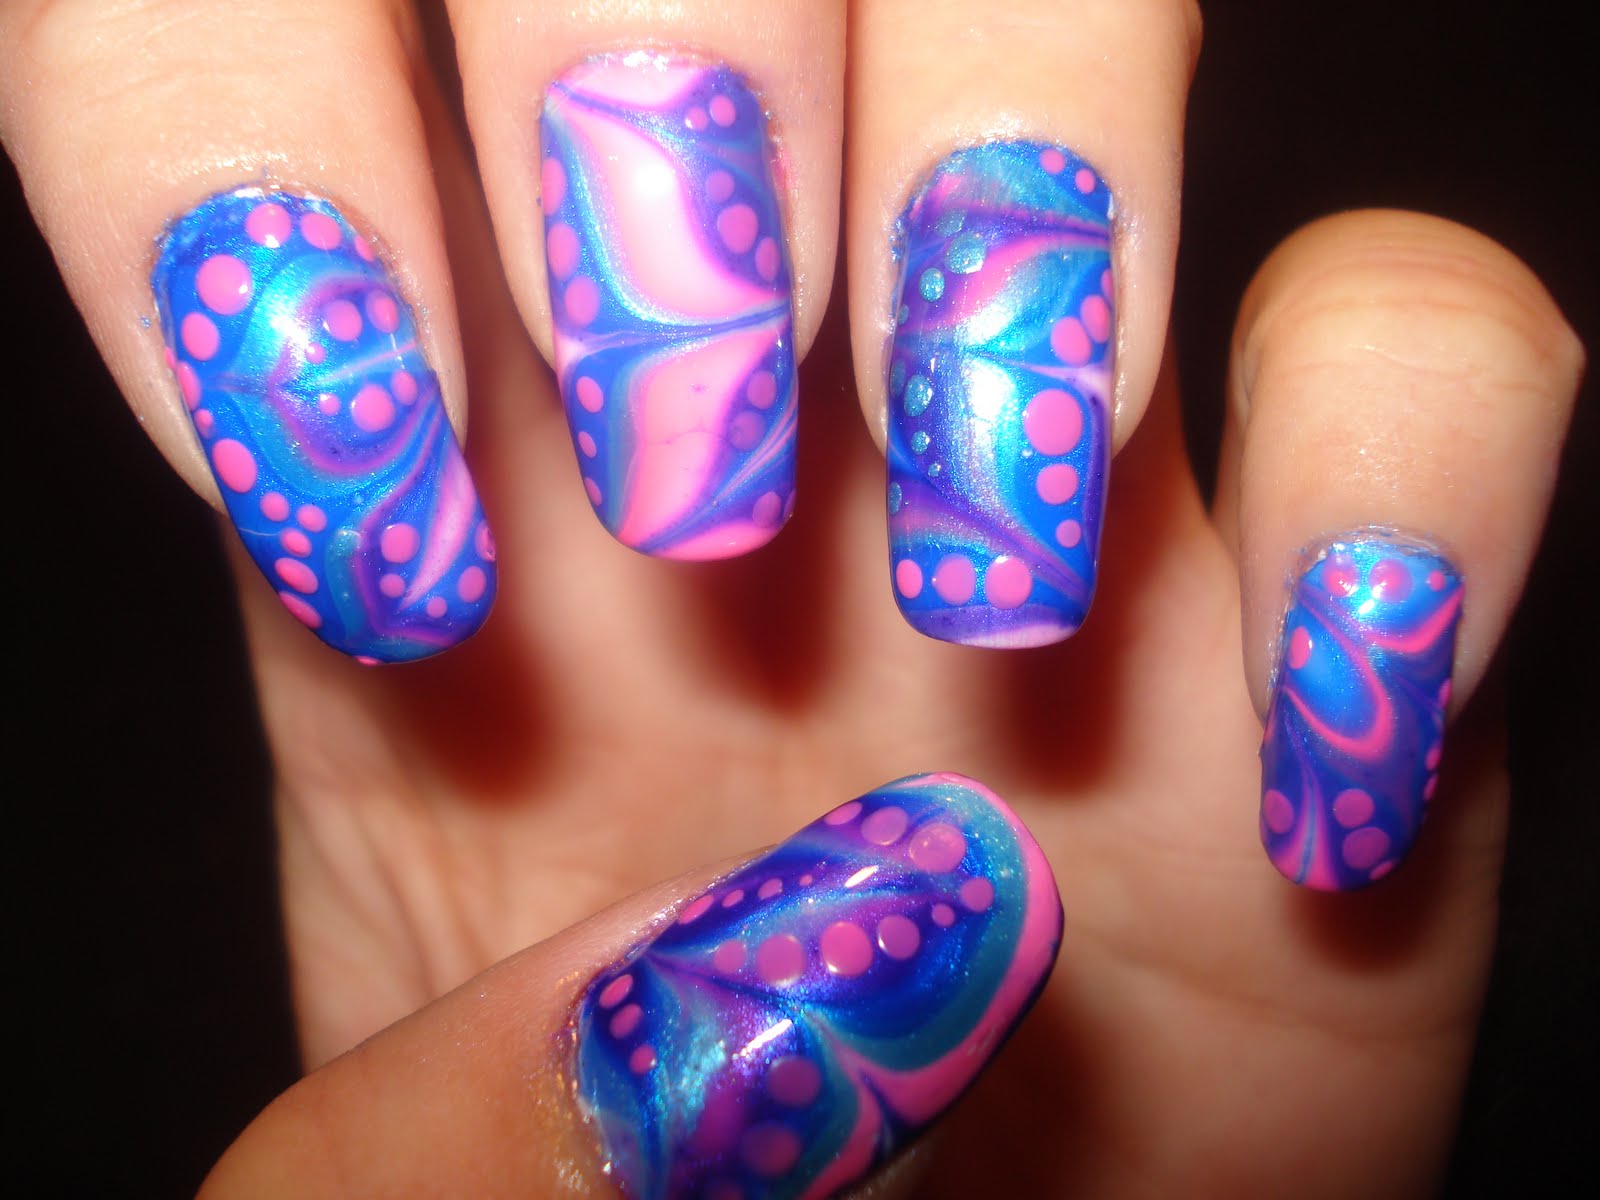
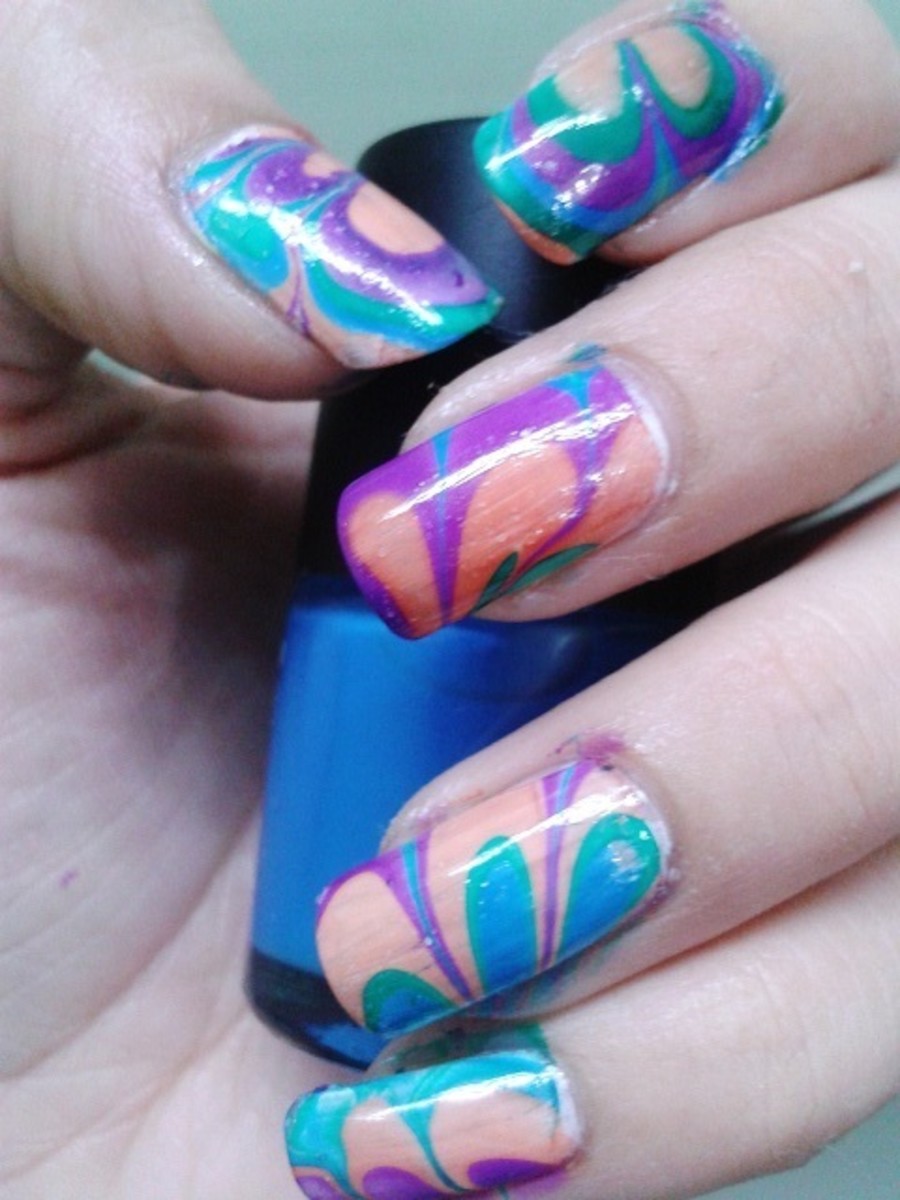
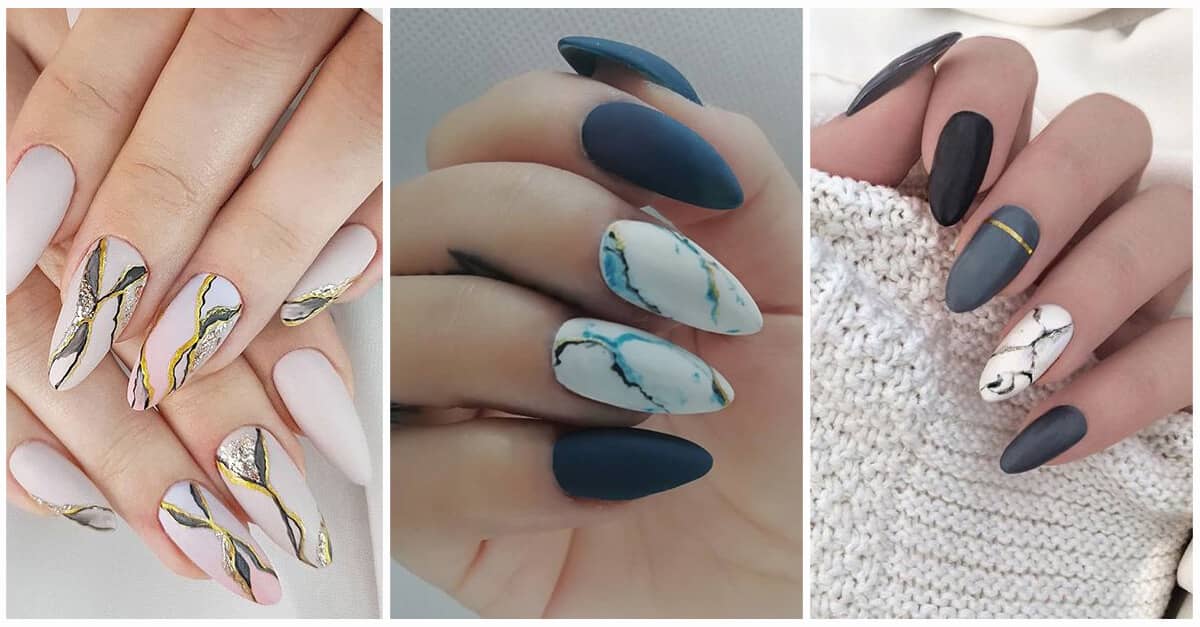
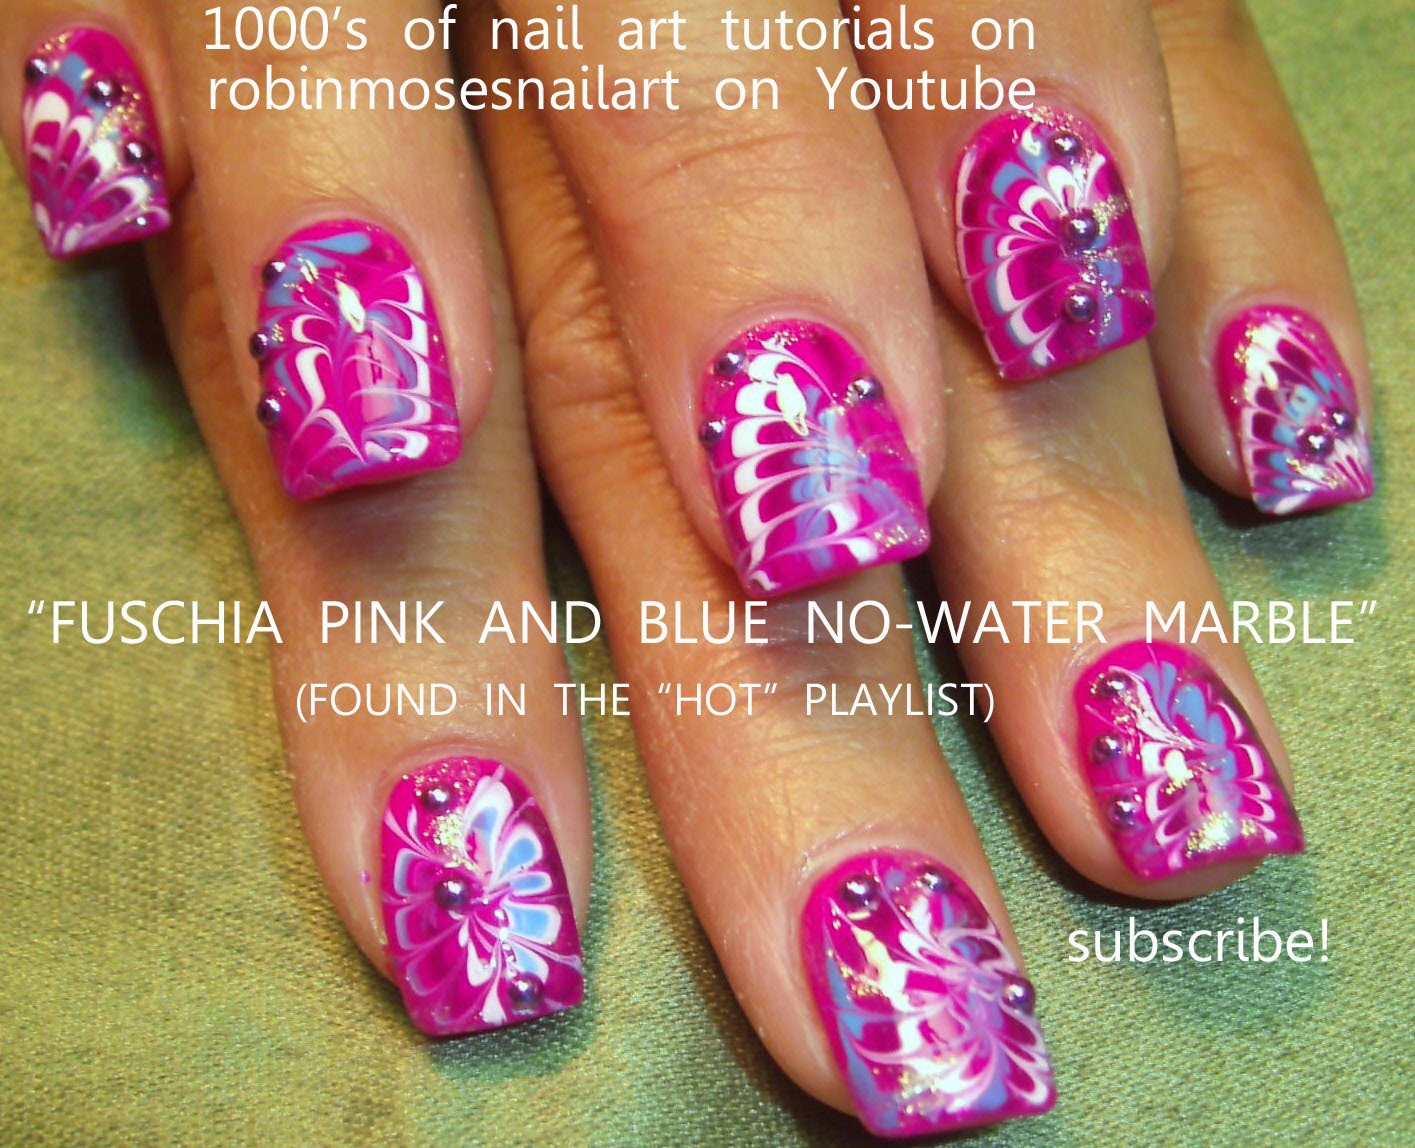
There are endless possibilities when it comes to black and white water marble nail art designs. From simple swirls and lines to more intricate patterns like flowers or geometric shapes, you can let your creativity run wild. The best part is, you don't have to be an expert nail artist to achieve stunning results.Black and White Water Marble Nail Art Designs

Black and White Water Marble Nail Art Designs


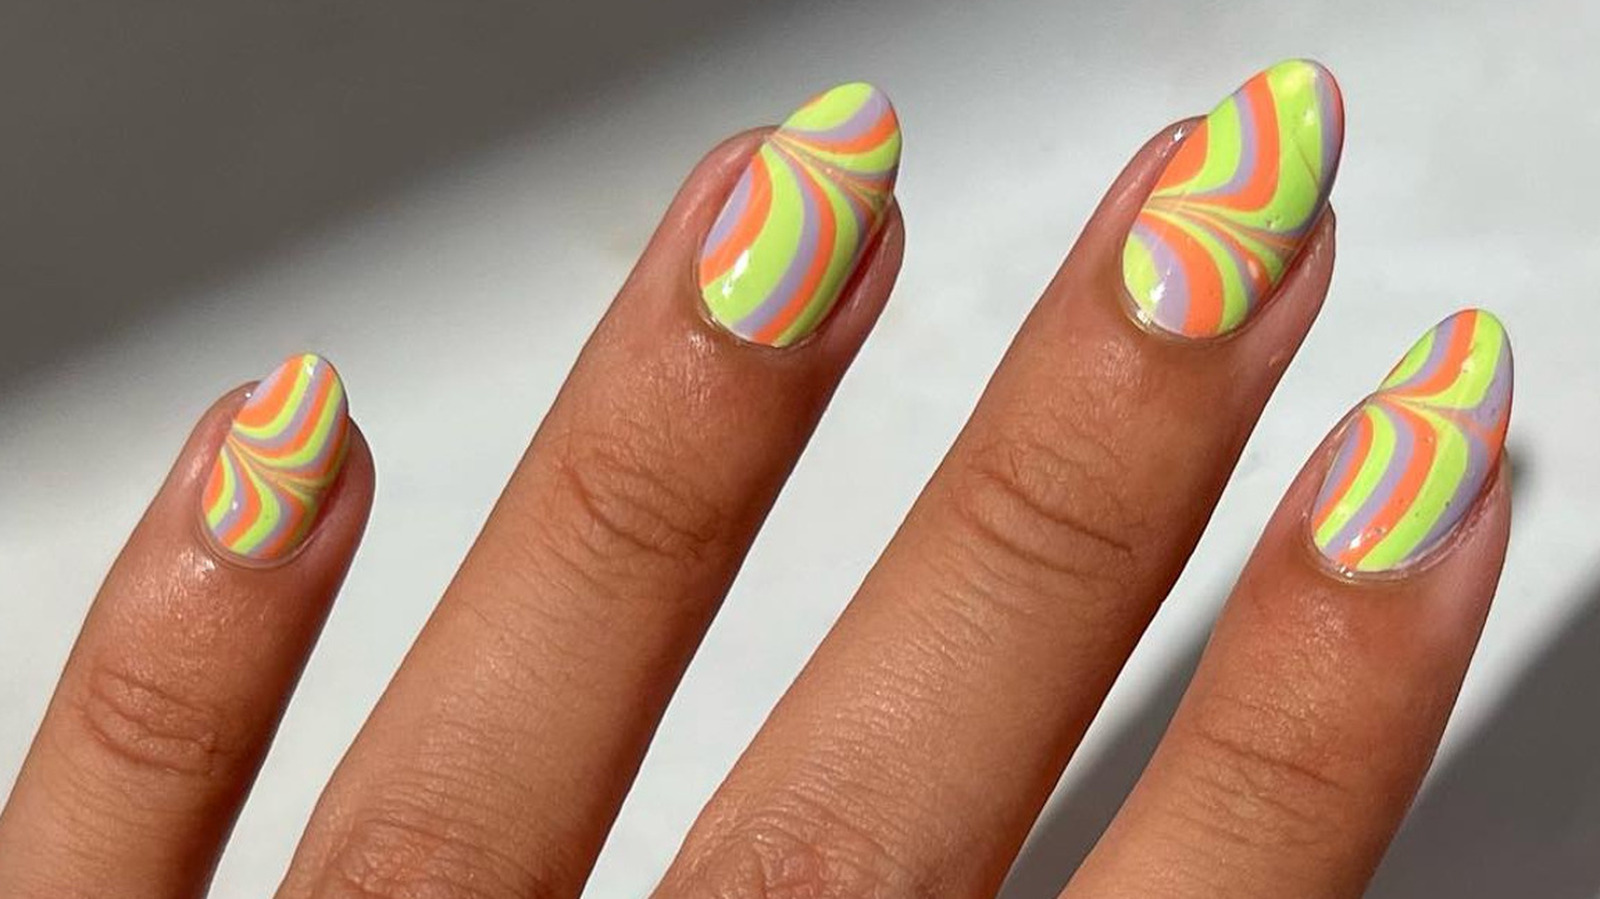
If you're new to nail art and feeling overwhelmed, don't worry. Black and white water marble nails are perfect for beginners. The process may seem complicated, but with a little practice, you'll be creating professional-looking nail designs in no time. Just remember to be patient and have fun with it.Black and White Water Marble Nail Art for Beginners

Black and White Water Marble Nail Art for Beginners
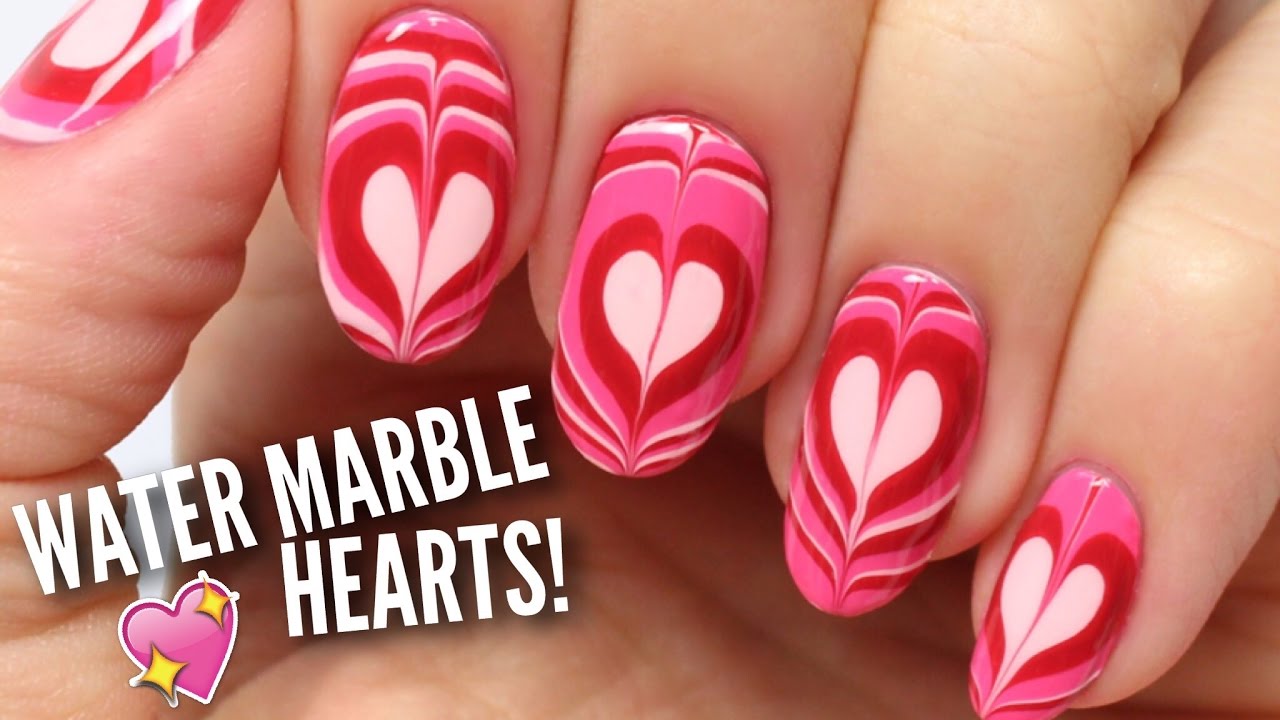
Here is a step by step guide on how to achieve perfect black and white water marble nails: Step 1: Start by painting your nails with a base coat and let it dry completely. This will protect your nails and make the design last longer. Step 2: Choose your desired nail polish colors for the marble design. For a classic black and white look, use a white and black polish. Step 3: Fill a cup with room temperature water. It's important to use room temperature water to prevent the nail polish from drying too quickly. Step 4: Drop a few drops of each nail polish color onto the surface of the water. You can alternate between the colors to achieve your desired design. Step 5: Use a toothpick or a small brush to create your desired design by swirling the colors together on the surface of the water. Step 6: Once you're happy with the design, dip your finger into the water at an angle and let the nail polish transfer onto your nail. Step 7: Use a toothpick to clean up any excess nail polish on the surface of the water before removing your finger. Step 8: Gently remove your finger from the water and let it dry. Repeat this process for each nail. Step 9: Once your nails are completely dry, clean up any excess nail polish on your skin with a cotton swab and nail polish remover. Step 10: Finish off with a top coat to seal in your design and add shine.Black and White Water Marble Nail Art Step by Step
Black and White Water Marble Nail Art Step by Step


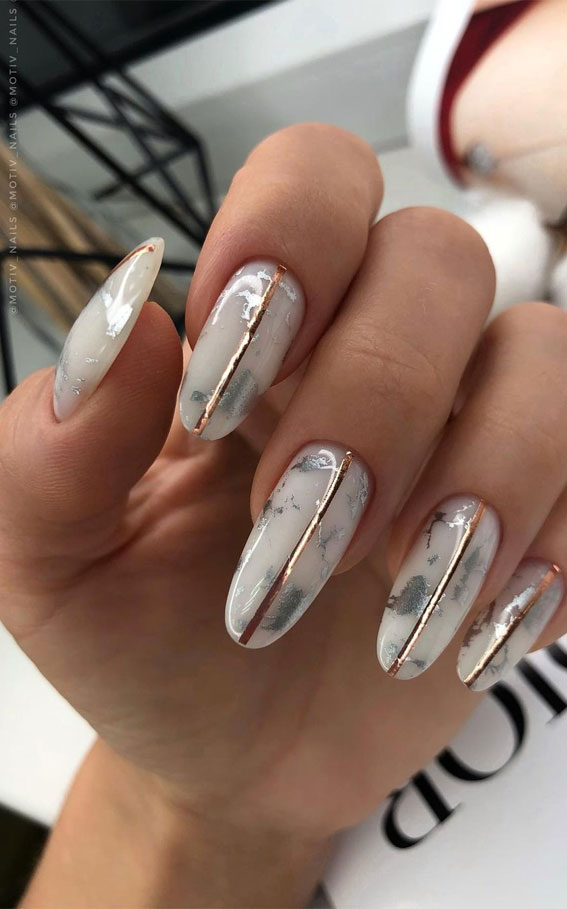
Looking for some inspiration for your next black and white water marble nail art? Here are some ideas to get you started: - Create a classic marble look with swirls of black and white nail polish. - Add some glamour with a touch of gold or silver nail polish. - Use a toothpick to create intricate floral designs on your nails. - Try a geometric design with straight lines and sharp angles. - Use a plastic wrap instead of water for a unique and textured look.Black and White Water Marble Nail Art Ideas

Black and White Water Marble Nail Art Ideas

If you don't have any special tools like a nail art brush or a dotting tool, don't worry. A toothpick can work just as well for creating black and white water marble nails. Use the pointed end to swirl the nail polish and the flat end to create designs and clean up any excess polish.Black and White Water Marble Nail Art with Toothpick
Black and White Water Marble Nail Art with Toothpick


Another household item that can be used for creating black and white water marble nails is a straw. Simply cut off one end of the straw to create a flat surface, and use it to blow on the nail polish to create unique and abstract designs on your nails.Black and White Water Marble Nail Art with Straws


Black and White Water Marble Nail Art with Straws
If you want to add some texture to your water marble nails, try using a plastic wrap instead of water. After swirling the nail polish on the surface of the plastic wrap, press it onto your nail and gently pull it off to reveal a unique and textured design.Black and White Water Marble Nail Art with Plastic Wrap
Black and White Water Marble Nail Art with Plastic Wrap
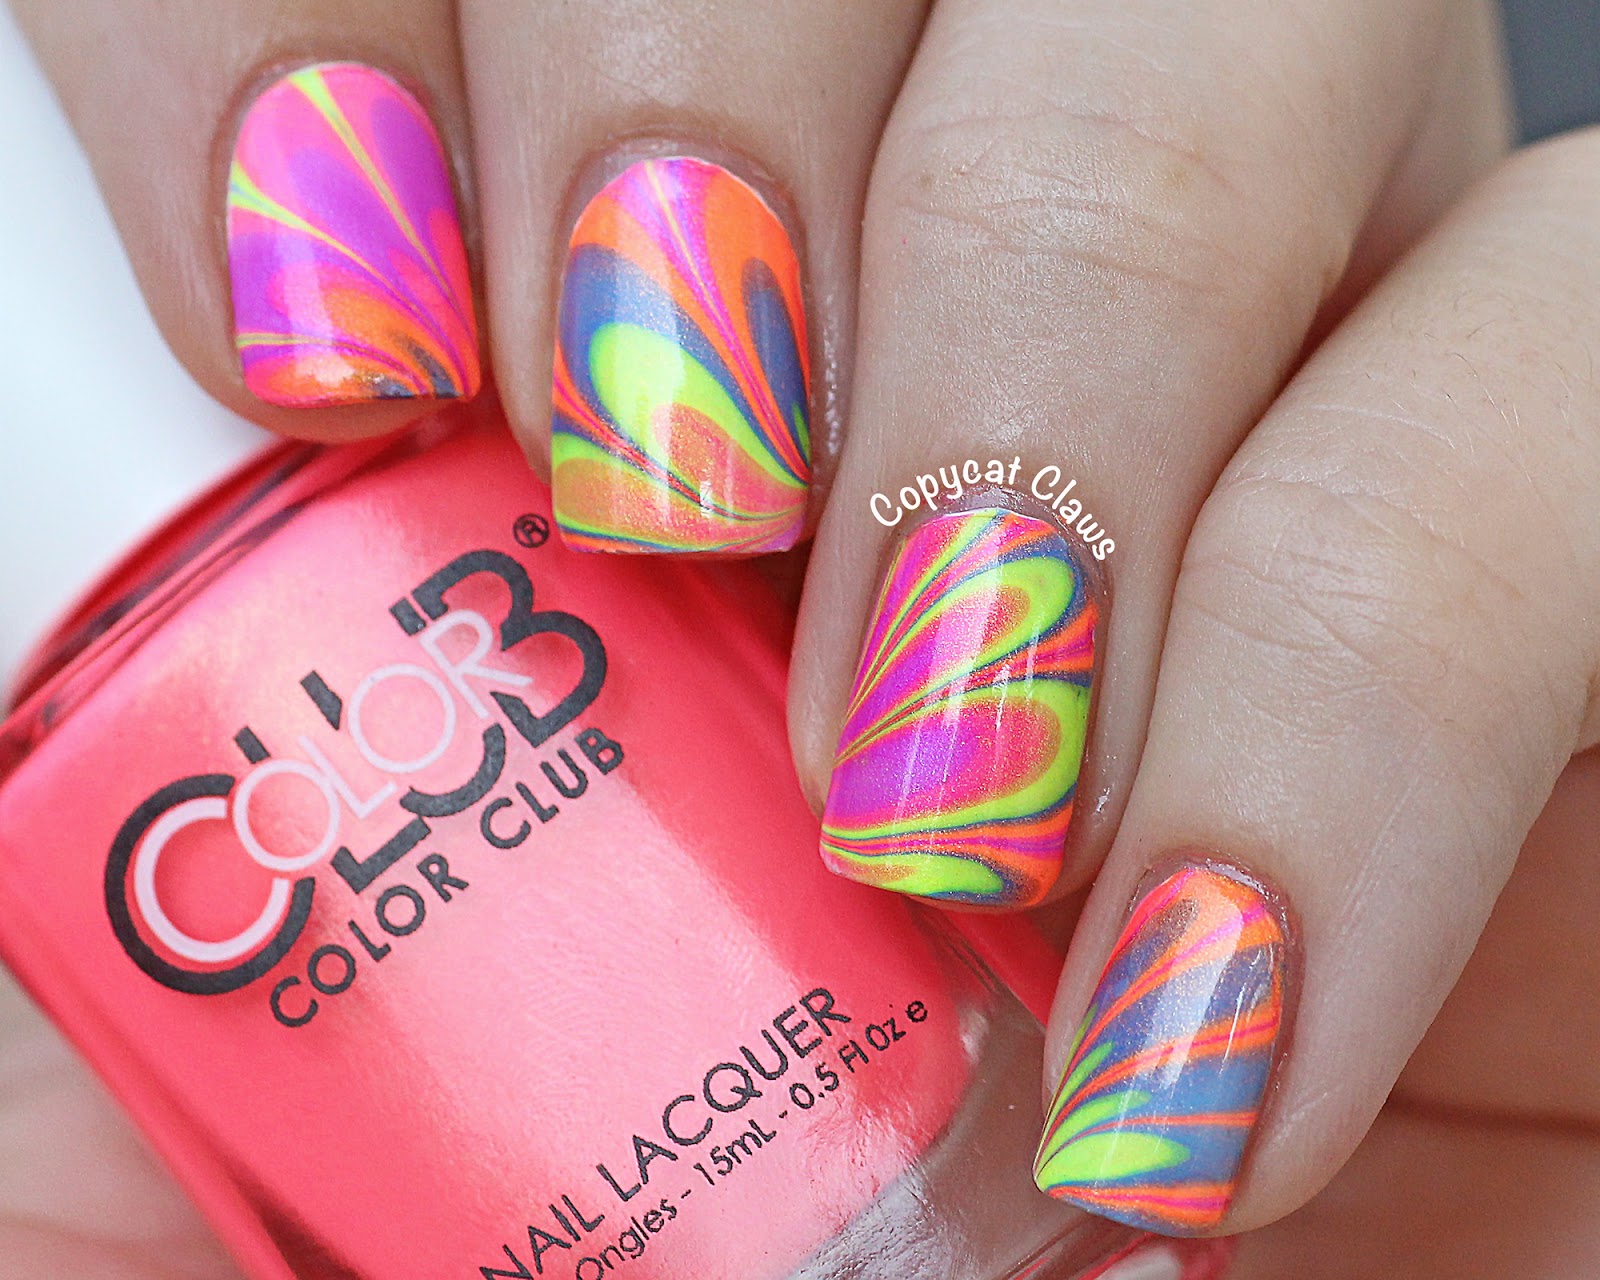
Don't have any special nail art polishes? No problem. You can still achieve the black and white water marble look with regular nail polish. Just make sure to use colors that have good pigmentation and are not too thin or streaky. Now that you have all the tips and tricks for creating the perfect black and white water marble nail art, it's time to get creative and try it out for yourself. With a little practice and patience, you'll be able to achieve stunning and unique designs that will make your nails stand out. Have fun and let your creativity flow!Black and White Water Marble Nail Art with Nail Polish


Black and White Water Marble Nail Art with Nail Polish


The History and Evolution of Black and White Water Marble Nail Art
The Rise of Black and White Nail Designs
 The world of nail art is constantly evolving, with new trends and techniques emerging every day. One of the most popular and timeless nail designs is the black and white water marble nail art. This striking and elegant design has been around for decades, and its popularity only continues to grow. But where did this trend originate and how has it evolved over the years?
The Origins of Water Marble Nail Art
 Water marble nail art has its roots in ancient India, where women used to dye their nails with a mixture of henna and other natural ingredients. This process was known as mehndi and was often used to beautify the hands and feet for special occasions. Fast forward to the 20th century, and water marble nail art started to gain popularity in the 1980s and 1990s, thanks to the punk and grunge movements. The black and white color combination was a favorite among these subcultures, and soon, it became a staple in the nail art world as well.
The Modern Twist on Black and White Water Marble Nail Art
 Today, black and white water marble nail art has evolved into a more sophisticated and refined design. With the advancement of technology and nail art tools, nail artists can now create intricate and intricate designs using this technique. From intricate swirls and stripes to abstract patterns and geometric shapes, the possibilities are endless with black and white water marble nail art.
The Popularity of Black and White Water Marble Nail Art
 One of the reasons why black and white water marble nail art remains so popular is because of its versatility. This design can be adapted to suit any occasion, whether it's a casual day out or a formal event. The black and white color combination also adds a touch of elegance and class to any outfit, making it a go-to choice for many fashion-forward individuals.
In Conclusion
 In conclusion, black and white water marble nail art is more than just a passing trend. It has a rich history and has evolved into a timeless and versatile design that continues to captivate nail art enthusiasts all over the world. So next time you're looking for a bold and sophisticated nail design, consider trying out black and white water marble nail art for a chic and stunning look.


