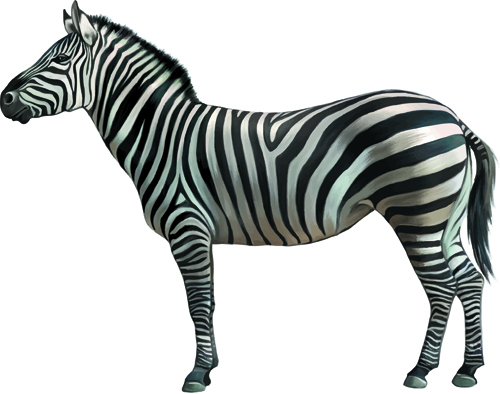
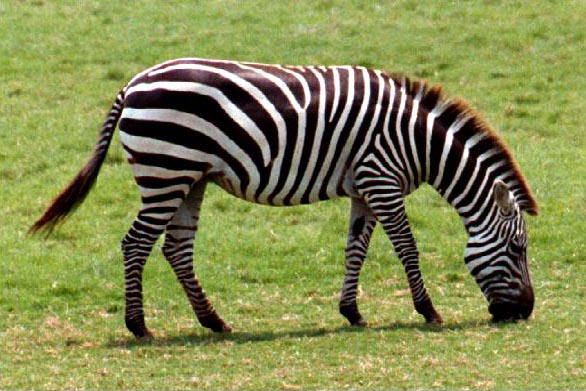
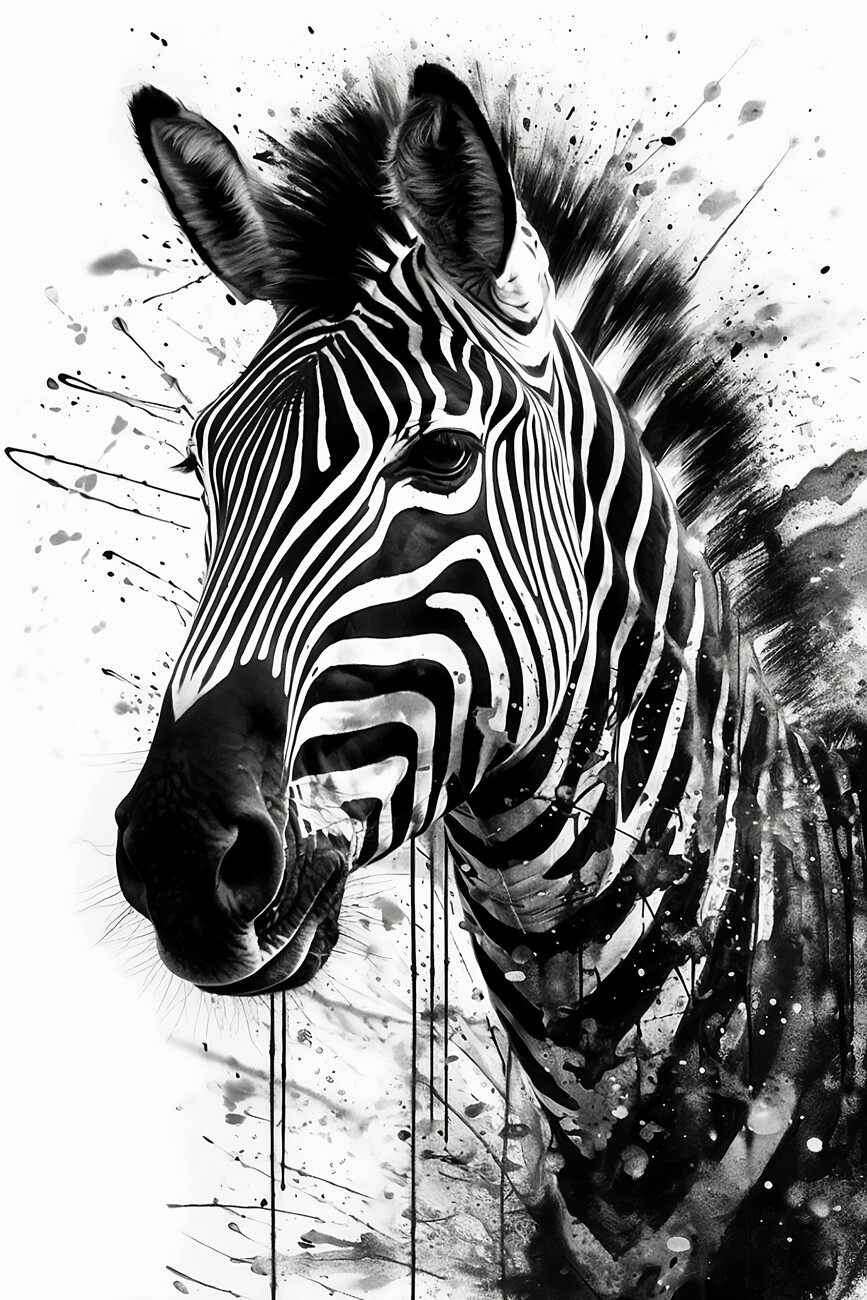
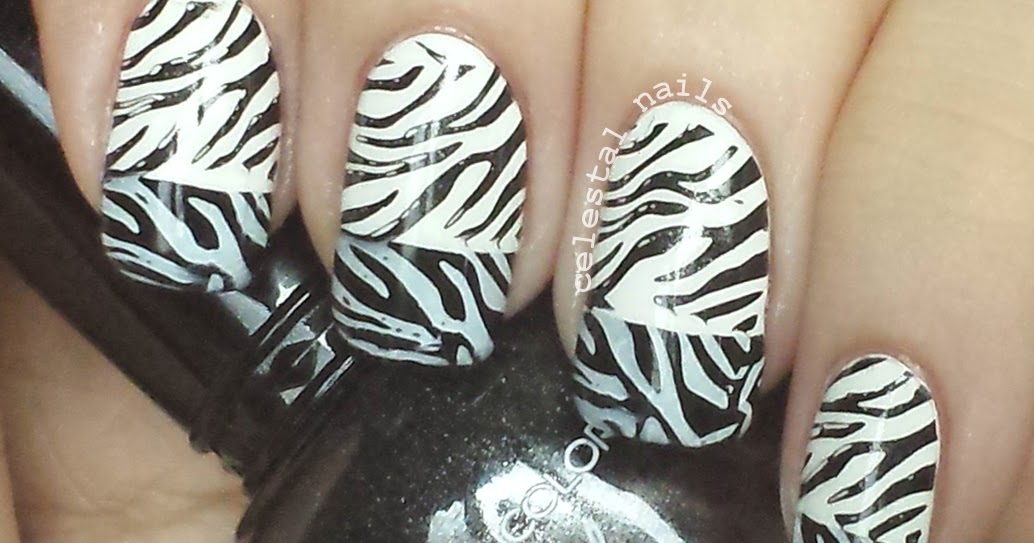
Are you looking for a bold and eye-catching nail art design? Look no further than black and white zebra print! This classic animal print is a timeless choice that adds a touch of edginess to any outfit. Plus, it's surprisingly easy to recreate at home. Follow along with our step-by-step tutorial to learn how to achieve this fierce look. To start, you'll need a few key supplies. Make sure you have a black and white nail polish, a thin brush or toothpick, and a top coat. You may also want to have some acetone and q-tips on hand for cleanup. Once you have everything you need, let's get started! Begin by painting your nails with a white base coat. This will help the black polish stand out and create a clean canvas for your zebra stripes. Let the base coat dry completely before moving on to the next step. Next, take your black nail polish and your thin brush or toothpick. Gently dab off any excess polish and then use the brush to create thin, horizontal lines across your nails. These don't have to be perfect; in fact, the more imperfect they are, the more realistic your zebra stripes will look! If you make a mistake or your lines are too thick, don't worry. Dip your brush or toothpick in acetone and use it to clean up any smudges or mistakes. Then, let the black polish dry completely before moving on to the next step. Once your black stripes are dry, it's time to add some dimension and depth to your zebra print. Using your thin brush or toothpick, create smaller, more curved stripes within the existing lines. This will give the appearance of the zebra's fur and make your design look more realistic. Finally, once you're happy with your zebra print, finish off the look with a top coat. This will help seal and protect your design, as well as add some shine. And just like that, you have a fierce and fashionable black and white zebra print nail art!1. Black and White Zebra Print Nail Art Tutorial


1. Black and White Zebra Print Nail Art Tutorial

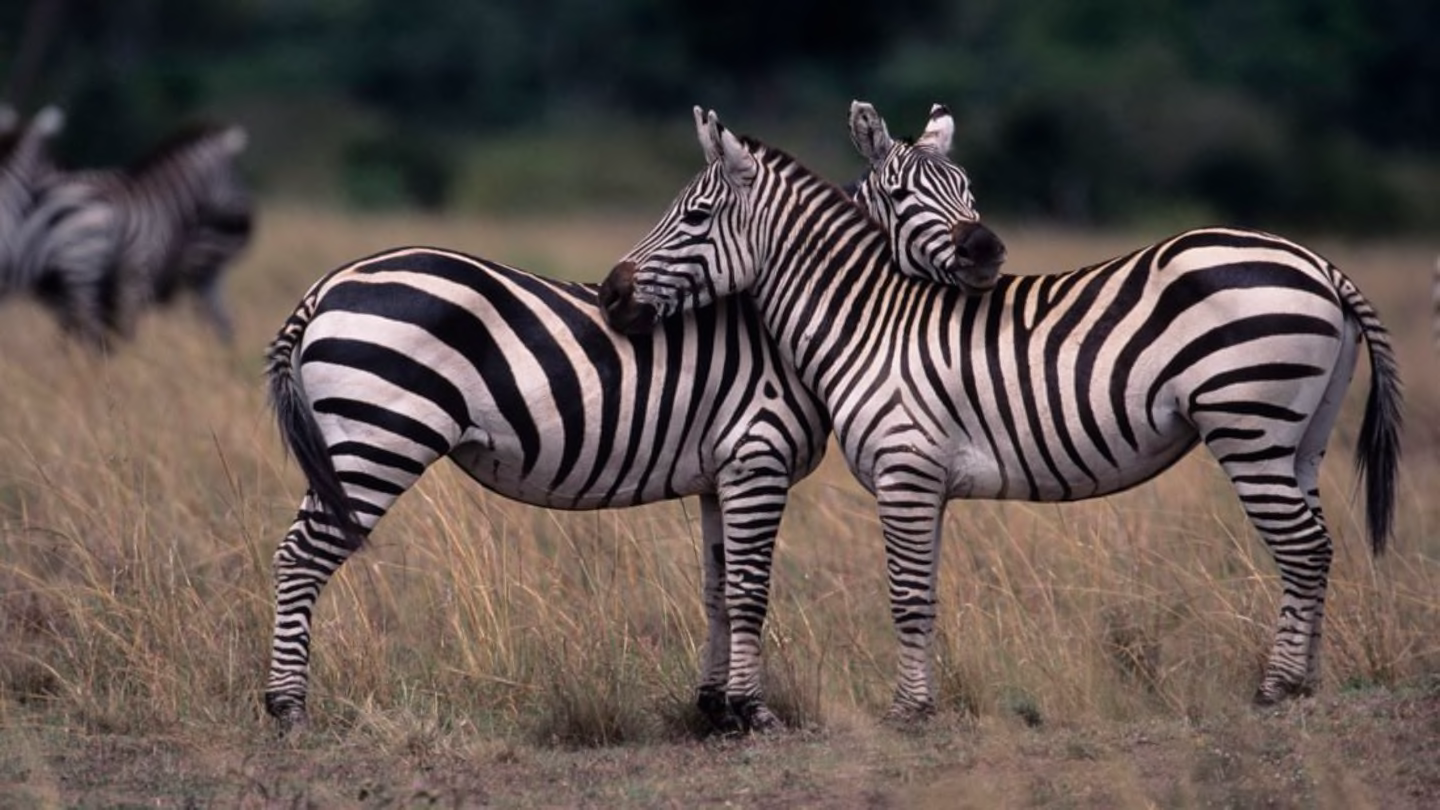
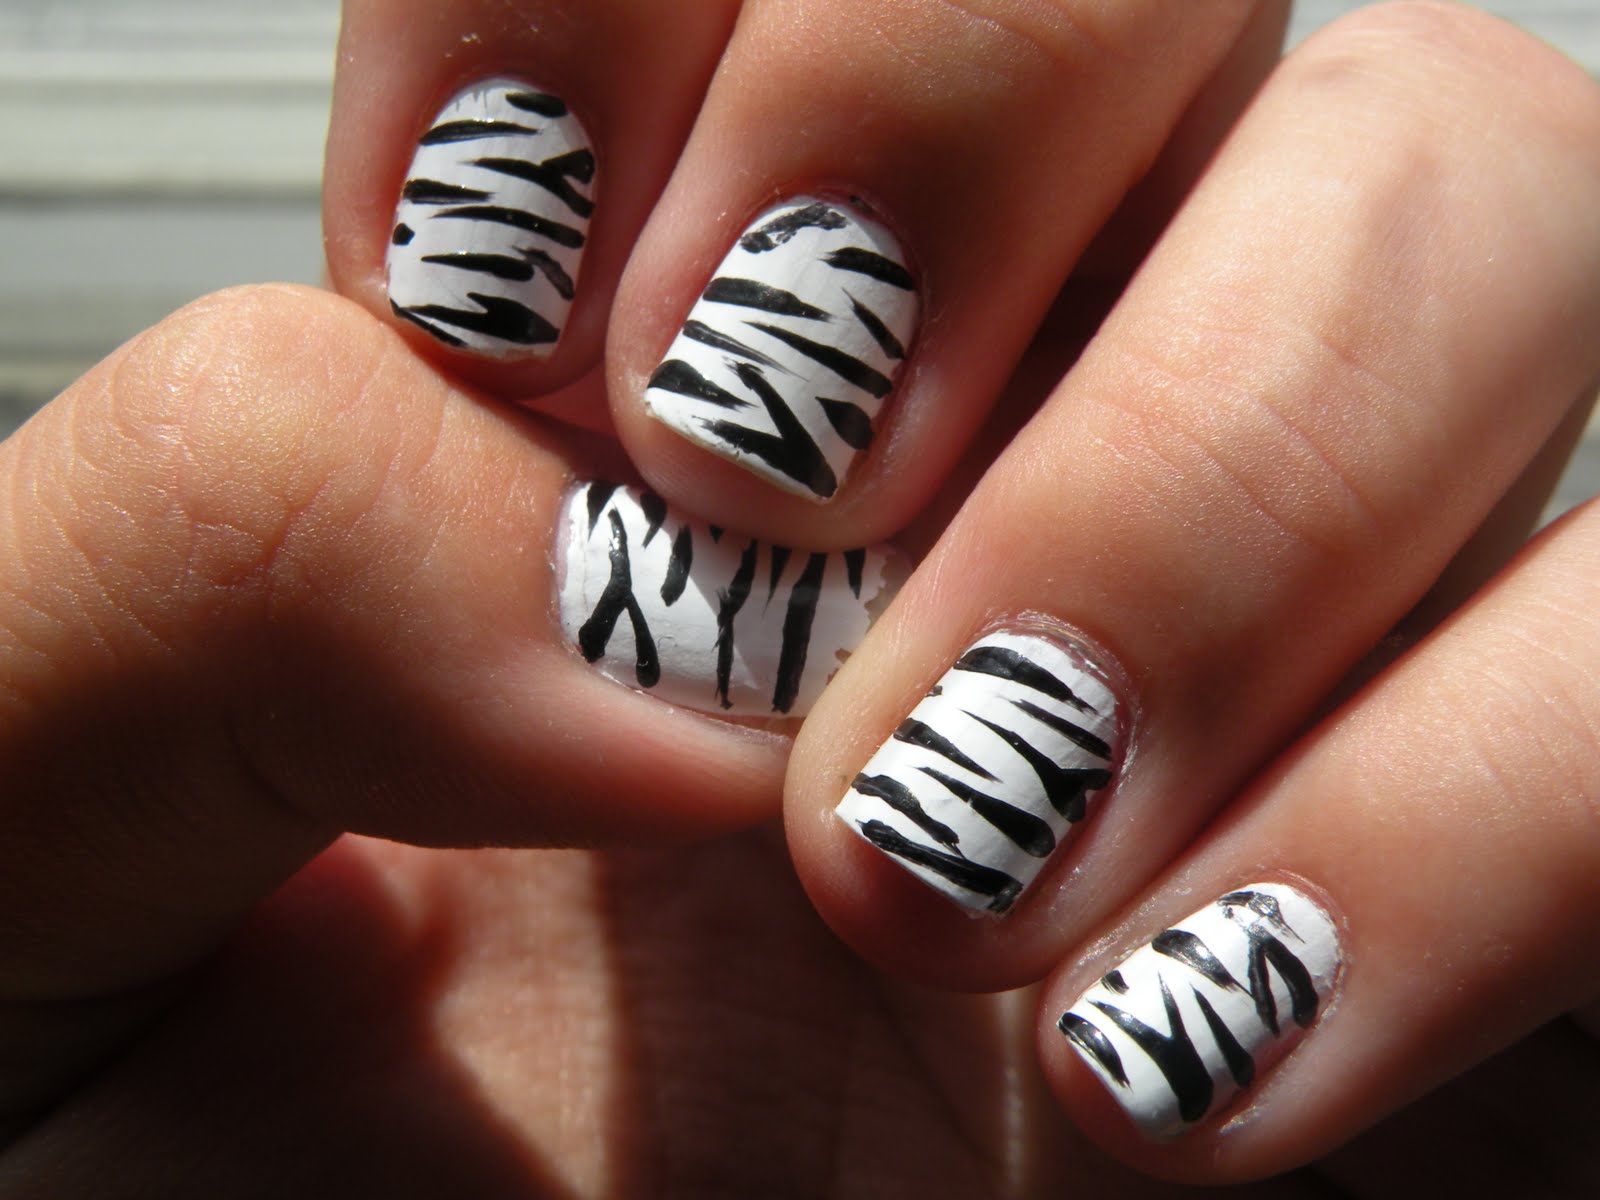
If you love the look of zebra print but aren't confident in your nail art skills, don't worry - we have an easy and foolproof design for you! This black and white zebra nail art is perfect for beginners and requires no special tools or skills. Let's get started! Start by painting your nails with a white base coat. This will help the black polish stand out and give your zebra print a clean and crisp look. Let the base coat dry completely before moving on to the next step. Next, take your black nail polish and paint a diagonal line across your nail. This will be the first stripe of your zebra print. Don't worry about making it perfect - remember, zebras have natural variations in their stripes, so imperfections are welcome! Once your first stripe is dry, it's time to add some more. Using the same diagonal motion, paint another stripe on the opposite side of your nail. Try to vary the thickness and angle of your stripes to make them look more natural. Continue adding stripes until your entire nail is covered, leaving a small space at the base of your nail for the white "hoof." Then, repeat the process on your other nails until they're all complete. For an extra touch of glam, you can add some rhinestones or glitter on top of your zebra stripes. This will add some sparkle and make your design stand out even more. And just like that, you have an easy and stunning black and white zebra nail art!2. Easy Black and White Zebra Nail Art Design


2. Easy Black and White Zebra Nail Art Design


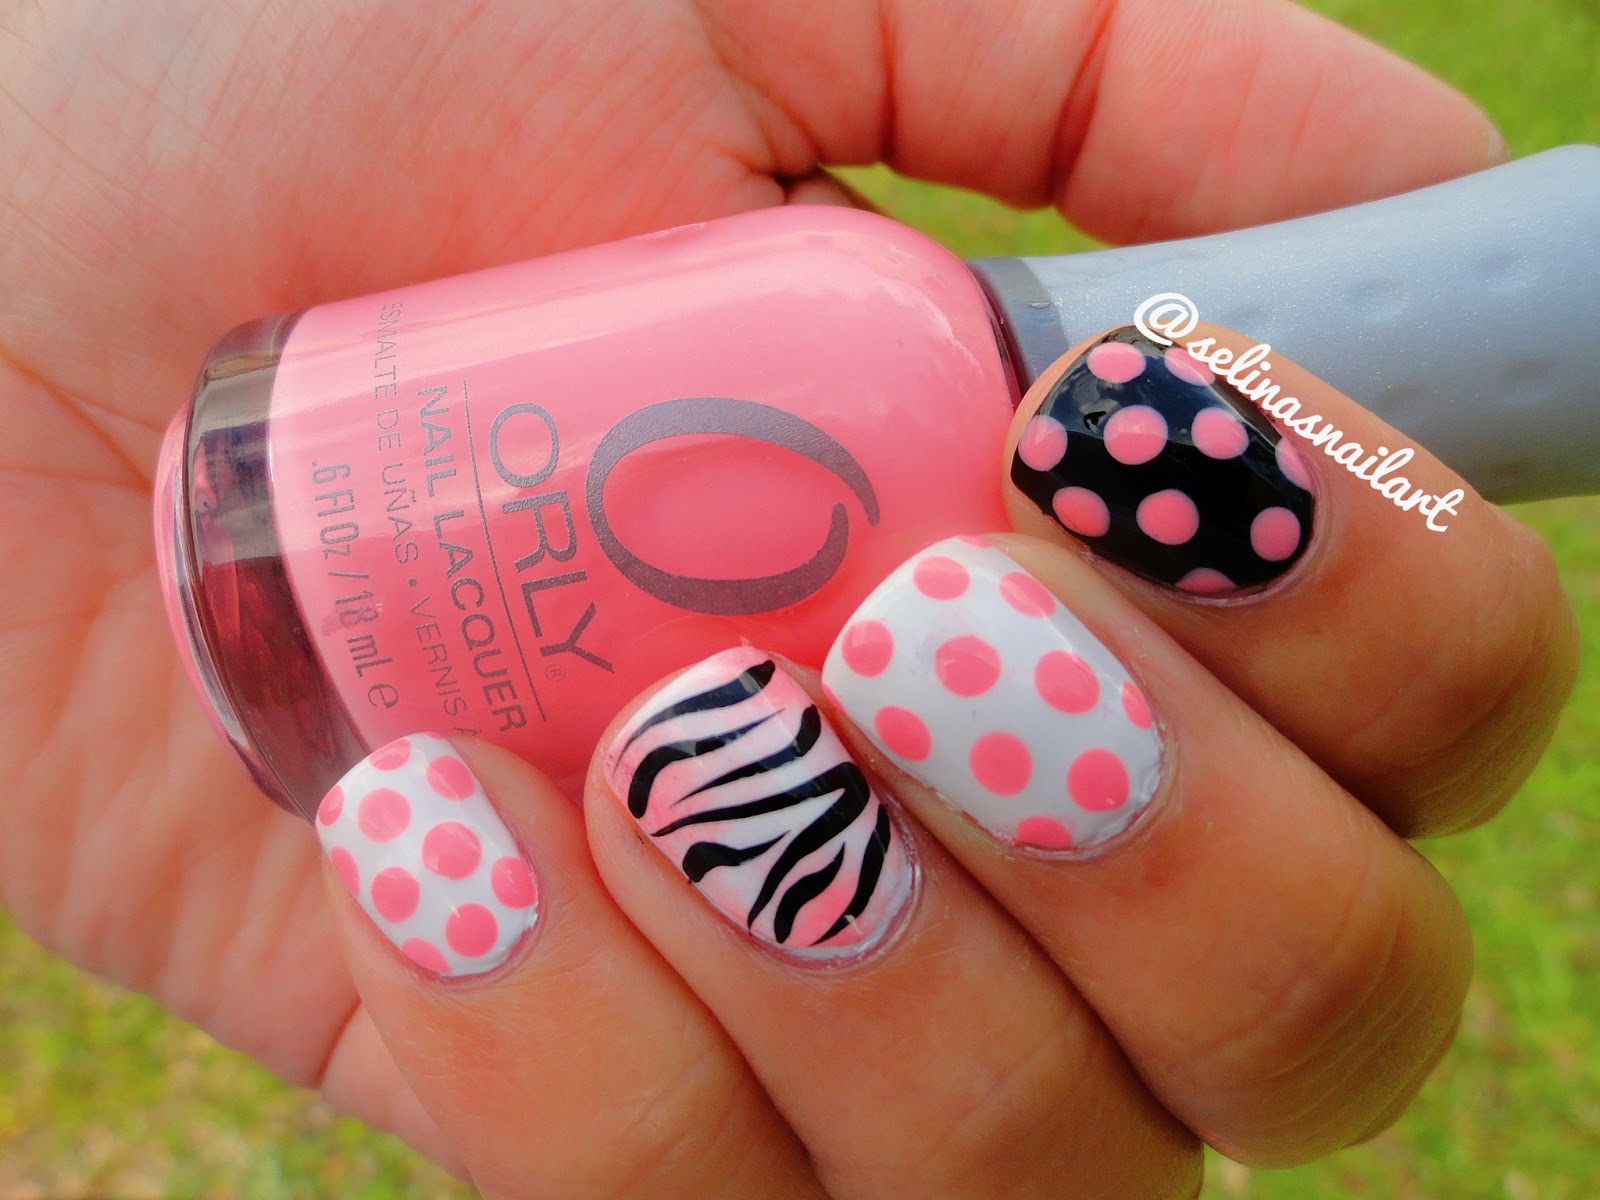
Who says zebra print has to be limited to just stripes? This black and white zebra stripe nail art takes the classic print to the next level by incorporating different sized and angled stripes. The result is a bold and abstract design that's sure to turn heads. To achieve this look, start by painting your nails with a black base coat. This will serve as the background for your zebra stripes. Let it dry completely before moving on to the next step. Next, take a white nail polish and create thin, curved stripes across your nails. These stripes can be in any direction or angle, as long as they're not perfectly straight. This will give the appearance of zebra stripes without being too literal. Once your white stripes are dry, it's time to add some black ones. Using a thin brush or toothpick, create smaller, more jagged lines within the white stripes. This will add some depth and dimension to your design and make it look more like zebra print. Continue adding white and black stripes until your entire nail is filled. You can also mix in different sizes and thicknesses for a more dynamic look. Don't be afraid to experiment and have fun with this design! Finish off with a top coat to seal and protect your design. And just like that, you have a unique and modern take on black and white zebra nail art!3. Black and White Zebra Stripe Nail Art


3. Black and White Zebra Stripe Nail Art


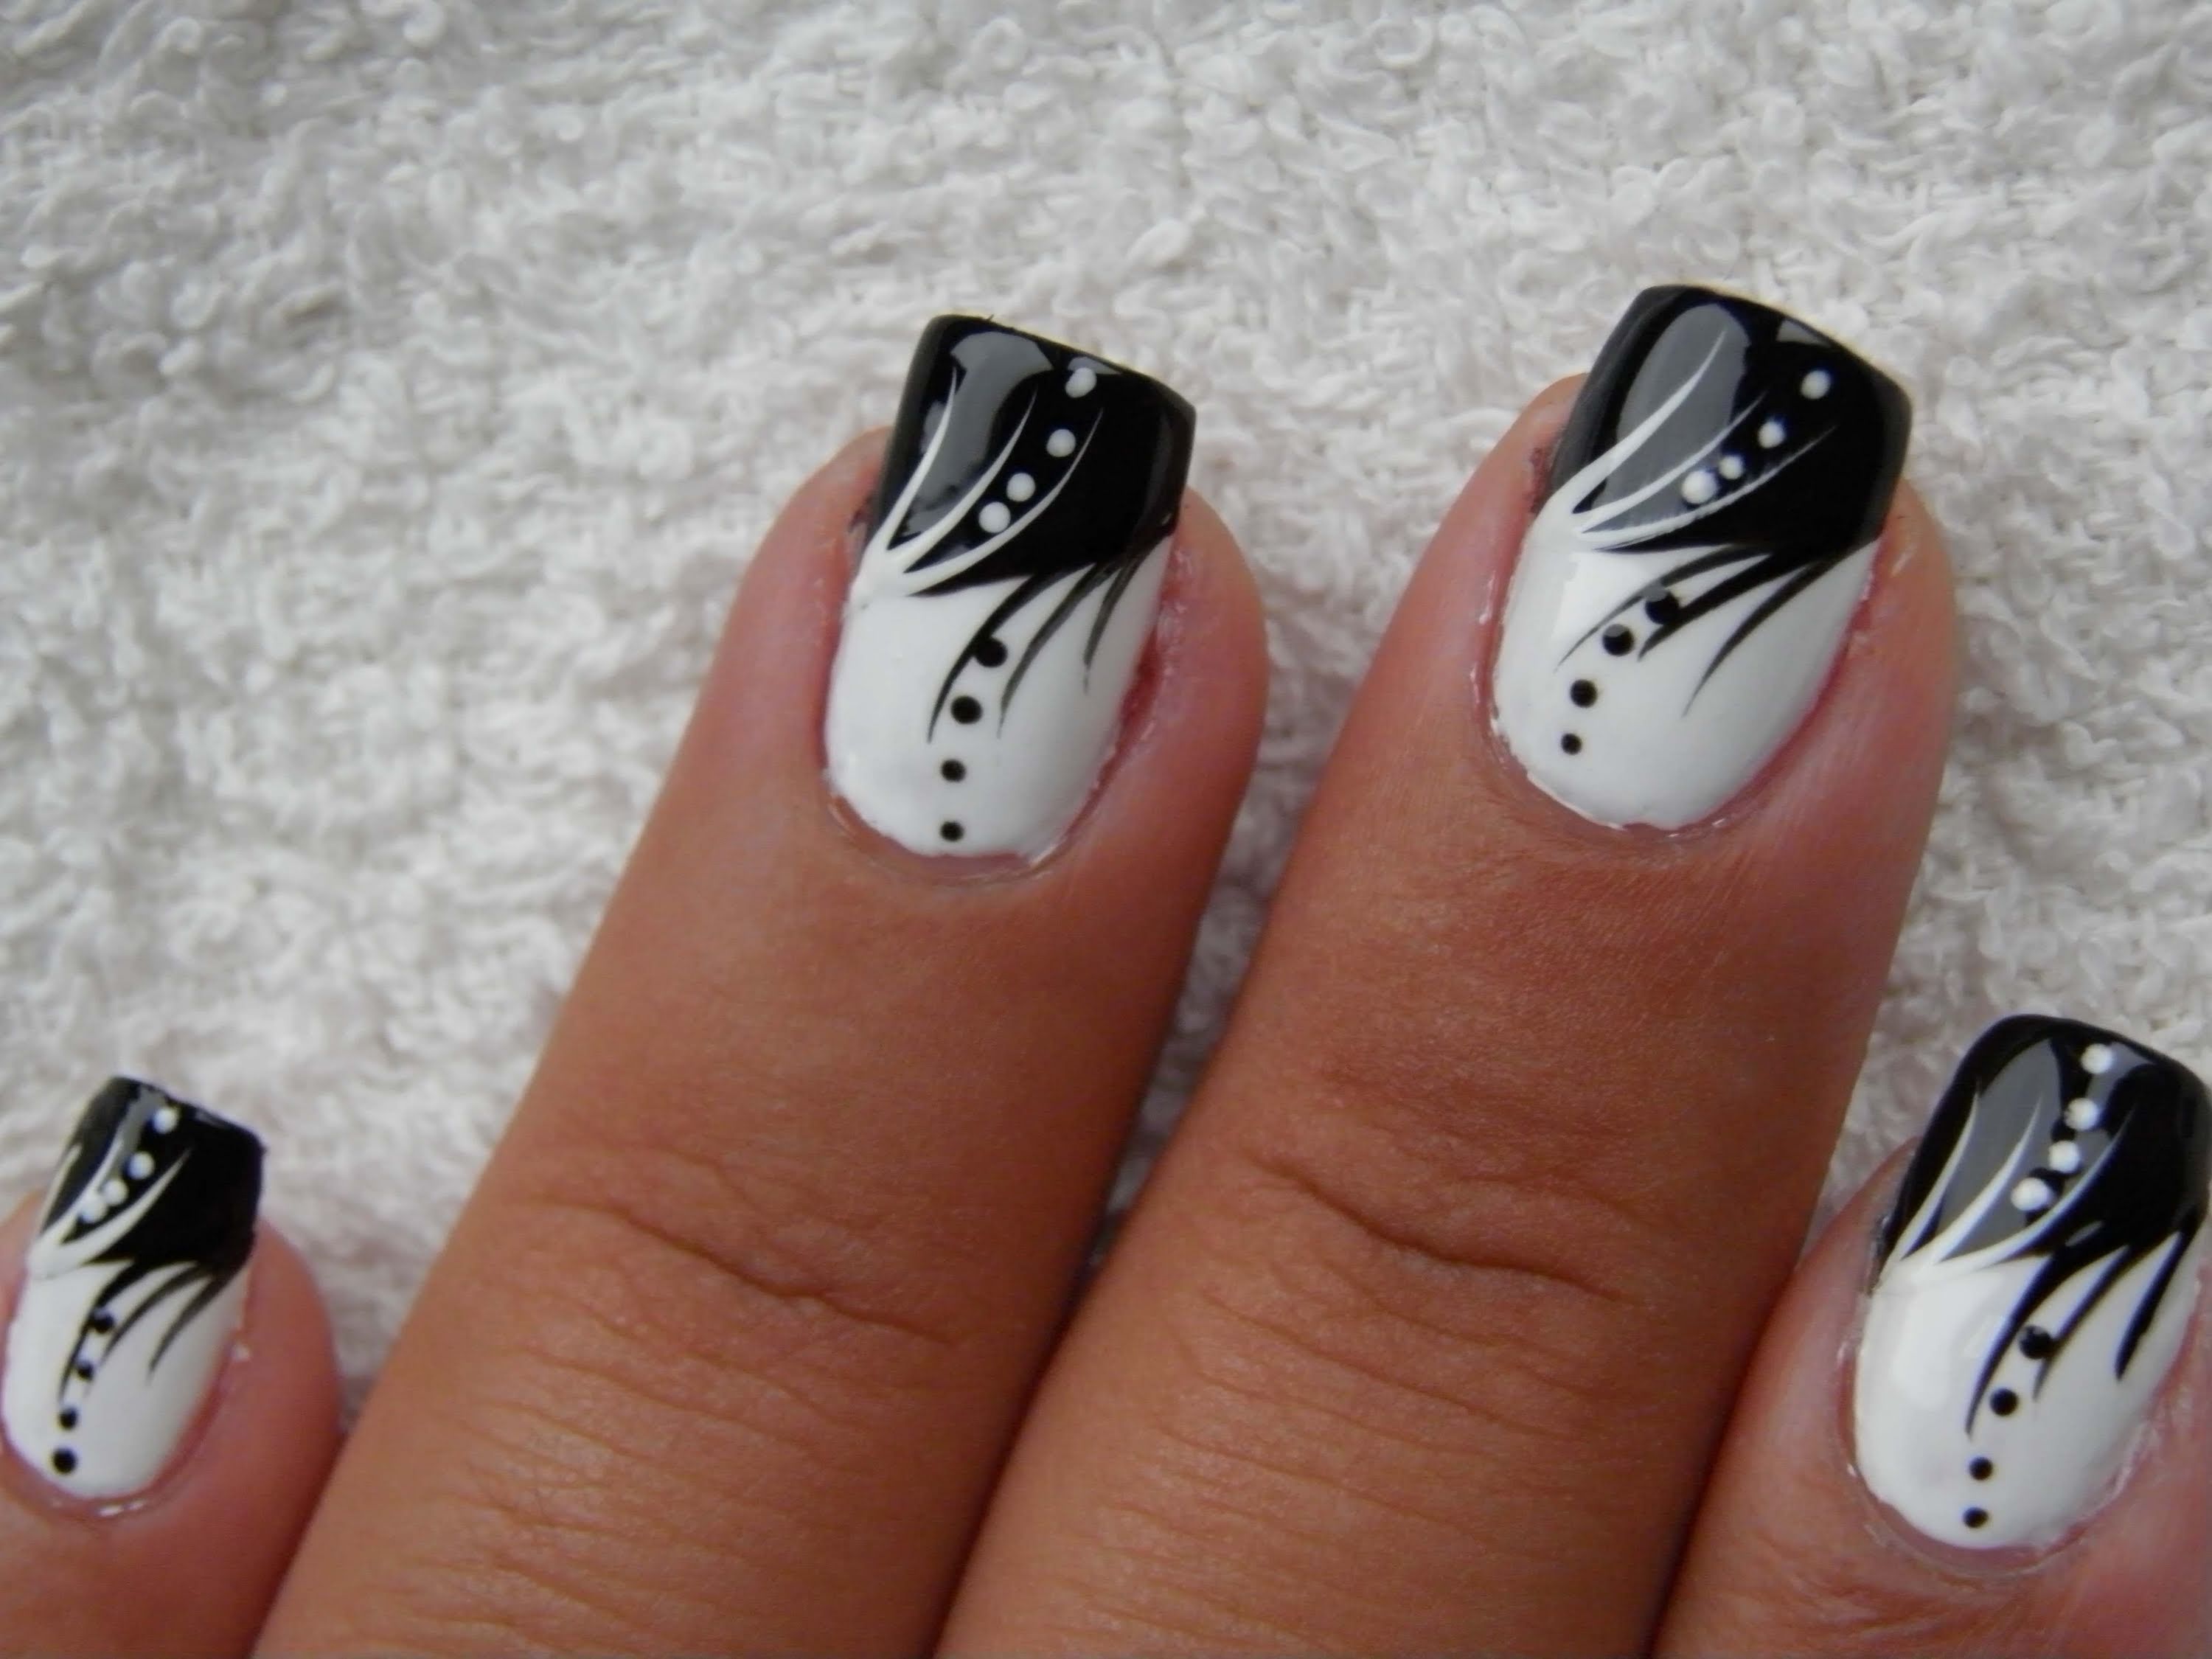
If you're a visual learner and prefer a step-by-step guide, we've got you covered! Here's a breakdown of how to achieve the perfect black and white zebra nail art: Step 1: Start with a white base coat and let it dry completely. Step 2: Using a thin brush or toothpick, create horizontal lines with black polish on your nails. Step 3: Clean up any mistakes or smudges with acetone. Step 4: Add smaller, curved lines within the black ones to create dimension. Step 5: Finish off with a top coat for shine and protection. And there you have it - a simple and easy guide to achieving black and white zebra nail art! Don't be afraid to experiment with different techniques and make the design your own.4. Step by Step Black and White Zebra Nail Art


4. Step by Step Black and White Zebra Nail Art

Short nails can be just as stylish and versatile as longer ones, and this black and white zebra nail art is proof! This design is perfect for those with shorter nails, as it doesn't require too much space and can easily be adjusted to fit any nail length. Start by painting your nails with a white base coat. Once it's dry, take a black nail polish and create diagonal lines across your nails. These lines can be thick or thin, depending on your preference and the size of your nails. Next, using a thin brush or toothpick, create smaller, more curved lines within the black stripes. This will add some dimension and make your zebra stripes look more realistic. You can also add some black dots or smaller stripes to fill in any gaps or add more interest. Finish off with a top coat and you're all set! This black and white zebra nail art is perfect for those with shorter nails who want to make a statement with their manicure.5. Black and White Zebra Nail Art for Short Nails


5. Black and White Zebra Nail Art for Short Nails

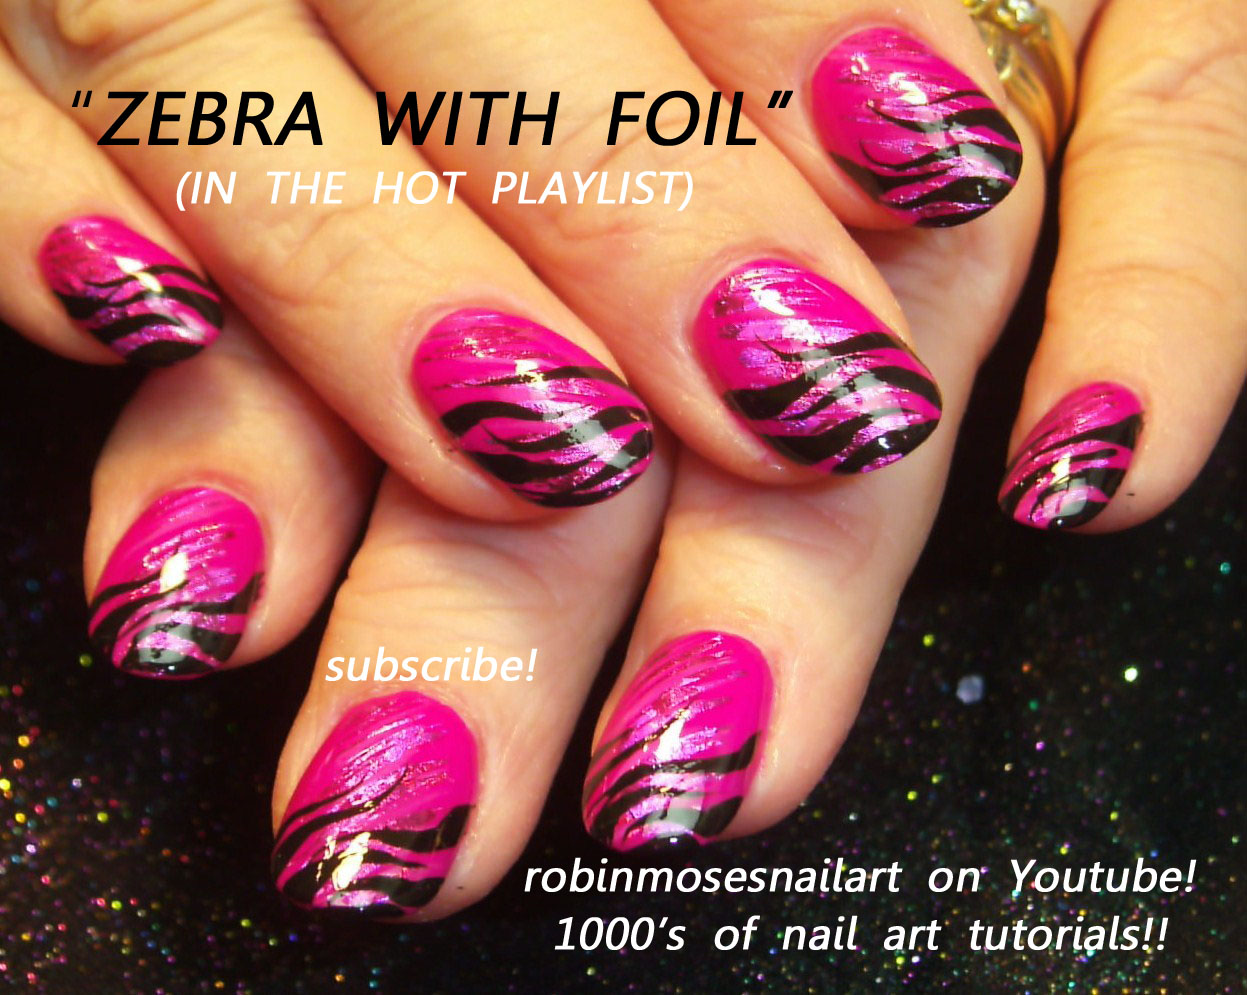
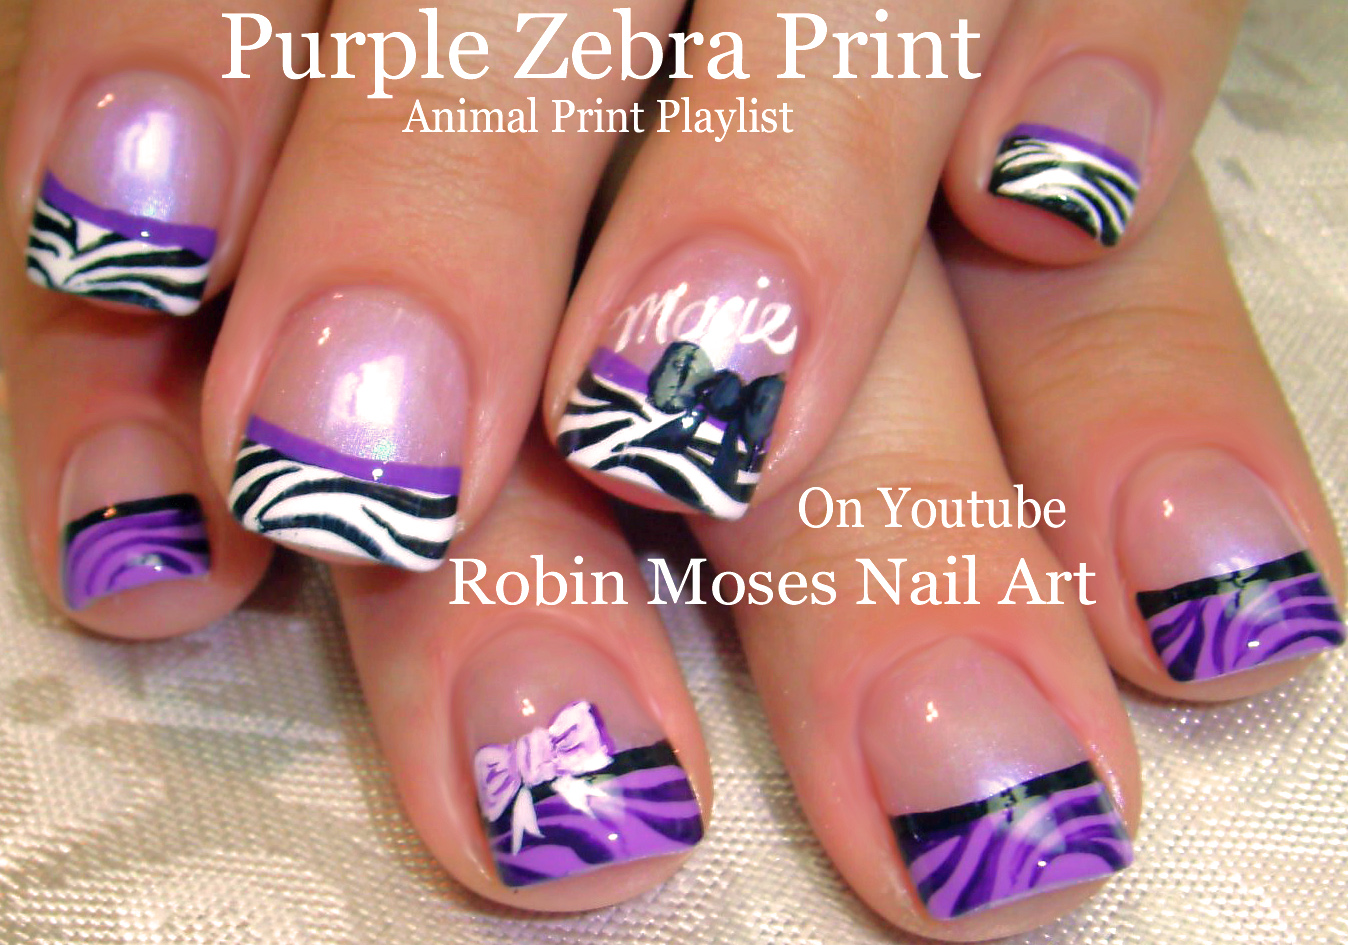
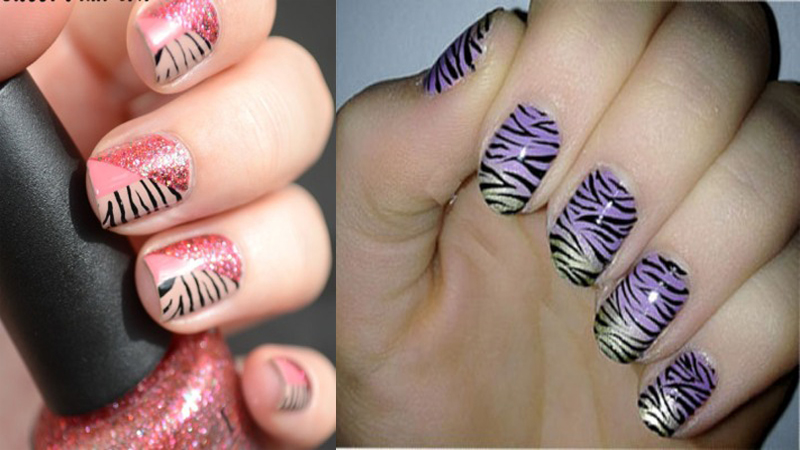
For a glamorous and high-fashion take on zebra print, try incorporating rhinestones into your nail art design! This black and white zebra nail art with rhinestones is perfect for a special occasion or a night out on the town. Start by painting your nails with a black base coat and let it dry completely. Then, using a white nail polish, create thin, diagonal stripes across your nails. These stripes can be as thick or thin as you'd like, depending on your preference and the size of your nails. Next, using a thin brush or toothpick, create smaller, more curved lines within the white stripes. This will add some dimension and make your zebra stripes look more realistic. Once your design is complete, it's time to add the rhinestones. Using a dotting tool or tweezers, place rhinestones along the edges of your zebra stripes. You can also add them to the center of some of the stripes for a more scattered and glamorous look. Finish off with a top coat to seal and protect your design. And just like that, you have a stunning and sparkly black and white zebra nail art!6. Black and White Zebra Nail Art with Rhinestones
6. Black and White Zebra Nail Art with Rhinestones


For a more subtle and playful take on zebra print, try incorporating glitter into your nail art design! This black and white zebra nail art with glitter is perfect for those who want to add some sparkle and shine to their manicure. Start by painting your nails with a white base coat and let it dry completely. Then, using a black nail polish, create thin, diagonal stripes across your nails. These stripes can be as thick or thin as you'd like, depending on your preference and the size of your nails. Next, using a thin brush or toothpick, create smaller, more curved lines within the black stripes. This will add some dimension and make your zebra stripes look more realistic. You can also add some black dots or smaller stripes to fill in any gaps or add more interest. Once your design is complete, it's time to add the glitter. Using a small brush or a glitter polish, fill in some of the white spaces between your zebra stripes with glitter. You can also add a layer of glitter over the entire nail for a more subtle look. Finish off with a top coat to seal and protect your design. And just like that, you have a fun and playful black and white zebra nail art!7. Black and White Zebra Nail Art with Glitter

7. Black and White Zebra Nail Art with Glitter

If you want to add some edge and texture to your zebra print, try incorporating studs into your nail art design! This black and white zebra nail art with studs is perfect for those who want to add some dimension and cool factor to their manicure. Start by painting your nails with a black base coat and let it dry completely. Then, using a white nail polish, create thin, diagonal stripes across your nails. These stripes can be as thick or thin as you'd like, depending on your preference and the size of your nails. Next, using a thin brush or toothpick, create smaller, more curved lines within the white stripes. This will add some dimension and make your zebra stripes look more realistic. Once your design is complete, it's time to add the studs. Using a dotting tool or tweezers, place studs along the edges of your zebra stripes. You can also add them to the center of some of the stripes for a more scattered and edgy look. Finish off with a top coat to seal and protect your design. And just like that, you have a fierce and textured black and white zebra nail art!8. Black and White Zebra Nail Art with Studs
8. Black and White Zebra Nail Art with Studs

For a modern and sophisticated take on zebra print, try incorporating a matte finish into your nail art design! This black and white zebra nail art with a matte finish is perfect for those who want to add some sophistication and elegance to their manicure. Start by painting your nails with a white base coat and let it dry completely. Then, using a black nail polish, create thin, diagonal stripes across your nails. These stripes can be as thick or thin as you'd like, depending on your preference and the size of your nails. Next, using a thin brush or toothpick, create smaller, more curved lines within the black stripes. This will add some dimension and make your zebra stripes look more realistic. Once your design is complete, it's time to add the matte finish. Apply a matte top coat over your entire nail, making sure to cover the zebra stripes. This will give your design a sleek and modern look. And just like that, you have a chic and sophisticated black and white zebra nail art with a matte finish!9. Black and White Zebra Nail Art with Matte Finish


9. Black and White Zebra Nail Art with Matte Finish
For a unique and eye-catching take on zebra print, try incorporating an ombre effect into your nail art design! This black and white zebra nail art with an ombre effect is perfect for those who want to add some depth and variation to their manicure. Start by painting your nails with a white base coat and let it dry completely. Then, using a black nail polish, create thin, diagonal stripes across your nails. These stripes can be as thick or thin as you'd like, depending on your preference and the size of your nails. Next, using a thin brush or toothpick, create smaller, more curved lines within the black stripes. This will add some dimension and make your zebra stripes look more realistic. Once your design is complete, it's time to create the ombre effect. Using a makeup sponge, dab some black polish onto the tip of the sponge. Then, gently press the sponge onto your nails, starting at the tip and moving towards the base. This will create a gradual fade from black to white. Finish off with a top coat to seal and protect your design. And just like that, you have a stunning and unique black and white zebra nail art with an ombre effect!10. Black and White Zebra Nail Art with Ombre Effect

10. Black and White Zebra Nail Art with Ombre Effect


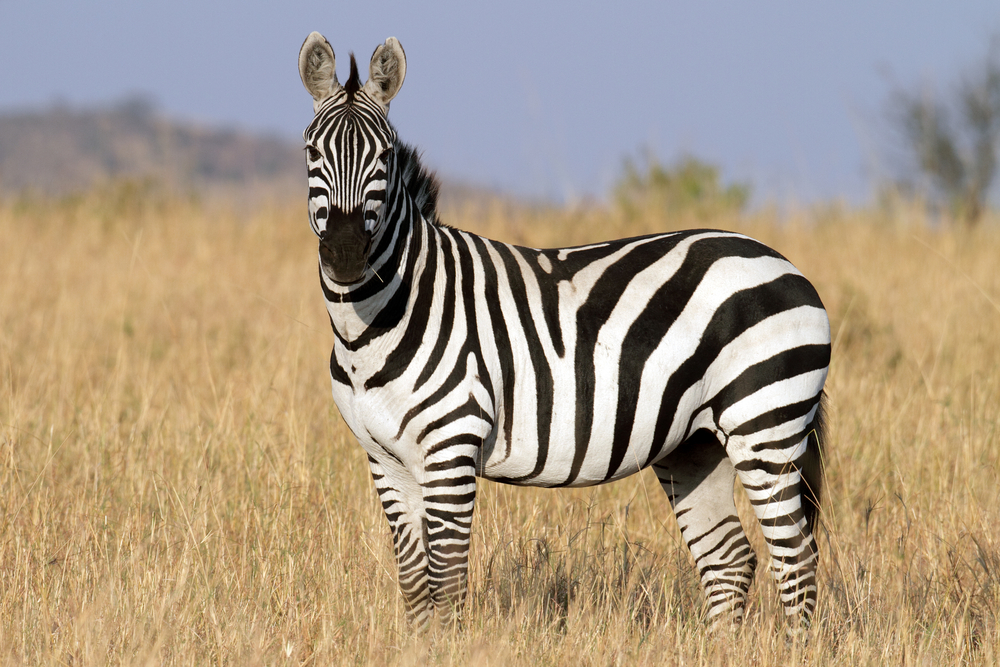
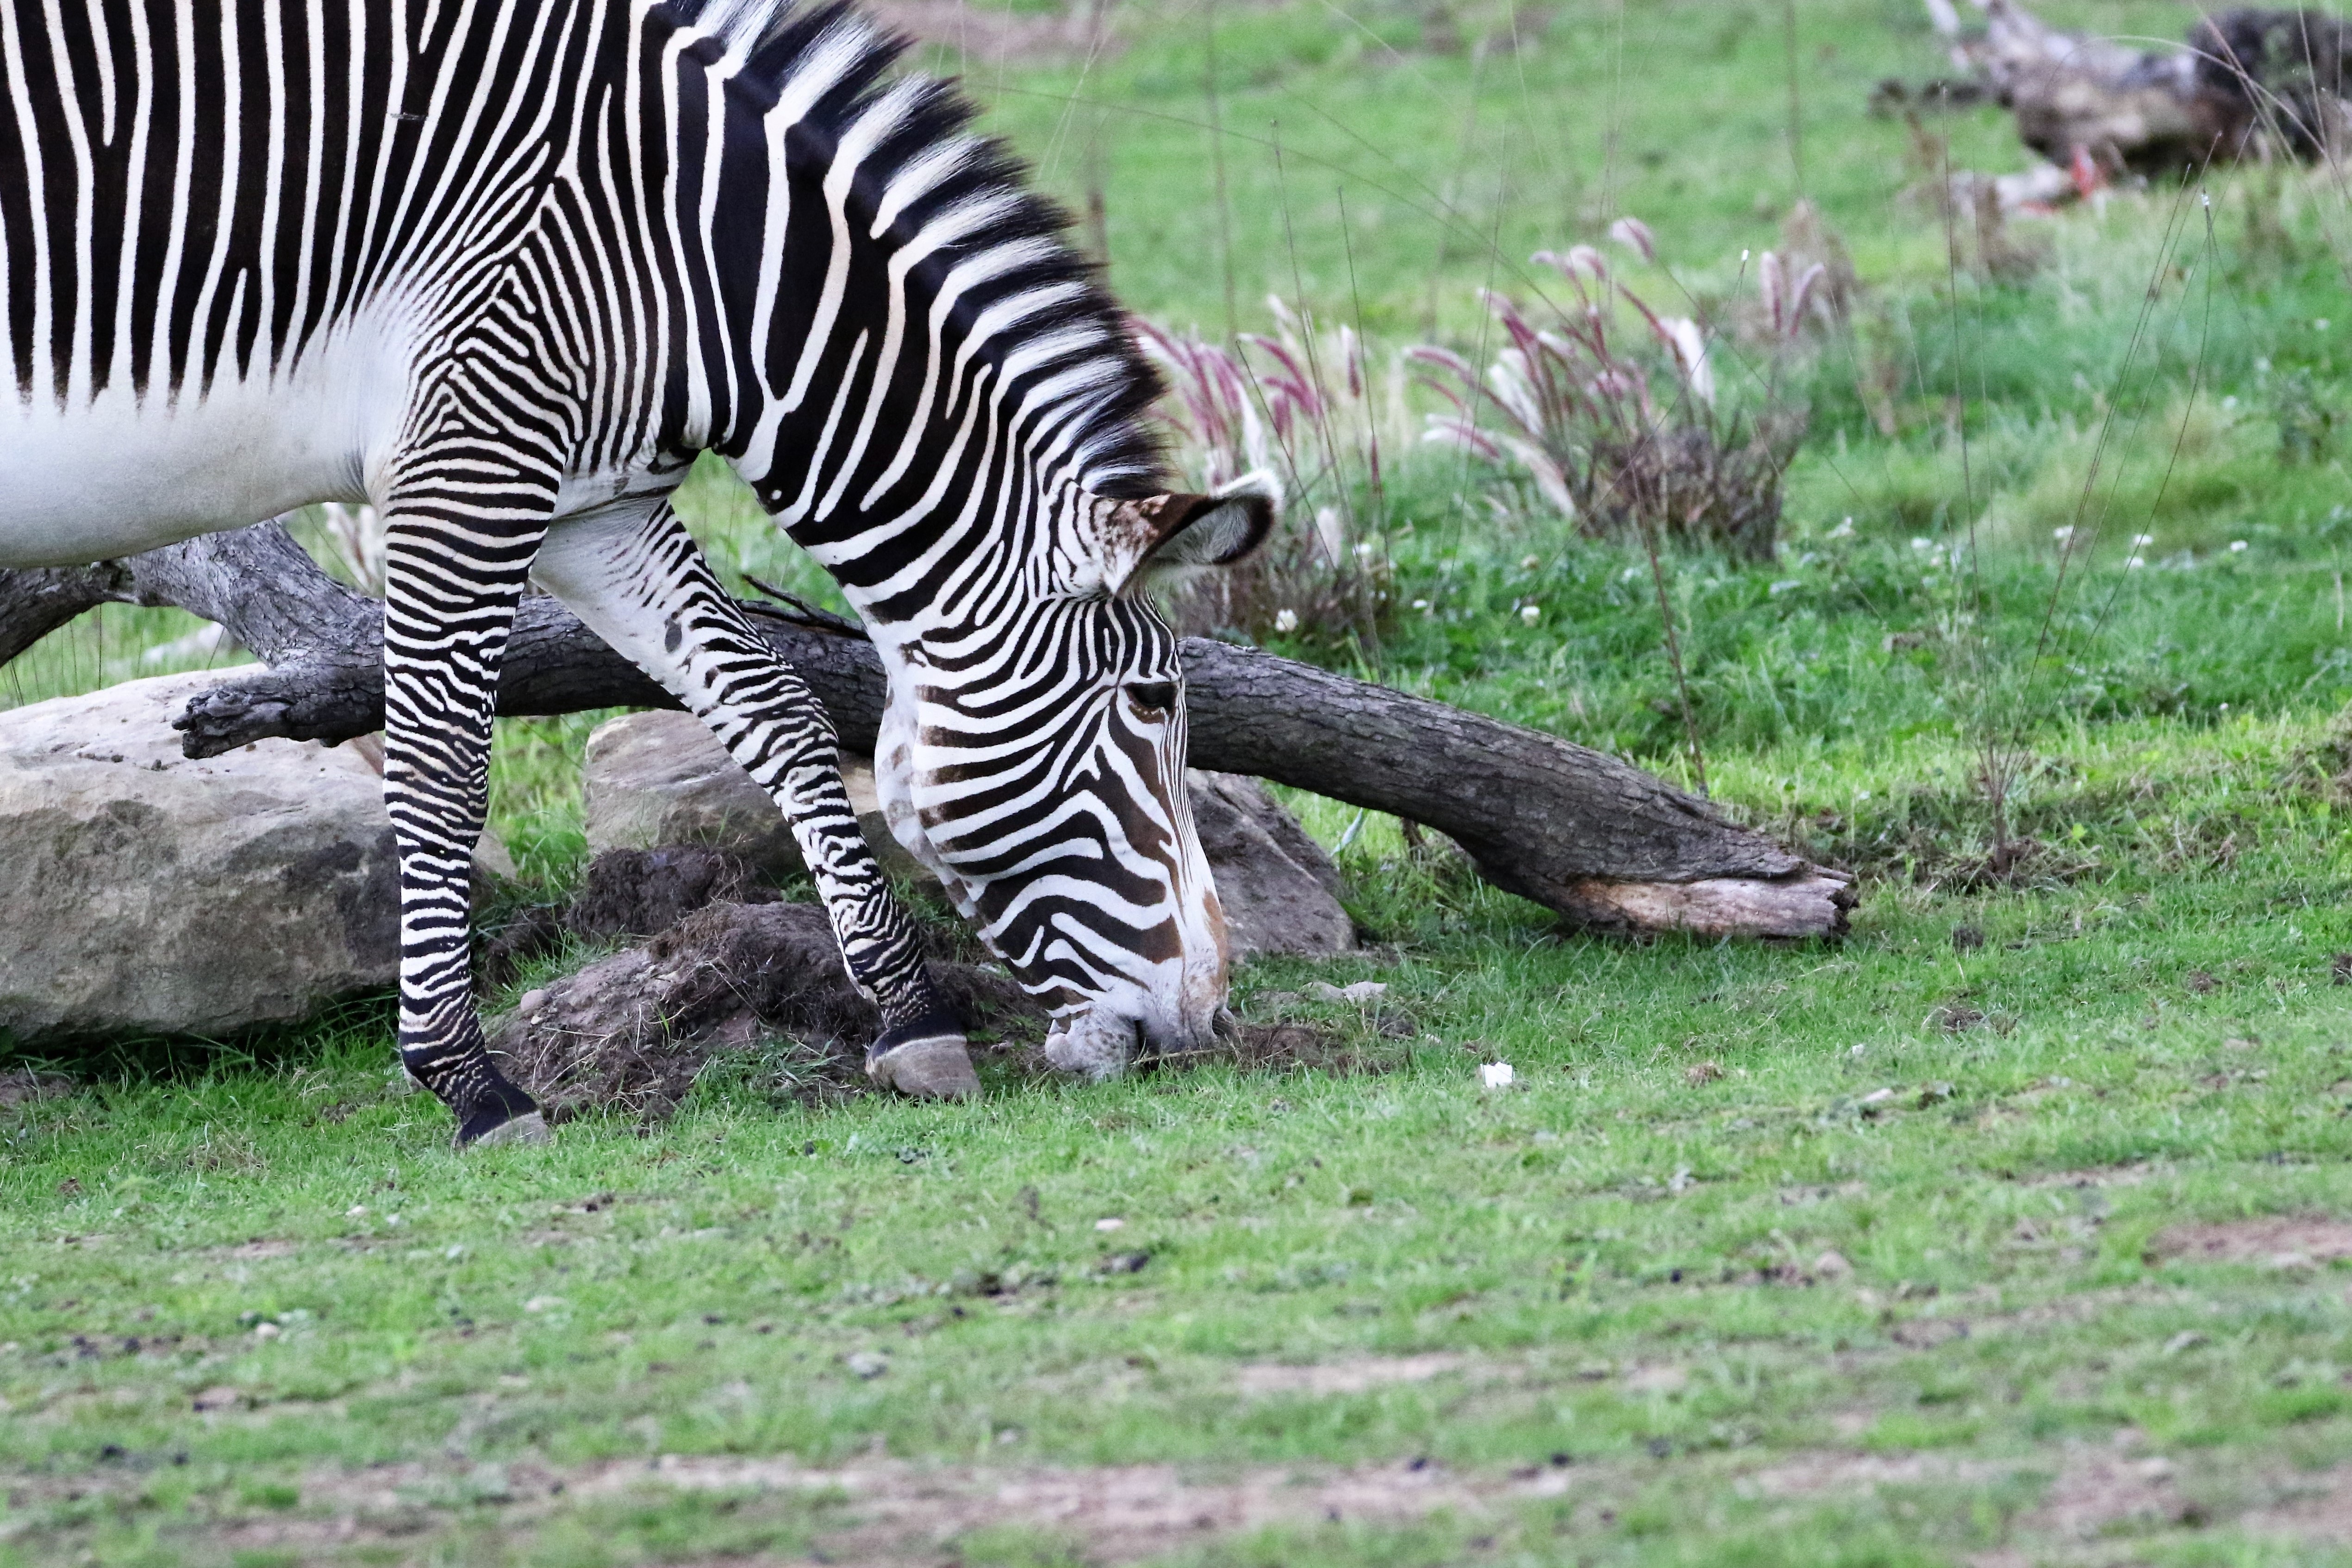
Creating a Unique Look with Black and White Zebra Nail Art
Unleash Your Wild Side
 Are you tired of the same old solid color nails? Looking for a way to add some excitement and personality to your nail game? Look no further than black and white zebra nail art. This bold and eye-catching design is perfect for those who want to stand out and make a statement. It's a fun and creative way to add a touch of the wild to your everyday look.
How to Achieve the Look
 Creating zebra nail art may seem daunting, but with a few simple steps, you can achieve a flawless and professional-looking design. Start by painting your nails with a
black base coat
. Once it's dry, take a
white nail polish
and carefully create thin stripes across each nail, mimicking the stripes of a zebra. You can use a nail art brush or even a toothpick for more precise lines. For added dimension, you can also add some white dots to the black areas. Finish off with a
clear topcoat
to seal in your design and give it a glossy finish.
Creating zebra nail art may seem daunting, but with a few simple steps, you can achieve a flawless and professional-looking design. Start by painting your nails with a
black base coat
. Once it's dry, take a
white nail polish
and carefully create thin stripes across each nail, mimicking the stripes of a zebra. You can use a nail art brush or even a toothpick for more precise lines. For added dimension, you can also add some white dots to the black areas. Finish off with a
clear topcoat
to seal in your design and give it a glossy finish.
Unlimited Possibilities
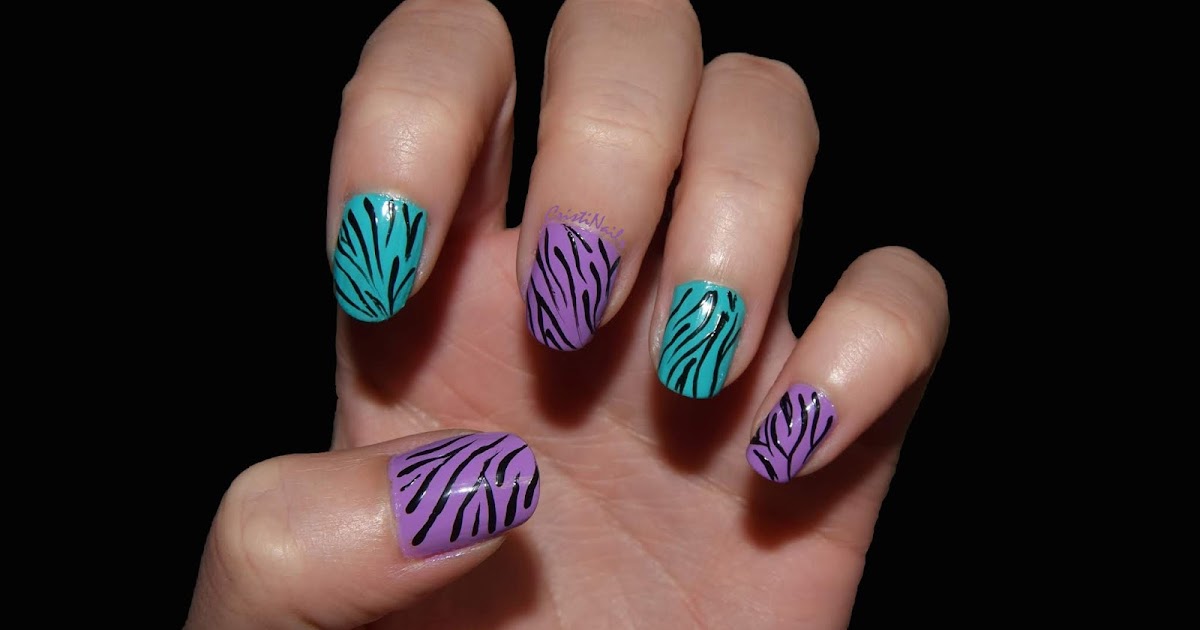
 One of the best things about zebra nail art is its versatility. You can play around with different color combinations and designs to make it uniquely yours. For a more subtle look, you can use
gray or silver
instead of white. Or, if you want to add a pop of color, you can incorporate
pink, purple, or blue
stripes into the design. The possibilities are endless, and you can get as creative as you want.
One of the best things about zebra nail art is its versatility. You can play around with different color combinations and designs to make it uniquely yours. For a more subtle look, you can use
gray or silver
instead of white. Or, if you want to add a pop of color, you can incorporate
pink, purple, or blue
stripes into the design. The possibilities are endless, and you can get as creative as you want.
The Perfect Accessory
 Zebra nail art is not just a design, it's a statement accessory that can elevate any outfit. It's perfect for a night out or a special occasion, but it can also add a touch of fun to your everyday look. Plus, it's a great conversation starter and a way to show off your unique style and personality.
In conclusion, black and white zebra nail art is a fun and trendy way to spice up your nail game. With a few simple steps, you can achieve a bold and eye-catching design that is sure to turn heads. So, unleash your wild side and give zebra nail art a try. Who knows, it might just become your new favorite look.
Zebra nail art is not just a design, it's a statement accessory that can elevate any outfit. It's perfect for a night out or a special occasion, but it can also add a touch of fun to your everyday look. Plus, it's a great conversation starter and a way to show off your unique style and personality.
In conclusion, black and white zebra nail art is a fun and trendy way to spice up your nail game. With a few simple steps, you can achieve a bold and eye-catching design that is sure to turn heads. So, unleash your wild side and give zebra nail art a try. Who knows, it might just become your new favorite look.


