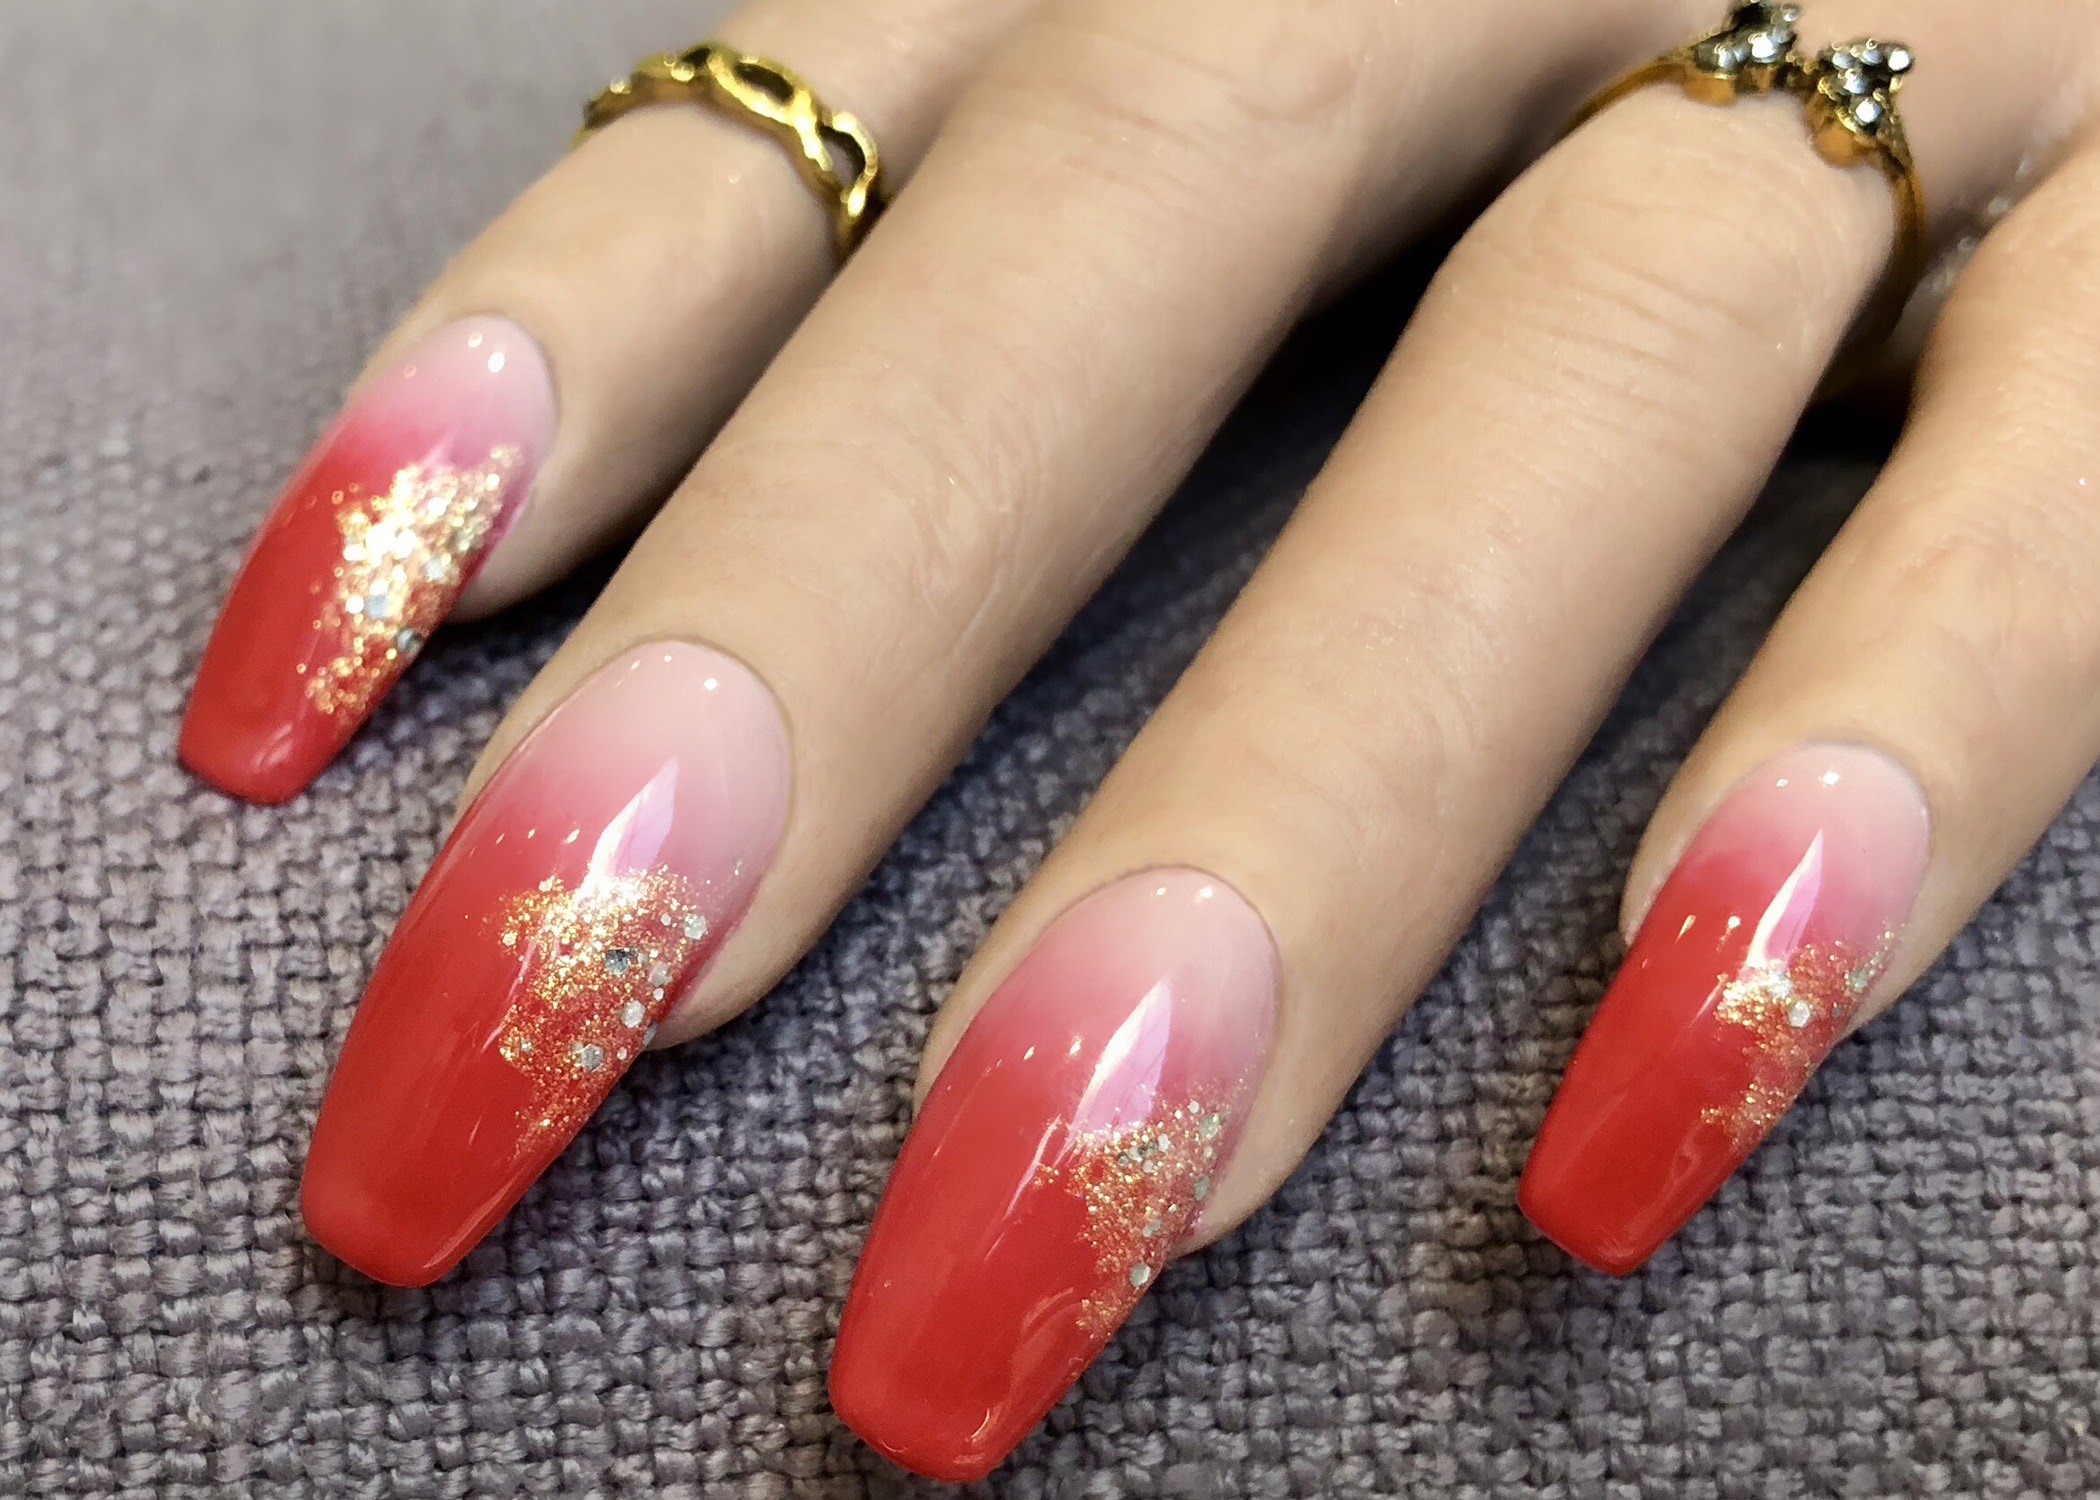
Blue ombre nails are a popular and trendy choice for those looking for a subtle yet stylish nail design. This look involves blending different shades of blue to create a gradient effect on the nails. Follow these simple steps to achieve the perfect blue ombre nails: Step 1: Start by preparing your nails. Remove any old nail polish and shape your nails to your desired length and shape. Step 2: Apply a base coat to protect your nails and help the polish last longer. Step 3: Choose 3-4 shades of blue nail polish that you want to use for your ombre design. You can use lighter and darker shades to create a more dramatic effect. Step 4: Paint each nail with the lightest shade of blue as your base color. Let it dry completely before moving on to the next step. Step 5: Take a makeup sponge and apply a small amount of the second lightest shade of blue to the tip of the sponge. Step 6: Gently dab the sponge onto the middle of your nail, blending it with the base color. You can use a rolling motion to create a smooth gradient effect. Step 7: Repeat this step with the remaining shades of blue, gradually getting darker towards the tip of the nail. Step 8: Once you are satisfied with the gradient, clean up any excess polish around your nails using a brush dipped in nail polish remover. Step 9: Finish off with a layer of top coat to seal in your design and add shine.1. Blue Ombre Nail Art Tutorial


1. Blue Ombre Nail Art Tutorial


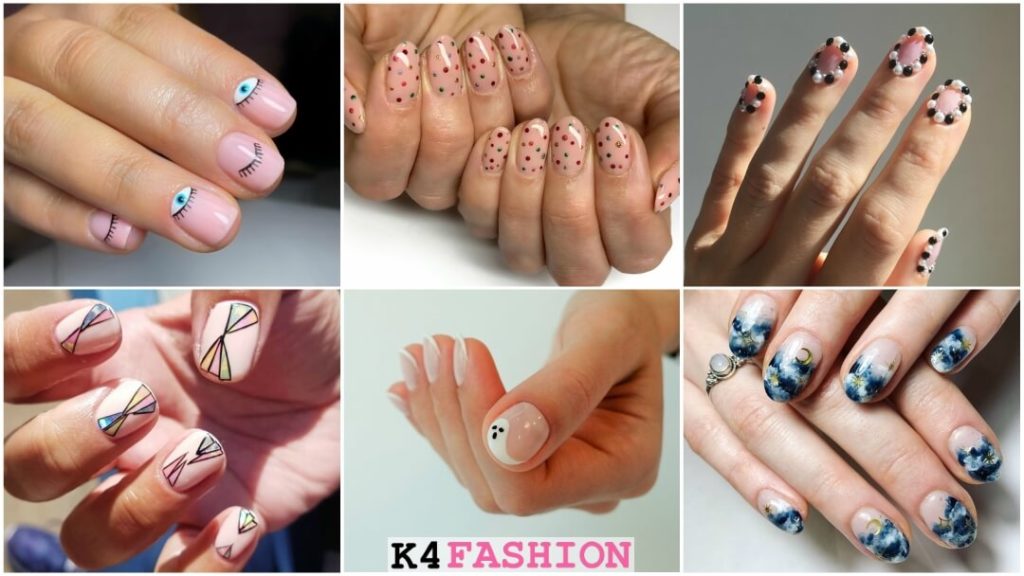
Not everyone has the time or skill to create intricate nail designs, but that doesn't mean you can't have beautiful blue nails. Here are some easy blue nail art designs that even beginners can achieve: 1. Polka Dots: Paint your nails with a light blue base color and use a toothpick or dotting tool to create small dots in a darker shade of blue. You can also use a bobby pin or the end of a pen if you don't have a dotting tool. 2. French Tip: A classic French manicure with a twist. Instead of using white, use a light blue polish for the tip of your nails. 3. Glitter Accent: Paint your nails with a plain blue polish and add a touch of sparkle by using a glitter polish on one nail. You can also create a glitter gradient by applying the polish to the tips of your nails. 4. Stripes: Use striping tape or a thin brush to create stripes on your nails. You can use different shades of blue or combine blue with other colors for a fun look. 5. Floral Design: For a feminine touch, use a light blue base color and add small white flowers using a dotting tool or toothpick. Finish off with a top coat.2. Easy Blue Nail Art Designs for Beginners


2. Easy Blue Nail Art Designs for Beginners


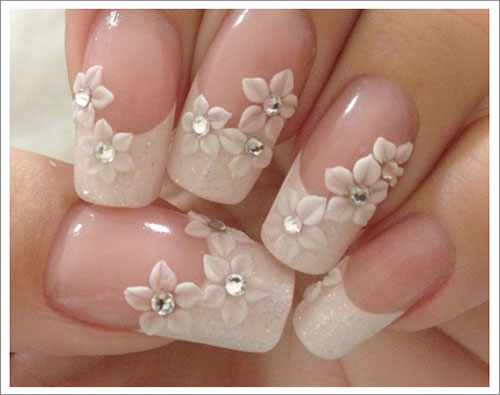
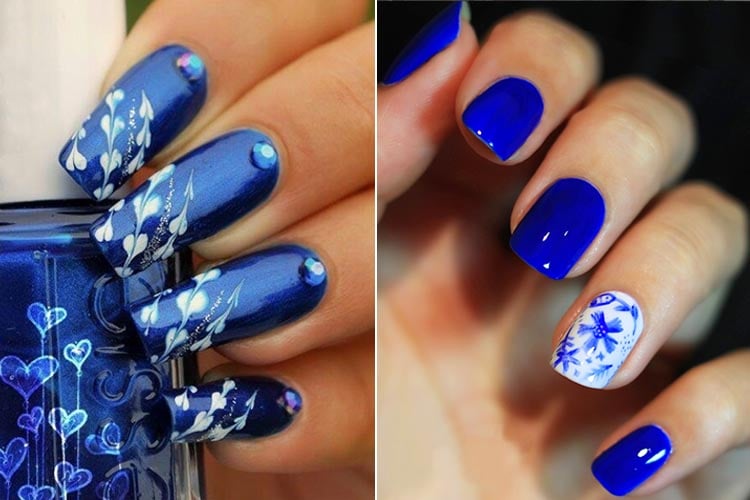
Floral nail art is a great way to add a touch of elegance to your nails. This blue and white floral design is perfect for any occasion and can be achieved in a few simple steps: Step 1: Start by painting your nails with a light blue base color. Let it dry completely. Step 2: Using a thin brush or a toothpick, create small white flowers on each nail. You can also use a dotting tool to create the flower petals. Step 3: Once the flowers are dry, add small dots in the center of each flower using a darker shade of blue. Step 4: Create leaves and vines using a green nail polish. You can also use a small brush or a toothpick for this step. Step 5: Clean up any excess polish around your nails using a brush dipped in nail polish remover. Step 6: Finish off with a layer of top coat to seal in your design and add shine.3. Step by Step Blue and White Floral Nail Art


3. Step by Step Blue and White Floral Nail Art


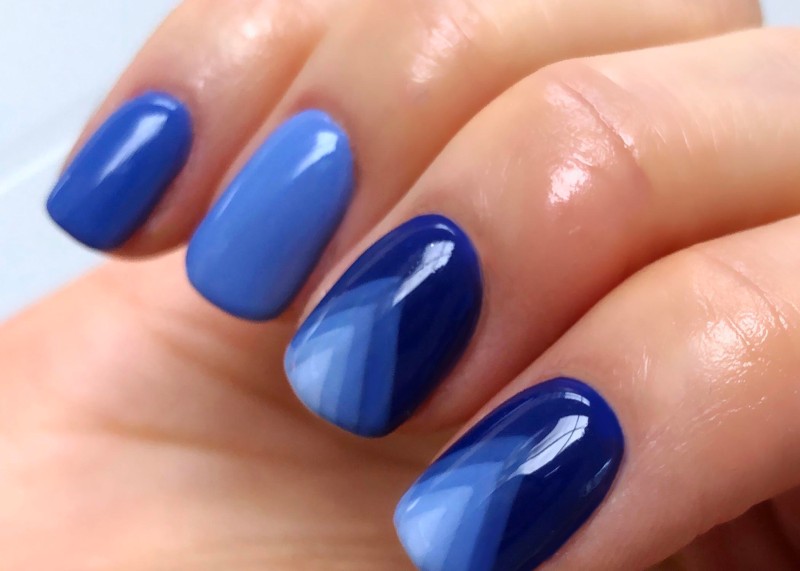
Gradient nails are a fun and easy way to add a pop of color to your nails. This blue gradient nail art is perfect for a summer day or a beach vacation. Follow these steps to achieve the look: Step 1: Start by preparing your nails. Remove any old nail polish and shape your nails to your desired length and shape. Step 2: Apply a base coat to protect your nails and help the polish last longer. Step 3: Choose 3-4 shades of blue nail polish that you want to use for your gradient. You can use lighter and darker shades to create a more dramatic effect. Step 4: Paint each nail with the lightest shade of blue as your base color. Let it dry completely before moving on to the next step. Step 5: Take a makeup sponge and apply a small amount of the second lightest shade of blue to the tip of the sponge. Step 6: Gently dab the sponge onto the middle of your nail, blending it with the base color. You can use a rolling motion to create a smooth gradient effect. Step 7: Repeat this step with the remaining shades of blue, gradually getting darker towards the tip of the nail. Step 8: Once you are satisfied with the gradient, clean up any excess polish around your nails using a brush dipped in nail polish remover. Step 9: Finish off with a layer of top coat to seal in your design and add shine.4. Gradient Blue Nail Art Tutorial


4. Gradient Blue Nail Art Tutorial


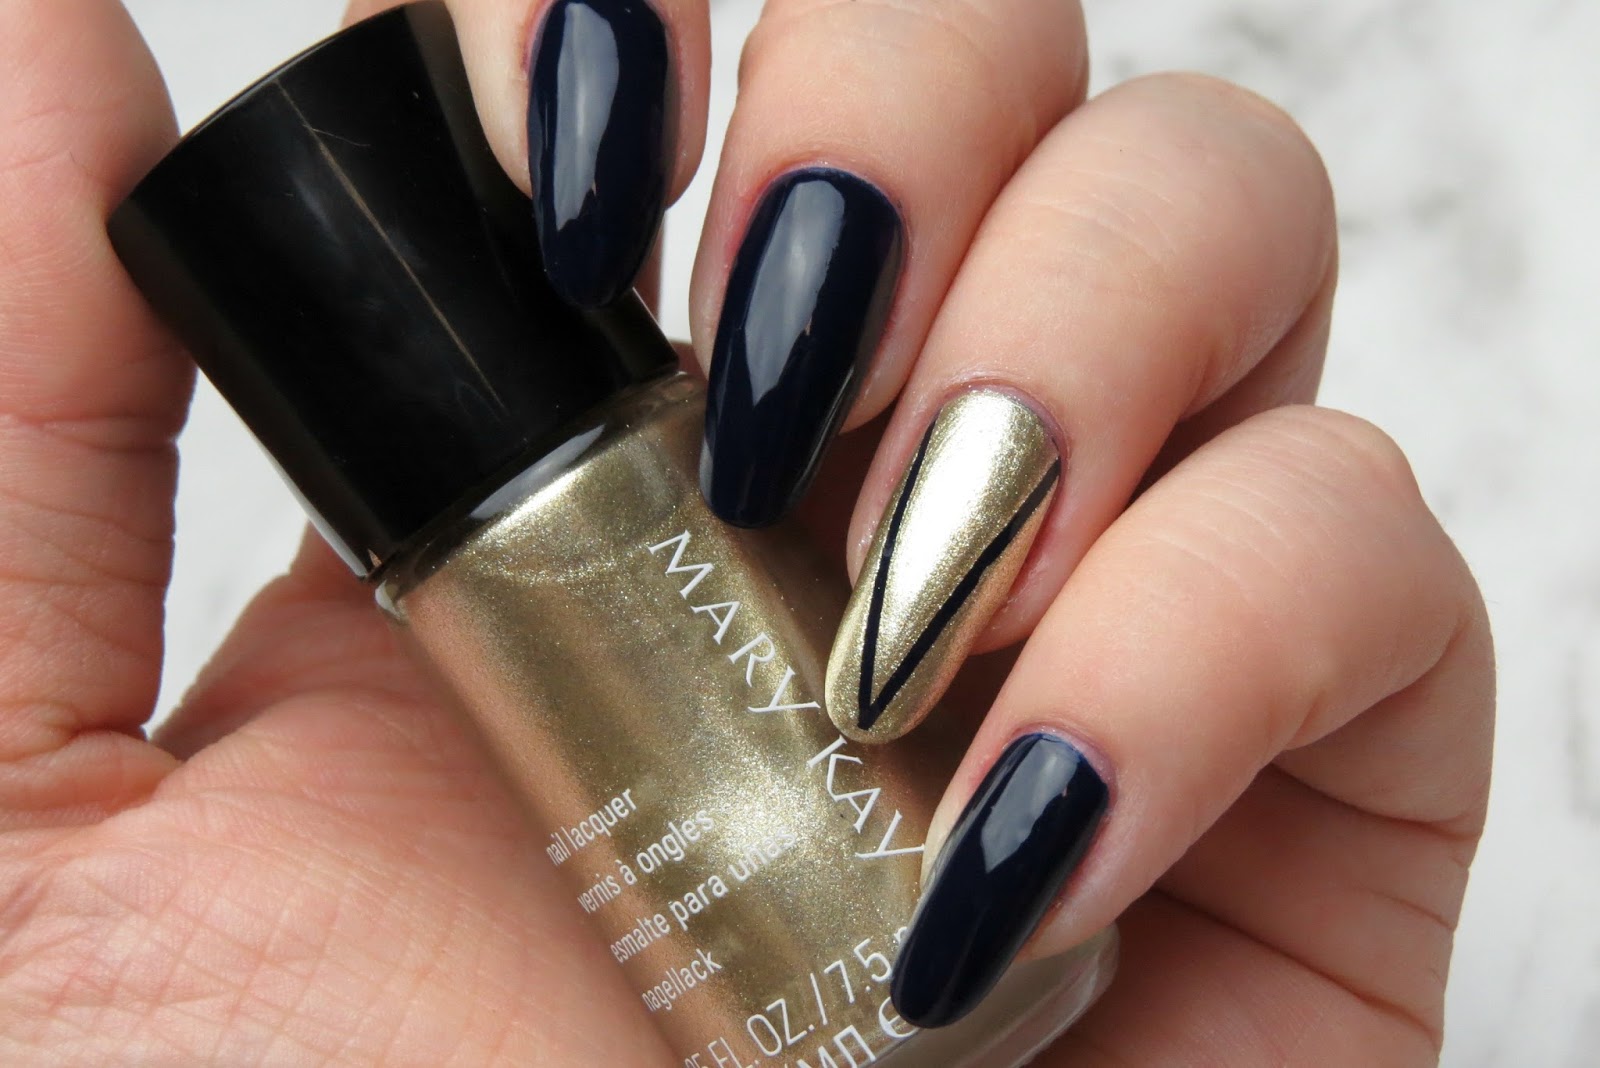
Geometric nail art is a great way to add a modern and edgy touch to your nails. This blue and gold design is perfect for a night out or a special occasion. Follow these steps to achieve the look: Step 1: Start by painting your nails with a light blue base color. Let it dry completely. Step 2: Using a thin brush or a toothpick, create small gold triangles on each nail. You can also use gold nail tape for this step. Step 3: Once the triangles are dry, use a dotting tool or a toothpick to create small dots in between the triangles using the same gold polish. Step 4: Create a diagonal line using a dark blue polish, starting from the top left corner of your nail to the bottom right corner. Step 5: Create a parallel line using the same blue polish, starting from the bottom left corner to the top right corner. Step 6: Clean up any excess polish around your nails using a brush dipped in nail polish remover. Step 7: Finish off with a layer of top coat to seal in your design and add shine.5. Blue and Gold Geometric Nail Art Step by Step


5. Blue and Gold Geometric Nail Art Step by Step


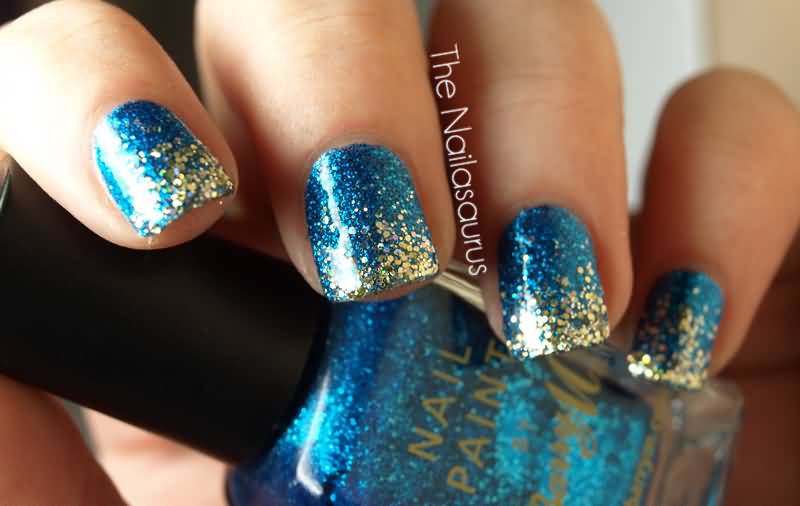
Glitter nail art is a fun and glamorous way to add some sparkle to your nails. This blue and silver glitter design is perfect for a special occasion or a night out. Follow these steps to achieve the look: Step 1: Start by preparing your nails. Remove any old nail polish and shape your nails to your desired length and shape. Step 2: Apply a base coat to protect your nails and help the polish last longer. Step 3: Paint each nail with a light blue base color. Let it dry completely before moving on to the next step. Step 4: Take a makeup sponge and apply a small amount of silver glitter polish to the tip of the sponge. Step 5: Gently dab the sponge onto the middle of your nail, focusing on the tips to create a gradient effect. You can use a rolling motion to evenly distribute the glitter. Step 6: Repeat this step with the remaining nails. Step 7: Once the glitter is dry, clean up any excess polish around your nails using a brush dipped in nail polish remover. Step 8: Finish off with a layer of top coat to seal in your design and add shine.6. Blue and Silver Glitter Nail Art Tutorial


6. Blue and Silver Glitter Nail Art Tutorial


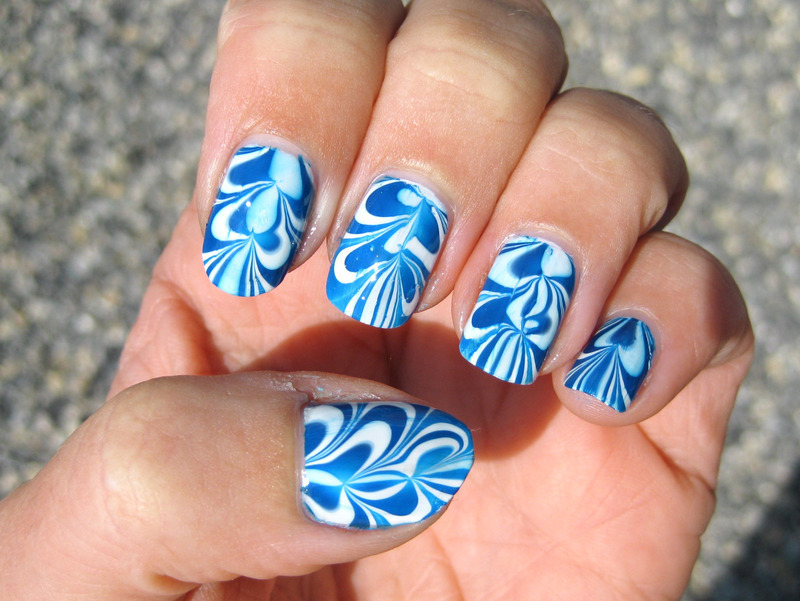
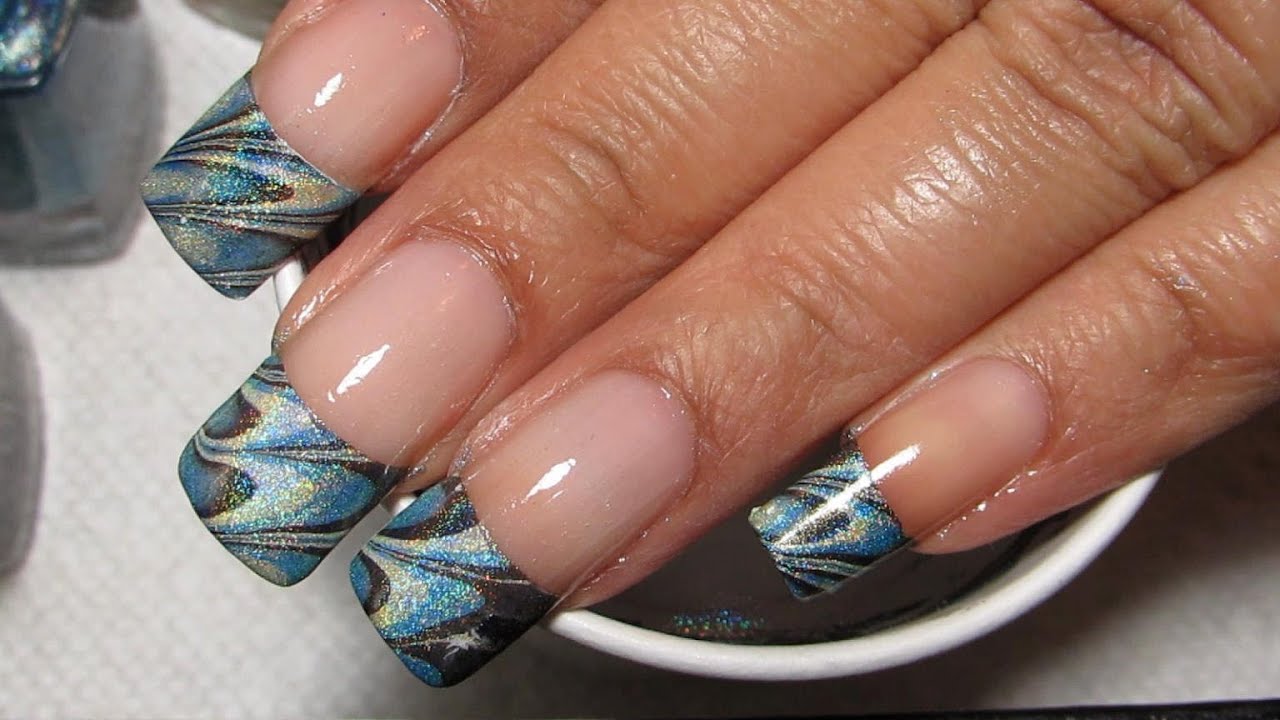
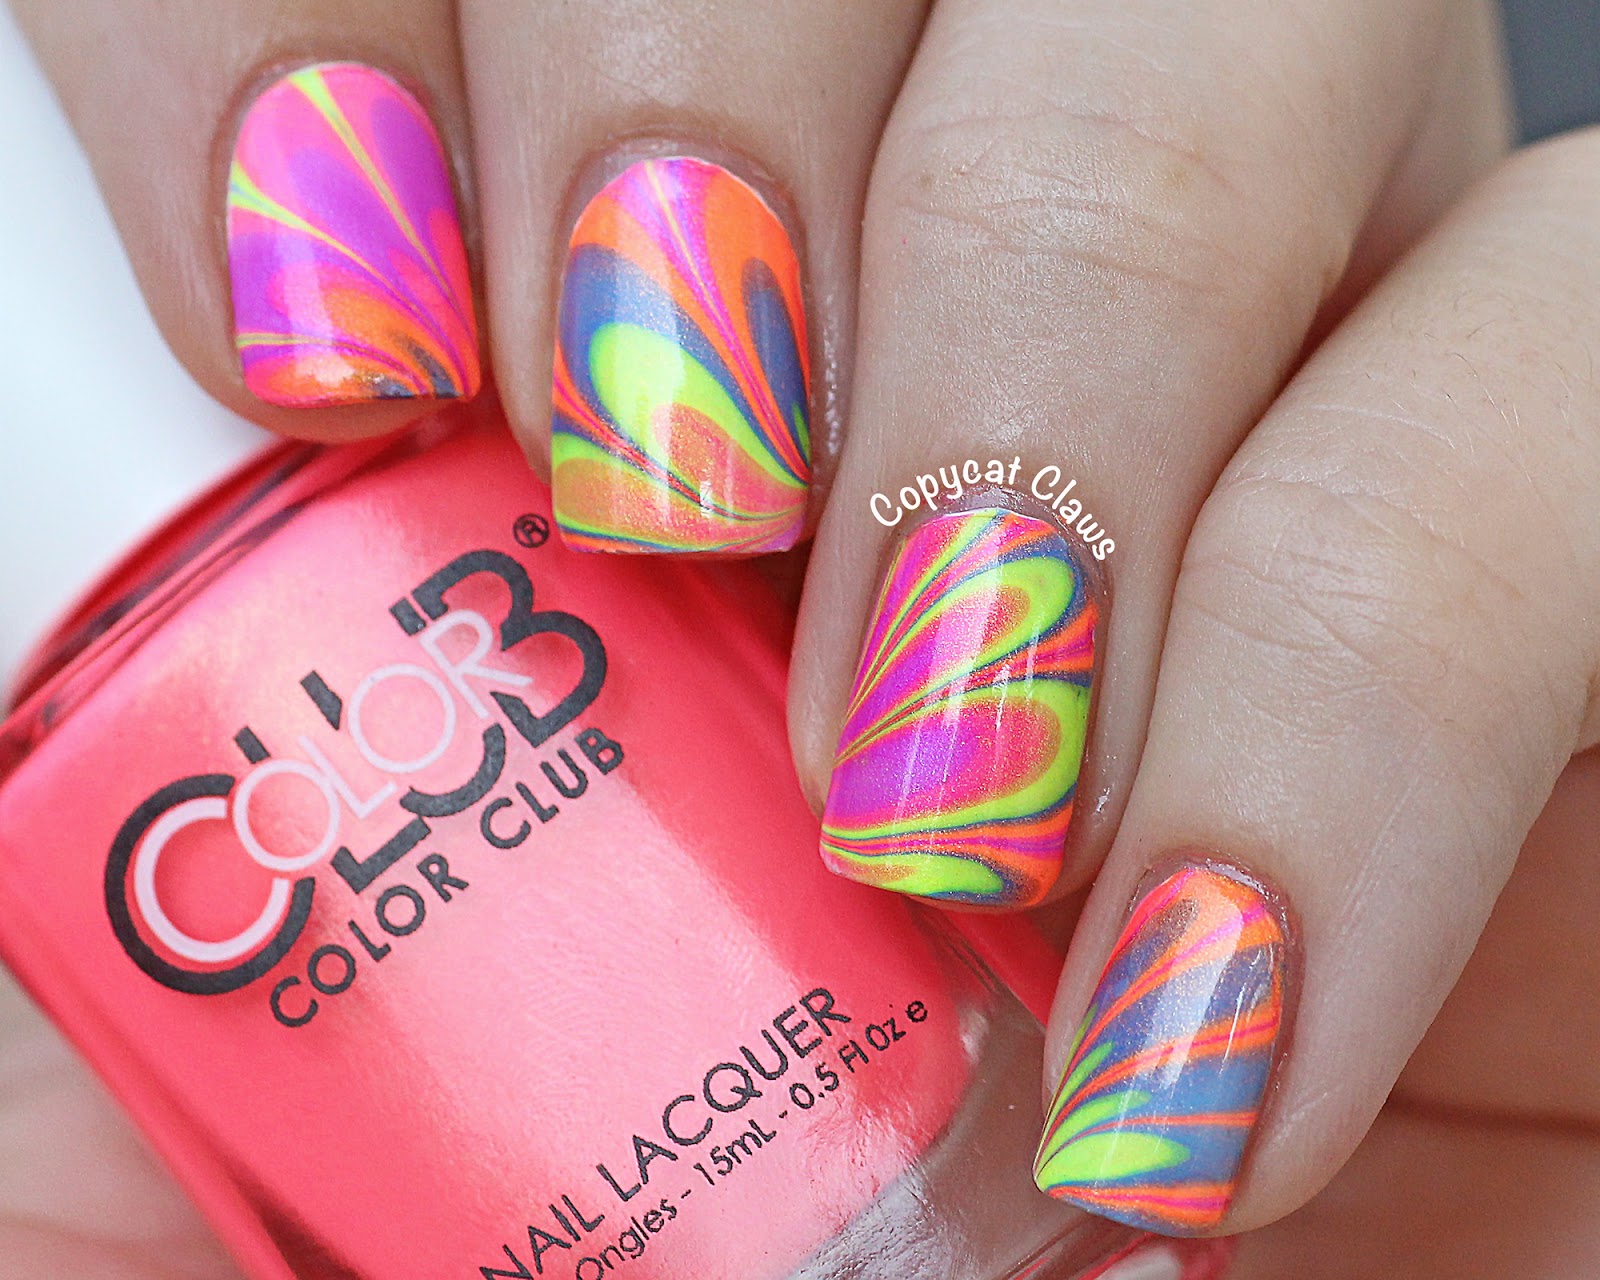
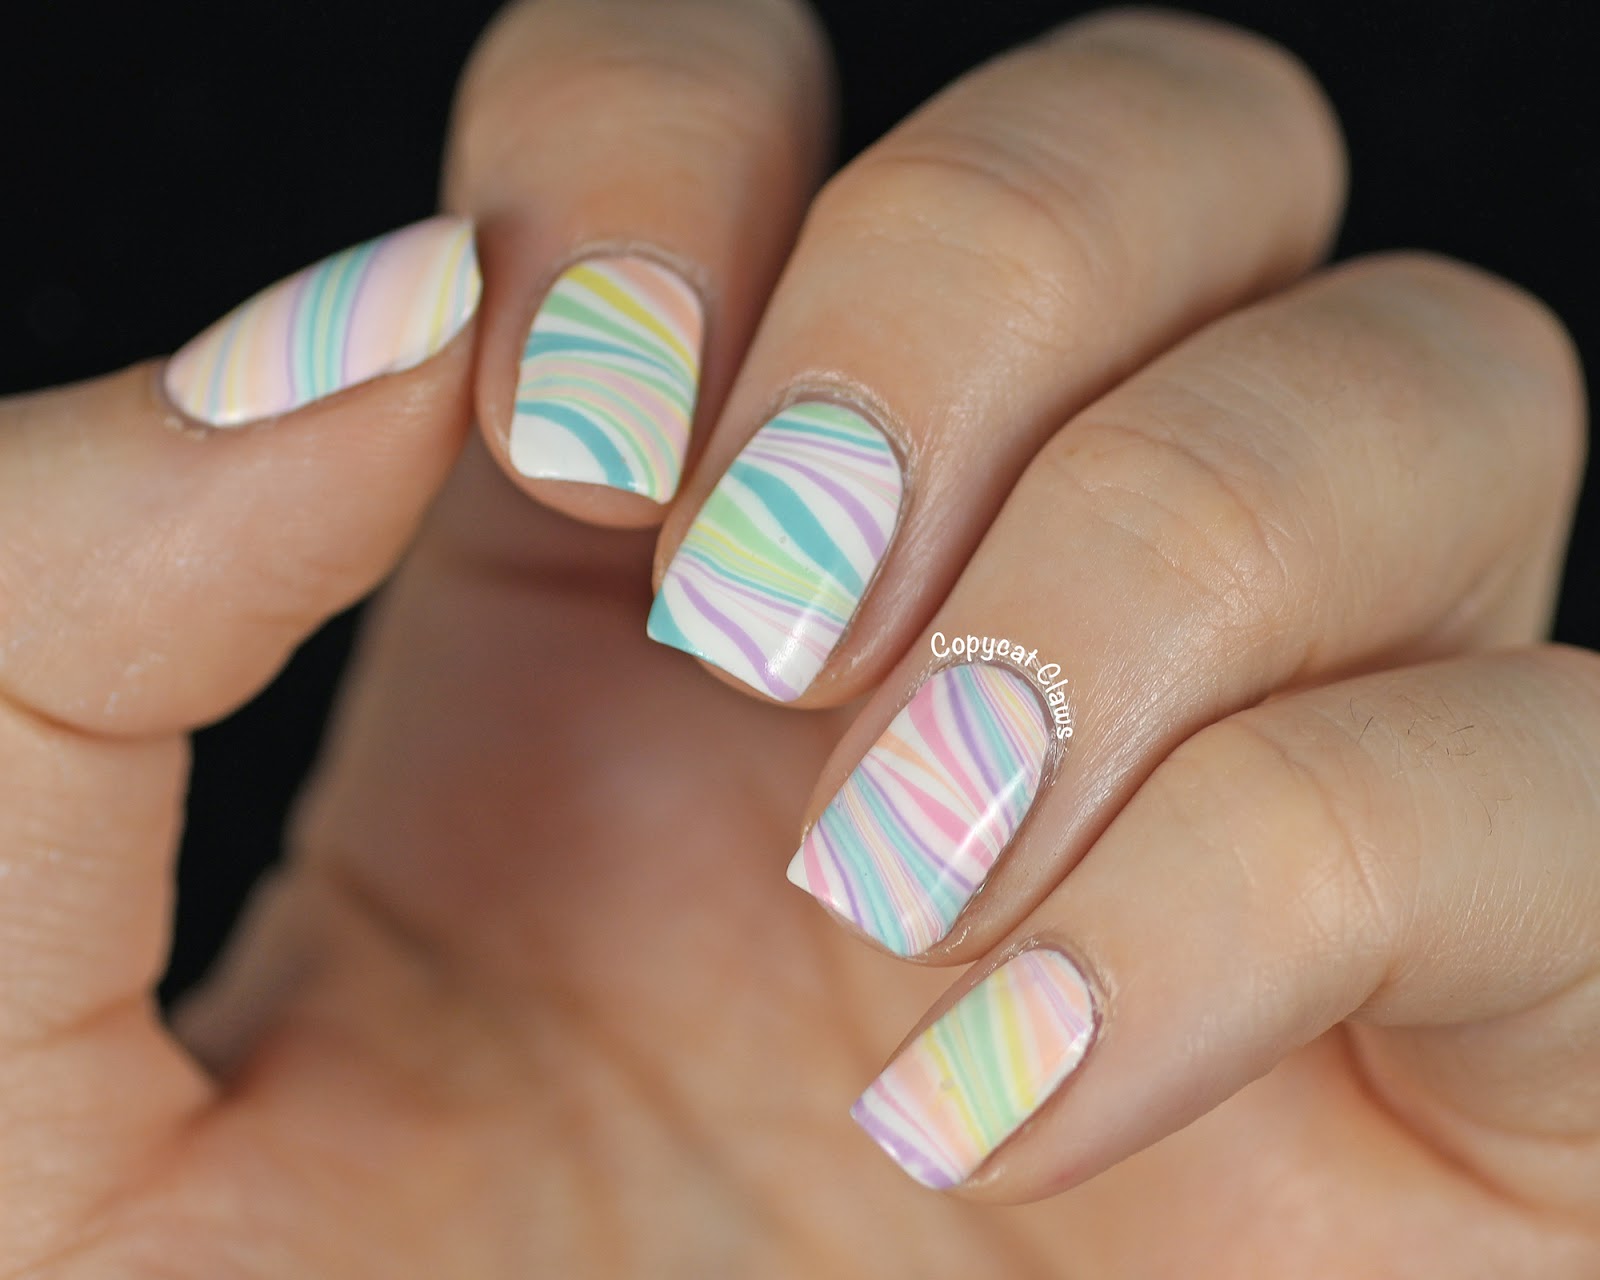
Water marble nail art is a unique and beautiful way to create a marbled effect on your nails. This blue and pink design is perfect for those who want a bold and colorful look. Follow these steps to achieve the look: Step 1: Start by preparing your nails. Remove any old nail polish and shape your nails to your desired length and shape. Step 2: Apply a base coat to protect your nails and help the polish last longer. Step 3: Choose 2-3 shades of blue and pink nail polish that you want to use for your water marble design. Step 4: Fill a cup or small bowl with room temperature water. Step 5: Drop a few drops of each polish into the water, alternating between the colors. Step 6: Use a toothpick or a brush to create a design on the surface of the water. Step 7: Dip your finger into the water, making sure to submerge it completely to pick up the design. Step 8: Clean up any excess polish around your finger using a brush dipped in nail polish remover. Step 9: Finish off with a layer of top coat to seal in your design and add shine.7. Blue and Pink Water Marble Nail Art Step by Step


7. Blue and Pink Water Marble Nail Art Step by Step


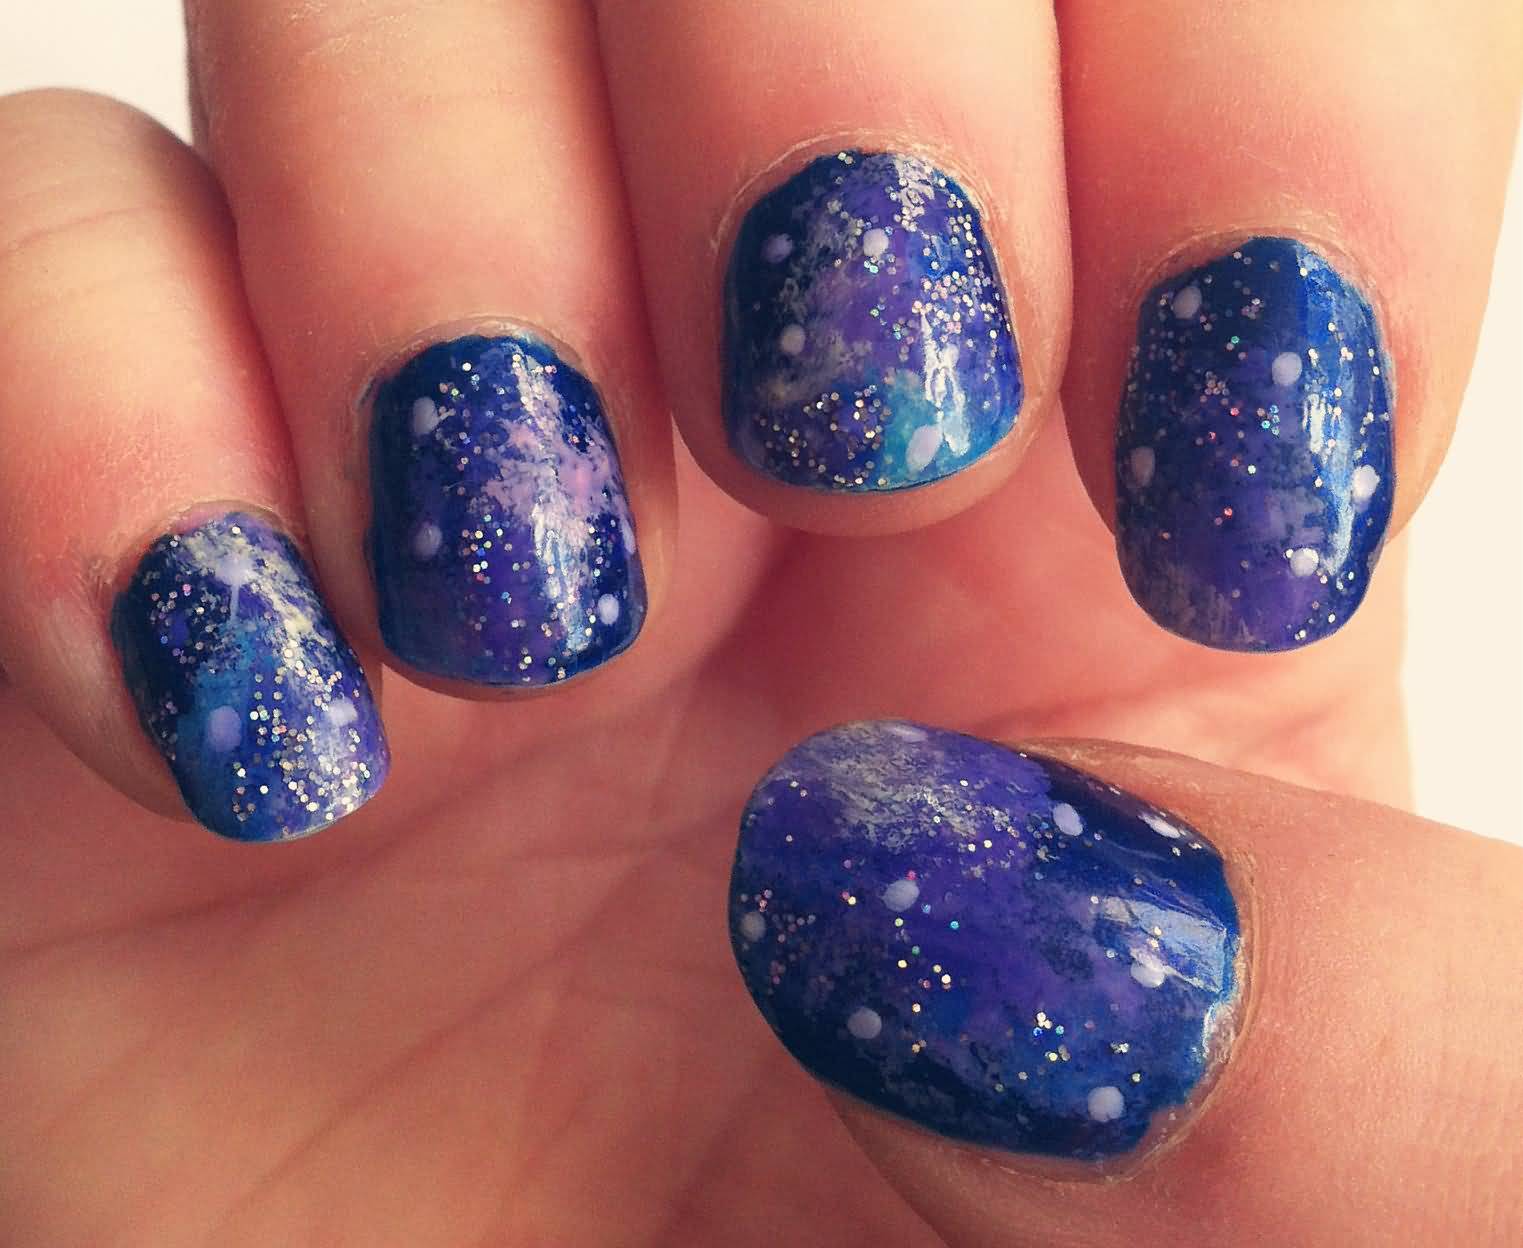
Galaxy nail art is a popular and eye-catching design that is perfect for those who love a little sparkle. This blue and purple galaxy design is easy to achieve and will make your nails look out of this world. Follow these steps to achieve the look: Step 1: Start by painting your nails with a dark blue base color. Let it dry completely. Step 2: Use a makeup sponge to apply a small amount of purple polish onto the middle of your nail. Dab the sponge onto your nail to create a cloudy effect. Step 3: Repeat this step with a lighter shade of purple and a lighter shade of blue. Step 4: Use a small brush or a toothpick to create small white dots on your nails to represent stars. Step 5: Add a touch of silver or gold glitter to your nails using a small brush or a toothpick. Step 6: Clean up any excess polish around your nails using a brush dipped in nail polish remover. Step 7: Finish off with a layer of top coat to seal in your design and add shine.8. Blue and Purple Galaxy Nail Art Tutorial


8. Blue and Purple Galaxy Nail Art Tutorial


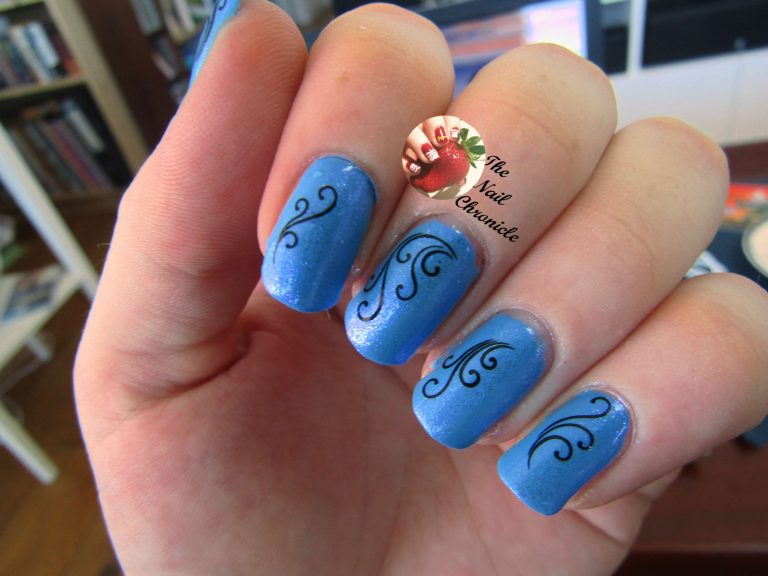
Striped nails are a timeless and classic design that is perfect for any occasion. This blue and white striped design is elegant and easy to achieve. Follow these steps to achieve the look: Step 1: Start by preparing your nails. Remove any old nail polish and shape your nails to your desired length and shape. Step 2: Apply a base coat to protect your nails and help the polish last longer. Step 3: Paint your nails with a light blue base color. Let it dry completely. Step 4: Use striping tape or a thin brush to create stripes on your nails using a white polish. You can create horizontal, vertical, or diagonal stripes depending on your preference. Step 5: Once the stripes are dry, carefully peel off the tape or clean up any excess polish using a brush dipped in nail polish remover. Step 6: Finish off with a layer of top coat to seal in your design and add shine.9. Blue and White Striped Nail Art Step by Step


9. Blue and White Striped Nail Art Step by Step


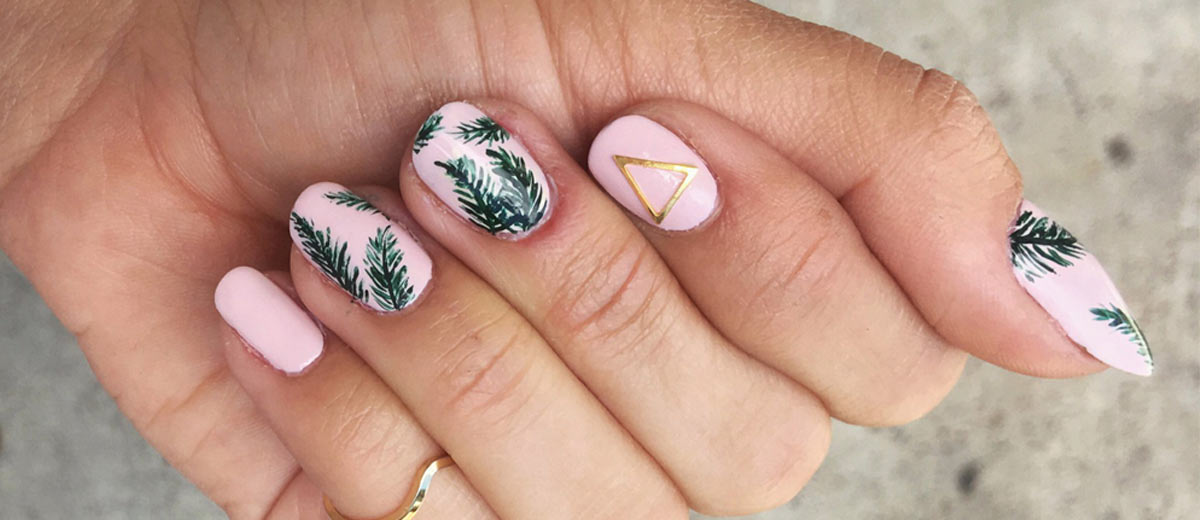
Tropical nail art is perfect for those who love a bright and colorful look. This blue and green tropical design is perfect for the summer and will make you feel like you're on a tropical vacation. Follow these steps to achieve the look: Step 1: Start by painting your nails with a light blue base color. Let it dry completely. Step 2: Use a makeup sponge to create a gradient effect on your nails using a darker shade of blue. Step 3: Using a toothpick or a small brush, create palm tree leaves on your nails using a green polish. Step 4: Add a touch of gold or silver glitter to your nails using a small brush or a toothpick. Step 5: Clean up any excess polish around your nails using a brush dipped in nail polish remover. Step 6: Finish off with a layer of top coat to seal in your design and add shine.10. Blue and Green Tropical Nail Art Tutorial


10. Blue and Green Tropical Nail Art Tutorial


Creating a Stunning Look with Blue Nail Art

Step-by-Step Guide to Achieving the Perfect Blue Nails
 When it comes to nail art, the color blue is often overlooked. However, with its wide range of shades and versatility, blue can make for a stunning and unique nail design. With the right techniques and tools, you can create a beautiful blue nail art look that will make a statement and elevate your overall style.
Step 1: Prepare Your Nails
Before you begin, it is important to properly prepare your nails. This includes removing any old polish and trimming and filing your nails to your desired shape. If you have cuticles, gently push them back before using a cuticle trimmer to clean up any excess skin. This will ensure a smooth and clean surface for your blue nail art.
Step 2: Apply a Base Coat
Applying a base coat is essential for protecting your nails from potential staining and creating a smooth base for your blue polish. This will also help your nail art last longer. Choose a clear or light-colored base coat to avoid altering the color of your blue polish.
Step 3: Choose Your Blue Shades
There are countless shades of blue to choose from, so get creative and mix and match different shades to create a unique look. For a classic blue nail art, opt for a royal blue or navy shade. For a more fun and playful look, consider using pastel shades or incorporating glitter or metallic polishes.
Step 4: Get Creative with Designs
Now comes the fun part – creating your blue nail art design. There are endless possibilities, from simple polka dots to intricate patterns. You can use nail art brushes, toothpicks, or even household items like bobby pins or tape to achieve different designs. Don't be afraid to experiment and let your creativity flow.
Step 5: Seal with a Top Coat
Once you have achieved your desired blue nail art look, it is important to seal it with a top coat. This will add shine and protect your design from chipping. Make sure to wait for your design to completely dry before applying the top coat to avoid smudging.
Step 6: Clean Up
After your top coat has dried, use a small brush dipped in nail polish remover to clean up any excess polish around your nails. This will give your blue nail art a polished and professional finish.
In just a few simple steps, you can create a stunning blue nail art look that will turn heads and showcase your unique style. So next time you want to add a pop of color to your nails, don't forget to give blue a chance. With its endless possibilities and beautiful shades, blue nail art is sure to become your new favorite trend.
When it comes to nail art, the color blue is often overlooked. However, with its wide range of shades and versatility, blue can make for a stunning and unique nail design. With the right techniques and tools, you can create a beautiful blue nail art look that will make a statement and elevate your overall style.
Step 1: Prepare Your Nails
Before you begin, it is important to properly prepare your nails. This includes removing any old polish and trimming and filing your nails to your desired shape. If you have cuticles, gently push them back before using a cuticle trimmer to clean up any excess skin. This will ensure a smooth and clean surface for your blue nail art.
Step 2: Apply a Base Coat
Applying a base coat is essential for protecting your nails from potential staining and creating a smooth base for your blue polish. This will also help your nail art last longer. Choose a clear or light-colored base coat to avoid altering the color of your blue polish.
Step 3: Choose Your Blue Shades
There are countless shades of blue to choose from, so get creative and mix and match different shades to create a unique look. For a classic blue nail art, opt for a royal blue or navy shade. For a more fun and playful look, consider using pastel shades or incorporating glitter or metallic polishes.
Step 4: Get Creative with Designs
Now comes the fun part – creating your blue nail art design. There are endless possibilities, from simple polka dots to intricate patterns. You can use nail art brushes, toothpicks, or even household items like bobby pins or tape to achieve different designs. Don't be afraid to experiment and let your creativity flow.
Step 5: Seal with a Top Coat
Once you have achieved your desired blue nail art look, it is important to seal it with a top coat. This will add shine and protect your design from chipping. Make sure to wait for your design to completely dry before applying the top coat to avoid smudging.
Step 6: Clean Up
After your top coat has dried, use a small brush dipped in nail polish remover to clean up any excess polish around your nails. This will give your blue nail art a polished and professional finish.
In just a few simple steps, you can create a stunning blue nail art look that will turn heads and showcase your unique style. So next time you want to add a pop of color to your nails, don't forget to give blue a chance. With its endless possibilities and beautiful shades, blue nail art is sure to become your new favorite trend.
Conclusion
 In conclusion, blue nail art is a fun and creative way to elevate your nail game. With a few simple steps, you can achieve a stunning and unique blue nail art look. So go ahead and try out this trend and make a bold statement with your nails.


