If you're a bride-to-be who wants to have stunning nails on your special day but don't have much experience with nail art, don't worry! This easy bridal nail art tutorial is perfect for beginners. With just a few simple steps, you can achieve a beautiful and elegant manicure that will complement your bridal look perfectly. In this tutorial, we will guide you through the process of creating a soft and romantic bridal nail art design using pastel shades and delicate floral accents. So grab your nail polish, dotting tool, and top coat, and let's get started!1. "Easy Bridal Nail Art Tutorial for Beginners"


1. "Easy Bridal Nail Art Tutorial for Beginners"


If you're someone who likes to follow a step-by-step guide, then this bridal nail art tutorial is for you. We will break down the process into easy-to-follow steps so you can recreate this elegant and timeless design with ease. Step 1: Start by applying a base coat to protect your nails and create a smooth canvas for your nail polish. Let it dry completely. Step 2: For the base color, choose a soft pink or nude shade that will give your nails a subtle and feminine look. Apply two coats for an even and opaque finish. Step 3: Once the base color is dry, use a white nail polish and a small dotting tool to create tiny dots on your nails. This will add a delicate and romantic touch to your design. Step 4: Next, take a light pink nail polish and create small flower shapes using the dotting tool. You can also use a toothpick or a thin brush for this step. The flowers don't have to be perfect, as they will add a hand-painted and whimsical look to your design. Step 5: For the final touch, use a clear top coat to seal in your design and add shine and longevity. This will also help to smooth out any bumps and give your nails a professional finish.2. "Step-by-Step Bridal Nail Art Tutorial"


2. "Step-by-Step Bridal Nail Art Tutorial"
For the bride who wants a sophisticated and refined nail art design, this tutorial is for you. It incorporates subtle shimmer and delicate lace patterns for an elegant and timeless look. Step 1: Start by applying a base coat to protect your nails and create a smooth base for your nail polish. Step 2: For the base color, choose a soft peach or champagne shade that will give your nails a subtle and glamorous look. Apply two coats for an even and opaque finish. Step 3: Using a thin brush or a striper brush, create vertical lines on your nails using a silver or gold glitter nail polish. This will add a touch of sparkle and sophistication to your design. Step 4: Next, use a white nail polish and a small dotting tool to create lace patterns on your nails. You can also use a lace stencil if you're not confident in your freehand skills. Step 5: Finish off with a clear top coat to seal in your design and add shine.3. "Elegant Bridal Nail Art Tutorial"

3. "Elegant Bridal Nail Art Tutorial"


If you're on a budget or enjoy doing your own nails, this DIY bridal nail art tutorial is perfect for you. It's simple and easy to recreate, yet it will give your nails a chic and sophisticated look that will surely impress. Step 1: Start by applying a base coat to protect your nails and create a smooth base for your nail polish. Step 2: For the base color, choose a light pink or nude shade that will give your nails a subtle and feminine look. Apply two coats for an even and opaque finish. Step 3: Using a thin brush or a striper brush, create diagonal lines on your nails using a white nail polish. This will give your design a modern and minimalist look. Step 4: Next, take a silver or gold glitter nail polish and create small dots along the white lines. This will add a touch of glamour and sparkle to your design. Step 5: Finish off with a clear top coat to seal in your design and add shine.4. "DIY Bridal Nail Art Tutorial"

4. "DIY Bridal Nail Art Tutorial"

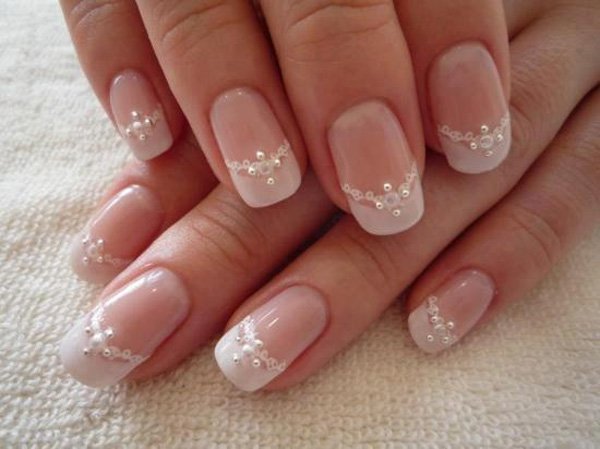
For the bride who wants to add some glam and bling to her nail art, this tutorial is perfect. It incorporates sparkly rhinestones for a luxurious and eye-catching manicure. Step 1: Start by applying a base coat to protect your nails and create a smooth base for your nail polish. Step 2: For the base color, choose a soft pink or nude shade that will give your nails a subtle and feminine look. Apply two coats for an even and opaque finish. Step 3: Using a thin brush or a striper brush, create diagonal lines on your nails using a silver or gold glitter nail polish. This will add a touch of sparkle and glamour to your design. Step 4: Next, take a clear nail polish and use it as a glue for the rhinestones. Place the rhinestones along the glitter lines or create a cluster of rhinestones on one nail for a statement look. Step 5: Finish off with a clear top coat to seal in your design and add shine.5. "Bridal Nail Art Tutorial with Rhinestones"

5. "Bridal Nail Art Tutorial with Rhinestones"


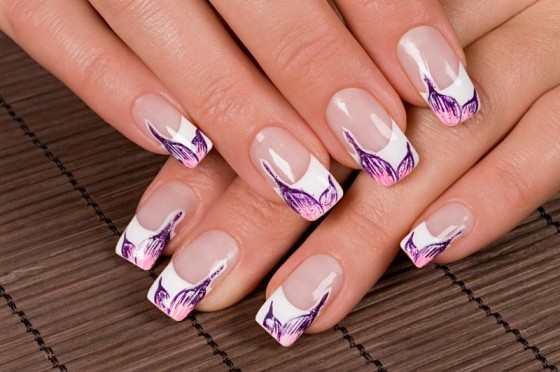
The French manicure is a classic and timeless nail art design that is perfect for brides. In this tutorial, we will show you how to create a feminine and modern twist on the traditional French manicure for your wedding day. Step 1: Start by applying a base coat to protect your nails and create a smooth base for your nail polish. Step 2: For the base color, choose a soft pink or nude shade that will give your nails a subtle and feminine look. Apply two coats for an even and opaque finish. Step 3: Using a white nail polish, create a thin diagonal line across the tip of your nails. This will serve as the base for your French manicure. Step 4: Next, take a light pink nail polish and create a thin diagonal line just below the white line. This will add a soft and delicate touch to your French manicure. Step 5: Finish off with a clear top coat to seal in your design and add shine.6. "Bridal French Manicure Nail Art Tutorial"


6. "Bridal French Manicure Nail Art Tutorial"


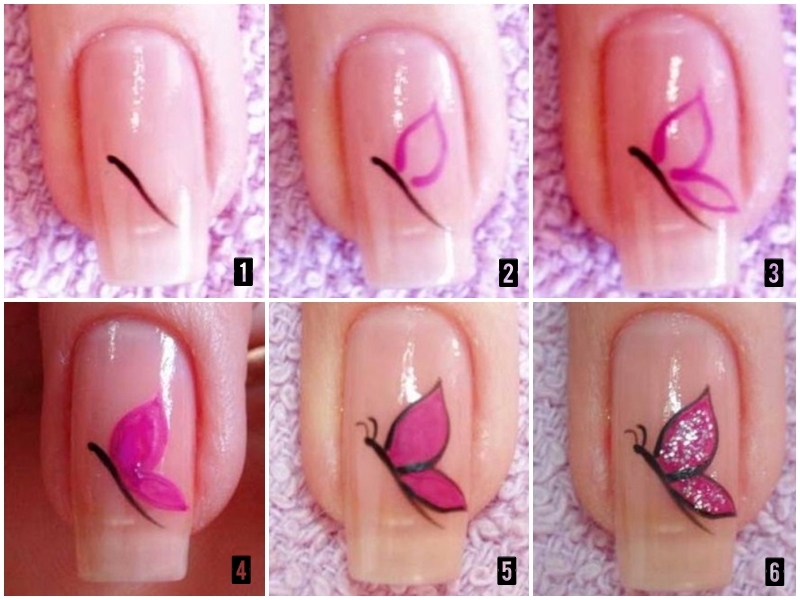
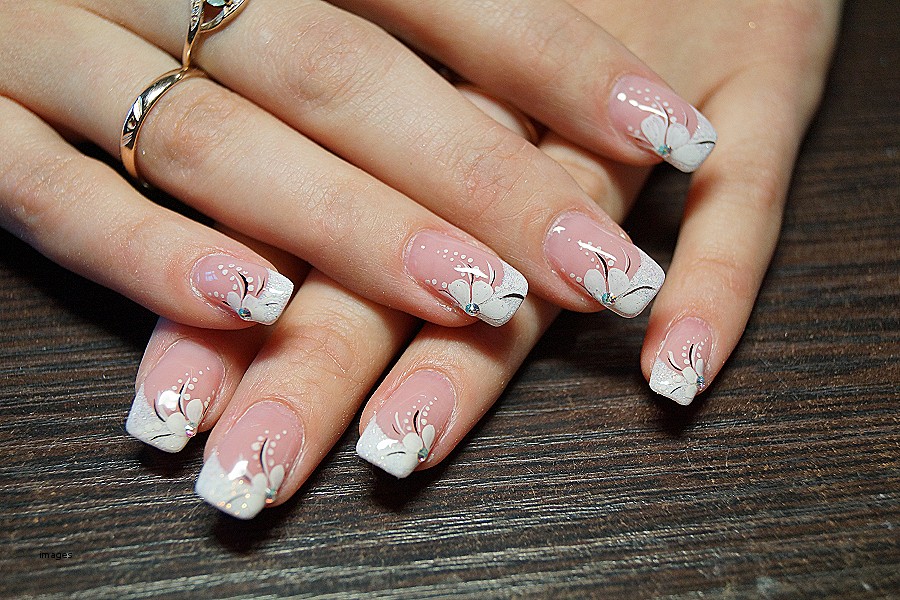
For the bride who wants to incorporate romantic and feminine elements into her nail art, this floral nail art tutorial is perfect. It's delicate and whimsical and will add a touch of nature to your wedding day look. Step 1: Start by applying a base coat to protect your nails and create a smooth base for your nail polish. Step 2: For the base color, choose a soft pink or nude shade that will give your nails a subtle and feminine look. Apply two coats for an even and opaque finish. Step 3: Using a thin brush or a striper brush, create vertical lines on your nails using a light green nail polish. This will create the stem of your flowers. Step 4: Next, take a small dotting tool and create flower shapes using a white nail polish. You can also use different colors for the flowers, such as pink, yellow, or purple, for a colorful and playful look. Step 5: Finish off with a clear top coat to seal in your design and add shine.7. "Bridal Floral Nail Art Tutorial"

7. "Bridal Floral Nail Art Tutorial"


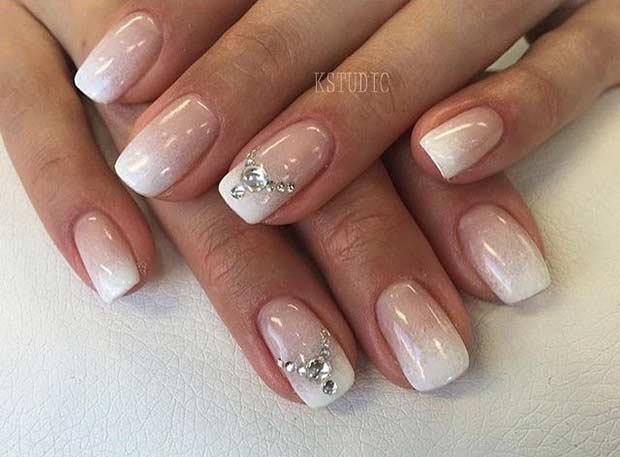
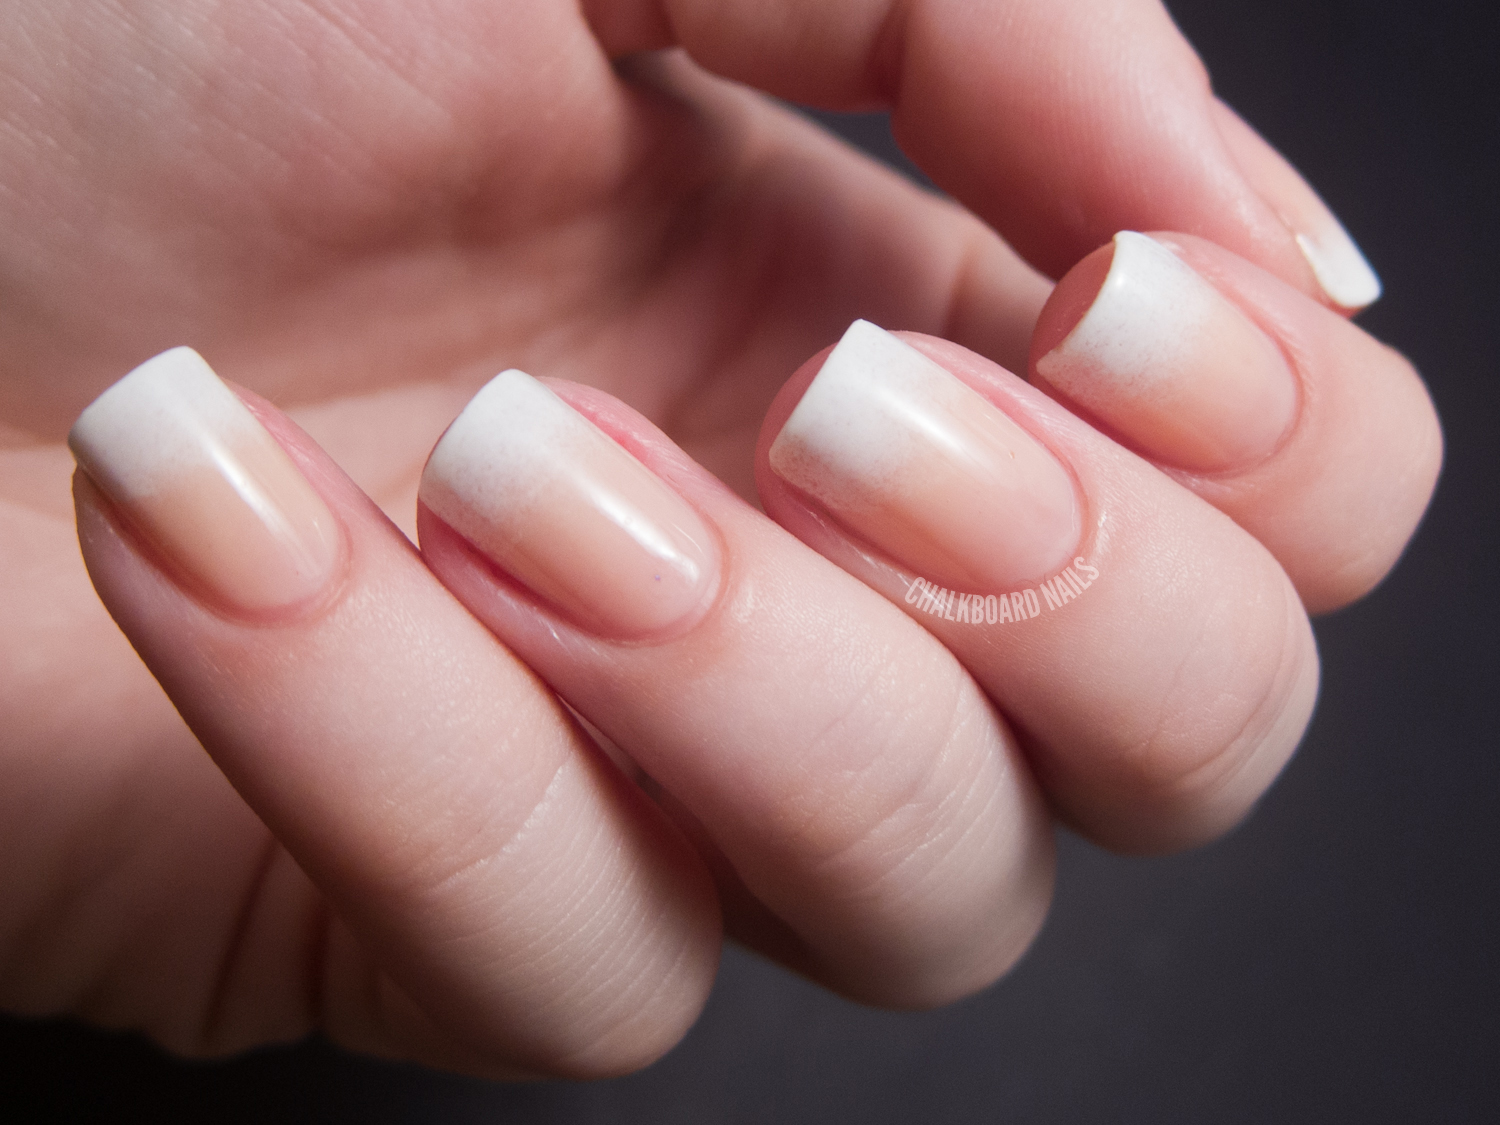
The ombre trend has been popular for a while now, and it's not going away anytime soon. This bridal ombre nail art tutorial will show you how to achieve a subtle and sophisticated gradient look for your wedding day. Step 1: Start by applying a base coat to protect your nails and create a smooth base for your nail polish. Step 2: For the base color, choose a soft pink or nude shade that will give your nails a subtle and feminine look. Apply two coats for an even and opaque finish. Step 3: Next, take a light pink nail polish and apply it to the bottom half of your nails, creating a horizontal line across the center. Step 4: Using a makeup sponge, dab it onto the light pink nail polish on your nails to create a gradient effect. You may need to do this step a few times to achieve the desired level of opacity and blend. Step 5: Finish off with a clear top coat to seal in your design and add shine.8. "Bridal Ombre Nail Art Tutorial"


8. "Bridal Ombre Nail Art Tutorial"


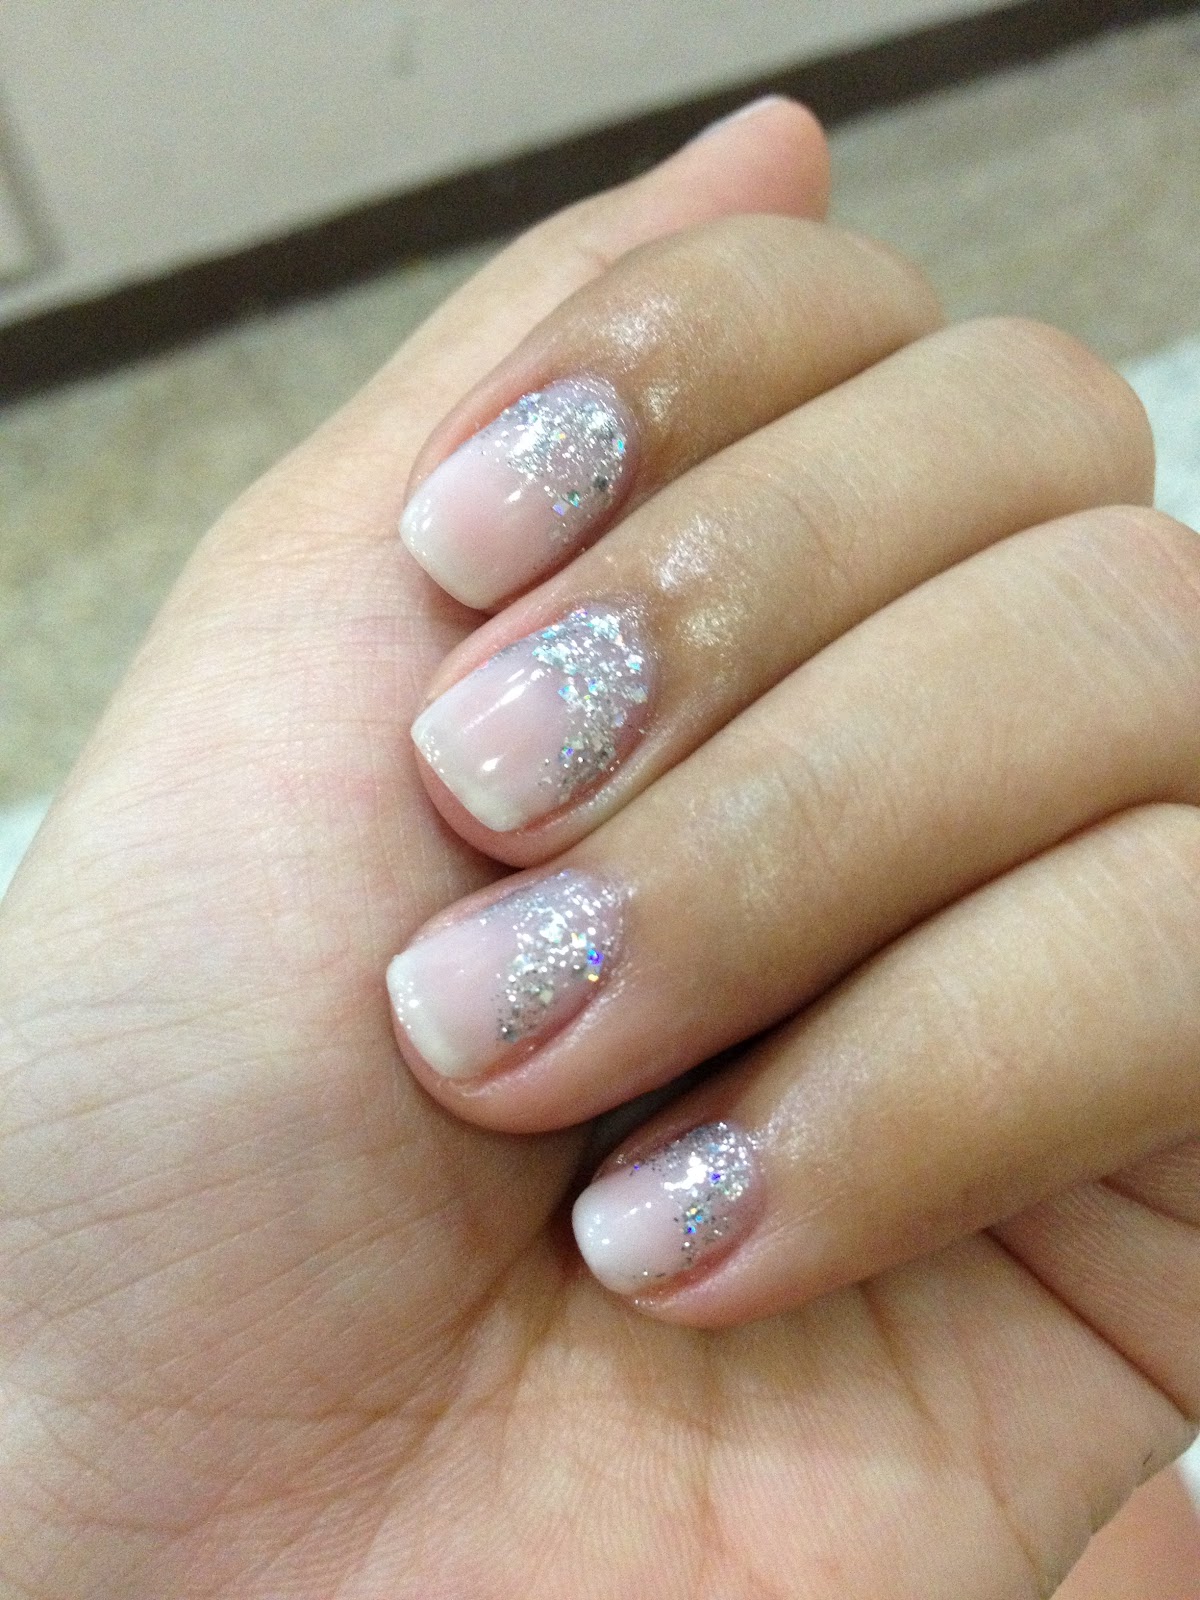
If you're a bride who loves glitter and sparkle, then this tutorial is for you. It's simple yet will add a touch of glamour and pizzazz to your bridal look. Step 1: Start by applying a base coat to protect your nails and create a smooth base for your nail polish. Step 2: For the base color, choose a soft pink or nude shade that will give your nails a subtle and feminine look. Apply two coats for an even and opaque finish. Step 3: Using a clear nail polish, create a thin diagonal line across the tip of your nails. This will serve as the base for your glitter. Step 4: Next, take a glitter nail polish and apply it to the tip of your nails. You can also use a makeup sponge to dab on the glitter for a more concentrated and sparkly look. Step 5: Finish off with a clear top coat to seal in your design and add shine.9. "Bridal Glitter Nail Art Tutorial"


9. "Bridal Glitter Nail Art Tutorial"
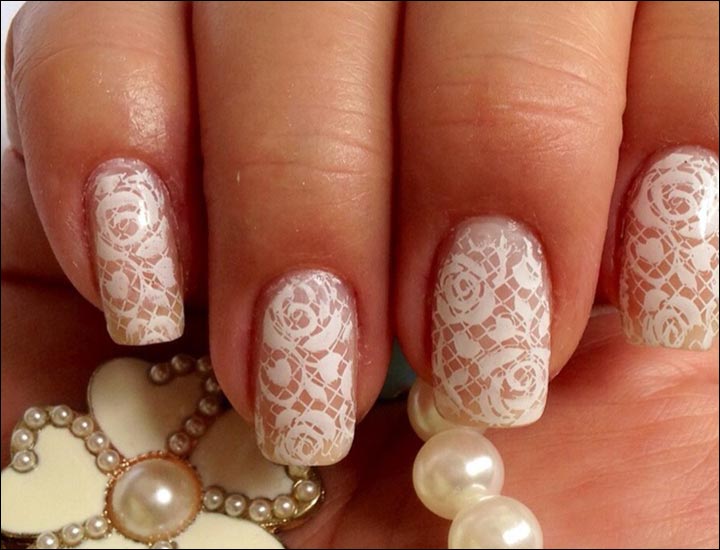
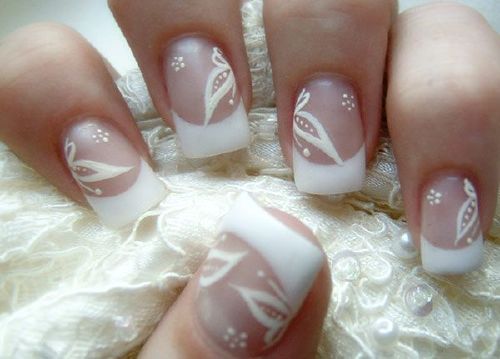
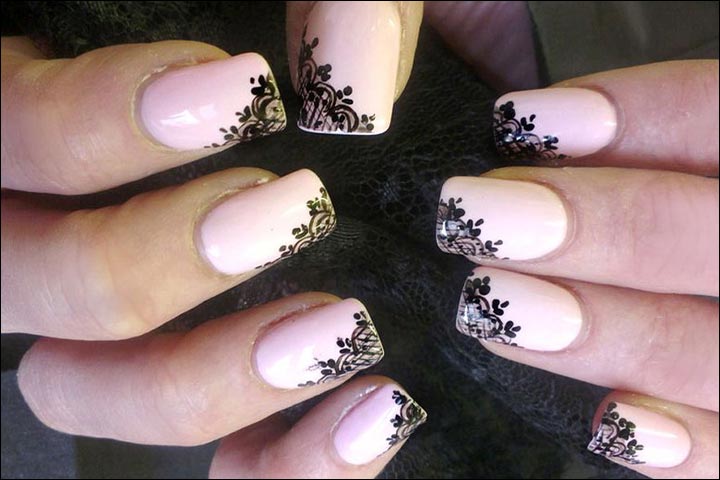
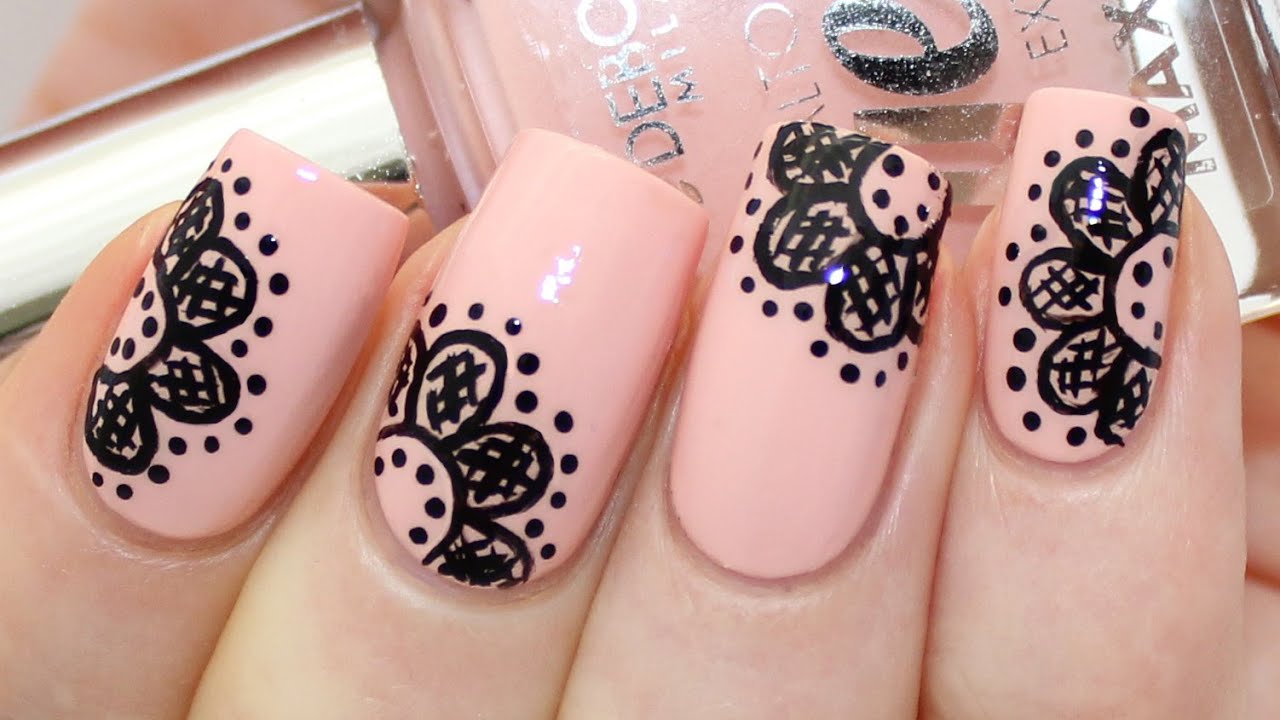
Last but not least, we have a lace-inspired nail art tutorial that is perfect for the bride who loves vintage and feminine designs. It's intricate yet easy to recreate, with just a few simple steps. Step 1: Start by applying a base coat to protect your nails and create a smooth base for your nail polish. Step 2: For the base color, choose a soft pink or nude shade that will give your nails a subtle and feminine look. Apply two coats for an even and opaque finish. Step 3: Using a thin brush or a striper brush, create diagonal lines on your nails using a white nail polish. This will serve as the base for your lace pattern.10. "Bridal Lace Nail Art Tutorial"


10. "Bridal Lace Nail Art Tutorial"

Elevate Your Bridal Look with Stunning Nail Art

Make Your Big Day Extra Special
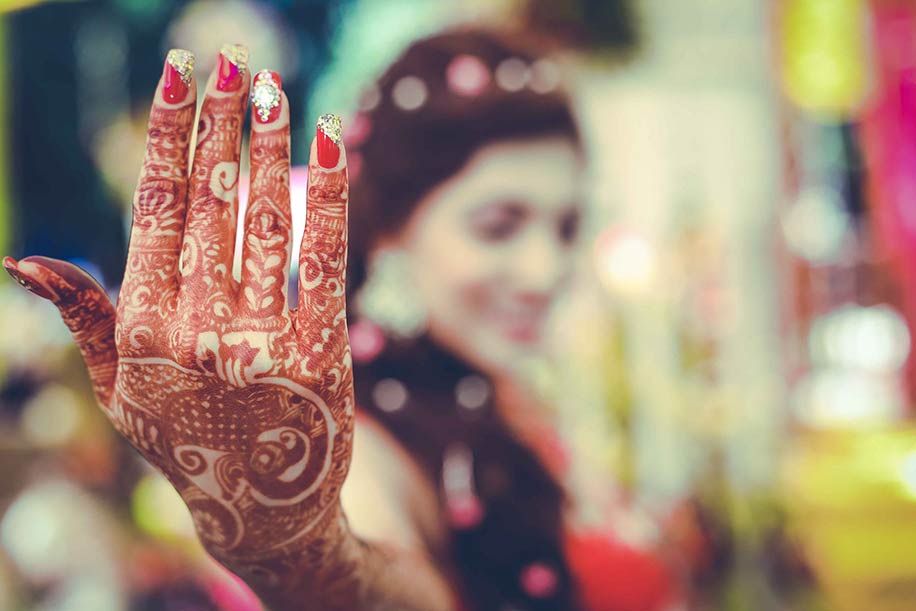
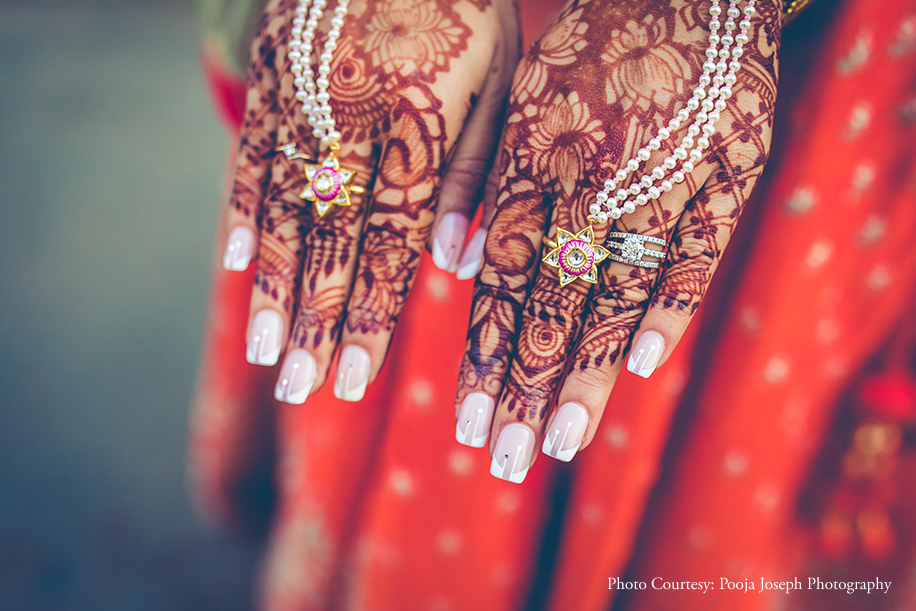
 Your wedding day is one of the most important and memorable days of your life. As a bride, you want to look and feel your best, from head to toe. While you may have already chosen the perfect dress, shoes, and accessories, don't forget about your nails! Nail art is a great way to add a unique and personal touch to your bridal look. Not only will it make your hands and nails look beautiful, but it will also complement your overall wedding theme and color scheme.
Choose the Right Design
 When it comes to bridal nail art, the options are endless. From intricate floral designs to elegant French tips, there is something for every bride. When choosing a design, consider your personal style and the theme of your wedding. If you're going for a more traditional and classic look, a simple and clean design would be a perfect choice. For a more bohemian or whimsical wedding, you can opt for a more elaborate and colorful design.
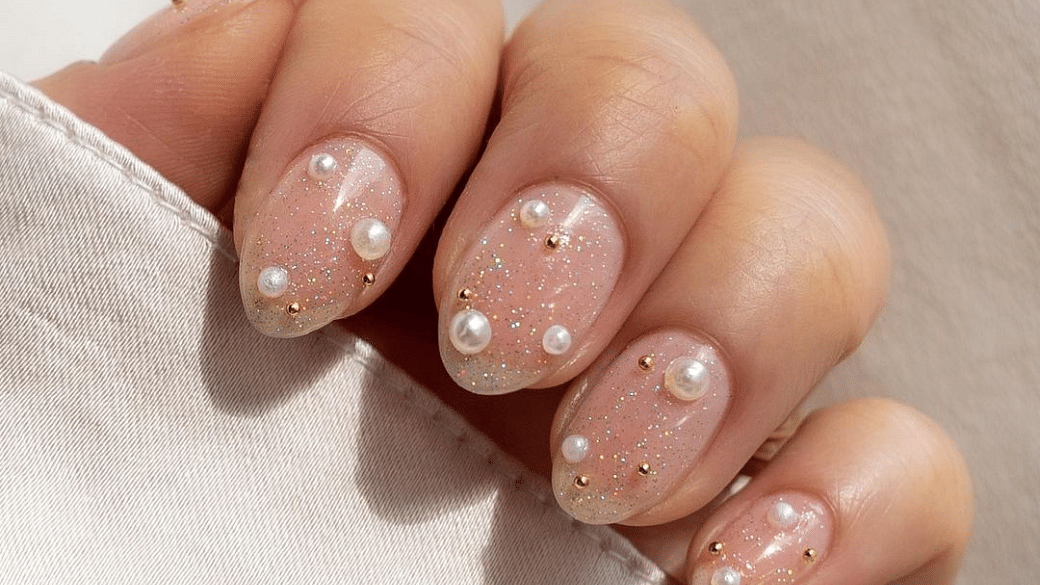
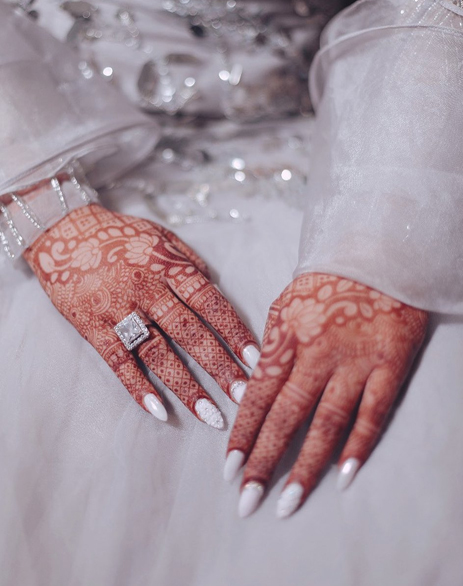
Bridal nail art
is all about balance. You want your nails to stand out, but not to the point where they take away from your overall look. It's important to choose a design that complements your dress and doesn't clash with any other accessories. You can also incorporate elements from your wedding decor, such as lace, pearls, or your
bridal bouquet
, into your nail art for a cohesive and personalized touch.
When it comes to bridal nail art, the options are endless. From intricate floral designs to elegant French tips, there is something for every bride. When choosing a design, consider your personal style and the theme of your wedding. If you're going for a more traditional and classic look, a simple and clean design would be a perfect choice. For a more bohemian or whimsical wedding, you can opt for a more elaborate and colorful design.
Bridal nail art
is all about balance. You want your nails to stand out, but not to the point where they take away from your overall look. It's important to choose a design that complements your dress and doesn't clash with any other accessories. You can also incorporate elements from your wedding decor, such as lace, pearls, or your
bridal bouquet
, into your nail art for a cohesive and personalized touch.
DIY or Professional?
 Now that you have an idea of the design you want, the next step is to decide whether you want to do your own nail art or get it done professionally. If you have experience with nail art and are confident in your skills, you can definitely give it a try. However, keep in mind that doing your own nail art can be time-consuming and stressful, especially if you're not used to it.
Getting your bridal nail art
done by a professional not only saves you time and stress, but it also ensures a flawless and long-lasting result. Look for a reputable nail salon or technician who has experience with bridal nail art. Schedule a trial session before your wedding day to test out different designs and make sure you're happy with the end result.
Now that you have an idea of the design you want, the next step is to decide whether you want to do your own nail art or get it done professionally. If you have experience with nail art and are confident in your skills, you can definitely give it a try. However, keep in mind that doing your own nail art can be time-consuming and stressful, especially if you're not used to it.
Getting your bridal nail art
done by a professional not only saves you time and stress, but it also ensures a flawless and long-lasting result. Look for a reputable nail salon or technician who has experience with bridal nail art. Schedule a trial session before your wedding day to test out different designs and make sure you're happy with the end result.
Don't Forget About Maintenance
 Lastly, it's important to take care of your nails leading up to your wedding day. Make sure to keep them hydrated and nourished by using a good cuticle oil and hand cream. Consider getting a gel or acrylic overlay to keep your nails looking fresh and strong. And on the day of your wedding, have a small touch-up kit with you for any last-minute fixes or touch-ups.
Bridal nail art
is a beautiful and fun way to elevate your bridal look and add a personal touch. Choose the right design, consider professional help, and don't forget about maintenance for flawless and stunning nails on your special day.
Lastly, it's important to take care of your nails leading up to your wedding day. Make sure to keep them hydrated and nourished by using a good cuticle oil and hand cream. Consider getting a gel or acrylic overlay to keep your nails looking fresh and strong. And on the day of your wedding, have a small touch-up kit with you for any last-minute fixes or touch-ups.
Bridal nail art
is a beautiful and fun way to elevate your bridal look and add a personal touch. Choose the right design, consider professional help, and don't forget about maintenance for flawless and stunning nails on your special day.


