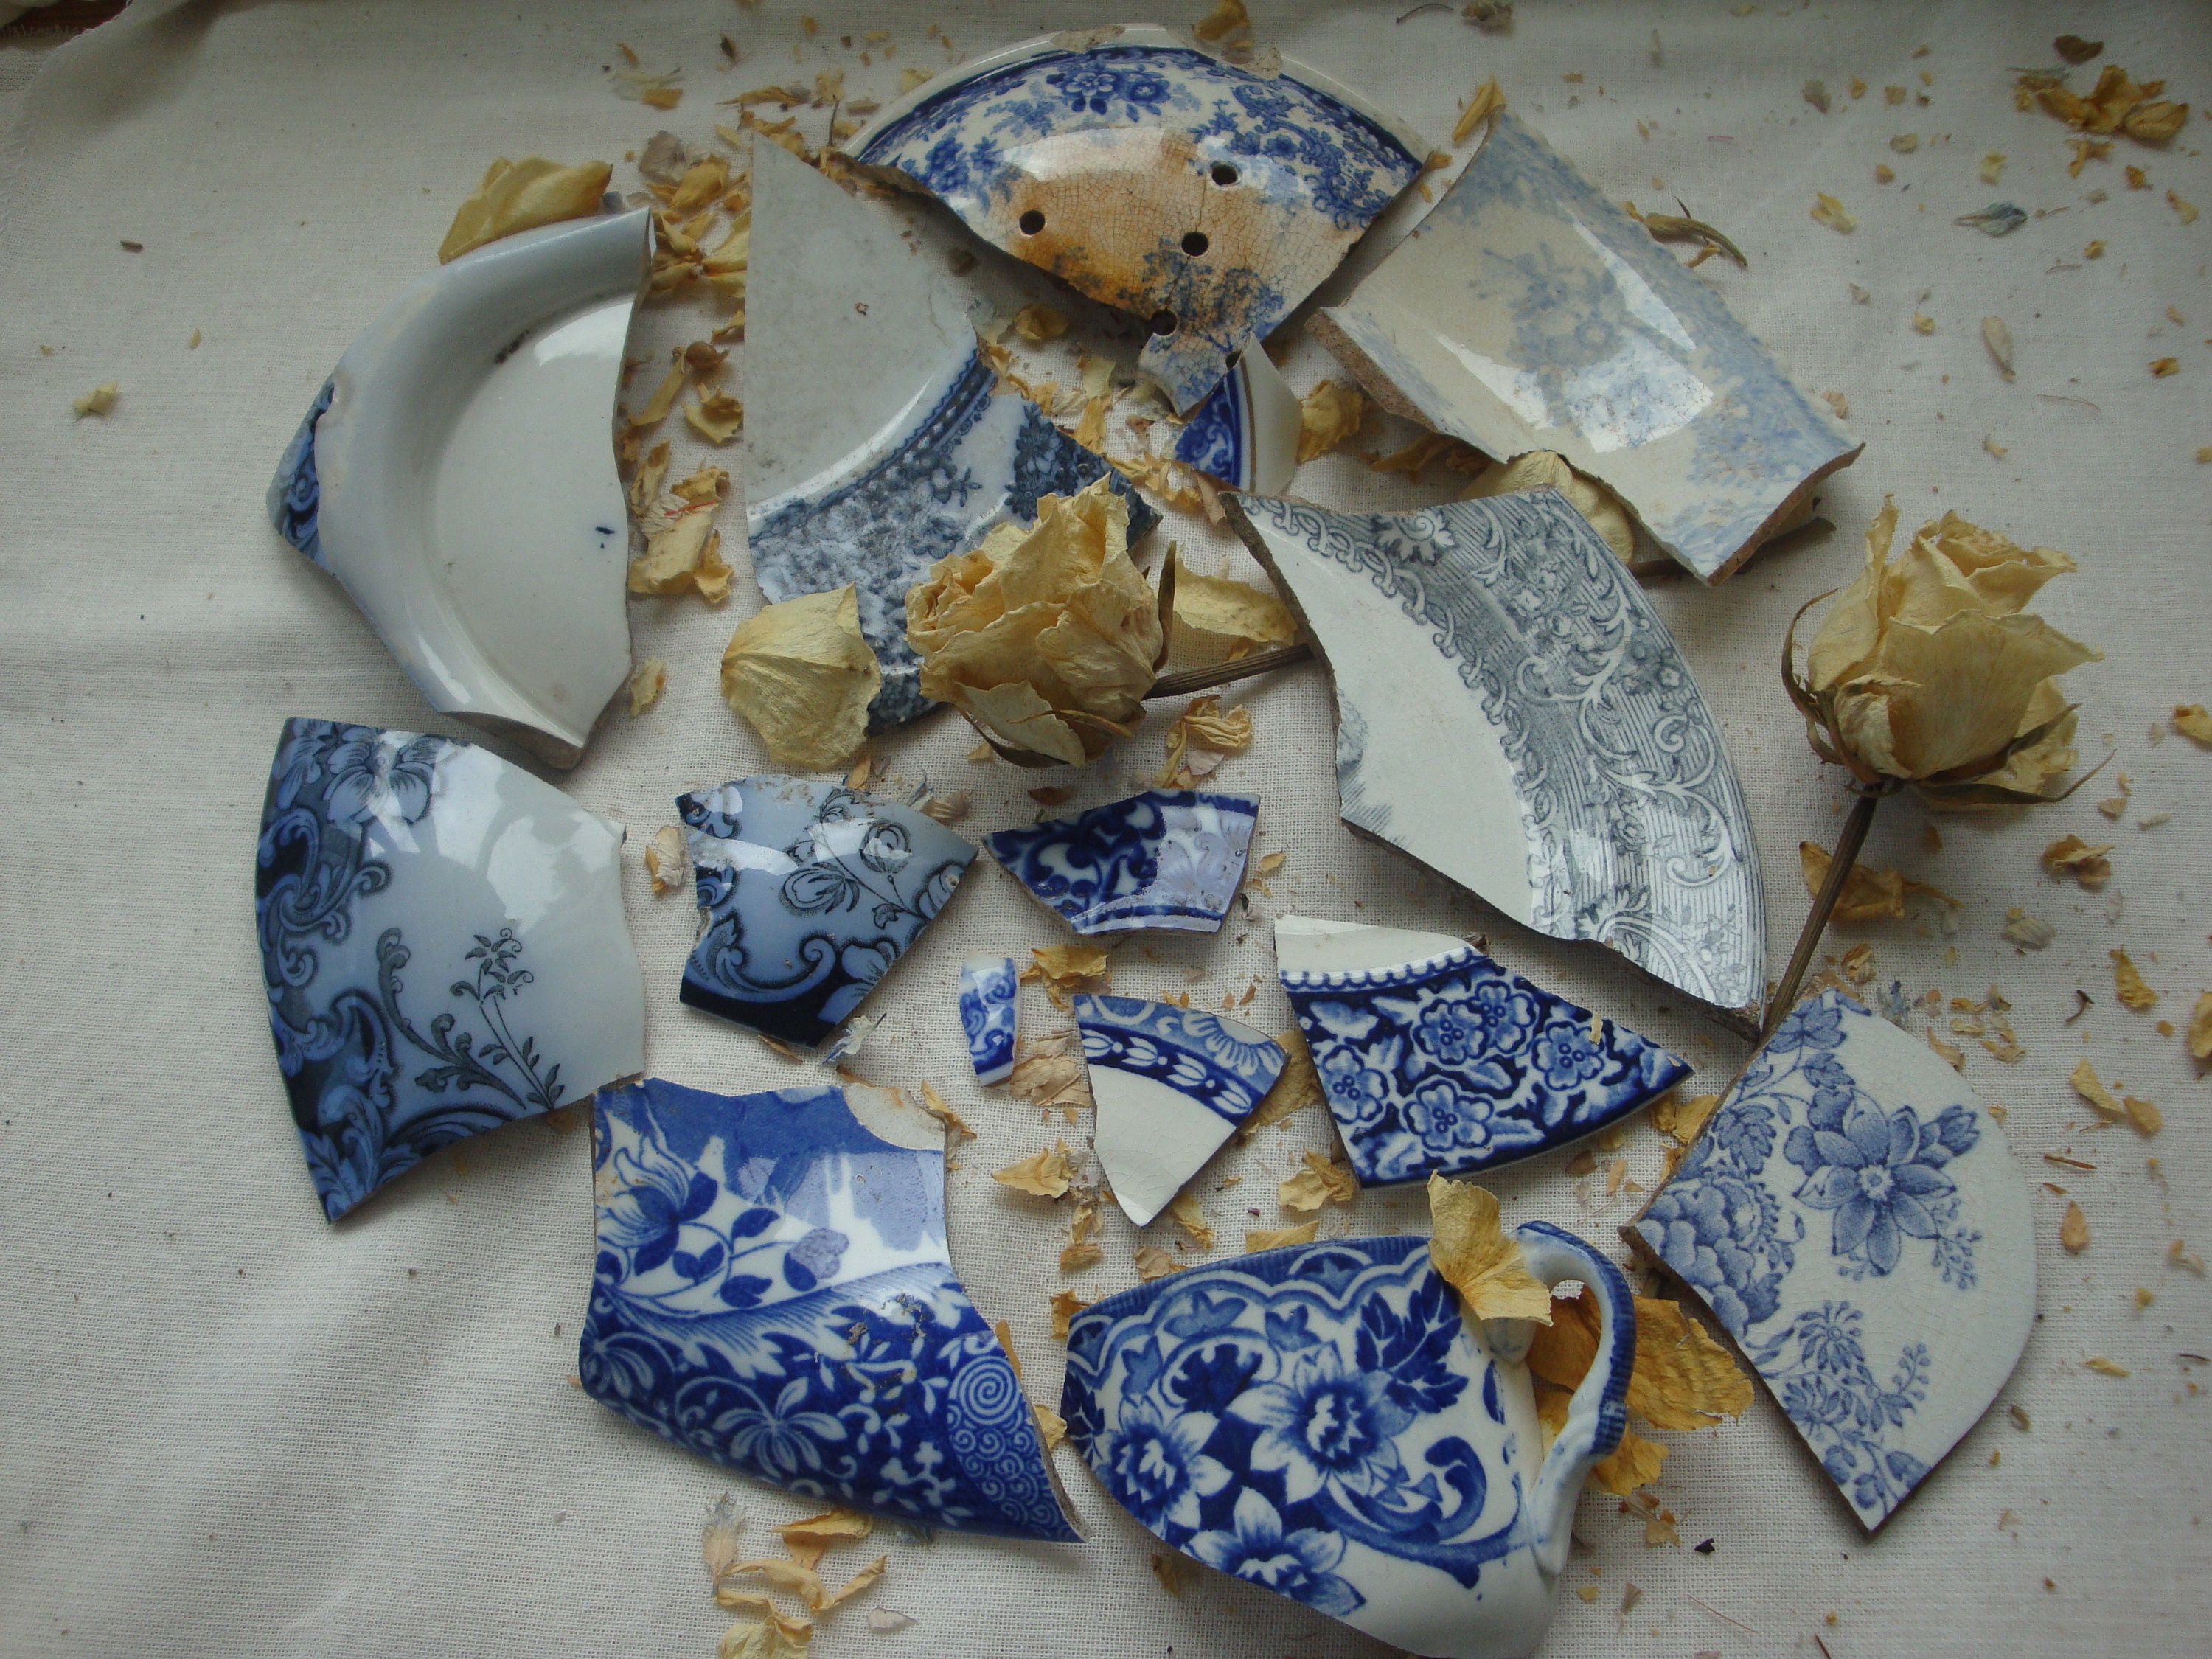
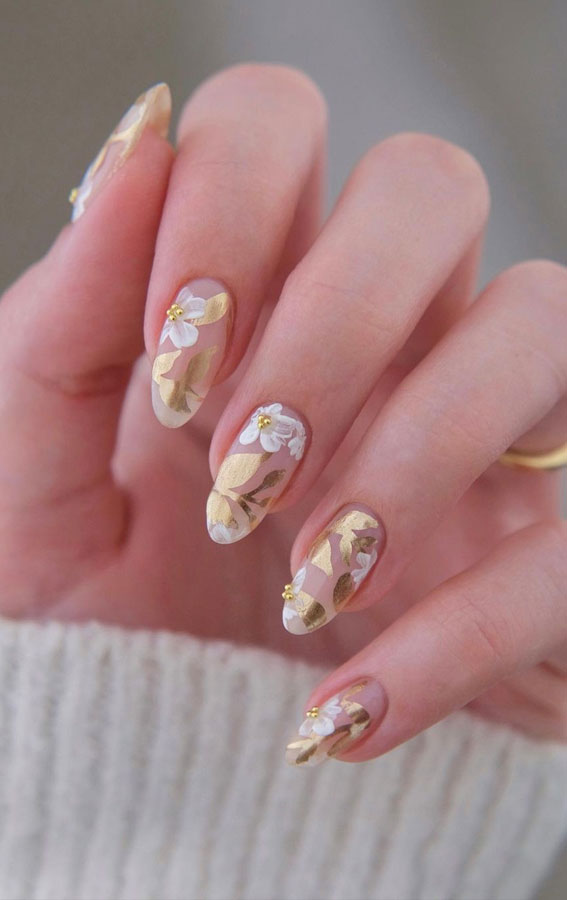
Broken china nail art has become a popular trend in the nail world, and for good reason. It's a unique and creative way to add some flair to your nails, and the best part is, you can do it yourself at home! So, if you're ready to try out this trend, here's a step-by-step guide on how to create your very own broken china nail art. The first step is to gather your materials. You will need:1. How to Create Broken China Nail Art


1. How to Create Broken China Nail Art


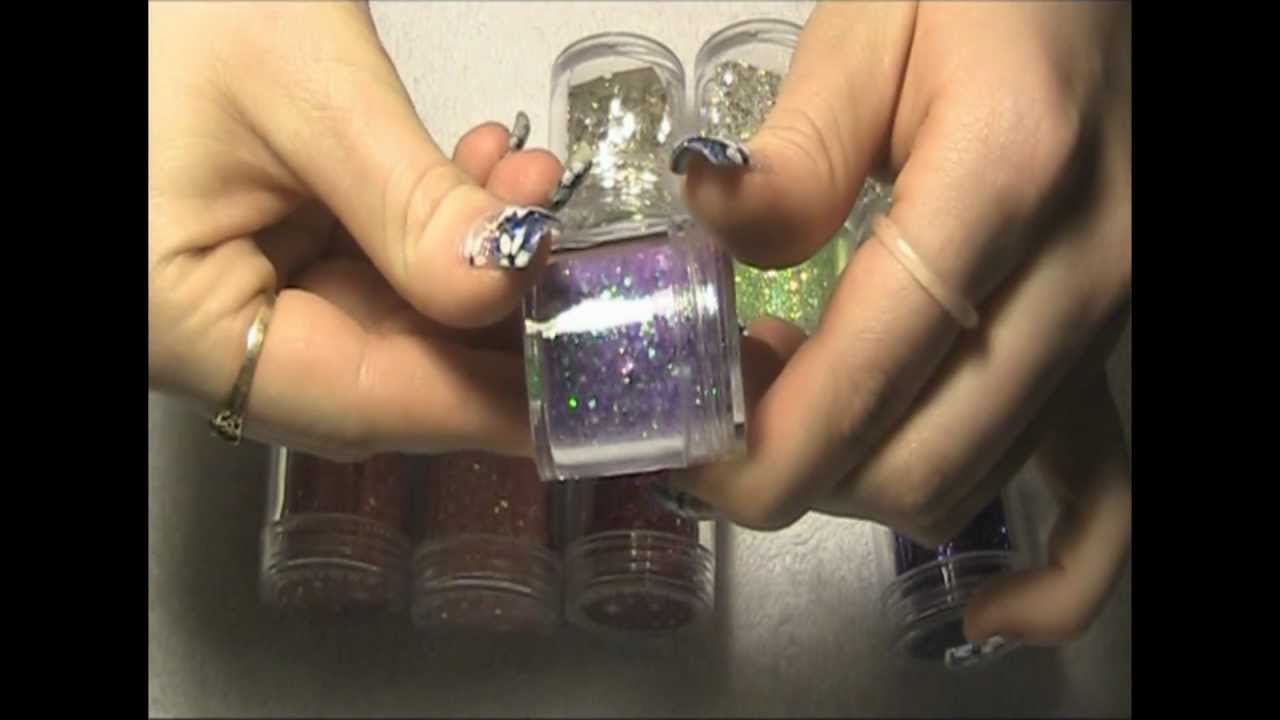
If you're new to the world of broken china nail art, don't worry – we've got you covered. This tutorial will guide you through the process of creating your own stunning broken china nail art design. Step 1: Gather your materials. You will need a base coat, a white or light-colored nail polish, broken china pieces, tweezers, and a top coat. Step 2: Apply a base coat to your nails and let it dry completely. Step 3: Paint your nails with a white or light-colored polish and let it dry. Step 4: Use the tweezers to break your china pieces into smaller, nail-sized pieces. Step 5: Carefully place the broken china pieces onto your nails using the tweezers. You can place them randomly or create a specific design. Step 6: Apply a top coat to seal everything in and let it dry completely. Step 7: Clean up any excess polish around your nails and admire your beautiful broken china nail art! Remember, practice makes perfect. Don't be discouraged if your first attempt doesn't turn out exactly as you imagined. Keep trying and experimenting with different designs and colors until you find the perfect broken china nail art for you.2. Broken China Nail Art Tutorial


2. Broken China Nail Art Tutorial


Why spend money at a salon when you can create your own beautiful broken china nail art at home? This DIY tutorial will show you just how easy it is to achieve this trendy look without breaking the bank. Step 1: Gather your materials – a base coat, a white or light-colored nail polish, broken china pieces, tweezers, and a top coat. Step 2: Apply a base coat to your nails and let it dry completely. Step 3: Paint your nails with a white or light-colored polish and let it dry. Step 4: Use the tweezers to break your china pieces into smaller, nail-sized pieces. Step 5: Carefully place the broken china pieces onto your nails using the tweezers. You can place them randomly or create a specific design. Step 6: Apply a top coat to seal everything in and let it dry completely. Step 7: Clean up any excess polish around your nails and enjoy your gorgeous DIY broken china nail art!3. DIY Broken China Nail Art


3. DIY Broken China Nail Art
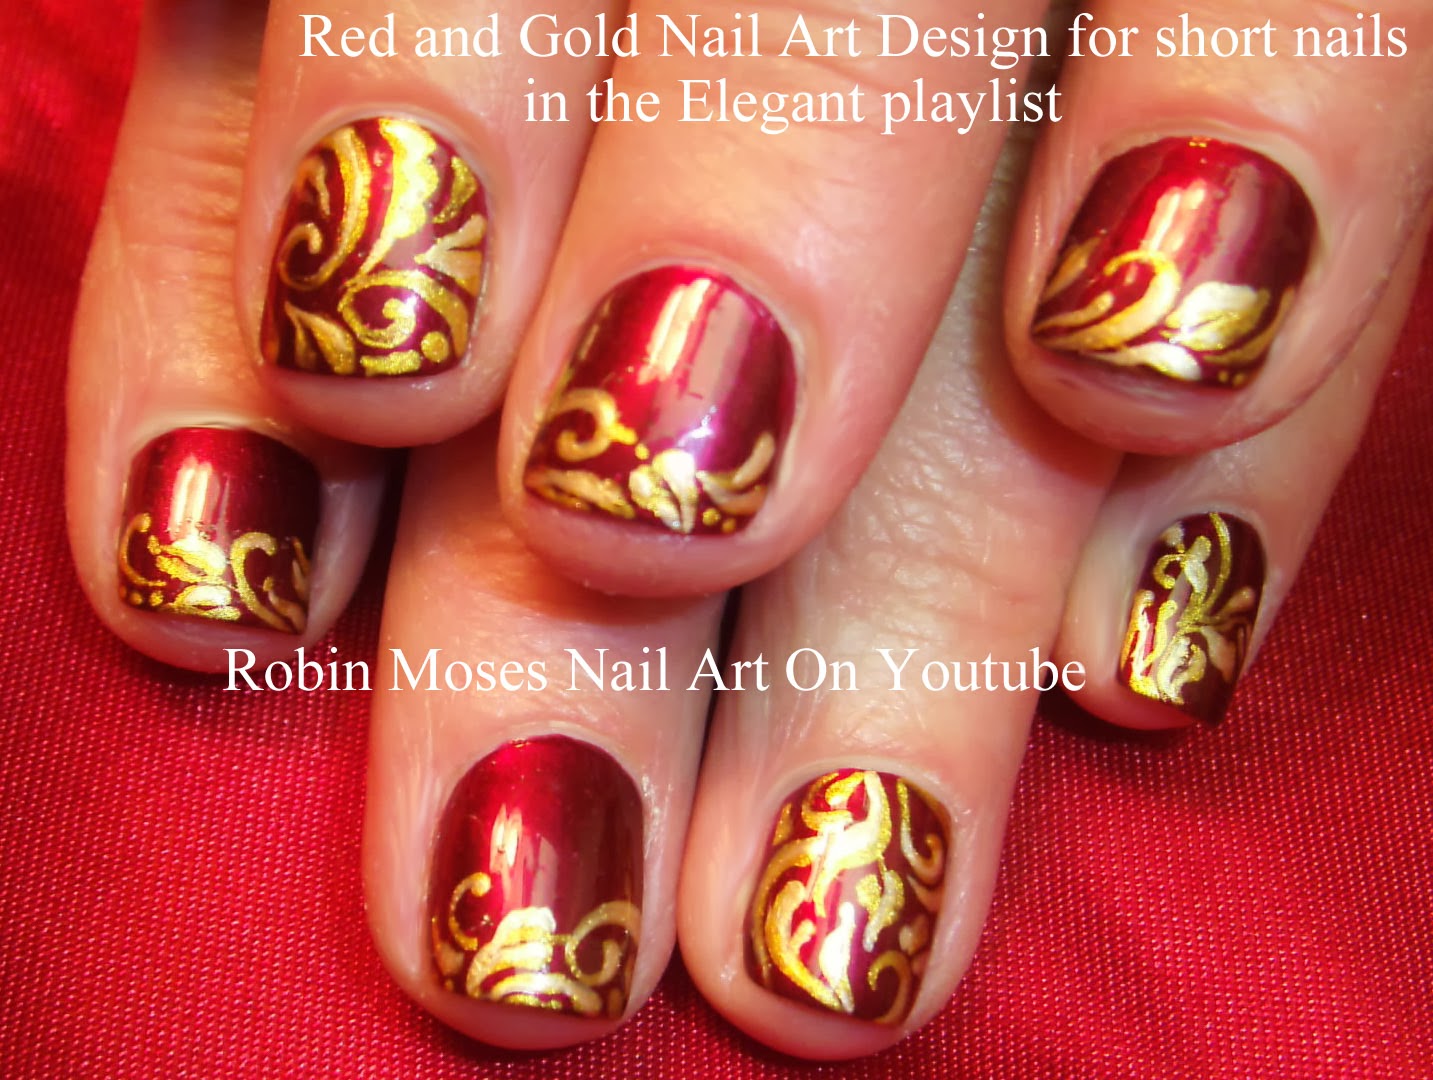
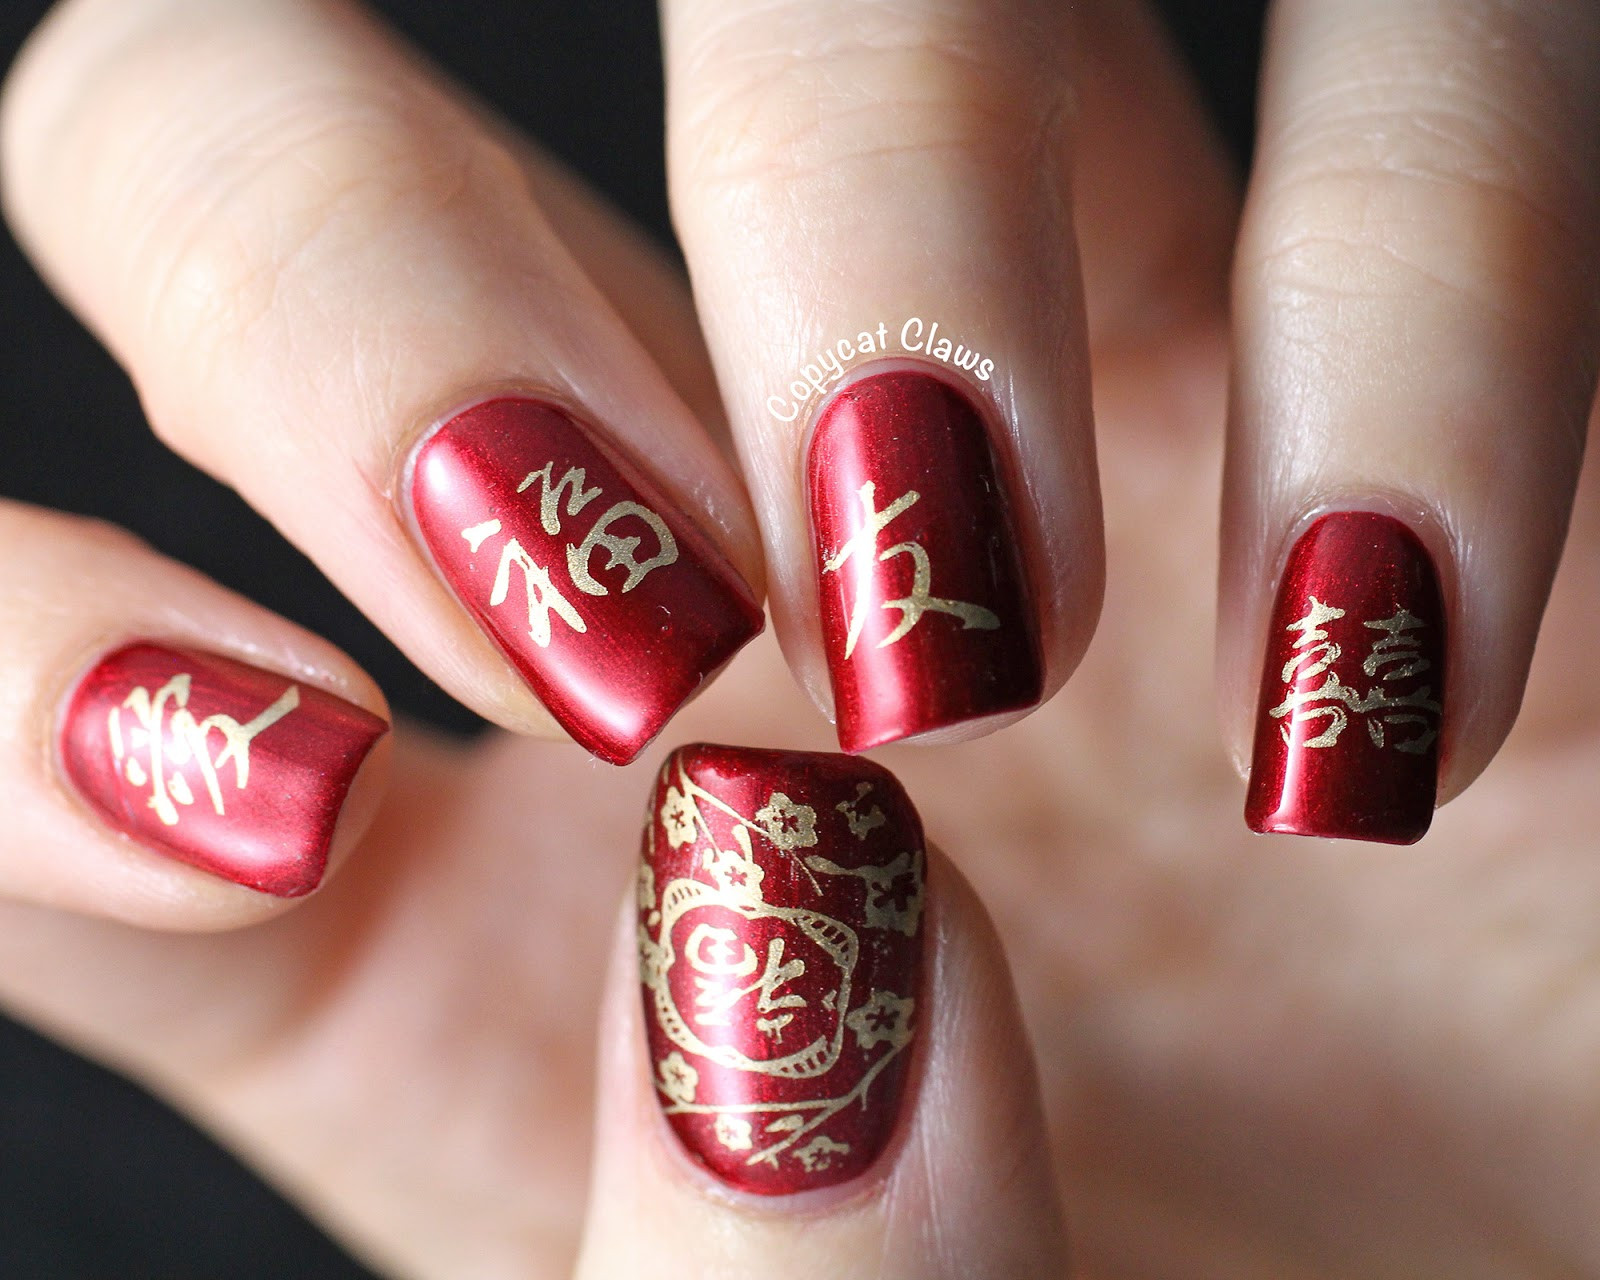
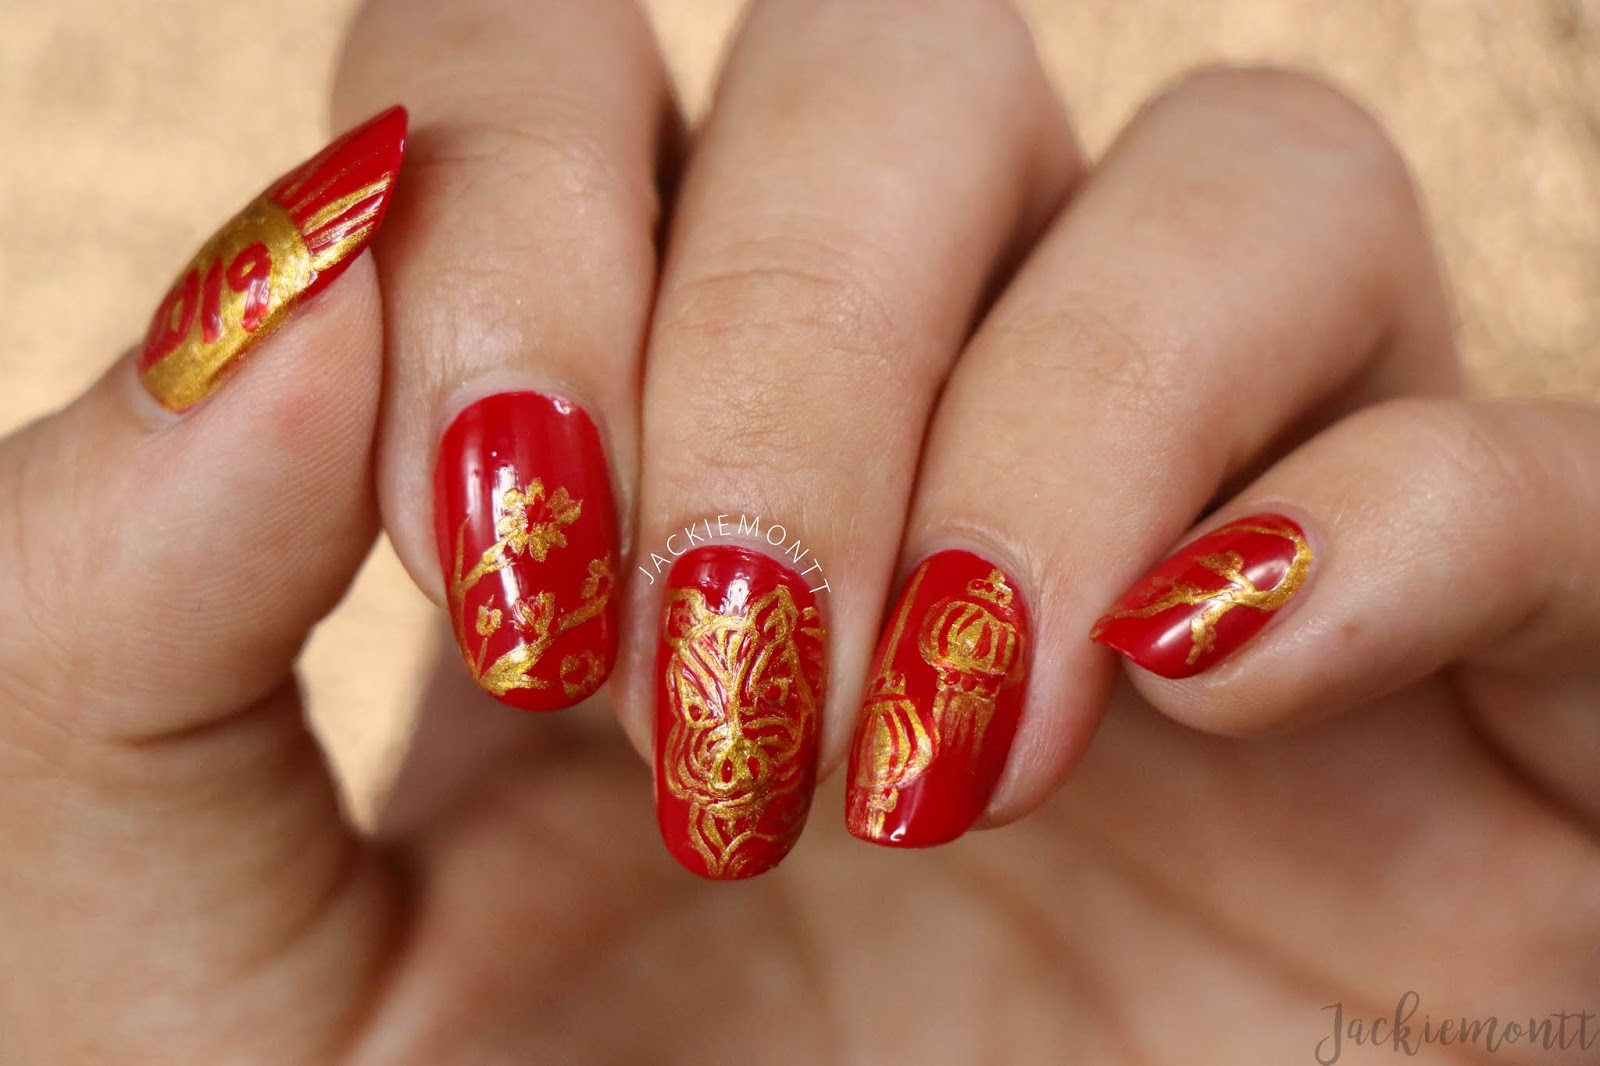
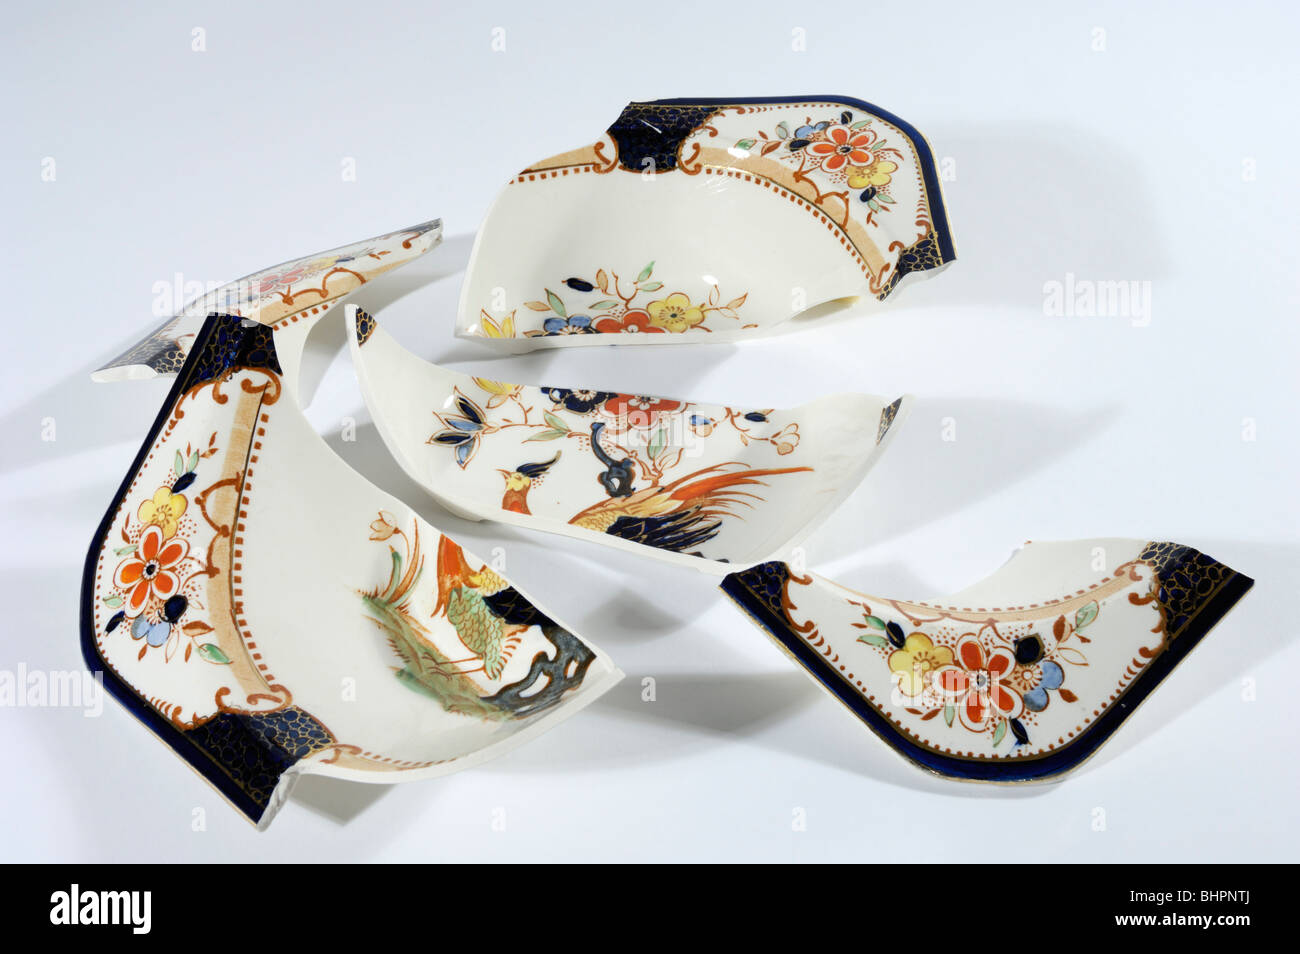
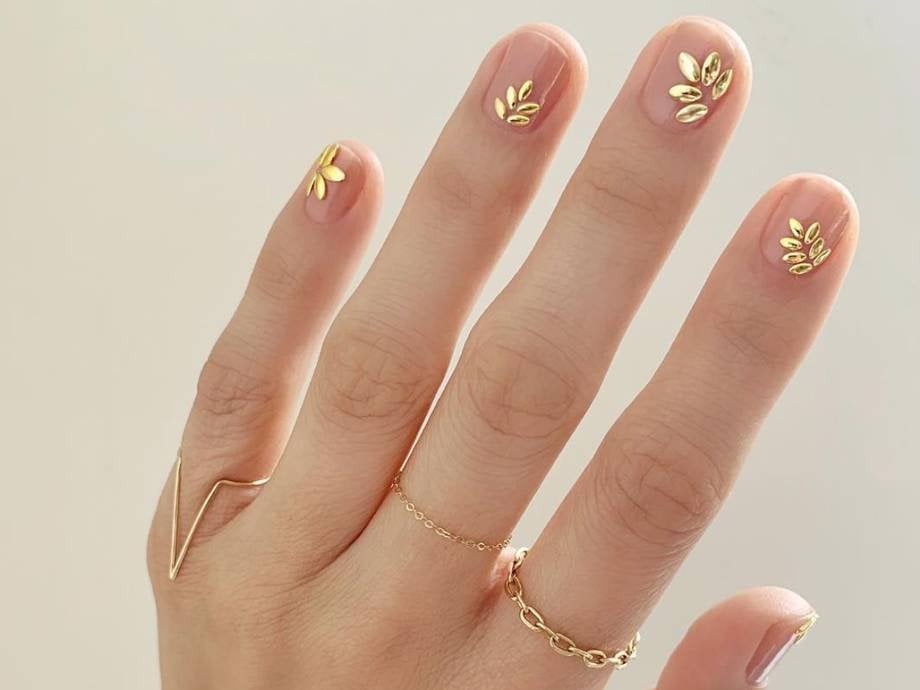
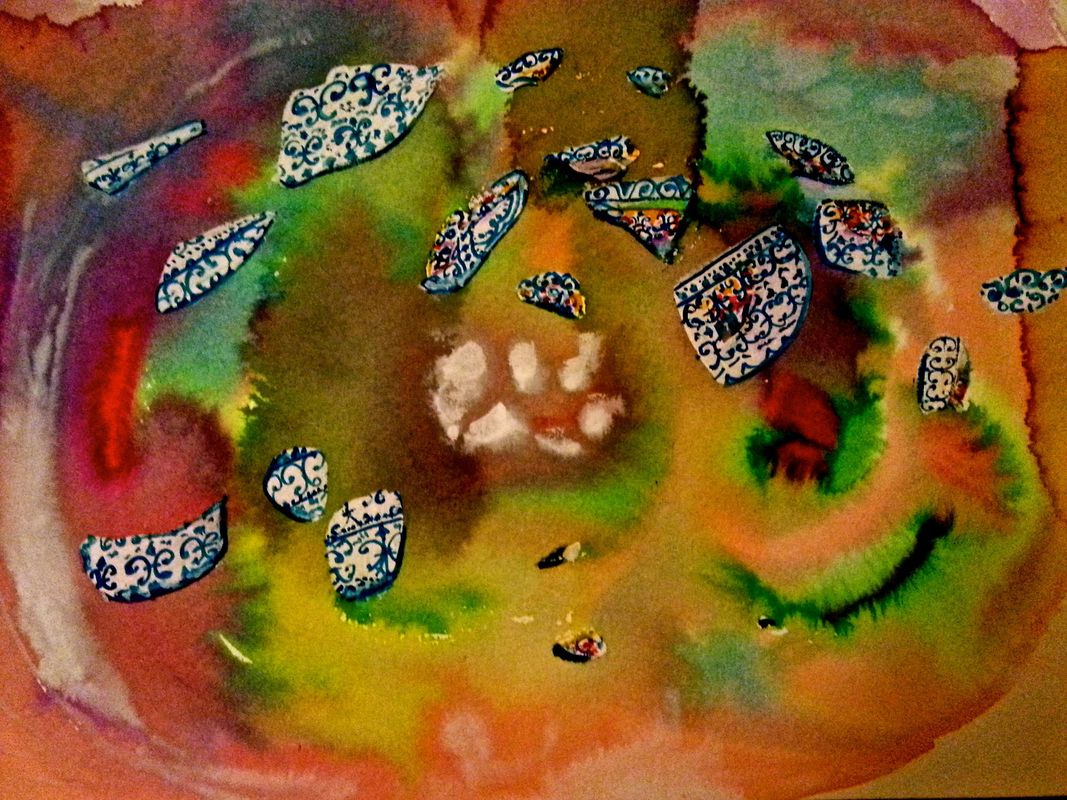
One of the great things about broken china nail art is that the design possibilities are endless. You can create a unique and beautiful design using just about any type of broken china. Here are a few design ideas to inspire you:4. Broken China Nail Art Designs


4. Broken China Nail Art Designs


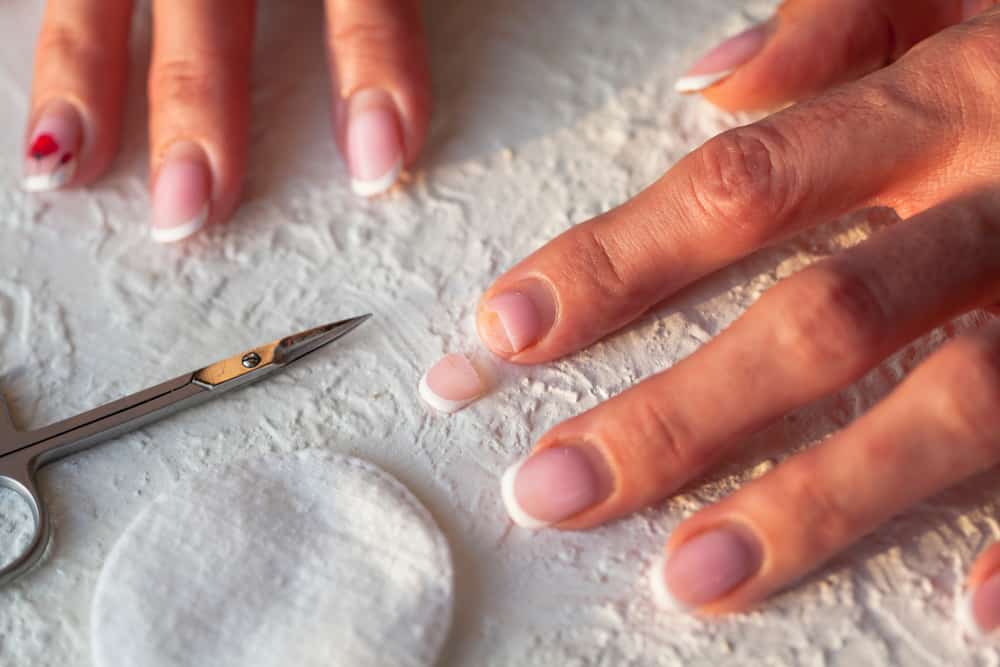
If you're new to broken china nail art, following a step-by-step guide can be helpful. Here's a breakdown of the process:5. Broken China Nail Art Step by Step


5. Broken China Nail Art Step by Step


If you're looking for a quick and easy way to spice up your nails, broken china nail art is the way to go. Here are a few easy ideas to get you started:6. Easy Broken China Nail Art Ideas

6. Easy Broken China Nail Art Ideas


:max_bytes(150000):strip_icc()/121020-red-art-nail-designs-lead-2000-d0787e7365f44dfeaa27972ae713d448.jpg)
You don't have to be a nail art pro to achieve stunning broken china nails. Here are a few tips for beginners:7. Broken China Nail Art for Beginners

7. Broken China Nail Art for Beginners
-Step-7.jpg)


Want to try out broken china nail art but not sure where to find the supplies? Here's a list of places to look:8. Broken China Nail Art Supplies


8. Broken China Nail Art Supplies


There are a few different techniques you can use to create your broken china nail art. Here are a few to try:9. Broken China Nail Art Techniques


9. Broken China Nail Art Techniques
If you're still not sure what type of broken china nail art design you want to try, here are a few places to find inspiration:10. Broken China Nail Art Inspiration


10. Broken China Nail Art Inspiration


Broken China Nail Art: A Creative Addition to Your Home Design

Transforming Broken China into Beautiful Nail Art
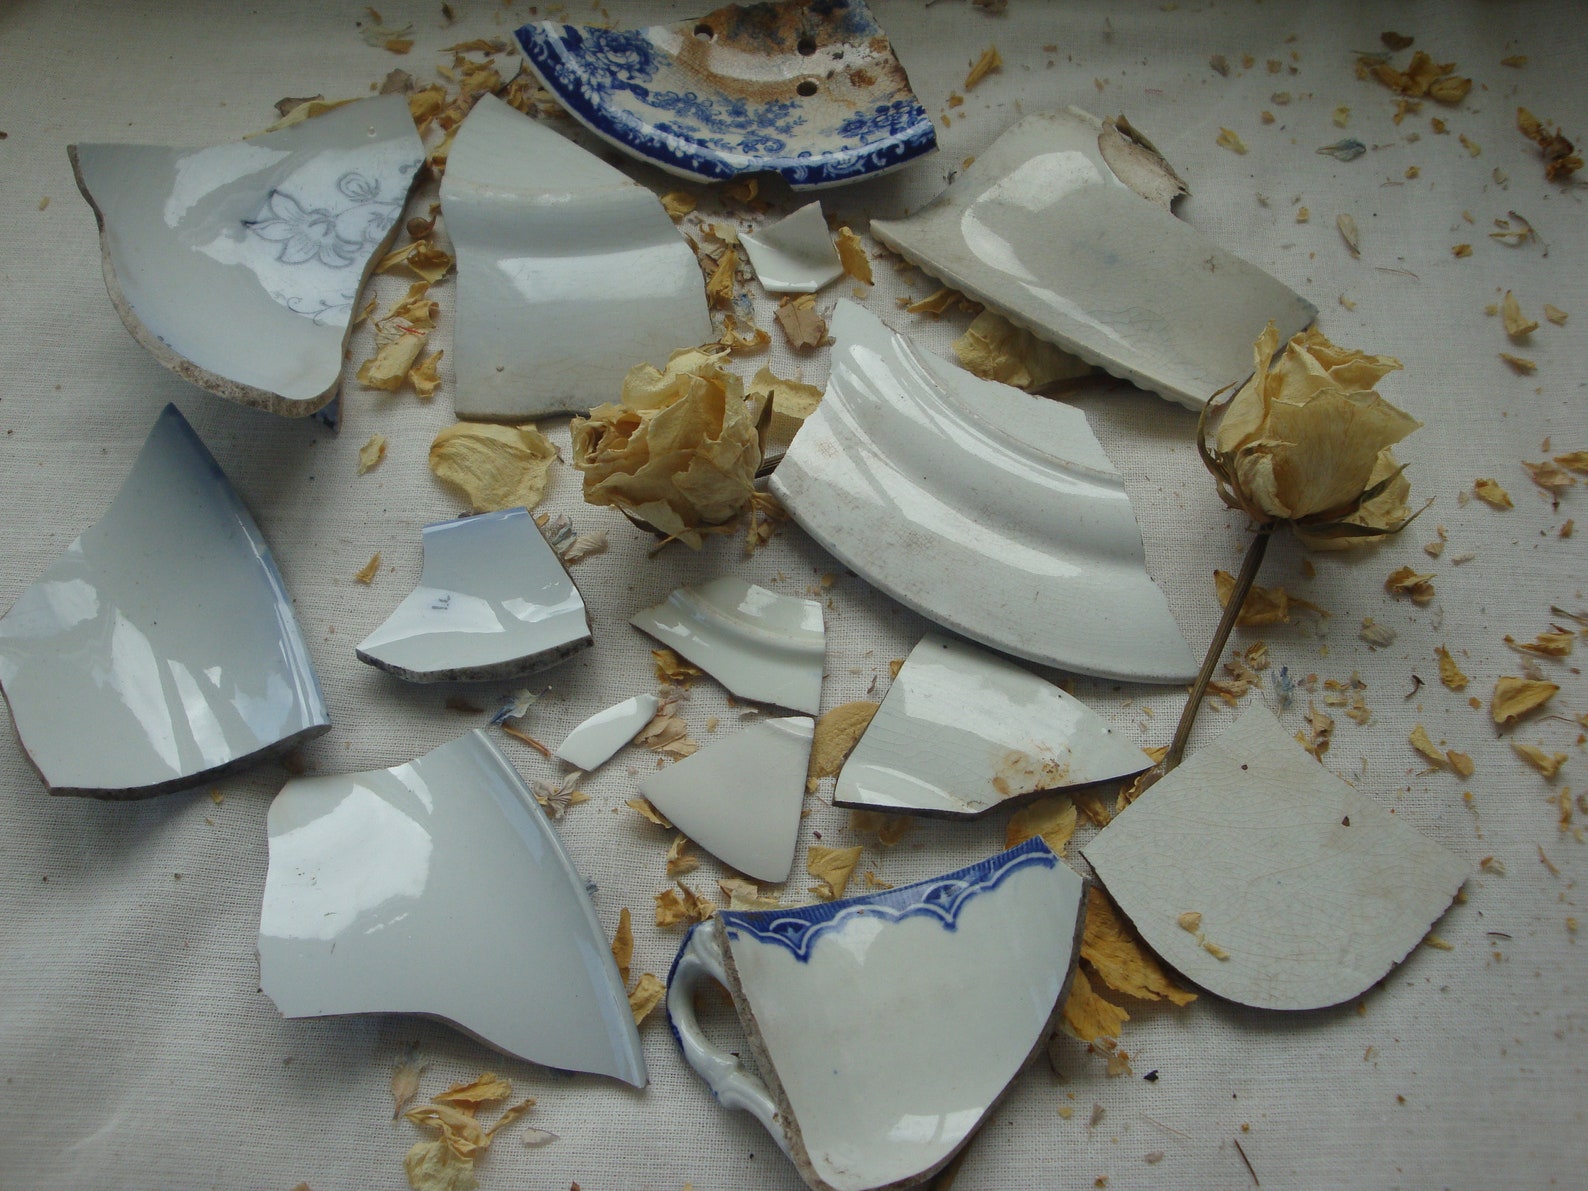
 When it comes to decorating our homes, we often look for unique and creative ways to make a statement. One such way is through the use of broken china pieces as a form of nail art. This unconventional approach to house design not only adds a touch of personality and charm to your living space, but it also gives new life to broken china pieces that would otherwise be thrown away.
Using broken china pieces as a form of nail art is a popular trend that has gained traction in recent years. It involves using small, broken pieces of china to create intricate designs on furniture, walls, and even nails. This method of house design allows for limitless creativity and is a great way to add a personalized touch to your home.
When it comes to decorating our homes, we often look for unique and creative ways to make a statement. One such way is through the use of broken china pieces as a form of nail art. This unconventional approach to house design not only adds a touch of personality and charm to your living space, but it also gives new life to broken china pieces that would otherwise be thrown away.
Using broken china pieces as a form of nail art is a popular trend that has gained traction in recent years. It involves using small, broken pieces of china to create intricate designs on furniture, walls, and even nails. This method of house design allows for limitless creativity and is a great way to add a personalized touch to your home.
The Advantages of Broken China Nail Art
 Not only is broken china nail art a unique and creative way to decorate your home, but it also has several practical advantages. For one, using broken china pieces as a form of nail art is a cost-effective solution to traditional home decor. Instead of spending a fortune on expensive furniture or wallpaper, you can repurpose old china pieces and create stunning designs at a fraction of the cost.
Moreover, broken china nail art is an environmentally-friendly option for house design. By repurposing broken china pieces, you are reducing waste and giving new life to materials that would otherwise end up in landfills. This makes for a more sustainable and eco-friendly home design.
Not only is broken china nail art a unique and creative way to decorate your home, but it also has several practical advantages. For one, using broken china pieces as a form of nail art is a cost-effective solution to traditional home decor. Instead of spending a fortune on expensive furniture or wallpaper, you can repurpose old china pieces and create stunning designs at a fraction of the cost.
Moreover, broken china nail art is an environmentally-friendly option for house design. By repurposing broken china pieces, you are reducing waste and giving new life to materials that would otherwise end up in landfills. This makes for a more sustainable and eco-friendly home design.
How to Incorporate Broken China Nail Art into Your Home Design
 Incorporating broken china nail art into your home design is a fun and easy process. You can start by collecting broken china pieces from flea markets, thrift stores, or even your own kitchen. Once you have a collection of pieces, you can use them to create a variety of designs on your walls, furniture, or even your nails.
For example, you can use small pieces of china to create a mosaic pattern on a plain dresser, giving it a unique and vintage look. You can also use larger pieces to create a statement wall in your living room or bedroom. And for those looking to add a touch of whimsy to their nail game, you can use broken china pieces to create intricate designs on your nails.
Incorporating broken china nail art into your home design is a fun and easy process. You can start by collecting broken china pieces from flea markets, thrift stores, or even your own kitchen. Once you have a collection of pieces, you can use them to create a variety of designs on your walls, furniture, or even your nails.
For example, you can use small pieces of china to create a mosaic pattern on a plain dresser, giving it a unique and vintage look. You can also use larger pieces to create a statement wall in your living room or bedroom. And for those looking to add a touch of whimsy to their nail game, you can use broken china pieces to create intricate designs on your nails.
Final Thoughts
 Broken china nail art is a creative and budget-friendly way to add personality and charm to your home design. Not only does it give new life to old materials, but it also allows for limitless creativity and customization. So the next time you come across a broken china piece, don't throw it away – instead, use it to create a one-of-a-kind piece of nail art for your home.


