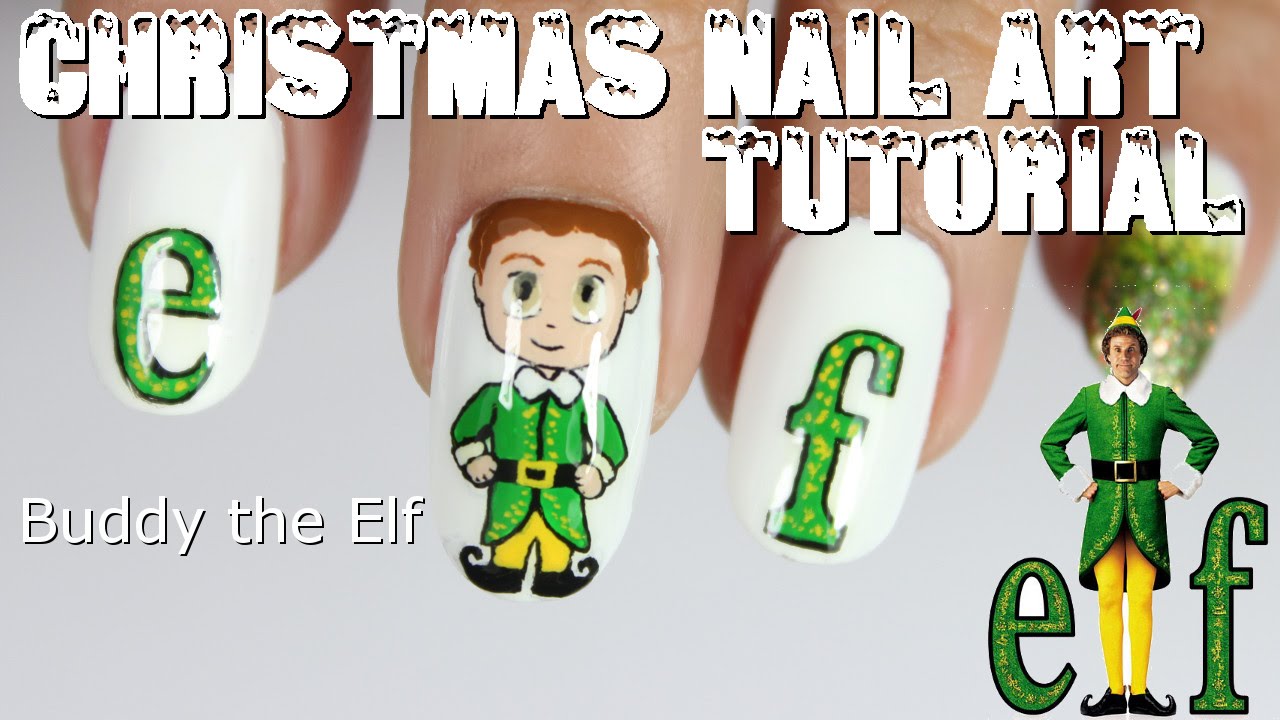
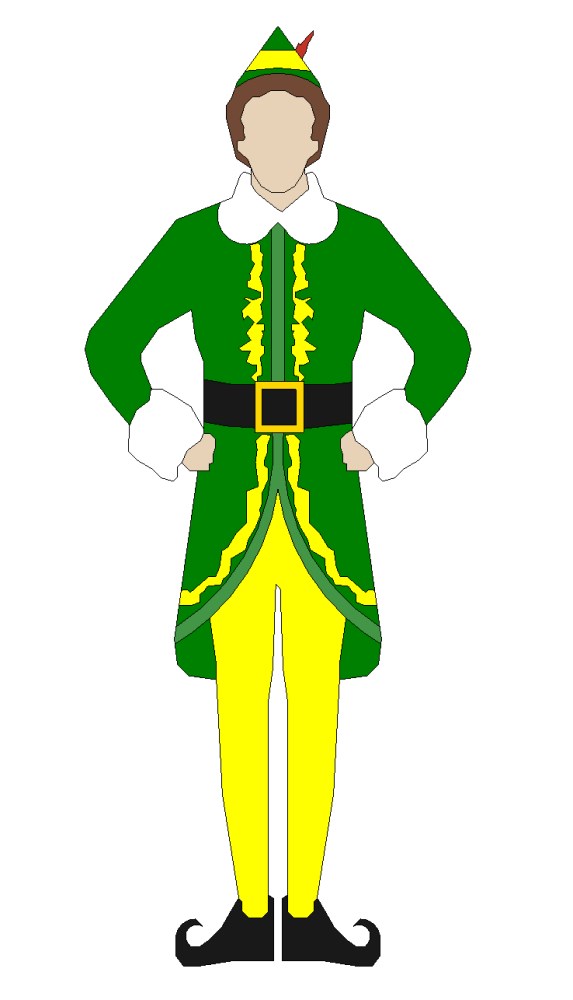
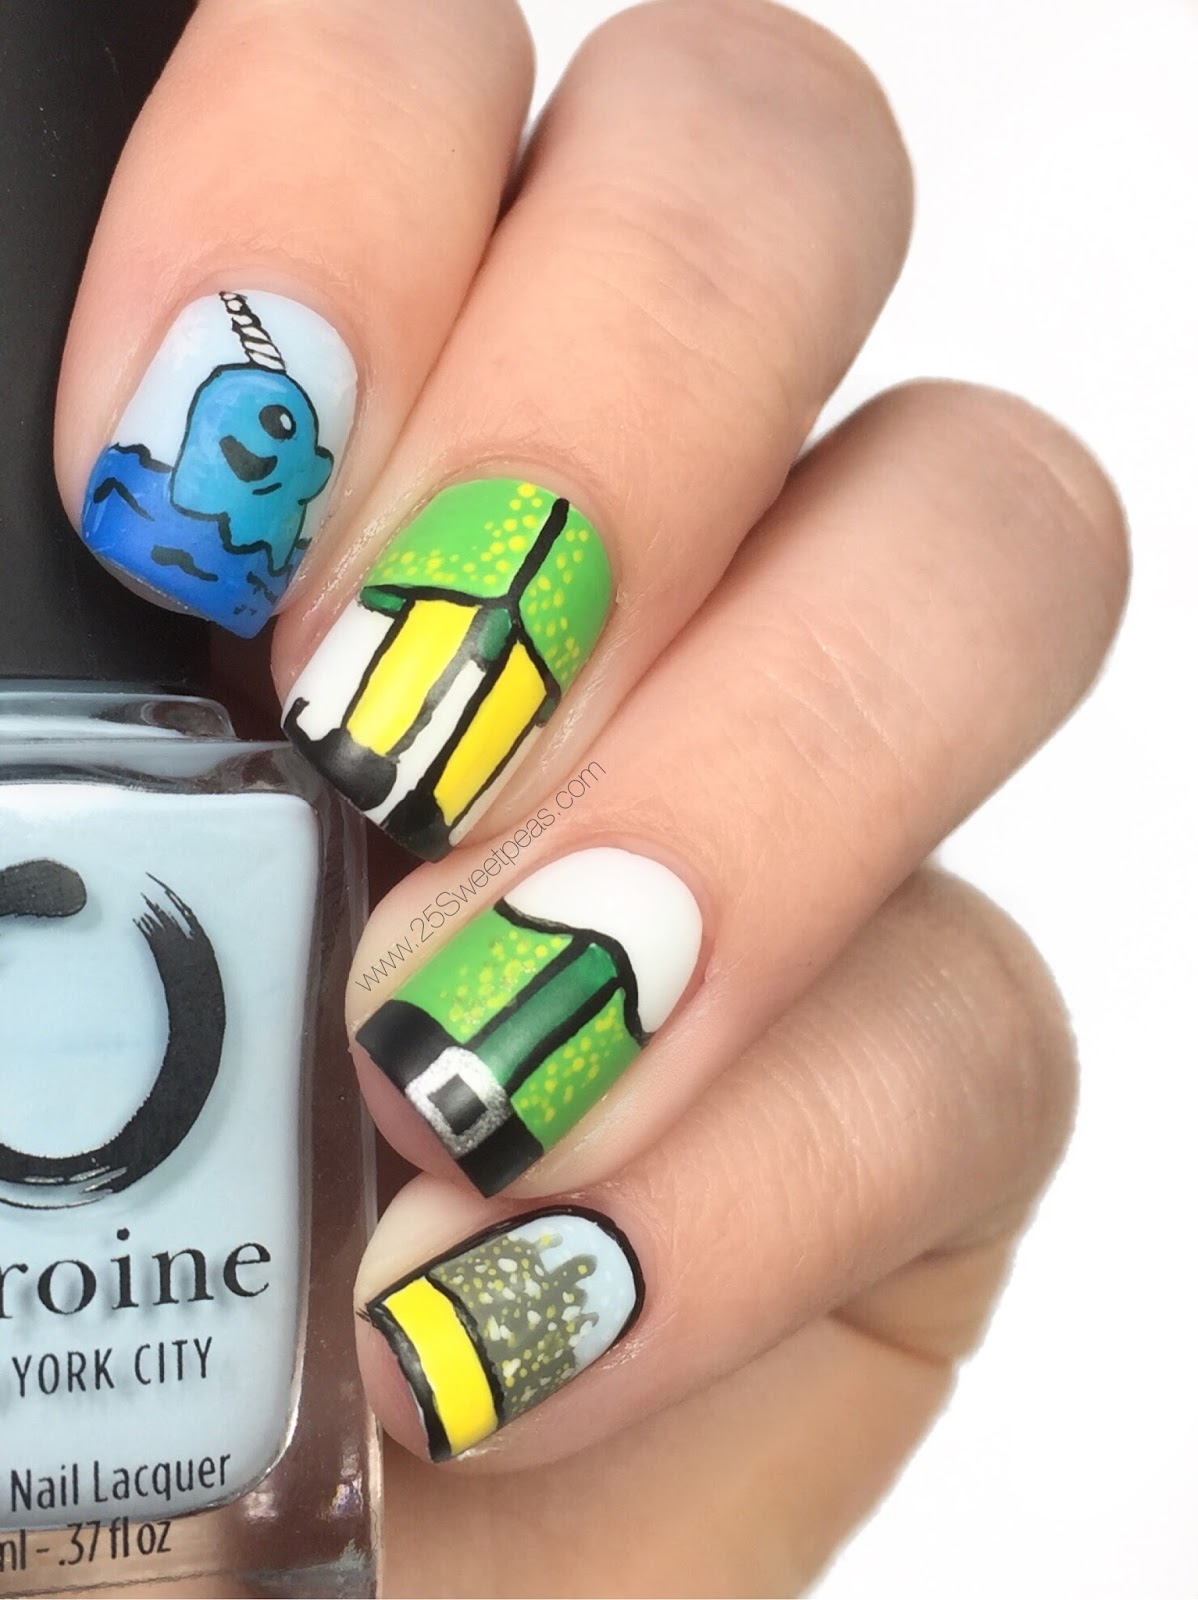
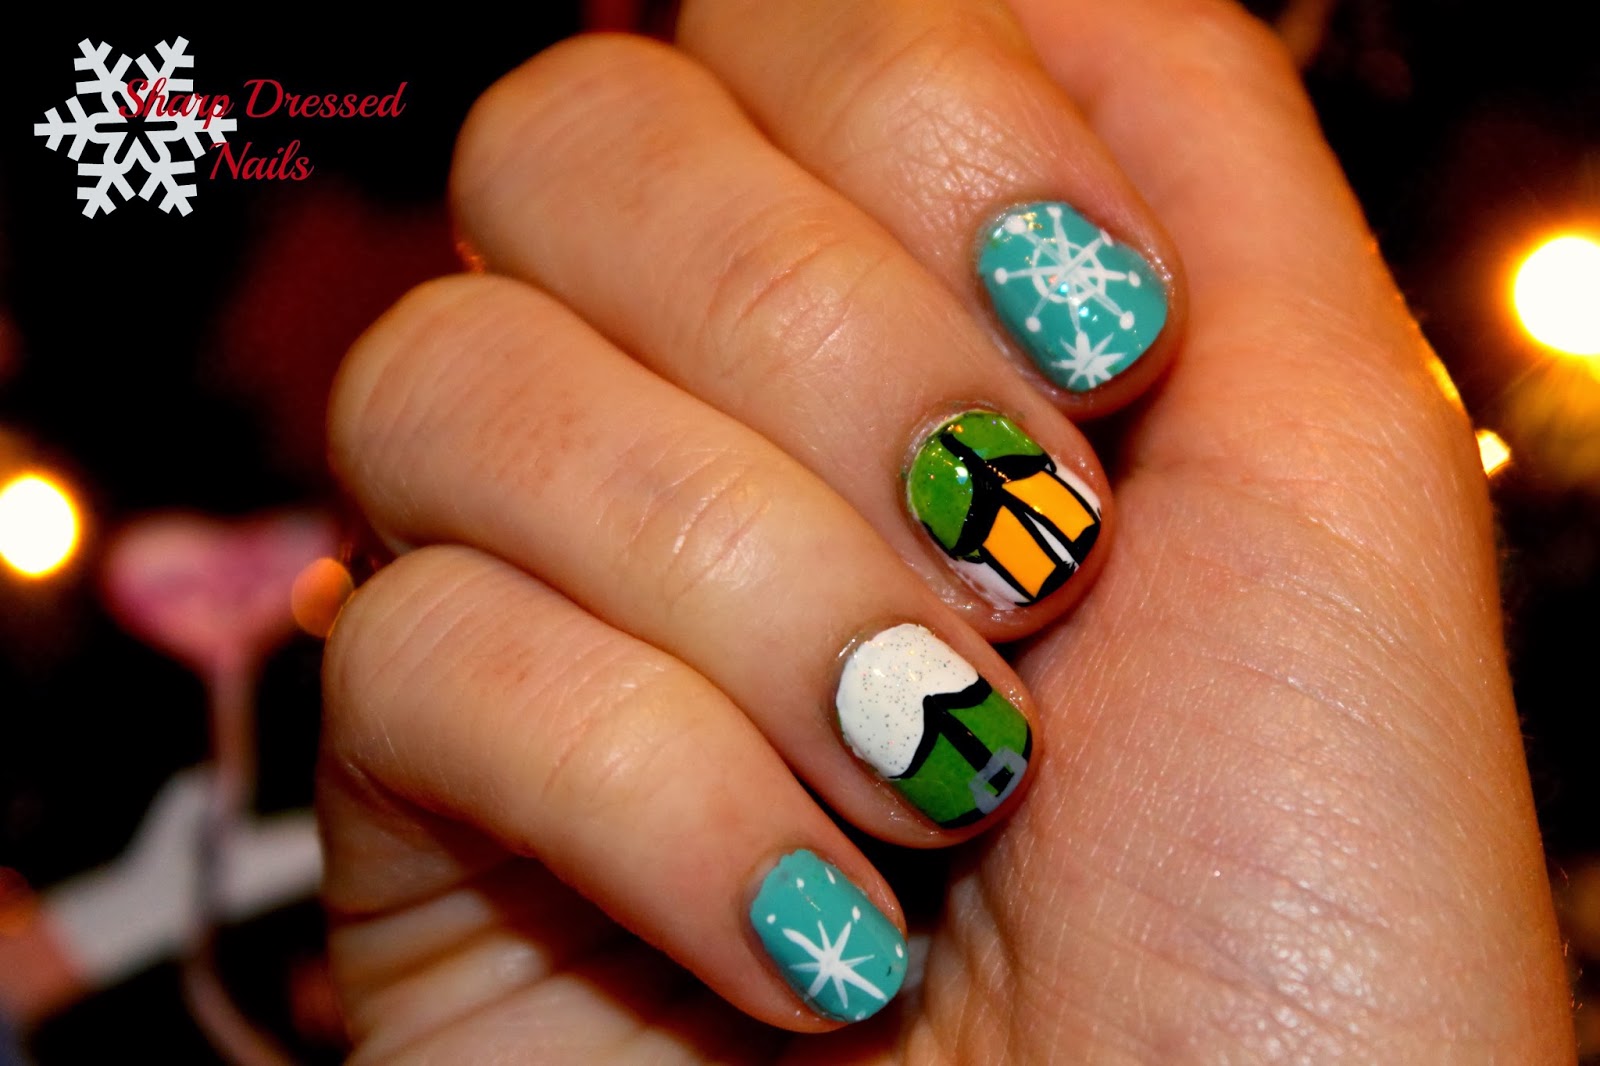
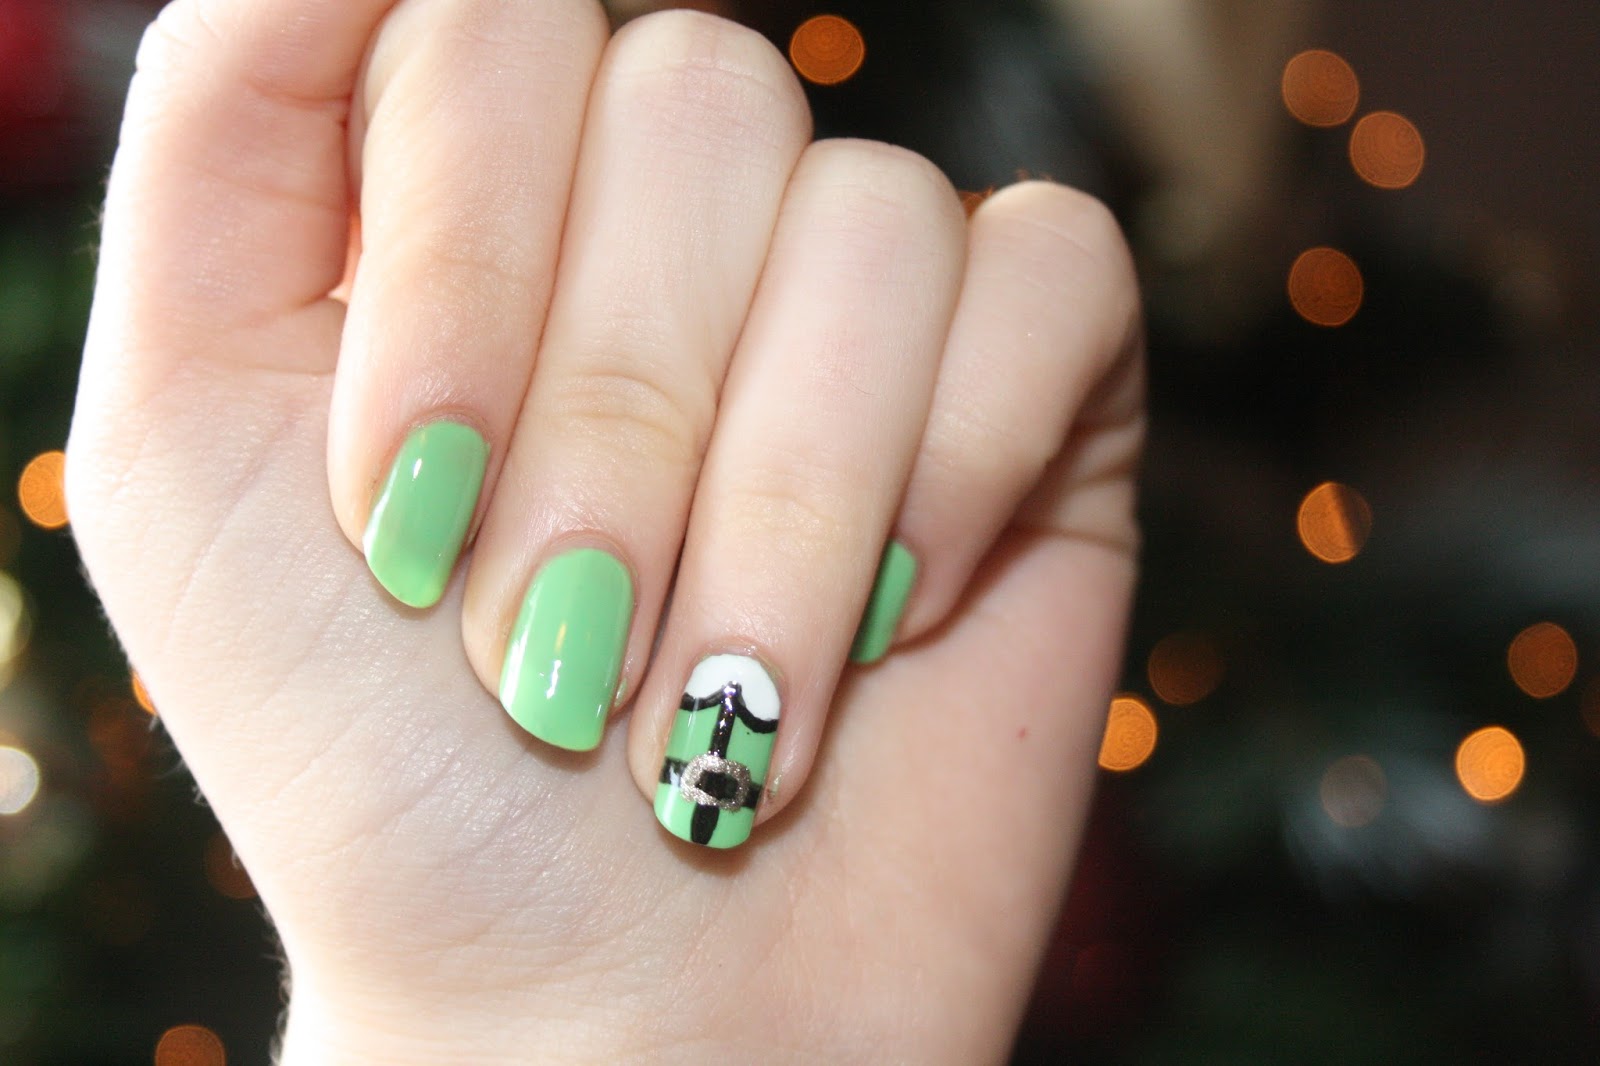
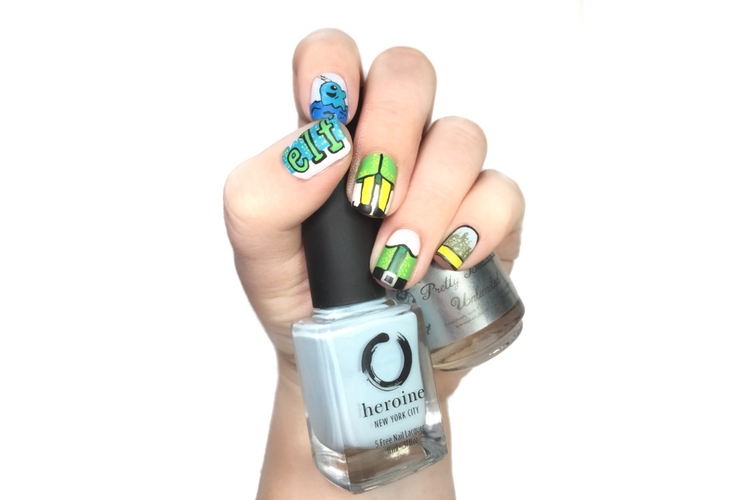
If you're a fan of the classic holiday movie "Elf", then you'll love this "Buddy the Elf" Christmas nail art tutorial. This design features all the iconic elements of the movie, from Buddy's signature green and yellow outfit to his love for all things Christmas. It's the perfect way to show your holiday spirit and pay homage to one of the most beloved holiday characters. To start, you'll need a base coat, a green nail polish, a yellow nail polish, a red nail polish, a white nail polish, a black nail polish, a fine tip nail brush, and a top coat. Begin by applying a base coat to protect your nails and allow it to dry completely. Next, paint your nails with a vibrant green polish. This will serve as the base color for Buddy's outfit. Let it dry before moving on to the next step. Using a fine tip nail brush, create a diagonal line across your nail using a yellow polish. This will represent the iconic yellow strip on Buddy's outfit. Make sure to leave enough space at the bottom of your nail for the red strip. Using the same brush and a red polish, create a diagonal line on the bottom of your nail, meeting the yellow line in the middle. This will represent the red strip on Buddy's outfit. Next, using the fine tip brush and a white polish, draw on a small collar at the top of your nail, just above the yellow line. This will complete the look of Buddy's outfit. Now it's time to add some details to your nails. Using the fine tip brush and a black polish, create small dots on the yellow and red strips to represent buttons on Buddy's outfit. You can also add a small black belt buckle on the red strip using the same brush. Finally, finish off your design with a top coat to seal in your hard work and add some shine to your nails. And there you have it - festive "Buddy the Elf" nails that will surely make you smile every time you look at them.1. "Buddy the Elf" Christmas Nail Art Tutorial


1. "Buddy the Elf" Christmas Nail Art Tutorial


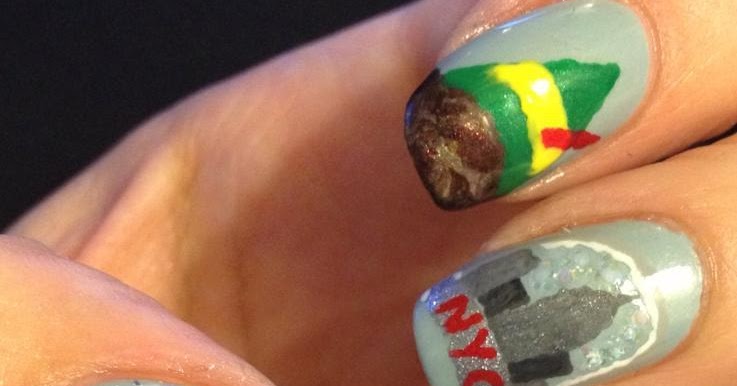
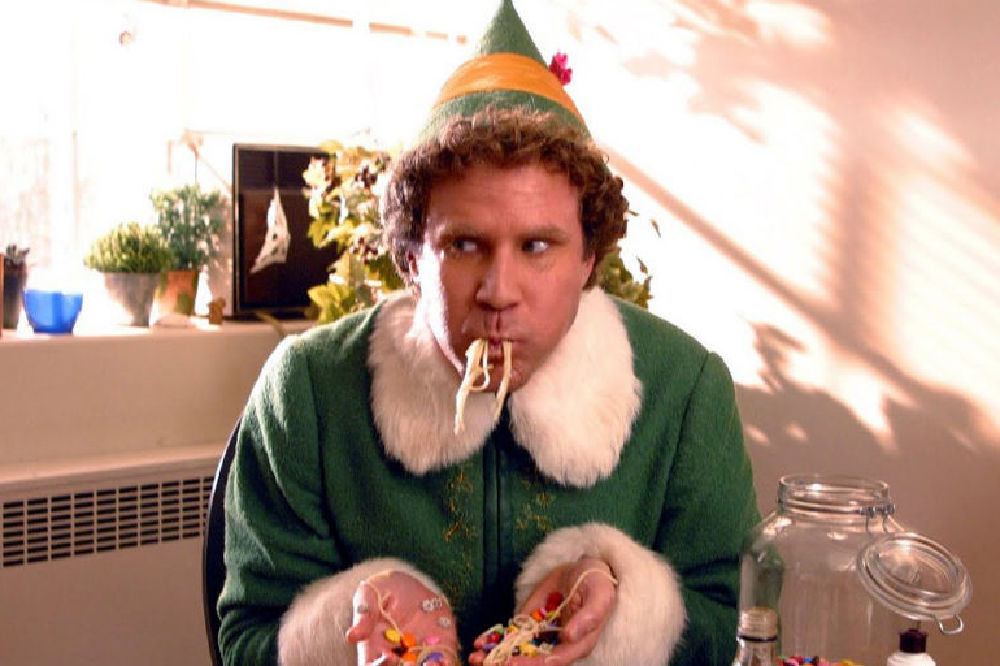
If you want to take your "Buddy the Elf" nail art to the next level, try this festive design that incorporates some of the most iconic elements from the movie. This design features Buddy's outfit, the North Pole sign, and of course, his favorite food - spaghetti with maple syrup. To get started, you'll need a base coat, a green nail polish, a yellow nail polish, a red nail polish, a white nail polish, a black nail polish, a fine tip nail brush, a small dotting tool, and a top coat. Begin by applying a base coat to protect your nails and allow it to dry completely. Next, paint your nails with a vibrant green polish. This will serve as the base color for Buddy's outfit. Let it dry before moving on to the next step. Using a fine tip nail brush, create a diagonal line across your nail using a yellow polish. This will represent the iconic yellow strip on Buddy's outfit. Make sure to leave enough space at the bottom of your nail for the red strip. Using the same brush and a red polish, create a diagonal line on the bottom of your nail, meeting the yellow line in the middle. This will represent the red strip on Buddy's outfit. Next, using the fine tip brush and a white polish, draw on a small collar at the top of your nail, just above the yellow line. This will complete the look of Buddy's outfit. Now it's time to add some details to your nails. Using the small dotting tool and a white polish, create a small North Pole sign on one of your nails. You can also add some white dots around it to represent snow. On another nail, use the same tool and a red polish to create a bowl of spaghetti with a maple syrup bottle next to it. Using the fine tip brush and a black polish, add small details to the North Pole sign, such as the arrow and the text. You can also add some black lines to represent the strands of spaghetti. Finish off your design with a top coat and enjoy your festive "Buddy the Elf" nails.2. Festive "Buddy the Elf" Nail Design


2. Festive "Buddy the Elf" Nail Design

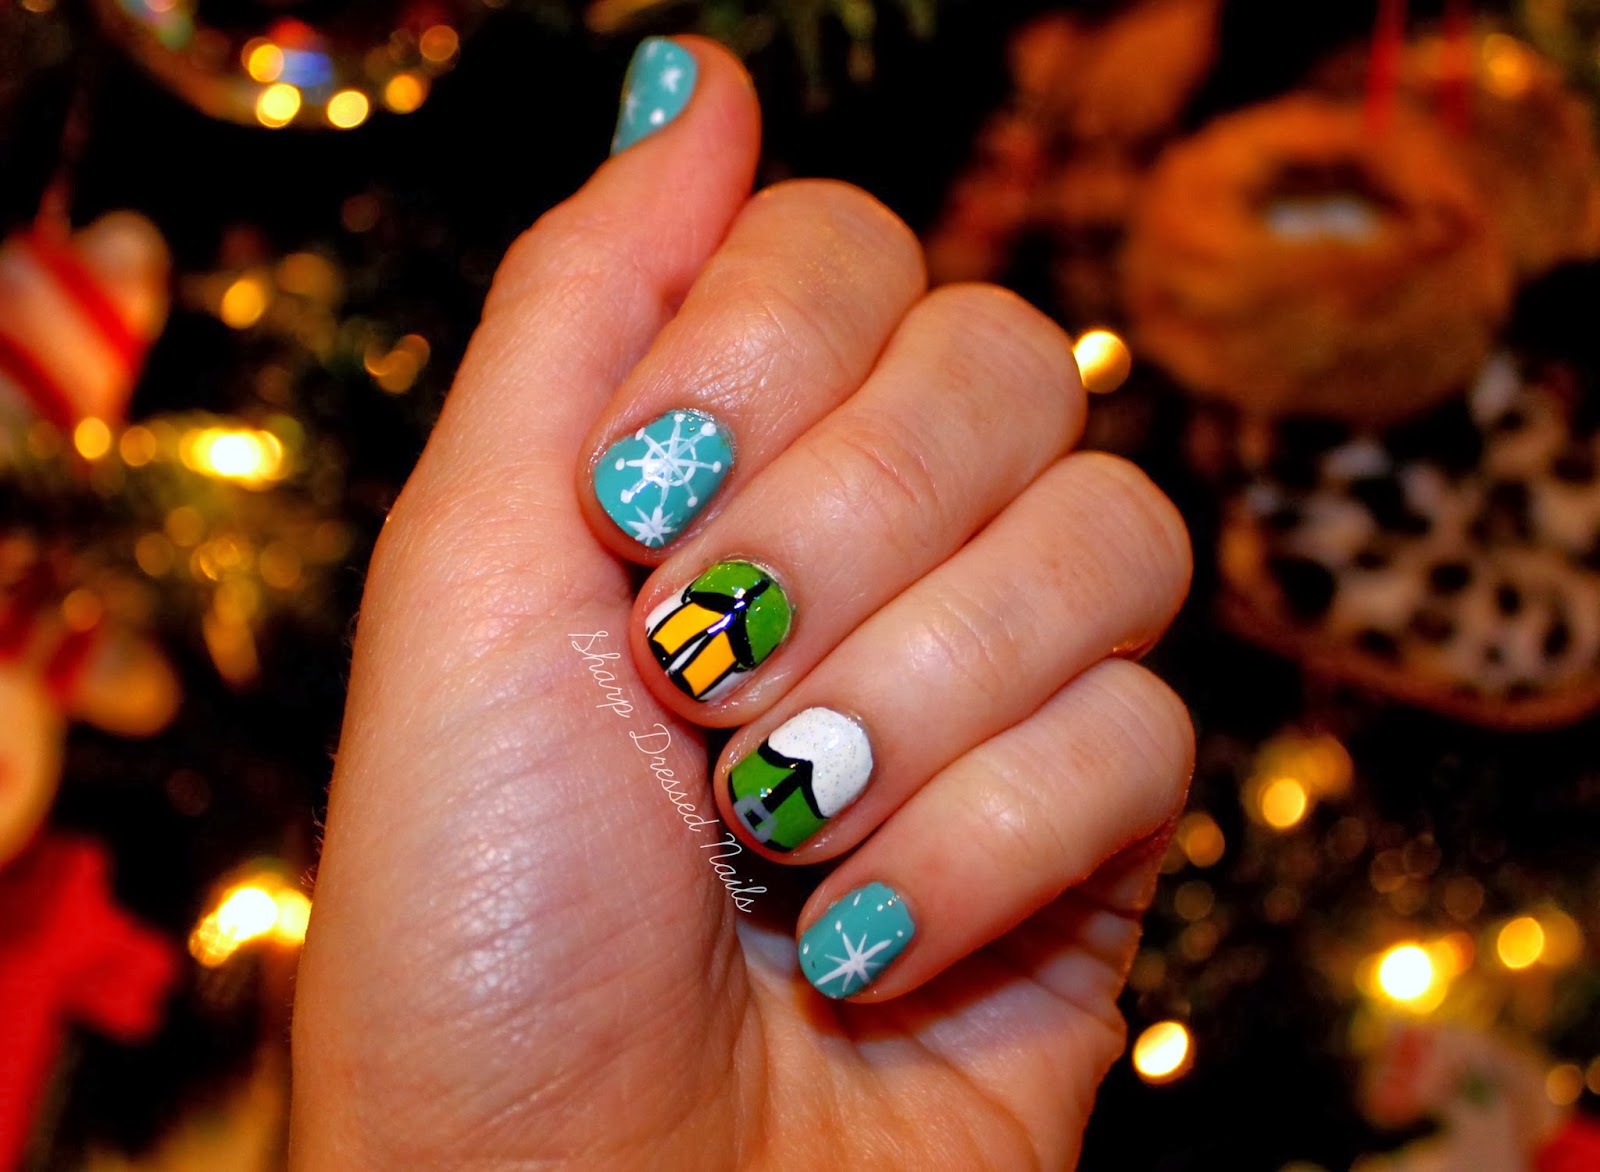
Spread holiday cheer with these "Buddy the Elf" inspired nails that are sure to make you smile. This design features all the classic elements of the movie, from Buddy's outfit to his love for Christmas. It's the perfect way to show your holiday spirit and pay tribute to one of the most beloved holiday characters. Start by applying a base coat to protect your nails and allow it to dry completely. Next, paint your nails with a vibrant green polish. This will serve as the base color for Buddy's outfit. Let it dry before moving on to the next step. Using a fine tip nail brush, create a diagonal line across your nail using a yellow polish. This will represent the iconic yellow strip on Buddy's outfit. Make sure to leave enough space at the bottom of your nail for the red strip. Using the same brush and a red polish, create a diagonal line on the bottom of your nail, meeting the yellow line in the middle. This will represent the red strip on Buddy's outfit. Next, using the fine tip brush and a white polish, draw on a small collar at the top of your nail, just above the yellow line. This will complete the look of Buddy's outfit. Now it's time to add some festive details. Using a small dotting tool and a white polish, create snowflakes on some of your nails. You can also add some glitter on top for some extra sparkle. Using the fine tip brush and a black polish, add some details to your nails, such as the North Pole sign, Buddy's elf hat, and his iconic quote "The best way to spread Christmas cheer is singing loud for all to hear." Finish off your design with a top coat and enjoy your "Buddy the Elf" inspired holiday nails.3. "Buddy the Elf" Inspired Holiday Nails

3. "Buddy the Elf" Inspired Holiday Nails


If you're looking for a cute and easy way to incorporate "Buddy the Elf" into your holiday nail art, then this design is perfect for you. It features a simple yet adorable design that will surely put a smile on your face. Start by applying a base coat to protect your nails and allow it to dry completely. Next, paint your nails with a vibrant green polish. This will serve as the base color for Buddy's outfit. Let it dry before moving on to the next step. Using a fine tip nail brush, create a diagonal line across your nail using a yellow polish. This will represent the iconic yellow strip on Buddy's outfit. Make sure to leave enough space at the bottom of your nail for the red strip. Using the same brush and a red polish, create a diagonal line on the bottom of your nail, meeting the yellow line in the middle. This will represent the red strip on Buddy's outfit. Next, using the fine tip brush and a white polish, draw on a small collar at the top of your nail, just above the yellow line. This will complete the look of Buddy's outfit. Using a small dotting tool and a white polish, create small dots on the green part of your nail to represent the snowflakes. You can also add some glitter on top for some extra sparkle. Finish off your design with a top coat and enjoy your cute and easy "Buddy the Elf" nails.4. Cute and Easy "Buddy the Elf" Nail Art

4. Cute and Easy "Buddy the Elf" Nail Art

Combine two holiday favorites - "Buddy the Elf" and ugly Christmas sweaters - with this festive nail design. It features a cute and whimsical design that will surely make your nails stand out at any holiday party. Start by applying a base coat to protect your nails and allow it to dry completely. Next, paint your nails with a vibrant green polish. This will serve as the base color for Buddy's outfit. Let it dry before moving on to the next step. Using a fine tip nail brush, create a diagonal line across your nail using a yellow polish. This will represent the iconic yellow strip on Buddy's outfit. Make sure to leave enough space at the bottom of your nail for the red strip. Using the same brush and a red polish, create a diagonal line on the bottom of your nail, meeting the yellow line in the middle. This will represent the red strip on Buddy's outfit. Next, using the fine tip brush and a white polish, draw on a small collar at the top of your nail, just above the yellow line. This will complete the look of Buddy's outfit. Using a small dotting tool and a white polish, create small dots on the green part of your nail to represent the snowflakes. You can also add some glitter on top for some extra sparkle. Using a fine tip brush and a black polish, create a line across your nail to represent the neckline of a sweater. Add some small black dots to represent the knit pattern. Next, using the same brush and a red polish, create small horizontal lines across your nail to represent the knit pattern of the sweater. You can also add some white dots on top to represent snowflakes. Finish off your design with a top coat and enjoy your festive "Buddy the Elf" Christmas sweater nails.5. "Buddy the Elf" Christmas Sweater Nails


5. "Buddy the Elf" Christmas Sweater Nails


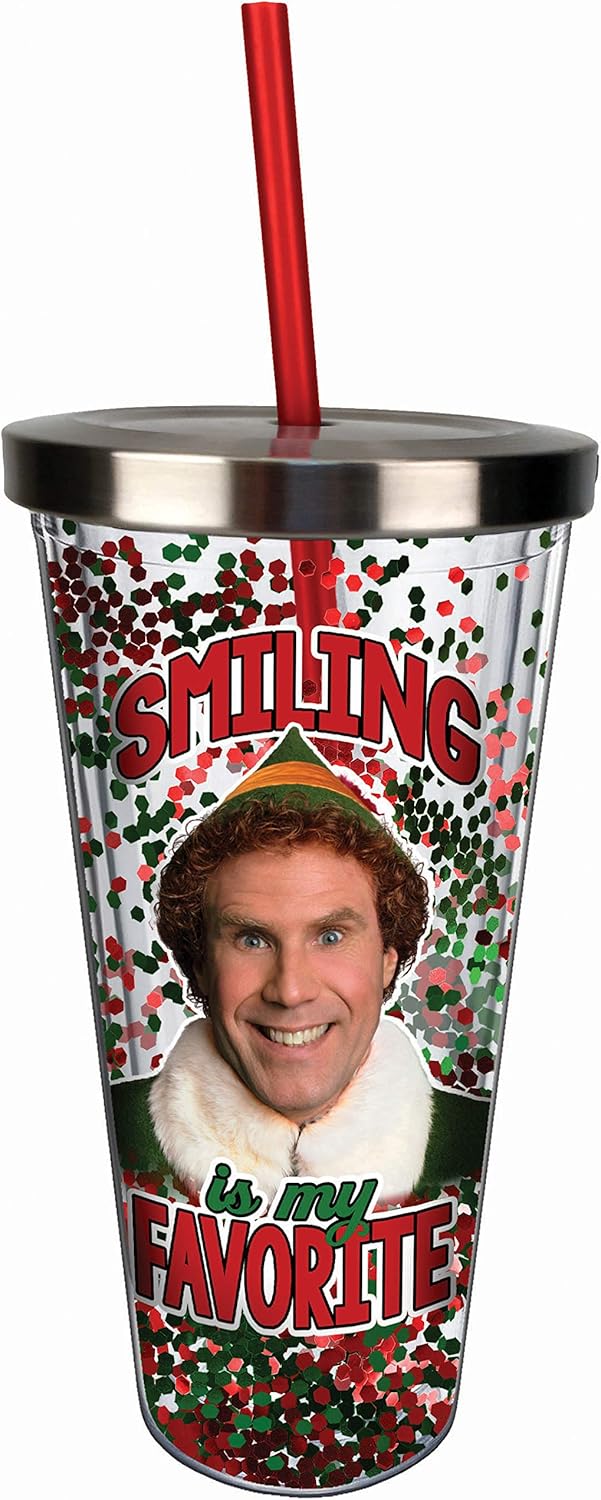
Embrace the whimsy of "Buddy the Elf" with this fun and playful nail design. It features all the iconic elements of the movie, from Buddy's outfit to his love for Christmas. This design will surely put a smile on your face every time you look at it. Begin by applying a base coat to protect your nails and allow it to dry completely. Next, paint your nails with a vibrant green polish. This will serve as the base color for Buddy's outfit. Let it dry before moving on to the next step. Using a fine tip nail brush, create a diagonal line across your nail using a yellow polish. This will represent the iconic yellow strip on Buddy's outfit. Make sure to leave enough space at the bottom of your nail for the red strip. Using the same brush and a red polish, create a diagonal line on the bottom of your nail, meeting the yellow line in the middle. This will represent the red strip on Buddy's outfit. Next, using the fine tip brush and a white polish, draw on a small collar at the top of your nail, just above the yellow line. This will complete the look of Buddy's outfit. Using a small dotting tool and a white polish, create small dots on the green part of your nail to represent the snowflakes. You can also add some glitter on top for some extra sparkle. Using the fine tip brush and a black polish, add some details to your design, such as the North Pole sign, Buddy's elf hat, and his famous quote "I just like to smile, smiling's my favorite." Finish off your design with a top coat and enjoy your whimsical "Buddy the Elf" nails.6. Whimsical "Buddy the Elf" Nail Design


6. Whimsical "Buddy the Elf" Nail Design


If you're a true fan of the movie "Elf", then this nail art design is a must-try. It features all the key elements of the movie, from Buddy's outfit to his love for Christmas. It's the perfect way to show your love for the movie and get into the holiday spirit. Start by applying a base coat to protect your nails and allow it to dry completely. Next, paint your nails with a vibrant green polish. This will serve as the base color for Buddy's outfit. Let it dry before moving on to the next step. Using a fine tip nail brush, create a diagonal line across your nail using a yellow polish. This will represent the iconic yellow strip on Buddy's outfit. Make sure to leave enough space at the bottom of your nail for the red strip. Using the same brush and a red polish, create a diagonal line on the bottom of your nail, meeting the yellow line in the middle. This will represent the red strip on Buddy's outfit. Next, using the fine tip brush and a white polish, draw on a small collar at the top of your nail, just above the yellow line. This will complete the look of Buddy's outfit. Using a small dotting tool and a white polish, create small dots on the green part of your nail to represent the snowflakes. You can also add some glitter on top for some extra sparkle. Using the fine tip brush and a black polish, add some details to your design, such as the North Pole sign, Buddy's elf hat, and his famous quote "The best way to spread Christmas cheer is singing loud for all to hear." Finish off your design with a top coat and enjoy your "Buddy the Elf" movie-inspired nails.7. "Buddy the Elf" Movie-Inspired Nail Art

7. "Buddy the Elf" Movie-Inspired Nail Art

If you're not confident in your nail art skills, don't worry - you can still rock "Buddy the Elf" nails with these DIY nail decals. They're easy to make and will give you a professional-looking design without the hassle. Start by applying a base coat to protect your nails and allow it to dry completely. Next, paint your nails with a vibrant green polish. This will serve as the base color for Buddy's outfit. Let it dry before moving on to the next step. Using a fine tip nail brush, create a diagonal line across your nail using a yellow polish. This will represent the iconic yellow strip on Buddy's outfit. Make sure to leave enough space at the bottom of your nail for the red strip. Using the same brush and a red polish, create a diagonal line on the bottom of your nail, meeting the yellow line in the middle. This will represent the red strip on Buddy's outfit. Next, using the fine tip brush and a white polish, draw on a small collar at the top of your nail, just above the yellow line. This will complete the look of Buddy's outfit.8. DIY "Buddy the Elf" Nail Decals


8. DIY "Buddy the Elf" Nail Decals


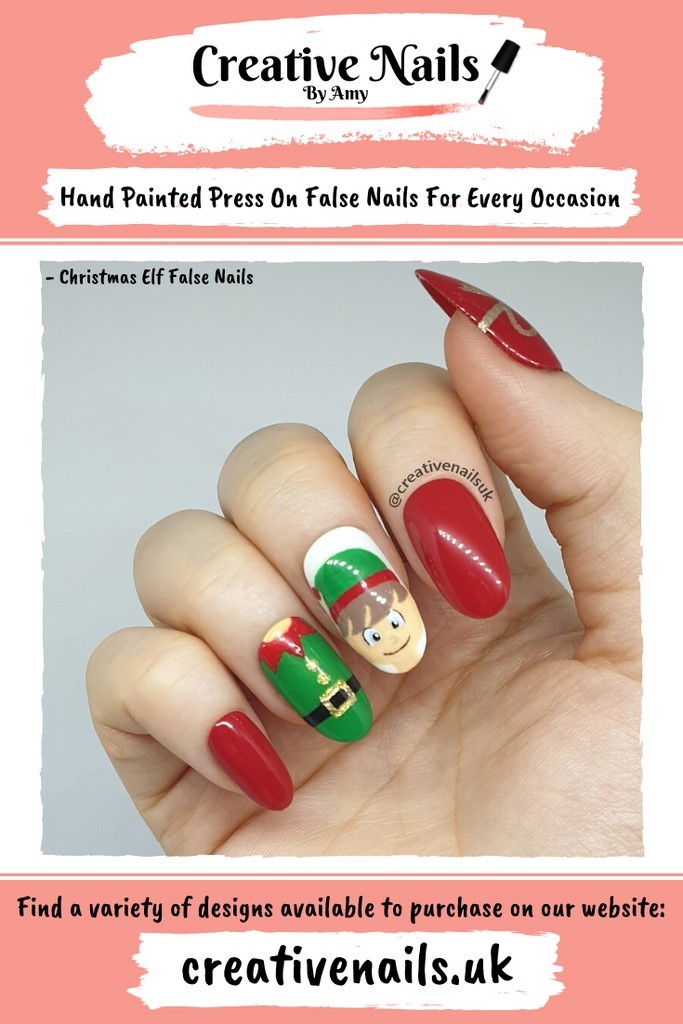
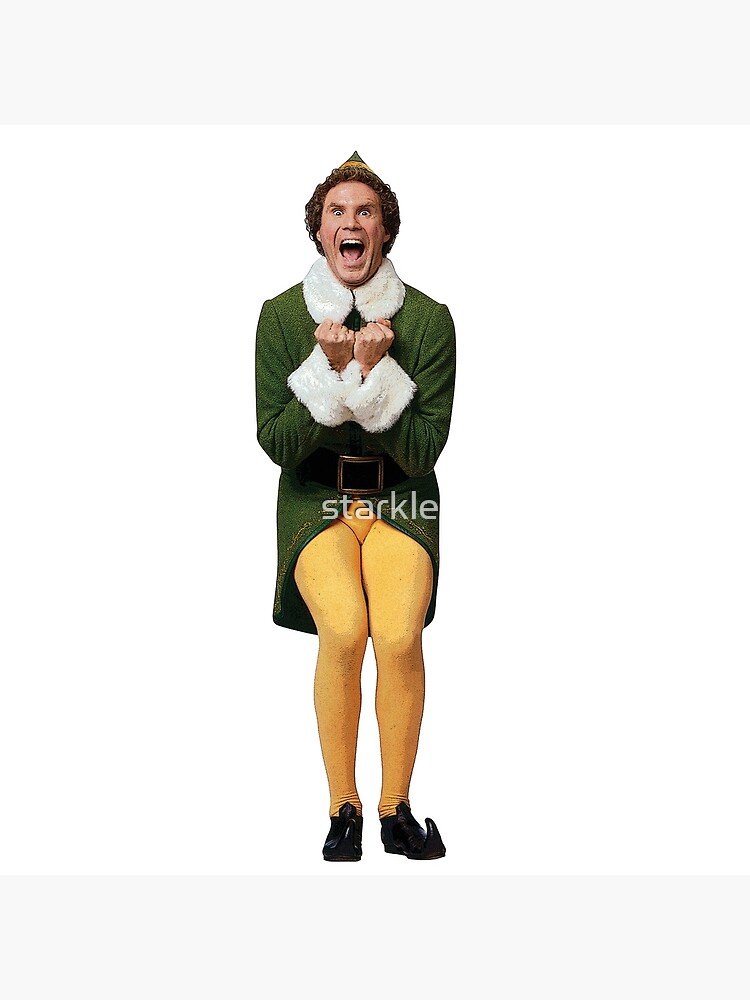
Add Some Festive Cheer to Your Nails with Buddy the Elf Nail Art
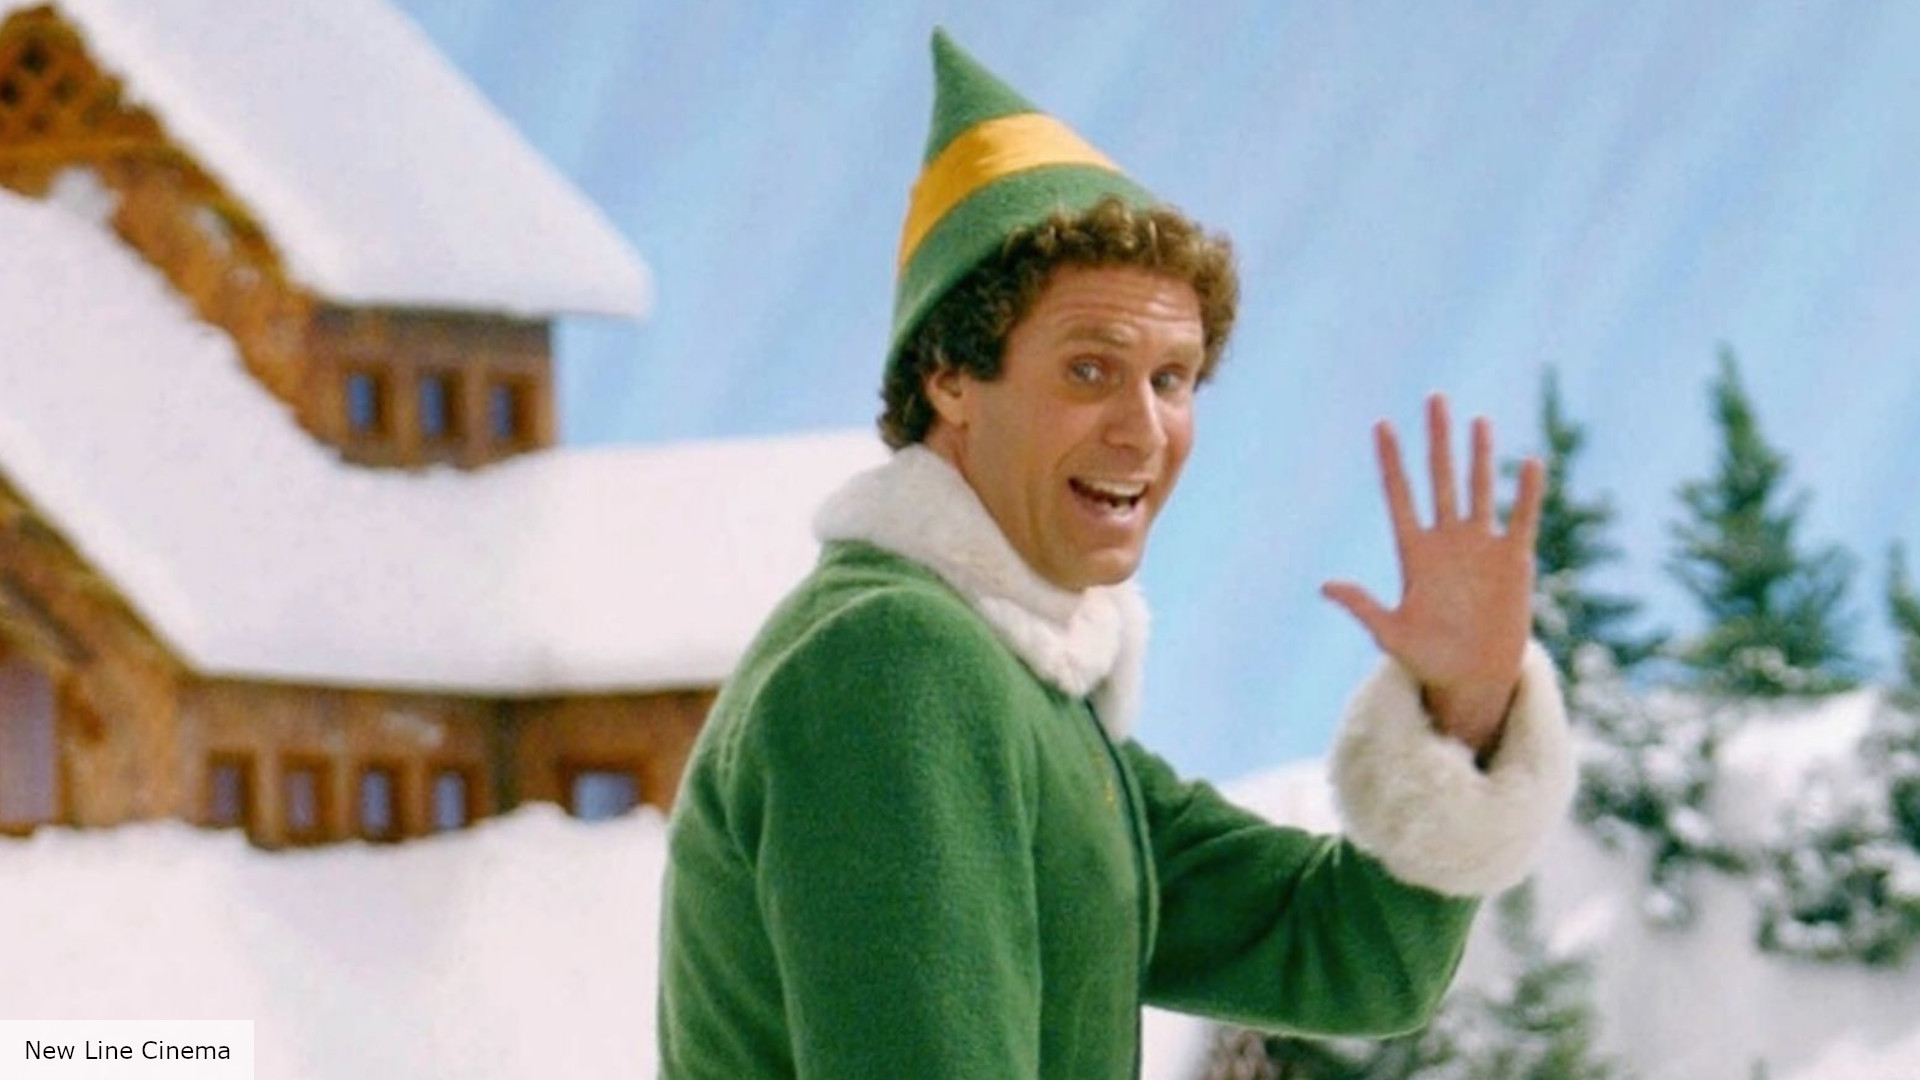
The holiday season is the perfect time to get creative with your nail art, and what better way to show your love for the festive season than with Buddy the Elf nail art? This beloved character from the classic movie "Elf" is sure to bring some extra joy and Christmas spirit to your nails. Not only is it a fun and unique design, but it's also a great conversation starter at holiday parties and gatherings. Let's dive into how you can achieve this fun and festive nail art design.
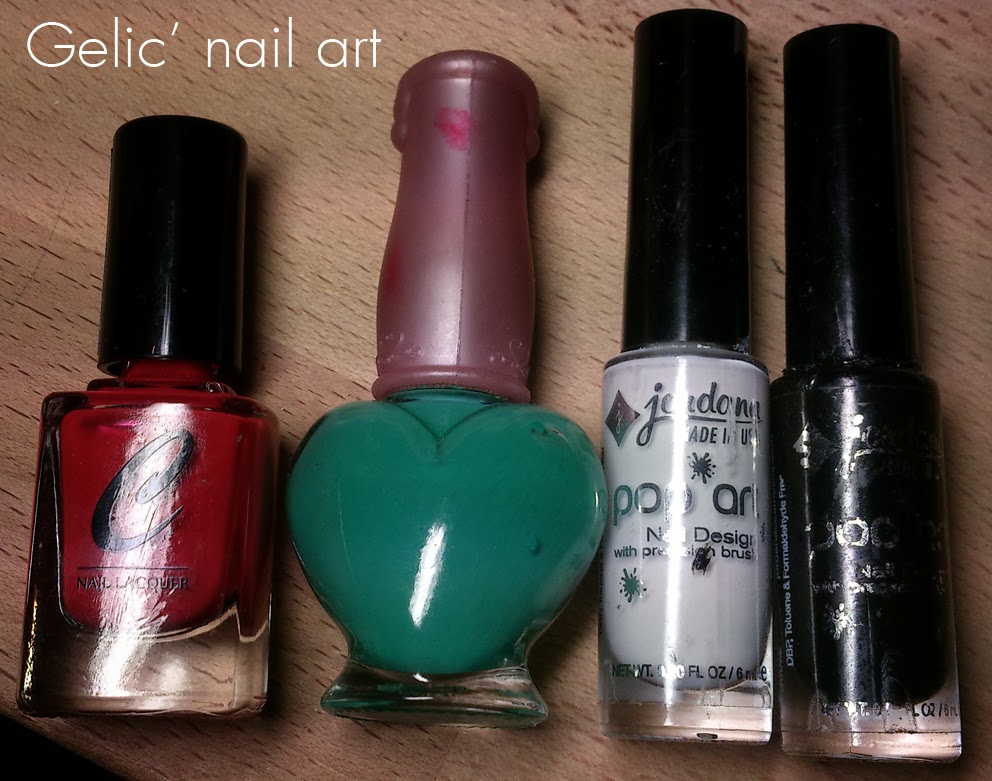
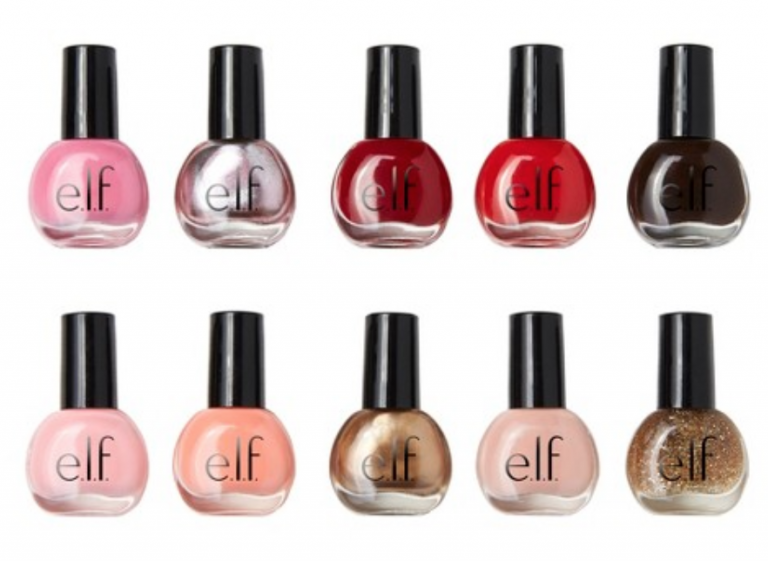
First, gather all the necessary supplies. You will need a base coat, green, red, and white nail polish, a small detail brush, and a top coat. You can also add some glitter or rhinestones for some extra sparkle.
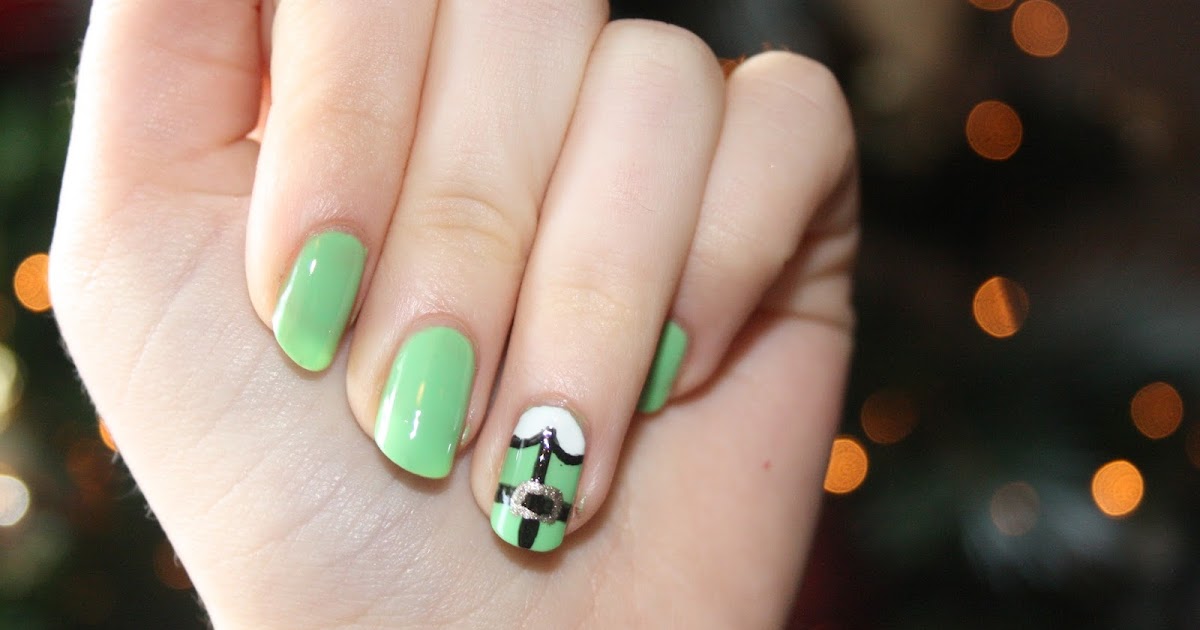
Start by applying a base coat to your nails to protect them and help the polish last longer. Then, using the red nail polish, paint your middle and ring fingers. These will be the base for Buddy's iconic red and white striped outfit. Next, use the green nail polish to paint your index and pinky fingers. These will be the base for Buddy's green elf suit.

Once the base colors have dried, it's time to add the details. Use the white nail polish to create thin diagonal lines on the red nails to mimic Buddy's striped outfit. For the green nails, use the white polish to create a collar at the base of the nail and two small white buttons on the tip of the nail to represent Buddy's shirt.
Next, it's time to add Buddy's iconic hat to your thumb nail. Using the red polish, create a triangle shape at the base of your nail, leaving some space at the tip. Then, use the white polish to add a fluffy white trim to the hat. You can also add a small green pom-pom on top using the green polish.
For the final touches, use the small detail brush and white polish to add some details to Buddy's green suit, such as a belt, buttons, and a buckle. You can also add some glitter or rhinestones to add some extra sparkle to your nails.
Once everything has dried, finish off with a top coat to seal in your design and make it last longer. Voila, you now have festive and adorable Buddy the Elf nail art!

This fun and festive nail art design is perfect for spreading some holiday cheer and showing off your love for the classic movie "Elf". Get creative and make it your own by adding your own unique touches. Happy holidays!


