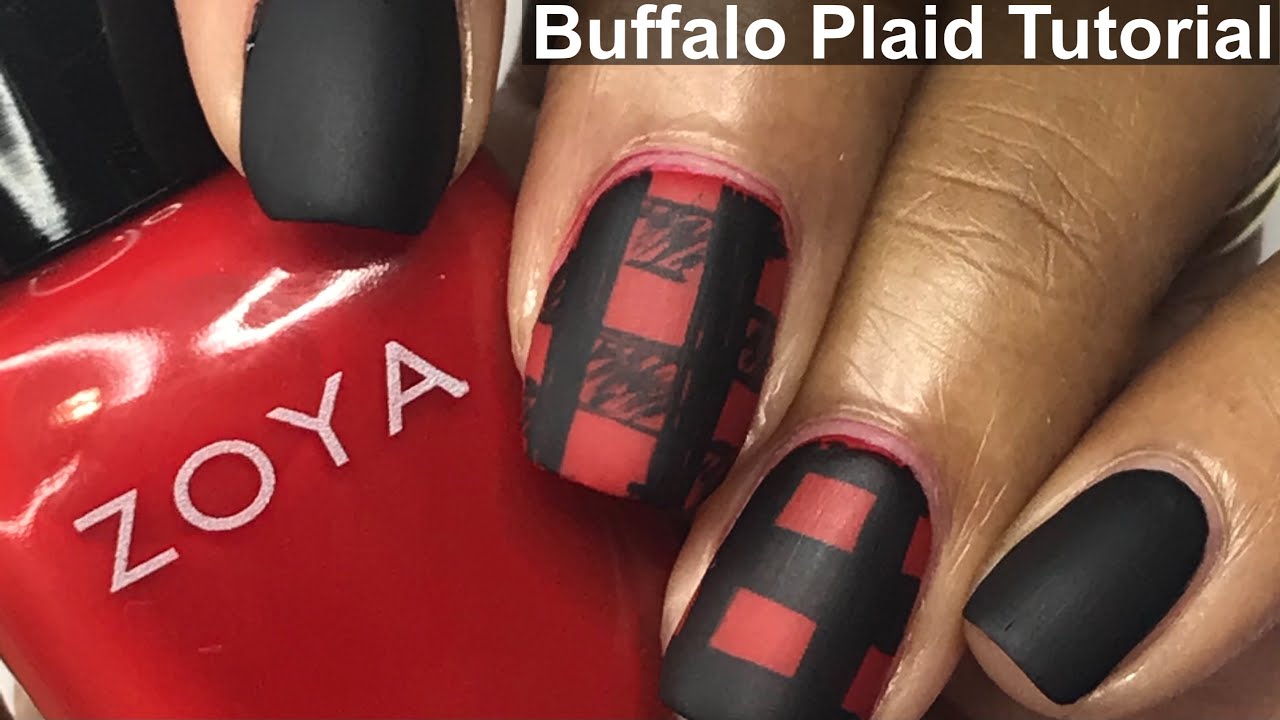
Creating a gorgeous buffalo plaid nail art design doesn't have to be complicated or time-consuming. With this easy tutorial, you can achieve a flawless buffalo plaid look in no time! To start, you will need a base coat, red and black nail polish, a thin brush, and a top coat. Begin by applying a base coat to protect your nails and allow it to dry completely. Next, paint your nails with a solid red polish and let it dry. Then, using a thin brush, create thin black lines in a crisscross pattern on each nail. This will give you the classic buffalo plaid look. For an extra touch, you can add some white or silver dots in between the black lines to make the design pop. Finish off with a top coat to seal in your design and add shine.1. Easy Buffalo Plaid Nail Art Tutorial


1. Easy Buffalo Plaid Nail Art Tutorial


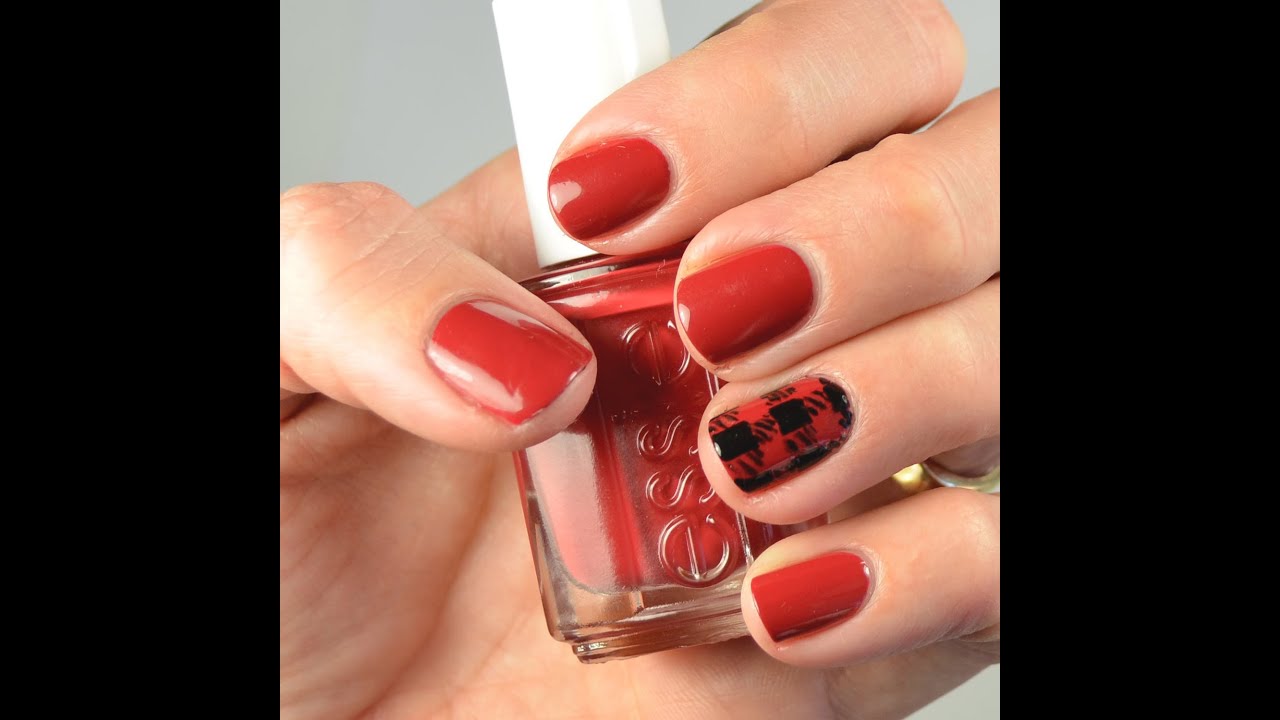
If you love a good do-it-yourself project, why not try creating your own buffalo plaid nail art? This tutorial will guide you through the steps to achieve a beautiful and unique design. For this tutorial, you will need a base coat, red and black nail polish, a stamping plate with a plaid design, a stamper, and a scraper. Begin by applying a base coat to protect your nails and let it dry. Next, paint your nails with a solid red polish and let it dry completely. Then, using the stamping plate, pick up the plaid design with the stamper and transfer it onto your nails. Repeat this process on all nails. For a more personalized touch, you can use different colors for the plaid design or even mix and match different patterns. Finish off with a top coat to seal in your design and add shine.2. DIY Buffalo Plaid Nail Art Tutorial


2. DIY Buffalo Plaid Nail Art Tutorial


Not sure where to start when it comes to creating a buffalo plaid nail art design? Don't worry, this step-by-step tutorial will guide you through the process. First, gather all the necessary materials: a base coat, red and black nail polish, a thin brush, a toothpick, and a top coat. Begin by applying a base coat to protect your nails and let it dry. Next, paint your nails with a solid red polish and let it dry completely. Then, using a thin brush, create thin black lines in a crisscross pattern on each nail. Once the lines are dry, use a toothpick to create small white or silver dots between the black lines. For a more intricate design, you can use different colors for the dots or even add small hearts or stars. Finish off with a top coat to seal in your design and add shine.3. Step-by-Step Buffalo Plaid Nail Art Tutorial


3. Step-by-Step Buffalo Plaid Nail Art Tutorial


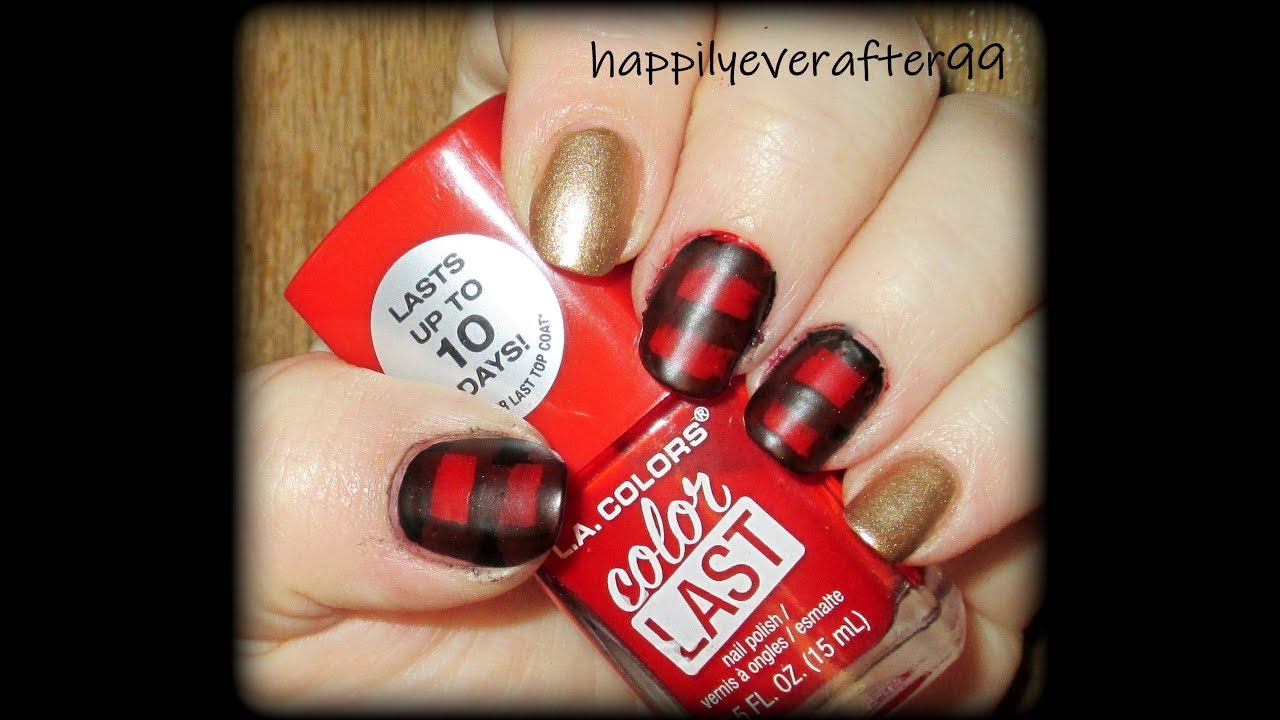
If you're new to nail art, don't be intimidated by the buffalo plaid design. This tutorial is perfect for beginners and will walk you through the steps to achieve a stunning look. To start, you will need a base coat, red and black nail polish, a nail art brush, and a top coat. Begin by applying a base coat to protect your nails and let it dry. Next, paint your nails with a solid red polish and let it dry completely. Then, using a nail art brush, create thick black lines in a crisscross pattern on each nail. Don't worry about making the lines perfect, as the imperfections will add to the charm of the design. For an extra touch, you can add small white or silver dots between the black lines using a toothpick. Finish off with a top coat to seal in your design and add shine.4. Buffalo Plaid Nail Art Tutorial for Beginners


4. Buffalo Plaid Nail Art Tutorial for Beginners

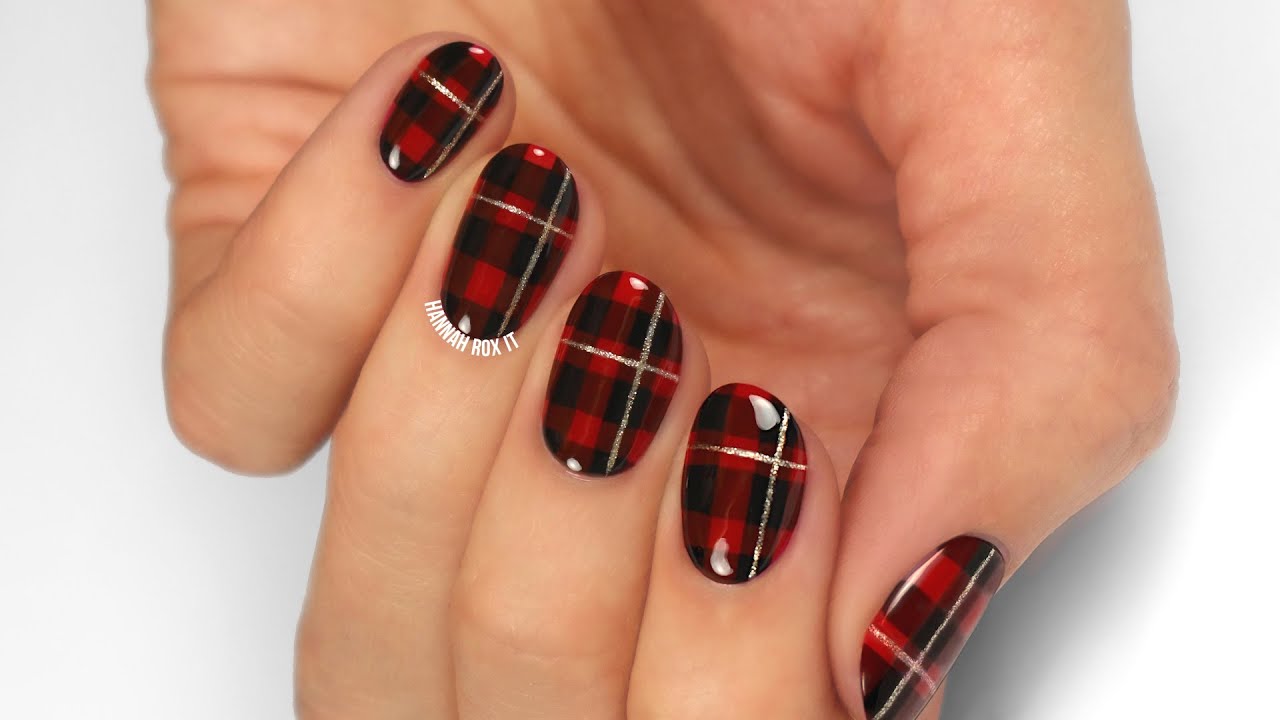
The classic combination of red and black is perfect for a buffalo plaid nail art design. This tutorial will show you how to create a bold and eye-catching look using these two colors. For this design, you will need a base coat, red and black nail polish, a thin brush, and a top coat. Begin by applying a base coat to protect your nails and let it dry. Next, paint your nails with a solid red polish and let it dry completely. Using a thin brush, create thin black lines in a crisscross pattern on each nail. Then, fill in every other square with black nail polish to create the plaid design. For a finishing touch, you can add some glitter or rhinestones to the black squares. Finish off with a top coat to seal in your design and add shine.5. Red and Black Buffalo Plaid Nail Art Tutorial

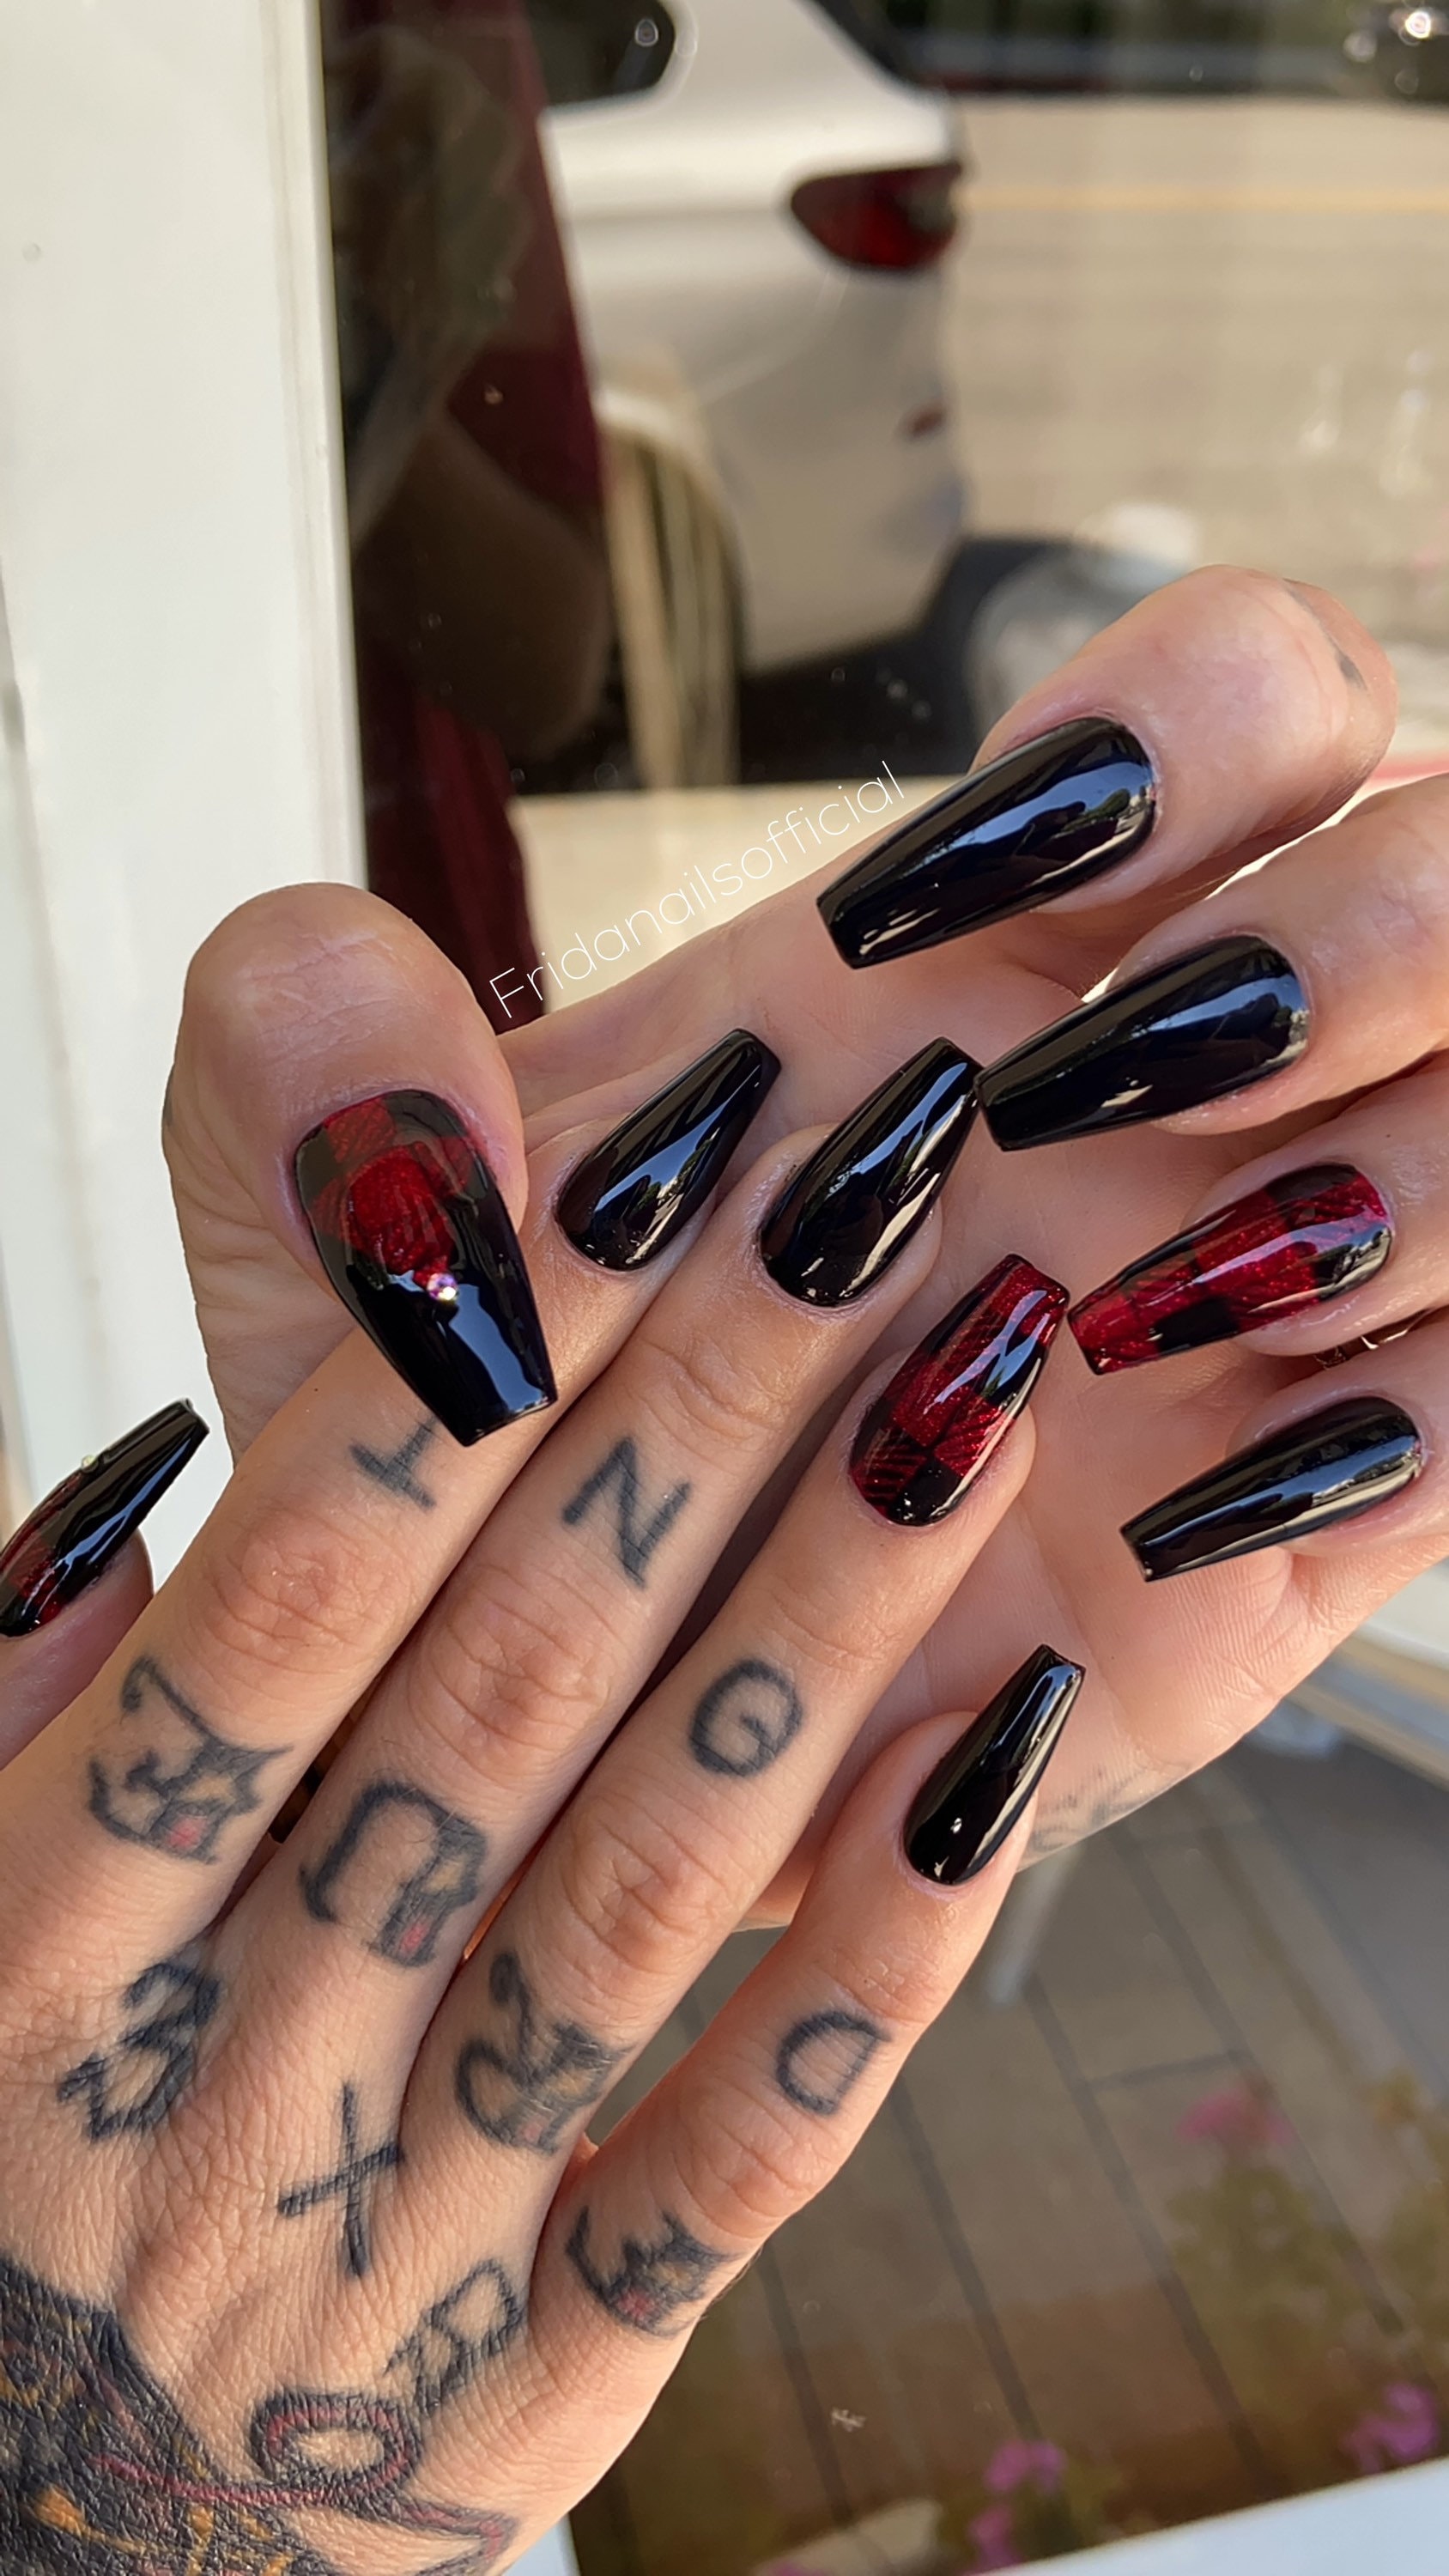
5. Red and Black Buffalo Plaid Nail Art Tutorial
If you don't have a steady hand or prefer a cleaner and more precise look, using scotch tape is a great technique for creating buffalo plaid nail art. Follow this tutorial for a flawless design. To start, gather all the necessary materials: a base coat, red and black nail polish, scotch tape, and a top coat. Begin by applying a base coat to protect your nails and let it dry. Next, paint your nails with a solid red polish and let it dry completely. Then, cut thin strips of scotch tape and place them in a crisscross pattern on each nail to create the plaid design. Make sure to press down the edges of the tape firmly. Using a black nail polish, paint over the exposed areas and let it dry for a few seconds before carefully removing the tape. Finish off with a top coat to seal in your design and add shine.6. Buffalo Plaid Nail Art Tutorial with Scotch Tape


6. Buffalo Plaid Nail Art Tutorial with Scotch Tape

If you have stamping tools, this tutorial will show you how to create a quick and easy buffalo plaid design using them. For this design, you will need a base coat, red and black nail polish, a stamping plate with a plaid design, a stamper, and a scraper. Begin by applying a base coat to protect your nails and let it dry. Next, paint your nails with a solid red polish and let it dry completely. Then, using the stamping plate, pick up the plaid design with the stamper and transfer it onto your nails. Repeat this process on all nails. For a more personalized touch, you can use different colors for the plaid design or even mix and match different patterns. Finish off with a top coat to seal in your design and add shine.7. Buffalo Plaid Nail Art Tutorial with Stamping


7. Buffalo Plaid Nail Art Tutorial with Stamping
Nail vinyls are a great tool for achieving a clean and symmetrical buffalo plaid design. This tutorial will guide you through the steps to achieve a flawless look using nail vinyls. To start, you will need a base coat, red and black nail polish, nail vinyls with a plaid design, and a top coat. Begin by applying a base coat to protect your nails and let it dry. Next, paint your nails with a solid red polish and let it dry completely. Then, place the nail vinyls on each nail in a crisscross pattern to create the plaid design. Make sure to press down firmly on the edges of the vinyls. Using a black nail polish, paint over the exposed areas and let it dry for a few seconds before carefully removing the vinyls. Finish off with a top coat to seal in your design and add shine.8. Buffalo Plaid Nail Art Tutorial with Nail Vinyls

8. Buffalo Plaid Nail Art Tutorial with Nail Vinyls

Watermarble nail art is a fun technique that can create a unique and mesmerizing buffalo plaid design. Follow this tutorial to learn how to achieve this look. For this design, you will need a base coat, red and black nail polish, a bowl of water, a toothpick, and a top coat. Begin by applying a base coat to protect your nails and let it dry. Next, paint your nails with a solid red polish and let it dry completely. Then, using a toothpick, create a swirl in the bowl of water with the black and red nail polishes. Dip your nail into the swirl and hold it there for a few seconds before removing it. Repeat this process on all nails and clean up any excess polish around your fingers using a cotton swab dipped in nail polish remover. Finish off with a top coat to seal in your design and add shine.9. Buffalo Plaid Nail Art Tutorial with Watermarble


9. Buffalo Plaid Nail Art Tutorial with Watermarble


For a long-lasting buffalo plaid design, using gel polish is the way to go. This tutorial will guide you through the steps to achieve a stunning and durable look. To start, you will need a base coat, red and black gel polish, a thin brush, and a top coat. Begin by applying a base coat to protect your nails and cure it under a UV or LED lamp according to the instructions. Next, paint your nails with a solid red gel polish and cure it under the lamp. Then, using a thin brush, create thin black lines in a crisscross pattern on each nail. Cure it under the lamp again. For an extra touch, you can add small white or silver dots between the black lines using a toothpick. Cure it under the lamp one last time and finish off with a top coat. Wipe off any sticky residue with a cotton pad soaked in rubbing alcohol.10. Buffalo Plaid Nail Art Tutorial with Gel Polish

10. Buffalo Plaid Nail Art Tutorial with Gel Polish


Why Buffalo Plaid Nail Art is the Perfect Addition to Your Home Design

Introduce the Trend
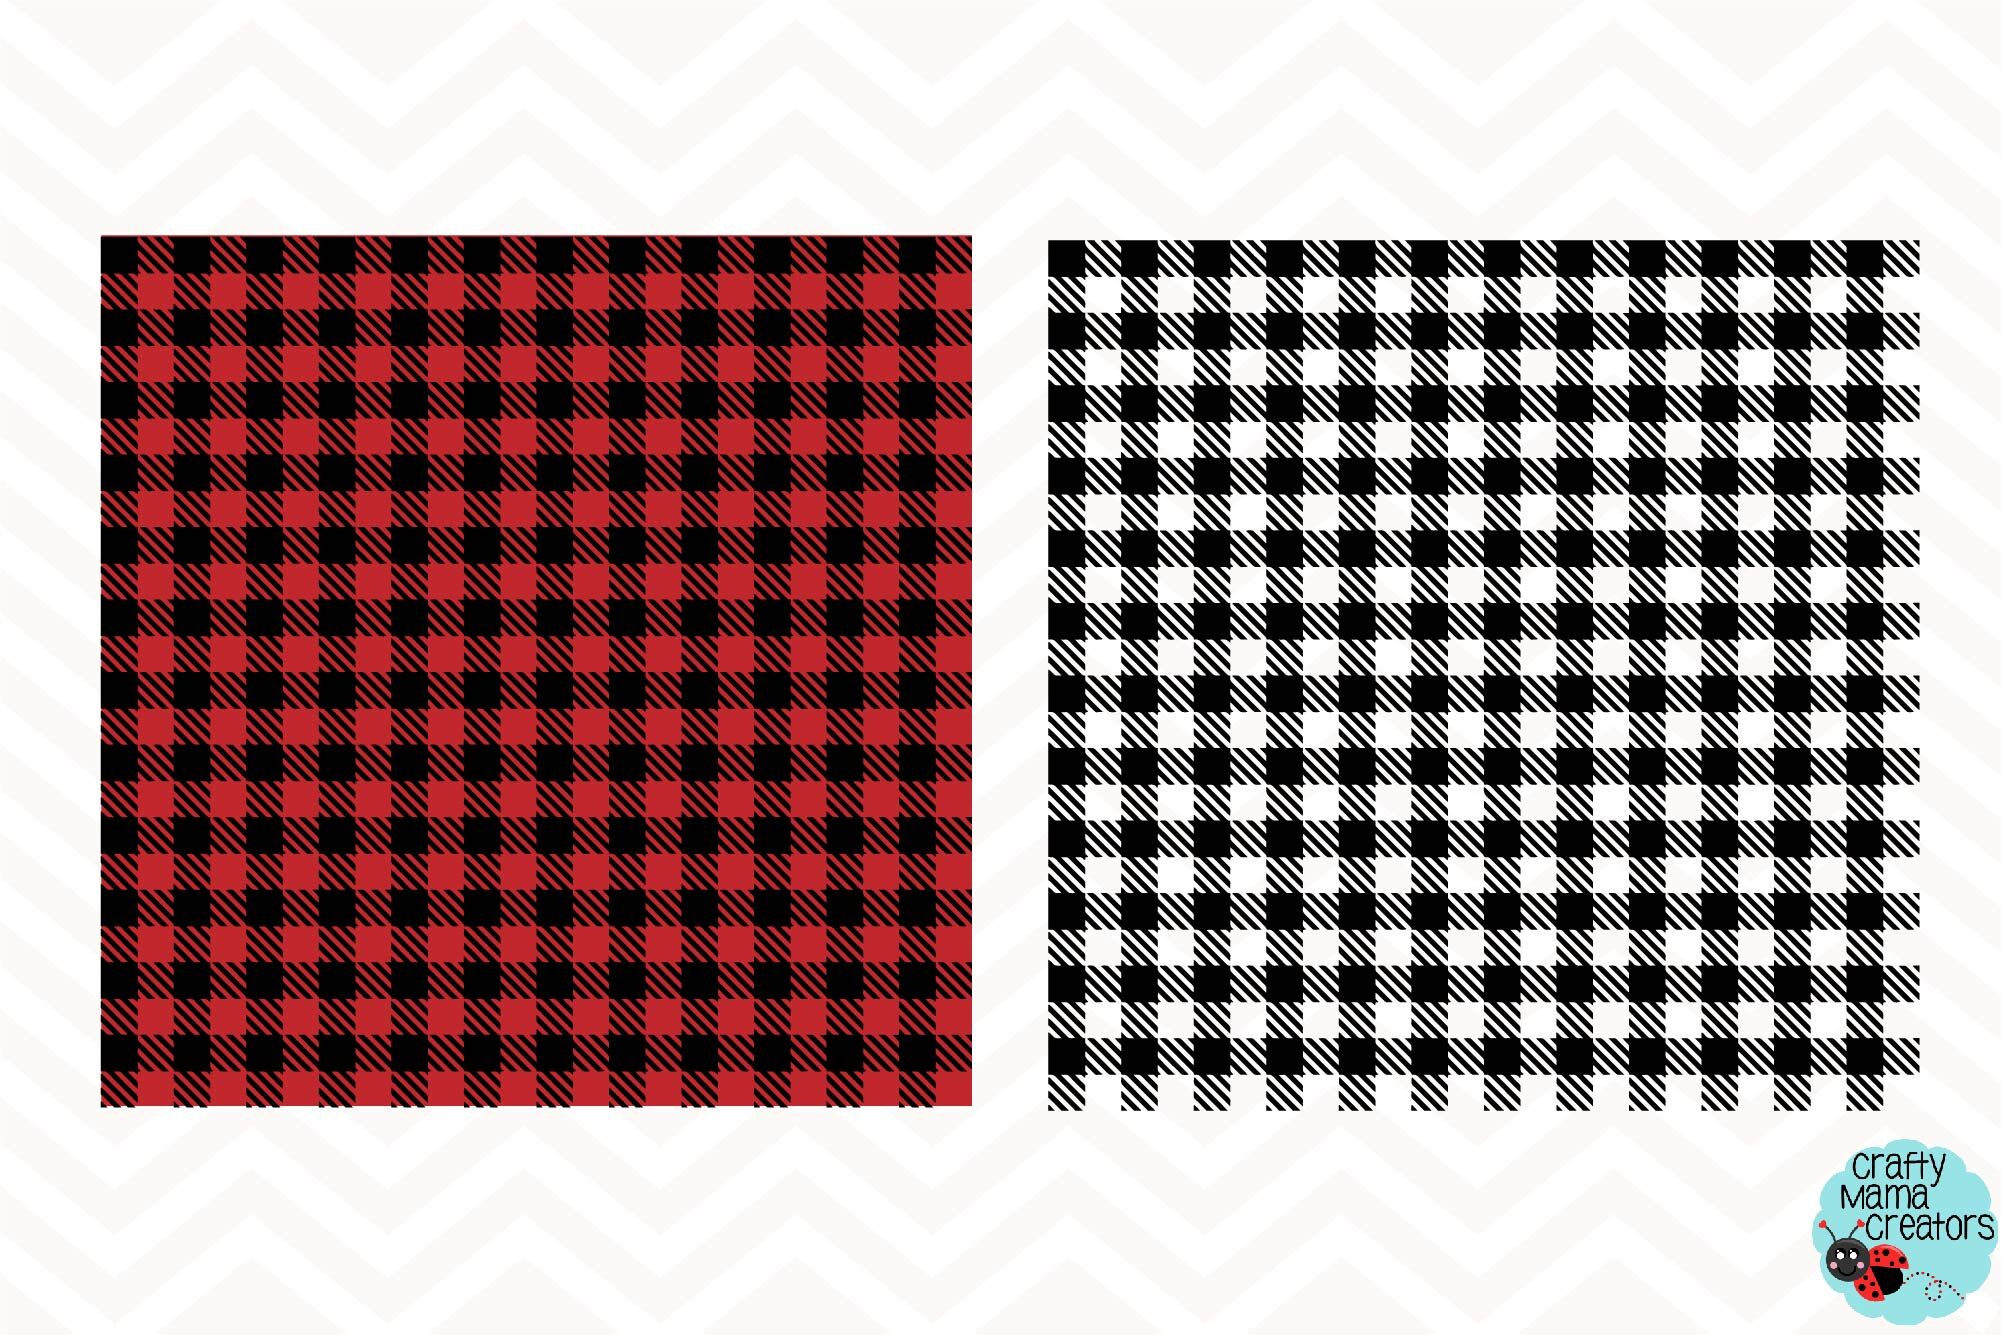
The buffalo plaid pattern has been a staple in fashion and home decor for decades, but recently it has made its way into the world of nail art. This iconic checkered design, also known as lumberjack or tartan, is characterized by its bold red and black color scheme. It's a classic and versatile pattern that can add a touch of rustic charm to any outfit or household item. And now, with this buffalo plaid nail art tutorial, you can easily incorporate this timeless design into your home decor as well.
Effortless Elegance
One of the main reasons why buffalo plaid nail art has become so popular is its effortless elegance. The simple yet bold pattern can instantly elevate any look, making it the perfect addition to your home design. Whether you're going for a cozy cabin aesthetic or a modern farmhouse feel, buffalo plaid nails can tie the whole look together. It's a subtle way to add a touch of sophistication and charm to your home without going overboard.
Endless Possibilities

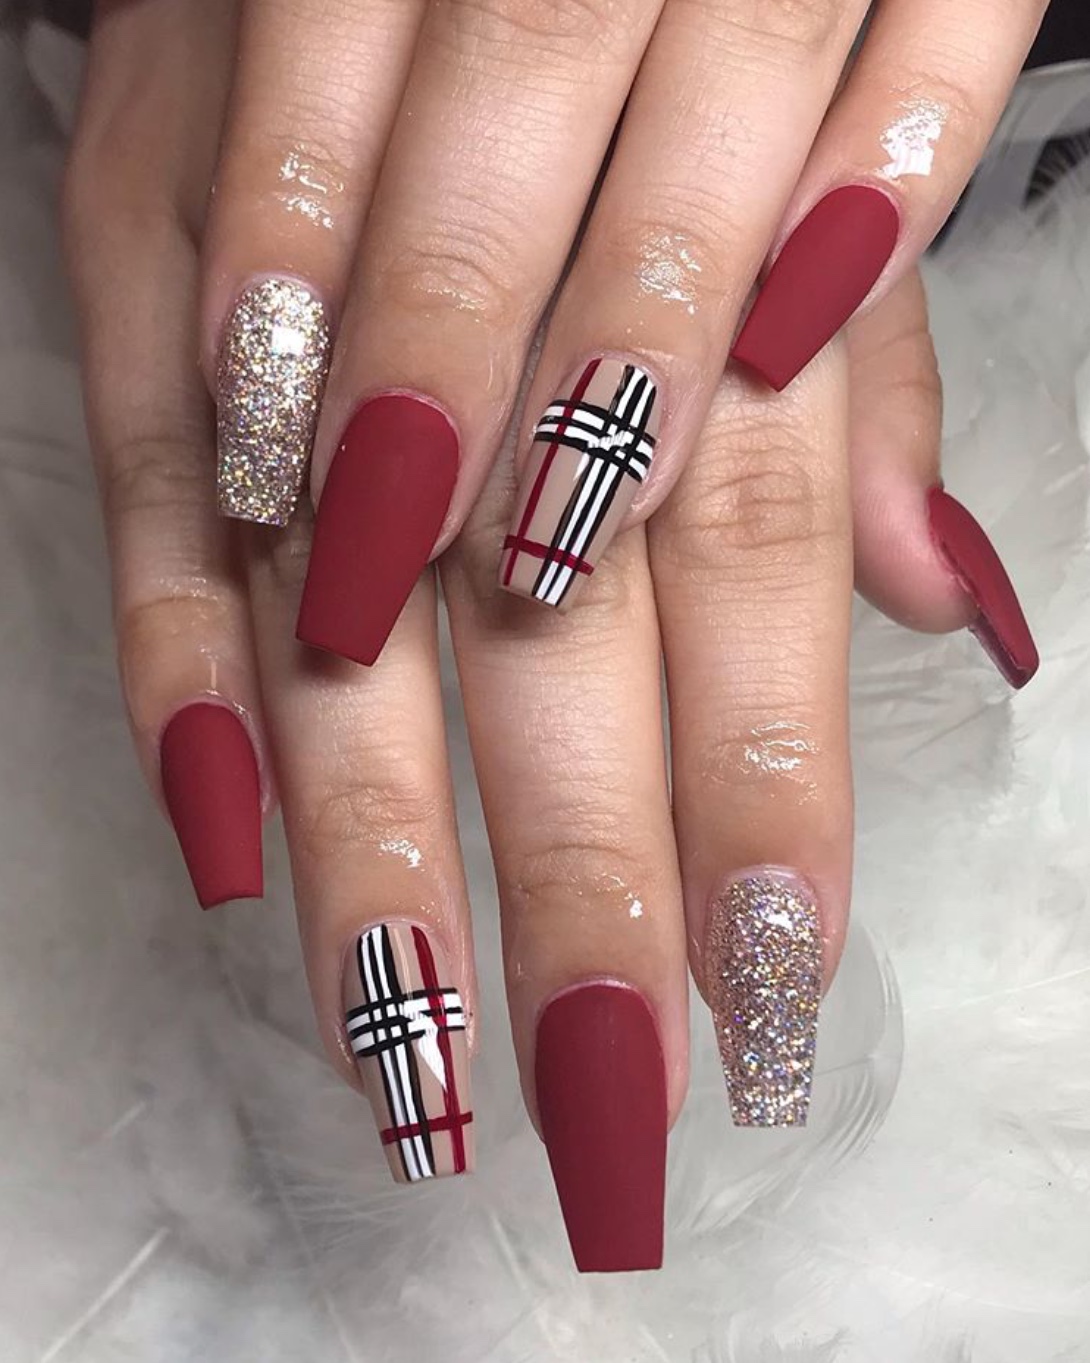
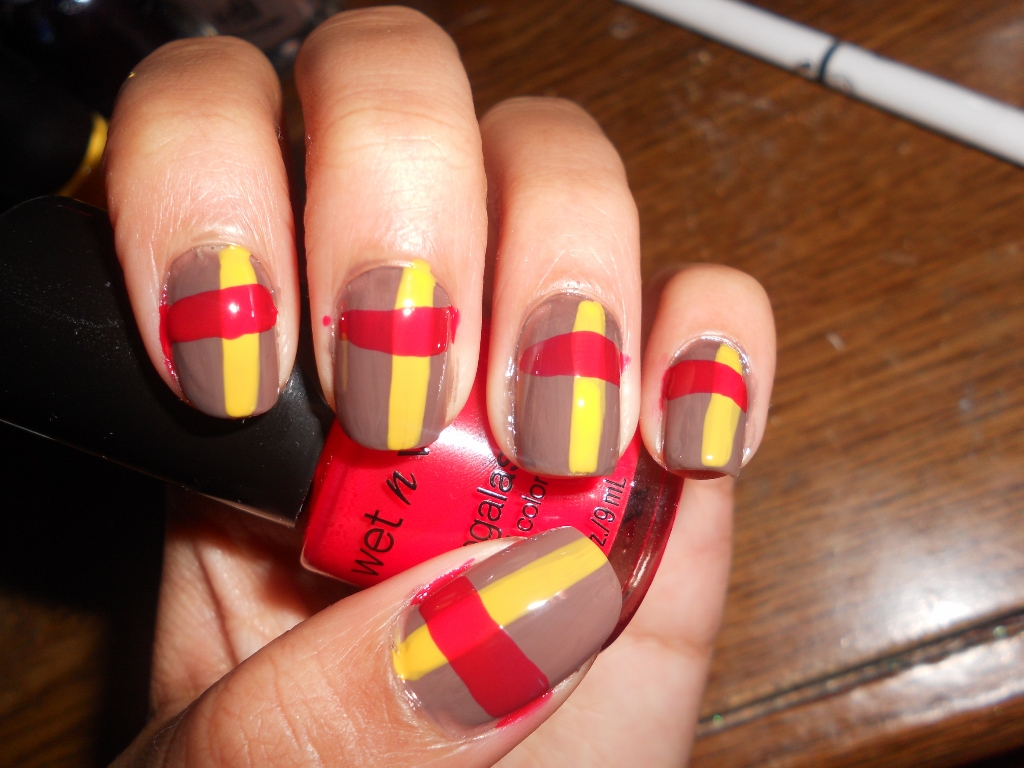
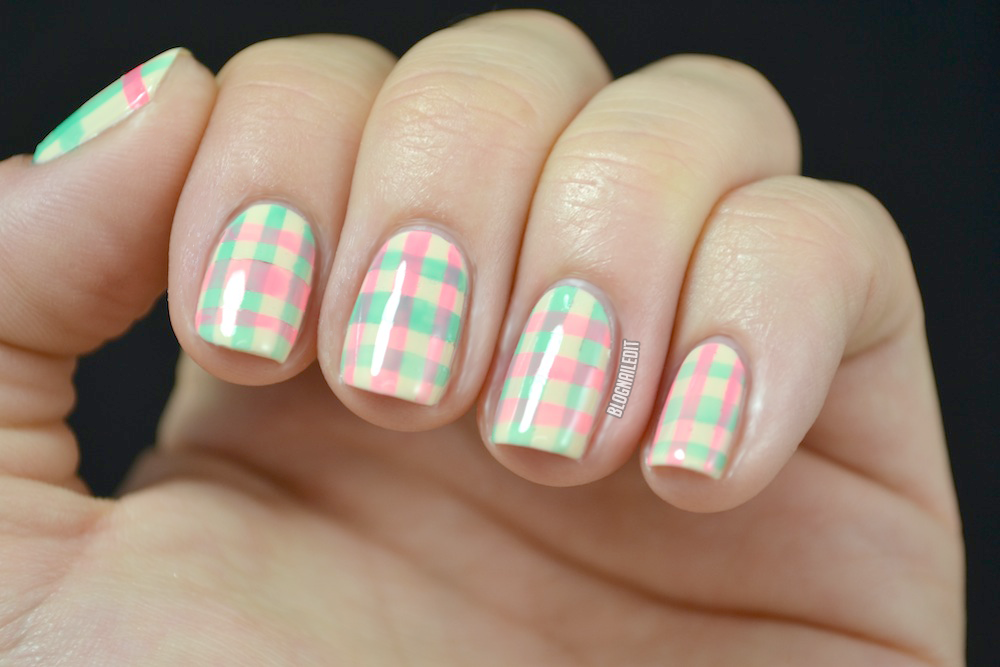
Another great thing about buffalo plaid nail art is the endless possibilities it offers. While the traditional red and black color scheme is a classic choice, you can get creative and incorporate other colors to match your home decor. For a more feminine and delicate look, try using pastel shades like pink and white. If you want a more modern and edgy vibe, go for a black and white buffalo plaid pattern. The options are endless, and you can easily switch up your nail design to match the season or your mood.
DIY-Friendly
One of the best things about this buffalo plaid nail art tutorial is that it's DIY-friendly. You don't have to be a professional nail artist to achieve this look. All you need is some patience, a steady hand, and the right tools. With some practice, you'll be able to create flawless buffalo plaid nails in no time. Plus, by doing it yourself, you can save money and have fun experimenting with different color combinations and designs.
The Perfect Accent
Lastly, buffalo plaid nail art is the perfect accent for any home design. Whether you're decorating for the holidays or just want to add a touch of coziness to your space, buffalo plaid nails can do the trick. You can create a cohesive look by matching your nails to your throw pillows, tablecloth, or even your Christmas tree. This small but impactful detail will tie your whole home together and add a unique touch of style.
In conclusion, buffalo plaid nail art is a must-try for anyone looking to add a touch of rustic charm and effortless elegance to their home design. The endless possibilities, DIY-friendly nature, and versatility of this trend make it a perfect addition to any household. So why not give this buffalo plaid nail art tutorial a try and see how it can elevate your home decor?


