Are you tired of the same old straight nail look? Want to add some dimension and style to your manicure? Look no further than the C curve nail art trend. This technique creates a gorgeous curved shape to your nails, giving them a more elegant and unique look. In this tutorial, we will guide you through the steps to achieve the perfect C curve nail art at home. To start, you will need a few basic tools including a nail file, buffer, cuticle pusher, base coat, nail polish, and top coat. You can also add some nail art tools such as a dotting tool or nail stickers for added embellishments. First, shape your nails to your desired length and file them into a rounded oval shape. Then, use a cuticle pusher to gently push back your cuticles. This will create a clean canvas for your nail polish. Next, apply a thin layer of base coat to your nails. This will help your nail polish adhere better and prevent staining. Once the base coat is dry, it's time to create the C curve. Use a small brush or a dotting tool to apply a thick layer of nail polish to the sides of your nails. This will create a curved effect on the sides of your nails. After applying the bold layer of nail polish, use a clean brush or a toothpick to gently blend the polish towards the center of your nails. This will create a smooth and gradual curve. Repeat this step on all of your nails and let it dry completely. Once the polish is dry, apply a second layer of nail polish to deepen the color and create a more defined curve. Make sure to apply the polish in thin layers to avoid clumping or unevenness. You can also use different colors to create an ombre effect for a more unique look. Finally, finish off your C curve nail art with a layer of top coat to seal in your design and add shine. You can also add some nail stickers or use a dotting tool to create patterns or designs on your nails.1. C Curve Nail Art Tutorial


1. C Curve Nail Art Tutorial


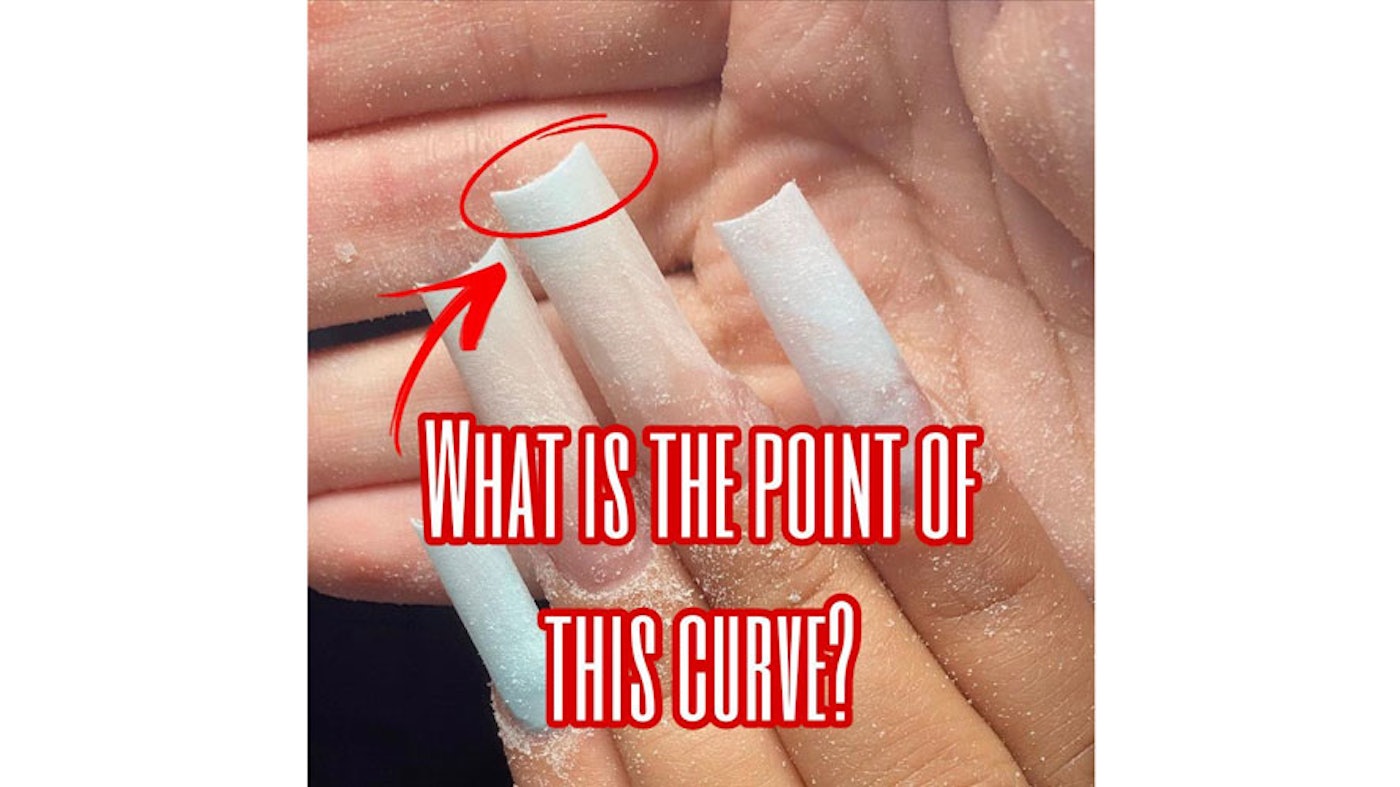


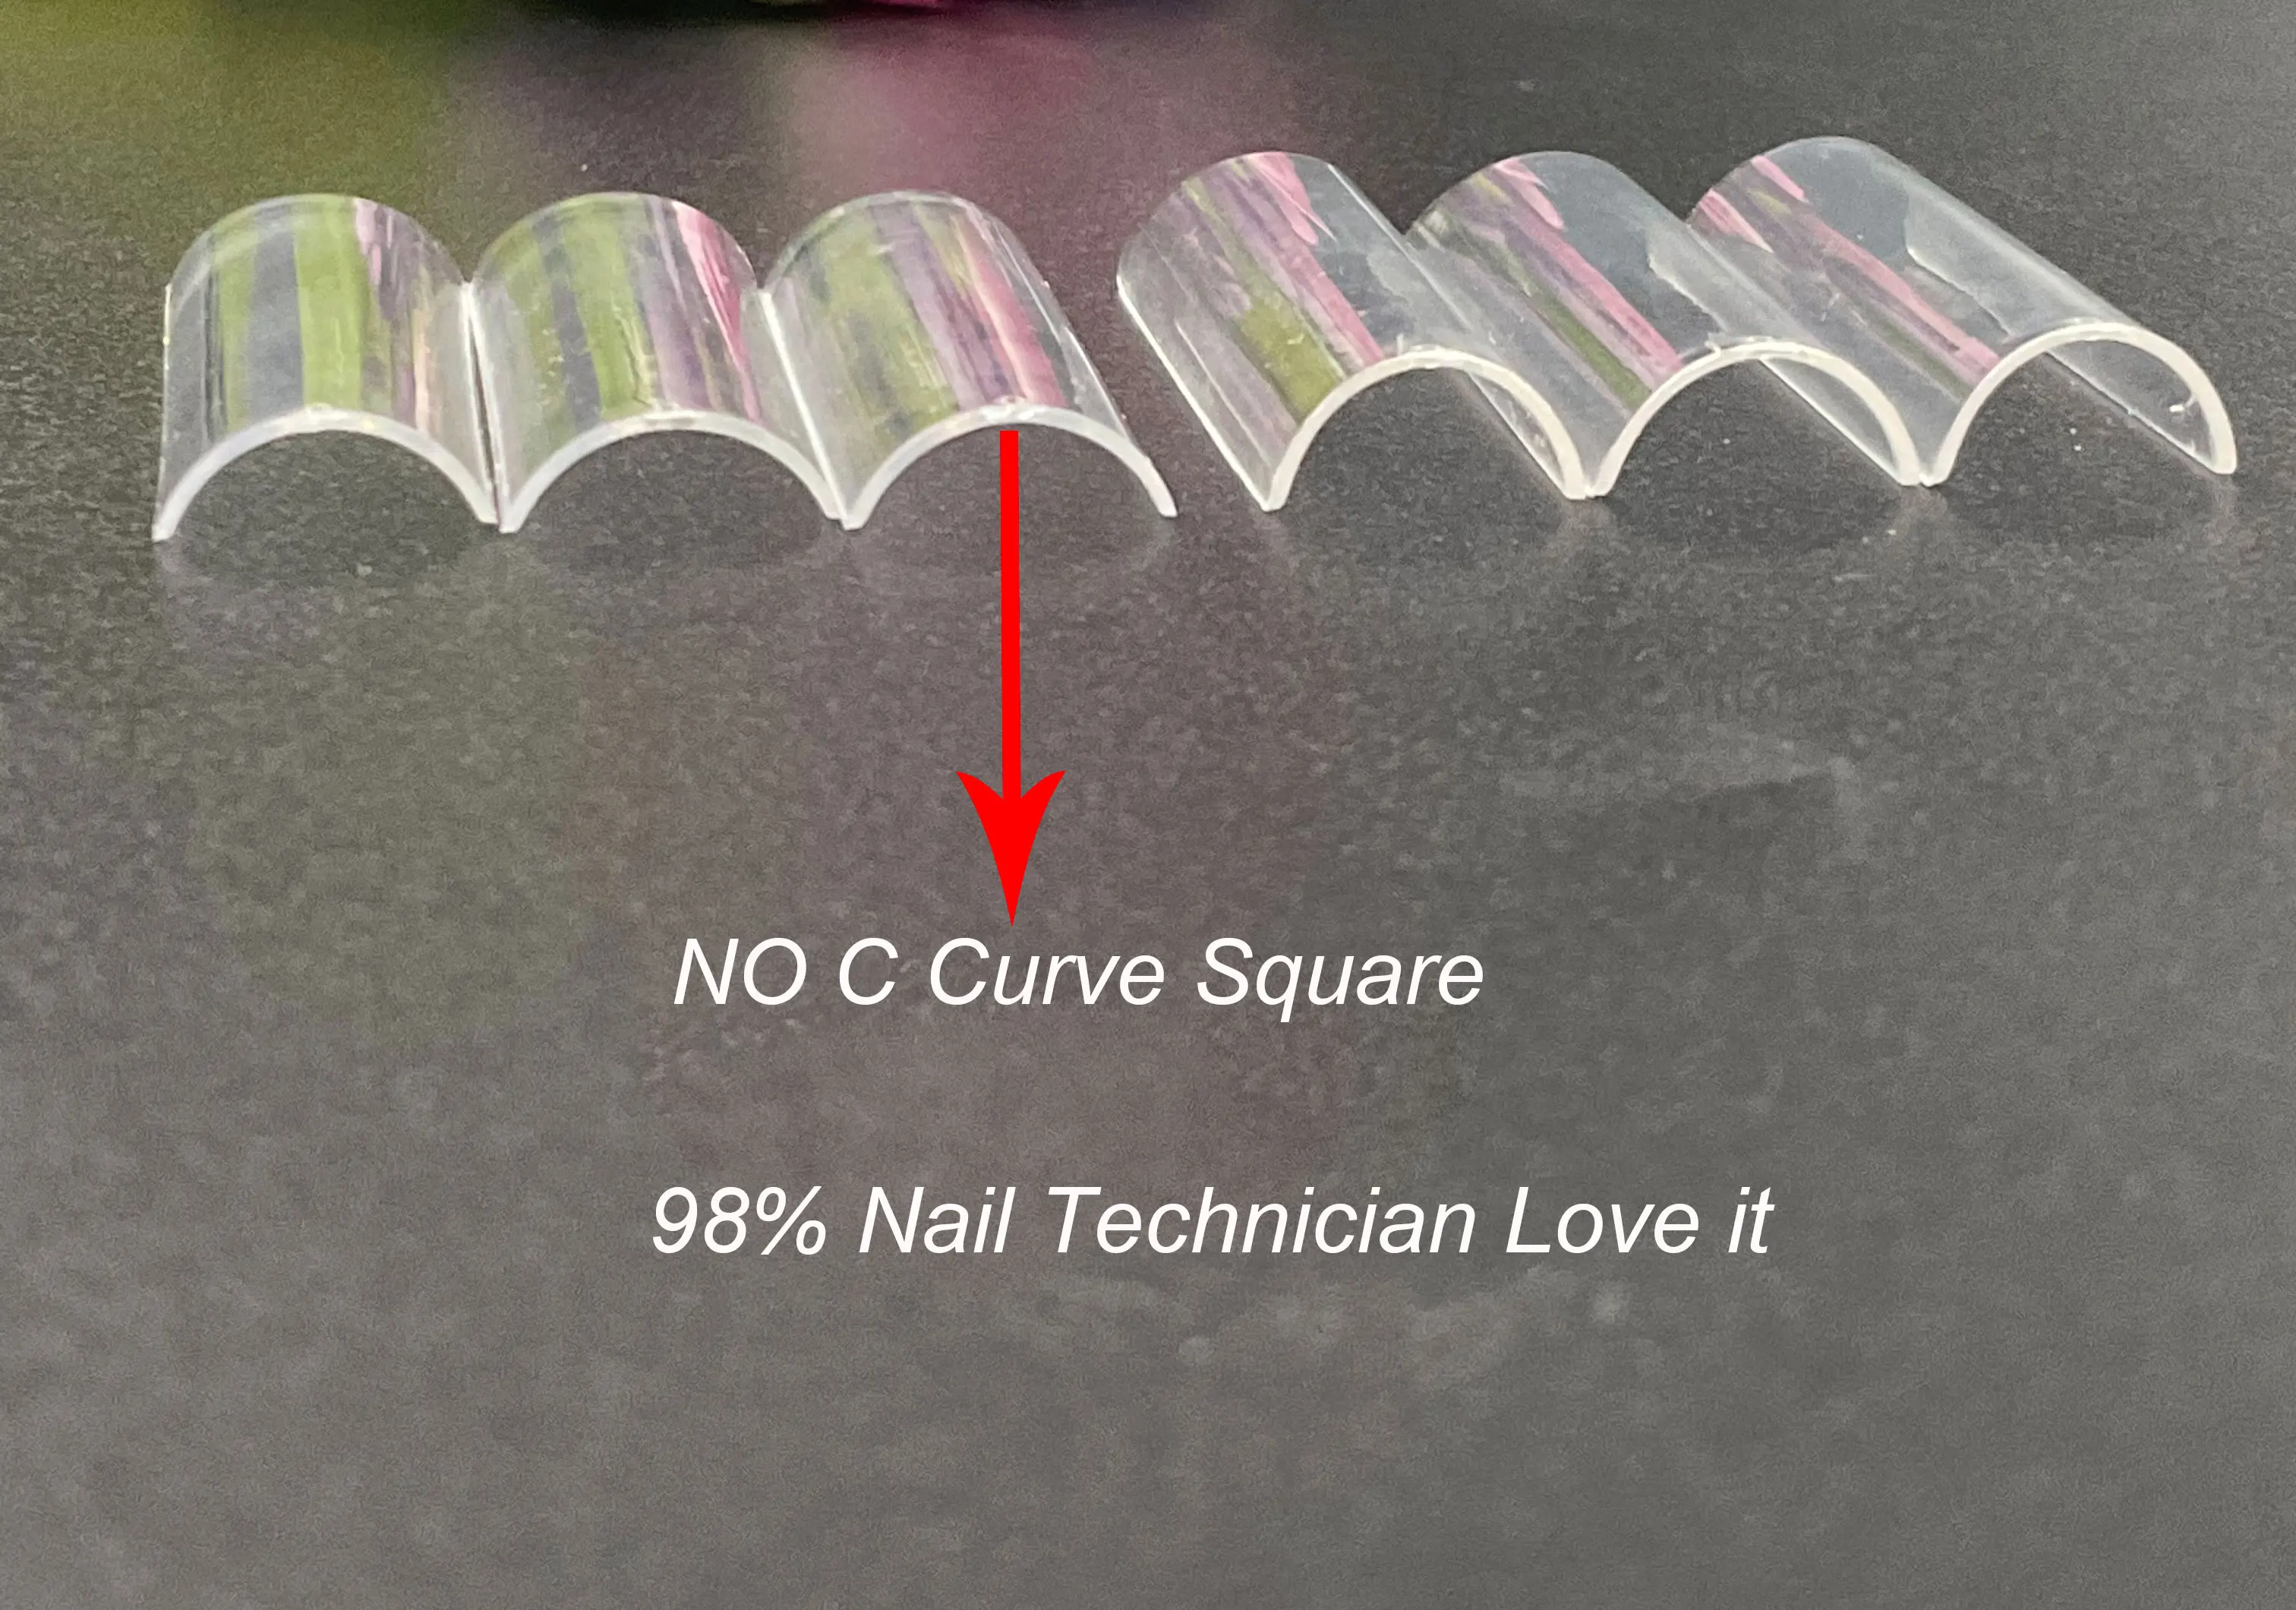
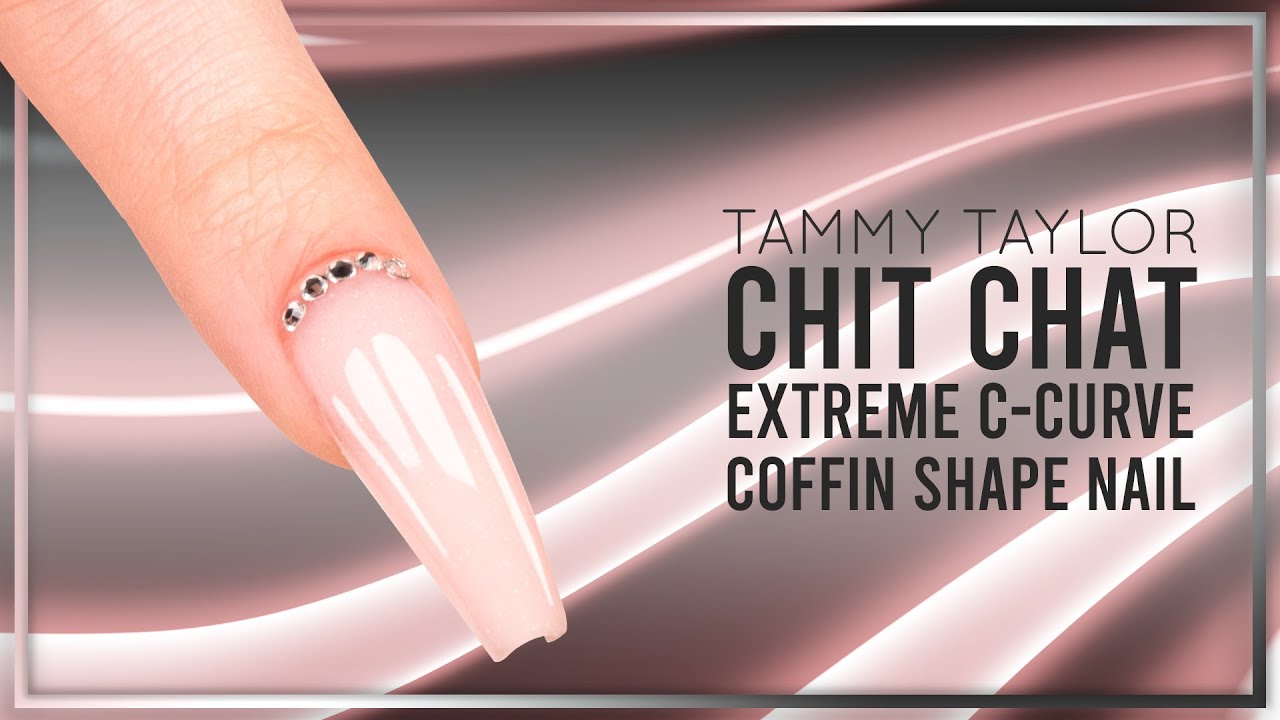
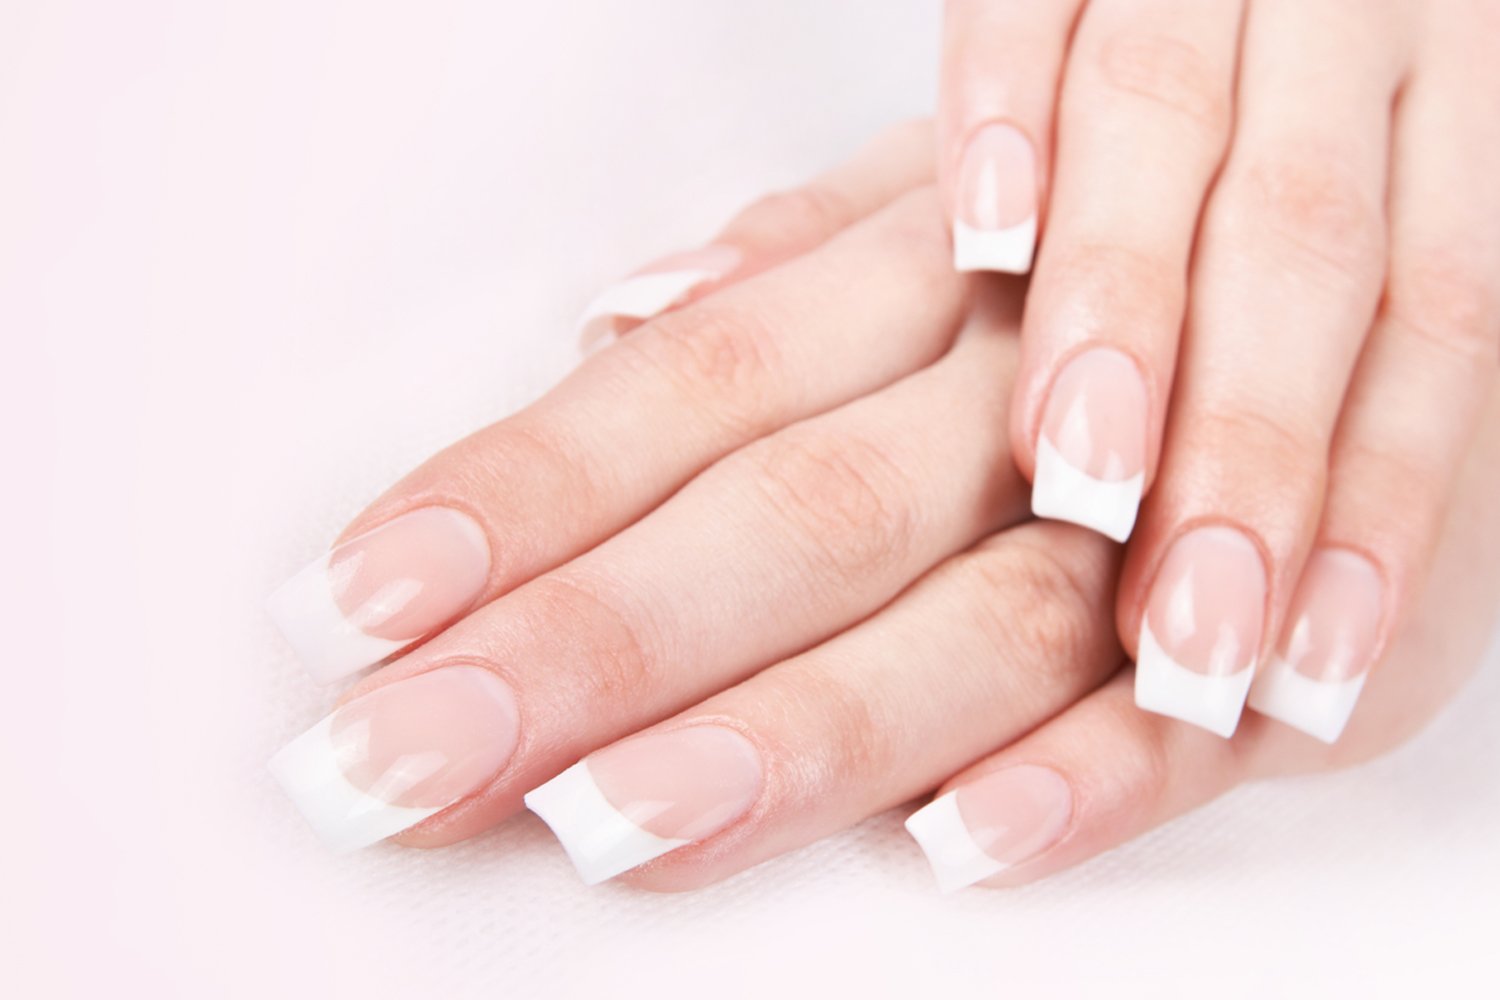
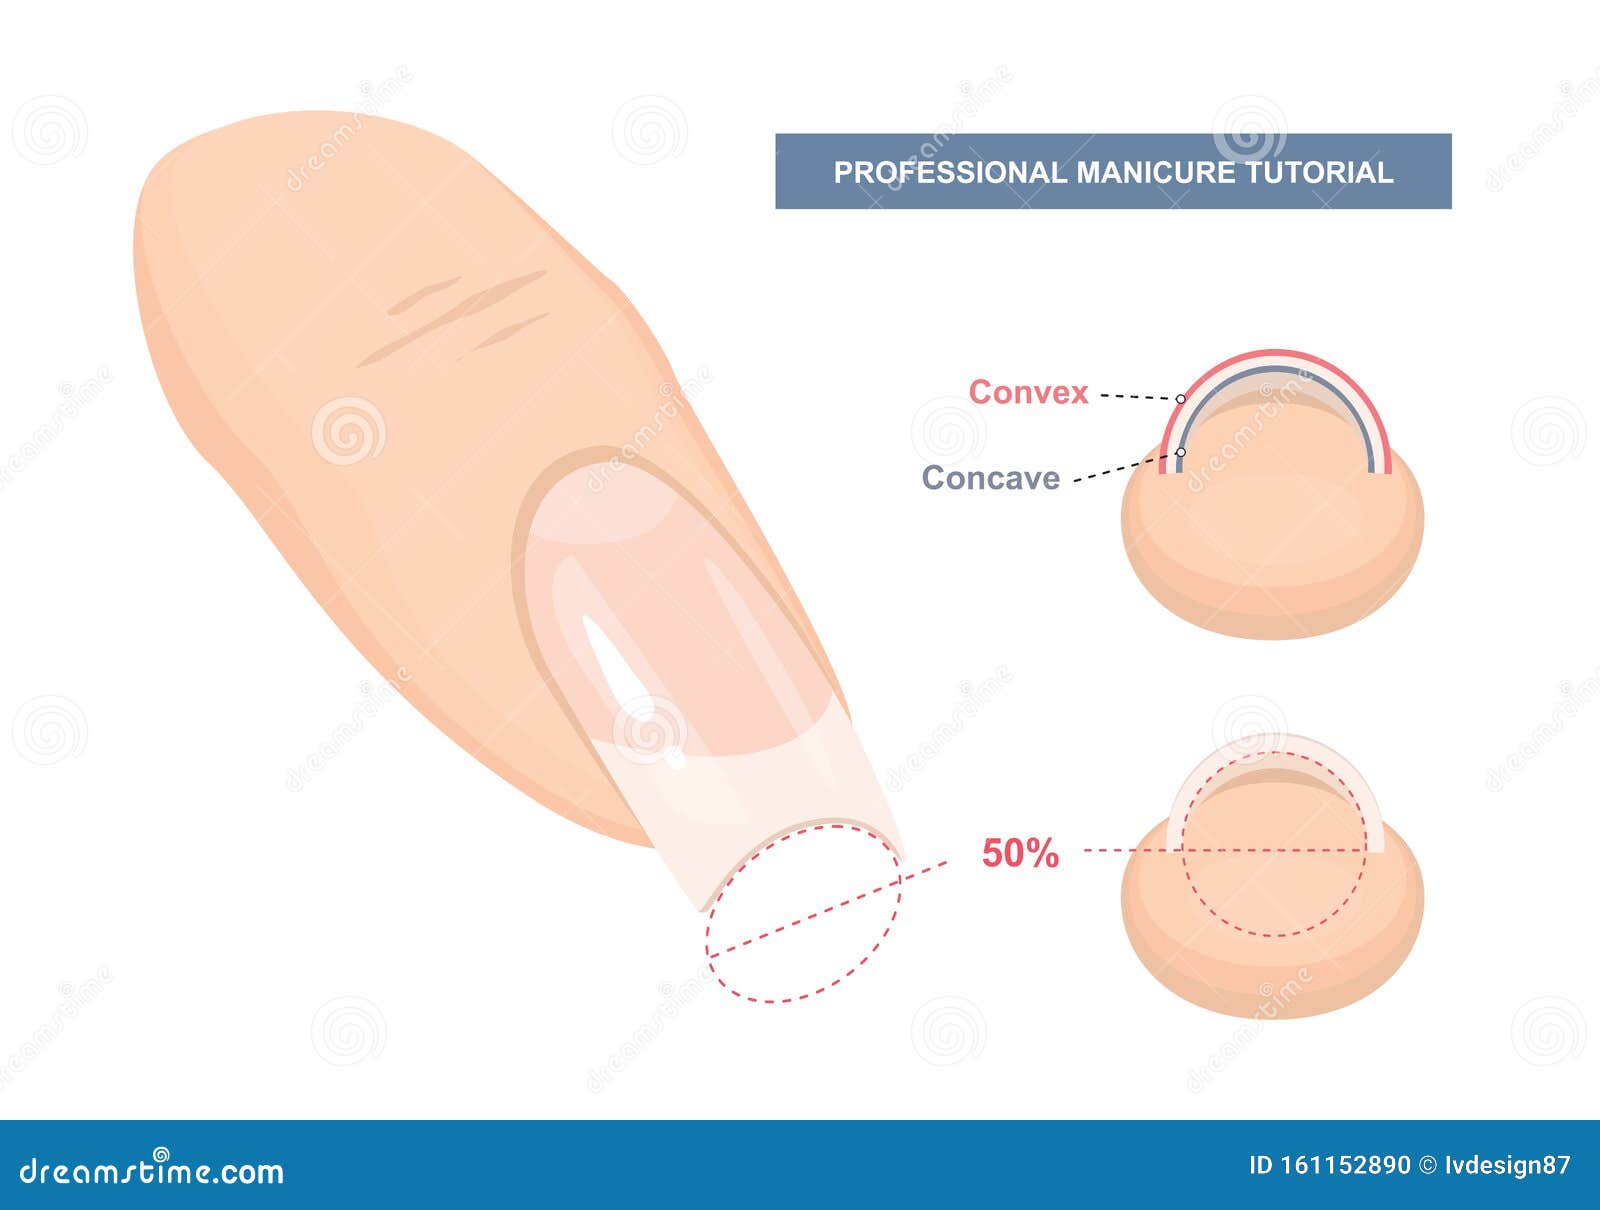
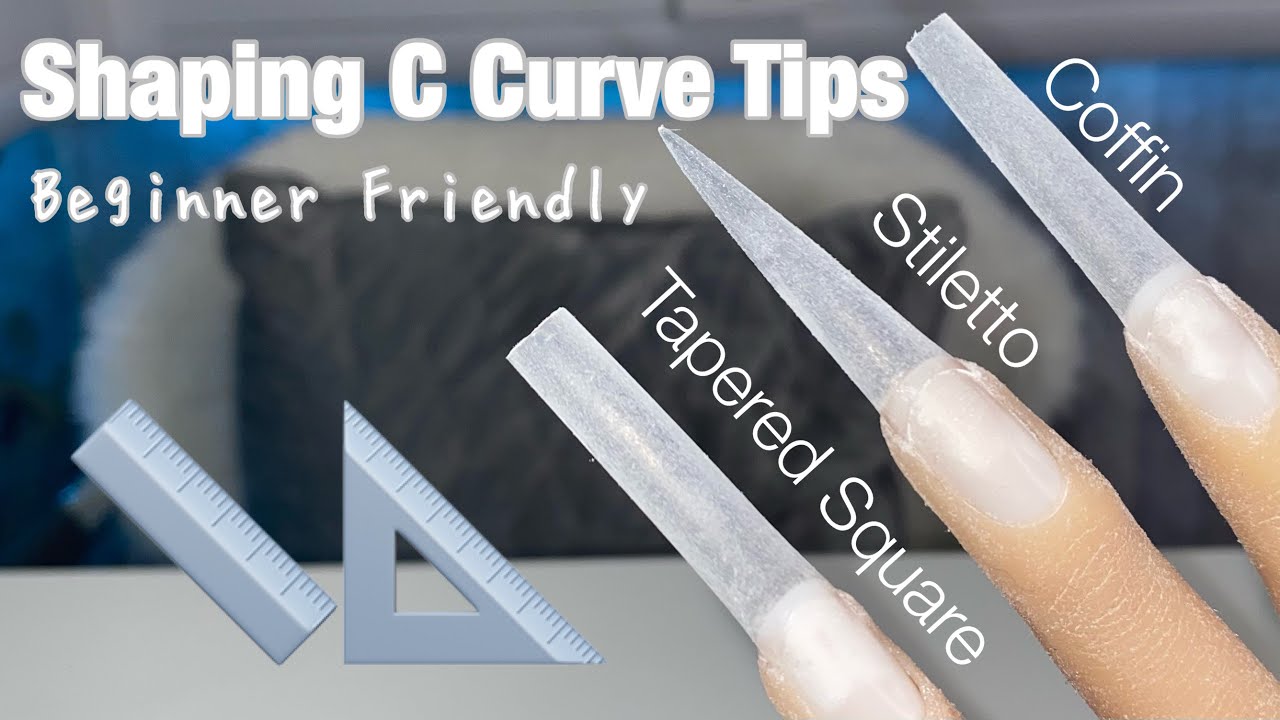
The C curve nail art trend is all about creating a curved shape to your nails, but there are different variations of this shape that you can try. The most common C curve nail shape is a gentle curve that follows the natural shape of your nails. This creates a more subtle and elegant look. For a more dramatic look, you can try a more pronounced C curve by applying a thicker layer of nail polish on the sides of your nails. This will create a more defined curve and give your nails a bold and edgy look. You can also experiment with different nail shapes such as almond or stiletto nails, and create a C curve on the sides for a unique twist on the trend. No matter what shape you choose, the C curve nail art will add a touch of sophistication to your manicure.2. C Curve Nail Shapes


2. C Curve Nail Shapes

To achieve the perfect C curve nail art, there are a few tips you should keep in mind. First, make sure to use a good quality base coat to protect your nails from staining and help your nail polish last longer. When applying the thick layer of nail polish to create the curve, make sure to leave a small gap at the center of your nail to avoid clumping and create a smoother curve. If you have trouble blending the polish towards the center, you can use a small brush dipped in nail polish remover to gently blend the edges for a more seamless finish. Lastly, be patient and let each layer of polish dry completely before applying the next one. This will help prevent smudging and give you a long-lasting C curve nail art.3. C Curve Nail Tips


3. C Curve Nail Tips


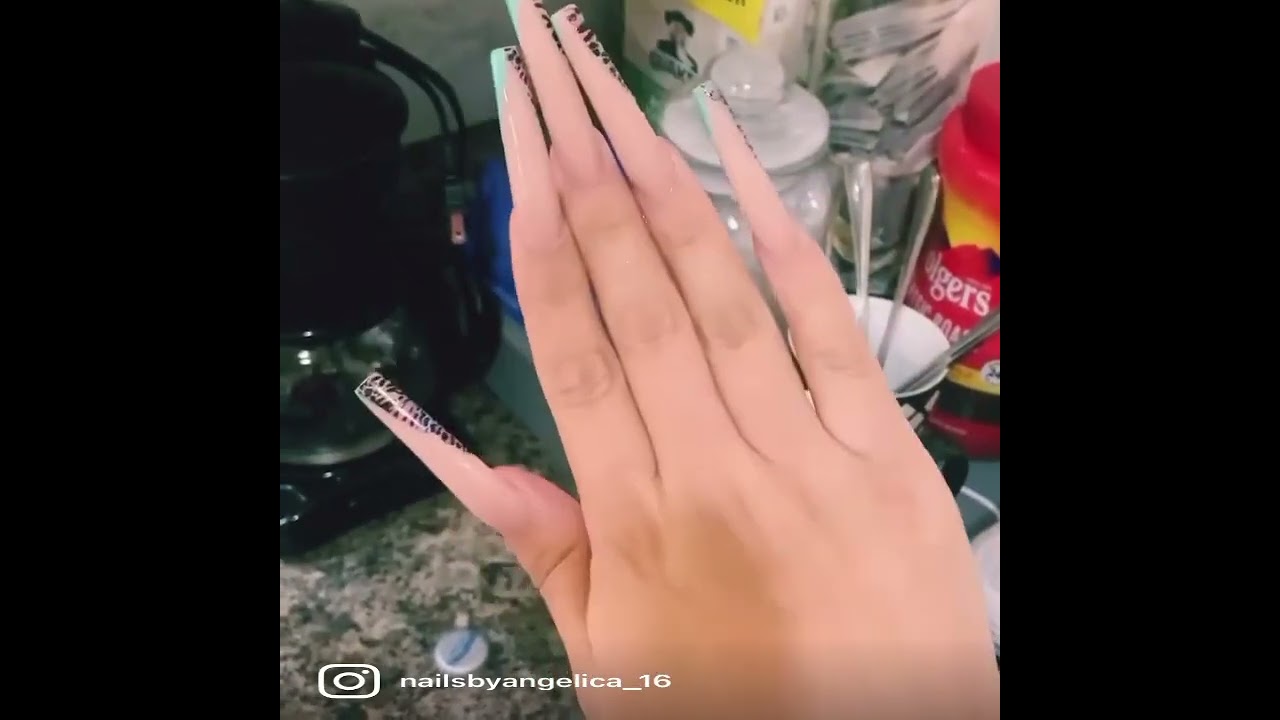
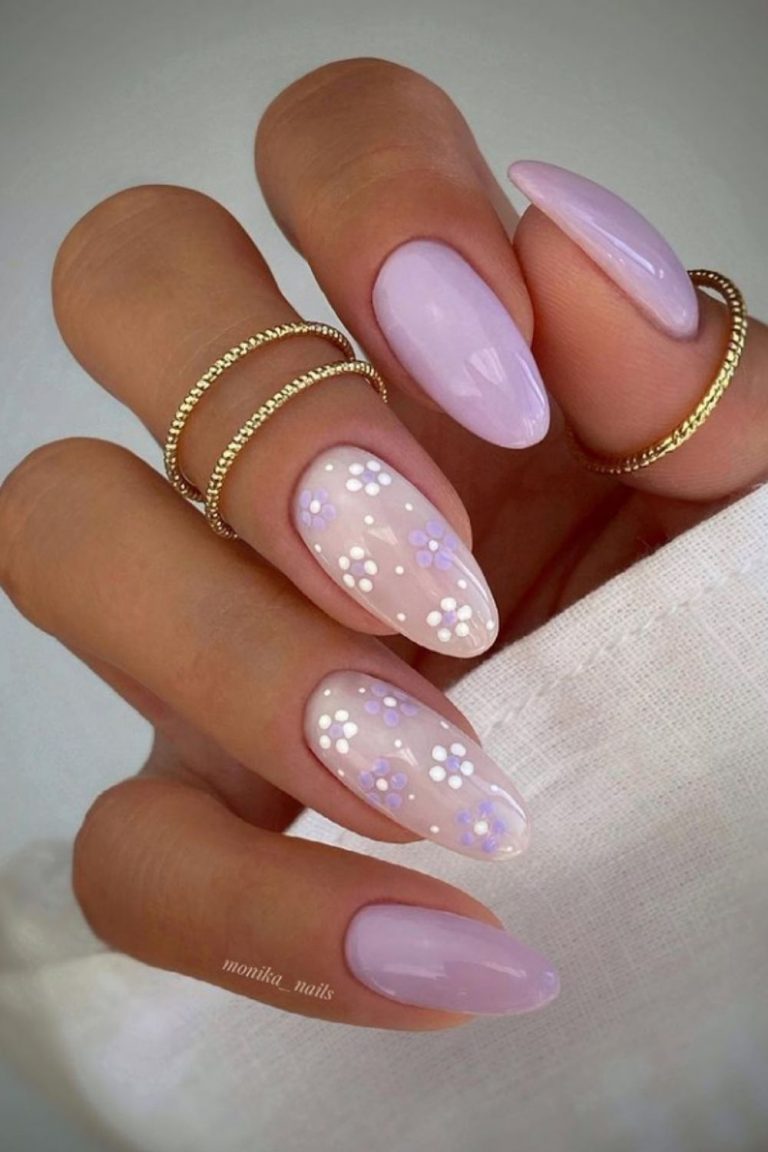
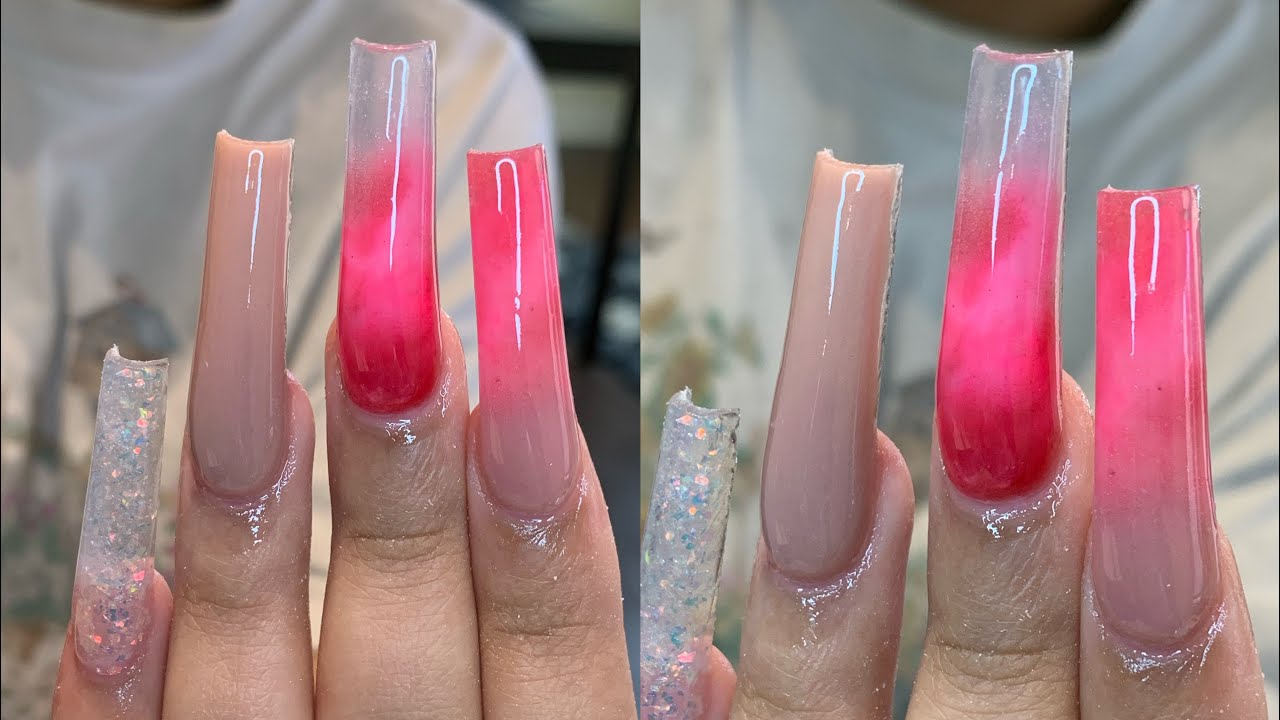
The possibilities for C curve nail designs are endless. You can keep it simple with a monochromatic look by using different shades of the same color to create a gradient effect. Or, you can add some nail art using nail stickers, glitter, or freehand designs for a more intricate look. You can also play around with different color combinations and patterns to create unique and eye-catching designs. The C curve nail art trend allows for a lot of creativity and experimentation, so don't be afraid to try new things and have fun with it!4. C Curve Nail Designs

4. C Curve Nail Designs


Creating the perfect C curve for your nails may take some practice, but with the right technique, you can achieve a flawless look. The key is to apply a thick layer of nail polish to the sides of your nails and blend it towards the center in a gradual motion. You can also use a curved brush or a toothpick to help you create a smooth and even curve. Remember to apply thin layers of polish and let each layer dry completely before moving on to the next one. Experiment with different techniques and find what works best for you to create your perfect C curve nail art.5. How to Create a Perfect C Curve

5. How to Create a Perfect C Curve

.jpg)

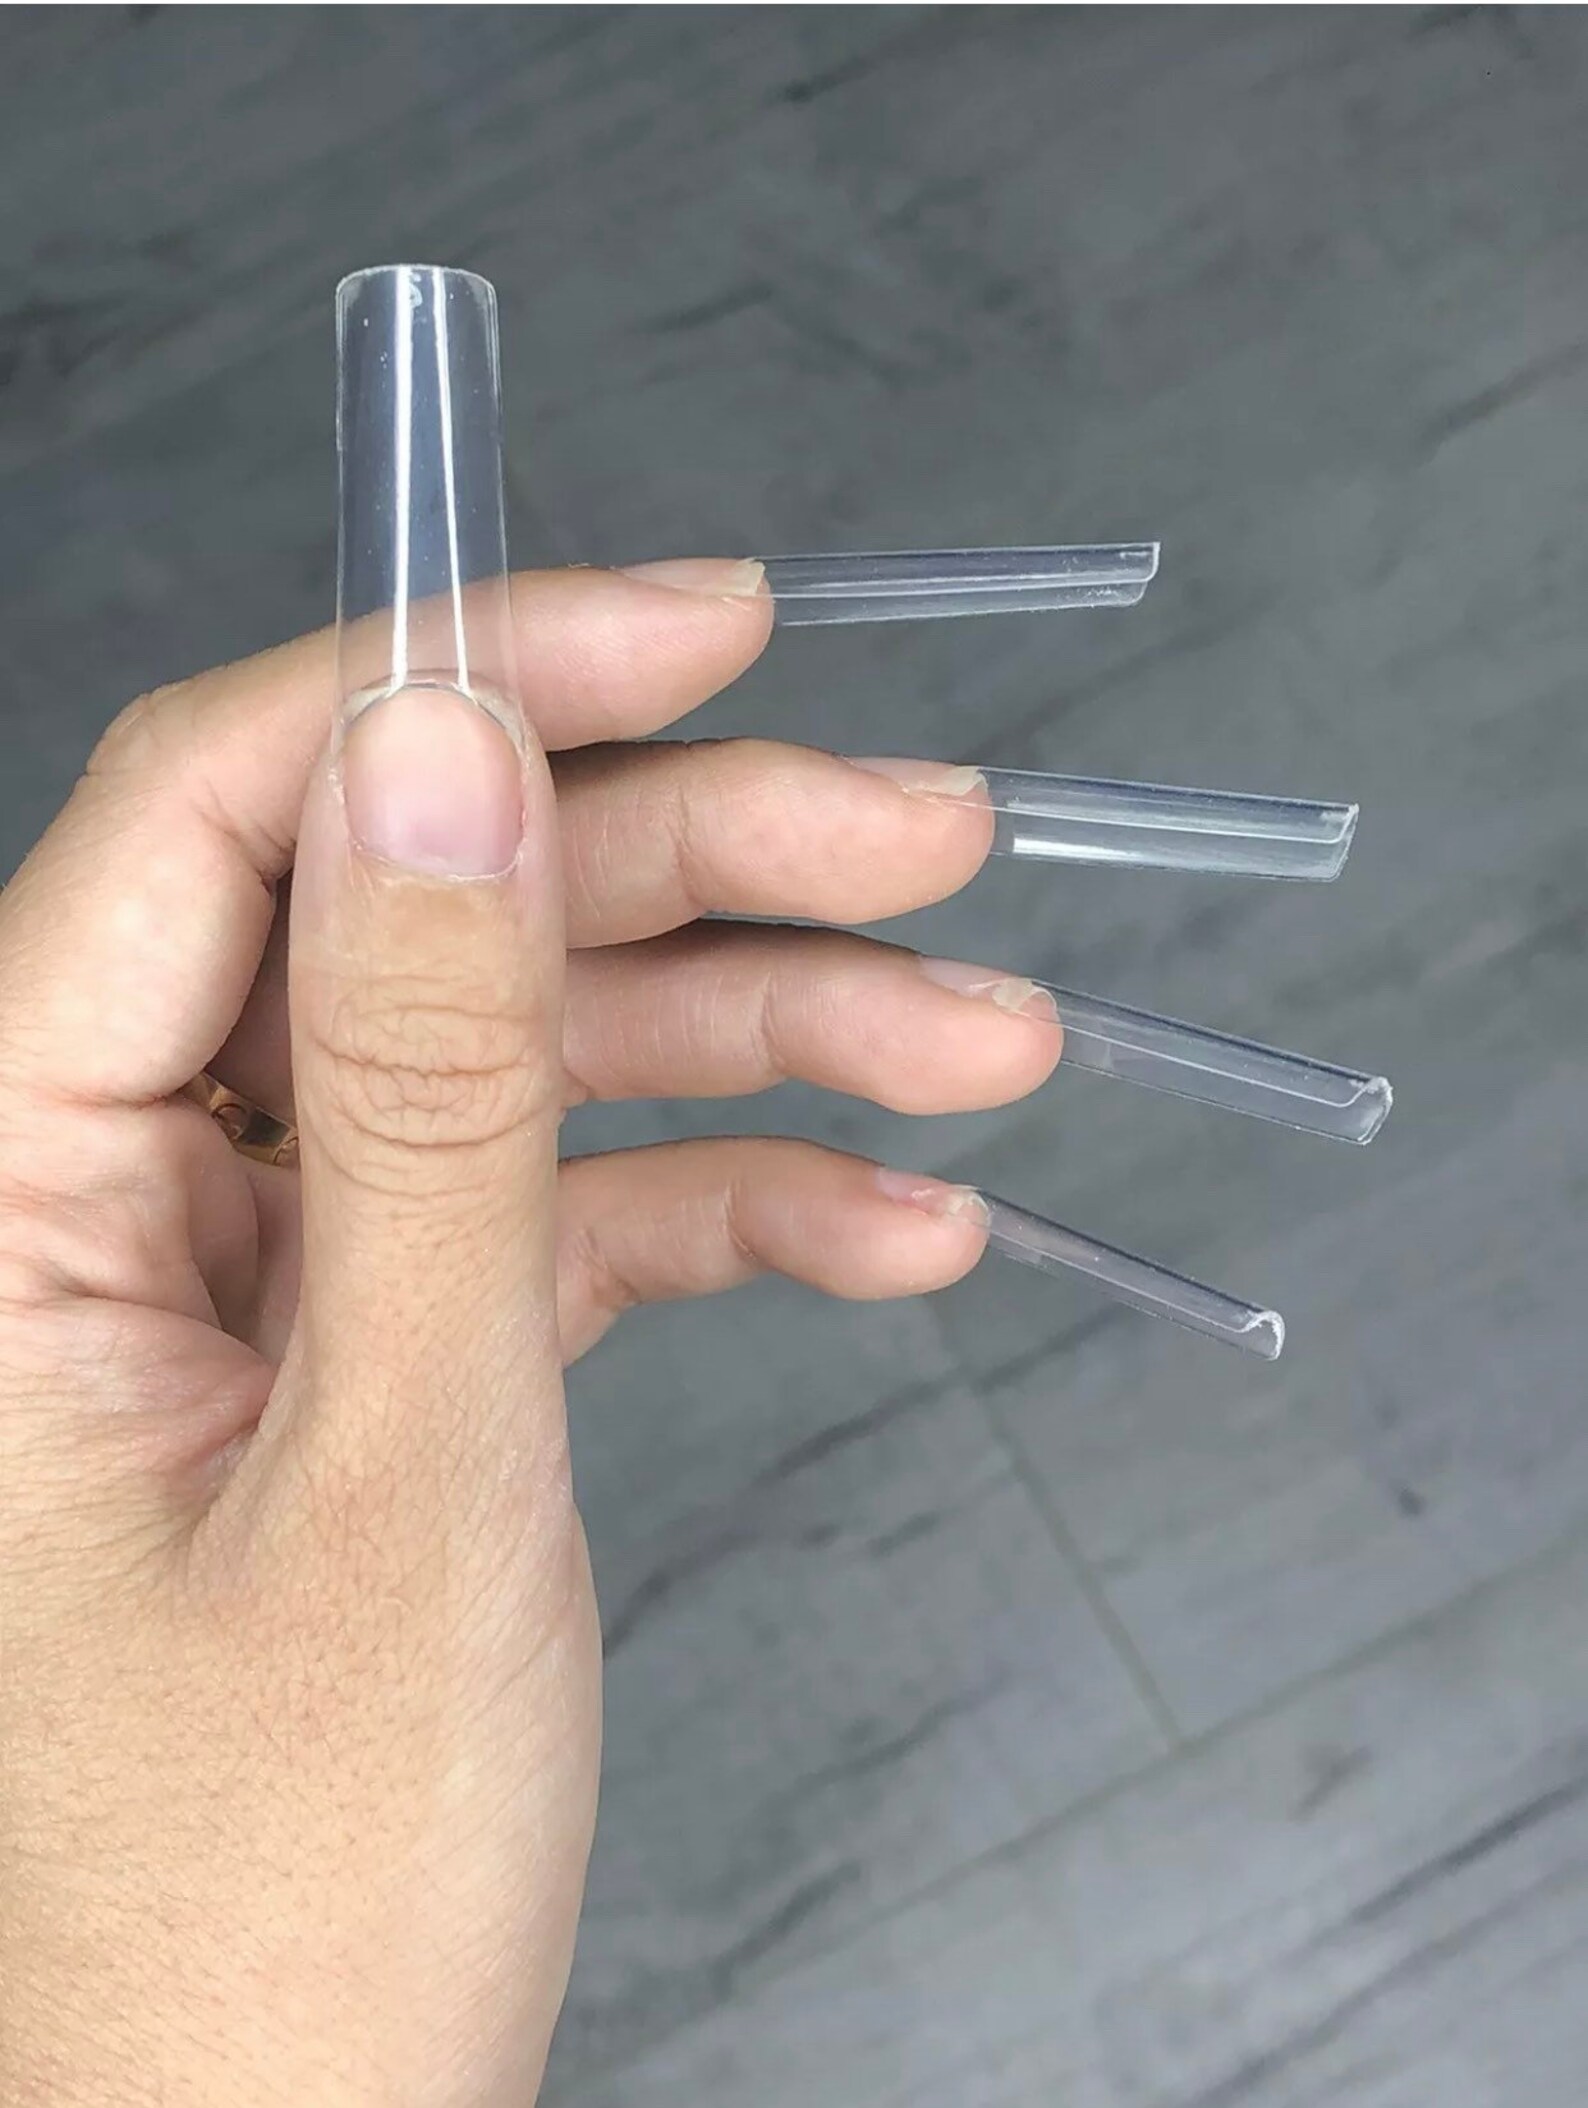
If you have shorter or weaker nails, you can still achieve the C curve nail art trend by using nail extensions. There are various types of extensions such as acrylic, gel, or dip powder that you can use to create the desired length and shape for your nails. Once your extensions are in place, you can follow the same steps to create the C curve using nail polish. Just make sure to apply the polish in thin layers to avoid adding too much bulk to your nails.6. C Curve Nail Extensions
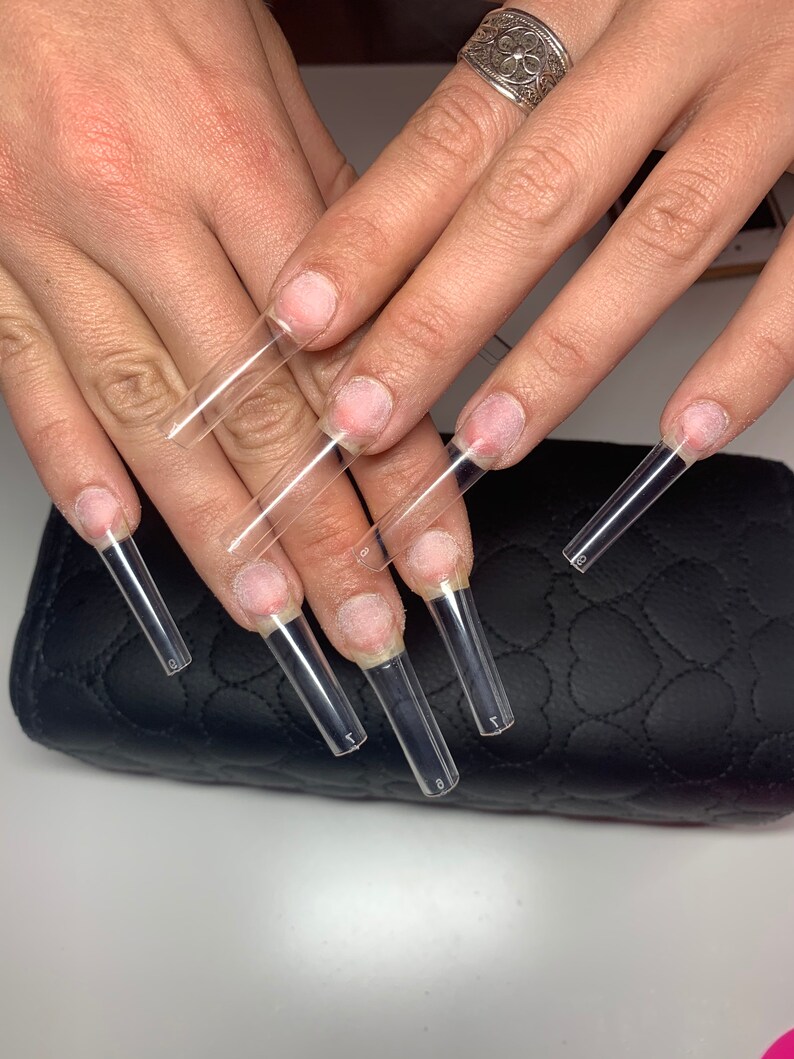


6. C Curve Nail Extensions

To achieve the perfect C curve nail art, you will need a few essential products. A good quality base coat is important to protect your nails and help the polish adhere better. You will also need a base color of your choice, a top coat for added shine and longevity, and any additional nail art tools or accessories you want to use. Some popular brands that offer a wide range of nail products for creating C curve nail art include OPI, Essie, and Sally Hansen.7. C Curve Nail Products


7. C Curve Nail Products
There are a few different techniques you can use to create the C curve nail art. Some people prefer to use a small brush or a dotting tool to apply the thick layer of polish and blend it towards the center. Others may find it easier to use a curved brush or a toothpick to create the curve. You can also experiment with different tools and techniques to find what works best for you.8. C Curve Nail Techniques
8. C Curve Nail Techniques

Looking for some inspiration for your next C curve nail art? Here are some ideas to get you started:9. C Curve Nail Art Ideas


9. C Curve Nail Art Ideas
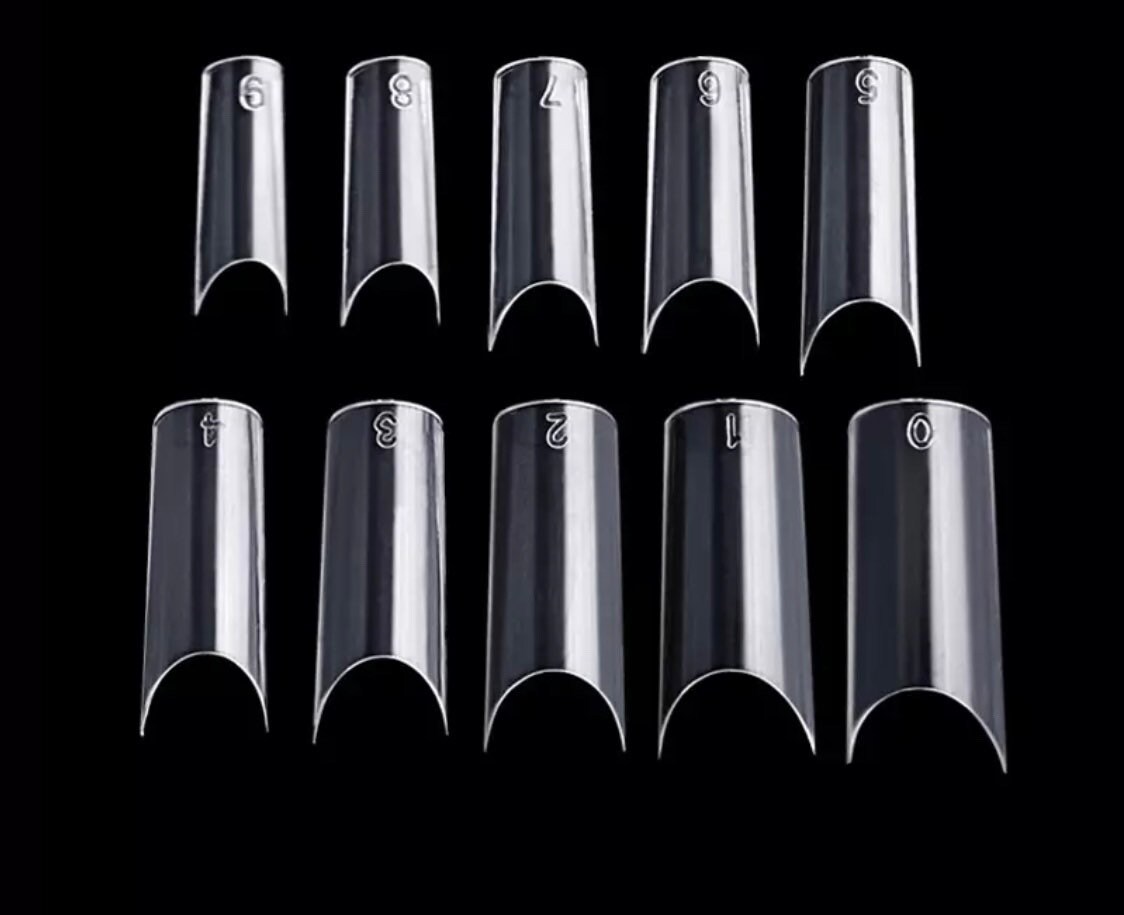
Ready to try out the C curve nail art trend? Here are some essential supplies you will need:10. C Curve Nail Art Supplies

10. C Curve Nail Art Supplies

C Curve Nail Art: Elevate Your Manicure Game
The Latest Trend in Nail Art
 Looking for a way to add some pizzazz to your manicure? Look no further than
c curve nail art
. This latest trend in nail design is taking the beauty world by storm with its unique and eye-catching look. Whether you're a nail art enthusiast or a minimalist, c curve nail art is a versatile and fun way to elevate your hand game.
Looking for a way to add some pizzazz to your manicure? Look no further than
c curve nail art
. This latest trend in nail design is taking the beauty world by storm with its unique and eye-catching look. Whether you're a nail art enthusiast or a minimalist, c curve nail art is a versatile and fun way to elevate your hand game.
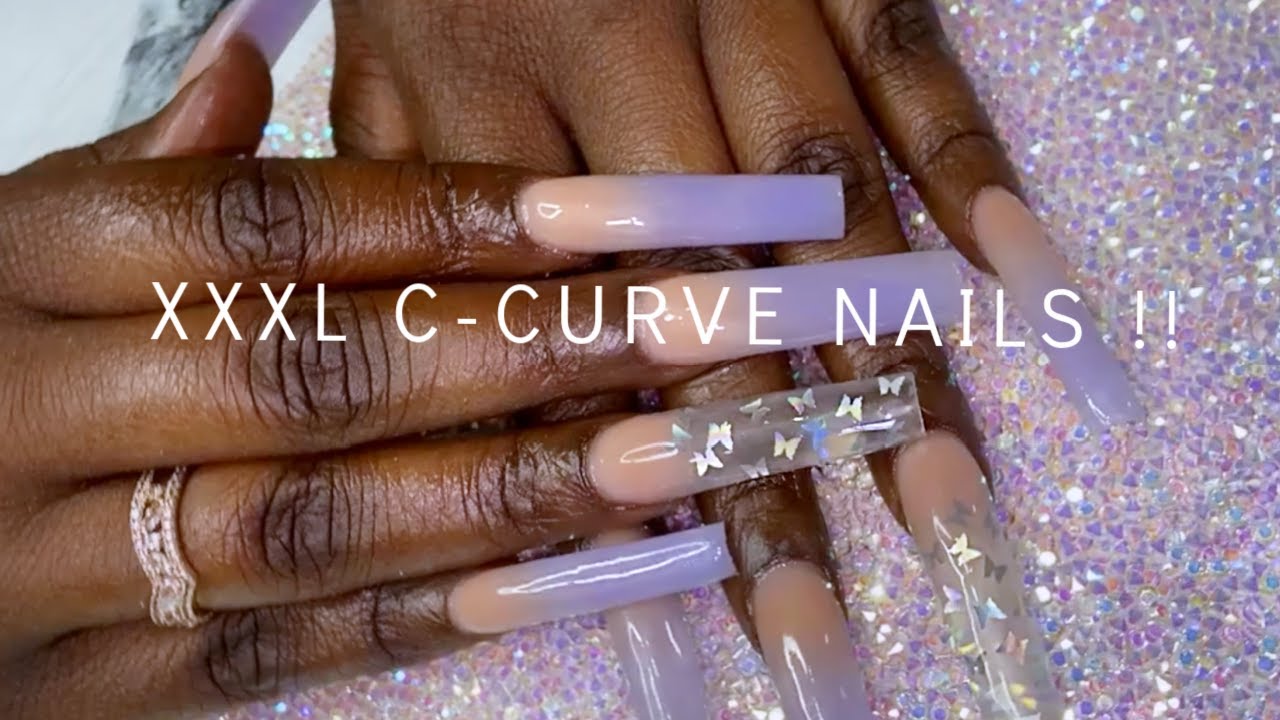
What is C Curve Nail Art?
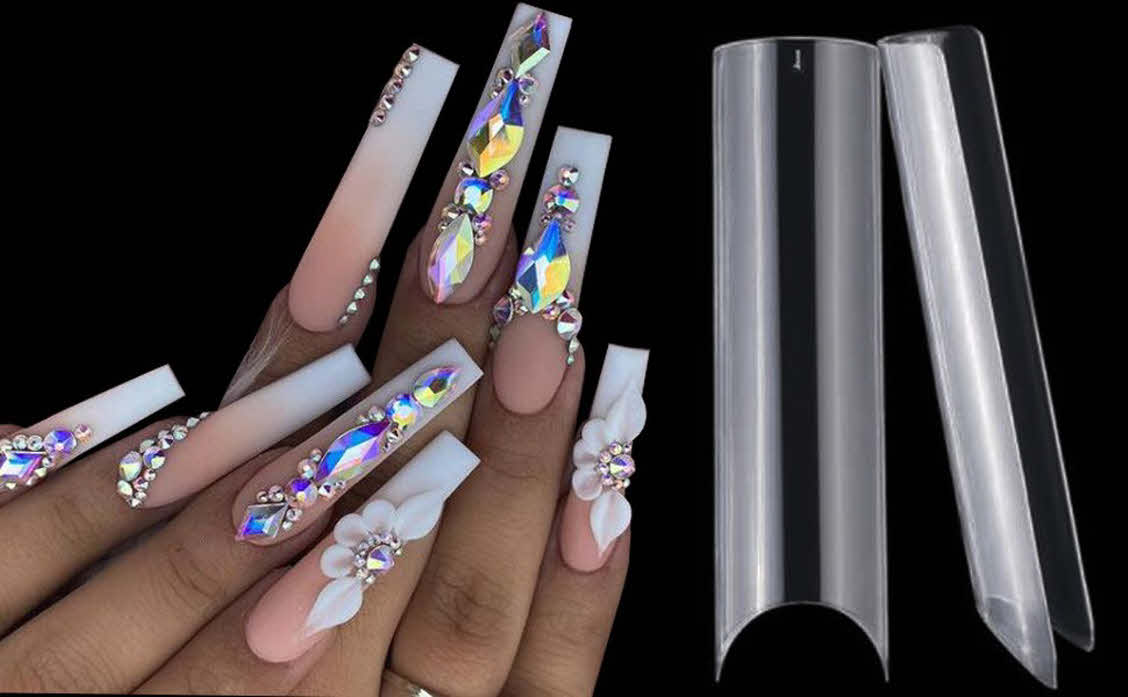
 C curve nail art involves creating a deep curve on the tip of your nails, giving them a more dramatic and elongated appearance. This technique is achieved by using special
c curve nail forms
or by shaping the nail with a nail file. The result is a sleek and elegant look that can be customized to your personal style.
C curve nail art involves creating a deep curve on the tip of your nails, giving them a more dramatic and elongated appearance. This technique is achieved by using special
c curve nail forms
or by shaping the nail with a nail file. The result is a sleek and elegant look that can be customized to your personal style.
Why You Should Try C Curve Nail Art
 If you're tired of the same old square or rounded nail shapes, c curve nail art offers a refreshing change. Not only does it give your nails a unique and edgy look, but it also helps to strengthen and protect your natural nails. The deep curve created by c curve nail art acts as a shield, preventing your nails from breaking or splitting. This makes it a great option for those with weak or brittle nails.
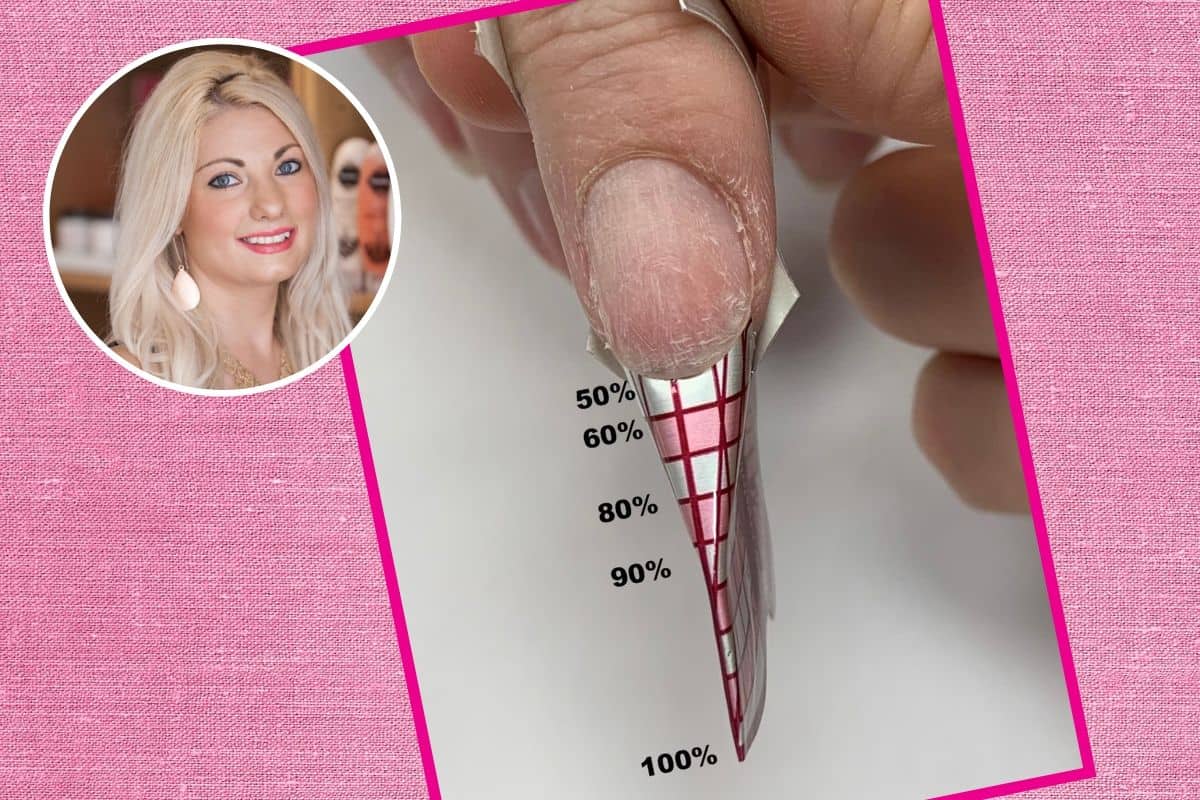
How to Achieve the Perfect C Curve
 To achieve the perfect c curve, it's important to have the right tools and techniques. If you're a beginner, it's recommended to visit a professional nail technician who can guide you through the process. They will have the necessary
nail forms and tools
to create a flawless c curve that suits your nail shape and length.
If you're feeling adventurous and want to try it yourself, make sure to invest in good quality
nail forms
and a sturdy nail file. Start by shaping your nails into an almond or oval shape, and then use the nail forms to create the desired c curve. Remember to go slow and be gentle with your filing to avoid damaging your natural nails.
To achieve the perfect c curve, it's important to have the right tools and techniques. If you're a beginner, it's recommended to visit a professional nail technician who can guide you through the process. They will have the necessary
nail forms and tools
to create a flawless c curve that suits your nail shape and length.
If you're feeling adventurous and want to try it yourself, make sure to invest in good quality
nail forms
and a sturdy nail file. Start by shaping your nails into an almond or oval shape, and then use the nail forms to create the desired c curve. Remember to go slow and be gentle with your filing to avoid damaging your natural nails.
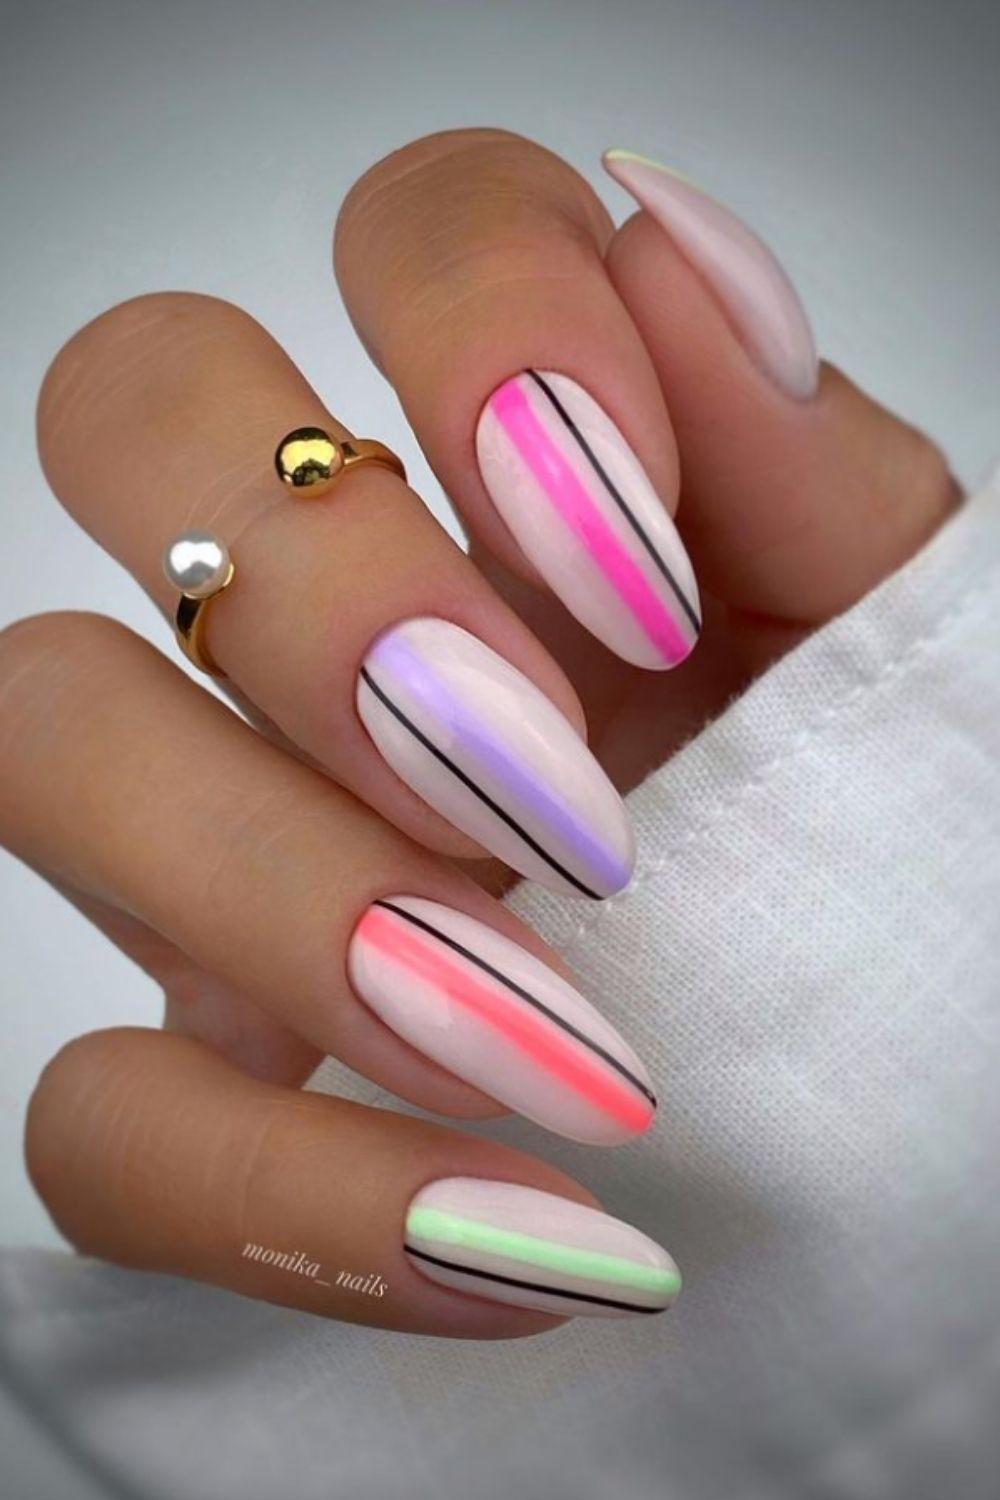
Get Creative with C Curve Nail Art
 The best part about c curve nail art is its versatility. You can experiment with different colors, designs, and embellishments to create a unique look that reflects your personality. From bold and vibrant patterns to subtle and elegant designs, the possibilities are endless with c curve nail art.
In conclusion,
c curve nail art
is a fun and trendy way to elevate your manicure game. With its unique shape and endless possibilities for customization, it's no wonder this trend has taken over the beauty world. So why not give it a try and add some curve and flair to your next manicure? Your nails will thank you.
The best part about c curve nail art is its versatility. You can experiment with different colors, designs, and embellishments to create a unique look that reflects your personality. From bold and vibrant patterns to subtle and elegant designs, the possibilities are endless with c curve nail art.
In conclusion,
c curve nail art
is a fun and trendy way to elevate your manicure game. With its unique shape and endless possibilities for customization, it's no wonder this trend has taken over the beauty world. So why not give it a try and add some curve and flair to your next manicure? Your nails will thank you.


