If you're a fan of long-lasting and durable nail art, then calgel nails are the perfect choice for you. Not only do they provide a beautiful and glossy finish, but they also last for weeks without chipping. But if you're new to calgel, or even nail art in general, it can seem a bit daunting. That's why we've put together this step by step guide to help you create the perfect calgel nail art at home.Calgel Nail Art Tutorial: Step by Step Guide


Calgel Nail Art Tutorial: Step by Step Guide


Creating your own calgel nail art can be a fun and creative experience, allowing you to express your personal style through your nails. To start, you'll need to gather all the necessary materials, including a calgel starter kit, nail polish, and nail art tools. Once you have everything you need, follow these simple steps to create your own stunning calgel nail art.How to Create Stunning Calgel Nail Art


How to Create Stunning Calgel Nail Art


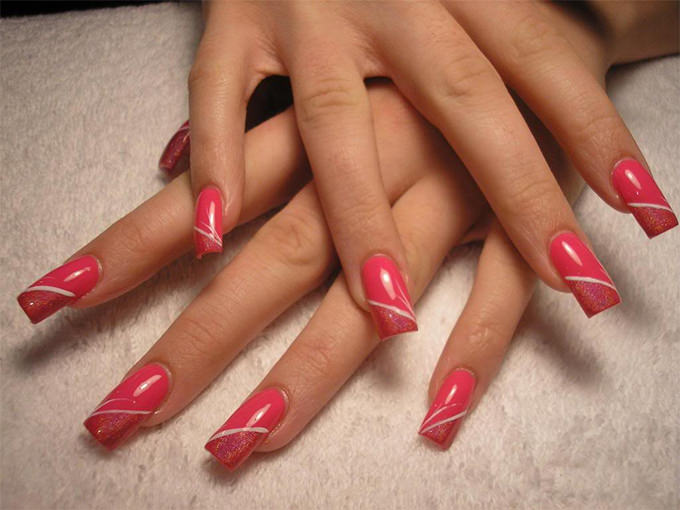
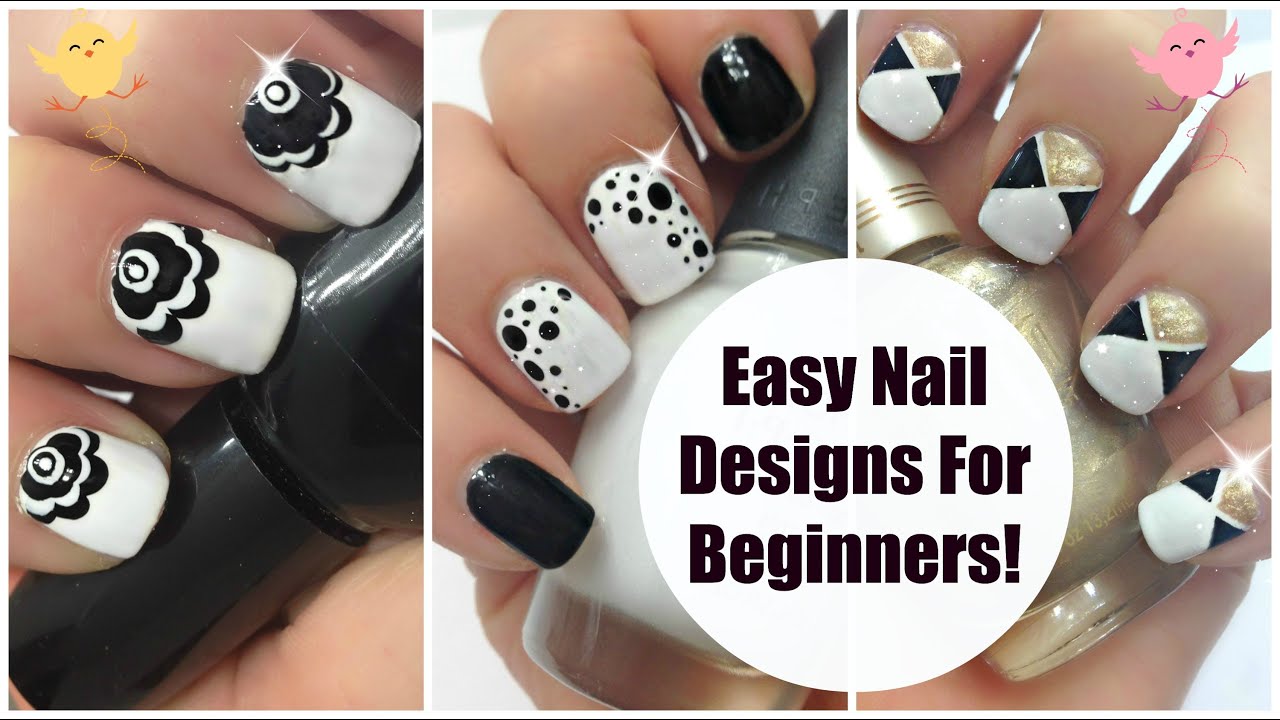
If you're new to calgel, it's best to start with easy and simple designs before moving on to more complex ones. This will help you get comfortable with the application process and nail art tools. Some easy calgel nail art designs for beginners include simple stripes, polka dots, and geometric shapes. These designs require minimal effort and can be easily done at home.Easy Calgel Nail Art Designs for Beginners


Easy Calgel Nail Art Designs for Beginners


:max_bytes(150000):strip_icc()/072922-beauty-nail-art-lead-2000-21de3481261e48a995c855269f9846ad.jpg)


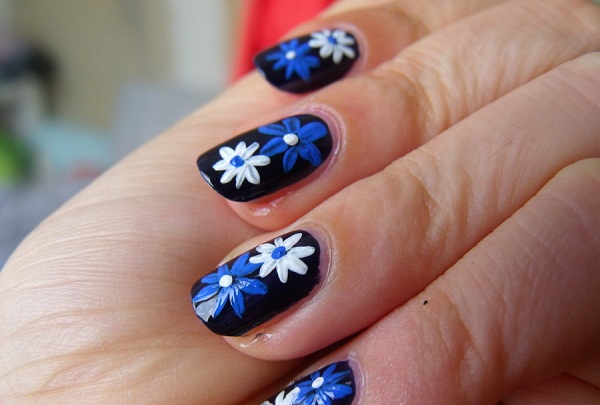
Floral designs are a timeless and elegant choice for calgel nail art. They can be done in various ways, such as using flower decals, freehand painting, or using nail stamps. You can also experiment with different color combinations and placement of the flowers to create a unique and beautiful design.Calgel Nail Art Tutorial: Floral Designs


Calgel Nail Art Tutorial: Floral Designs
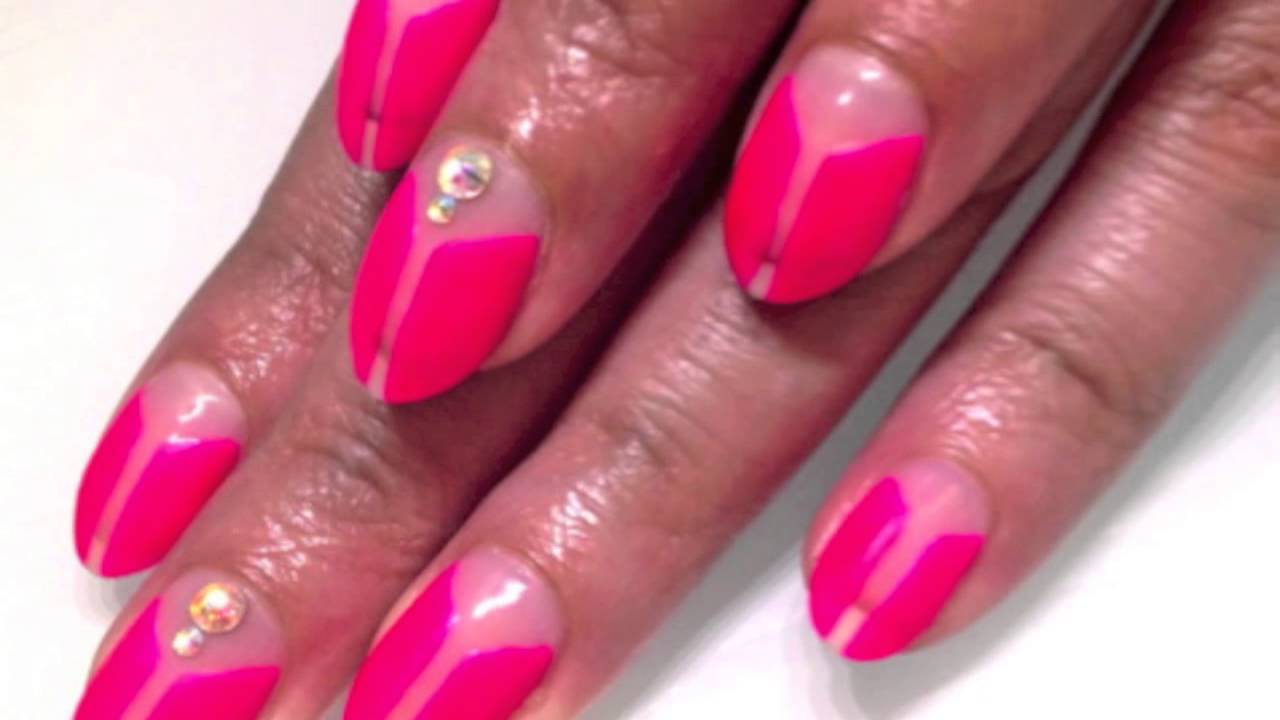
If you're looking for some inspiration for your next calgel nail art, here are 10 creative ideas to try out:10 Creative Calgel Nail Art Ideas

10 Creative Calgel Nail Art Ideas
Ombre nails have been a popular trend for a few years now, and it's not going away anytime soon. The best part about ombre nails is that they can be achieved with any color combination, making it a versatile and fun design to try with calgel. Here's a simple tutorial to create ombre nails with calgel:Calgel Nail Art Tutorial: Ombre Nails


Calgel Nail Art Tutorial: Ombre Nails
Creating your own calgel nail art can be a fun and rewarding experience, but it does require some practice and patience. Here are some tips and tricks to help you achieve the perfect calgel nail art at home:DIY Calgel Nail Art: Tips and Tricks

DIY Calgel Nail Art: Tips and Tricks


For those who love a bit of sparkle, glitter and rhinestones are the perfect way to add some bling to your calgel nail art. You can use loose glitter, glitter nail polish, or even glitter gel to create different effects. Rhinestones can be used to add a touch of glamour to any design, whether it's a simple accent or a full-blown rhinestone pattern.Calgel Nail Art Tutorial: Glitter and Rhinestone Designs

Calgel Nail Art Tutorial: Glitter and Rhinestone Designs


Marble nails have been a popular trend for a few years now, and they look even more stunning when done with calgel. Here's a simple tutorial to create marble nails with calgel:Calgel Nail Art Tutorial: Marble Nails


Calgel Nail Art Tutorial: Marble Nails
Removing calgel nail art is a simple process that can be done at home. Here's how:How to Remove Calgel Nail Art at Home


How to Remove Calgel Nail Art at Home
Creating Stunning Nail Art with Calgel: A Step-by-Step Tutorial

Introduction:
 If you're tired of the same old plain nails and want to take your nail game to the next level, then
Calgel nail art
is the perfect solution for you. This revolutionary gel formula not only provides a long-lasting and durable manicure, but it also allows for endless possibilities in terms of creativity and design. With a few simple steps, you can transform your nails into gorgeous works of art that will make a statement and leave everyone in awe. In this tutorial, we will guide you through the process of creating stunning
nail art
using
Calgel
, so get your supplies ready and let's get started!
If you're tired of the same old plain nails and want to take your nail game to the next level, then
Calgel nail art
is the perfect solution for you. This revolutionary gel formula not only provides a long-lasting and durable manicure, but it also allows for endless possibilities in terms of creativity and design. With a few simple steps, you can transform your nails into gorgeous works of art that will make a statement and leave everyone in awe. In this tutorial, we will guide you through the process of creating stunning
nail art
using
Calgel
, so get your supplies ready and let's get started!
Step 1: Prep your Nails
 Before starting the
nail art
process, it is important to properly prep your nails. Begin by gently pushing back your cuticles and shaping your nails to your desired length and shape. Next, lightly buff the surface of your nails to remove any natural oils and create a smooth base for the gel to adhere to. Finish by wiping your nails with some alcohol to ensure they are clean and free of any residue.
Before starting the
nail art
process, it is important to properly prep your nails. Begin by gently pushing back your cuticles and shaping your nails to your desired length and shape. Next, lightly buff the surface of your nails to remove any natural oils and create a smooth base for the gel to adhere to. Finish by wiping your nails with some alcohol to ensure they are clean and free of any residue.
Step 2: Apply the Base Coat
 The key to a long-lasting
Calgel nail art
is a good base coat. Apply a thin layer of
Calgel base coat
to each nail and cure under a
UV lamp
for 60 seconds. This will create a strong foundation for the gel and prevent any chipping or peeling.
The key to a long-lasting
Calgel nail art
is a good base coat. Apply a thin layer of
Calgel base coat
to each nail and cure under a
UV lamp
for 60 seconds. This will create a strong foundation for the gel and prevent any chipping or peeling.
Step 3: Choose Your Design
 Now comes the fun part - choosing your design! There are endless possibilities when it comes to
Calgel nail art
, from simple geometric patterns to intricate floral designs. You can also mix and match colors or add some glitter for a touch of sparkle. Let your creativity run wild and choose a design that speaks to you.
Now comes the fun part - choosing your design! There are endless possibilities when it comes to
Calgel nail art
, from simple geometric patterns to intricate floral designs. You can also mix and match colors or add some glitter for a touch of sparkle. Let your creativity run wild and choose a design that speaks to you.
Step 4: Apply the Gel Color
 Once you have decided on your design, it's time to apply the gel color. Using a
Calgel color gel
of your choice, apply a thin layer to your nail and cure under the
UV lamp
for 60 seconds. Repeat this step until you have achieved your desired opacity and design.
Once you have decided on your design, it's time to apply the gel color. Using a
Calgel color gel
of your choice, apply a thin layer to your nail and cure under the
UV lamp
for 60 seconds. Repeat this step until you have achieved your desired opacity and design.
Step 5: Add Some Details
 To add some extra flair to your design, you can use a
Calgel color gel
in a different shade to create small details such as dots, stripes, or lines. This will add dimension and interest to your
nail art
and make it stand out even more.
To add some extra flair to your design, you can use a
Calgel color gel
in a different shade to create small details such as dots, stripes, or lines. This will add dimension and interest to your
nail art
and make it stand out even more.
Step 6: Seal the Design
 To ensure your
Calgel nail art
lasts as long as possible, it is important to seal it with a top coat. Apply a thin layer of
Calgel top coat
to each nail and cure under the
UV lamp
for 60 seconds. This will also give your design a glossy and professional finish.
To ensure your
Calgel nail art
lasts as long as possible, it is important to seal it with a top coat. Apply a thin layer of
Calgel top coat
to each nail and cure under the
UV lamp
for 60 seconds. This will also give your design a glossy and professional finish.
Step 7: Moisturize and Maintain
 After curing your nails, it's important to moisturize your cuticles and hands to keep them healthy and nourished. You can also use cuticle oil to maintain your
Calgel nail art
and keep it looking fresh for longer.
Now you have a stunning set of
Calgel nails
that will surely turn heads and make a statement. With a bit of practice and creativity, you can create unique and beautiful
nail art
designs that will make you stand out from the crowd. So go ahead and give
Calgel
a try, and get ready to elevate your nail game to new heights!
After curing your nails, it's important to moisturize your cuticles and hands to keep them healthy and nourished. You can also use cuticle oil to maintain your
Calgel nail art
and keep it looking fresh for longer.
Now you have a stunning set of
Calgel nails
that will surely turn heads and make a statement. With a bit of practice and creativity, you can create unique and beautiful
nail art
designs that will make you stand out from the crowd. So go ahead and give
Calgel
a try, and get ready to elevate your nail game to new heights!


