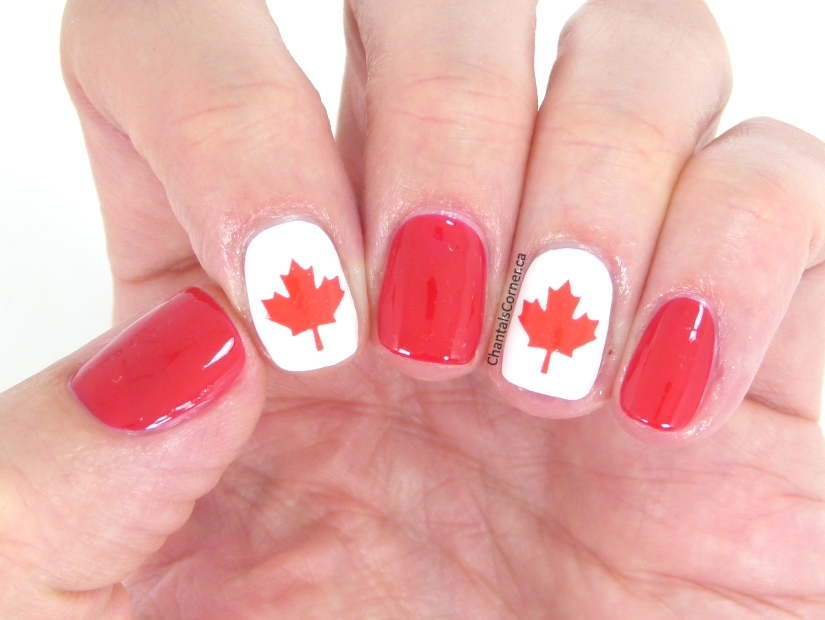
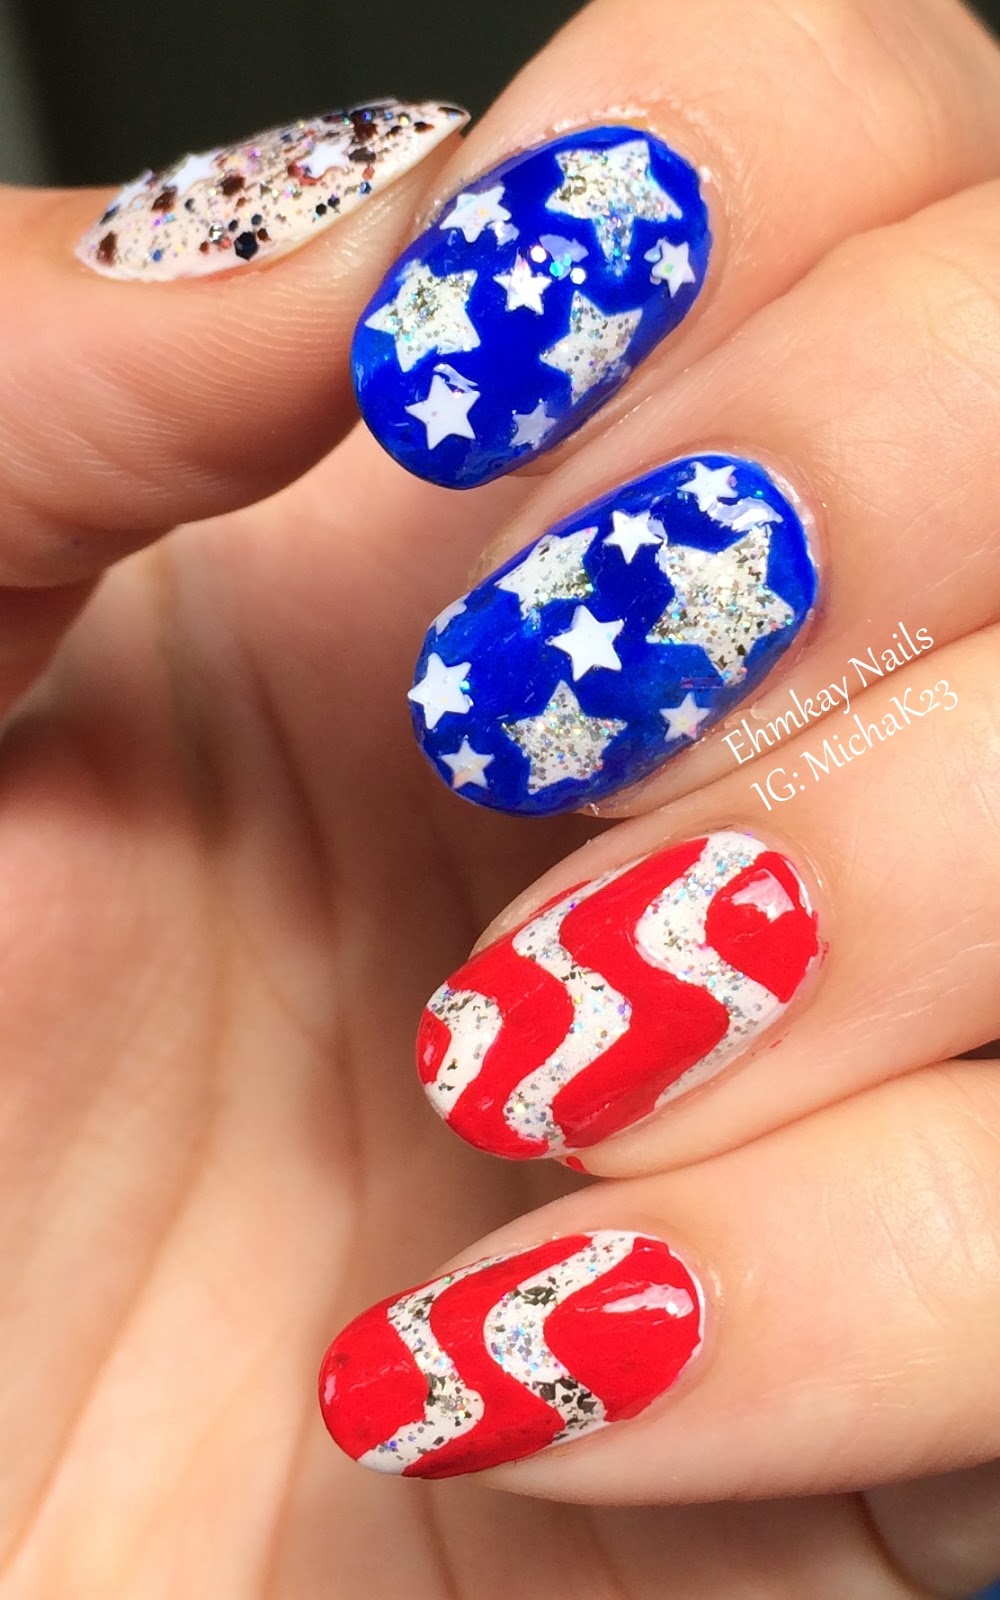
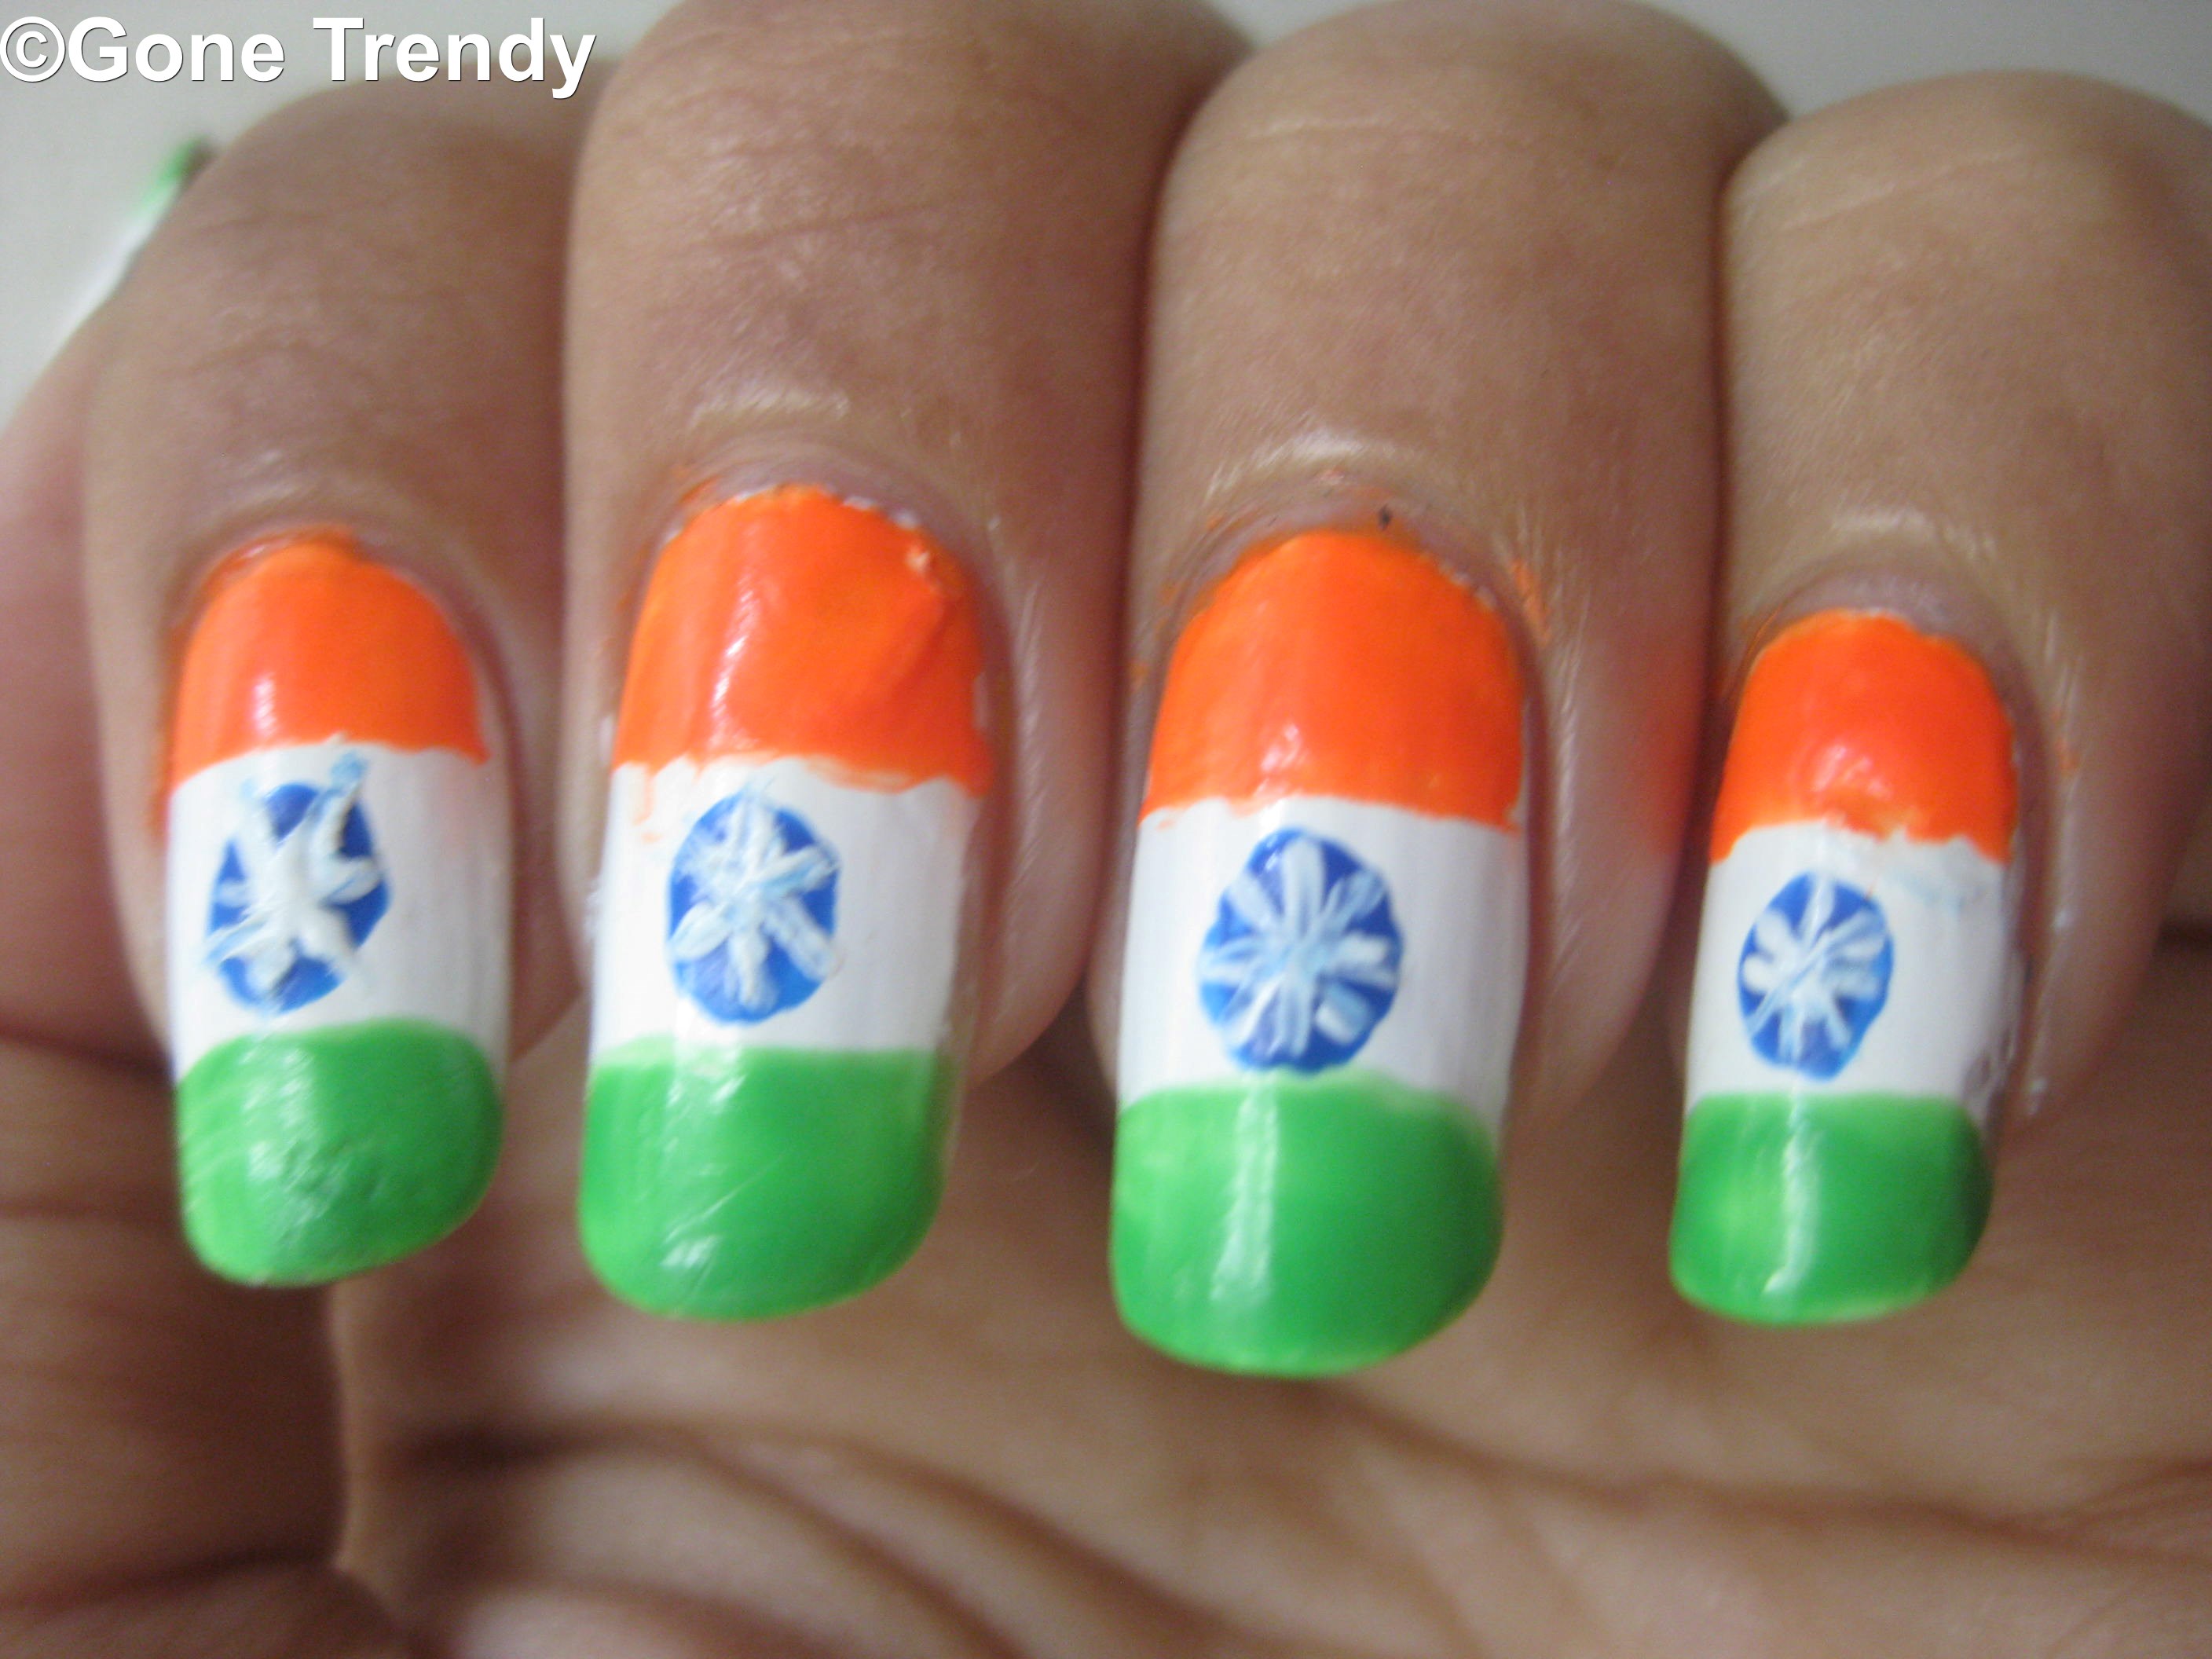
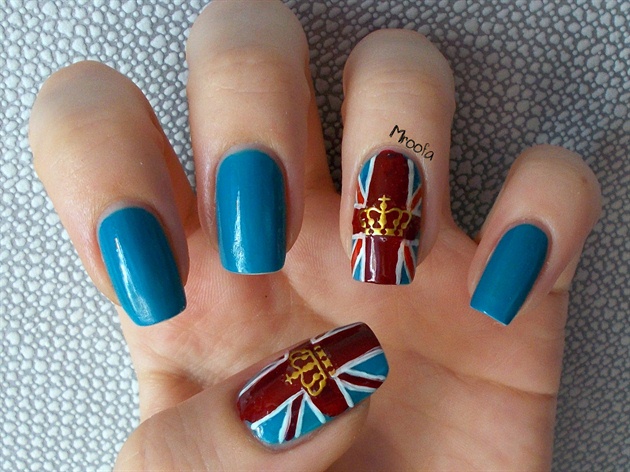
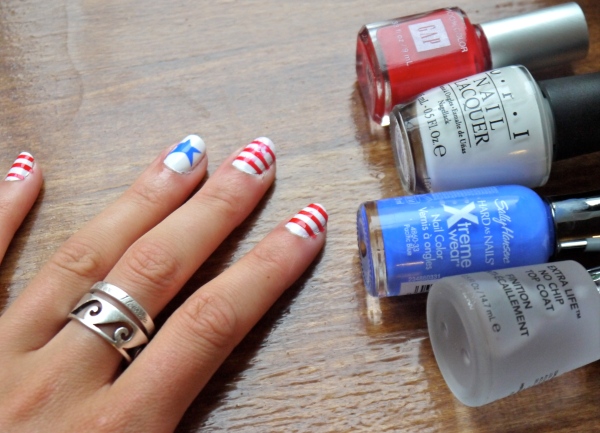
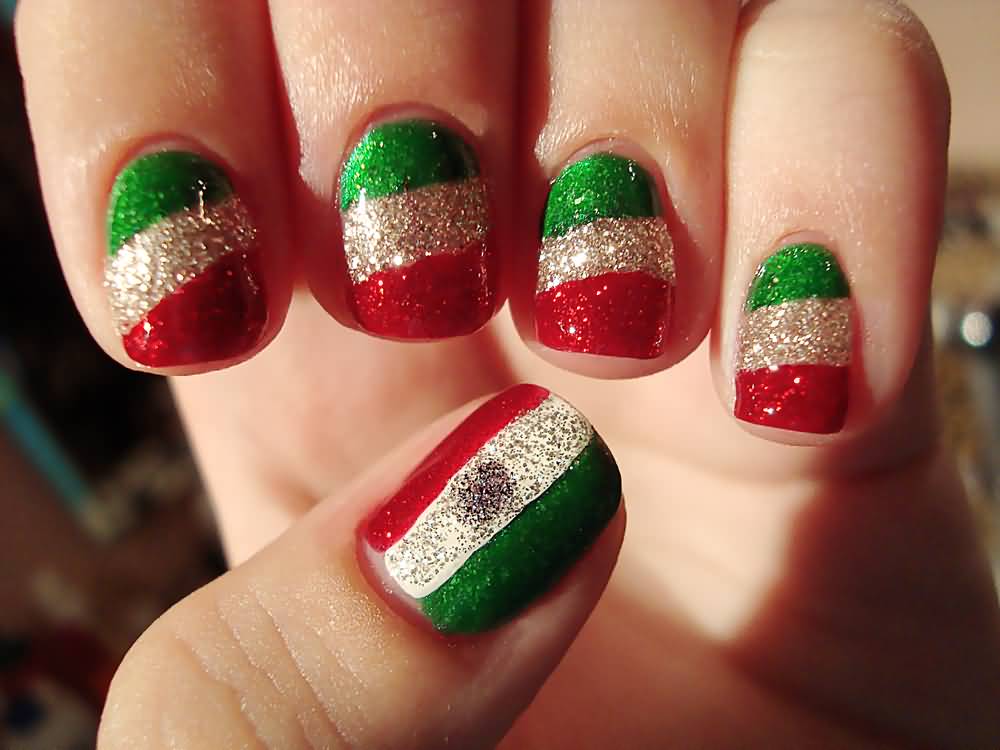
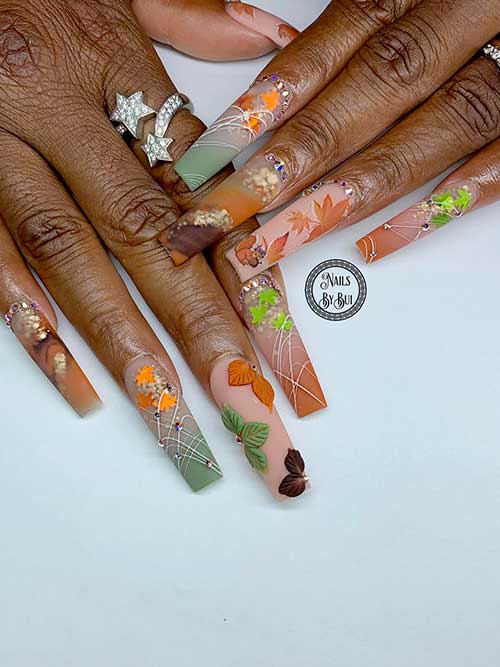
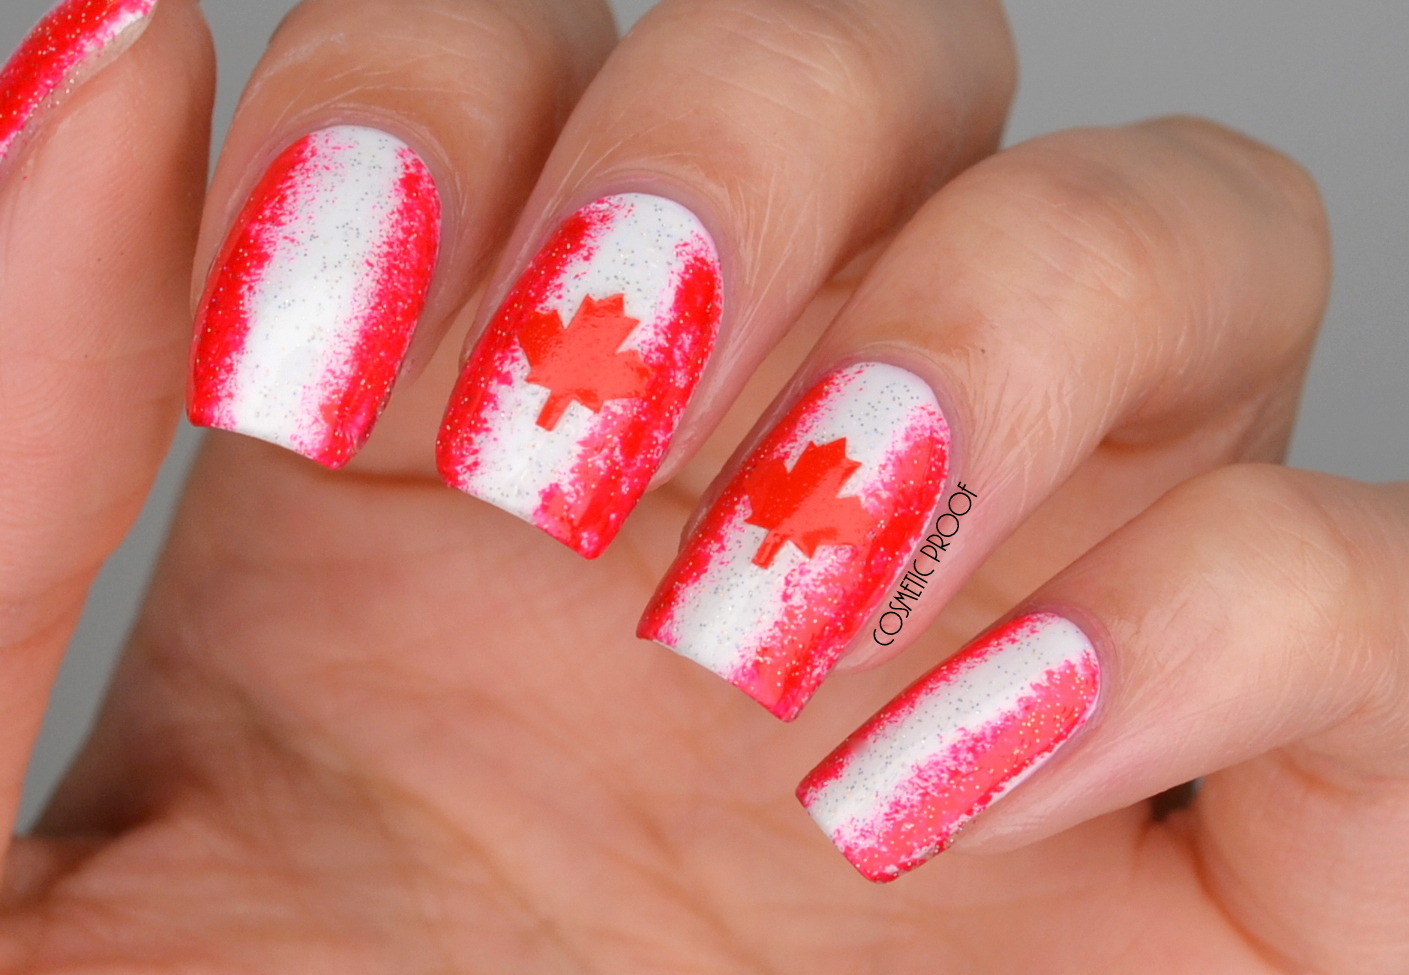
If you're a fan of all things Canada, why not show your love and pride through your nails? With this easy Canada nail art tutorial, you can create a fun and patriotic look that will make heads turn. So grab your nail polish and let's get started! The first step to creating this Canada nail art is to gather all the necessary materials. You will need a red nail polish, a white nail polish, a clear top coat, and a small brush or toothpick for details. Start by painting all your nails with the red nail polish and let them dry completely. Once dry, take your white nail polish and create a thin vertical line down the center of your nail. This will serve as the base for the Canadian flag. Next, using your small brush or toothpick, create a small red maple leaf on top of the white line. If you're not confident in your freehand skills, you can also use a nail stencil for a more precise design. Once the maple leaf is dry, add a small white dot on either side of the leaf to represent the stars on the Canadian flag. Let the design dry completely before moving on to the next step. Finally, seal in your design with a clear top coat to ensure it lasts for days to come. And there you have it, an easy Canada nail art that is perfect for any occasion!Easy Canada Nail Art Tutorial


Easy Canada Nail Art Tutorial


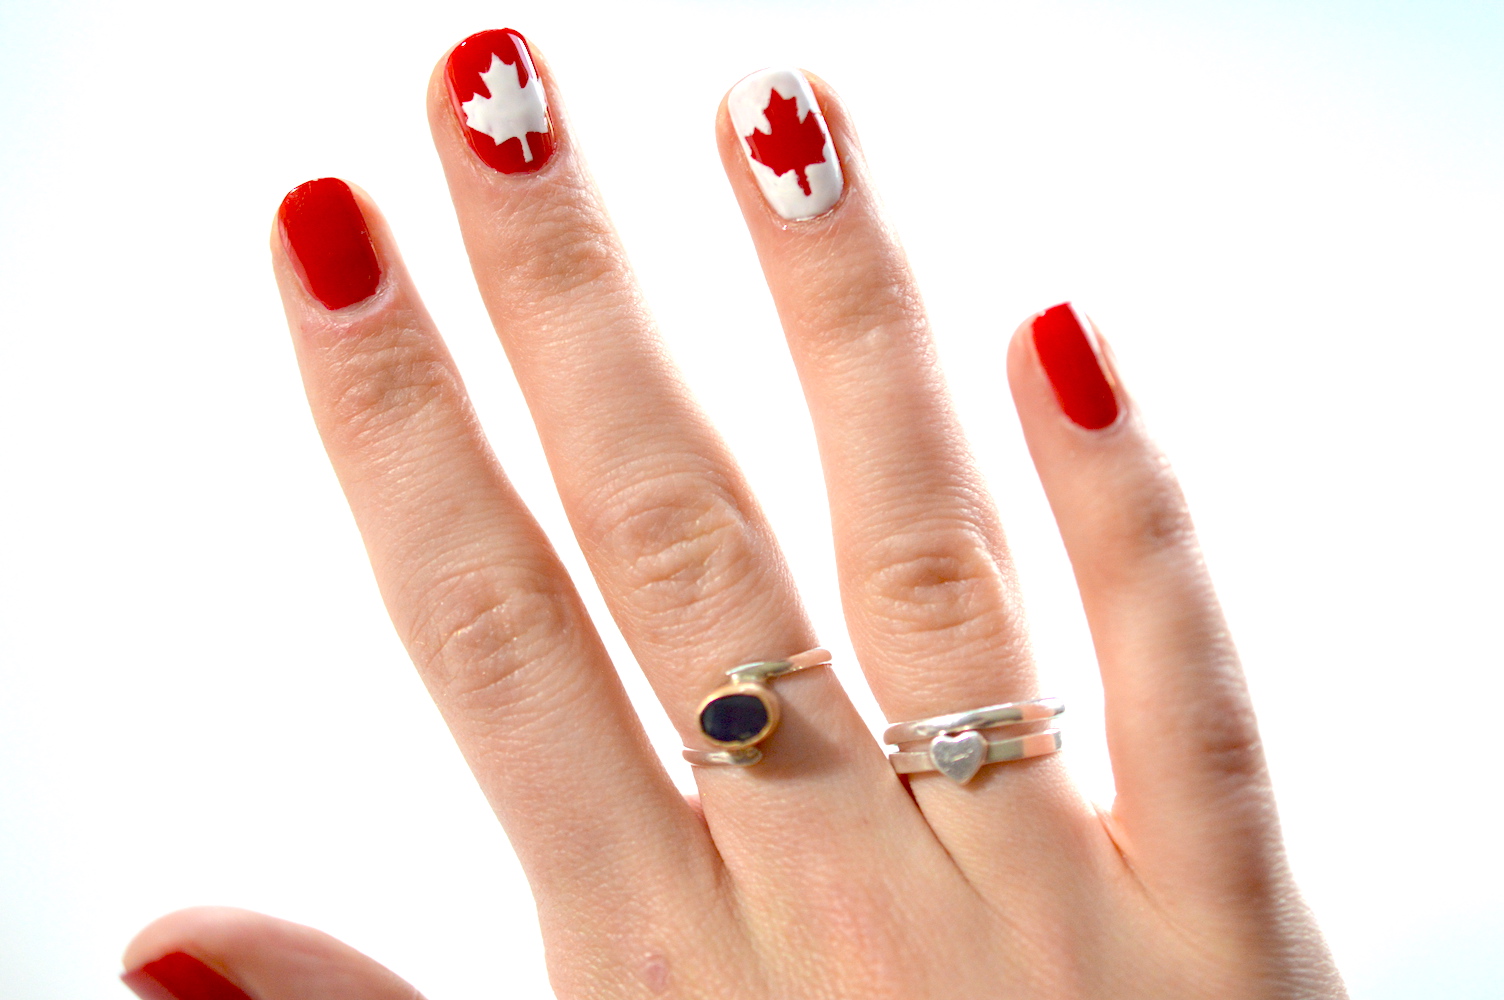
For those who prefer a more detailed and step-by-step approach, this Canada flag nail art tutorial is perfect for you. It may require a bit more time and patience, but the end result is definitely worth it. As with the previous tutorial, start by painting all your nails with a red base coat and let it dry completely. Then, using a small brush or toothpick, create a white French tip on the top of your nail. Make sure the line is straight and clean. Next, using your small brush or toothpick, create a small red maple leaf in the center of the white tip. This may require a steady hand, so take your time. You can also use a nail stencil for more accuracy. Once the maple leaf is dry, add a small white dot on either side of the leaf to represent the stars on the Canadian flag. To make the design pop, you can also add small white dots around the maple leaf. Seal in your design with a clear top coat and let it dry completely. And there you have it, a beautiful Canada flag nail art that will surely make a statement.Step-by-Step Canada Flag Nail Art Tutorial
Step-by-Step Canada Flag Nail Art Tutorial


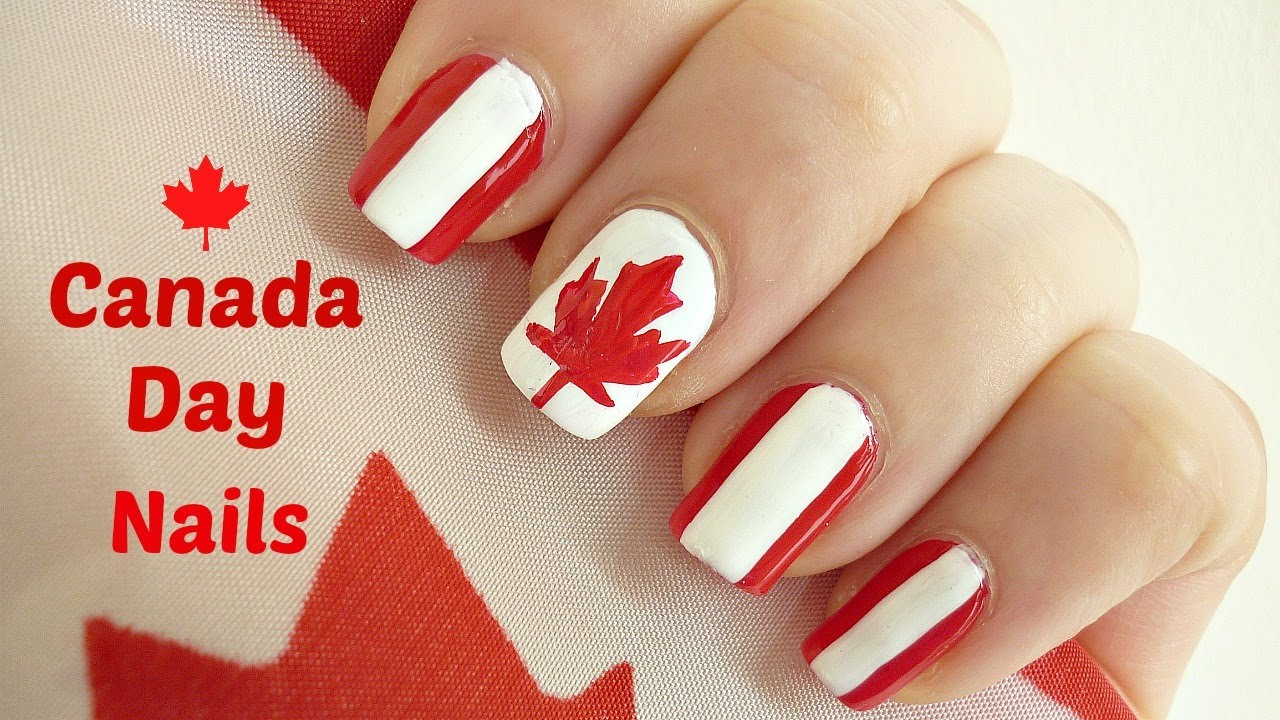
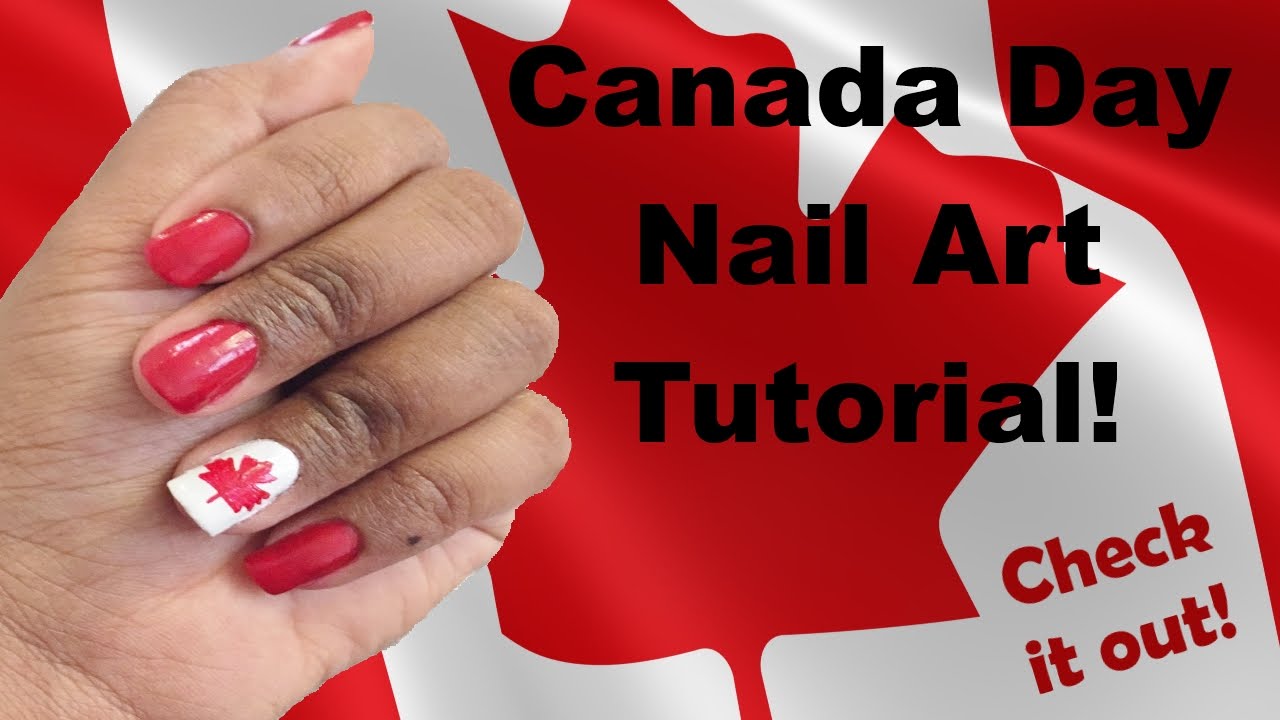
What better way to celebrate Canada Day than with some festive nail art? This Canada Day nail art tutorial is perfect for the occasion and will surely make you stand out from the crowd. Start by painting all your nails with a white base coat and let it dry. Then, using a small brush or toothpick, create a red maple leaf in the center of each nail. You can also use a nail stencil for more precision. Next, using your small brush or toothpick, create a small red dot on the top of the maple leaf to represent the Canadian flag's stars. You can also add small white dots around the leaf for a more detailed look. For the remaining nails, use a red nail polish to create a diagonal stripe on the top corner of the nail. Then, using a white nail polish, create a smaller diagonal stripe on top of the red one. This will represent the Canadian flag's stripes. Seal in your design with a clear top coat and let it dry completely. Now you're all set to celebrate Canada Day with your festive and patriotic nails!Canada Day Nail Art Tutorial


Canada Day Nail Art Tutorial


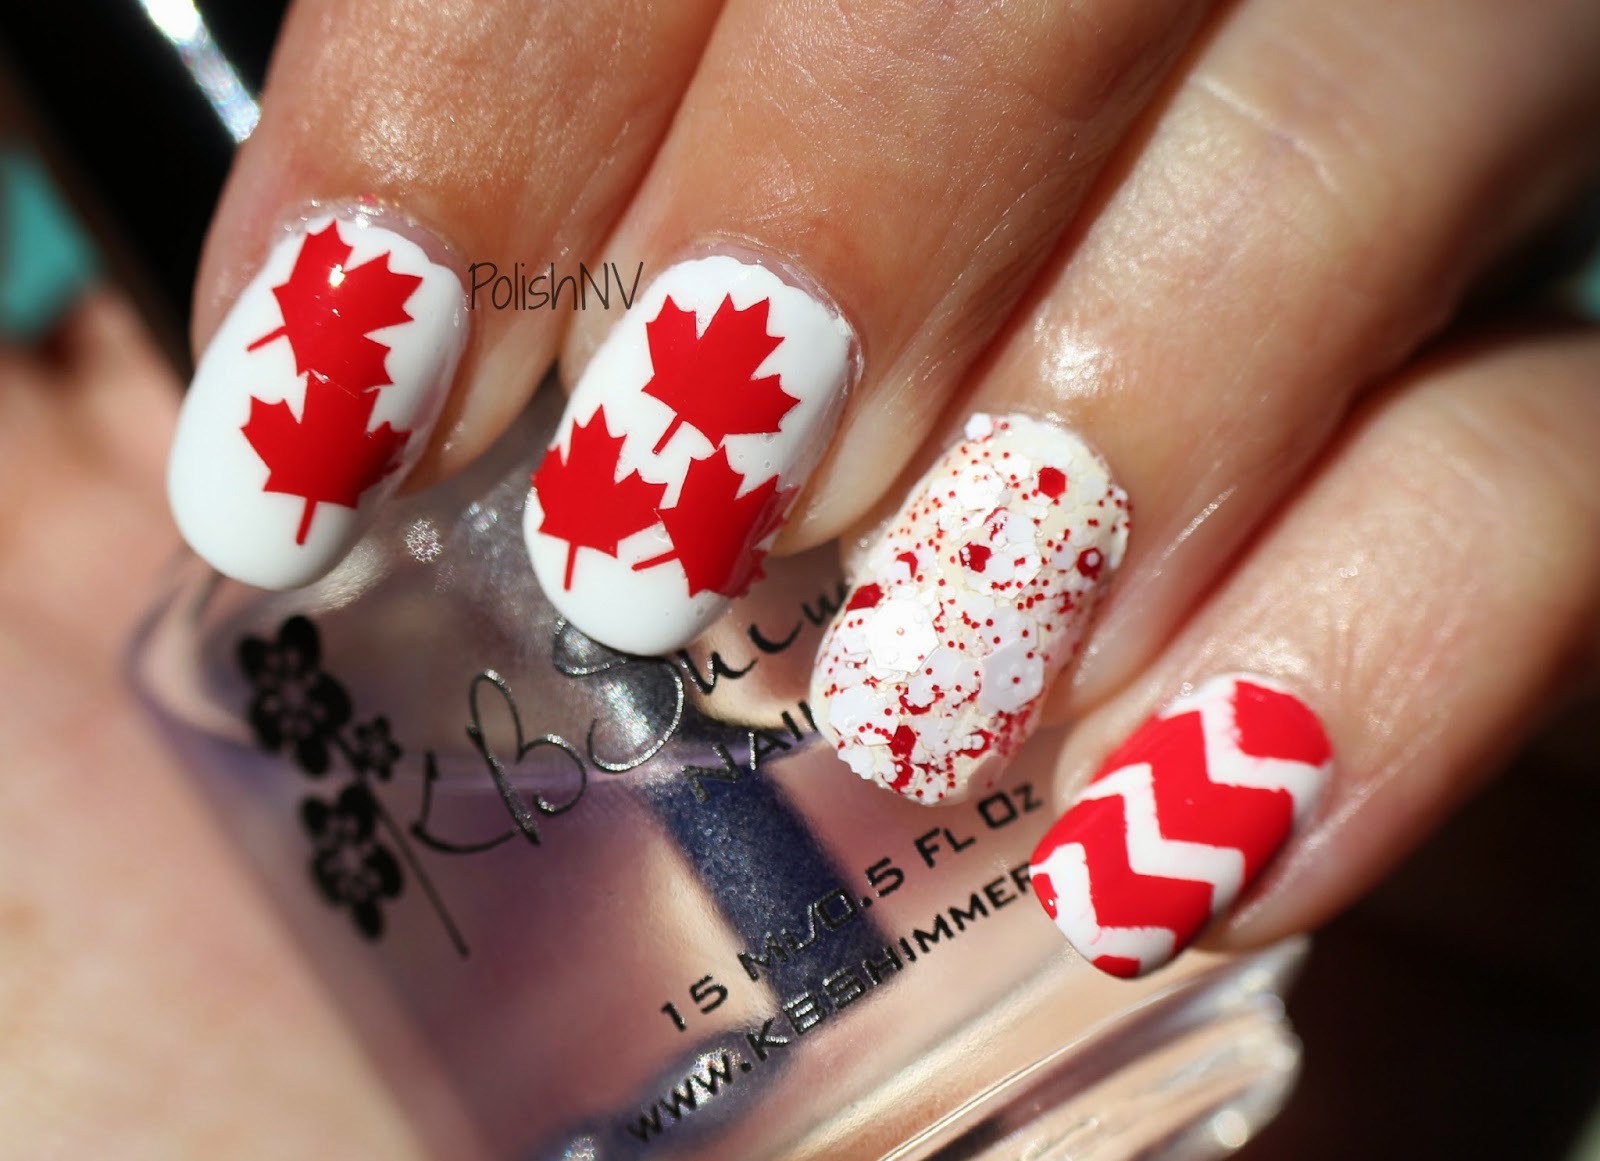


If you're looking for a simple yet stylish Canada nail art, this maple leaf nail art tutorial is perfect for you. It's easy to create and requires minimal materials, making it perfect for beginners. Start by painting all your nails with a red base coat and let it dry completely. Then, using a small brush or toothpick, create a white French tip on the top of your nail. Make sure the line is straight and clean. Next, using your small brush or toothpick, create a red maple leaf in the center of the white tip. You can also use a nail stencil for more accuracy. Let the design dry completely before moving on to the next step. Finally, add a small white dot on either side of the leaf to represent the stars on the Canadian flag. Seal in your design with a clear top coat and let it dry. And there you have it, a simple yet elegant maple leaf nail art that is perfect for any occasion.Simple Maple Leaf Nail Art Tutorial

Simple Maple Leaf Nail Art Tutorial


If you want to take your Canada nail art to the next level, why not try a Canada themed nail art? This tutorial will show you how to incorporate various Canadian symbols and elements into your design for a unique and eye-catching look. Start by painting all your nails with a red base coat and let it dry completely. Next, using a small brush or toothpick, create a white French tip on the top of your nail. For the index finger, use a small brush or toothpick to create a red maple leaf in the center of the nail. On the middle finger, use a white nail polish to create the letters "CA" for Canada. You can also add small red dots around the letters for a more detailed look. On the ring finger, use a small brush or toothpick to create a red and white striped design, representing the Canadian flag's stripes. And finally, on the pinky finger, use a small brush or toothpick to create a small red heart, representing the love for Canada. Seal in your design with a clear top coat and let it dry completely. And there you have it, a fun and creative Canada themed nail art that will surely impress.Canada Themed Nail Art Tutorial


Canada Themed Nail Art Tutorial

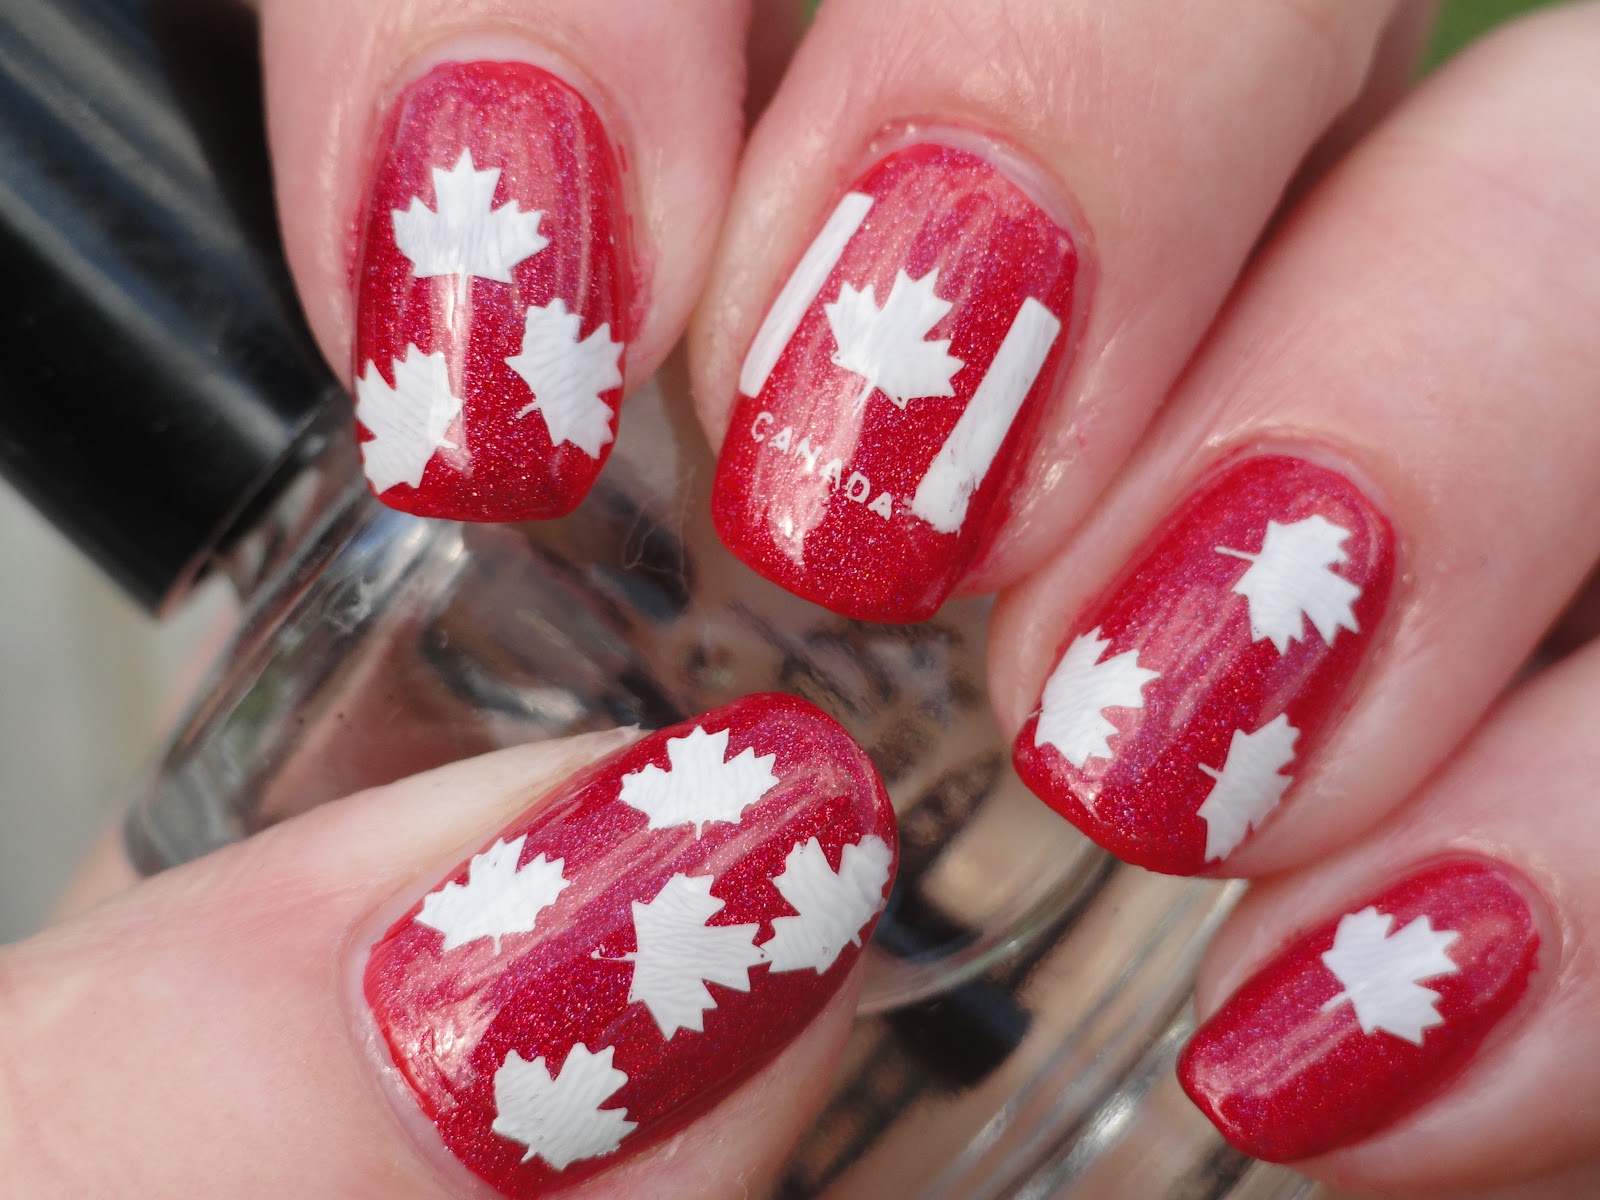
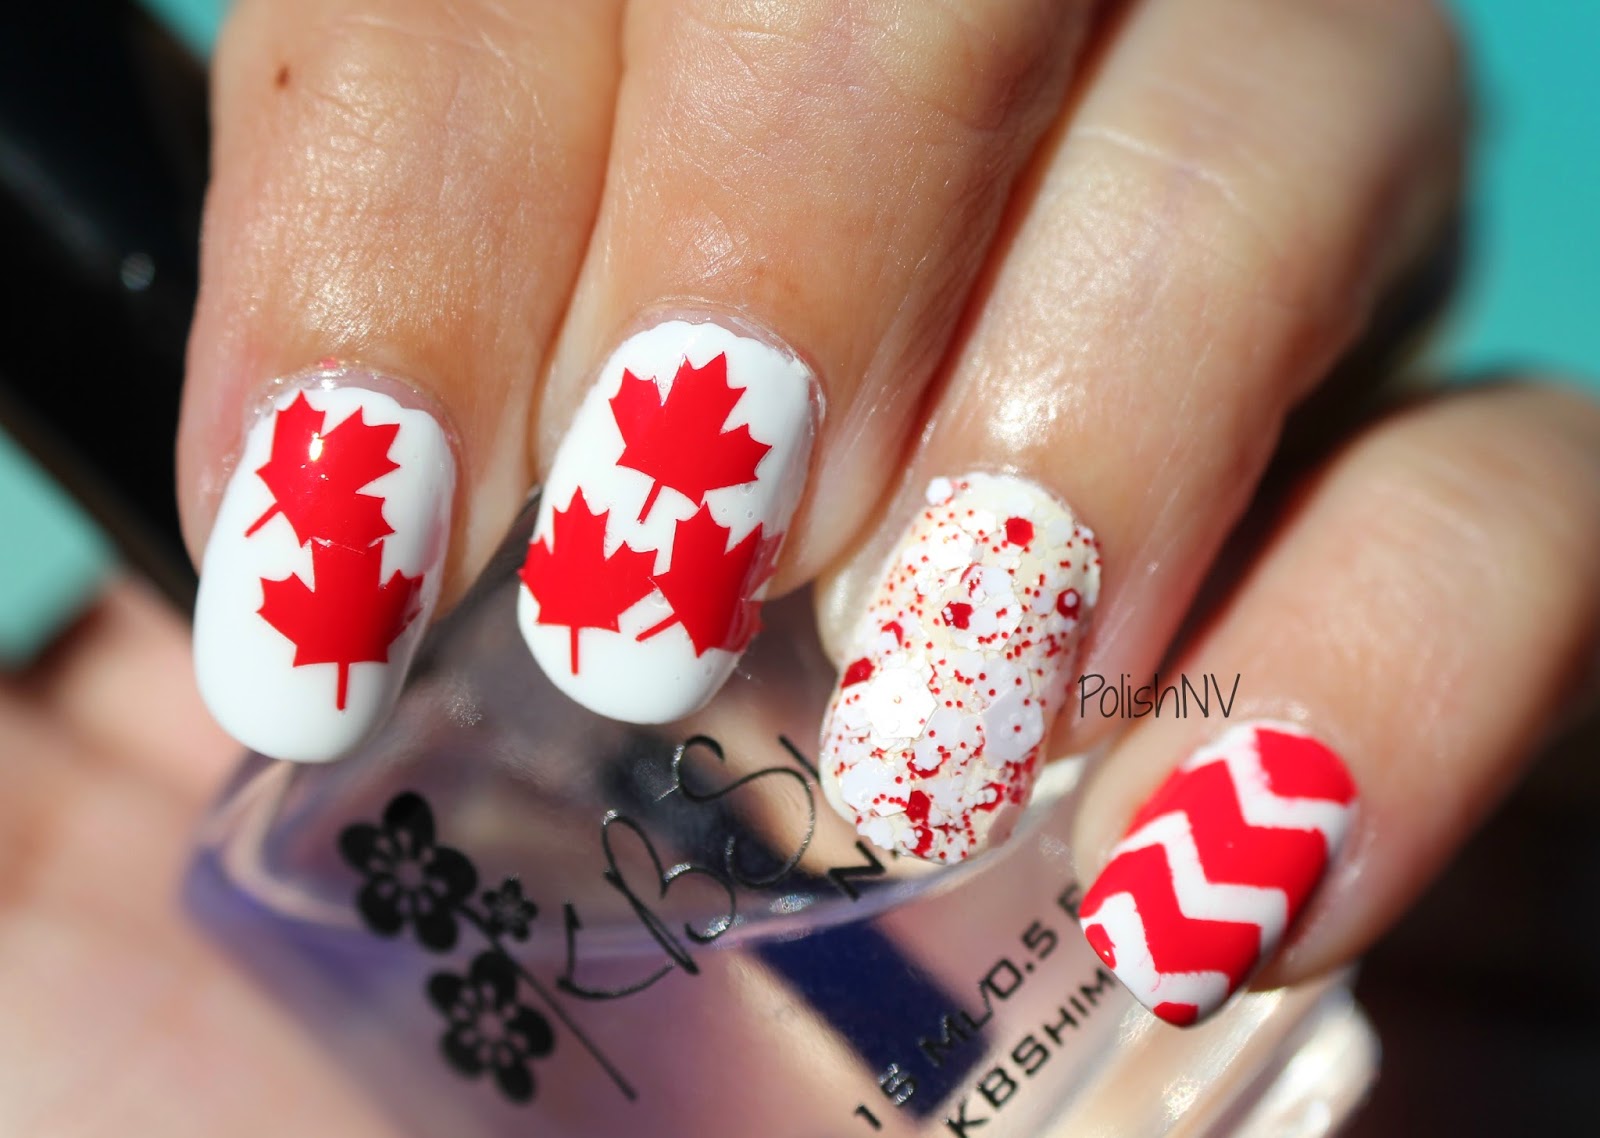
If you're a fan of DIY projects, this Canada flag nail art tutorial is perfect for you. It's easy to create and requires only a few materials, making it budget-friendly as well. Start by painting all your nails with a white base coat and let it dry completely. Then, using a small brush or toothpick, create a red maple leaf in the center of each nail. You can also use a nail stencil for more precision. Next, using your small brush or toothpick, create a small red dot on the top of the maple leaf to represent the Canadian flag's stars. You can also add small white dots around the leaf for a more detailed look. For the remaining nails, use a red nail polish to create a diagonal stripe on the top corner of the nail. Then, using a white nail polish, create a smaller diagonal stripe on top of the red one. This will represent the Canadian flag's stripes. Seal in your design with a clear top coat and let it dry completely. And there you have it, a DIY Canada flag nail art that is perfect for showing off your crafting skills.DIY Canada Flag Nail Art Tutorial


DIY Canada Flag Nail Art Tutorial


For a more playful and fun Canada nail art, this cute Canada nail art tutorial is perfect for you. It's perfect for those who love a pop of color and want to show off their creativity. Start by painting all your nails with a white base coat and let it dry completely. Then, using a small brush or toothpick, create a red maple leaf in the center of each nail. You can also use a nail stencil for more precision. Next, using your small brush or toothpick, create a small red dot on the top of the maple leaf to represent the Canadian flag's stars. You can also add small white dots around the leaf for a more detailed look. On the remaining nails, use a different color for each one and create a diagonal stripe on the top corner of the nail. You can use colors like blue, yellow, and green, which are also found in the Canadian flag. Seal in your design with a clear top coat and let it dry completely. And there you have it, a cute and colorful Canada nail art that will surely brighten up your day.Cute Canada Nail Art Tutorial


Cute Canada Nail Art Tutorial


If you're short on time but still want to rock some Canada nail art, this quick and easy tutorial is perfect for you. It takes only a few minutes to create but still looks stylish and patriotic. Start by painting all your nails with a red base coat and let it dry completely. Using a small brush or toothpick, create a white diagonal stripe on the top corner of each nail. Make sure the line is straight and clean. Next, using your small brush or toothpick, create a small red maple leaf in the center of the white stripe. You can also use a nail stencil for more precision. Seal in your design with a clear top coat and let it dry completely. And there you have it, a quick and easy Canada nail art that is perfect for any occasion.Quick and Easy Canada Nail Art Tutorial


Quick and Easy Canada Nail Art Tutorial


If you're new to nail art and want to try your hand at creating a Canada themed design, this tutorial is perfect for you. It's simple and easy to follow, making it ideal for beginners. Start by painting all your nails with a white base coat and let it dry completely. Next, using a small brush or toothpick, create a red maple leaf in the center of each nail. You can also use a nail stencil for more precision. Using a small brush or toothpick, create a small red dot on the top of the maple leaf to represent the Canadian flag's stars. You can also add small white dots around the leaf for a more detailed look. For the remaining nails, use a red nail polish to create a diagonal stripe on the top corner of the nail. Then, using a white nail polish, create a smaller diagonal stripe on top of the red one. This will represent the Canadian flag's stripes. Seal in your design with a clear top coat and let it dry completely. And there you have it, a simple and beginner-friendly Canada Day nail art.Canada Day Nail Art Tutorial for Beginners


Canada Day Nail Art Tutorial for Beginners
If you don't have a small brush on hand, don't worry! This Canada flag nail art tutorial uses a toothpick to create the design, making it accessible for everyone. Start by painting all your nails with a white base coat and let it dry completely. Then, using a toothpick, create a red maple leaf in the center of each nail. This may require a bit more patience and precision, but the end result will be worth it. Next, using the toothpick, create a small red dot on the top of the maple leaf to represent the Canadian flag's stars. You can also add small white dots around the leaf for a more detailed look. For the remaining nails, use a red nail polish to create a diagonal stripe on the top corner of the nail. Then, using a white nail polish, create a smaller diagonal stripe on top of the red one. This will represent the Canadian flag's stripes. Seal in your design with a clear top coat and let it dry completely. And there you have it, a Canada flag nail art created solely with a toothpick.Canada Flag Nail Art Tutorial with Toothpick


Canada Flag Nail Art Tutorial with Toothpick


The Beauty of Canada Nail Art: A Step-by-Step Tutorial
Canada, known for its breathtaking landscapes, friendly people, and delicious maple syrup, is also a source of inspiration for unique and beautiful nail art designs. In this tutorial, we will show you how to recreate some iconic Canadian symbols on your nails, making your manicure truly one-of-a-kind.

Firstly, let's start with the basics. A clean and well-prepared nail is essential for any nail art design to look its best. Begin by shaping and filing your nails to your desired length and shape. Then, gently push back your cuticles and use a nail buffer to smooth out any rough edges. Finally, wash your hands and dry them thoroughly before applying a base coat.
Now, let's dive into our Canada-inspired nail art . The first design we will be creating is a classic Canadian flag. Using a thin brush, paint two coats of red nail polish on your index finger, ring finger, and pinky. On your middle finger, paint two coats of white nail polish. Once the polish has dried, use a blue nail striper to draw a vertical line down the middle of your white nail. Voila, you now have a Canadian flag nail art design!
Next, let's pay homage to Canada's national animal, the beaver. On your thumb, paint two coats of brown nail polish and let it dry. Using a black nail striper, draw two small circles for the beaver's eyes and a large oval for its nose. Then, using a white nail polish, add two small dots in the black circles for the eyes. Finally, use a brown nail striper to draw two curved lines for the beaver's teeth. This cute and playful nail art design is perfect for any animal lover.
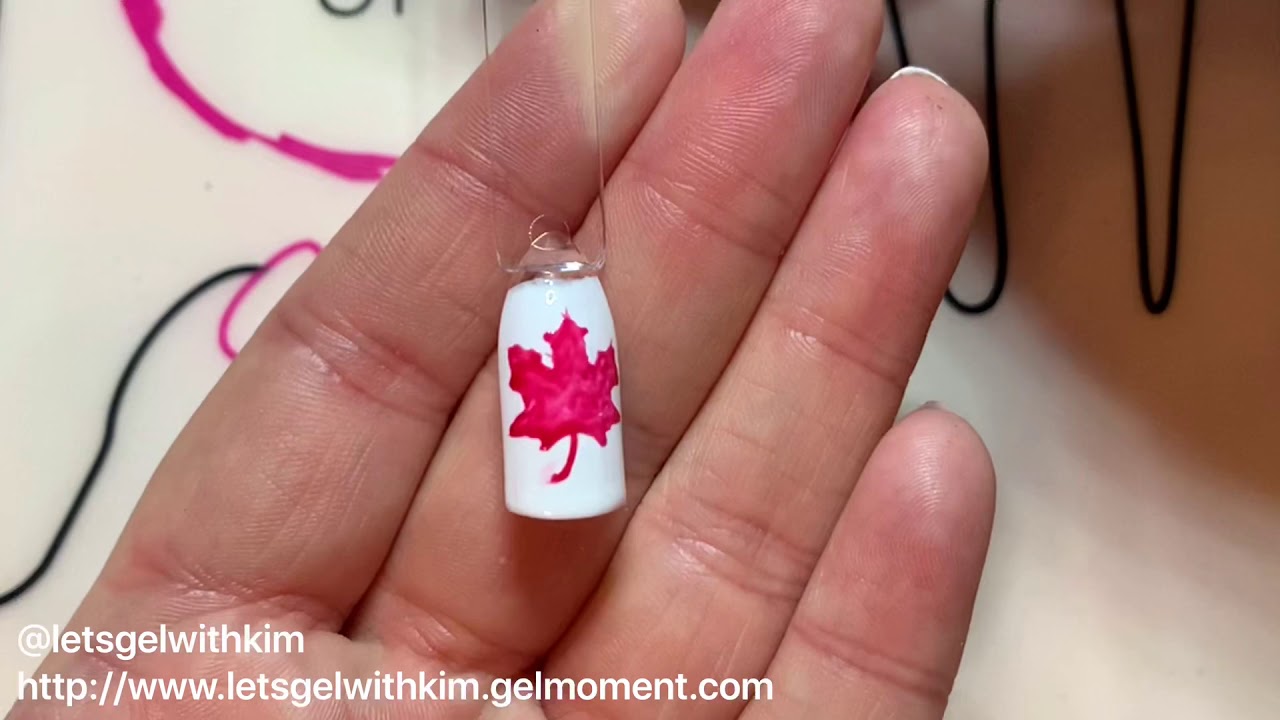
No Canada-inspired nail art tutorial would be complete without a maple leaf design. On your index finger, paint two coats of red nail polish and let it dry. Using a white nail striper, draw four small diagonal lines from the center of your nail to create the veins of the leaf. Then, using a green nail striper, draw a stem at the bottom of the leaf. This simple yet stunning design will surely make your nails stand out.
Lastly, let's create a nail art design inspired by Canada's beautiful landscapes. On your ring finger, paint two coats of blue nail polish and let it dry. Then, using a white nail striper, draw small, jagged lines to represent mountains. Next, use a green nail striper to add some trees and a yellow nail striper for the sun. This design is a little more intricate, but the end result will be worth it.
Finish off your Canada-inspired nail art by applying a top coat to seal in your designs and add shine. Now you have a stunning manicure that pays homage to the beauty of Canada. So next time you want to show off your Canadian pride, try out these nail art designs and let your nails do the talking.


