In this tutorial, we will show you how to create a stunning cherry blossom nail art design using acrylics. With the delicate pink and white blossoms against a black background, this design is perfect for any occasion. To start, gather your materials:Cherry Blossom Nail Art Tutorial


Cherry Blossom Nail Art Tutorial


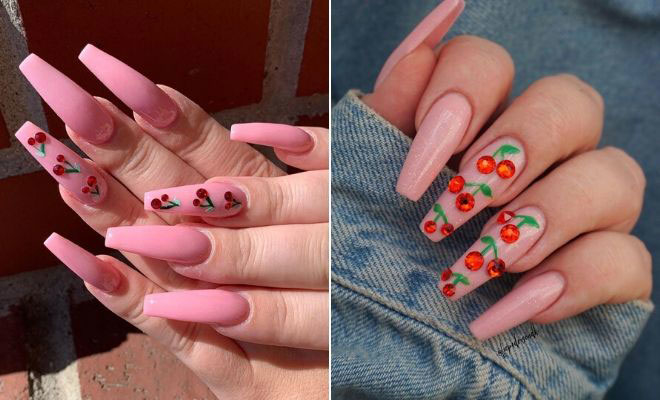
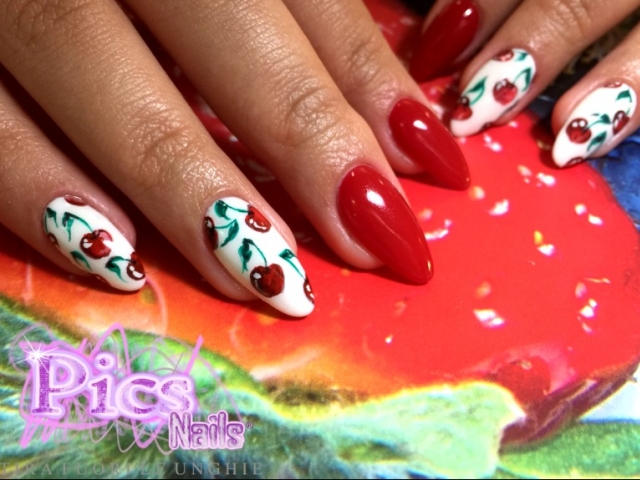
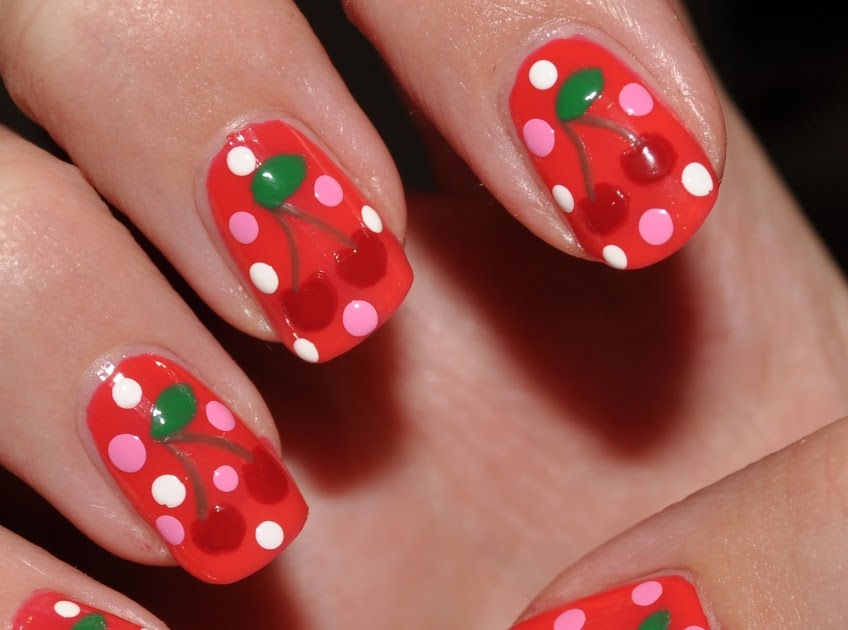
If you're looking for a bold and vibrant cherry nail art design, then look no further. This acrylic design is perfect for those who love a pop of color on their nails. Start by shaping your acrylic nails into a pointed almond shape. Then, using a bright red acrylic powder, create a solid base for your nails. Next, take a small brush and dip it into a white acrylic paint. Create the outline of a cherry on the tip of your nail. Fill it in with the white paint to create a solid base. Using a dotting tool, create small black dots in the center of the cherry to represent the seeds. Repeat this process on all of your nails and finish off with a top coat for a shiny and long-lasting finish.Acrylic Cherry Nail Art Design


Acrylic Cherry Nail Art Design
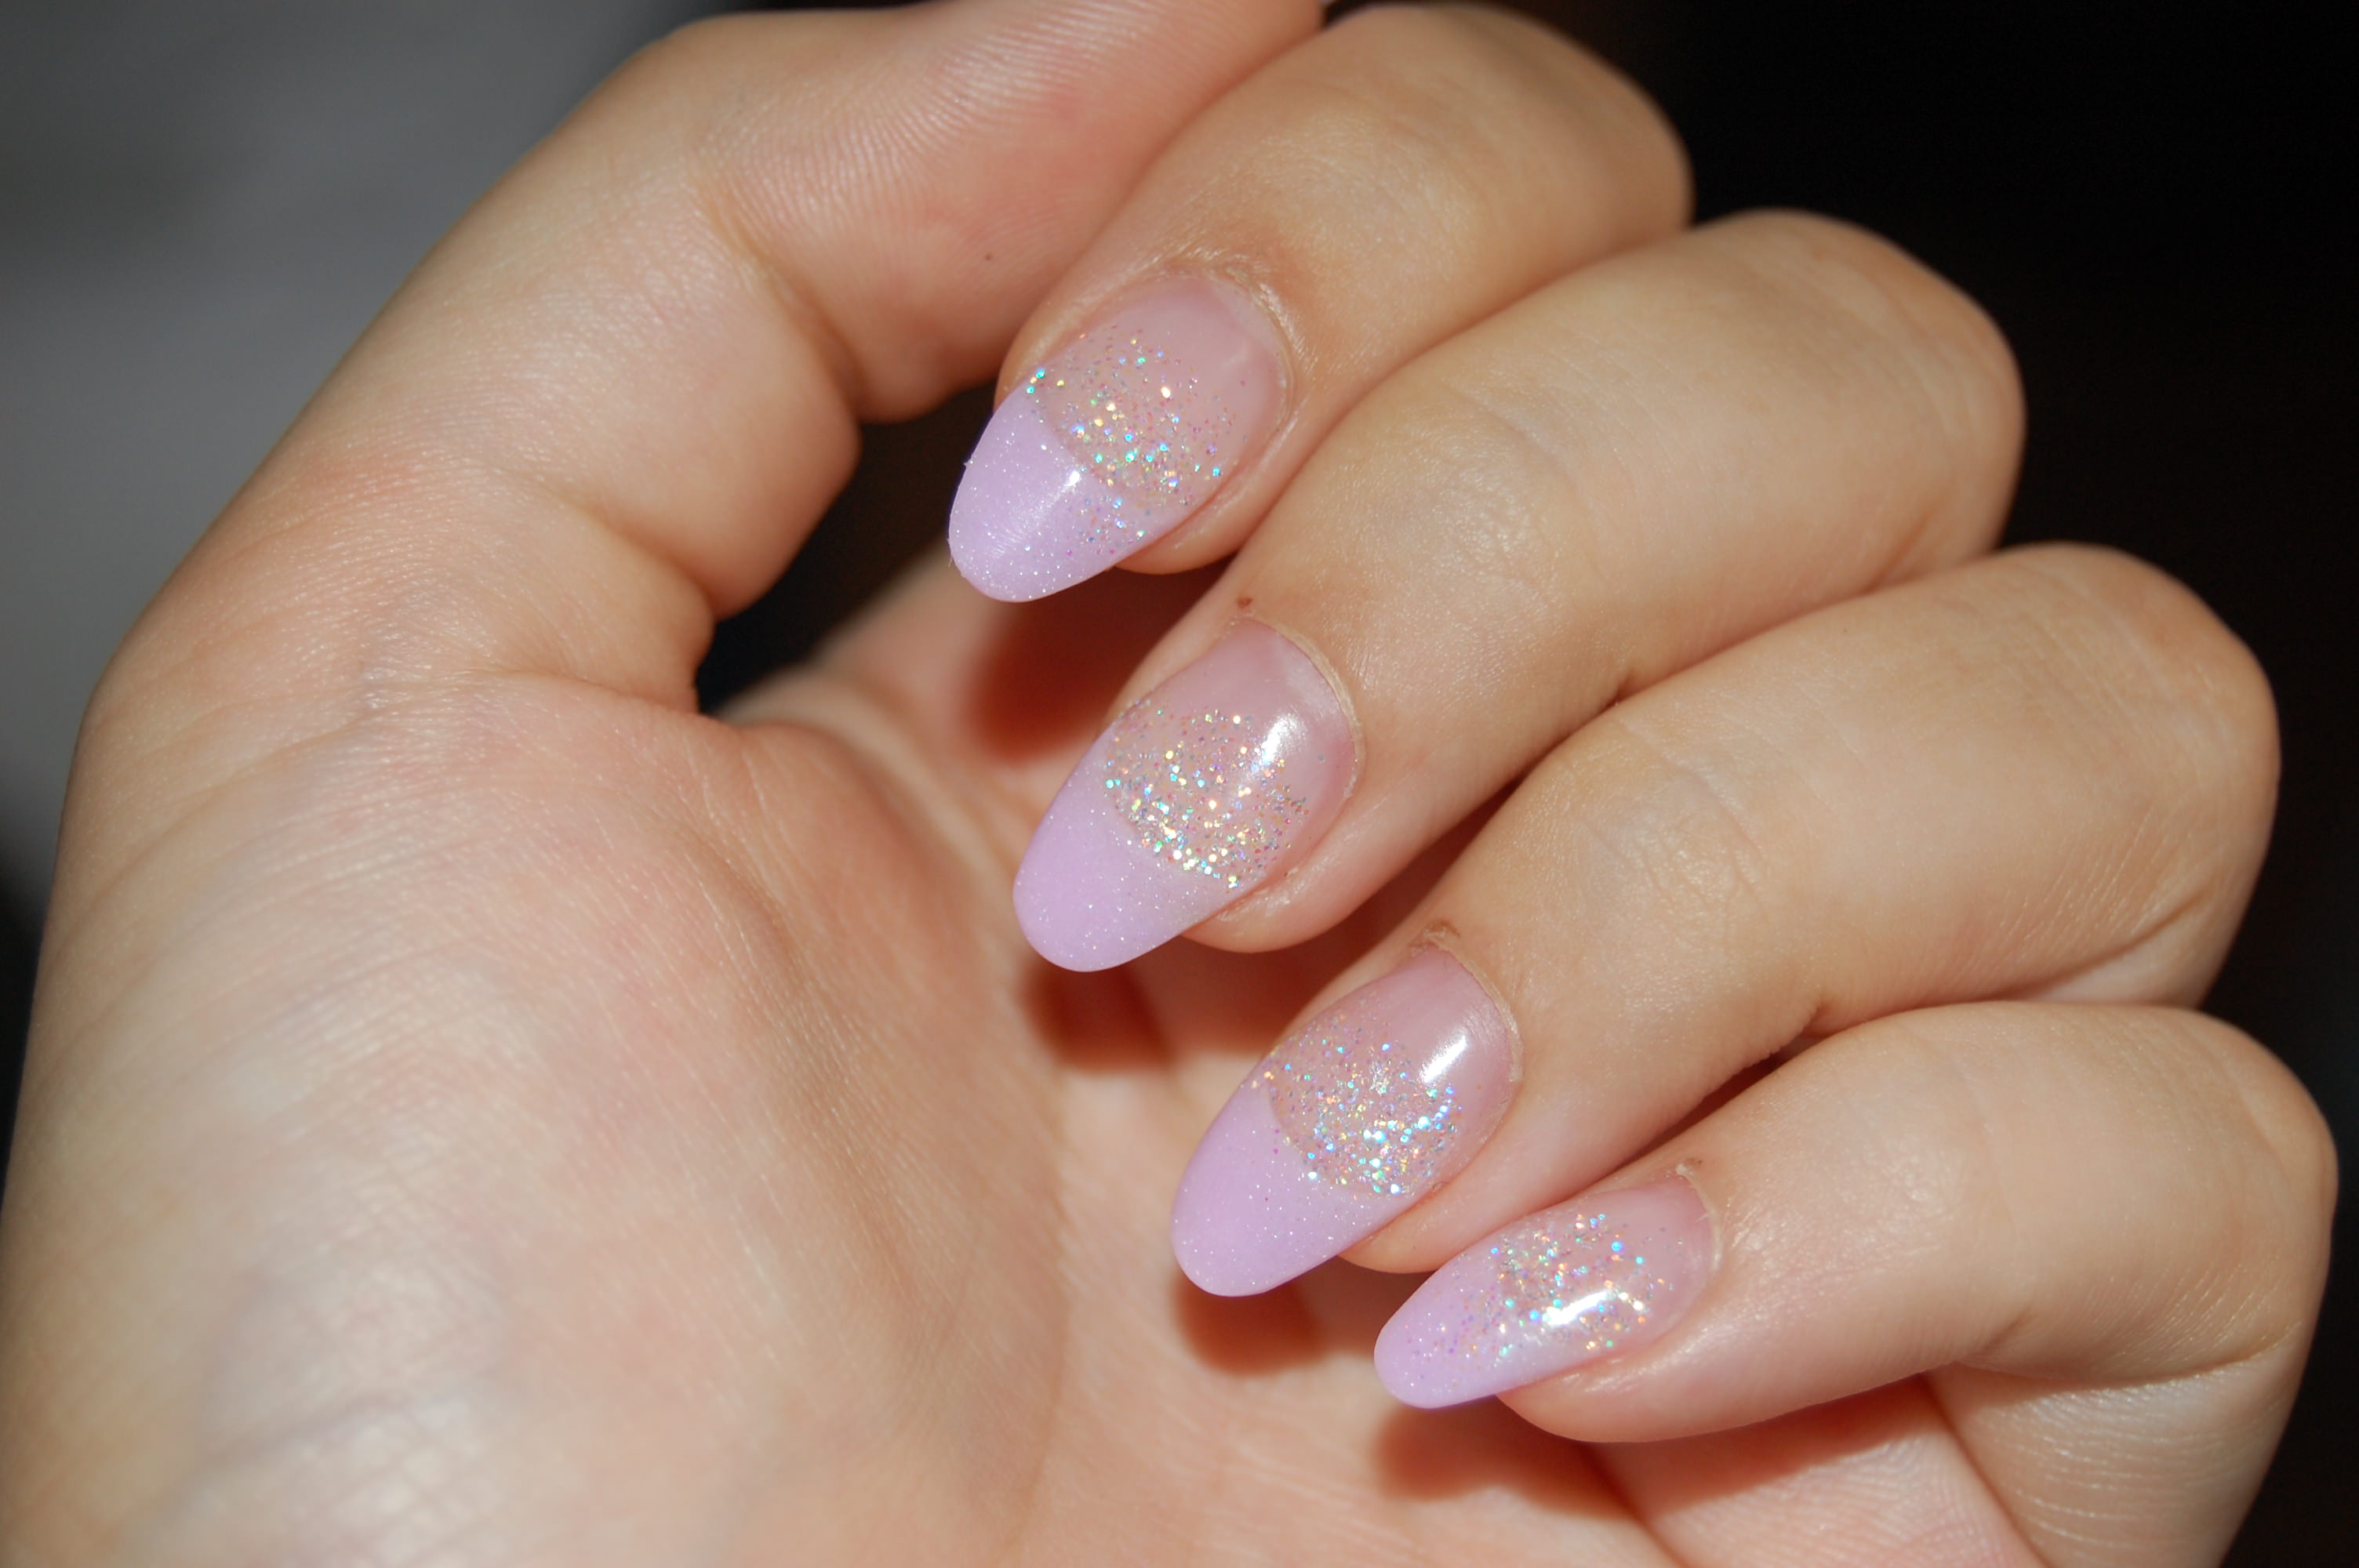


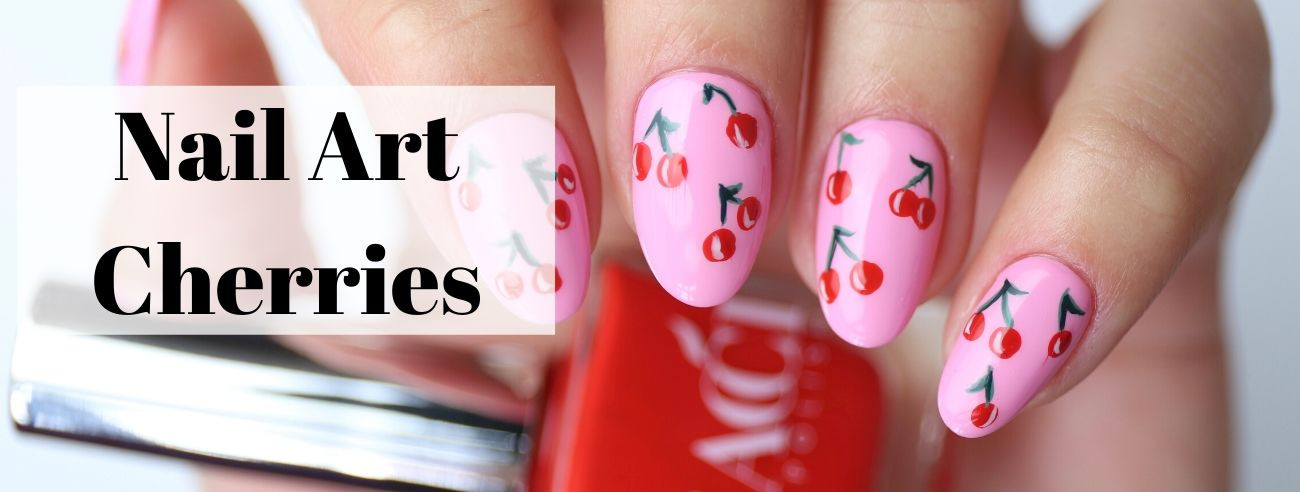

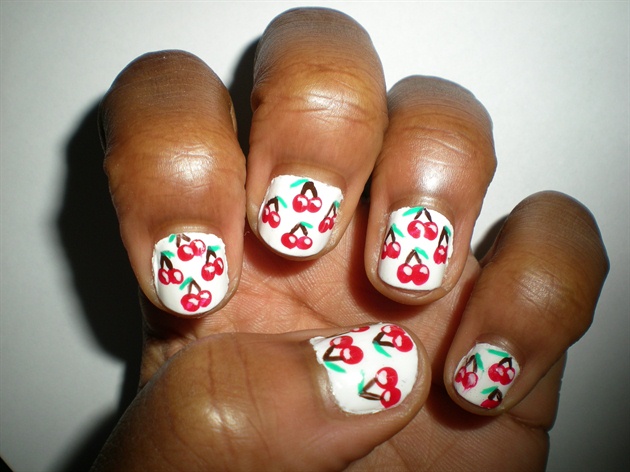
If you're new to nail art or don't have acrylics, you can still achieve a beautiful cherry design using acrylic paint. This method is easy and perfect for beginners. Start by painting your nails with a light pink polish. Let it dry completely before moving on to the next step. Take a deep red acrylic paint and create small half-circles on the tip of your nail to represent the cherry. Use a small brush to create the outline and fill it in with the paint. Using a dotting tool, add the black seeds to the center of the cherry. You can also use a toothpick or the end of a small brush if you do not have a dotting tool. Repeat this process on all of your nails and seal it with a top coat for a glossy finish.Cherry Nail Art with Acrylic Paint


Cherry Nail Art with Acrylic Paint


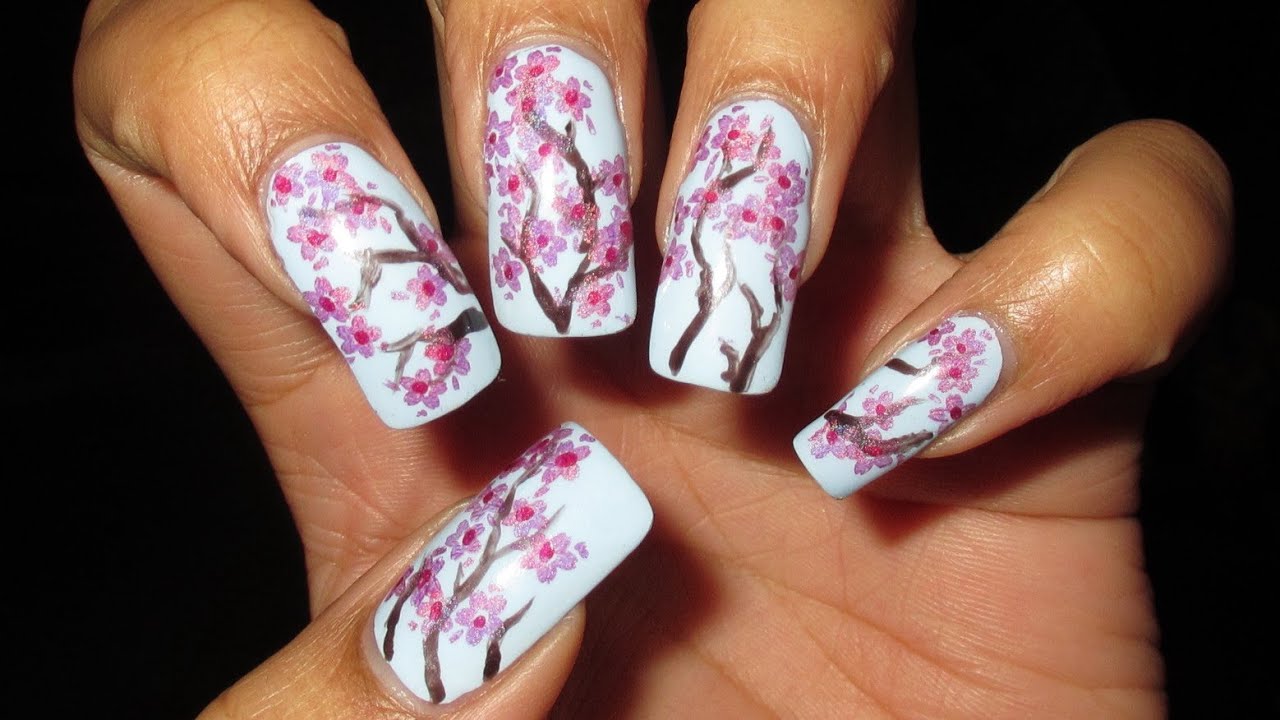
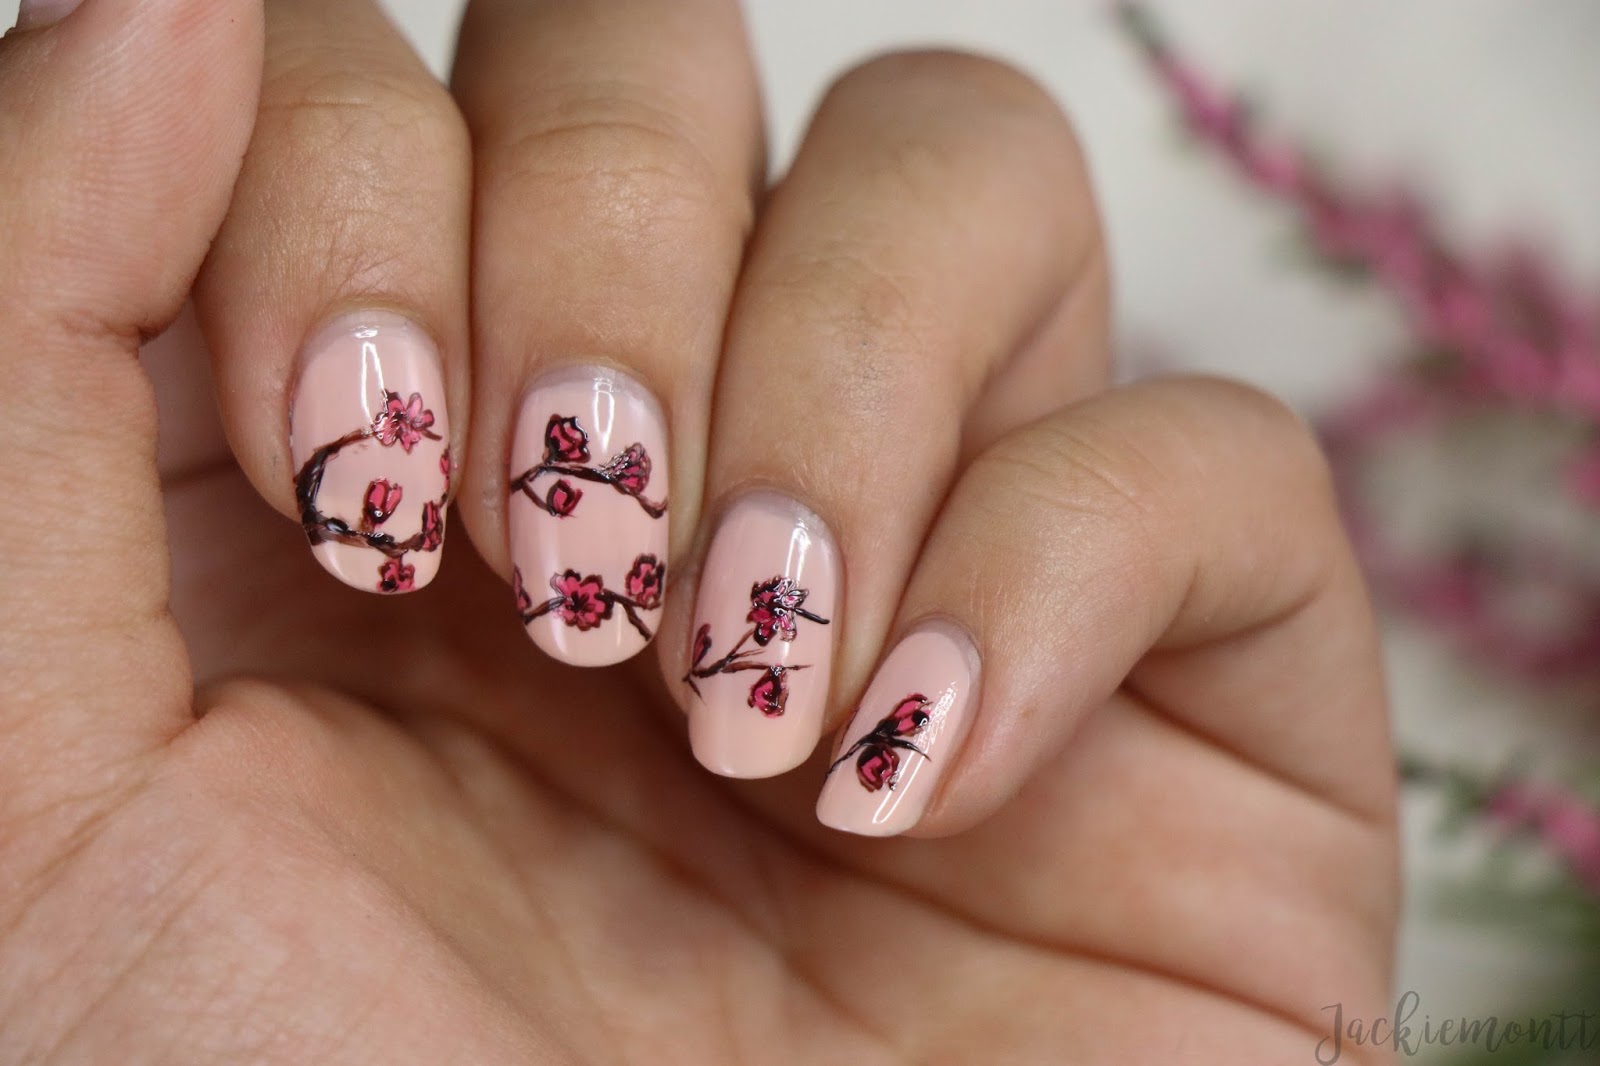
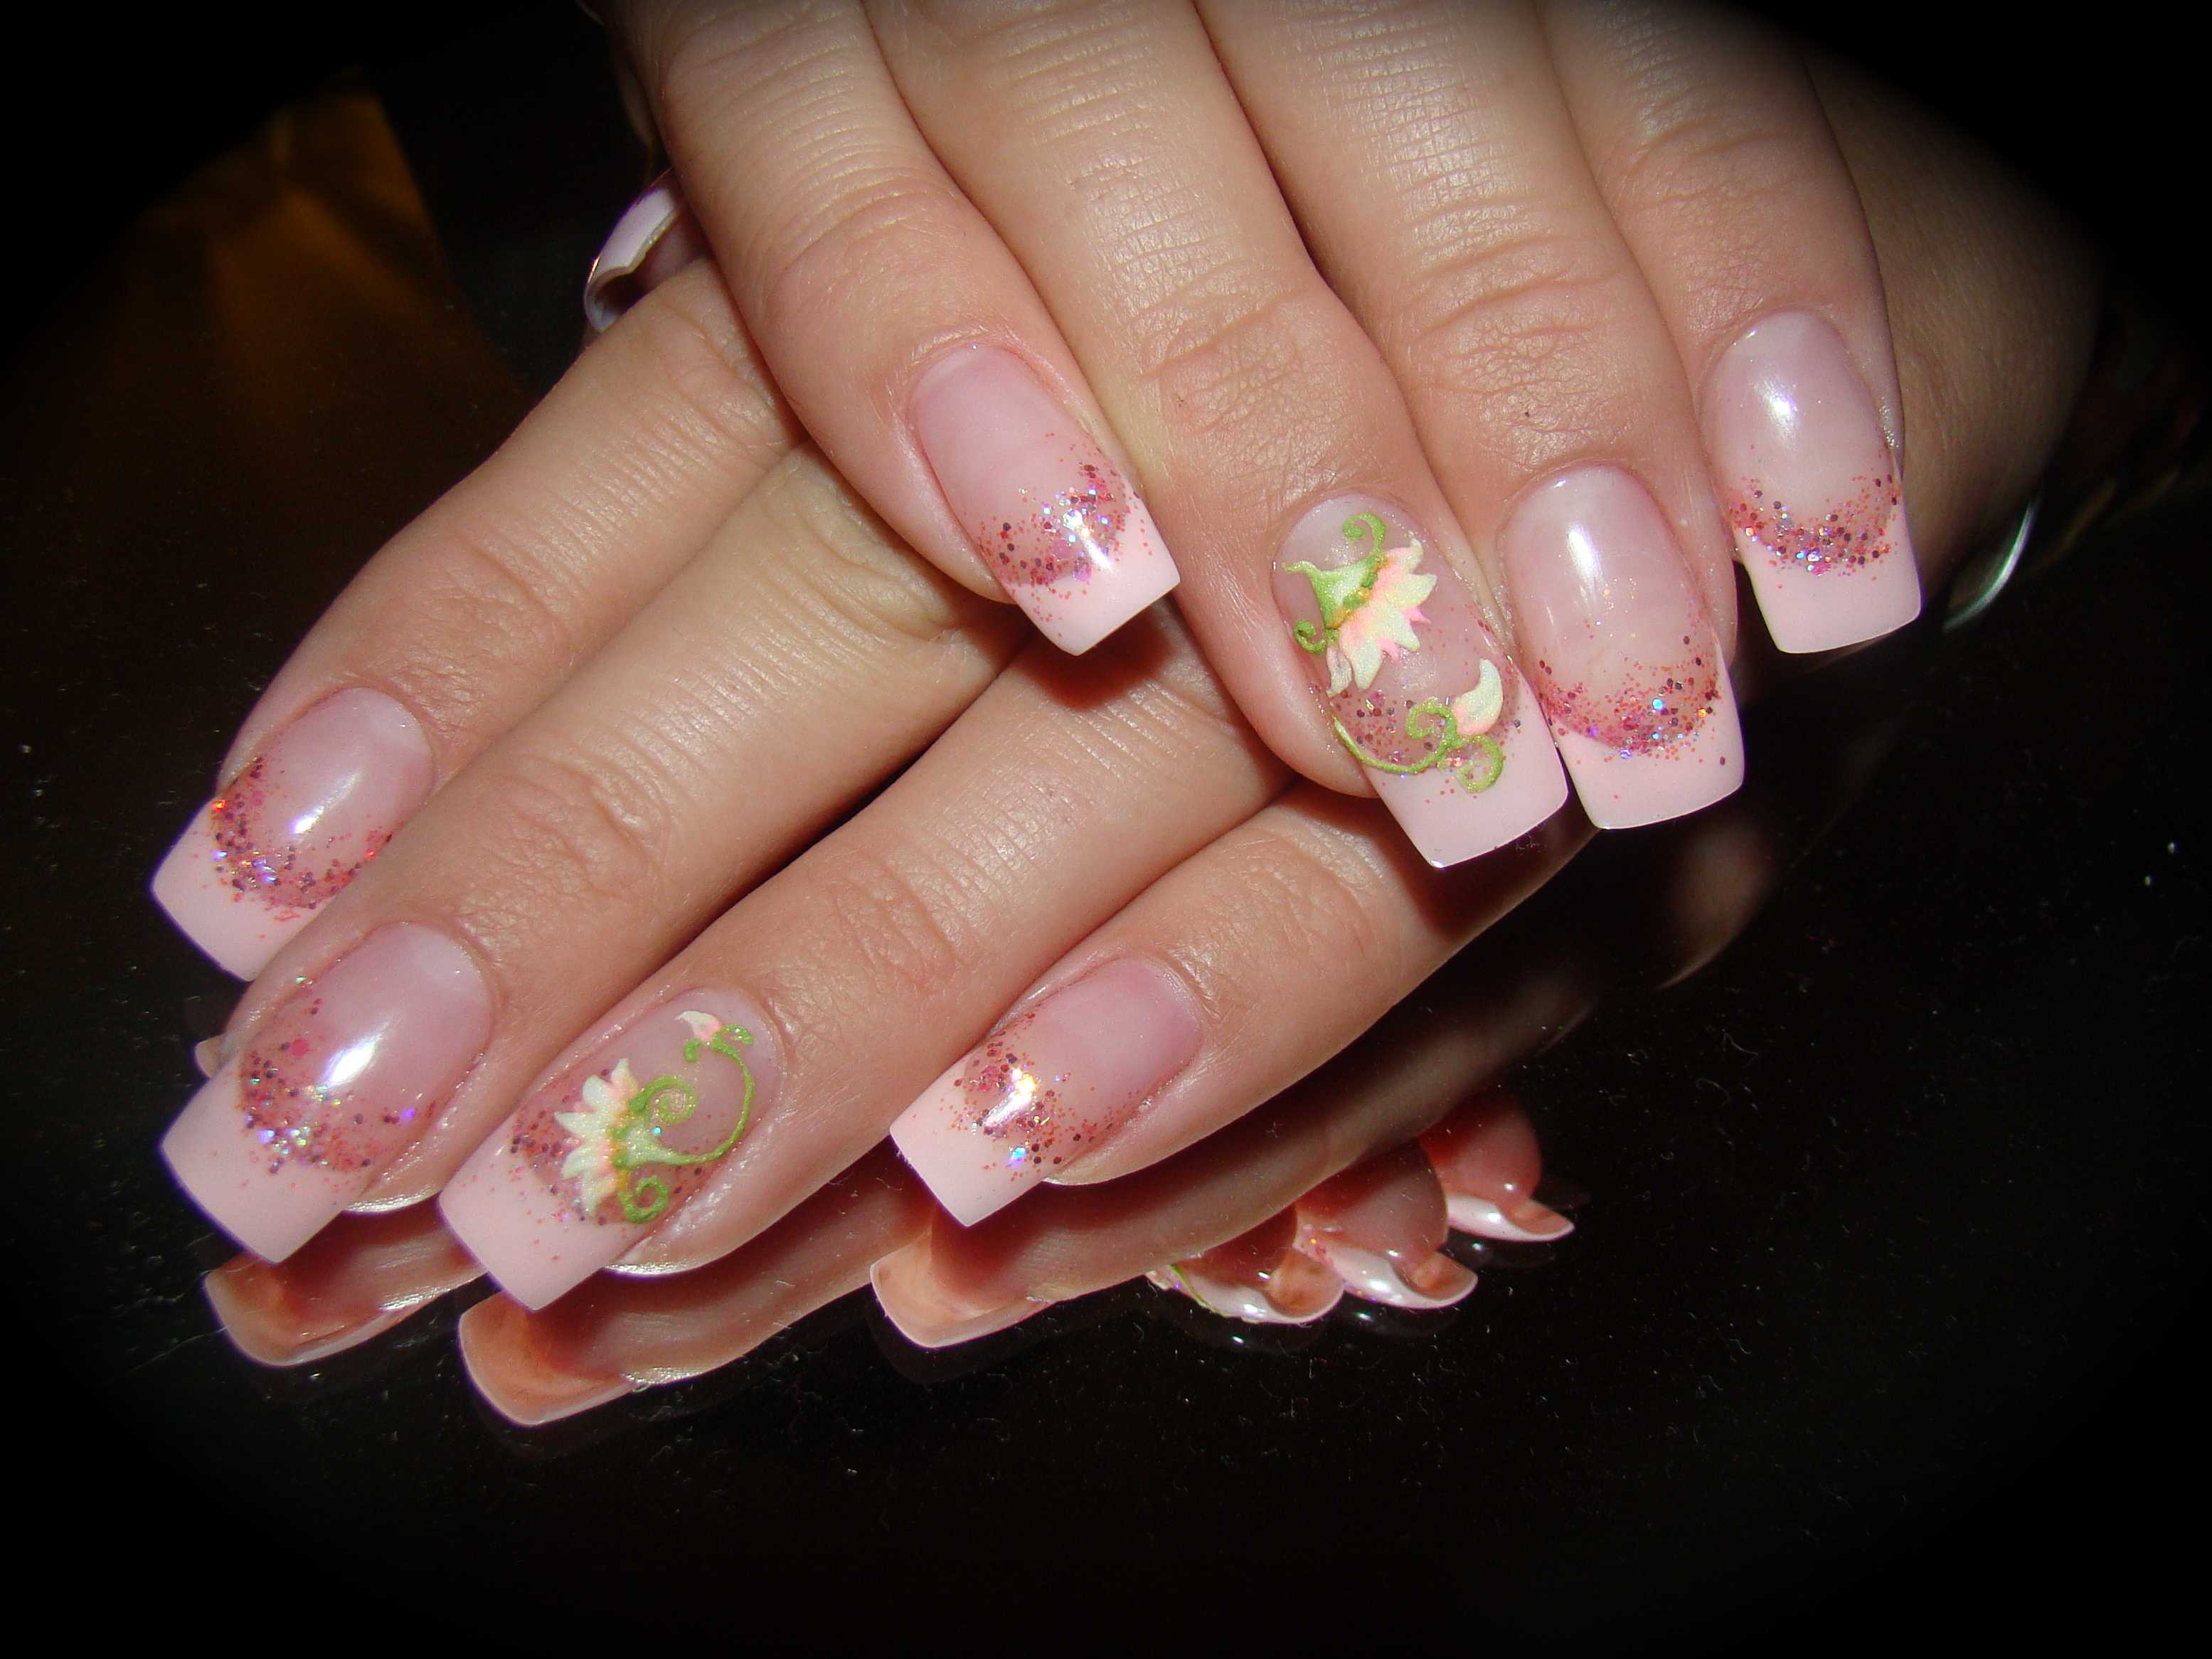
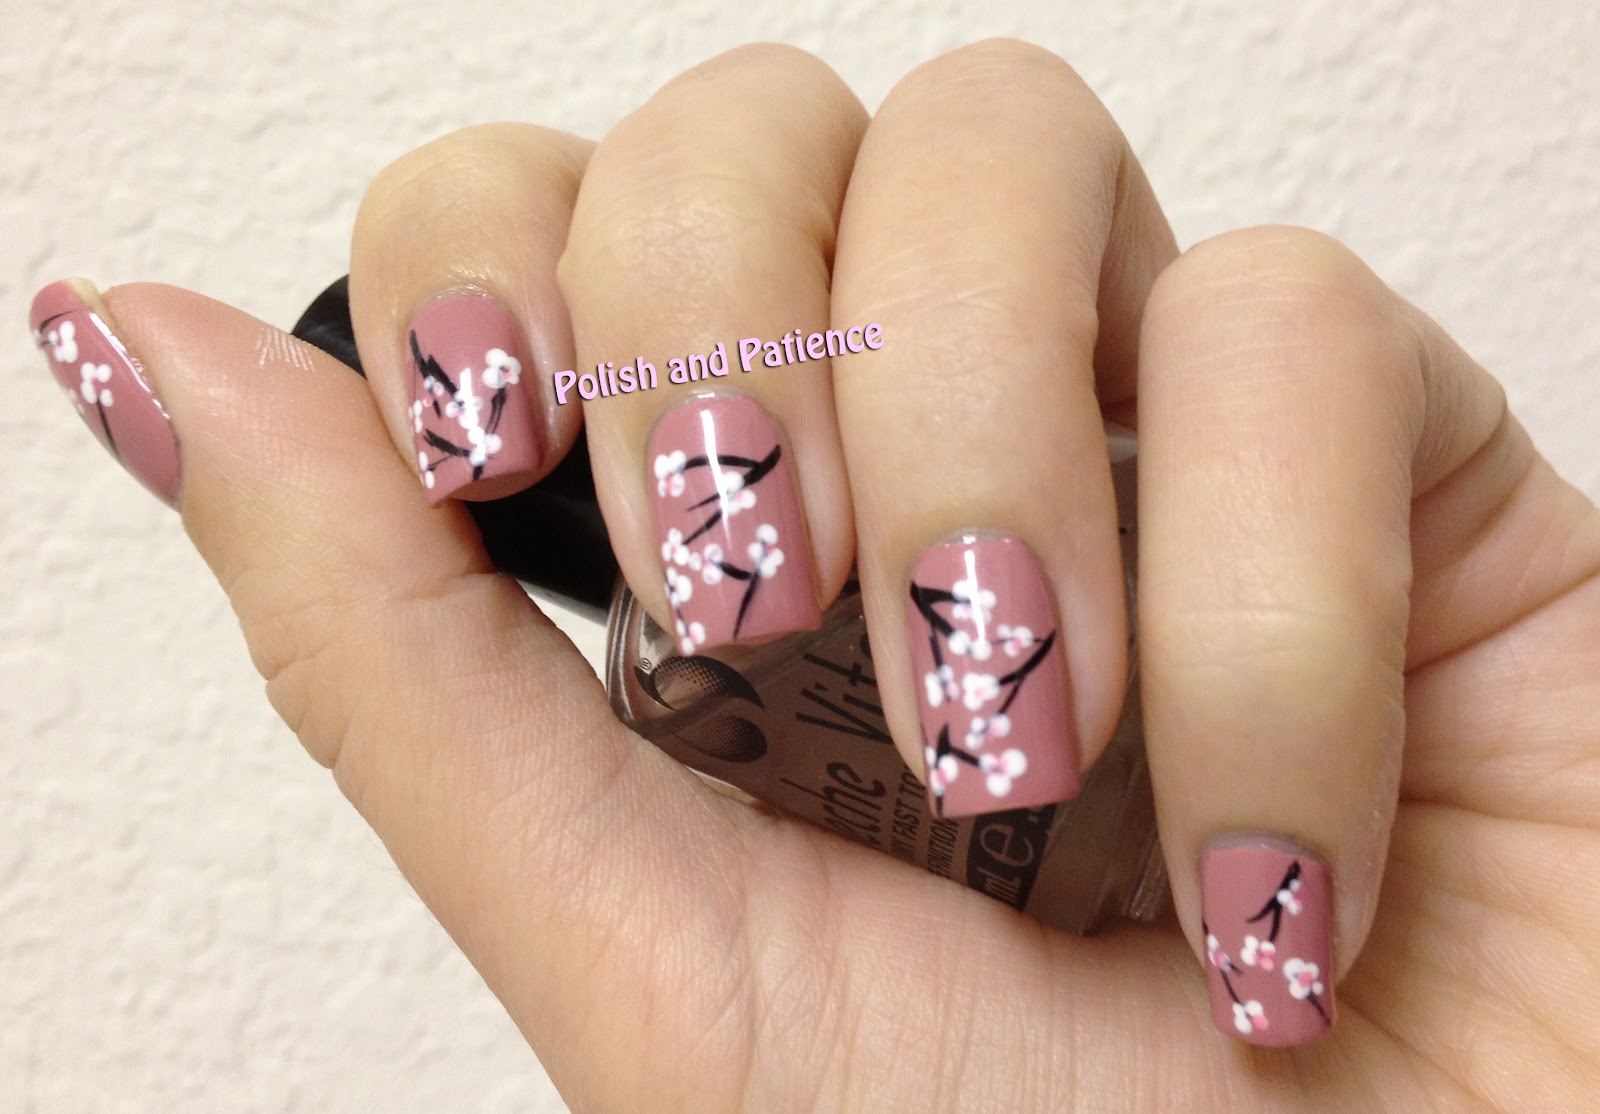
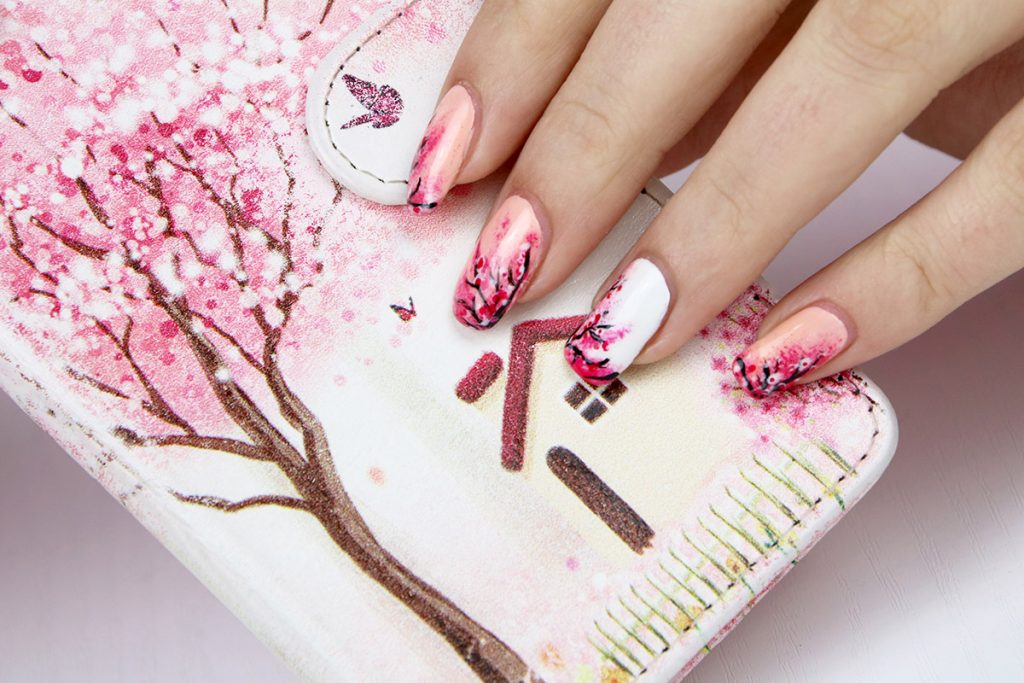
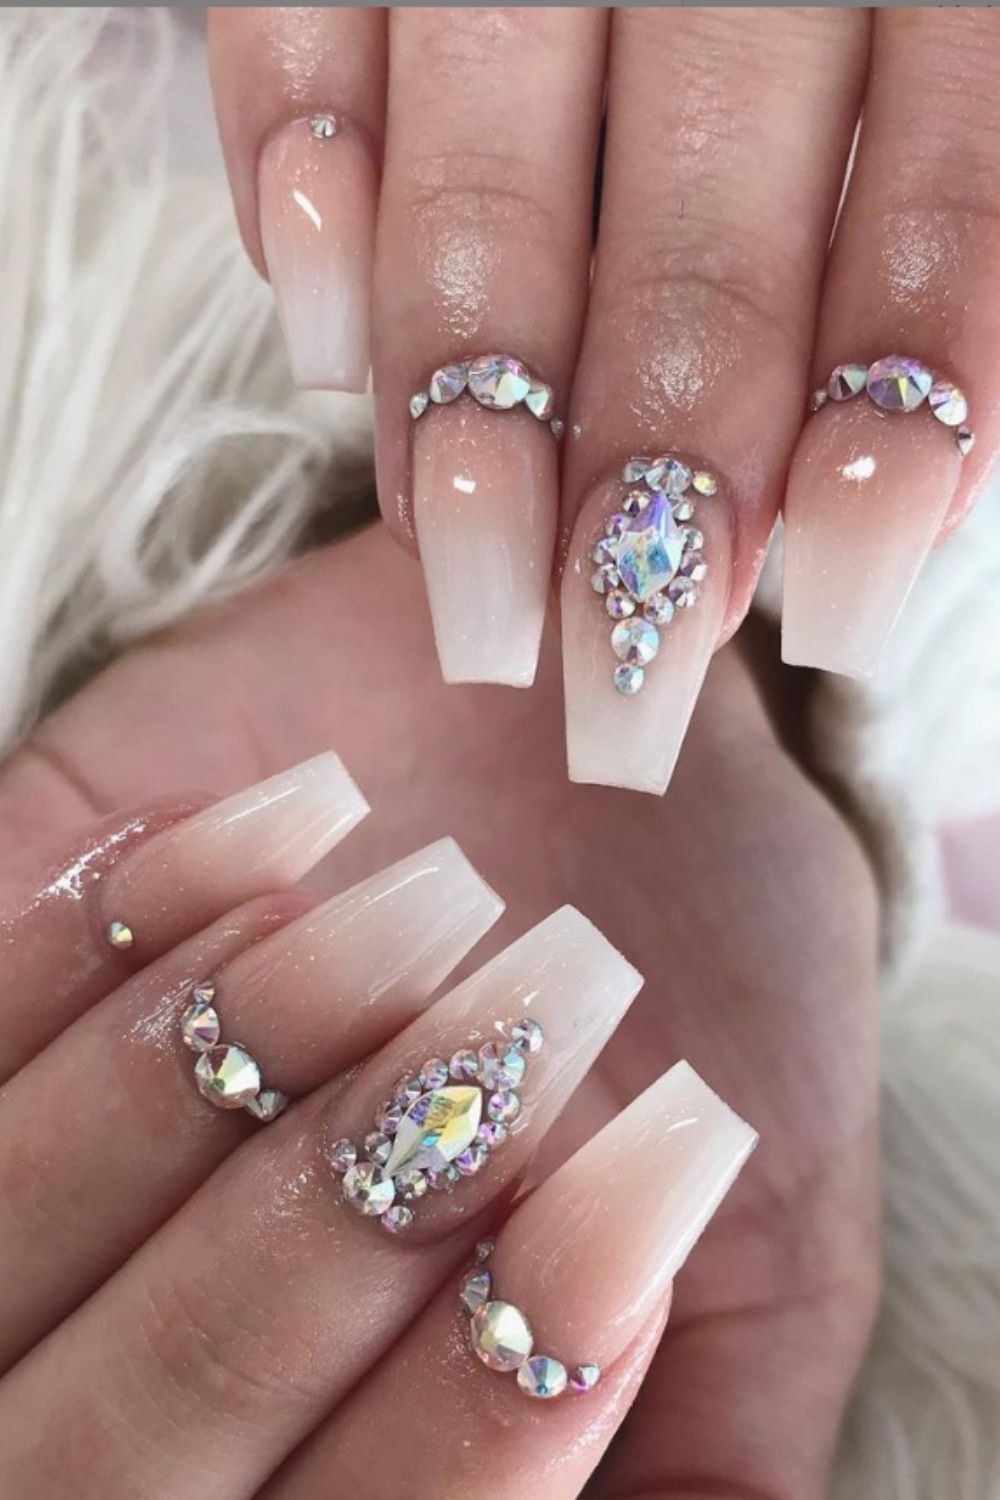
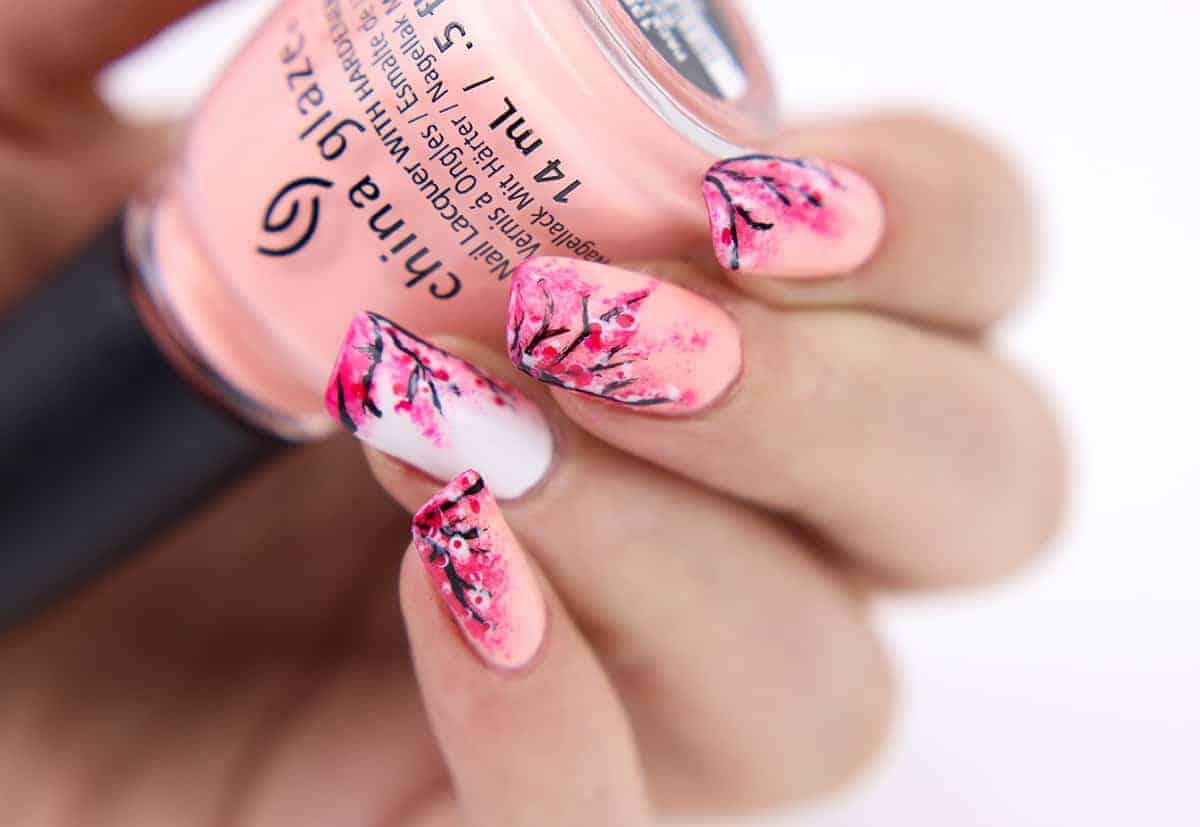
If you're a fan of the delicate and romantic cherry blossom, then this acrylic nail art design is perfect for you. With soft pink and white petals against a light pink background, this design is feminine and elegant. Start by shaping your acrylic nails into a round or oval shape. Then, using a light pink acrylic powder, create a solid base for your nails. Next, take a small brush and dip it into a white acrylic paint. Create small, curved lines on the tip of your nail to represent the cherry blossom petals. Fill in the petals with the white paint to create a solid base. Using a dotting tool, add a touch of pink to the center of each petal. This will give the petals a soft and realistic look. Repeat this process on all of your nails and finish off with a top coat for a beautiful and long-lasting design.Cherry Blossom Acrylic Nails

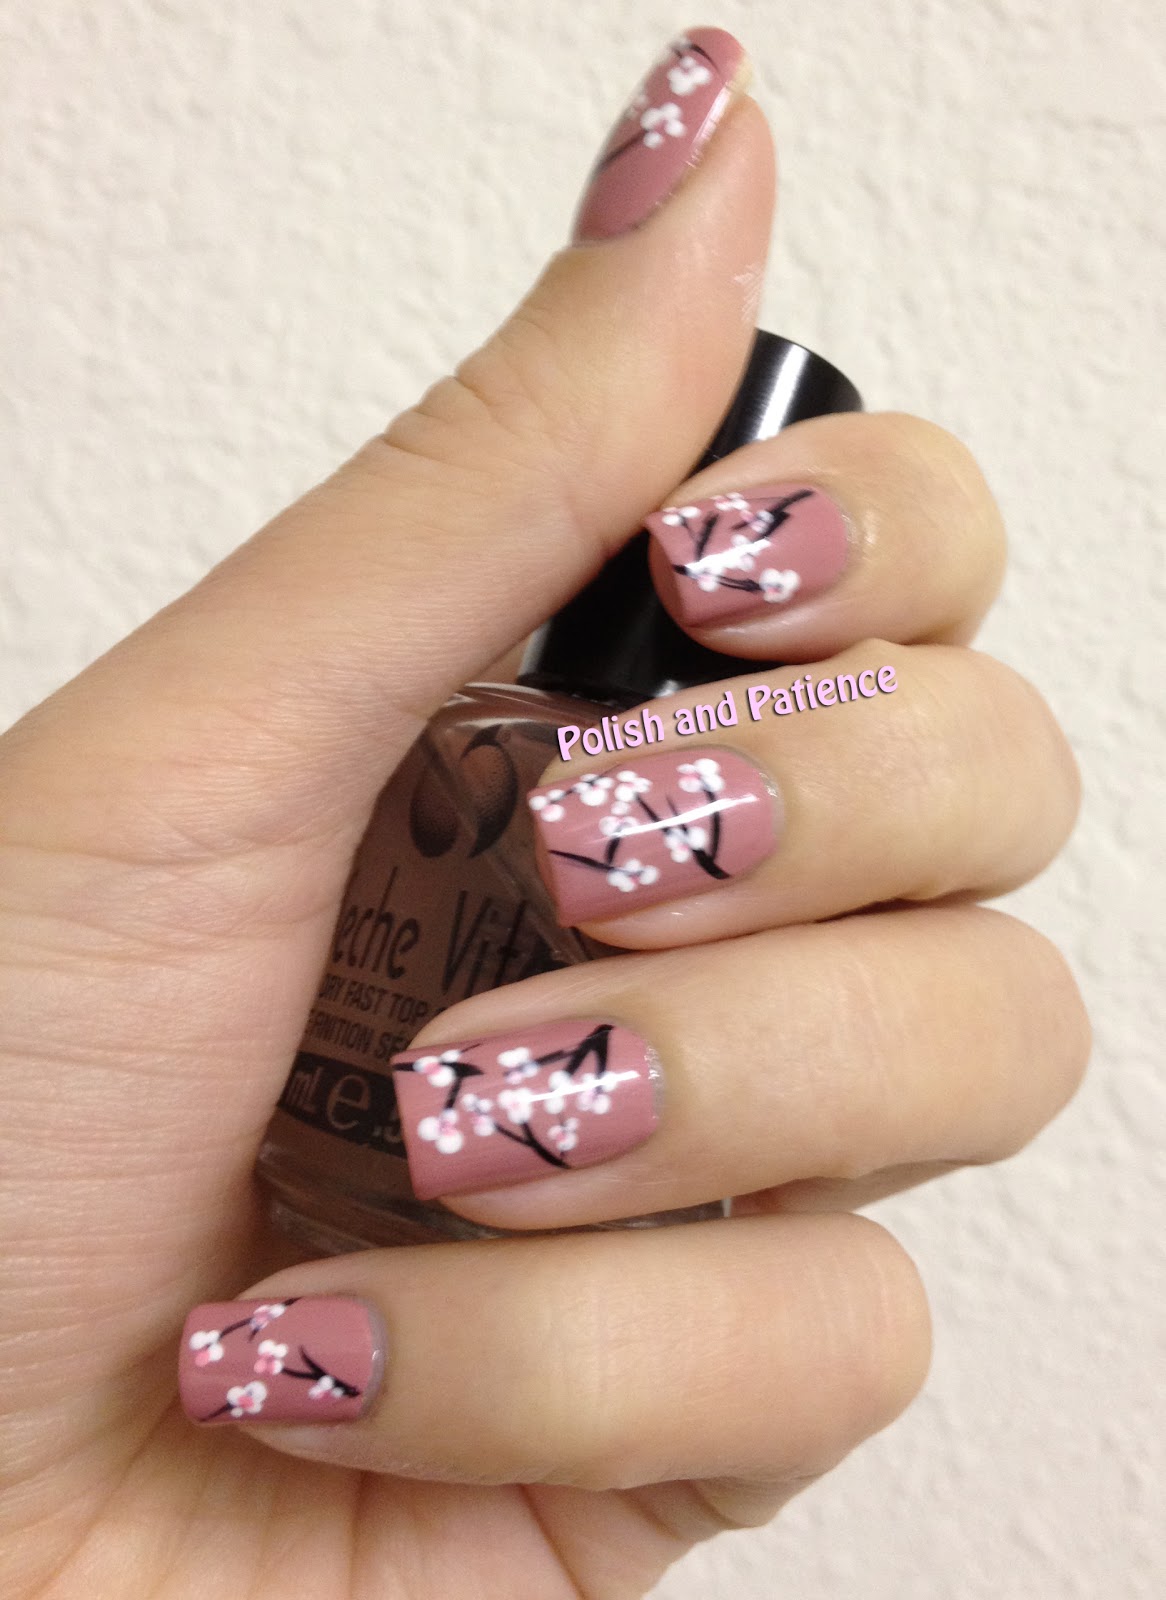
Cherry Blossom Acrylic Nails
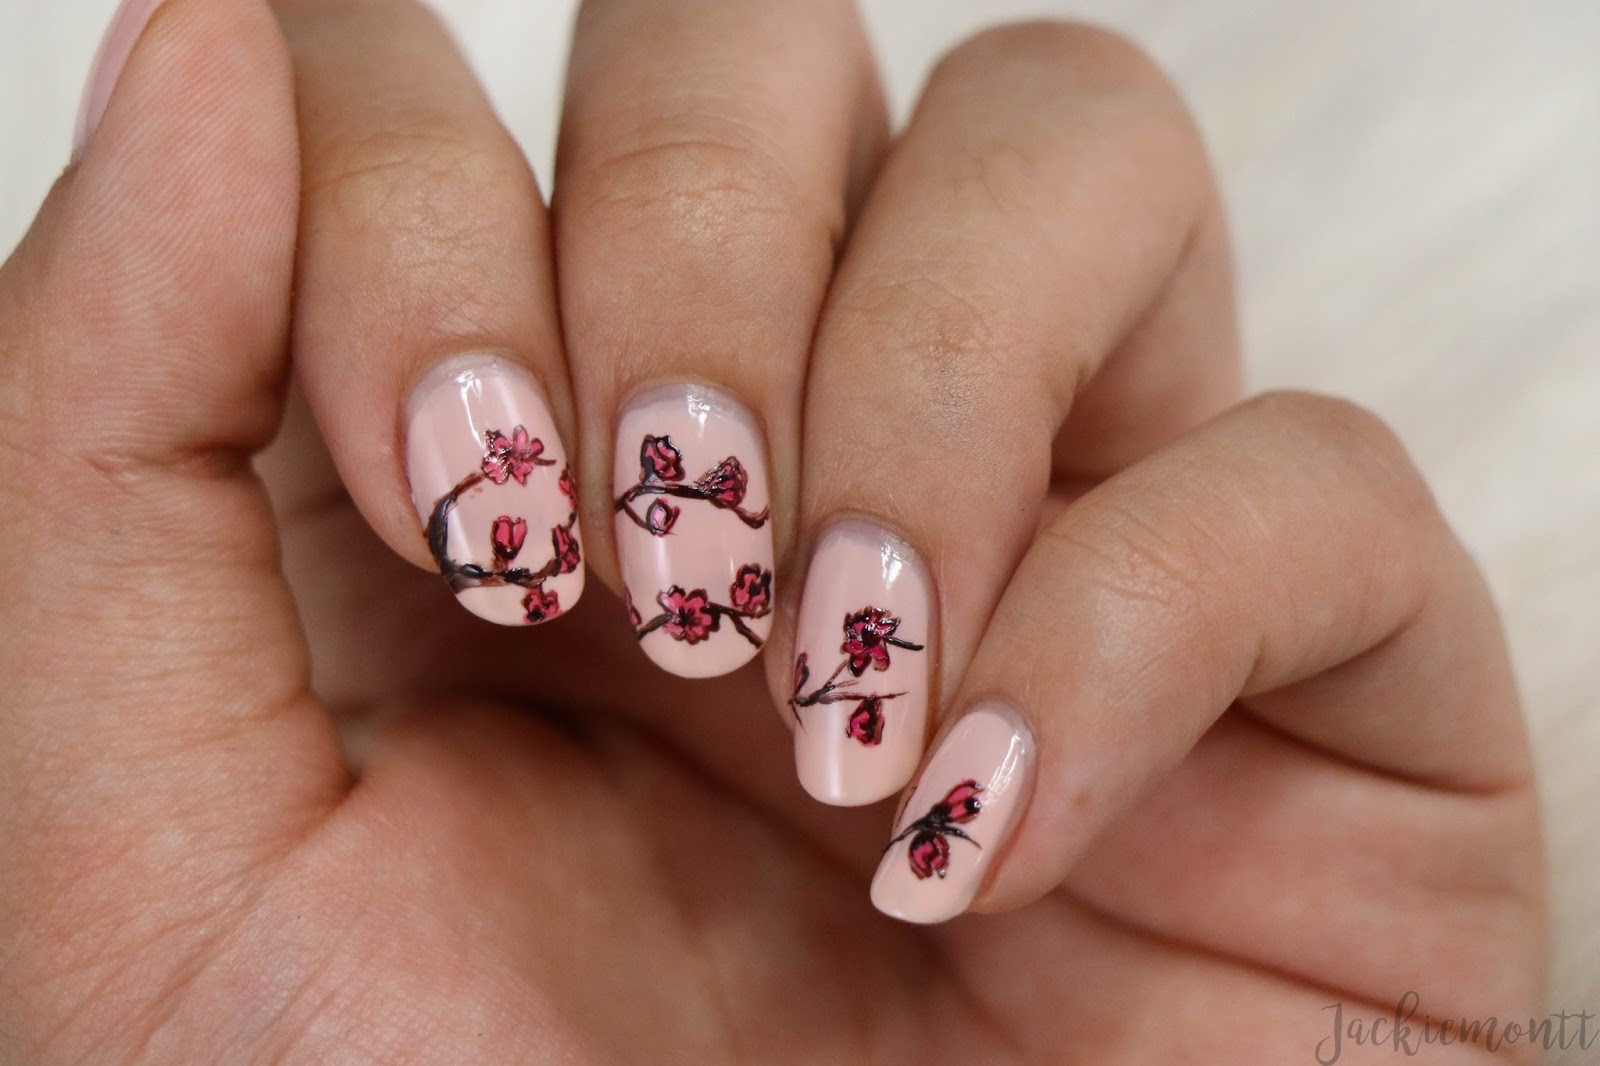
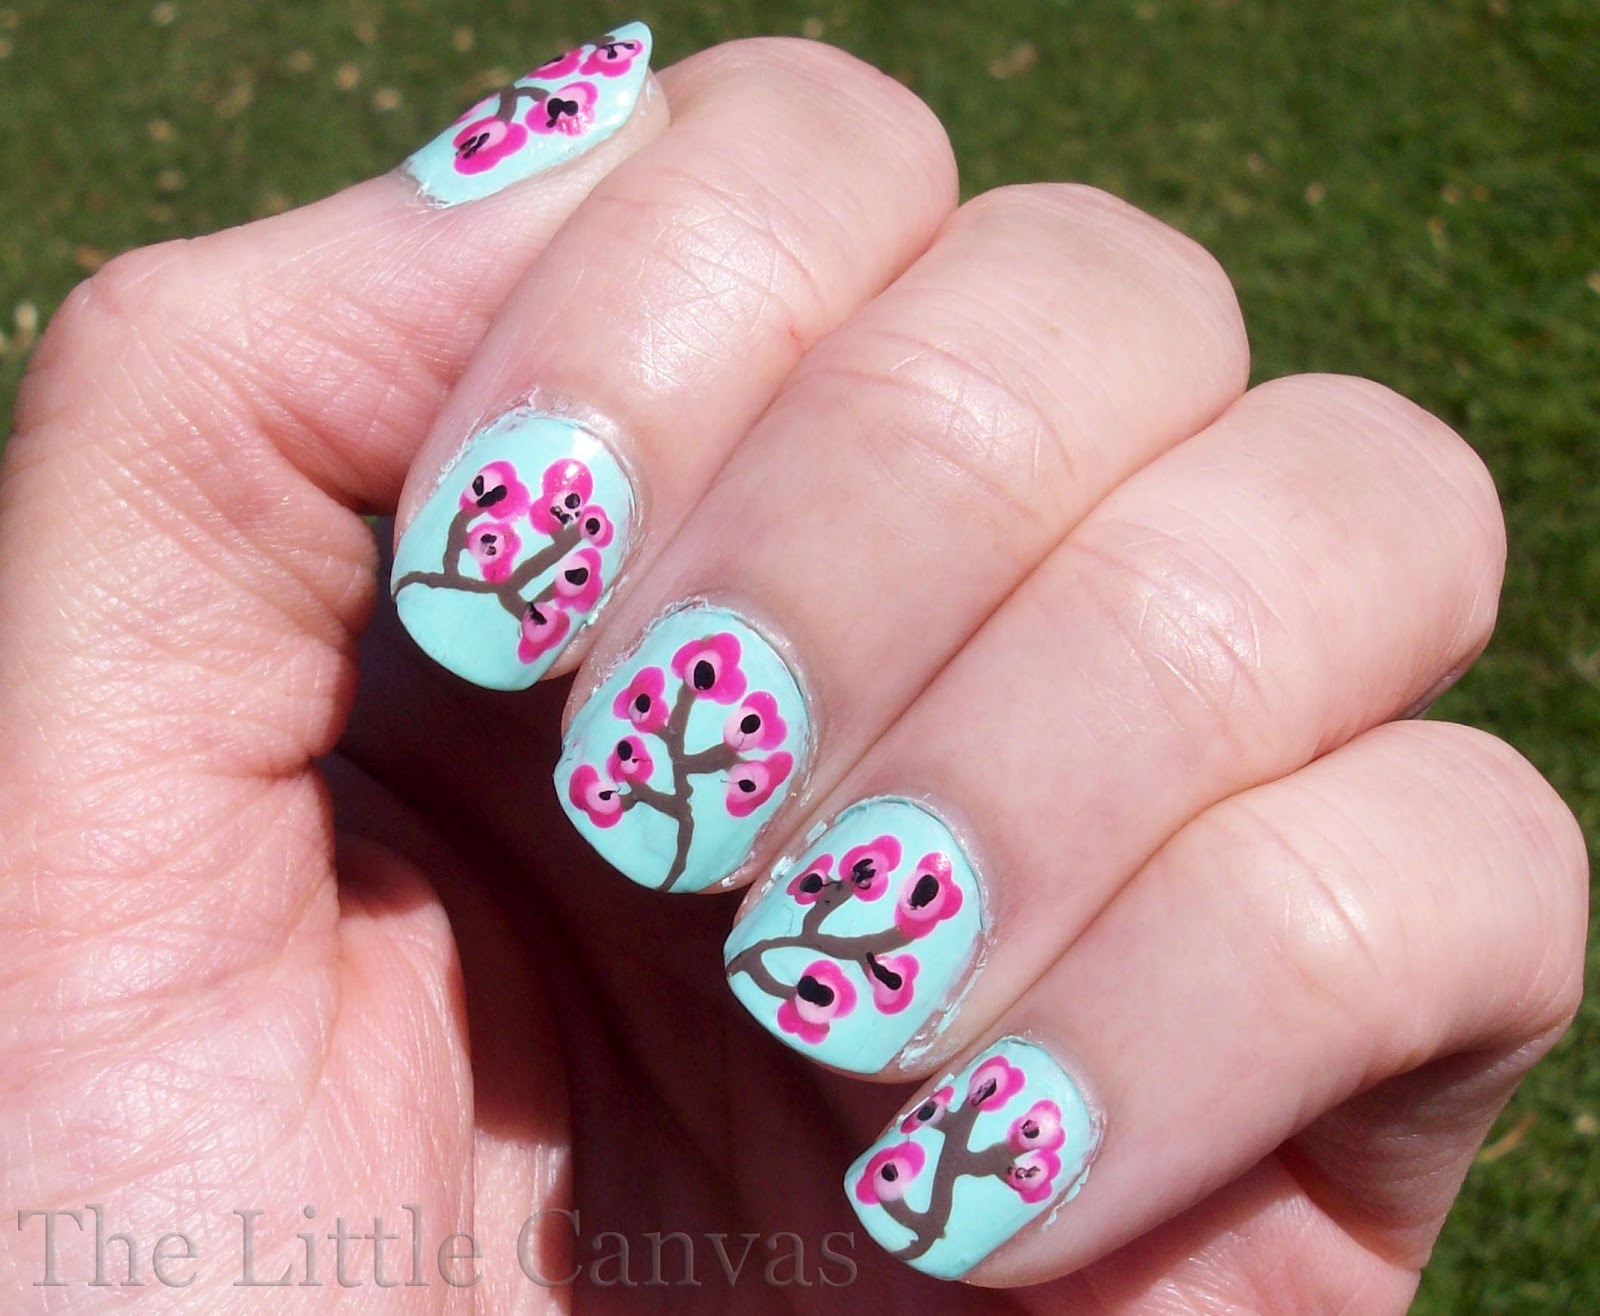
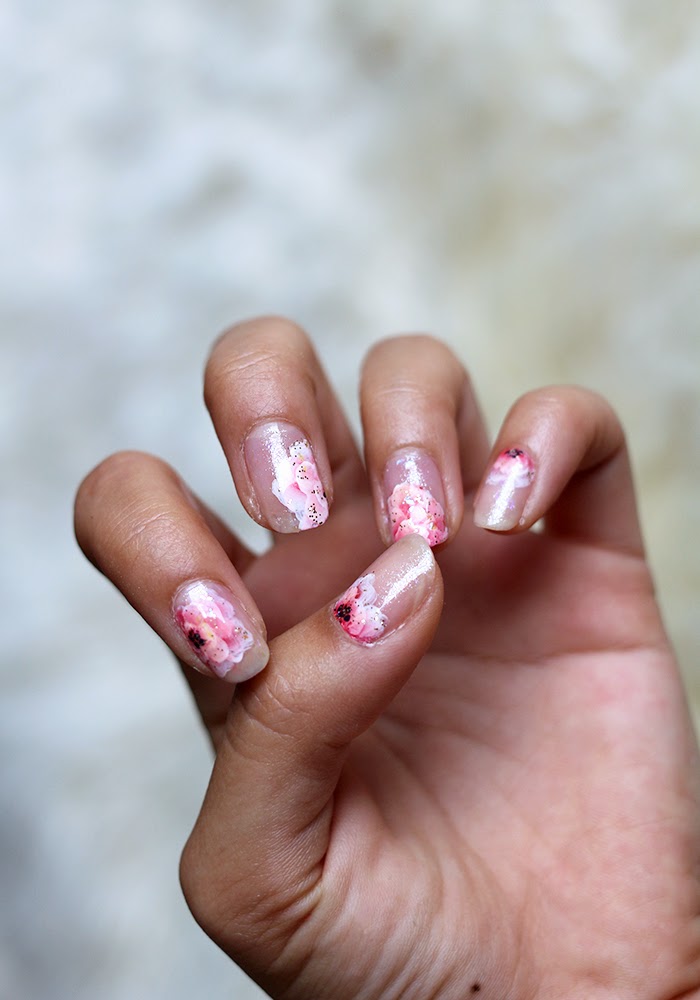
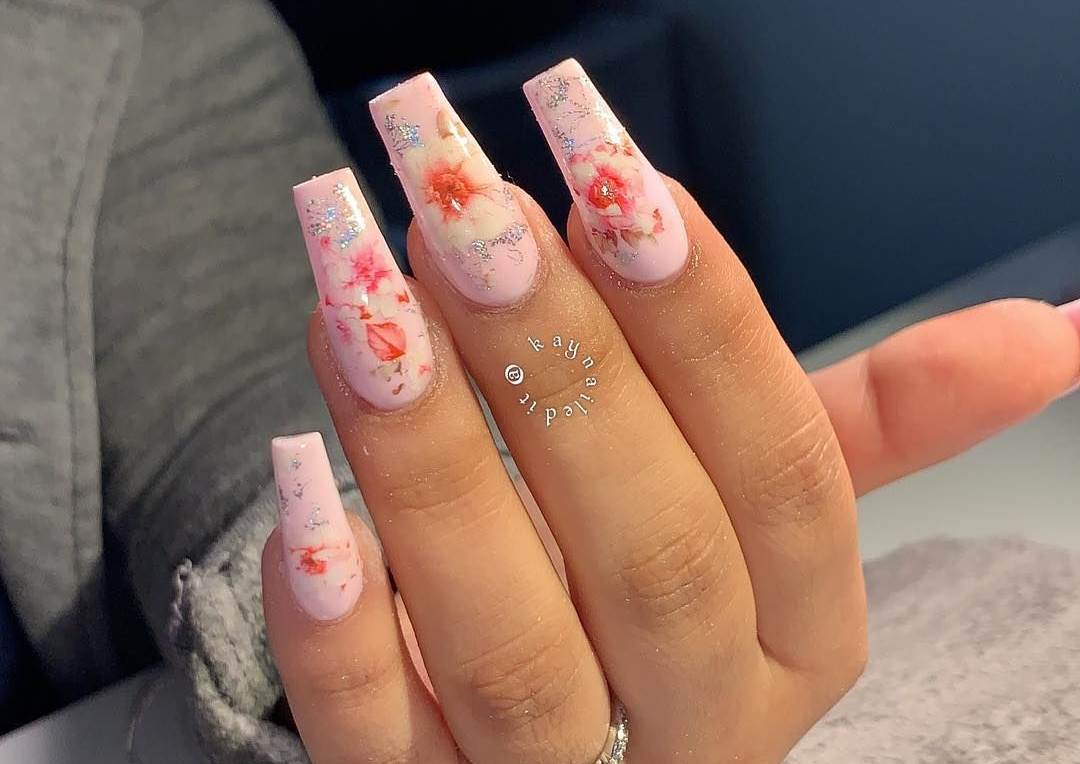
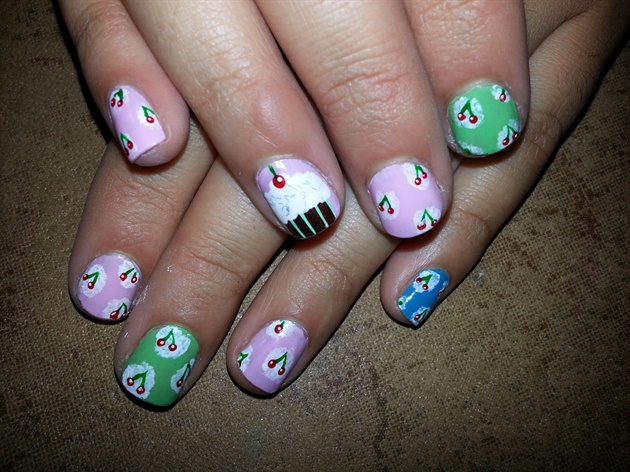
If you're feeling creative, there are many ways to incorporate cherry nail art into your acrylic nails. You can experiment with different colors, shapes, and designs to create a unique and eye-catching look. Try painting your nails with a light green base and adding small red cherries all over for a fun and playful design. Or, create a cherry ombre effect by blending red and white acrylic powders on the tips of your nails. Another idea is to paint your nails with a light blue base and create cherry blossom branches using brown and pink acrylic paints. There are endless possibilities when it comes to cherry nail art designs for acrylic nails.Cherry Nail Art Designs for Acrylic Nails


Cherry Nail Art Designs for Acrylic Nails

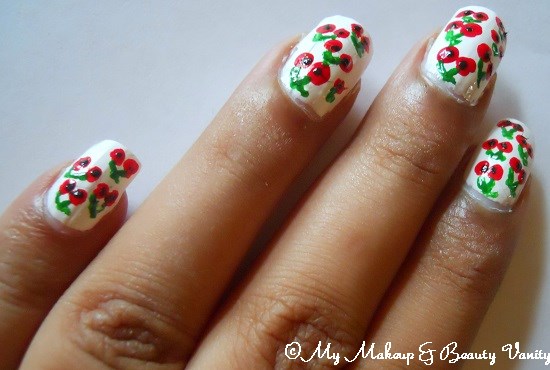
If you're short on time or don't have much experience with nail art, there are simple and easy ways to create a cherry design using acrylics. Start by painting your nails with a light pink base. Then, take a toothpick or the end of a small brush and dip it into a deep red acrylic paint. Create small dots on the tip of your nail to represent the cherries. Next, use a dotting tool to add the black seeds to the center of each cherry. You can also use a toothpick or the end of a small brush for this step. Finish off with a top coat for a shiny and polished look. This simple and easy cherry nail art design is perfect for beginners or those with limited time.Easy Cherry Nail Art with Acrylics


Easy Cherry Nail Art with Acrylics


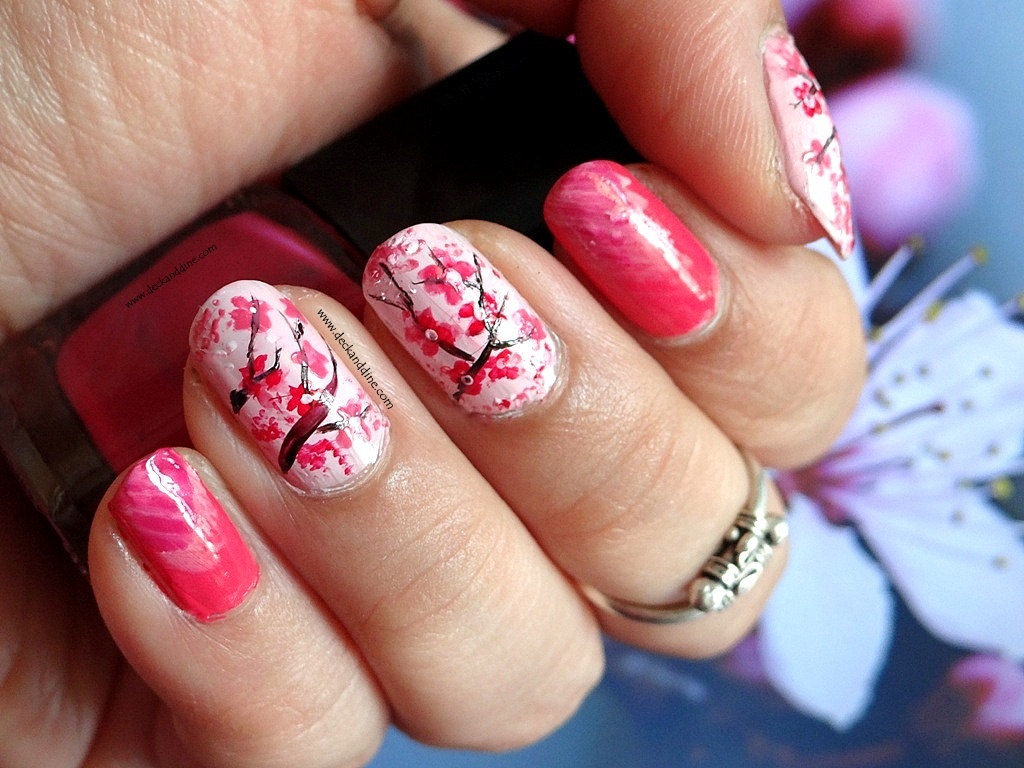
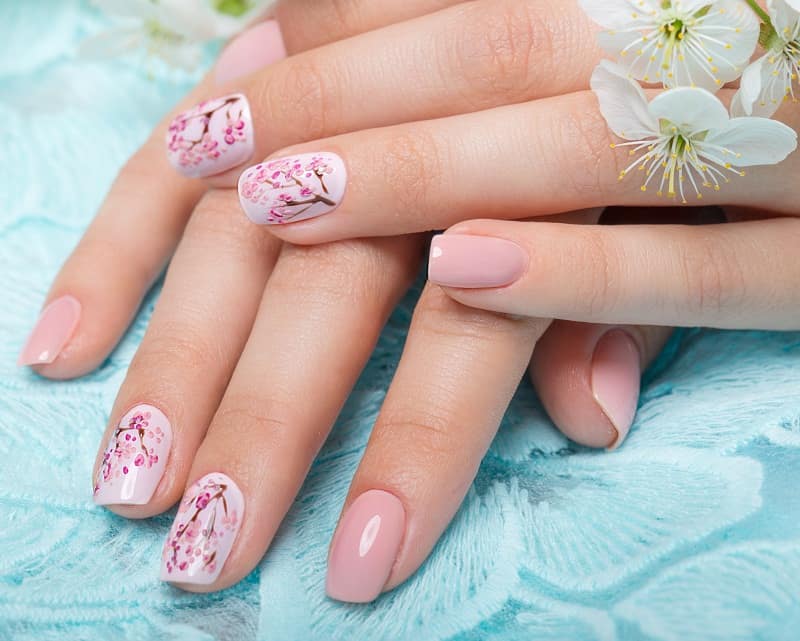
If you're looking for a step-by-step tutorial to create a beautiful cherry blossom acrylic nail design, then look no further. Follow these easy steps to achieve this elegant and romantic look. Step 1: Prep your nails by shaping them into a round or oval shape and applying a clear base coat. Step 2: Paint your nails with a light pink polish and let it dry completely. Step 3: Using a small brush, create curved lines on the tip of your nail using white acrylic paint to represent the cherry blossom petals. Step 4: Fill in the petals with the white paint to create a solid base. Step 5: Using a dotting tool, add a touch of pink to the center of each petal. Step 6: Create small branches with brown acrylic paint and add pink cherry blossoms along the branches. Step 7: Finish off with a top coat for a glossy and long-lasting finish.Cherry Blossom Acrylic Nail Tutorial
Cherry Blossom Acrylic Nail Tutorial

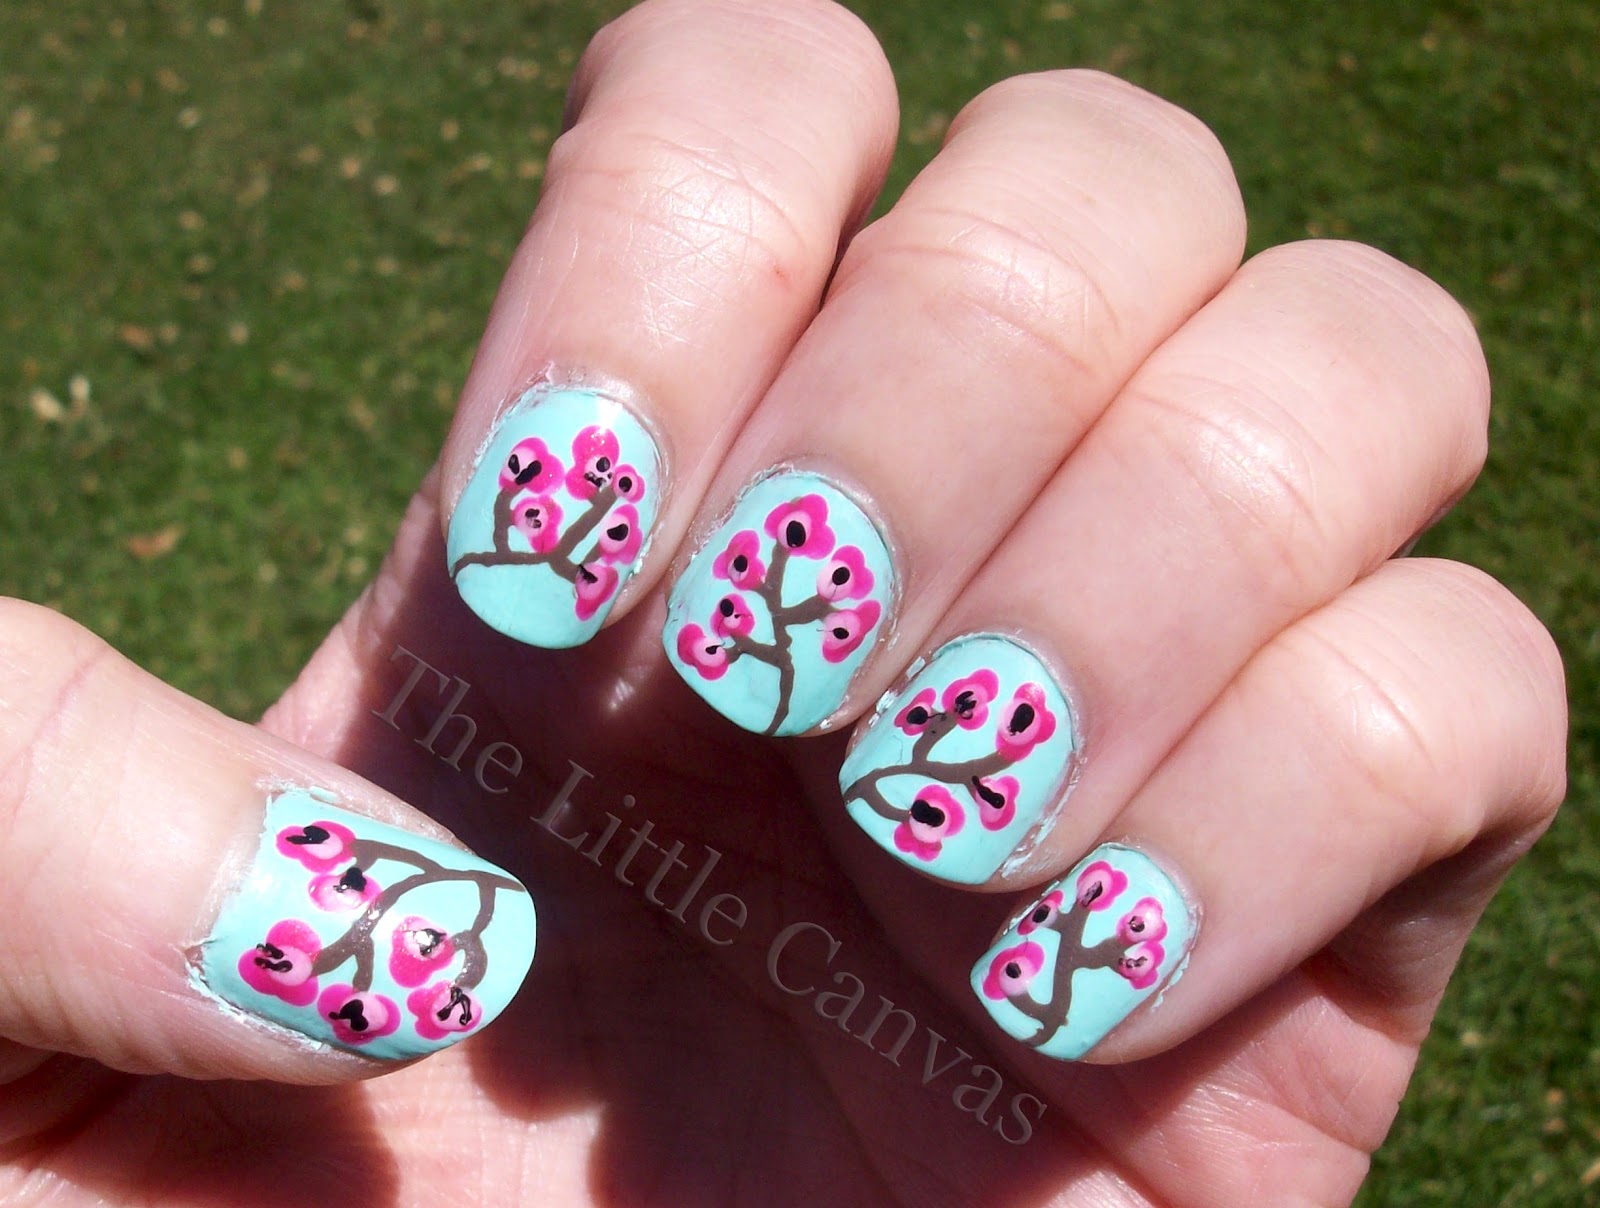
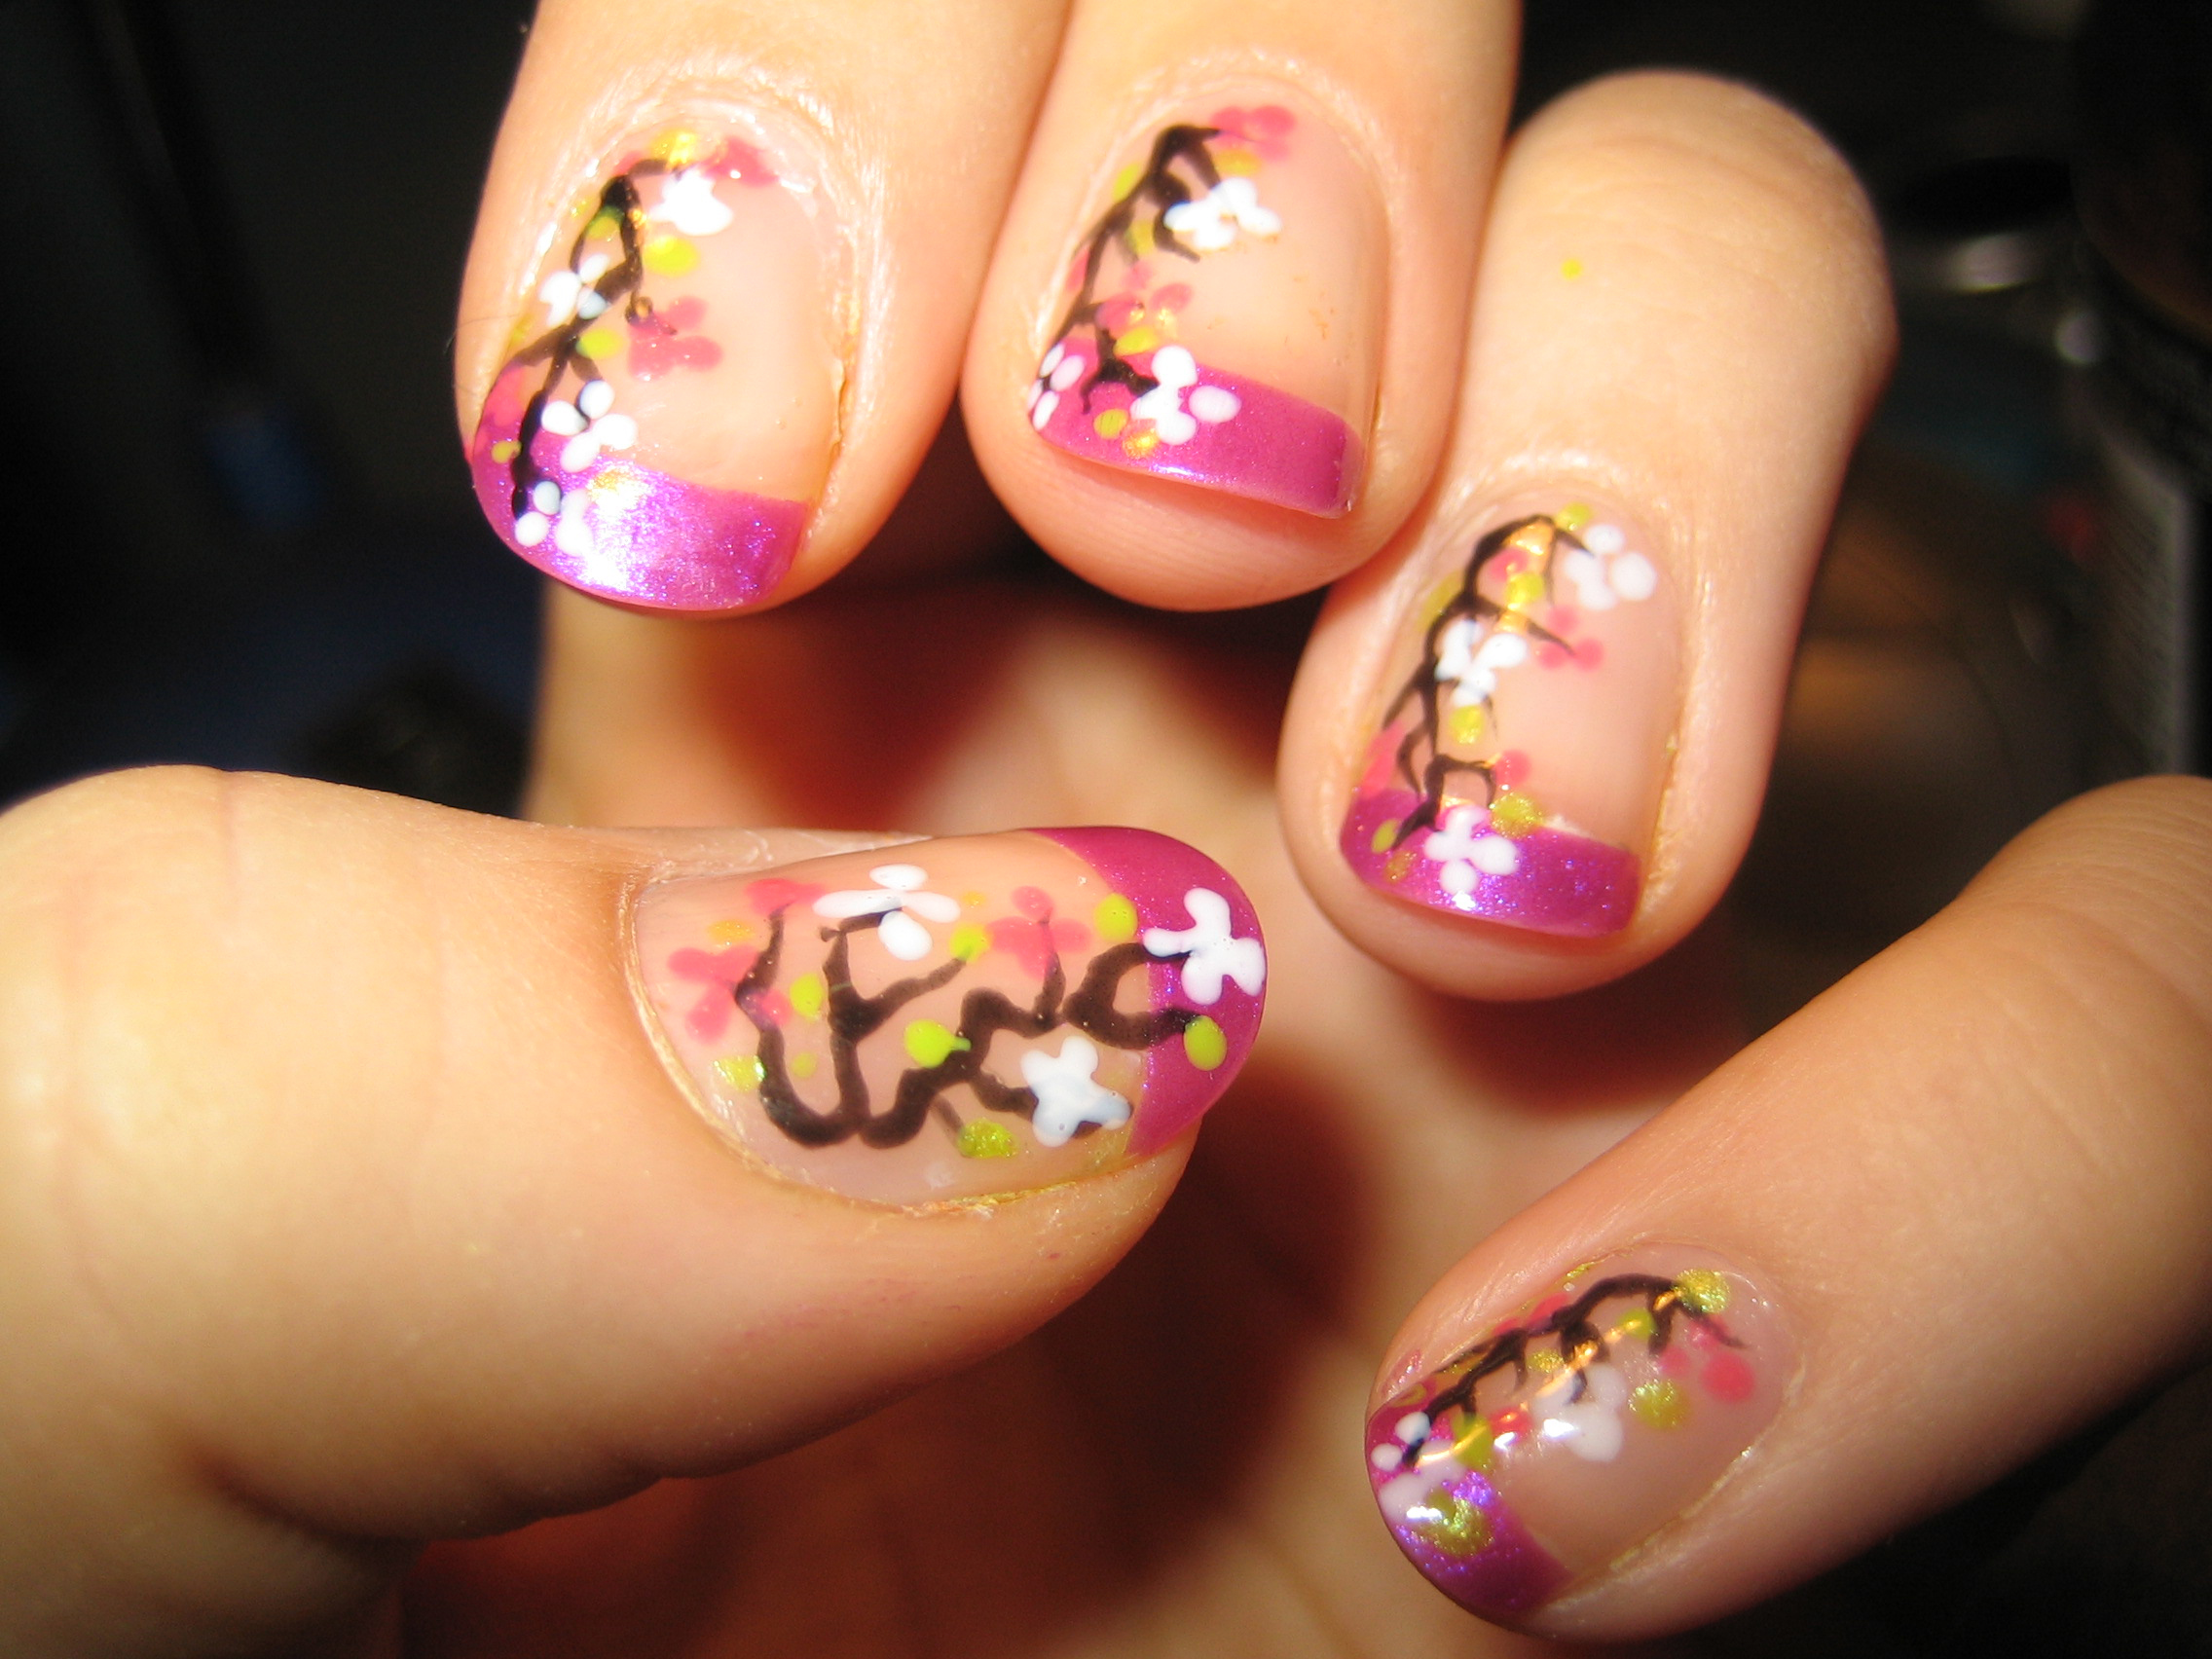
Create a stunning and intricate cherry blossom design on your nails using acrylics. This design is perfect for those who love a challenge and have some experience with nail art. Start by painting your nails with a light blue base. Let it dry completely. Next, using a small brush, create branches with brown acrylic paint on your nails. Using a dotting tool, add pink cherry blossoms along the branches. For the cherry blossoms, take a small brush and dip it into white acrylic paint. Create small, curved lines on the tip of your nail. Then, add a touch of pink to the center of each petal. Finish off with a top coat for a beautiful and intricate cherry blossom nail design.Acrylic Cherry Blossom Nail Design
Acrylic Cherry Blossom Nail Design


Another way to achieve a bold and vibrant cherry nail art design is by using acrylic powder. This method allows for a more opaque and long-lasting design. Start by shaping your nails into a pointed almond shape. Then, using a bright red acrylic powder, create a solid base for your nails. Next, take a small brush and dip it into white acrylic paint. Create the outline of a cherry on the tip of your nail. Fill it in with the white paint to create a solid base. Using a dotting tool, create small black dots in the center of the cherry to represent the seeds. Repeat this process on all of your nails and finish off with a top coat for a glossy and long-lasting cherry nail art design.Cherry Nail Art with Acrylic Powder


Cherry Nail Art with Acrylic Powder

If you're new to nail art or want a step-by-step guide to creating a cherry blossom acrylic nail design, then follow these easy steps. Step 1: Prep your nails by shaping them into a round or oval shape and applying a clear base coat. Step 2: Paint your nails with a light pink polish and let it dry completely. Step 3: Using a small brush, create curved lines on the tip of your nail using white acrylic paint to represent the cherry blossom petals. Step 4: Fill in the petals with the white paint to create a solid base. Step 5: Using a dotting tool, add a touch of pink to the center of each petal. Step 6: Create small branches with brown acrylic paint and add pink cherry blossoms along the branches. Step 7: Finish off with a top coat for a glossy and long-lasting finish. With these 10 cherry nail art designs using acrylics, you can add a touch of nature and beauty to your manicure. Whether you're a beginner or an experienced nail artist, there is a design for everyone to try. So go ahead and show off your love for cherries with these stunning and creative nail art designs.Cherry Blossom Acrylic Nail Art Step by Step

Cherry Blossom Acrylic Nail Art Step by Step
The Versatility of Cherry Nail Art Acrylic in House Design

Unleashing the Potential of Cherry Nail Art Acrylic
 When it comes to house design, every detail matters. From the color of the walls to the furniture and décor, every element contributes to the overall look and feel of a space. One often overlooked aspect of house design is the use of
cherry nail art acrylic
. This versatile material has gained popularity in recent years for its ability to elevate and enhance any design. Whether it is used in small accents or as a dominant feature, cherry nail art acrylic brings a touch of elegance and sophistication to any space.
When it comes to house design, every detail matters. From the color of the walls to the furniture and décor, every element contributes to the overall look and feel of a space. One often overlooked aspect of house design is the use of
cherry nail art acrylic
. This versatile material has gained popularity in recent years for its ability to elevate and enhance any design. Whether it is used in small accents or as a dominant feature, cherry nail art acrylic brings a touch of elegance and sophistication to any space.
Adding a Pop of Color
 One of the key benefits of using cherry nail art acrylic in house design is its wide range of color options. From deep reds to bright pinks, there is a shade to suit every aesthetic. The vibrant hues of cherry nail art acrylic can add a pop of color to an otherwise neutral space, creating a focal point and adding visual interest. It can also be used to tie together different elements in a room, creating a cohesive and harmonious look.
Cherry nail art acrylic
is not limited to just solid colors. It can also be found in various patterns and designs, such as marble, glitter, and ombre. This allows for even more versatility and creativity in house design.
One of the key benefits of using cherry nail art acrylic in house design is its wide range of color options. From deep reds to bright pinks, there is a shade to suit every aesthetic. The vibrant hues of cherry nail art acrylic can add a pop of color to an otherwise neutral space, creating a focal point and adding visual interest. It can also be used to tie together different elements in a room, creating a cohesive and harmonious look.
Cherry nail art acrylic
is not limited to just solid colors. It can also be found in various patterns and designs, such as marble, glitter, and ombre. This allows for even more versatility and creativity in house design.
Creating Texture and Depth
 Aside from its color options, cherry nail art acrylic also adds texture and depth to a space. Its glossy finish and smooth surface can make a room feel more polished and refined. It can also be used to create unique patterns and designs, adding dimension and character to a room. Whether it is used on walls, furniture, or décor, cherry nail art acrylic can bring a touch of luxury and sophistication to any space.
Easy Maintenance and Durability
 In addition to its aesthetic appeal, cherry nail art acrylic is also a practical choice for house design. It is easy to clean and maintain, making it ideal for high traffic areas. It is also highly durable and can withstand wear and tear, making it a long-lasting investment for any home.
In Conclusion
 Cherry nail art acrylic is a versatile and stylish material that has become a popular choice in house design. Its vibrant colors, ability to add texture and depth, and practicality make it a valuable addition to any space. So whether you are looking to add a pop of color or create a luxurious atmosphere, consider incorporating cherry nail art acrylic into your house design. Its versatility and beauty are sure to elevate your home to the next level.


